You did everything right. The starter was bubbly, the bulk ferment looked good, you scored a confident slash – and the loaf still baked into a flat, sad disc that spread sideways instead of rising up. Before you blame your starter or your flour, look at the step almost everyone rushes: shaping. More flat loaves are born on the shaping bench than anywhere else. The good news is that shaping is a skill, not a mystery, and once you understand the one thing it is actually trying to do – build surface tension – your loaves stop spreading and start standing tall.
What surface tension actually is (and why it matters)
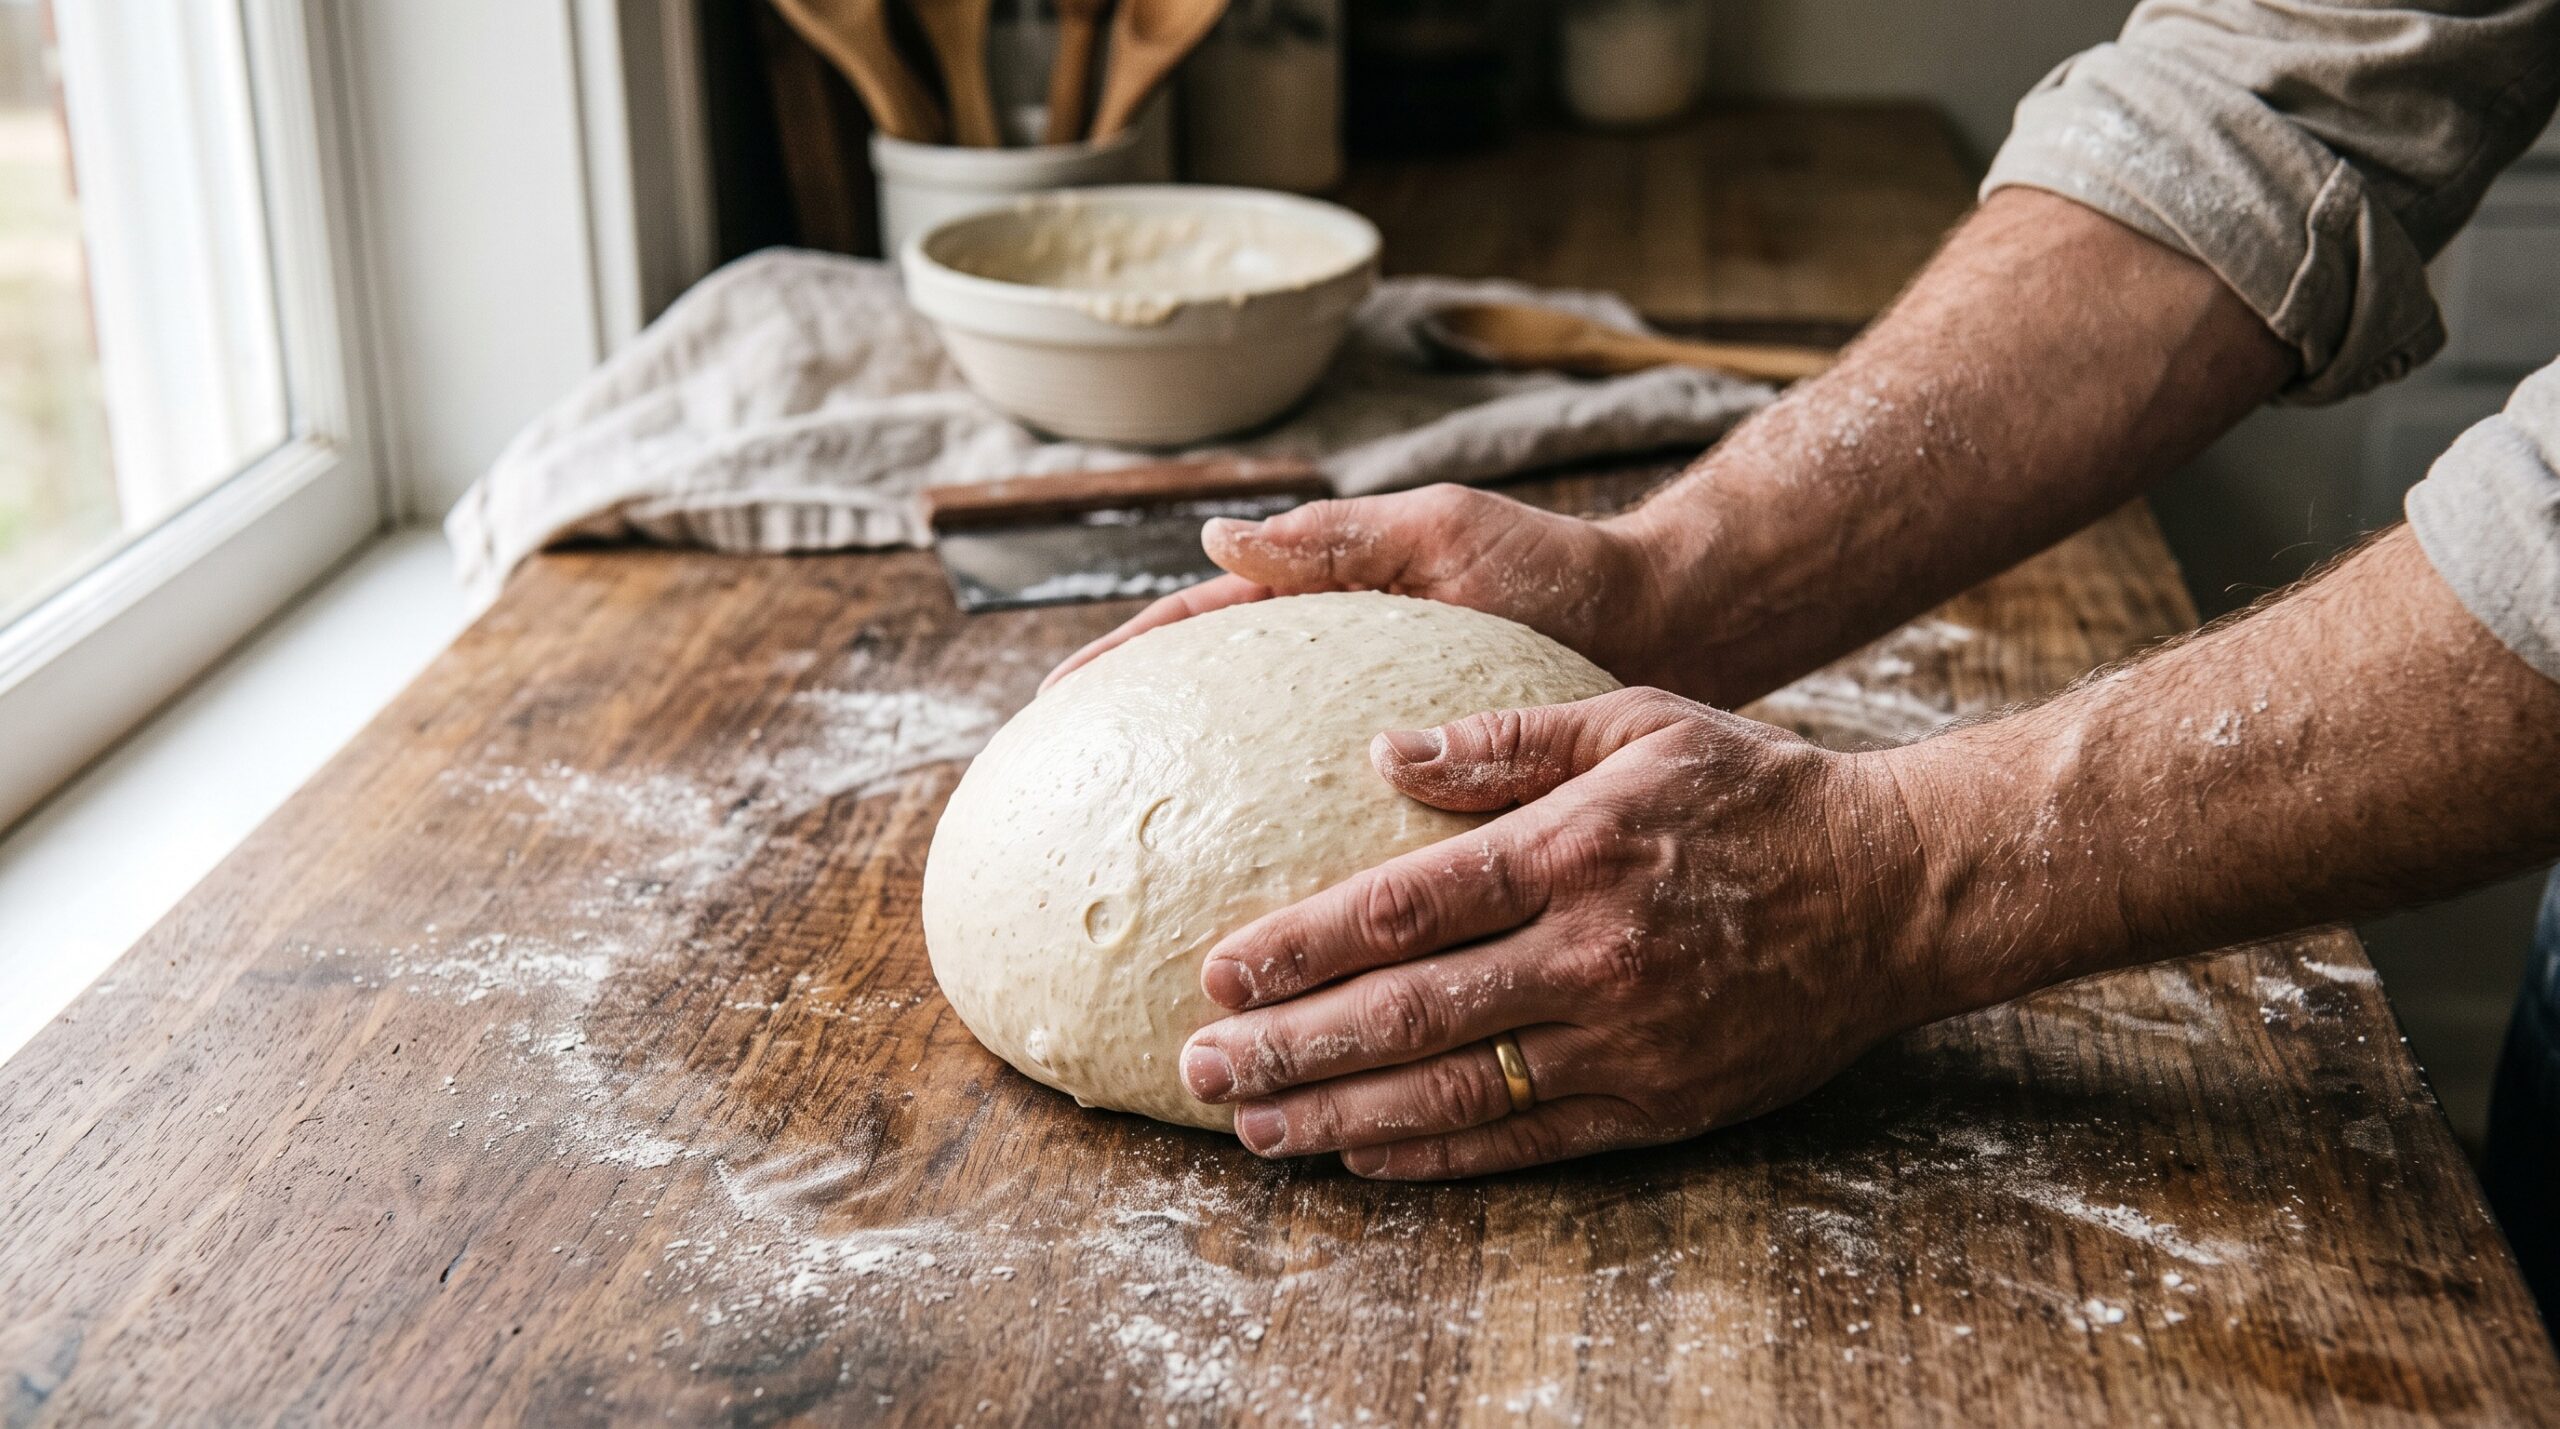
Sourdough dough is soft and extensible – left to its own devices, gravity wins and it flows outward into a puddle. Shaping fixes that by creating a taut, smooth skin around the outside of the dough, like the surface of a water balloon. That skin is surface tension, and it is what holds the dough in a tall, round shape while it proofs and, crucially, while it hits the heat of the oven.
Here is why it decides whether you rise up or out. When the loaf goes into a hot oven, the gases inside expand fast – that burst is oven spring. A well-tensioned skin resists and directs that expansion upward, giving you height and a clean ear. A slack, tension-less blob has nothing to push against, so the same gas just makes it flatten and sprawl. Same dough, same oven – the shaping is the difference between a proud boule and a frisbee.
Don’t skip the pre-shape
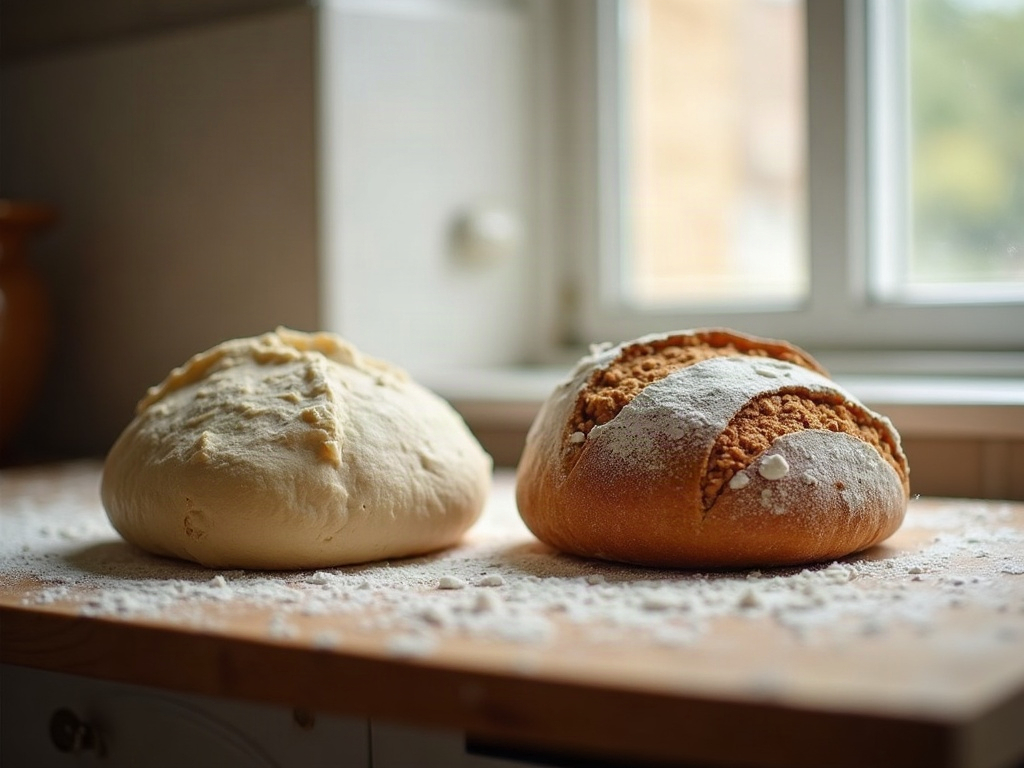
Most spreading loaves come from jumping straight to final shaping on a tired, sticky mass. The fix is a two-step approach, and the first step is the pre-shape. Once bulk fermentation is done, tip the dough out, and with a bench scraper and lightly floured hands, gently gather it into a loose round. You are not tightening hard here – just coaxing it into an organized ball with a bit of structure.
Then walk away for 20 to 30 minutes. This bench rest is not optional idle time; it lets the gluten relax so the dough becomes shapeable again instead of fighting you and tearing. A pre-shaped, rested round also has an organized structure that takes tension far better than a formless heap. Skip this step and even good final-shaping technique struggles.
The final shape: building the tension
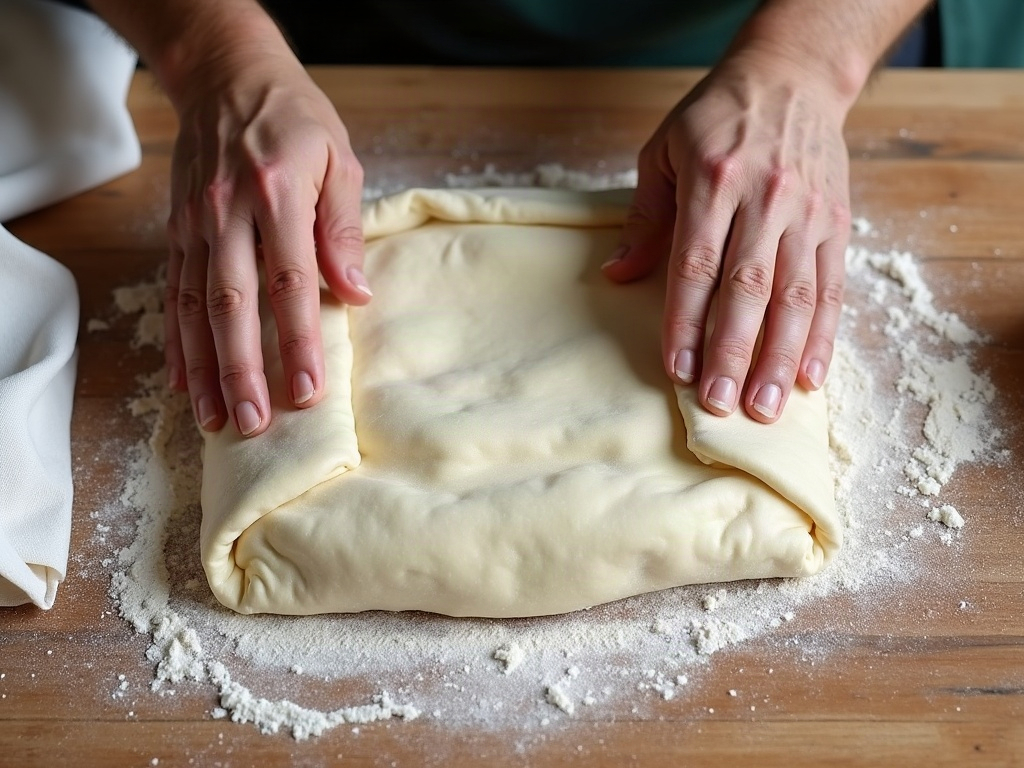
Now the part that actually builds the skin. Lightly flour the top of your rested round and flip it so the sticky underside faces up. Then:
- Fold it into a parcel. Stretch the bottom edge up and over to the center, then the two sides in, then roll the top down over everything – like wrapping a package. Each fold adds a layer of structure.
- Flip it seam-side down. Turn the parcel over so the smooth side is up and the seam is against the counter.
- Drag to tighten. Cup your hands around the far side of the dough and pull it toward you across a bare, unfloured patch of counter. The slight grip of the surface catches the bottom of the dough and stretches the top skin drum-tight. Rotate a quarter turn and drag again. Two or three passes is usually enough.
You will feel it change from a slack lump into a taut, smooth dome that holds its shape when you take your hands away. That resistance is the tension you were missing. Place it seam-side up in a floured banneton to proof.
The two ways shaping goes wrong
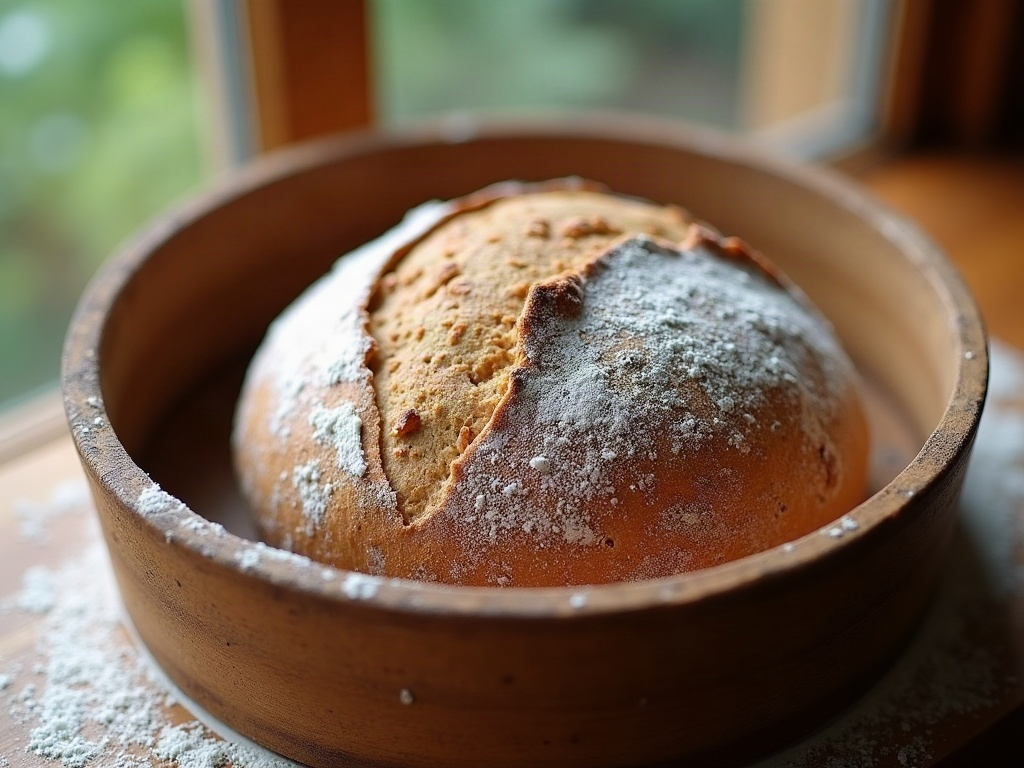
Too little tension is the classic flat-loaf cause: you were too gentle, or you floured the counter so heavily the dough just slid without gripping. If your shaped round slumps and loses its dome within a minute of shaping, it needs more tension – drag it a few more passes on a clean, unfloured section. That flour-free patch is the single most overlooked trick; dough cannot grip against a bed of flour.
Too much tension is the opposite mistake and just as real. Drag aggressively and you will tear the surface skin – it goes from smooth to ragged and sticky, and a torn skin holds gas about as well as a popped balloon. If you see the surface breaking, stop; you have gone past taut into torn. The target is drum-tight and smooth, not shredded. This is the same balance you are chasing when you check gluten with the windowpane test – developed and strong, not overworked.
When the dough just won’t hold a shape
Sometimes the technique is fine and the dough still refuses to tighten. Two usual suspects. First, overproofing: dough that has fermented too far loses its structure and goes slack and sticky, and no amount of shaping will rescue tension it no longer has. If your dough is billowy, gassy, and tears easily, review overproofed versus underproofed dough and pull your bulk ferment sooner next time.
Second, very high hydration. Wetter dough is inherently slacker and harder to tension – not impossible, just less forgiving. If you are wrestling an 80%-plus dough, either dial the water back while you build the skill, or lean on the specific handling tricks for sticky, high-hydration dough. Master tension at a friendlier 70% first, then push the water up.
Tension is the fix for the flat loaf
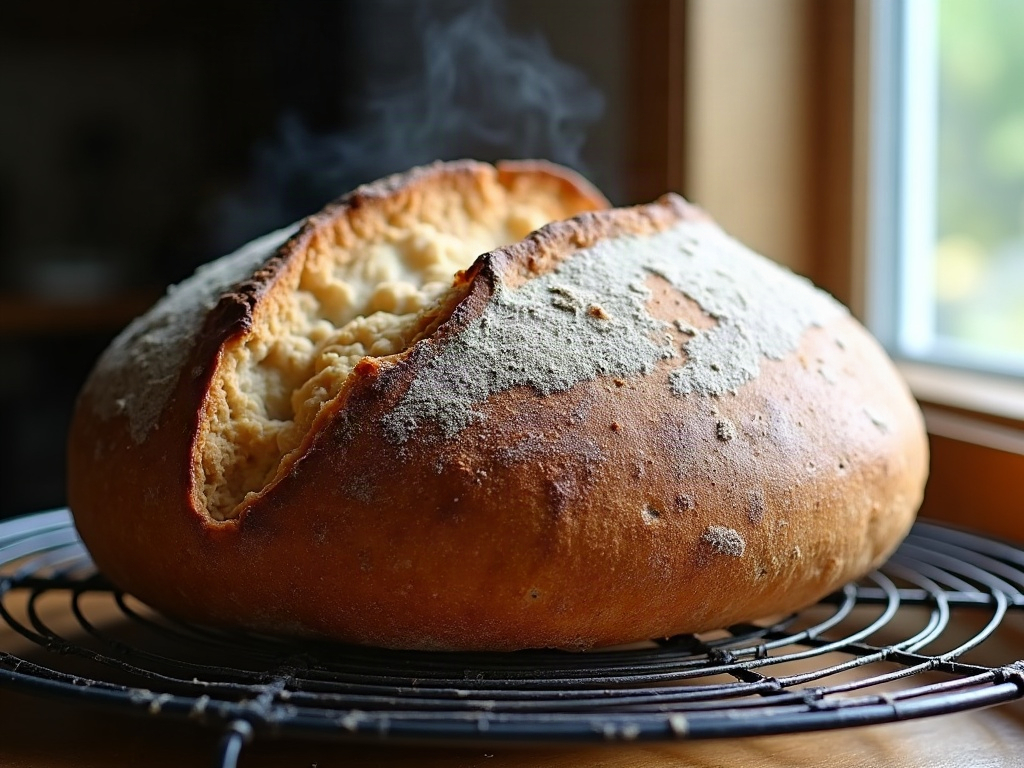
If your loaves keep spreading, resist the urge to change five variables at once. Nail shaping first, because it is the most common and most fixable cause of a flat bake. A pre-shape, a proper bench rest, and a final shape that leaves the dough drum-tight will, on their own, turn a spreading disc into a boule that rises up with real height and a clean, open ear. It is the same dough you have always made – you are just finally giving it a skin to push against.
Want to see the drag-and-tighten motion in real time? It is far easier to copy than to read – the full shaping walkthrough lives on the LoafLovers YouTube channel, and you can grab our free sourdough troubleshooting guide, including a shaping checklist, when you join the email list. No hard sell, just the fixes that work.