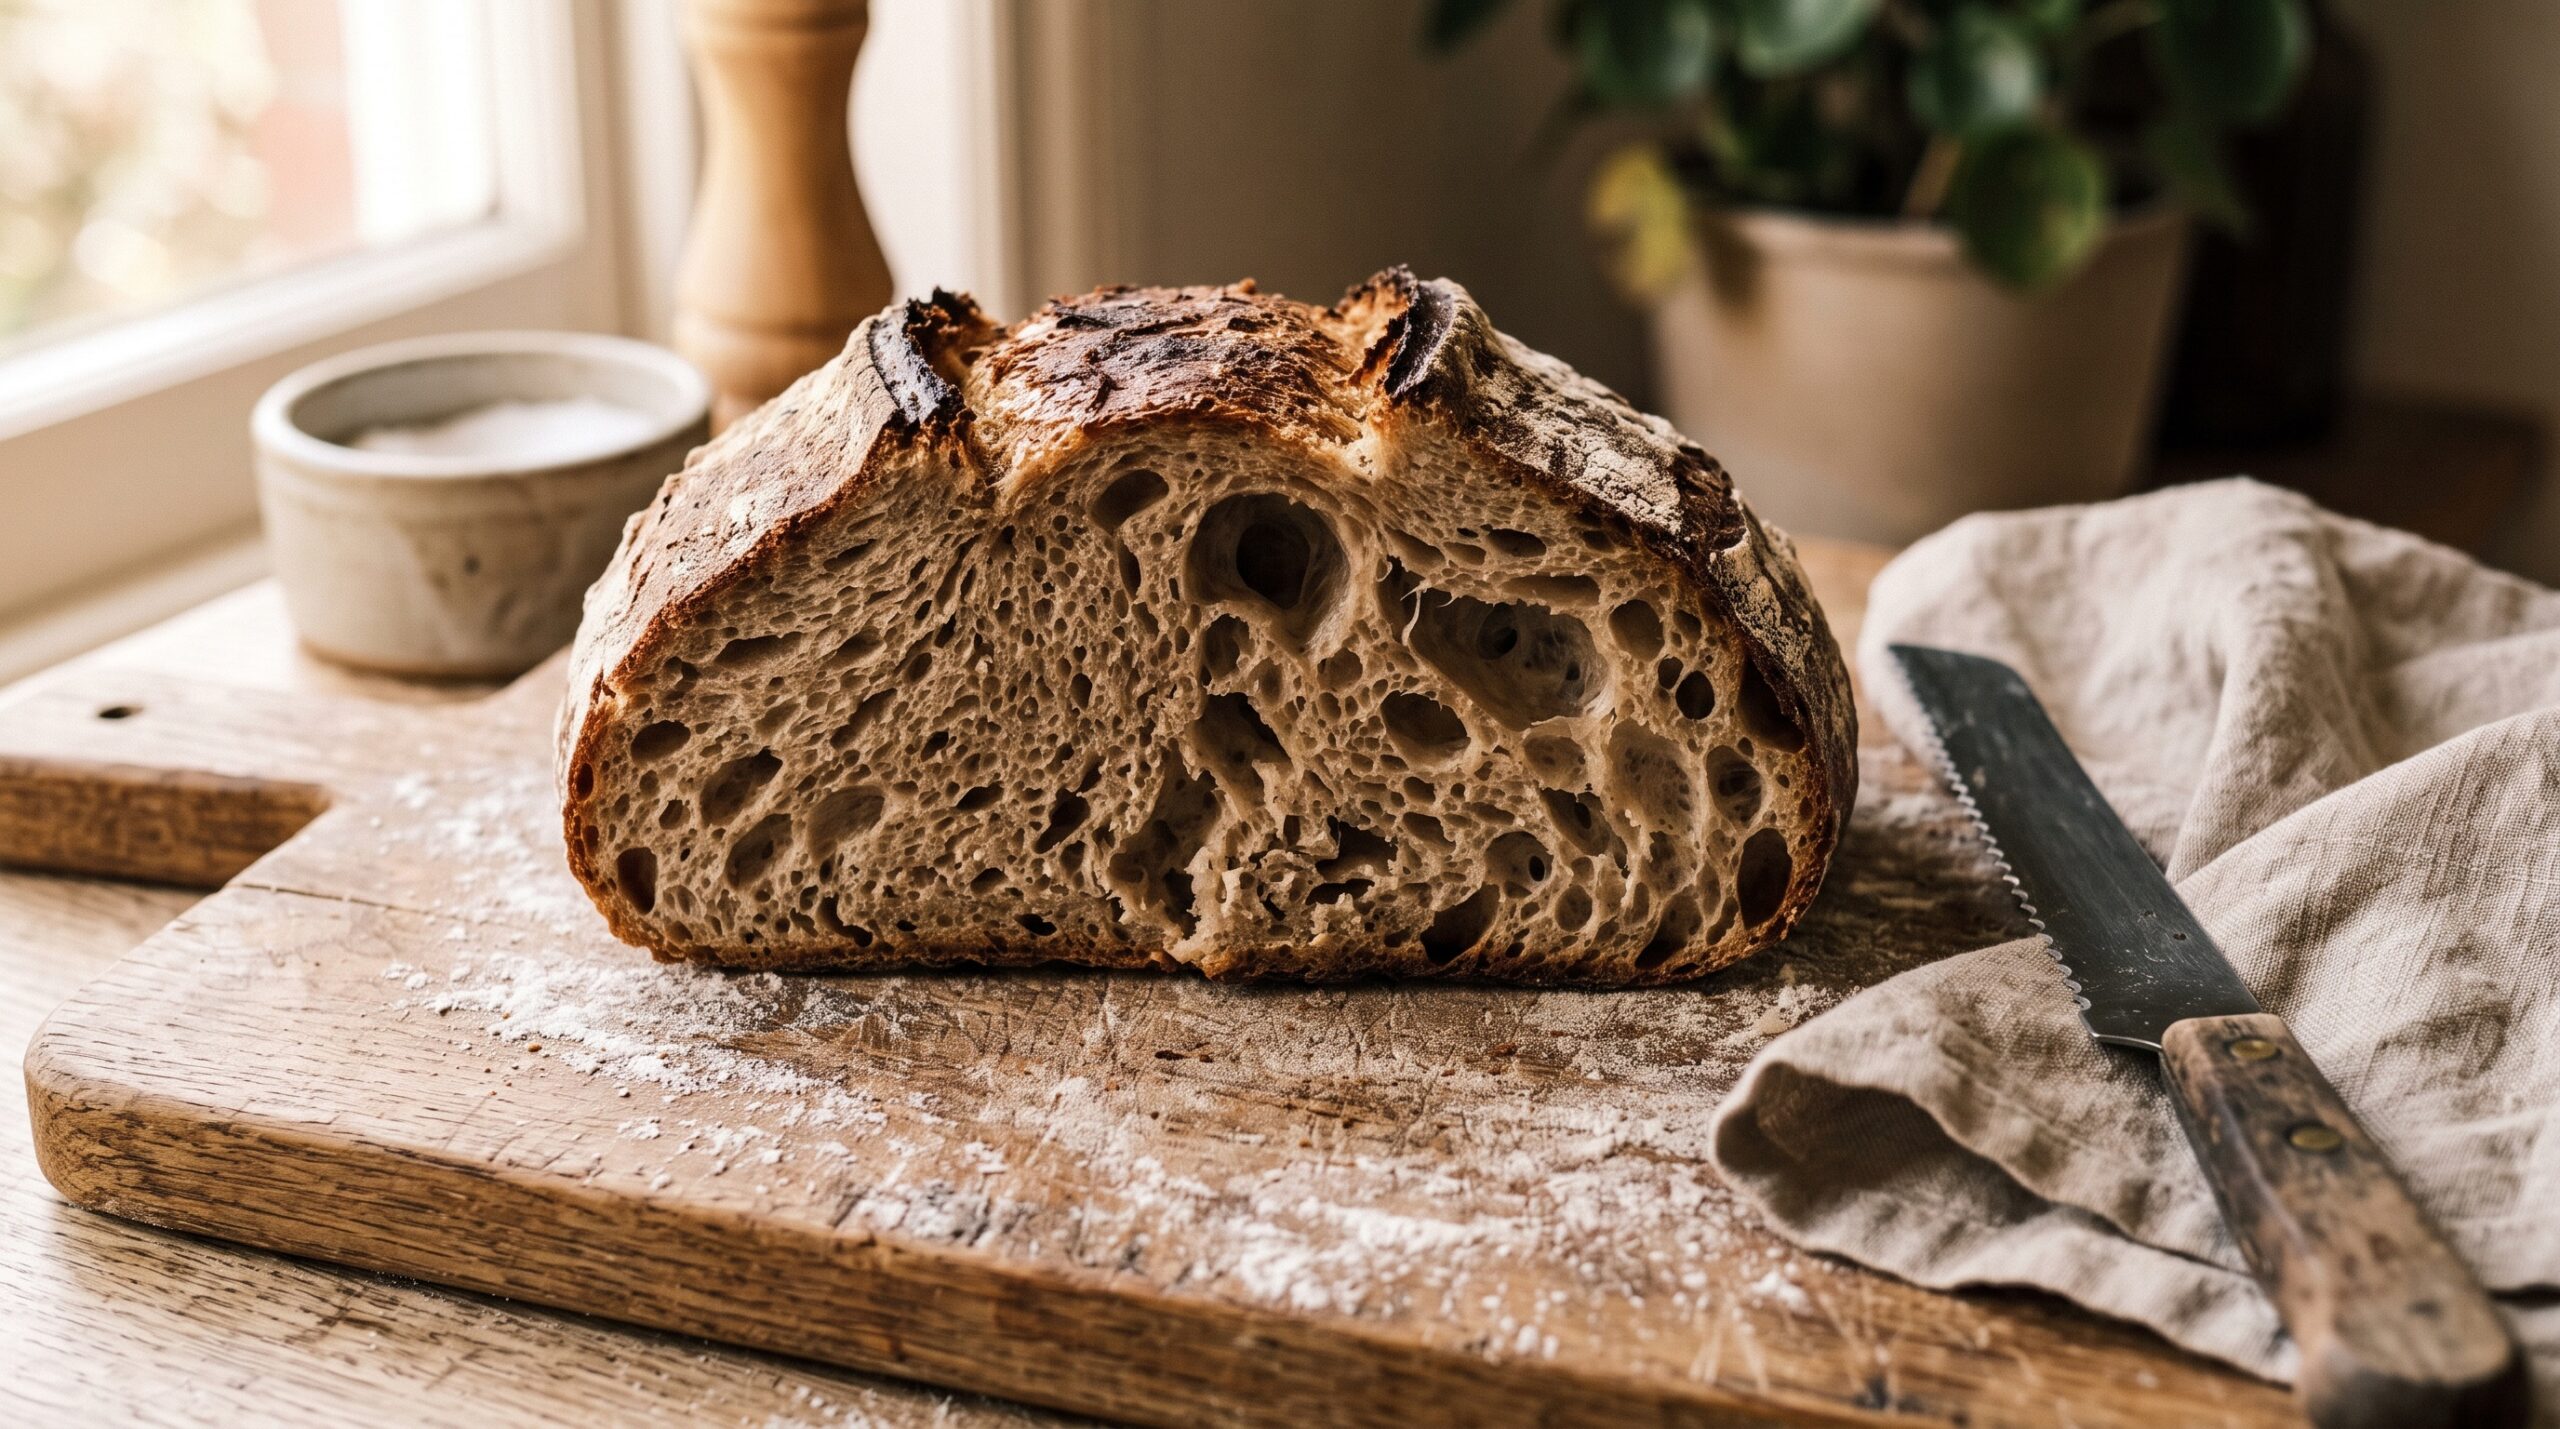
You wait for the loaf to cool, you line up the knife, and you cut. The first slice looks like two different breads glued together: one side riddled with big, gaping holes, the other packed tight and dense. It’s not bad exactly, but it’s not what you were going for, and it feels random — like you have no control over what happens inside the crust.
Here’s the reassuring part: an uneven crumb is almost never random. It’s a map of what happened to the gas inside your dough, and once you can read it, you can even it out. Let’s diagnose where those lopsided holes come from.
First, what an even crumb actually requires
A good crumb is really about one thing: gas distributed evenly through a dough with even strength. Fermentation produces carbon dioxide; a well-built gluten network traps it in lots of small-to-medium pockets spread throughout the loaf. When the crumb comes out uneven, it means the gas pooled in some places and got squeezed out of others — or the gluten was strong in one zone and weak in another. Nearly every cause below is a version of that imbalance.
Cause 1: Trapped giant bubbles from weak degassing
This is the number-one culprit behind a few enormous holes next to otherwise normal crumb. During bulk fermentation, big gas pockets form. The pre-shape and shape are your chance to gently pop and redistribute them. If you handle the dough too timidly — barely touching it, afraid to “knock out the air” — those giant bubbles survive, inflate further in the oven, and become caverns while the dough around them stays comparatively dense.
The fix: be a little more decisive at pre-shape. You’re not punching the dough down like old-school yeast bread, but a firm, even pre-shape that pops the biggest bubbles and builds a smooth skin evens out the gas. A good pre-shape and bench rest is one of the most underrated steps for a consistent crumb.
Cause 2: Uneven gluten development
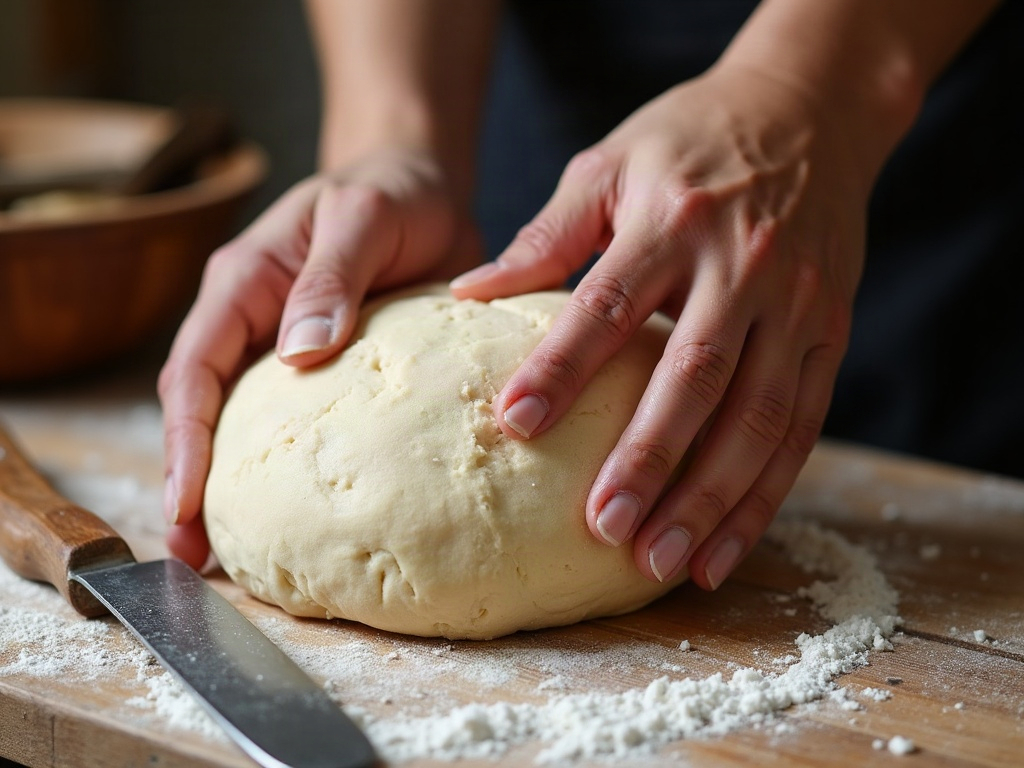
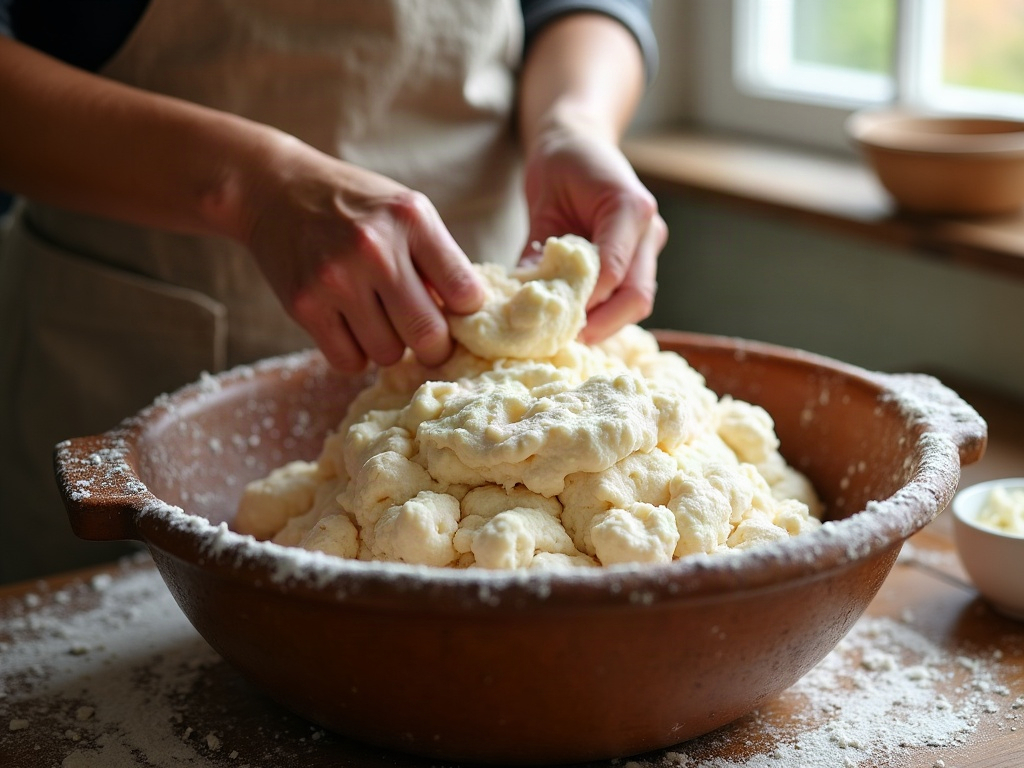
If your stretch-and-folds were rushed, uneven, or too few, parts of the dough end up stronger than others. The strong zones hold their structure and trap gas in a nice crumb; the weak zones either collapse into density or let gas tunnel through. The result is a loaf that looks like it had two different personalities.
The tell: the raw dough feels inconsistent — smooth and elastic in some places, slack and sticky in others. The fix: build strength more thoroughly and evenly during bulk. Several complete sets of stretch-and-folds (or coil folds), each one working the whole dough rather than just one corner, until it feels uniformly smooth and jiggly. If you’re not sure whether the gluten is there yet, the windowpane test will tell you in ten seconds.
Cause 3: A loose seam or poor shaping tension
When you shape the final loaf, you’re building an even skin of surface tension all the way around. If one area is tight and another is loose — a gaping seam, or a flap that didn’t seal — gas escapes or pools unevenly during the final proof and bake. Very often the dense zone sits right where the seam opened and the dough deflated, while the opposite side ballooned.
The fix: aim for consistent tension across the whole surface and make sure the seam is well sealed before the dough goes into the banneton. If your dough tends to rip or refuse to tighten evenly, our guides on shaping a boule with real tension and why dough tears during shaping walk through the hand movements that fix it.
Cause 4: Uneven proofing (one side warmer than the other)
Temperature matters more than people think. If your dough proofs against a warm wall, near the oven, or on one side of a cold fridge, one part ferments faster than the other. The warm side over-proofs and goes slack and dense; the cooler side under-proofs and stays tight. Same dough, two different fermentation states, one uneven crumb.
The fix: proof somewhere with stable, even temperature, and rotate the vessel once or twice if your fridge or counter has obvious hot and cold spots. Consistency in, consistency out.
Cause 5: Cutting too soon
A quick one, because it fakes the symptom. If you slice while the loaf is still warm, the not-yet-set crumb can tear and compress under the knife, collapsing in places and leaving others gummy — which reads as “uneven” even when the bake was fine. Let the loaf cool completely (a couple of hours for a standard boule) before you cut, so you’re judging the real crumb and not a knife artifact.
Reading your loaf like a diagnosis
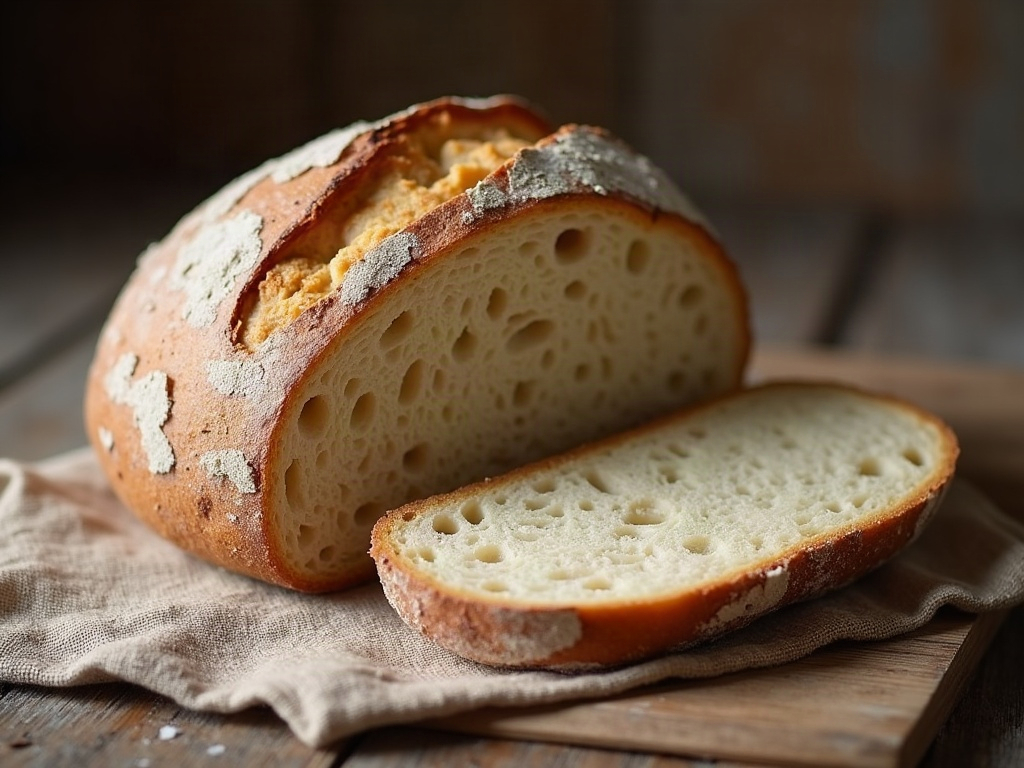
Next time you get a lopsided crumb, look at where the problem is. One or two giant holes with decent crumb elsewhere points at weak degassing (Cause 1). A whole dense zone opposite an open zone usually means uneven gluten or an uneven proof (Causes 2 and 4). A dense patch right at a blown-out seam is a shaping-tension issue (Cause 3). And gummy, compressed streaks that appear only after a warm cut are just impatience (Cause 5).
The thread running through all of it is evenness: even strength, even gas, even temperature, even shaping. Tighten up the one step your loaf is pointing at, and the crumb falls into line — open and consistent from edge to edge instead of a loaf of two halves.
Crumb reading is a skill that clicks fast once you see it in motion. If you want to watch the degassing-and-shaping technique that evens things out, the full walkthrough lives on the LoafLovers YouTube channel, and our free sourdough troubleshooting guide covers the rest of the crumb gremlins. You’re closer than that uneven slice makes it feel.