You’ve nailed the bulk ferment. The dough looks alive. You tip it onto the counter, start to shape it into a tight round — and the surface splits. It rips open, the skin tears, and instead of a smooth taut ball you’ve got a ragged mess that won’t hold its shape. Frustrating, especially when you were so close.
Good news: dough that tears during shaping is almost always pointing at one of a few specific causes. Once you can read which one is happening, the fix takes minutes. Let’s diagnose it.
First, understand what shaping actually does
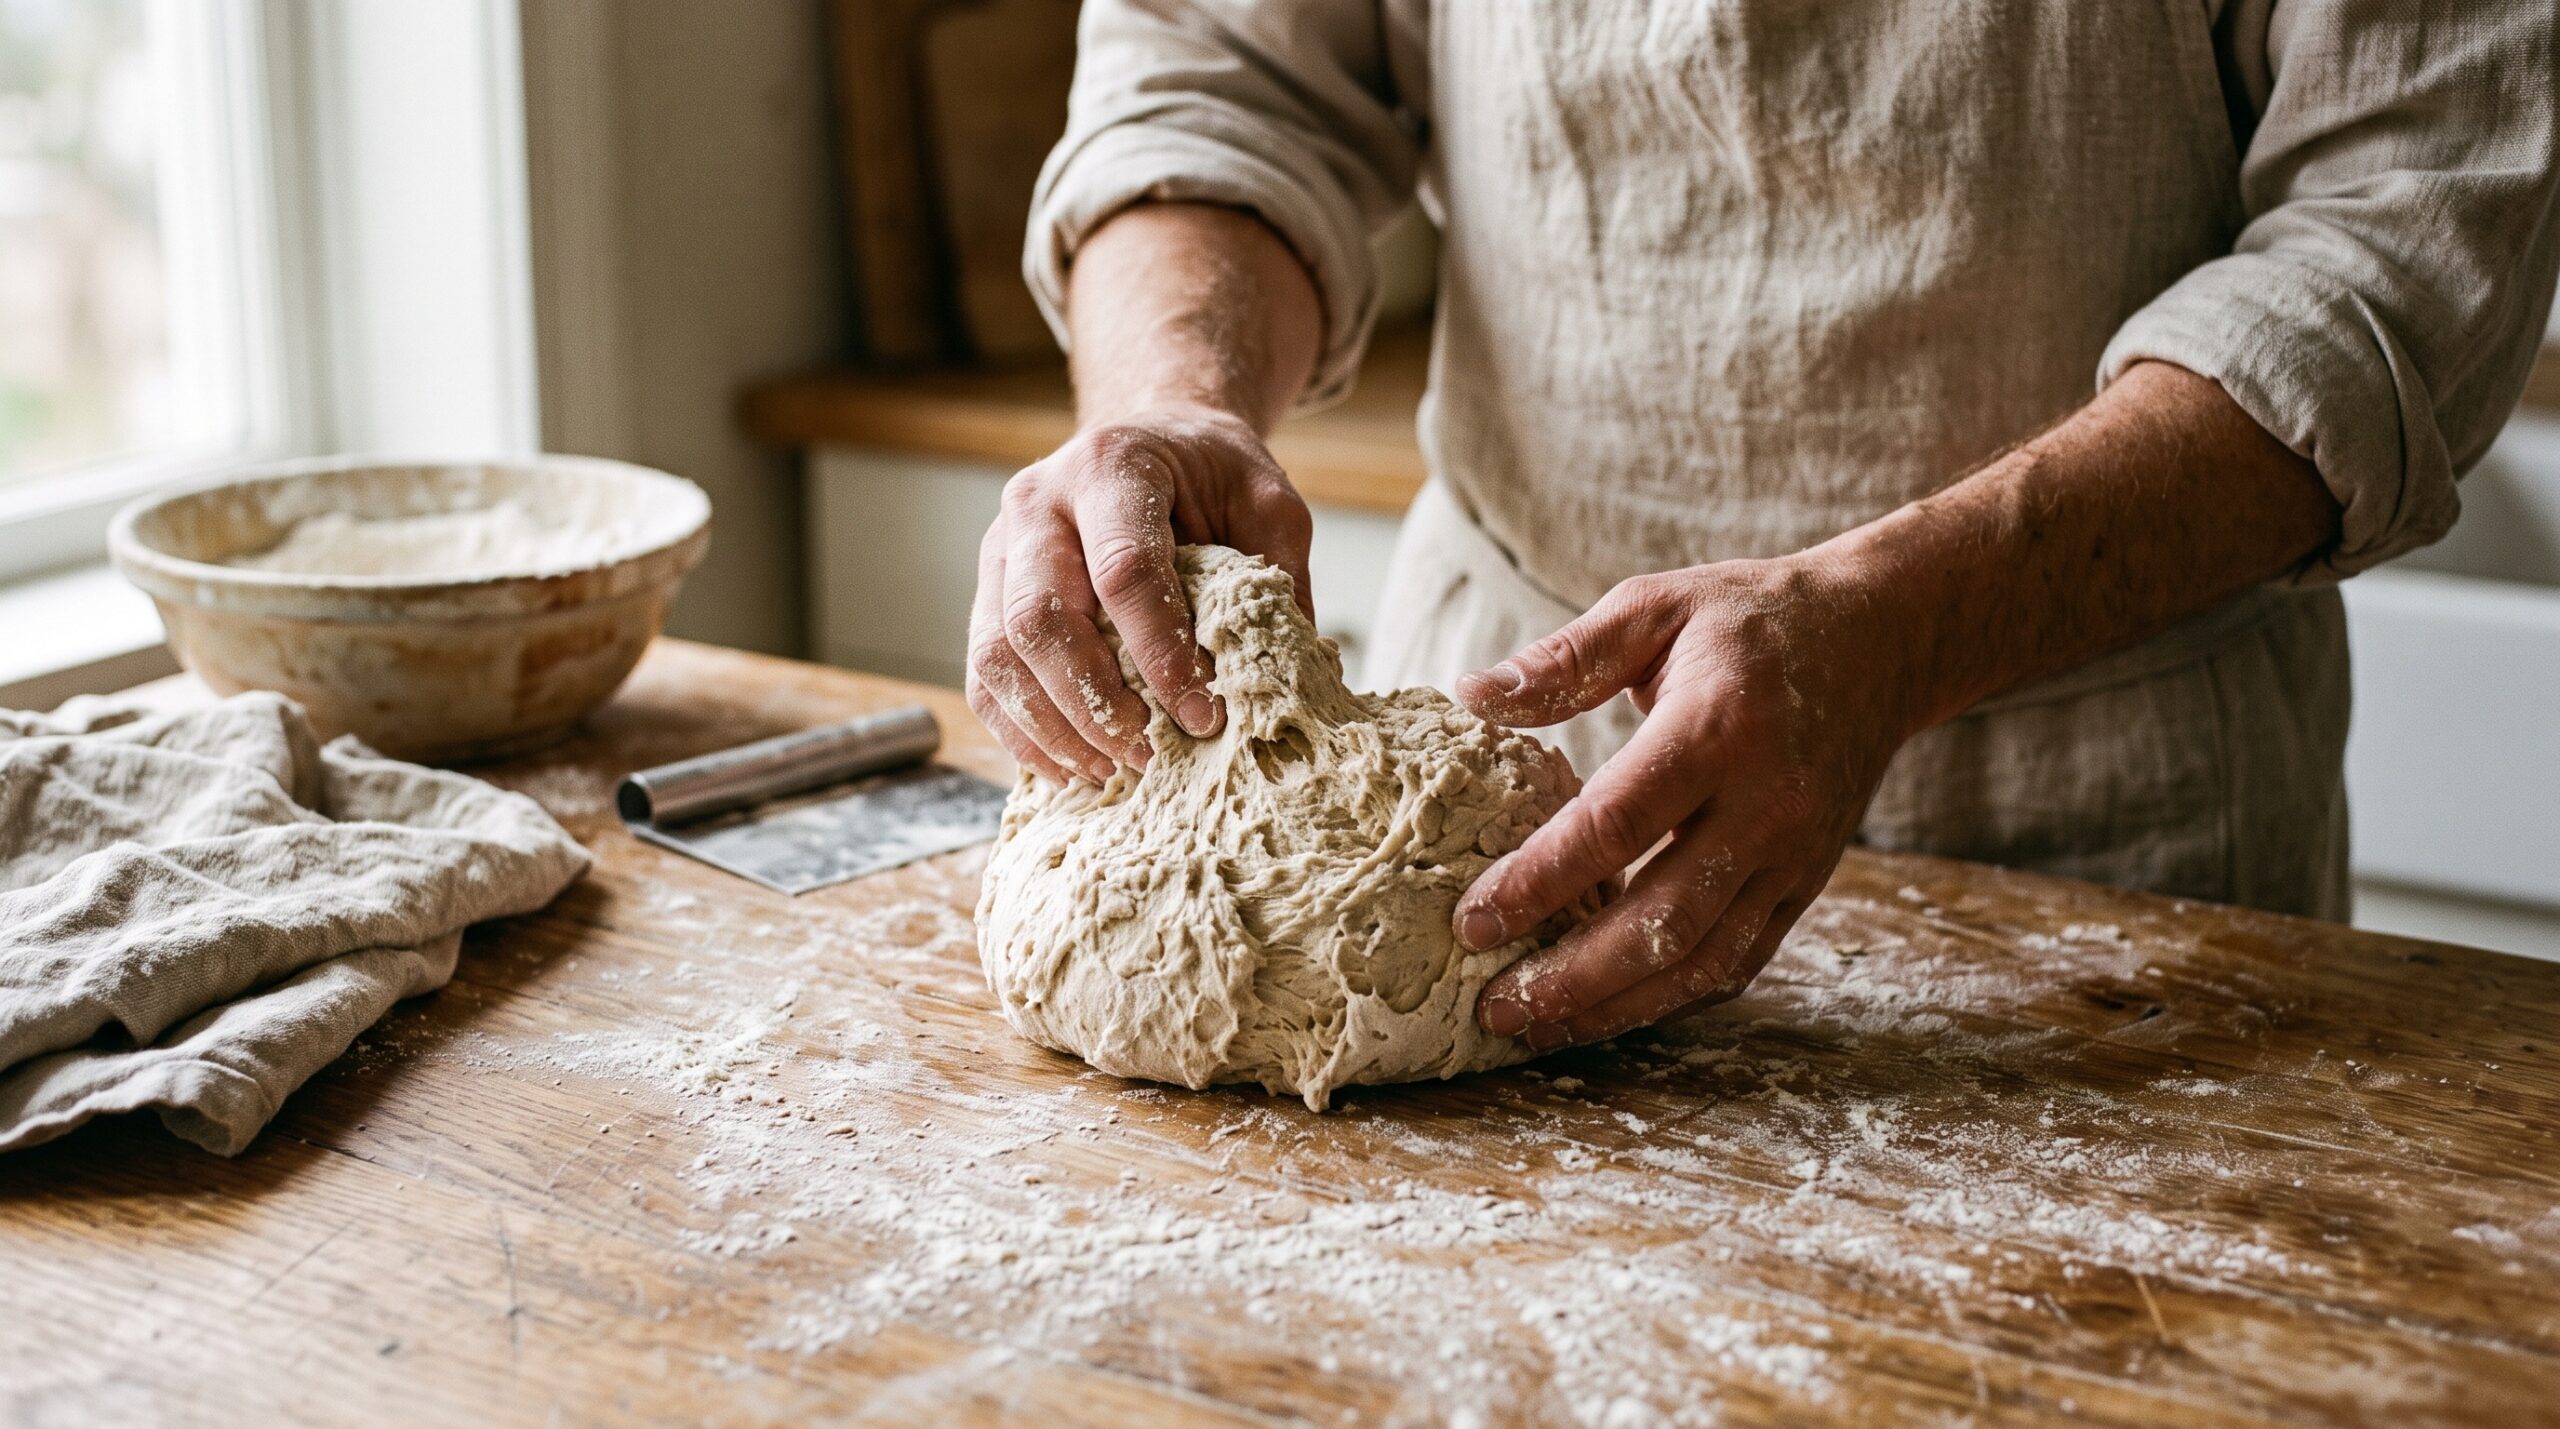
When you shape, you’re not just making a ball — you’re building a taut outer skin by creating surface tension. The gluten network on the surface stretches and tightens, and that skin is what holds your loaf up and gives you oven spring. For that skin to stretch smoothly, the gluten has to be both strong enough and relaxed enough. When it tears, one of those two things is off.
Cause 1: The gluten is under-developed
This is the most common reason, especially for newer bakers. If your dough didn’t get enough strength built during mixing and bulk — too few stretch-and-folds, or a bulk that was cut short — the gluten network is weak and patchy. A weak network can’t stretch under tension; it just gives way and rips.
The tell: the dough feels slack, sticky, and shaggy, and it tears easily even with gentle handling. The fix: next bake, build more strength during bulk — a few sets of stretch-and-folds or coil folds spaced through the first couple of hours — until the dough feels smooth, elastic, and jiggly rather than loose and soupy.
Cause 2: The dough is over-proofed
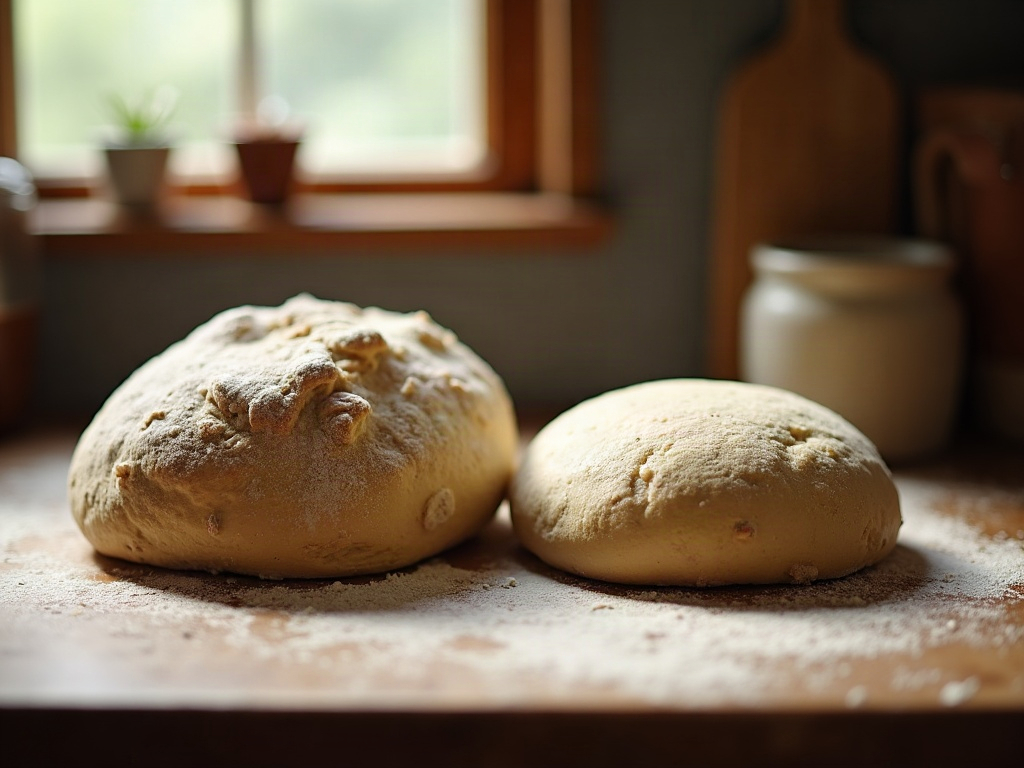
At the opposite end, a dough that has fermented too far will also tear. Over-proofed dough has had its gluten structure eaten away by acids and gas; it goes slack, loses its elasticity, and feels delicate and gassy. When you try to build tension, the exhausted structure simply falls apart.
The tell: the dough is extremely soft, full of large bubbles, spreads out fast, and has a sharp, boozy smell. The fix: shorten your bulk ferment or do it somewhere cooler. You want to shape while the dough still has life and spring left in it, not after it has peaked and started to collapse.
Cause 3: You skipped the bench rest
Here’s one that trips up even experienced bakers. Right after the pre-shape, the gluten is tight and tense. If you dive straight into the final shape, the dough fights you — it resists stretching and tears under the tension because it hasn’t relaxed yet.
The tell: the dough feels springy and rubbery and snaps back the instant you try to shape it, tearing at the surface. The fix: give it a proper bench rest after pre-shaping — usually 20 to 30 minutes, uncovered or lightly covered. The gluten relaxes, and the final shape goes on smoothly without a fight.
Cause 4: A dry or over-floured surface
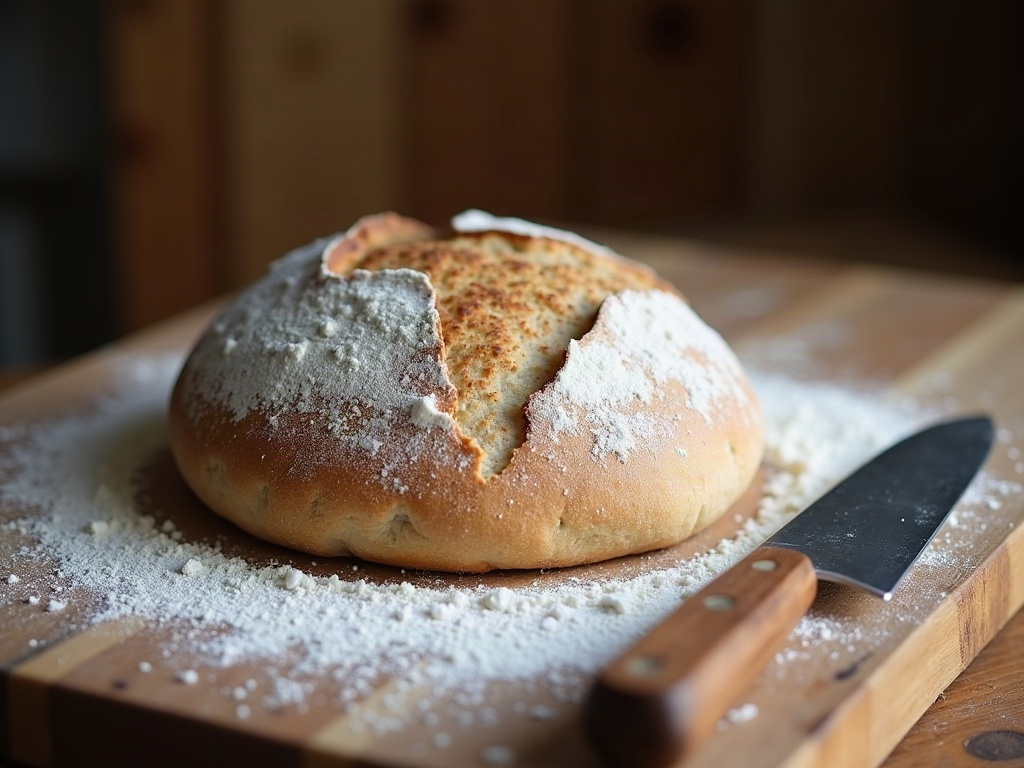
Sometimes the tearing is purely mechanical. If the top of your dough has dried out and formed a skin — from sitting uncovered too long — that dry film can’t stretch with the rest of the dough and cracks. Too much flour on the counter does something similar: it gets trapped in the seam and keeps the dough from gripping the surface, so it slides and tears instead of rolling up tight.
The fix: keep the dough covered when it’s resting so the surface stays supple, and use flour sparingly during shaping. You actually want a little stick to the counter — that grip is what lets you build tension. A bone-dry, heavily floured bench gives you nothing to work against.
Cause 5: Your hands or technique are too aggressive
Finally, shaping is a confidence game but not a wrestling match. Yanking the dough hard, over-tightening, or dragging it roughly across the bench can rip a surface that would have stretched fine with a gentler touch. Use smooth, decisive movements, let the counter’s grip do the work, and stop tightening the moment the surface is taut. Chasing an extra-drum-tight ball is how you blow right through the skin.
Putting it together
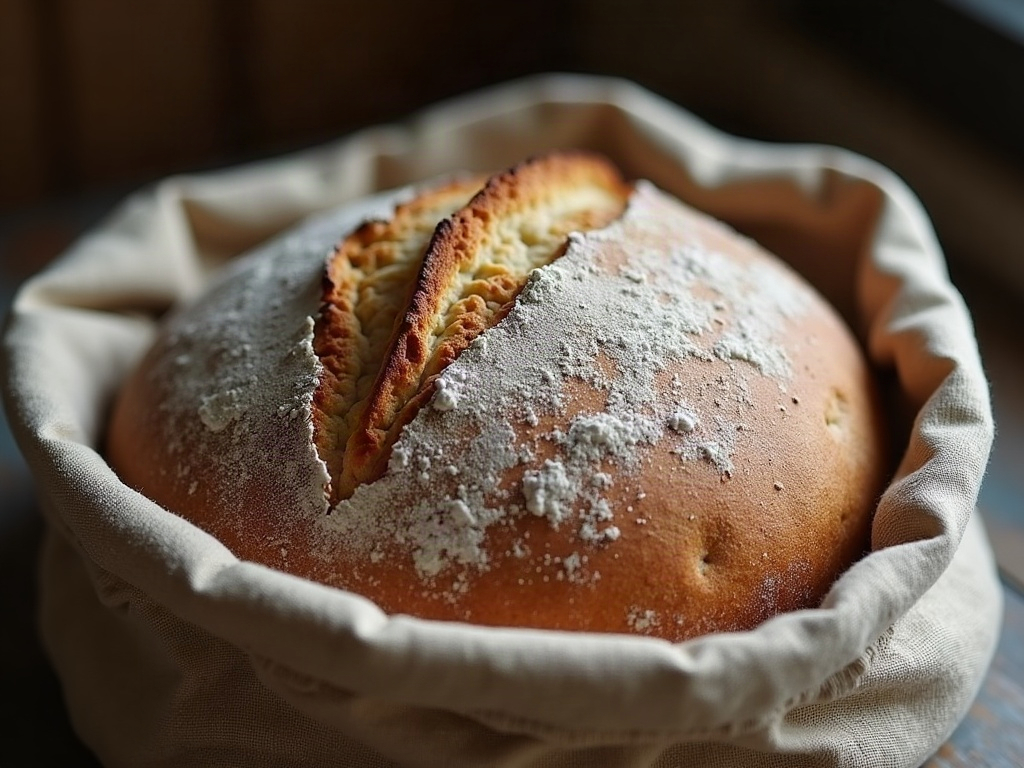
Run through the list in order the next time your dough tears. Is it slack and weak (build more strength)? Blown out and boozy (less proof)? Springy and fighting back (longer bench rest)? Dry-skinned or over-floured (cover it, ease off the flour)? Or just handled too roughly (lighten up)? Nine times out of ten it’s one of these — and none of them take more than a tweak to fix.
Shaping is one of those sourdough steps that really clicks once you can see it happening. If you want to watch the clean-tension technique in motion, the full walkthrough lives on the LoafLovers YouTube channel, and our free sourdough troubleshooting guide covers the rest of the shaping gremlins. You’ve done the hard part already — don’t let the last step rip your loaf apart.