You had it figured out. The recipe, the schedule, the way the dough felt under your hands, all of it dialed in after months of practice. Then you moved, or started baking at the cabin, and the very same loaf came out wrong. Flatter. Drier. Overblown and then collapsed. Nothing in your routine changed except one thing: your elevation.
If your sourdough suddenly misbehaves after a move up the mountain, you are not losing your touch. Altitude genuinely changes the physics of your dough, and once you understand what shifted, the fixes are simple and consistent. Let’s walk through what altitude actually does, from the cause you’ll feel first to the ones hiding in the background, and exactly how to adjust.
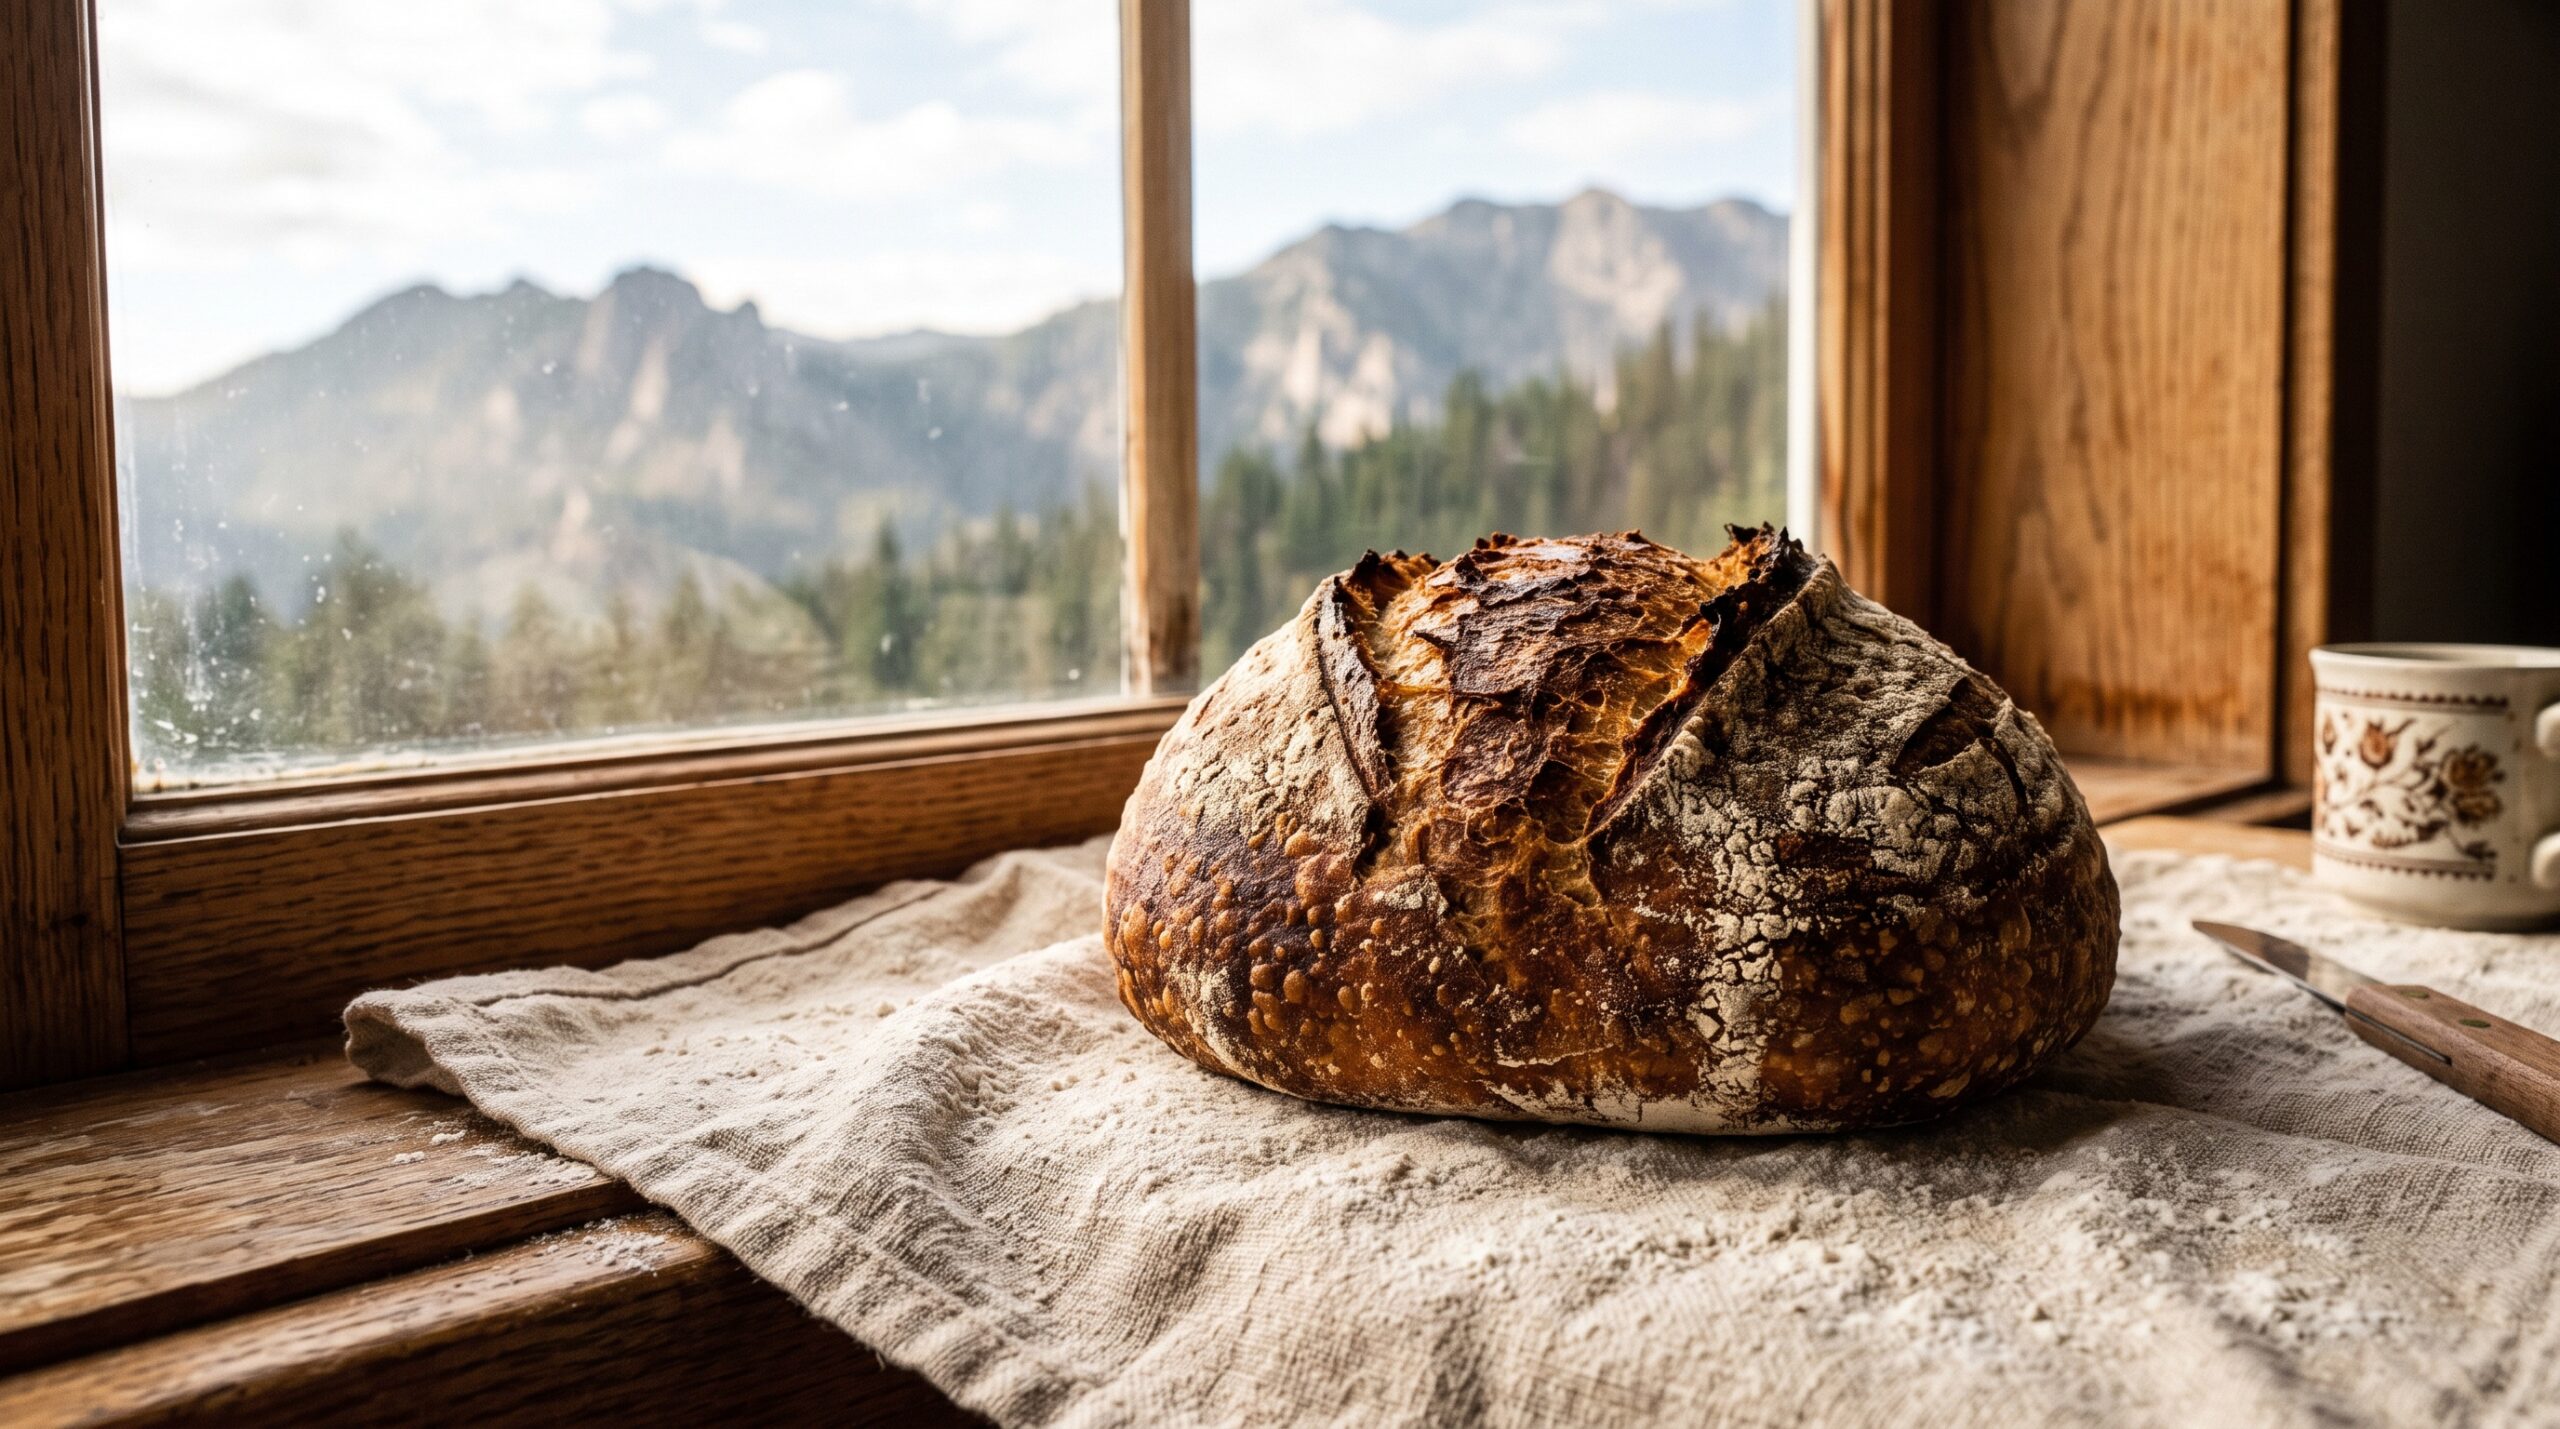
What high altitude actually changes
Three things shift as you climb, and they all trace back to one fact: the higher you go, the lower the air pressure.
First, lower pressure means gases expand more freely. The carbon dioxide your starter produces pushes against less resistance, so dough rises faster and further. Second, the air is usually much drier at elevation, so your dough and its surface lose moisture more quickly than they did at sea level. Third, water boils at a lower temperature, which subtly changes how heat and steam behave in your oven. Most home bakers feel these effects strongly starting around 3,000 feet, and they get more pronounced the higher you go. Let’s take them in the order they’ll bite you.
Cause one: everything ferments faster, so you overproof without noticing
This is the big one, and it’s almost always the first thing to go wrong. With less air pressure holding the dough back, fermentation gas expands more and your loaf races through bulk fermentation and the final proof. The schedule that gave you a perfect loaf at sea level now carries the dough right past its peak.
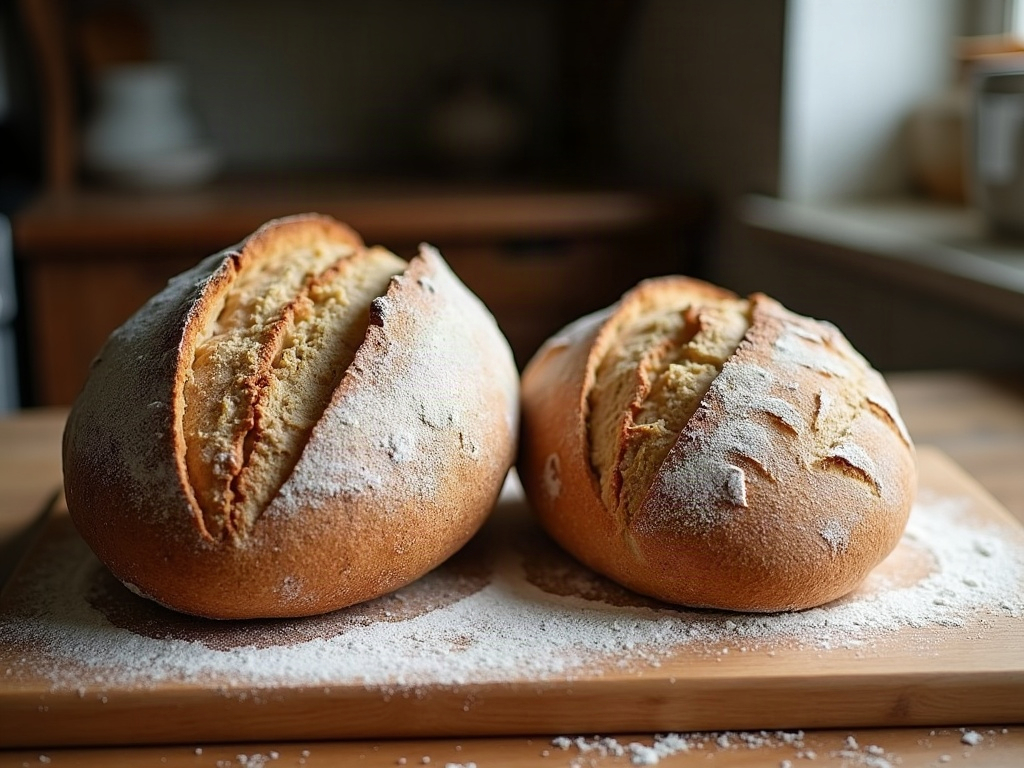
An overproofed loaf spreads instead of rising, tears raggedly, bakes dense and gummy, and loses its oven spring. If that sounds like your new altitude loaf, this is your culprit. The fix is to stop trusting the clock and start trusting the dough. Watch for the real signs that bulk fermentation is done, a 30 to 50 percent rise, a domed and jiggly surface, a few bubbles at the edges, rather than a set number of hours. You will likely find the dough is ready noticeably sooner than your old routine said.
You can also slow the whole process down to give yourself margin: use a little less starter in the dough, keep your fermentation space a touch cooler, or lean harder on a cold retard in the fridge. If you are still unsure which way your loaf failed, our guide to telling overproofed from underproofed sourdough will help you read the signs before you commit to a change.
Cause two: the dry air stiffens your dough
At elevation the air is thirsty. It pulls moisture out of your dough during mixing, folding, and shaping, and it dries the surface skin faster than you’re used to. The result is a dough that feels tighter and stiffer than the same recipe did at sea level, which can hold back the open, airy crumb you want and make shaping fight you.

The fix is usually a small bump in hydration. Try adding an extra two to four percent water to your recipe (for a loaf using 500 grams of flour, that’s roughly 10 to 20 grams more water) and see how the dough responds. Add it gradually; you want the dough supple, not soup. If the new wetter dough feels unmanageable at first, our tips for handling sticky, high-hydration dough will keep it from turning into a mess on the counter. Keeping your dough covered between steps matters more than ever up high, so the surface doesn’t dry into a tight skin that resists rising.
Cause three: wild oven spring, then a flat or collapsed loaf

Altitude can give you dramatic early oven spring, the dough leaps, because the gases inside expand so eagerly in the heat. That sounds great until the structure, already stretched thin by fast fermentation, can’t hold the expansion and the loaf collapses or spreads into a disc. A loaf that balloons and then falls, or simply bakes flat and wide, is telling you the gluten network gave out under pressure it wasn’t built to handle.
The answer is stronger structure and a slightly earlier bake. Build good tension when you shape, since a well-shaped, taut boule resists spreading far better than a slack one; if your loaves keep flattening, revisit how to fix a sourdough that spreads instead of rising tall. And because fermentation runs fast, aim to bake when the dough is a touch underproofed rather than perfectly proofed by sea-level standards. That extra reserve of strength gives the loaf something to push against in the oven instead of blowing out and deflating.
Cause four: the oven itself behaves differently
This one is subtle but worth knowing. Because water boils at a lower temperature at altitude, steam forms more readily and moisture escapes your loaf a little faster during the bake. In practice, two small adjustments help. Keep your Dutch oven covered or your steam in place for the full first phase so the crust stays flexible long enough to spring, then uncover and finish with a good dry, hot stretch to drive out the extra moisture and set a crust that lasts.
You generally do not need to crank the oven hotter; if anything, a very high elevation loaf can benefit from a slightly lower temperature and a minute or two longer, so the inside finishes before the crust over-darkens. Bake to a deep golden-brown and, if you use a thermometer, to an internal temperature around 205 to 210 degrees Fahrenheit (96 to 99 Celsius), regardless of what the clock says.
Your high-altitude adjustment cheat sheet
Pulling it together, here is where to start when you bring a sea-level recipe up the mountain. Change one or two things at a time so you can see what’s working:
Use a little less starter, or ferment a touch cooler, to slow things down. Judge bulk by the dough’s rise and feel, not the clock, and expect it to finish earlier than before. Add a small amount of extra water to counter the dry air, and keep the dough covered at every rest. Shape with real tension and bake slightly on the underproofed side to protect your oven spring. Keep it covered or steamed through the first phase, then finish dry and hot, baking to color and internal temperature rather than time.

Putting it all together
A sourdough loaf that changed the day you changed elevation is not a broken recipe or a lost skill. The thin, dry mountain air simply speeds your fermentation, stiffens your dough, and super-charges your oven spring, so the schedule and hydration that were perfect lower down now need a nudge. Slow the ferment, read the dough instead of the clock, add a little water, build strong structure, and bake to color. Give it two or three bakes of small tweaks and your old loaf, the tall, open, crackling one, comes right back, thin air and all.
Want to watch these adjustments in real time, from reading a fast bulk ferment to shaping for spring? The full walkthrough lives on the LoafLovers YouTube channel, and our free sourdough troubleshooting guide covers overproofing, flat loaves, and dry dough in the same symptom-to-fix format. Your mountain kitchen isn’t working against you. It just needs a slightly different conversation with the same good dough.