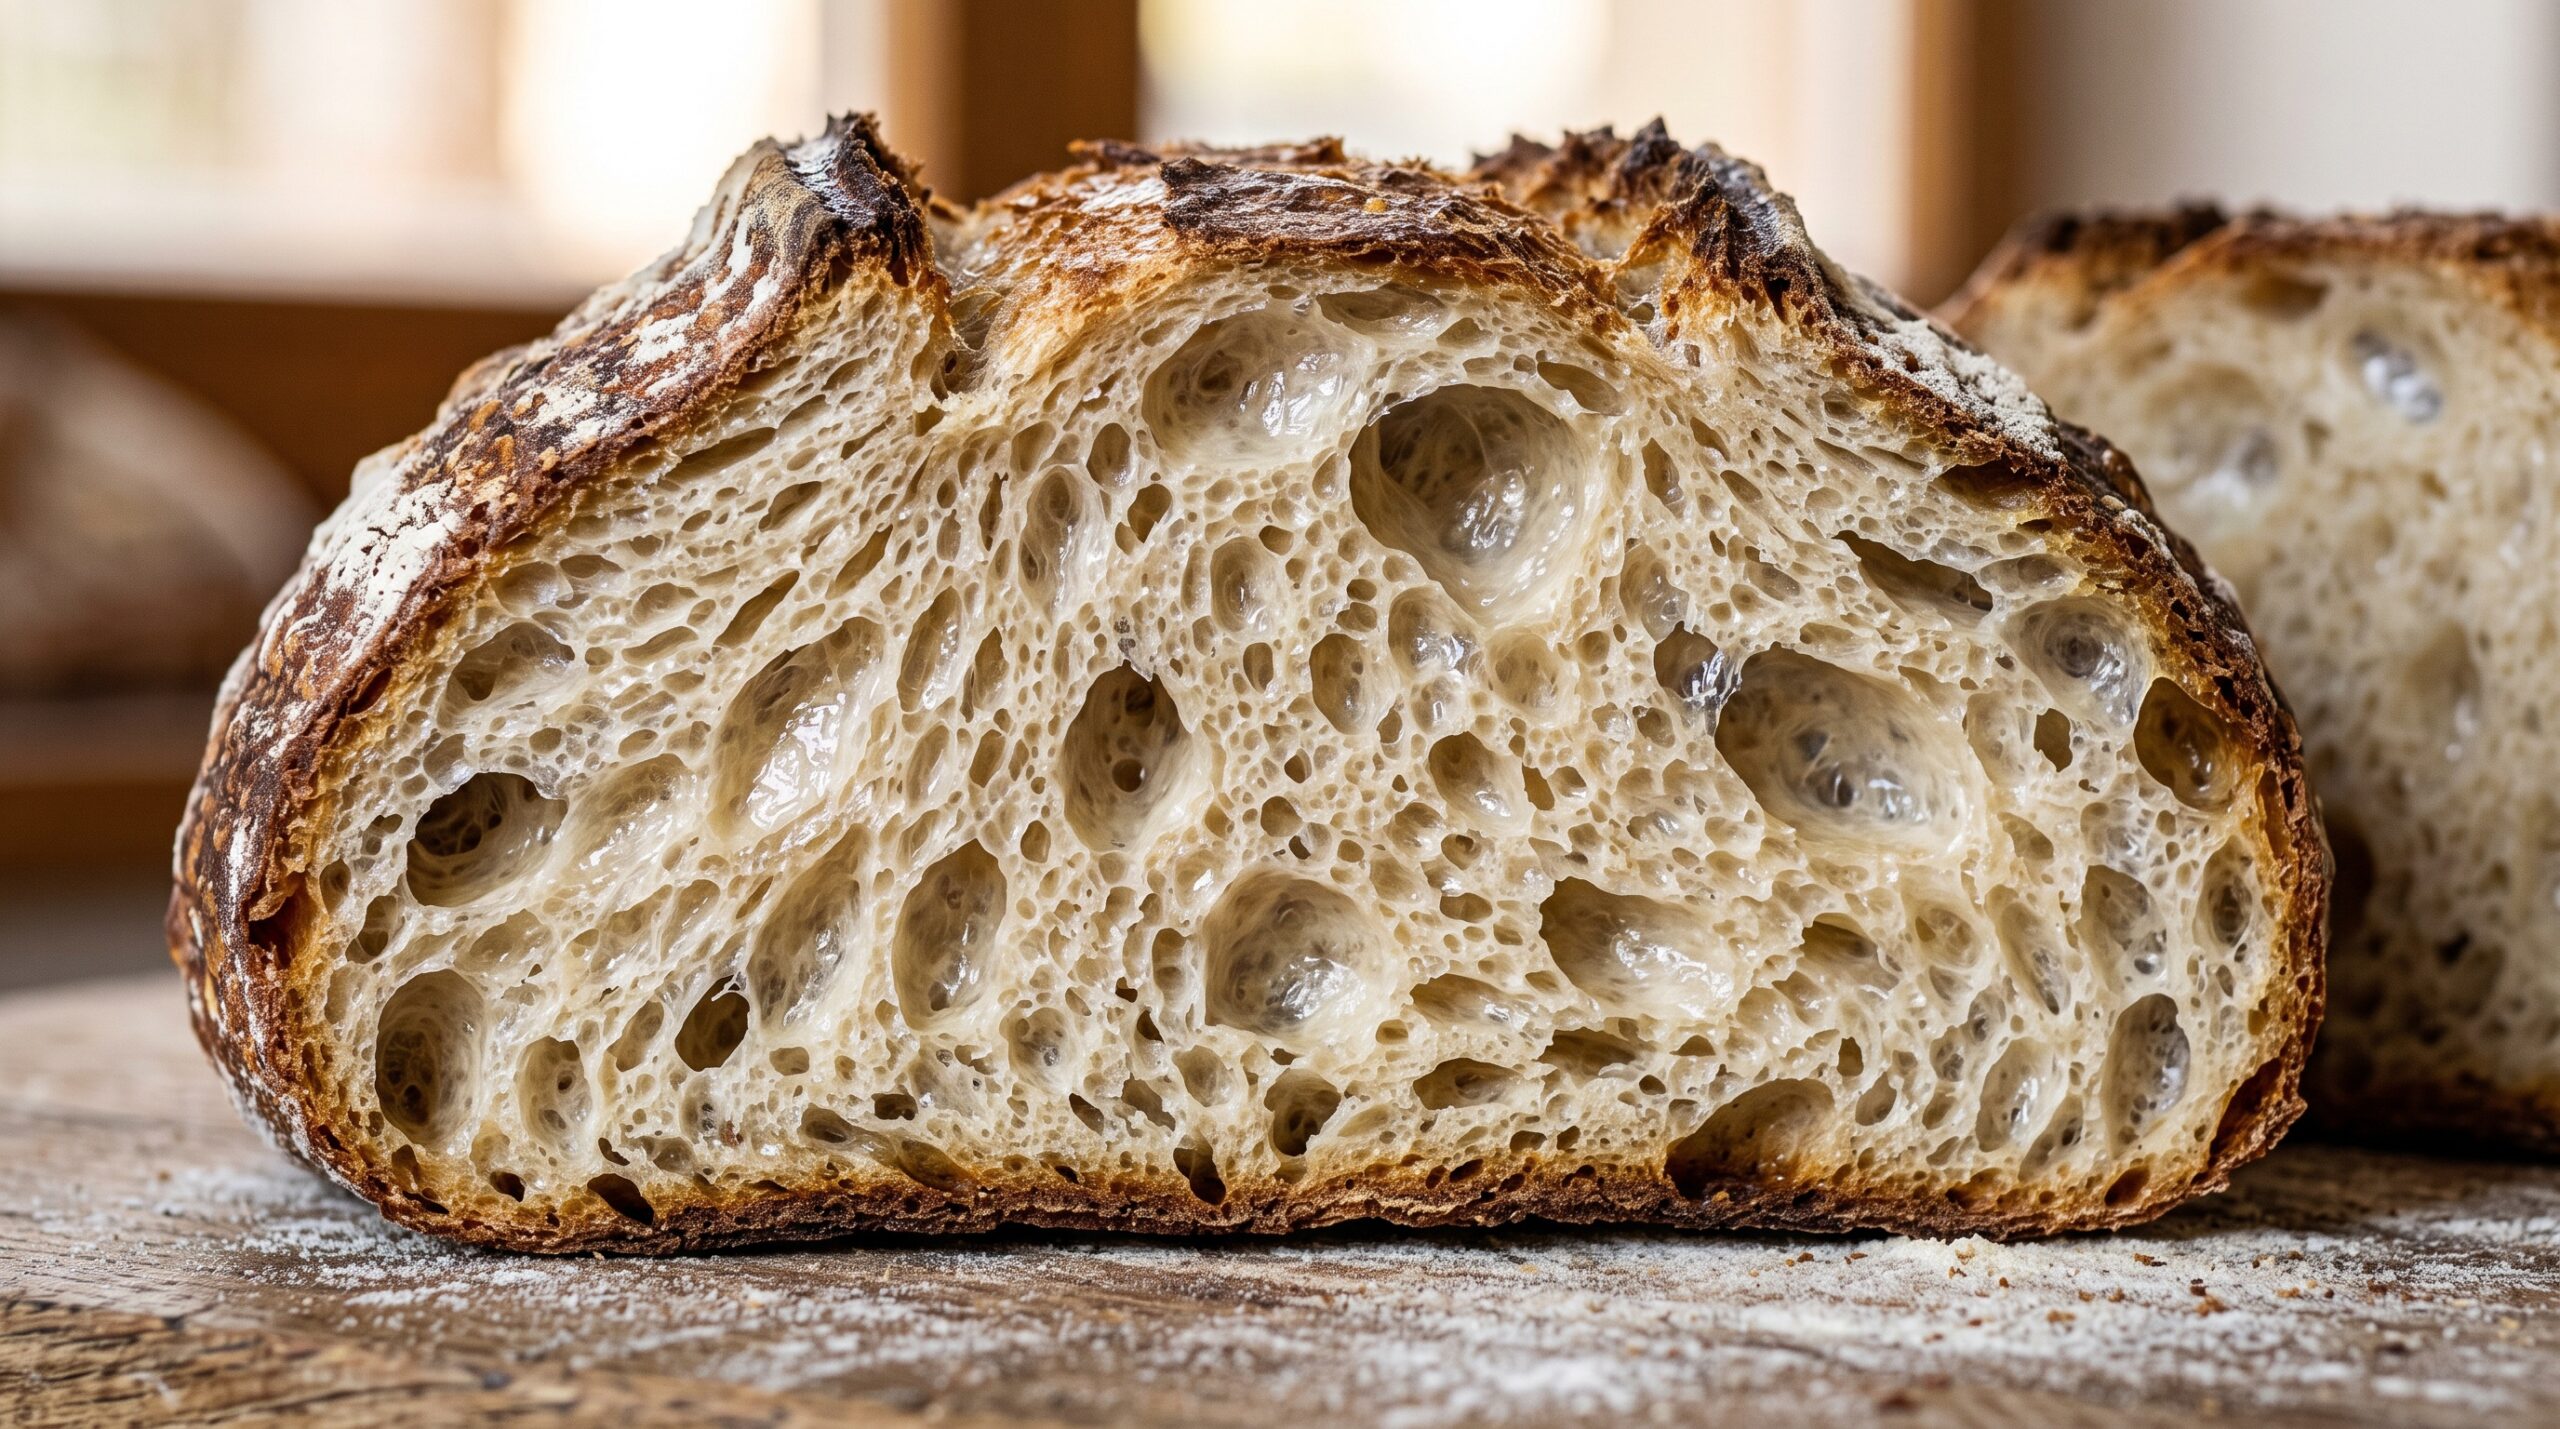
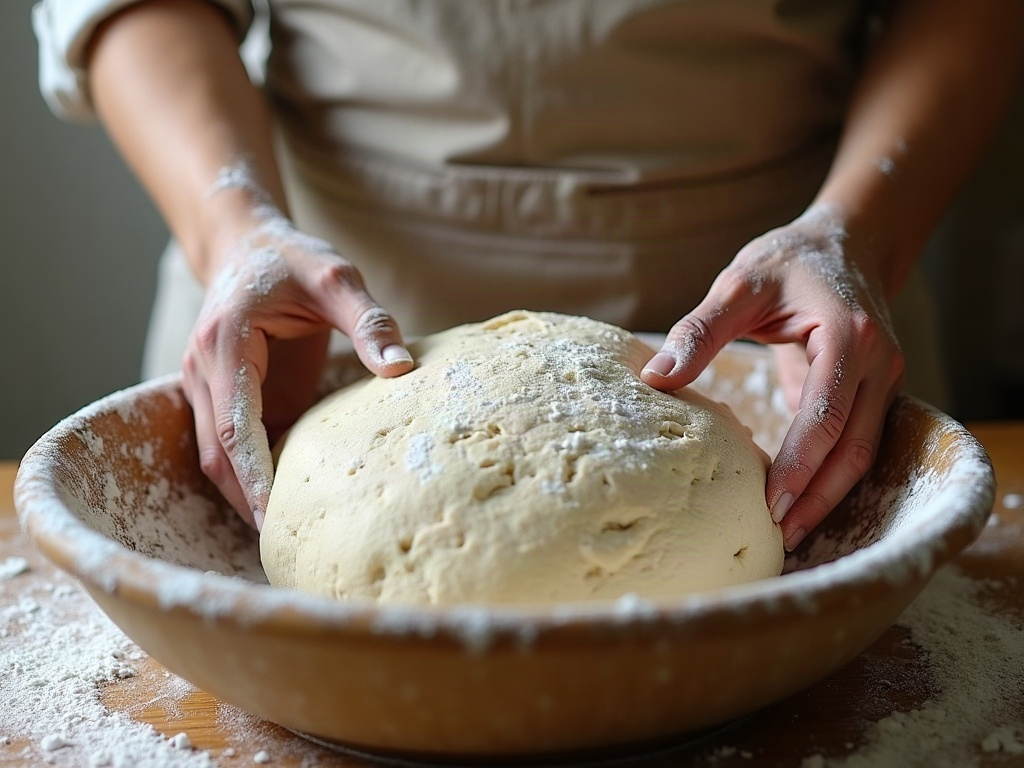
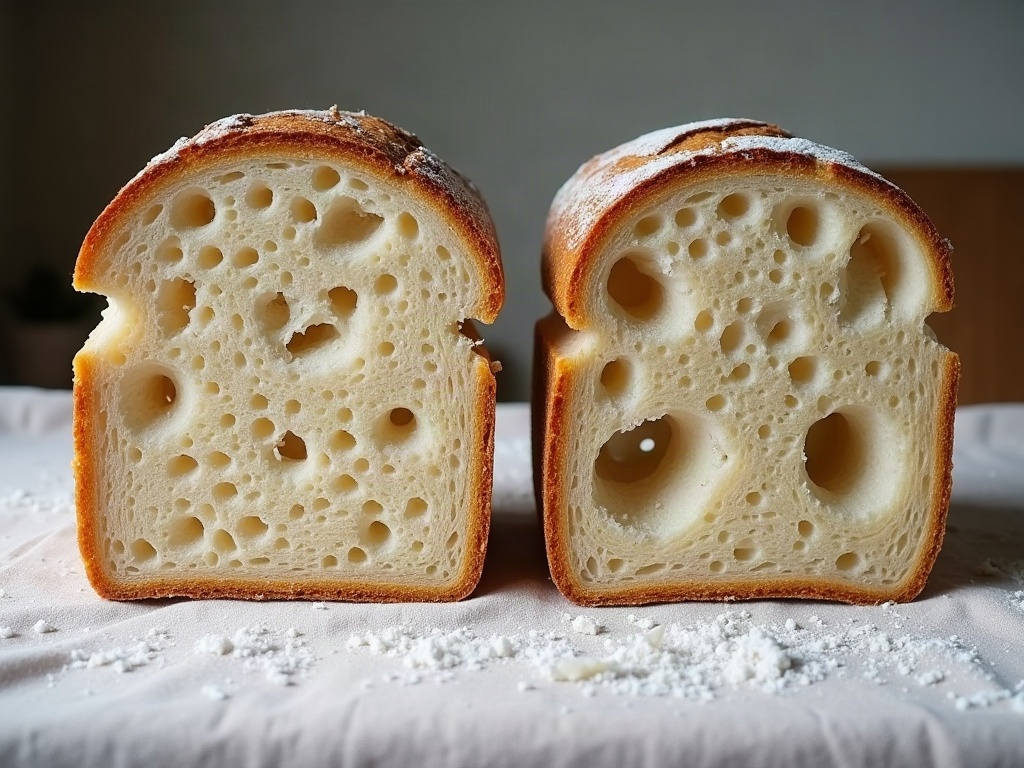
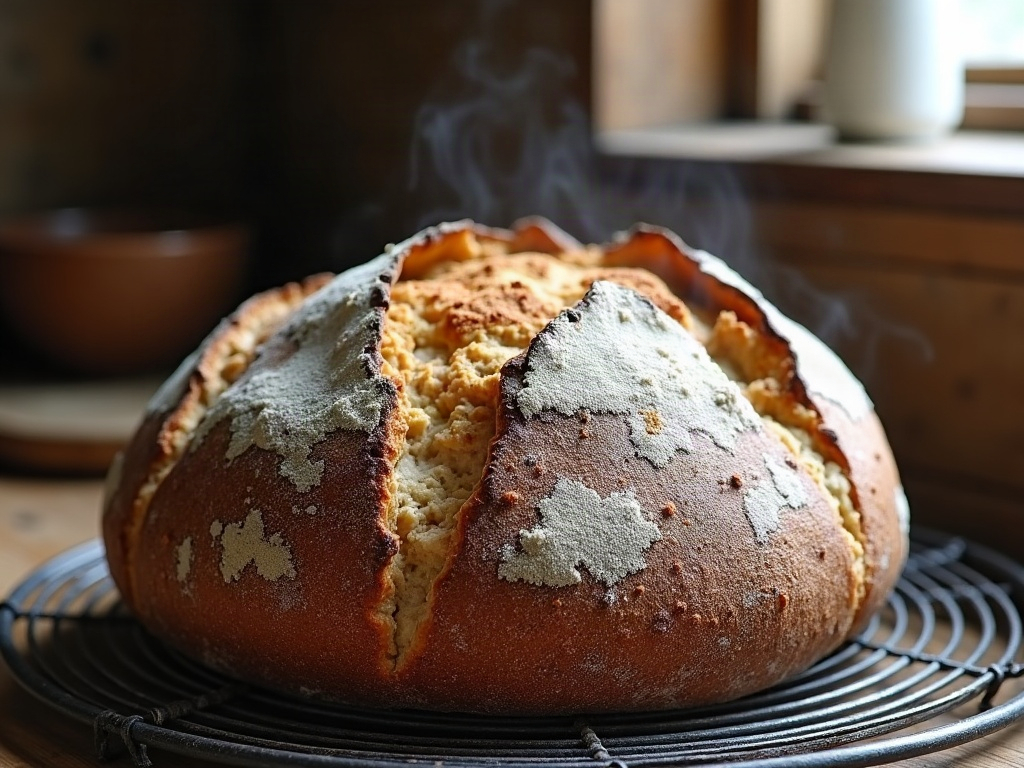
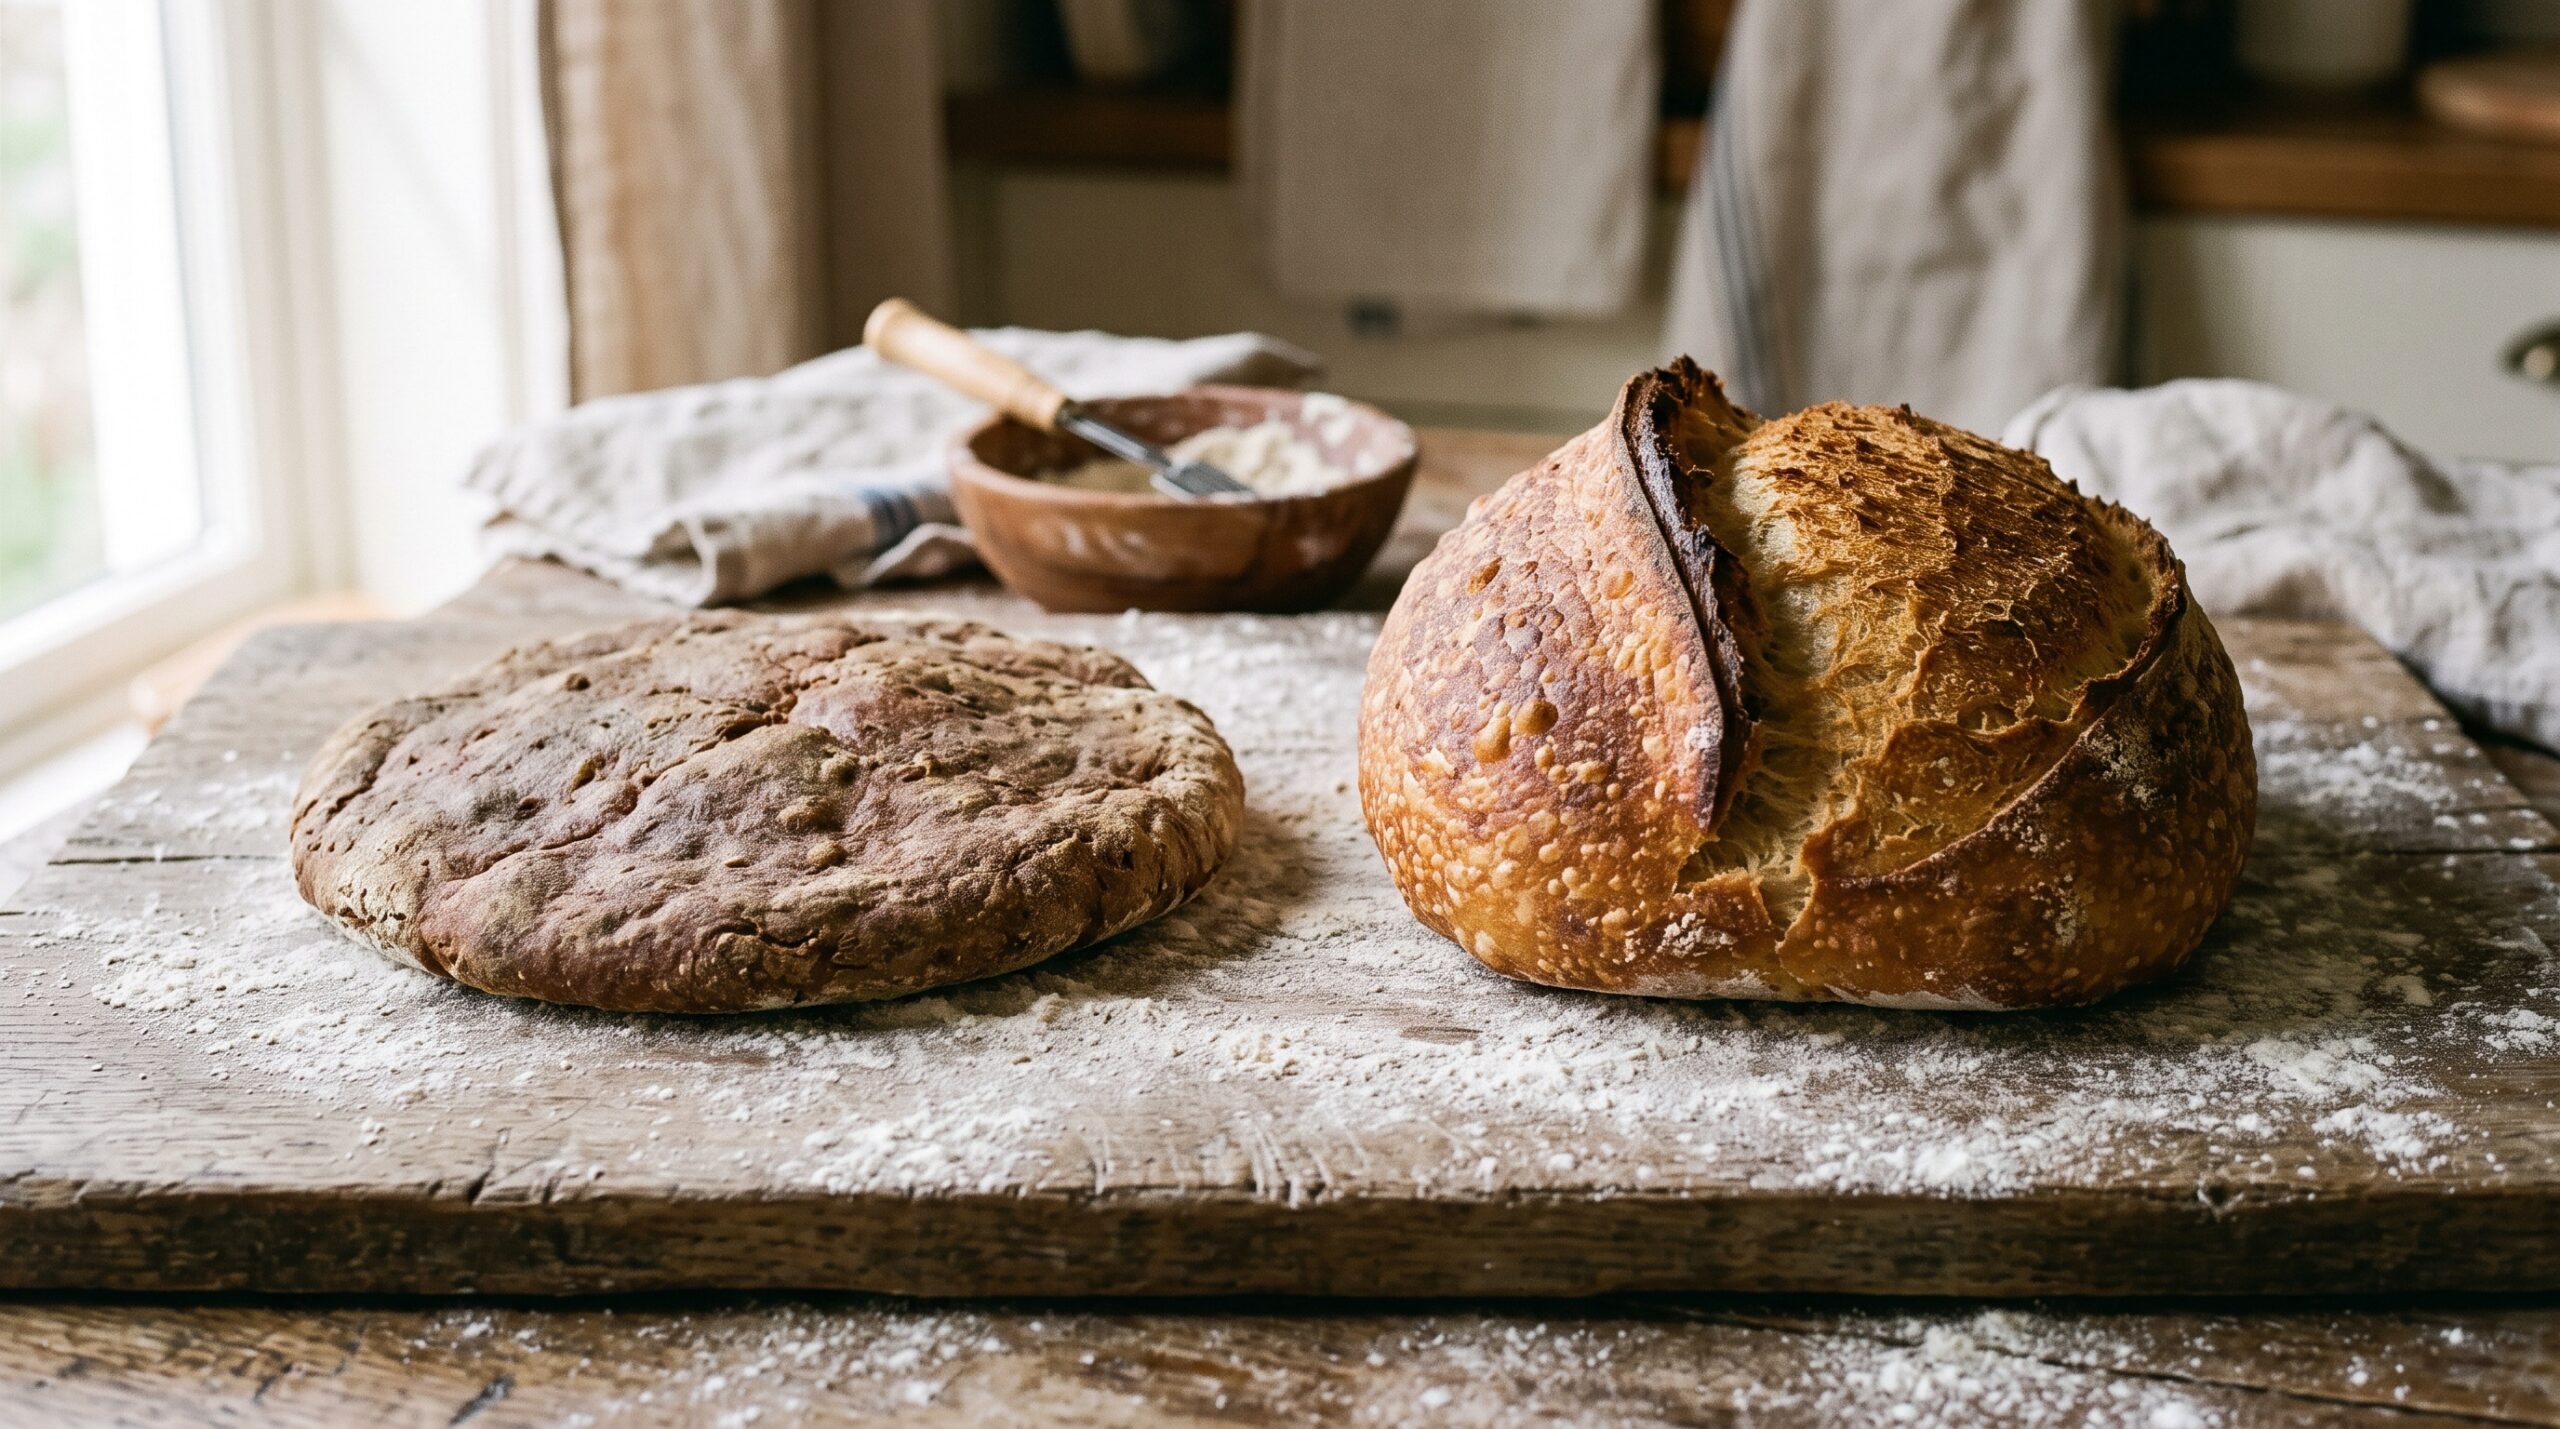
You did everything right, or so it felt. The dough rose, you slid it into a screaming-hot oven, and it sprang. But when you pulled the loaf out, the neat slash you made across the top had barely opened, and instead the bread had ripped itself open somewhere it wasn’t supposed to: a ragged, pale, torn seam bursting out of the side or the base. That’s a blowout, and it’s one of the most deflating things to find, precisely because the loaf clearly had life in it. It just spent that energy in the wrong place.
The good news is that a blowout isn’t random bad luck. It’s the loaf telling you something specific about how it was proofed, shaped, and scored. Once you can read it, the fix is usually a single adjustment. Let’s walk through what a blowout actually is, then diagnose the handful of causes so you can figure out which one is yours.
What a blowout actually is
Every sourdough loaf has a huge burst of expansion in the first ten to fifteen minutes in the oven, the oven spring, as trapped gas heats and pushes outward before the crust sets. That expanding dough has to go somewhere. Your job when you score is to give it a deliberate, controlled exit so it opens where you chose. A blowout happens when the dough finds an easier place to escape than your cut, so it tears through a weak spot instead.
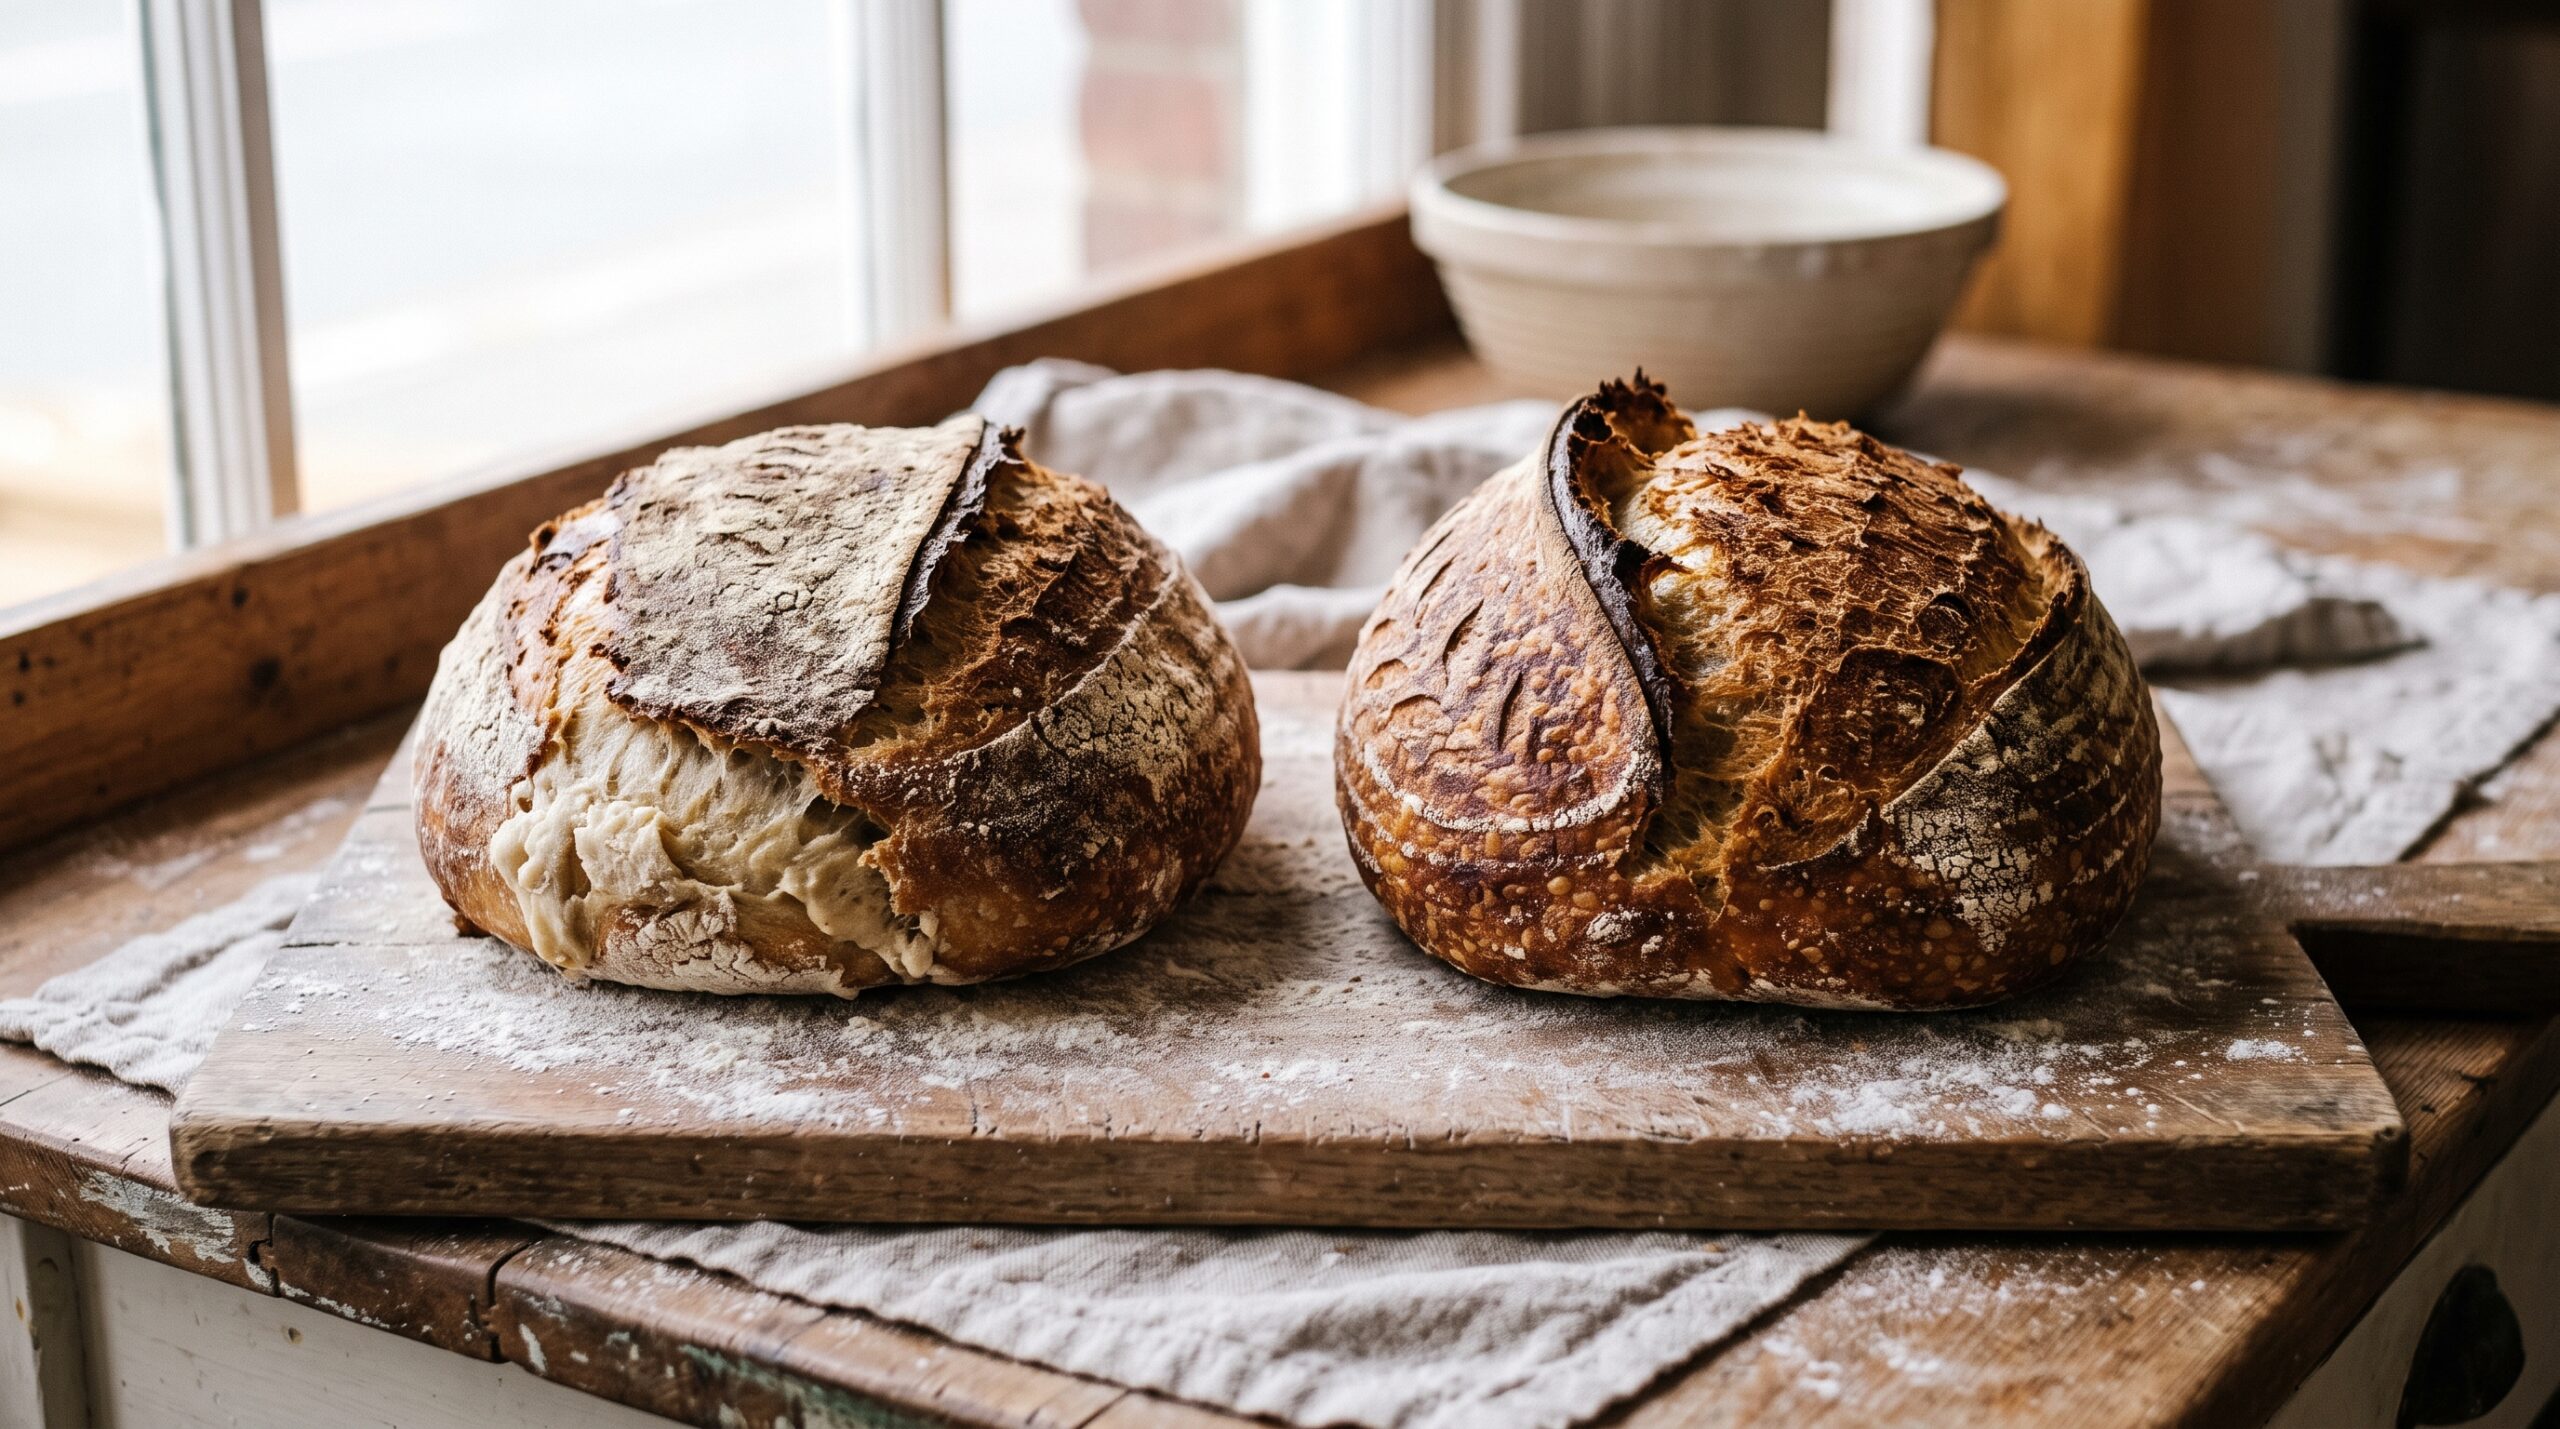
That weak spot is almost always low on the side or along the base, where the dough was under tension, poorly sealed, or simply the path of least resistance. The score stays shut because it was too shallow to matter, and the loaf blows out a ragged, uneven seam that often looks paler because that freshly exposed dough ballooned out and set mid-tear. So the real question is never just “why did it burst?” but “why was the side weaker than my score?” Every cause below is a version of that.
Cause #1: The dough was underproofed
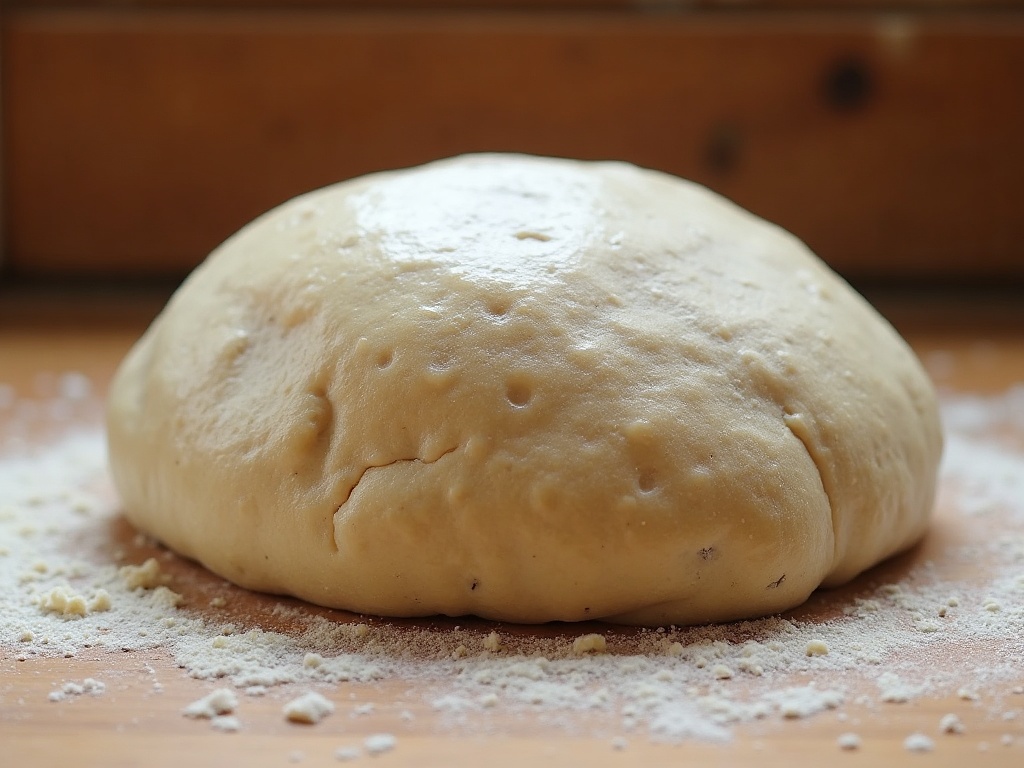
This is the single most common reason, by a wide margin. An underproofed loaf goes into the oven still tight and full of unreleased energy. It hasn’t developed enough extensibility to open gently and evenly, so when that violent oven spring hits, the surface is under so much pressure that it rips through the weakest point rather than easing open at the score. Underproofed loaves are the ones that blow out most dramatically.
The tell is in the rest of the loaf too: an underproofed bake is often tight and dense inside, sometimes with a dense gummy band near the base, and the blowout tends to be aggressive and jagged. If that sounds familiar, the fix is simply to let bulk fermentation run longer so the dough relaxes and fills with gas before you shape and bake. Knowing when it’s actually ready is its own skill, and our guide to telling when bulk fermentation is done covers the signs bakers miss. If you’re not sure which side of the line you’re on, learning to read overproofed versus underproofed dough is the fastest way to stop guessing.
Cause #2: Your scoring didn’t give it an exit
If the dough is well proofed but still blowing out, look hard at your score. A cut that’s too shallow, made with a dull blade, or placed at the wrong angle simply doesn’t create a real release valve. The loaf pushes against a surface that’s still effectively closed everywhere, and it wins the argument at a side seam instead.
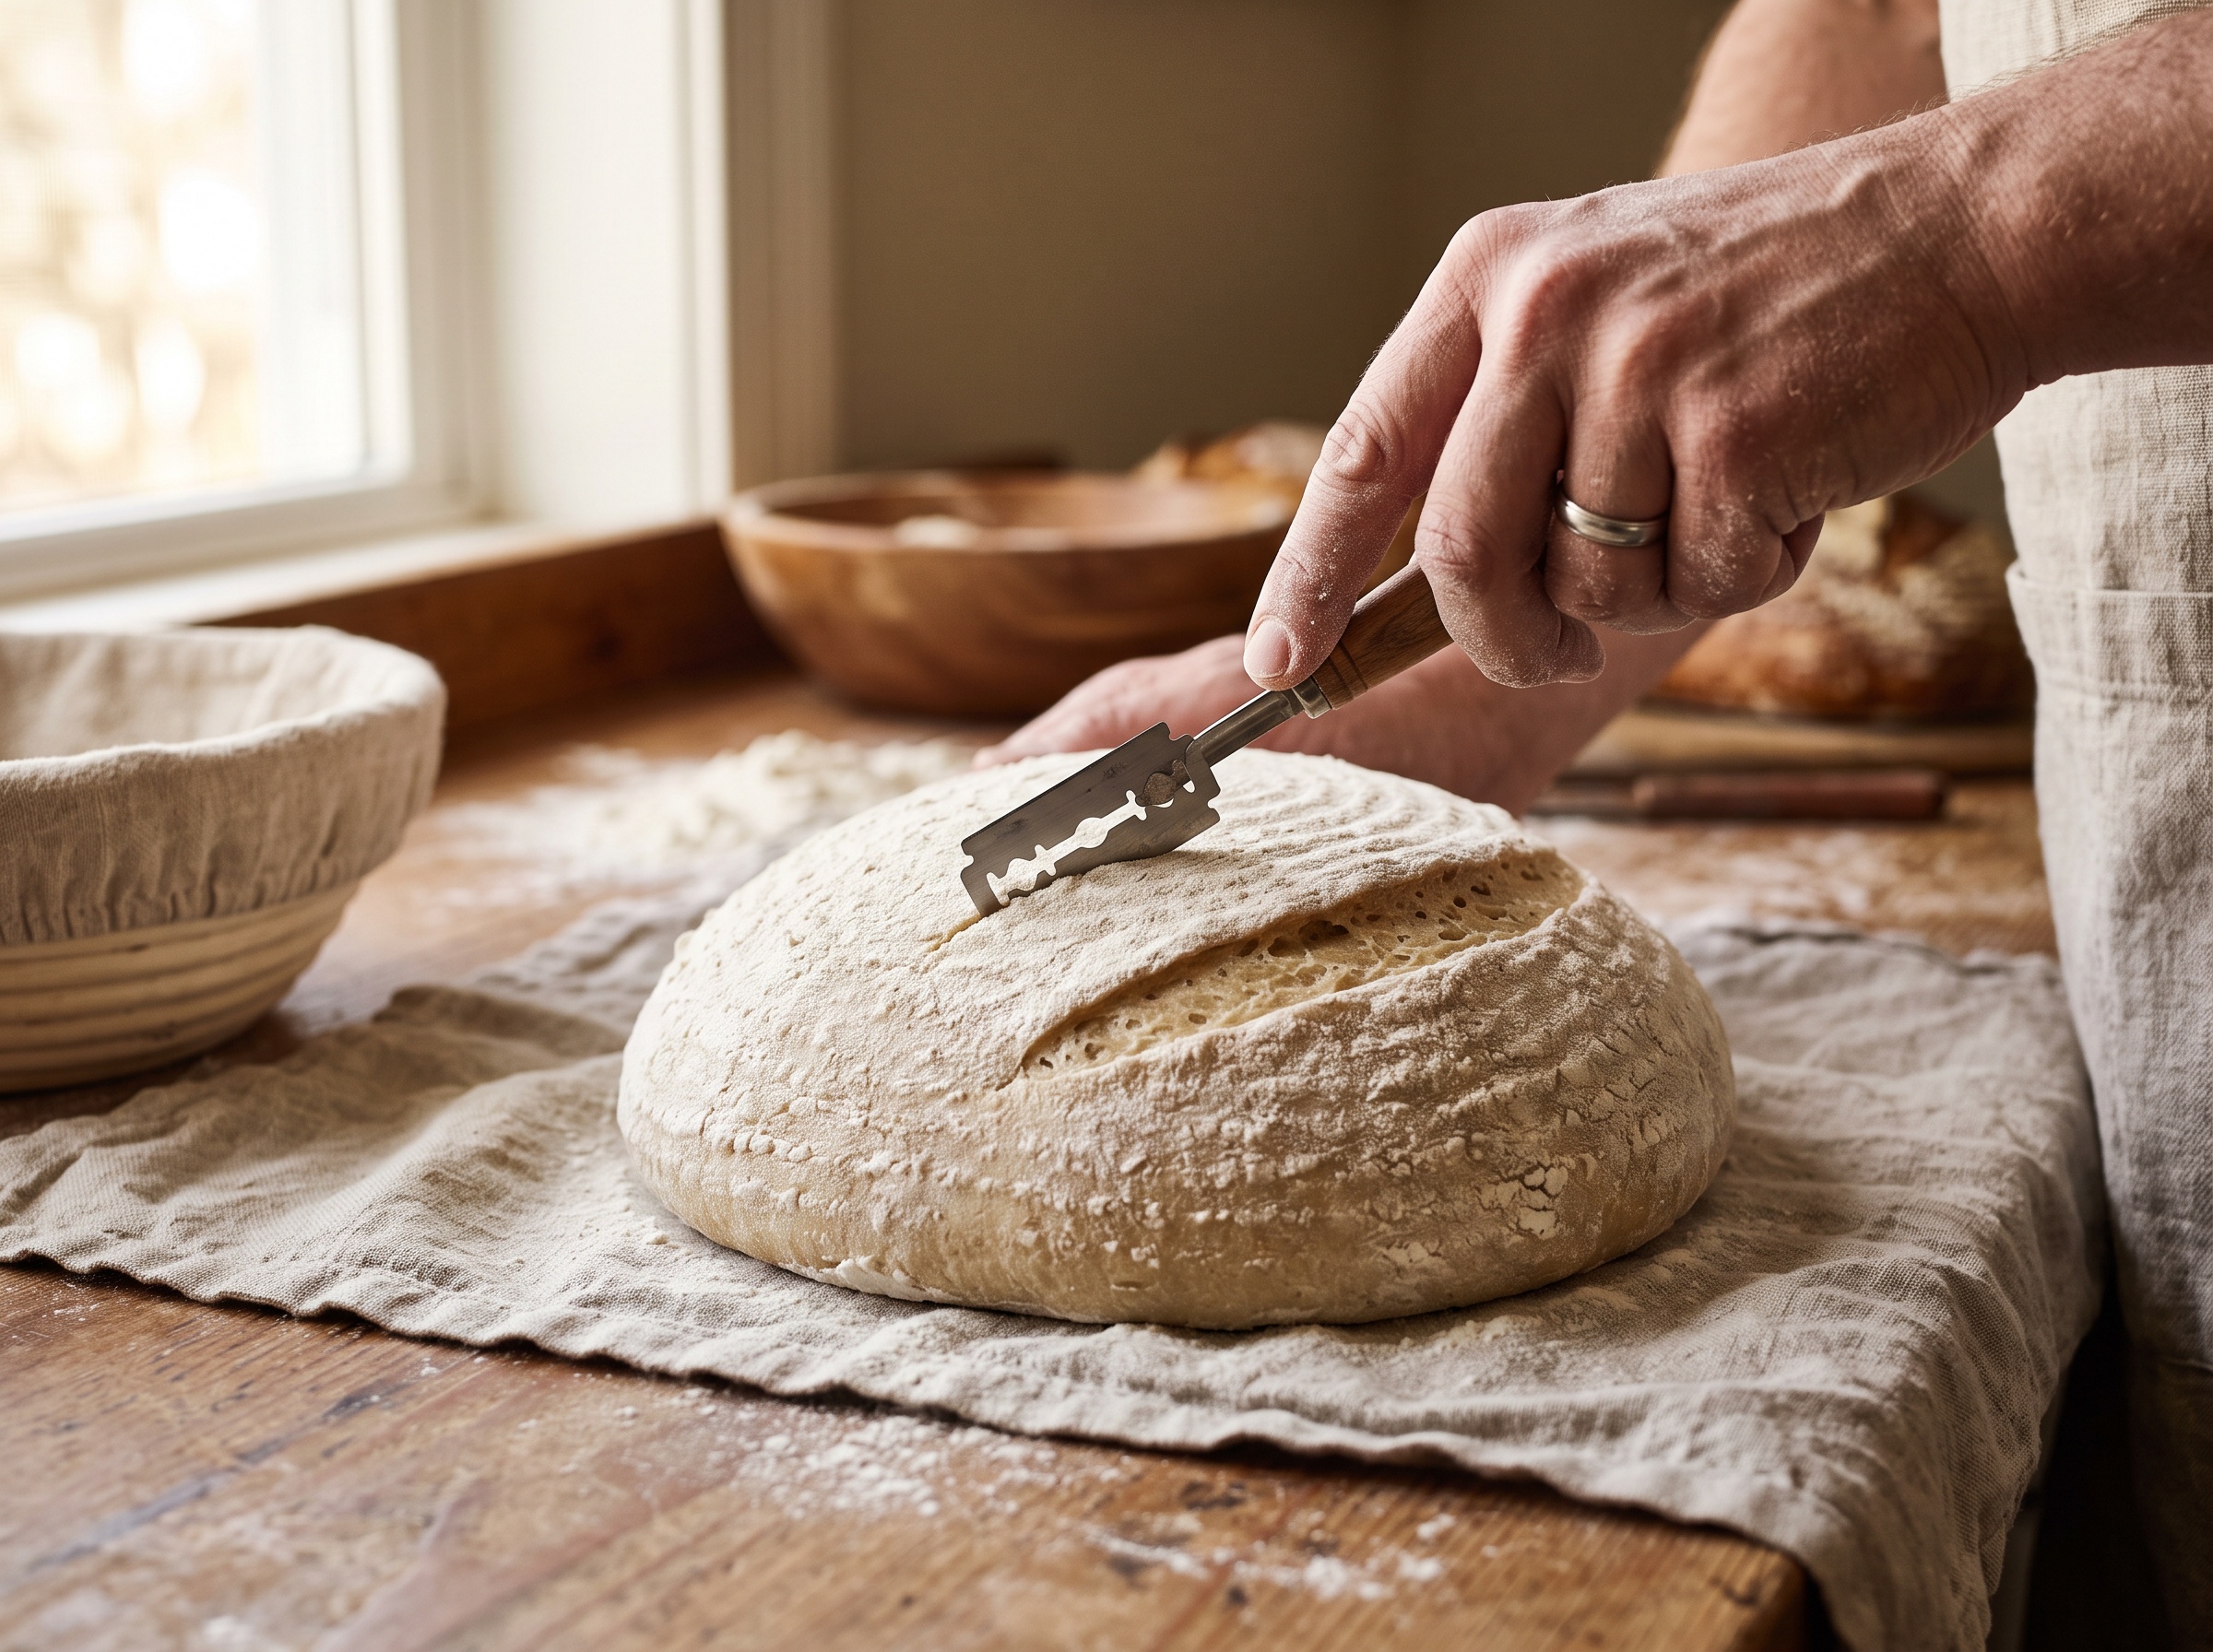
Two things fix most scoring blowouts. First, cut deeper and with conviction: a confident slash roughly a centimeter deep gives the loaf a genuine weak line to open along, rather than a timid scratch it can ignore. Second, mind the angle. For a classic ear, hold the blade at a low, shallow angle, almost parallel to the surface, so the cut lifts a flap of dough that curls back as it bakes. A single decisive cut usually beats a busy decorative pattern when you’re fighting blowouts, because scattered shallow cuts divide the release and none of them dominates. Our deeper walkthrough on scoring for a proper ear and oven spring breaks the technique down step by step.
Cause #3: Uneven shaping tension
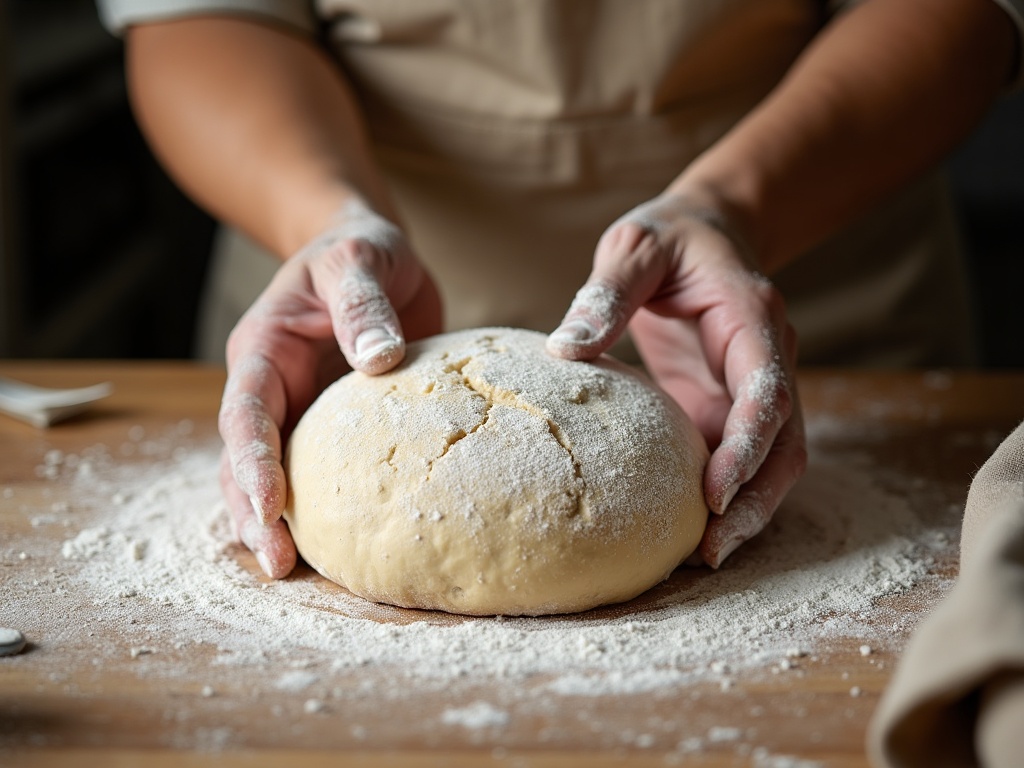
Here’s the cause bakers overlook most. A loaf expands most wherever there’s the least tension holding it back. If you shaped your boule or batard so the skin is taut across the top but slack, loose, or torn underneath, you’ve built the weak spot in with your own hands. The oven spring finds that slack patch and bulges out through it, no matter how well you scored the top.
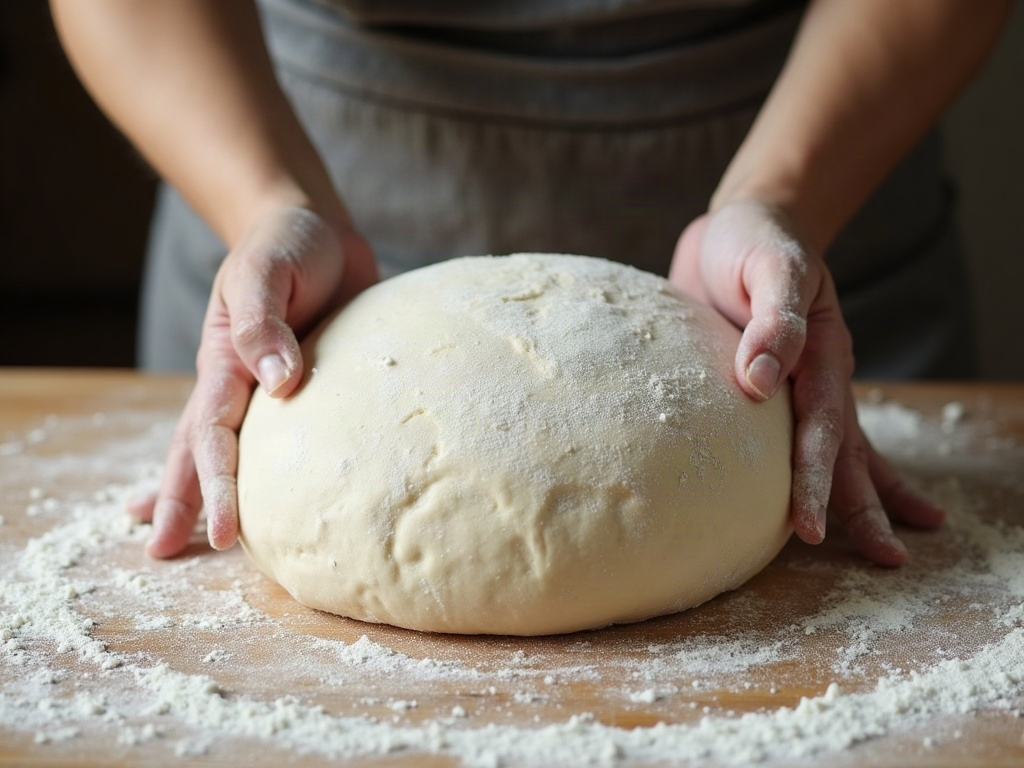
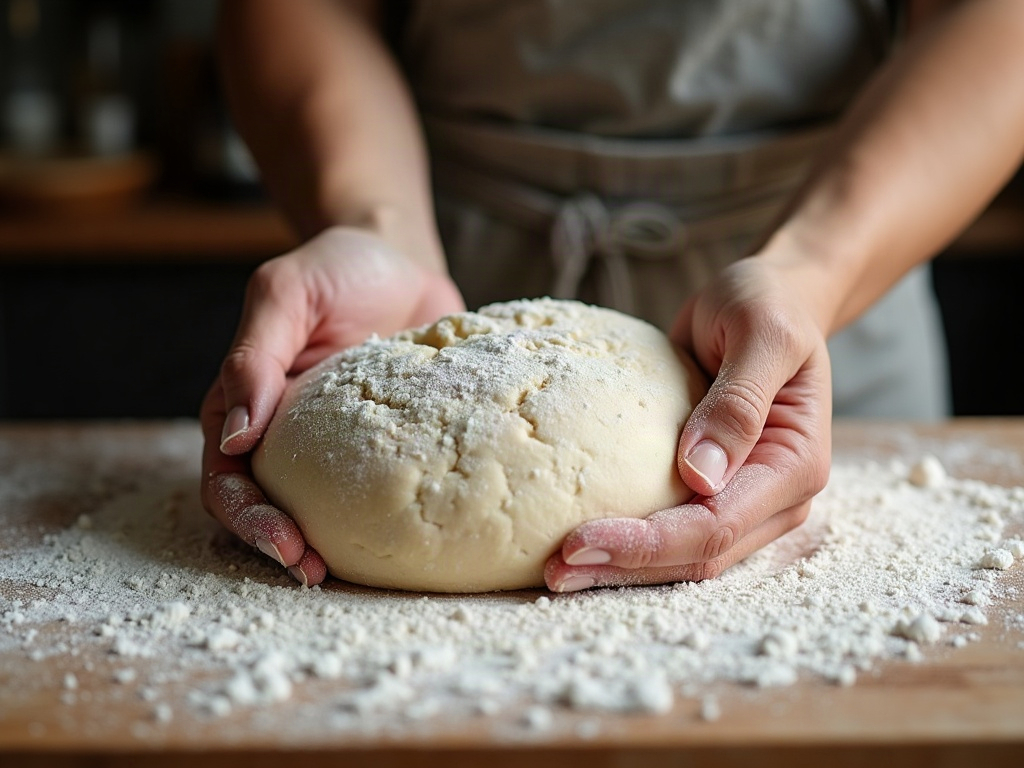
The fix is to build even, all-around surface tension when you shape. Drag and cup the dough to stretch a smooth, tight skin over the entire surface, and make sure the seam on the bottom is pinched closed and not gaping. A dough that’s evenly taut has no single obvious escape route, so it defers to the score you gave it. This same tension is what gives you a tall, well-structured loaf in the first place, and it’s closely tied to the shaping habits behind a good open crumb. Weak shaping shows up as both a flat, spreading loaf and a blowout-prone one, so it’s worth drilling.
Cause #4: A dried skin, cold dough, or weak steam
A few oven-side factors turn a borderline loaf into a burst one. The most common is a dried-out skin. If your shaped loaf sat uncovered, especially during a long cold retard in the fridge, the surface can form a tough, leathery film. That skin can’t stretch, so when the soft interior springs, it splits the crust at a seam instead of opening cleanly. Keep the dough covered during proofing and retard so the surface stays supple.
Steam matters too. In the first several minutes of the bake, moisture keeps the crust soft and elastic so it can expand with the loaf. A dry oven sets the crust too early, and a prematurely stiff crust is far more likely to tear than to open. Bake into a Dutch oven with the lid on, or add steam some other way, for at least the first fifteen minutes. Finally, dough that goes in very cold and dense from the fridge sometimes springs sluggishly and unevenly against an already-setting crust; letting a cold loaf take the chill off slightly, or making sure your oven is genuinely, thoroughly preheated, evens out that fight.
The fix, step by step
When you get a blowout, don’t change five things at once. Work down the list in order, because the causes stack from most to least likely.
Start with proof: if the loaf was tight, dense, or clearly underproofed, give bulk fermentation more time before you touch anything else, because underproofing causes more blowouts than everything else combined. If the proof looked right, deepen and simplify your score to one confident cut at a low angle, so the loaf has an obvious release valve. If it’s still bursting, turn your attention to shaping and build a tighter, more even skin with a properly sealed bottom seam. And throughout, keep the surface from drying out by covering the dough, and make sure you’re baking with real steam into a fully preheated oven.
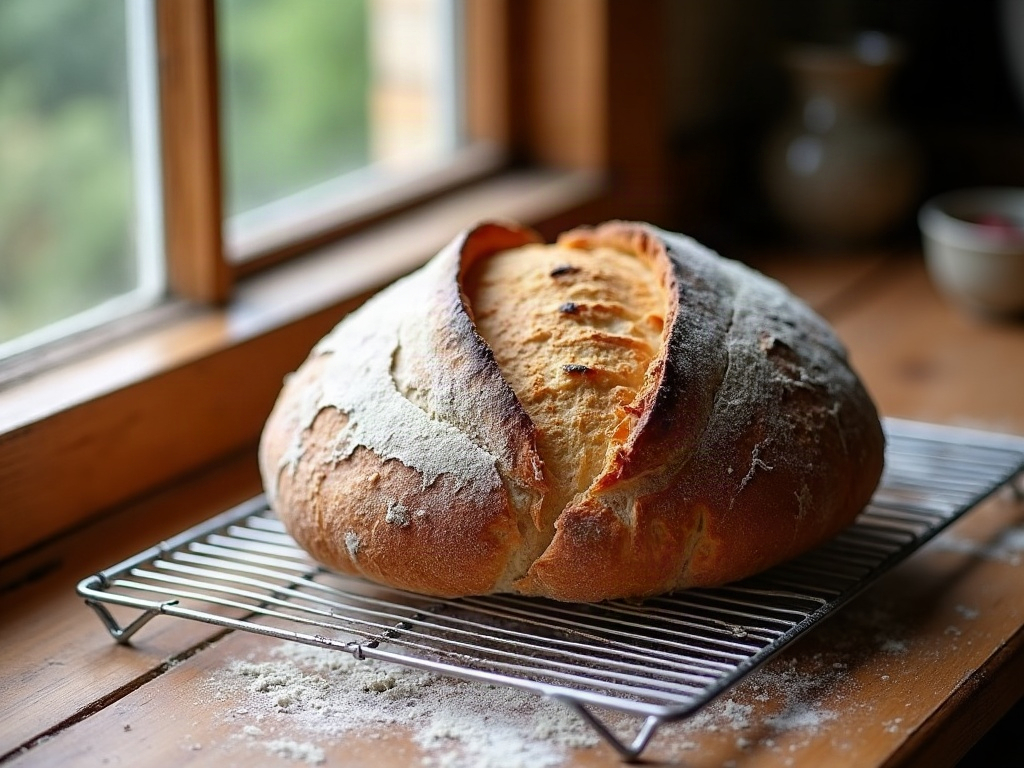
Change one variable per bake and watch what the loaf does. A blowout is genuinely useful feedback: it’s pointing straight at the weakest link in your process, and fixing it is exactly what turns a ragged side seam into a clean, curling ear on the top where you wanted it. Get these dialed in and the score stops being decoration and starts doing its real job, governing where all that beautiful oven spring gets to go.
Want to see a blowout diagnosed in real time next to a clean bake, with the shaping and scoring shown up close? The full visual walkthrough lives on the LoafLovers YouTube channel, and our free sourdough troubleshooting guide has the rest of the fixes for when you’re standing over a torn loaf and need the answer now. No hard sell, just the fix.
Sources & further reading: