You find a sourdough recipe that looks promising, and somewhere near the top it says something like “this is a 75% hydration dough.” Maybe it lists the flour and water in grams, maybe it lists percentages, maybe both. And if no one has ever explained it, that number floats there meaning nothing — is 75% a lot? A little? Will it help you, or is it just baker jargon showing off?
It is one of the most useful ideas in all of bread baking, and it is far simpler than it sounds. Once it clicks, you can read any recipe, compare two recipes that look nothing alike, scale a loaf up or down without guessing, and — most importantly for a frustrated baker — make a deliberate change to your dough and know exactly what you did. Let us take the mystery out of it, one step at a time.
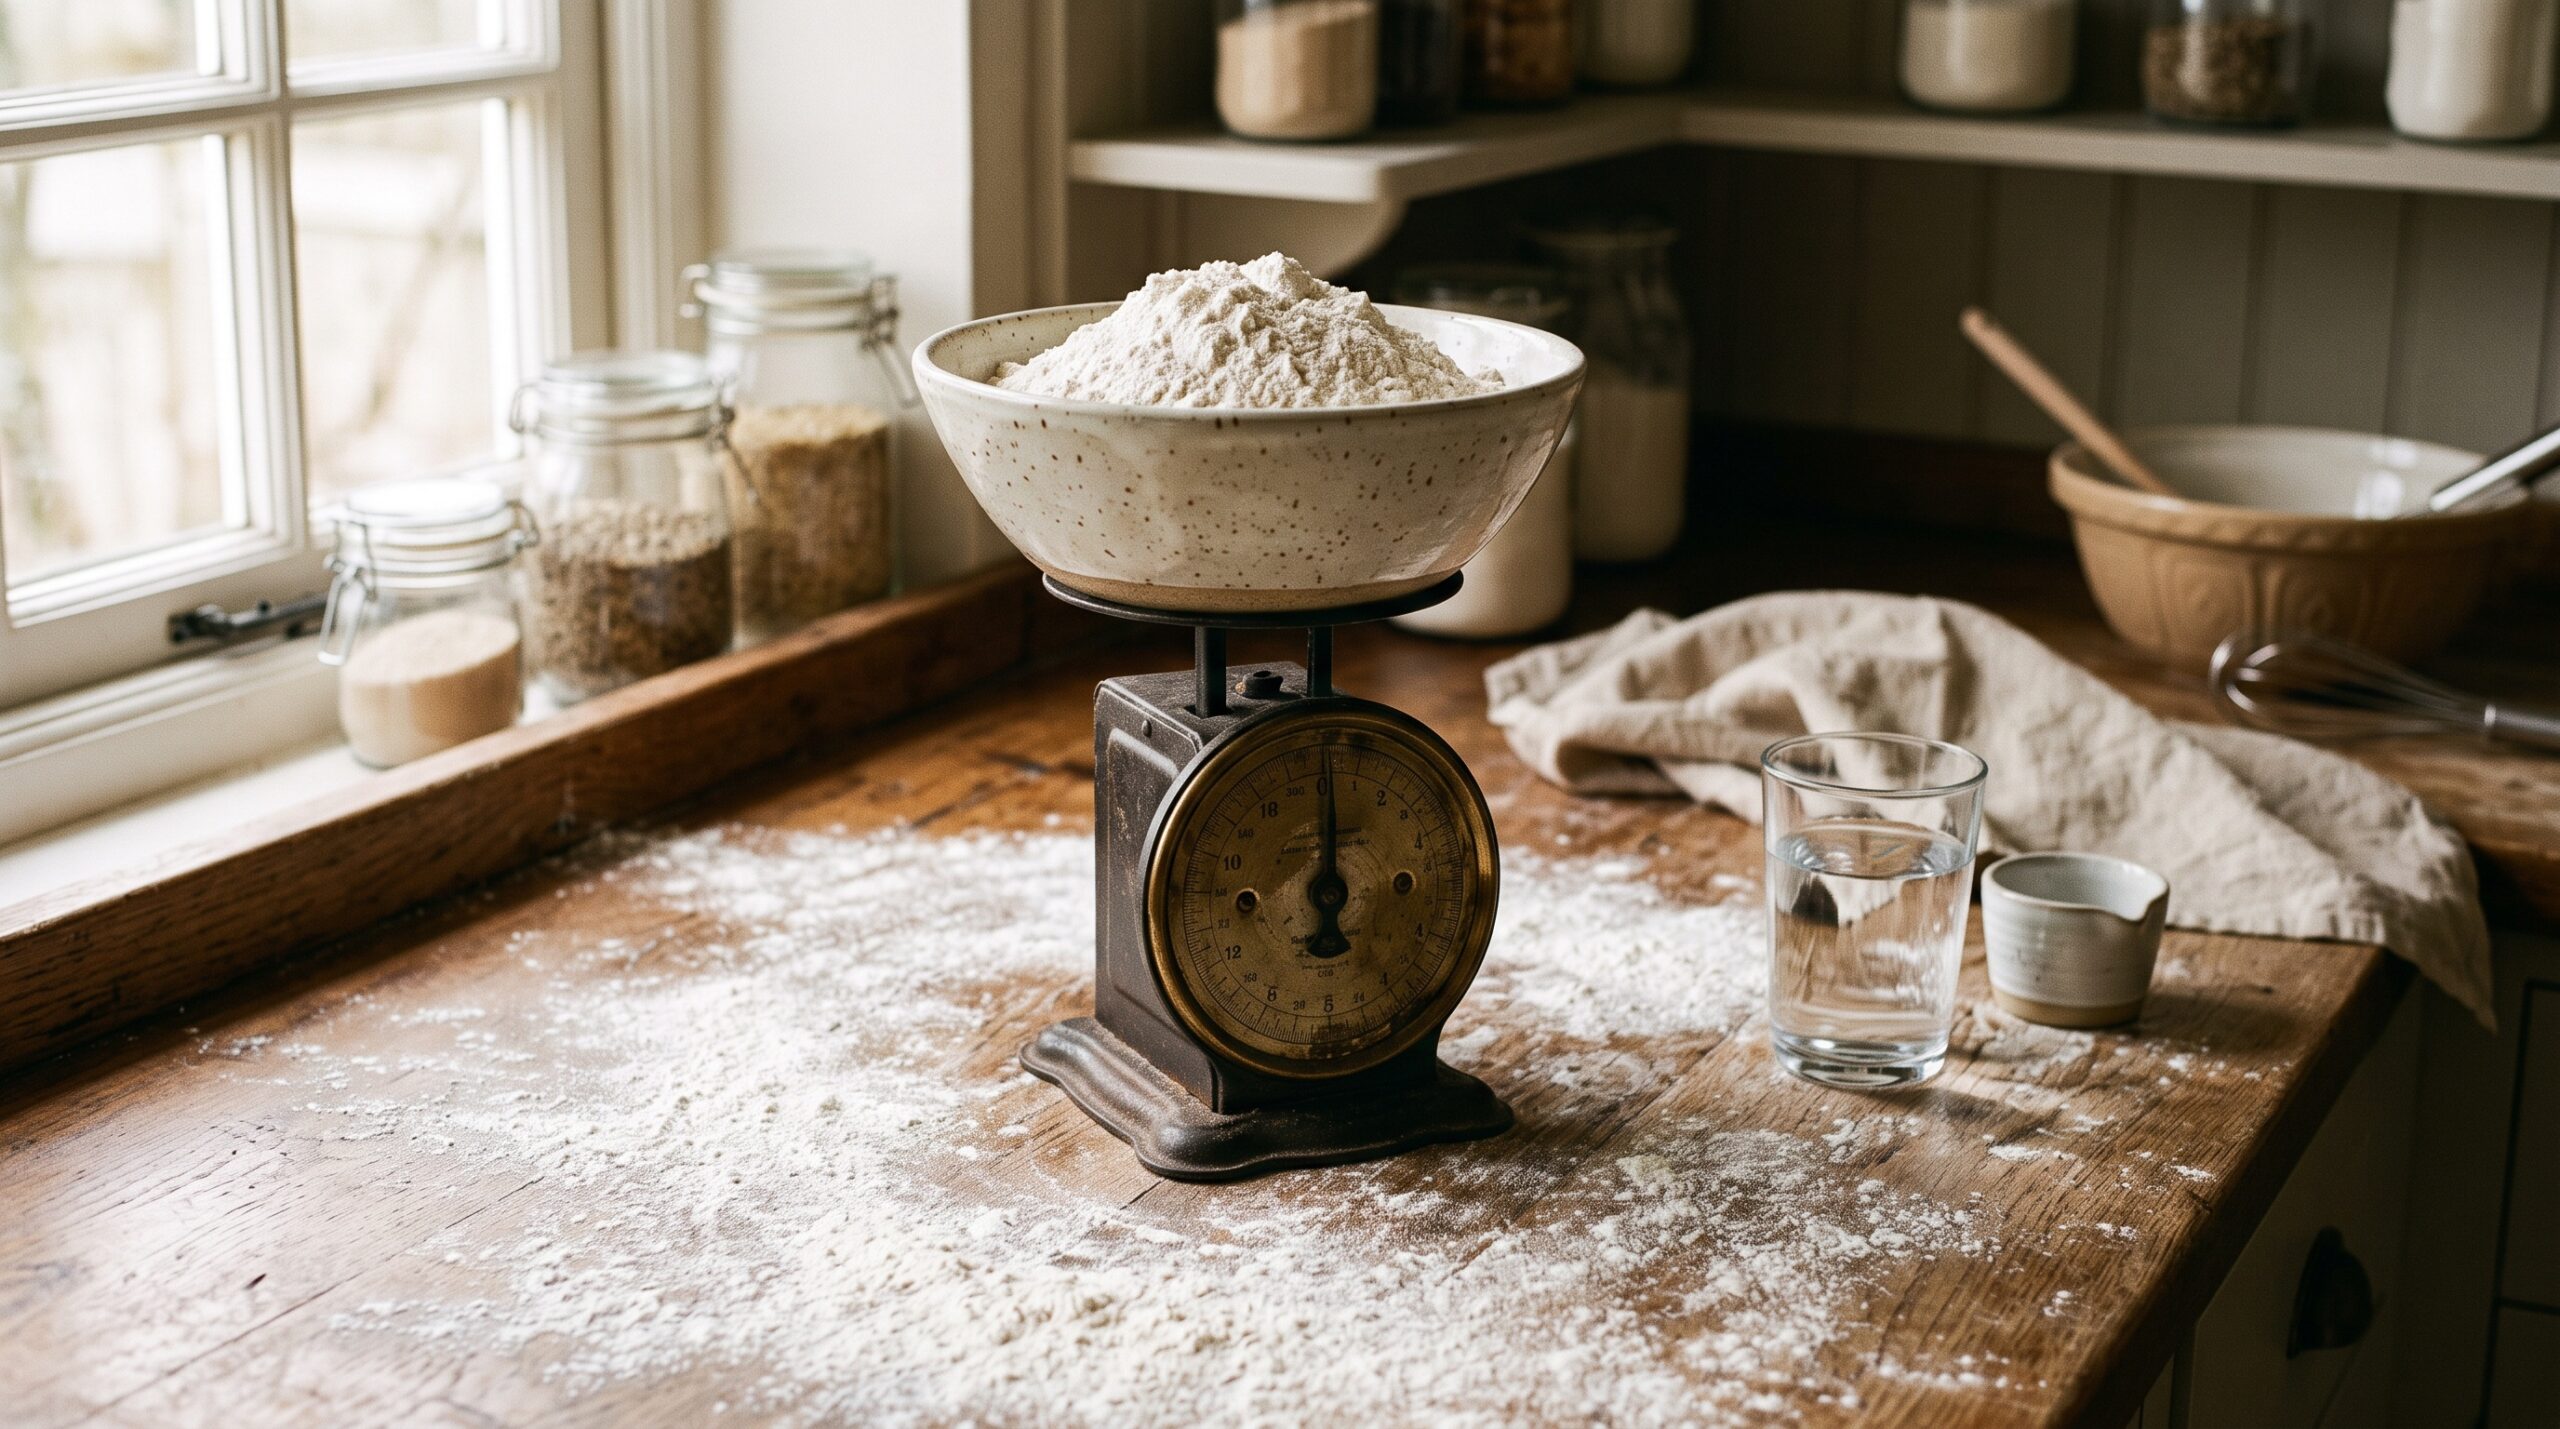
The one idea behind all of it: flour is always 100%
Baker’s percentage looks like normal percentages but it follows one rule that trips everyone up at first. Every ingredient is expressed as a percentage of the total flour weight, not as a percentage of the whole dough. The flour itself is always, by definition, 100%. Everything else is measured against it.
So when a recipe says 75% hydration, it means the water weighs 75% of what the flour weighs. If you have 1,000 grams of flour, then 75% hydration means 750 grams of water. Salt at 2% means 20 grams of salt. If you used two kinds of flour — say 800 grams bread flour and 200 grams whole wheat — they still add up to 1,000 grams, and that combined 1,000 grams is your 100%.
That is the whole concept. Flour is the anchor at 100%, and every other ingredient is sized relative to it. This is why percentages can add up to well over 100% — a dough might be 100% flour, 75% water, 2% salt, and 20% starter, which totals 197%, and that is completely normal. You are not measuring parts of a whole; you are measuring everything against the flour.
Why bakers bother with it at all
You might reasonably ask why not just use grams and be done with it. The answer is that percentages let you see the shape of a recipe instantly, independent of how big the batch is. A one-loaf recipe and a ten-loaf bakery formula can look wildly different in grams but be identical doughs in percentages. The percentage is the recipe’s fingerprint; the grams are just today’s batch size.
That unlocks three things home bakers quietly struggle with. First, comparison: two recipes written in grams can be impossible to compare at a glance, but convert them to percentages and you can see in a second that one is a wetter, more open-crumbed dough and the other is a tighter sandwich loaf. Second, scaling: want to make half a loaf or three loaves? Keep the percentages, change the flour weight, and recalculate — the dough behaves the same. Third, and best of all, deliberate change: when you think in percentages you can nudge one variable, like bumping hydration from 70% to 75%, and know precisely what you altered when the next loaf turns out different.
How to actually calculate it
The math is a single division, and you can do it on any phone. To find any ingredient’s baker’s percentage, divide its weight by the total flour weight, then multiply by 100.
Say your recipe uses 500 grams of flour and 350 grams of water. Hydration is 350 divided by 500, which is 0.70, times 100 — so 70% hydration. If you add 10 grams of salt, that is 10 divided by 500, or 2% salt. Going the other direction is just as easy: if you want a 500-gram-flour dough at 78% hydration, you multiply 500 by 0.78 to get 390 grams of water. That is the entire toolkit. Divide to read a recipe, multiply to build one.
A small but important note: your sourdough starter contains both flour and water, and strict baker’s math folds those into the totals. For everyday home baking you can keep it simple and treat the recipe’s listed flour and water as your base — but if you are chasing precision, know that a 100%-hydration starter adds equal parts flour and water to the mix, which nudges your true hydration up a little. It is the same principle at work: if you want to go deeper on how much starter changes things, the idea of inoculation percentage and how it shifts your timeline is the companion concept to hydration.
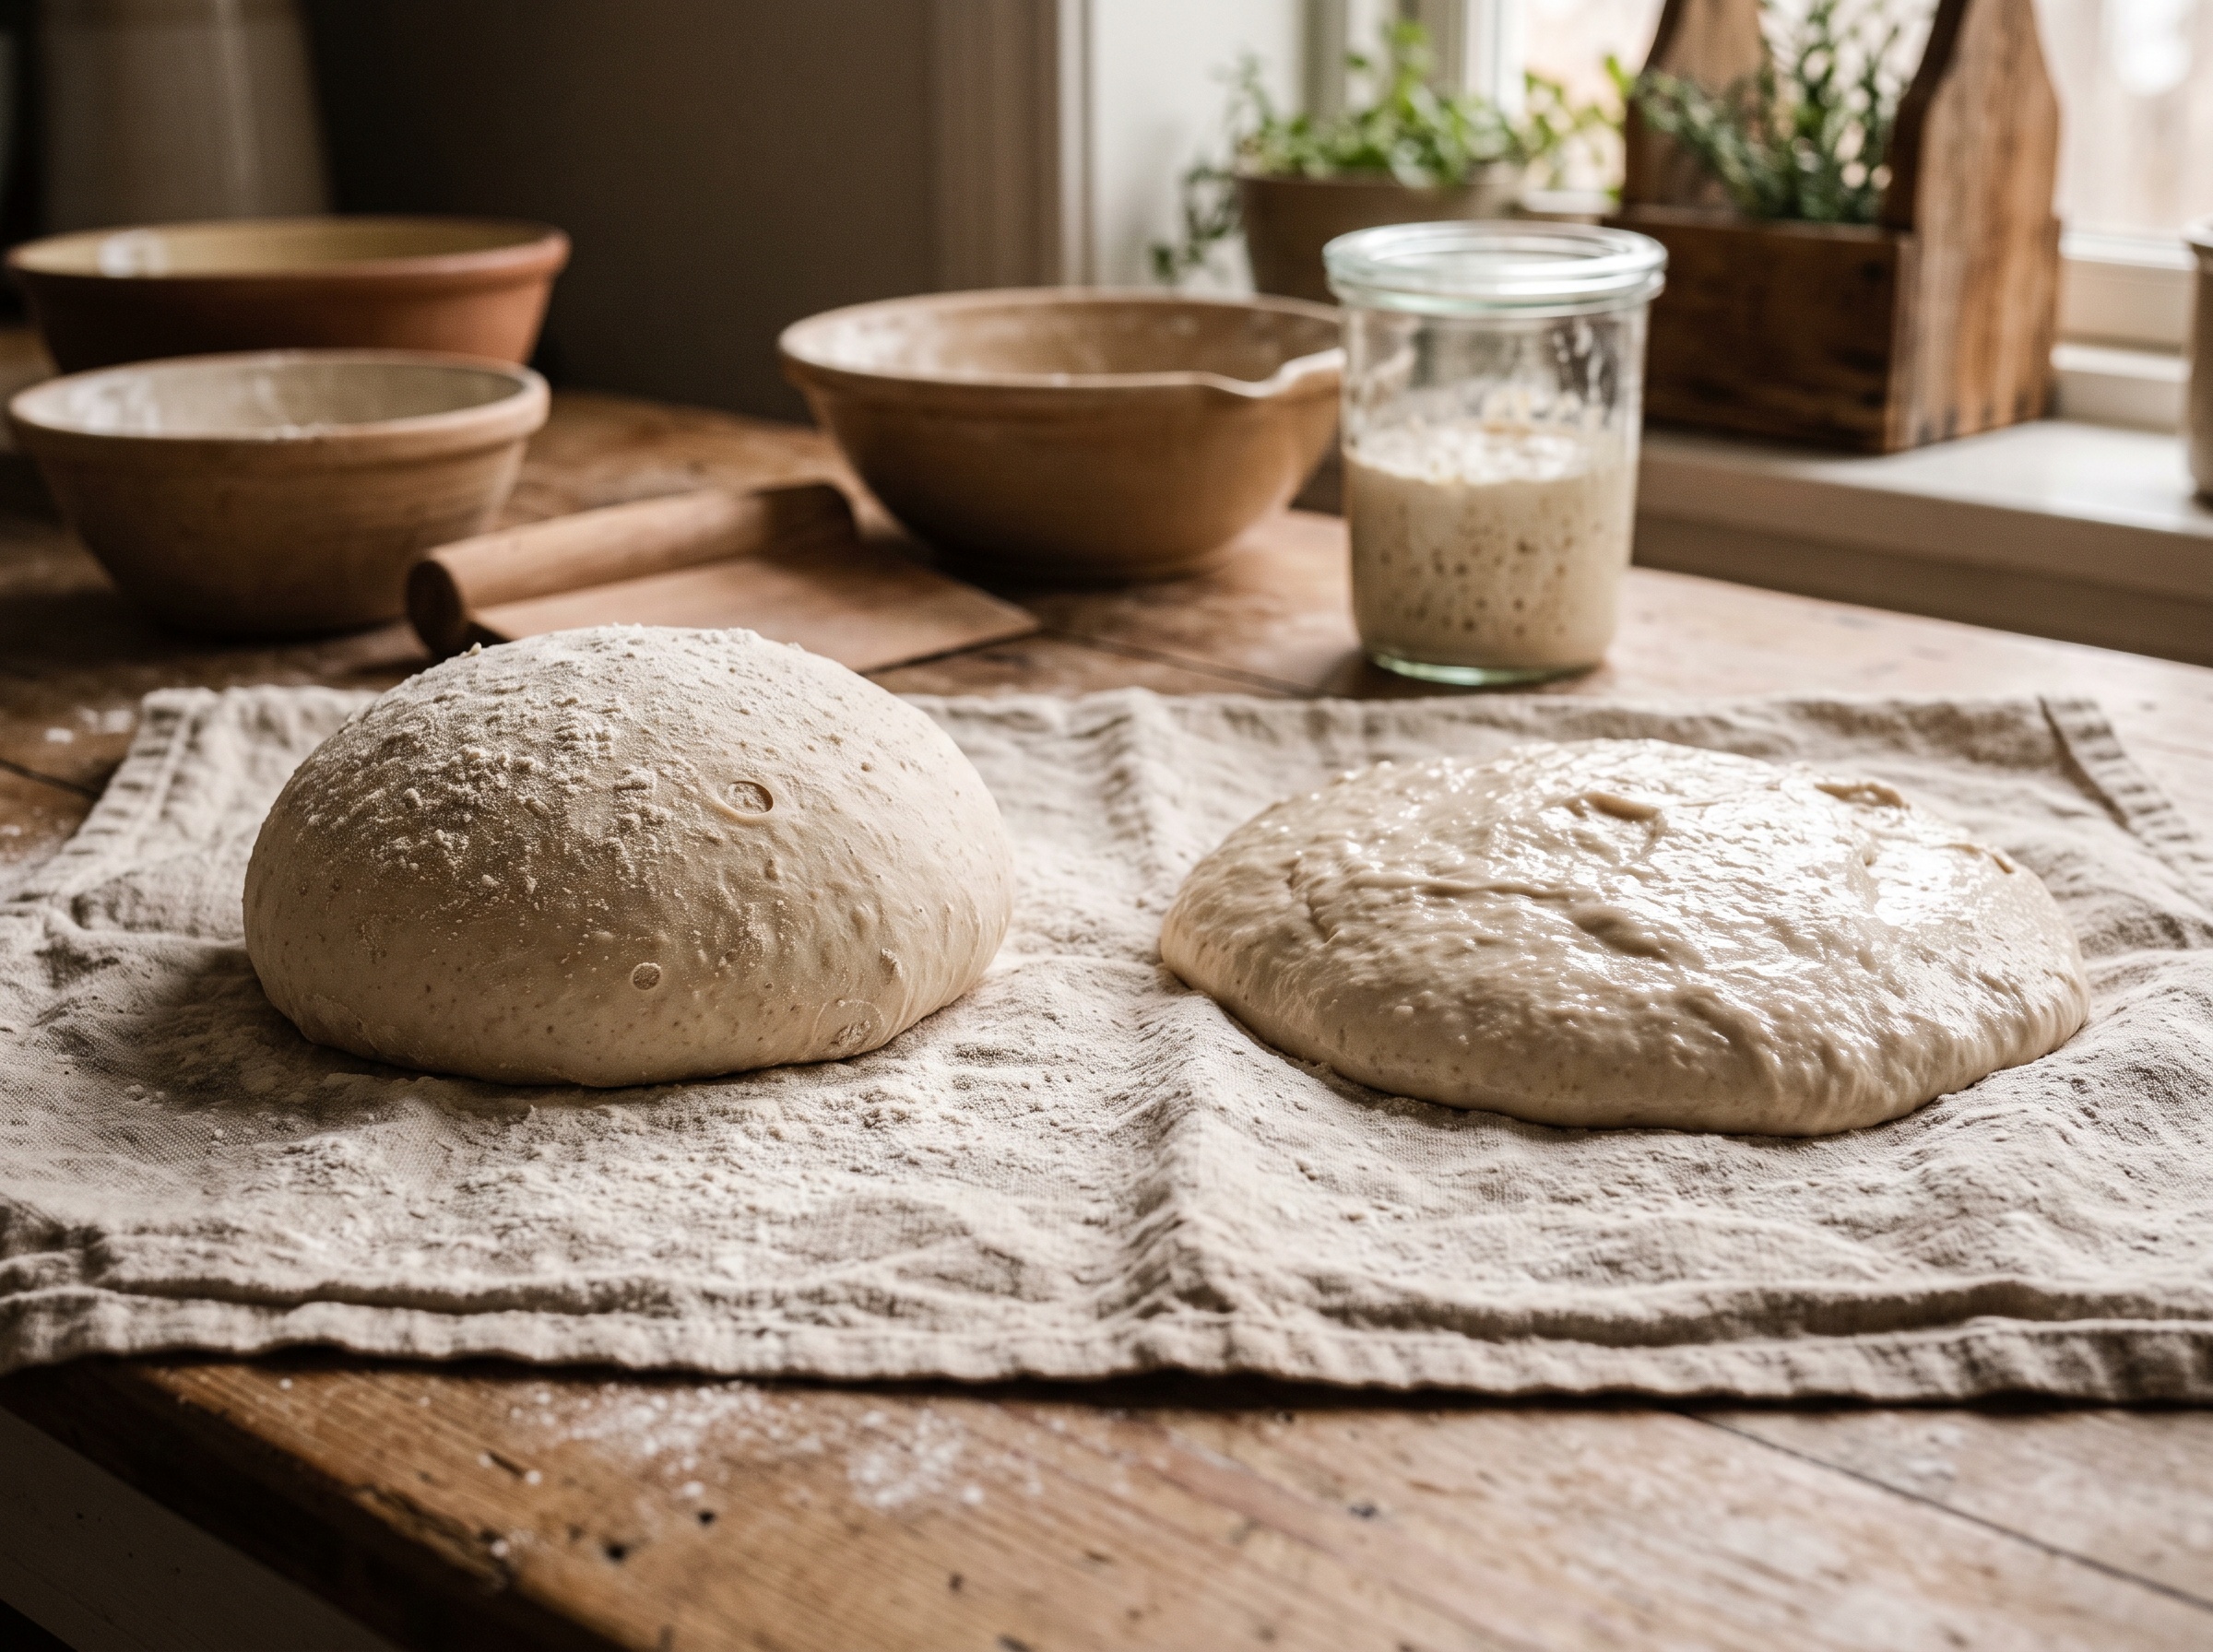
What hydration actually does to your loaf
Numbers are only useful if you know what they feel like, and hydration is the number that most directly changes the dough in your hands and the crumb on your plate. In plain terms, hydration is how wet the dough is — and wetness is a trade-off, not a target.
Lower-hydration doughs, roughly in the 60-68% range, are stiffer, drier, and far easier to handle. They hold their shape, they are forgiving to shape and score, and they tend toward a tighter, more even crumb — exactly what you want for a sandwich loaf or a sturdy everyday bread. Higher-hydration doughs, up around 75-85% and beyond, are slack, sticky, and harder to manage, but that extra water is what gives you the dramatic open, irregular, airy crumb that artisan loaves are famous for. More water generally means a more open crumb and a crisper, more blistered crust — and a dough that will test your patience.
This is why hydration is the first number experienced bakers look at: it tells them roughly how the dough will behave and what kind of loaf it is aiming for, before they read another word. There is no universally correct hydration. There is only the right hydration for the loaf you want and the flour you are using — and that last part matters more than beginners expect.
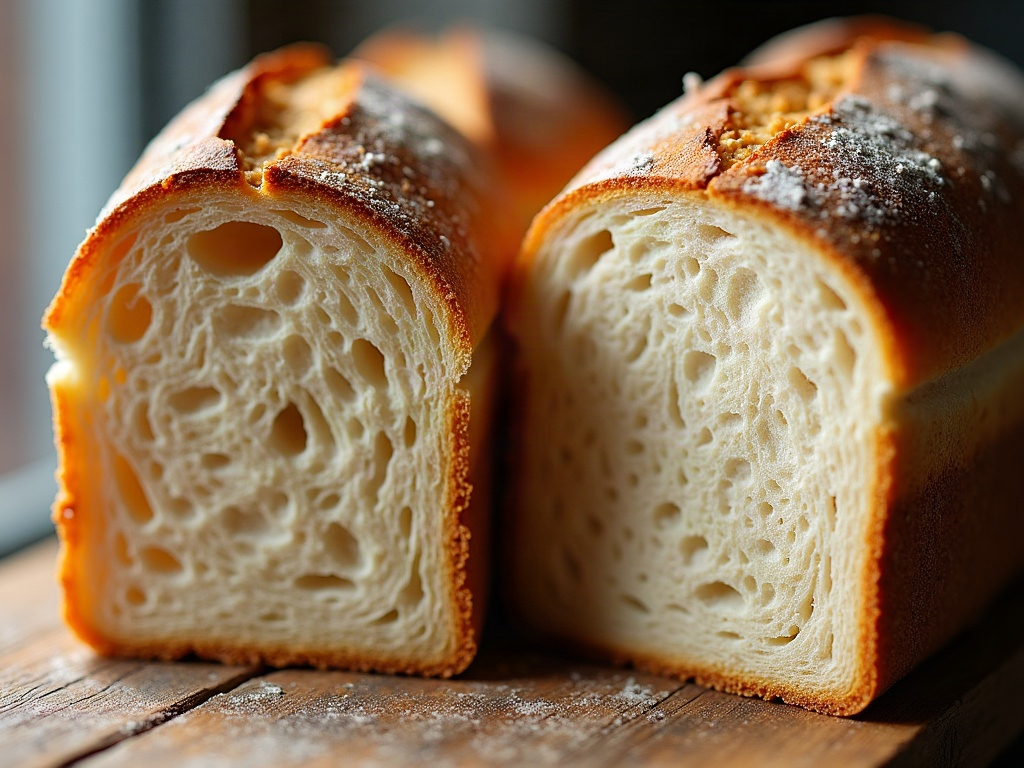
Flour changes everything, which is why the number is a starting point
Here is the honest caveat that keeps baker’s percentage from being a magic formula: the same hydration number behaves completely differently depending on your flour. A strong bread flour with high protein drinks up far more water than a low-protein all-purpose, and whole grains like whole wheat and rye are thirstier still. A 75% dough made with a thirsty high-protein bread flour might feel manageable, while the identical 75% with all-purpose can feel like a slurry.
So treat a recipe’s hydration as a well-informed starting point, not a guarantee. If a dough feels far wetter or stiffer than the recipe implied, your flour is almost certainly the reason, and the fix is to adjust the water a little to match what your flour can actually absorb. This is exactly the kind of adjustment baker’s percentage makes easy: you are not scrapping the recipe, you are changing one number by a few points and noting the result. If you often find yourself fighting a slack, sticky mass, our guide to handling high-hydration dough without the mess picks up right where this leaves off.
Putting it to work: read, then change one thing
Here is how to actually use all of this the next time you bake. Before you start, convert the recipe into percentages so you can see what kind of loaf it really is — a quick division of water by flour tells you the hydration, and that alone sets your expectations for how the dough will handle and how open the crumb will be. Then bake it as written, and pay attention to how the dough felt and how the loaf turned out.
If something was off, resist the urge to change five things at once. Change one number, by a modest amount, and bake again. Too tight a crumb and the dough felt dry? Nudge hydration up a few points. Dough so slack you could not shape it? Bring it down. Because you are working in percentages, you will know exactly what you altered and you can repeat your success — or undo your mistake — with confidence. That is the real gift here: it turns baking from a series of hopeful guesses into a system you can steer.
Baker’s percentage is not advanced baking reserved for professionals. It is the simplest, most practical lens you can put on a recipe, and it rewards you the moment you understand it: flour is 100%, everything else is measured against it, and hydration is the number that tells you how your dough will feel and how your crumb will open. Learn to read it and you stop being at the mercy of whoever wrote the recipe — you start making deliberate, repeatable decisions about your own bread.
If you would rather see the wet-versus-dry difference with your own eyes, we walk through doughs at different hydrations side by side over on the LoafLovers YouTube channel, and our free sourdough troubleshooting guide keeps these numbers handy for the next time a loaf does not go to plan. Drop your email and we will send it over — so the next time a recipe says “75% hydration,” you will know exactly what it is promising you, and exactly how to change it if it does not deliver.