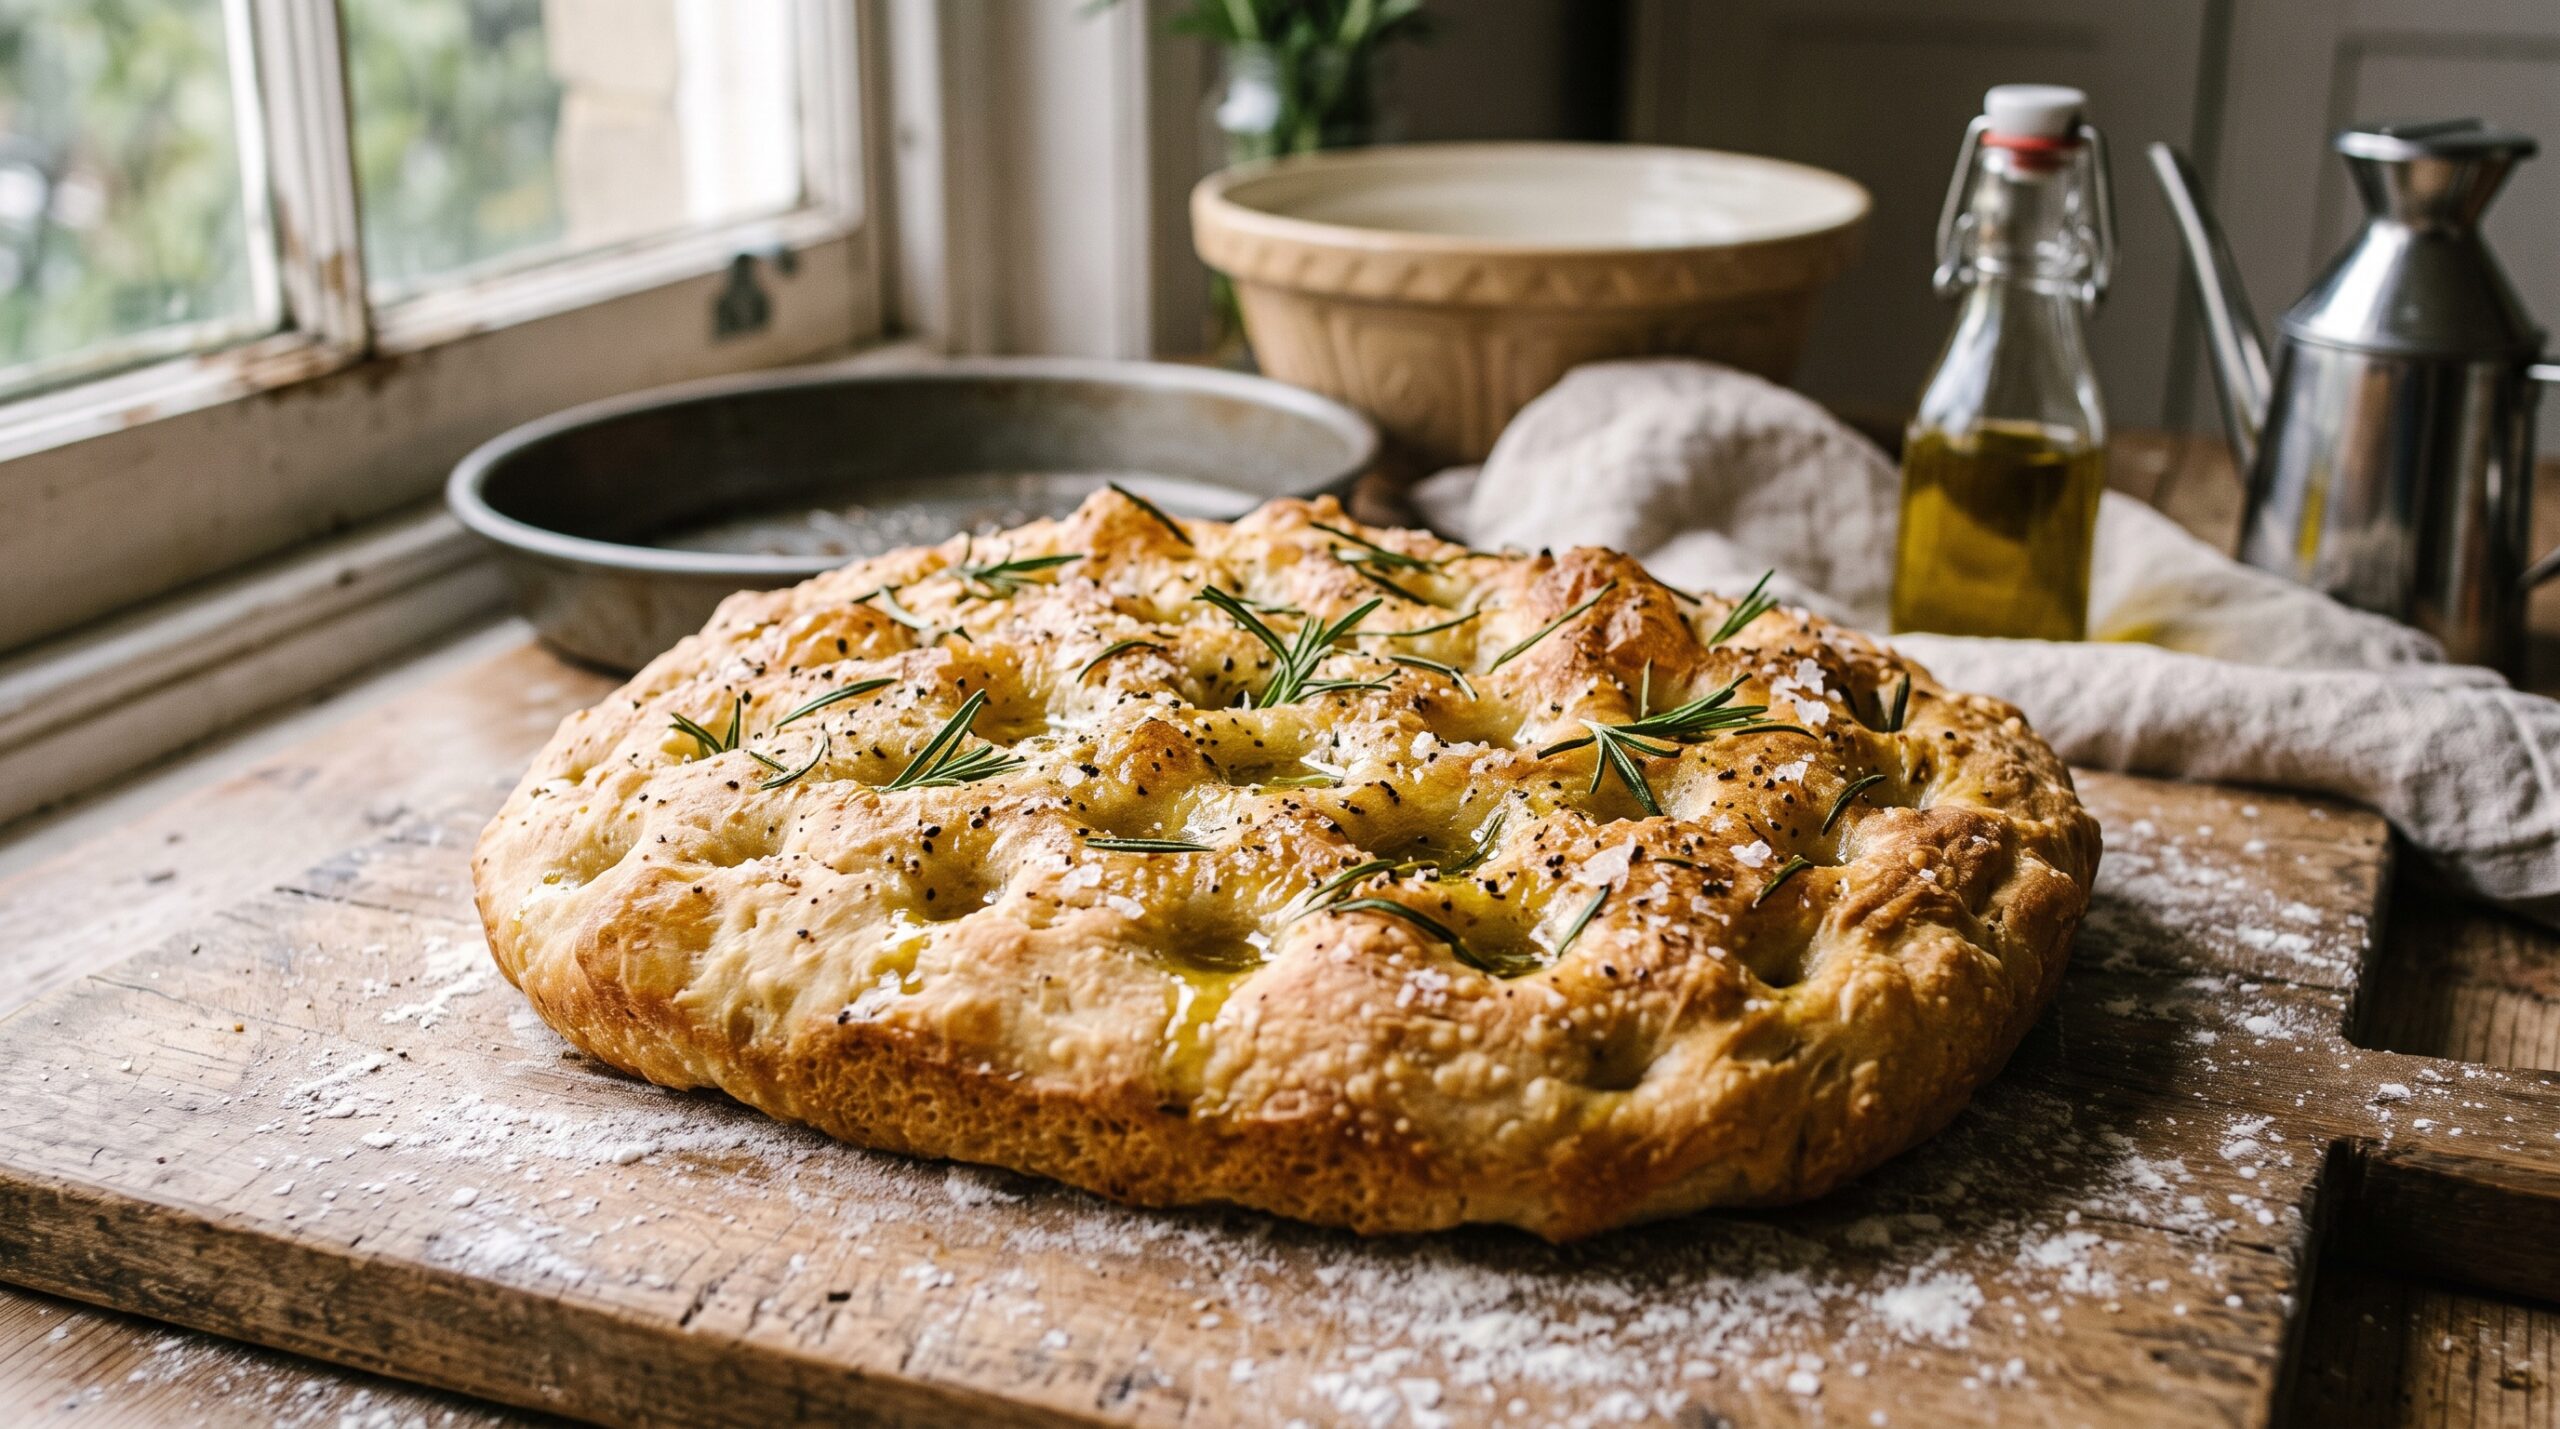
You pictured a tall, cloud-soft slab with a crackly oil-blistered top and a crumb full of big, irregular holes. What came out of the oven was flat, tight, and faintly bready — more cracker than pillow, with shallow dimples that barely held any oil. Flat focaccia is one of the most common sourdough disappointments, and the frustrating part is that focaccia is supposed to be the forgiving one. No shaping, no banneton, no scoring — just a wet dough in an oiled pan. So when it bakes up dense, it feels like the recipe lied to you.
It didn’t. Focaccia that won’t puff is almost always a sign of one specific problem, and once you can read which one it is, the fix is simple. Let’s walk through the real causes in the order they actually happen, from most to least common, with the diagnosis and the fix for each.
First, what a puffy focaccia actually needs
All that height and all those holes come from one thing: gas trapped in a dough strong enough to hold it. Your starter ferments the dough and fills it with carbon dioxide; the gluten network and the water stretch around those bubbles like the skin of a balloon. Bake it in a hot oven and the trapped gas expands, the bubbles set, and you get that tall, airy, open crumb. Flat focaccia means one of three things went wrong: the dough never made enough gas (fermentation), the dough couldn’t hold the gas (weak or dry dough), or you knocked the gas out before it baked (handling). Everything below is a version of one of those three.
Cause #1: It was underproofed (by far the most common)
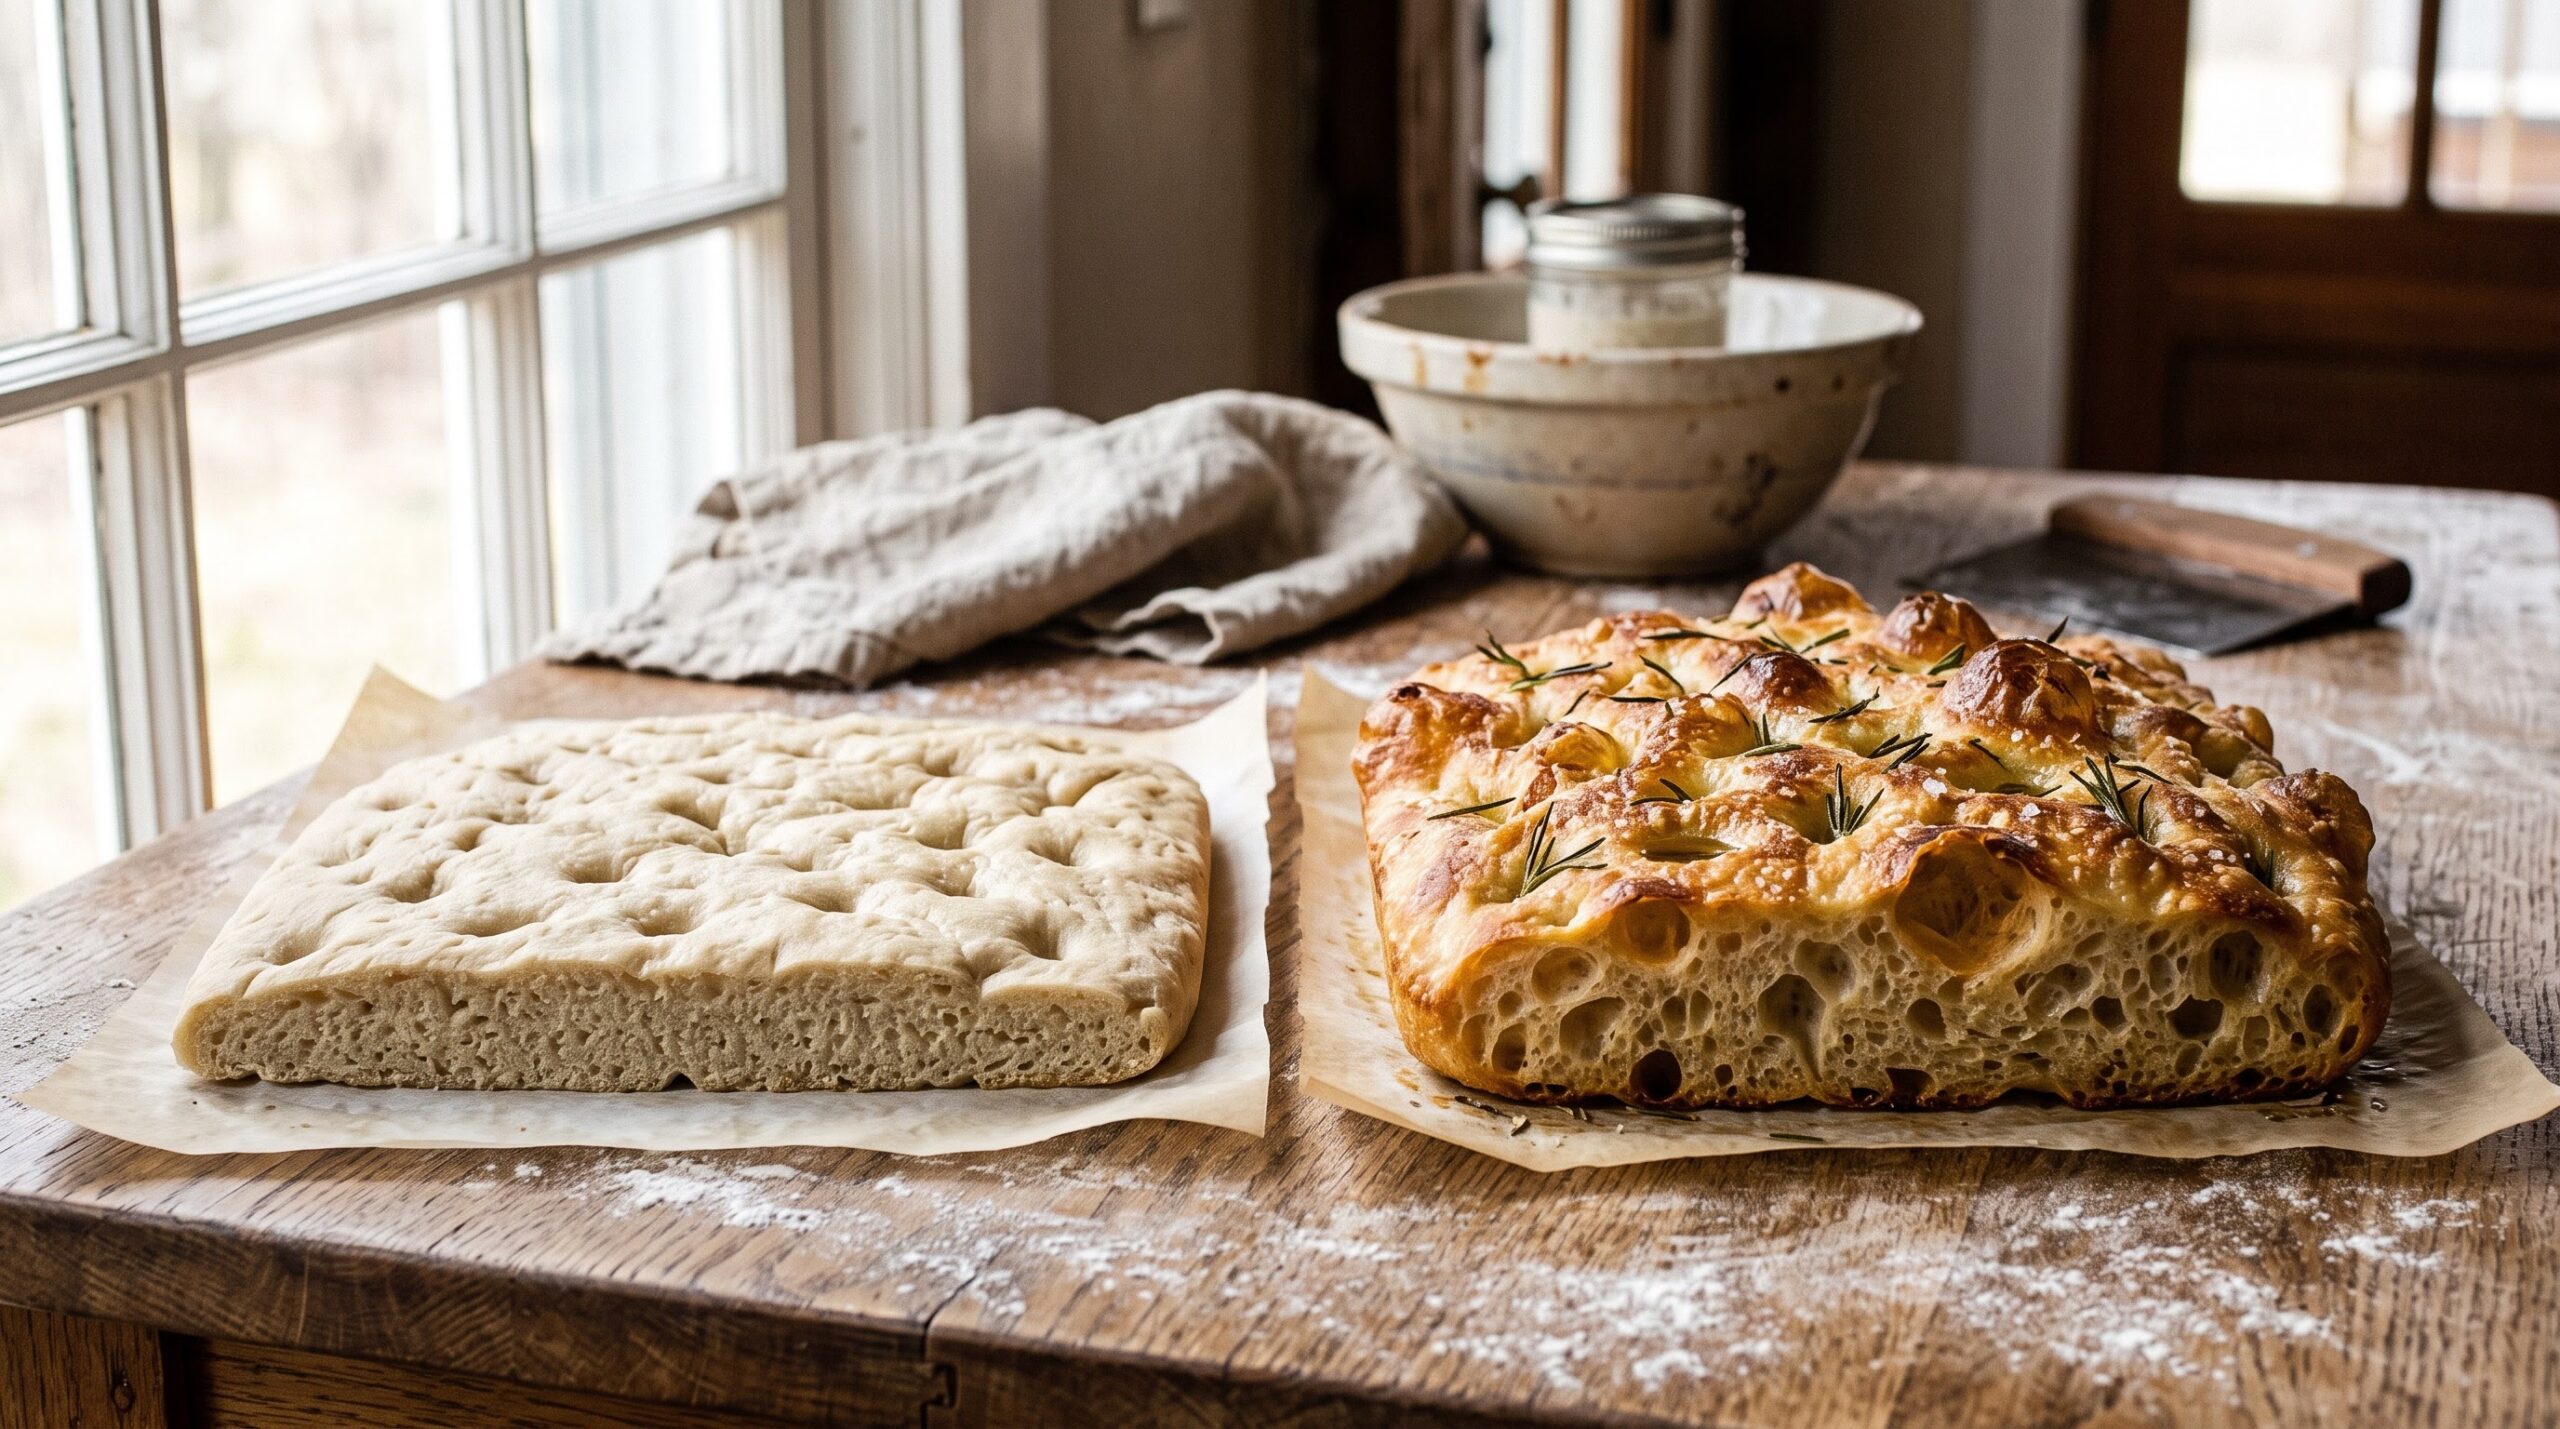
If your focaccia is flat and the crumb is tight and gummy-dense rather than open, it almost certainly didn’t ferment and proof long enough. This is the number-one reason, and it’s especially common now that kitchens are cold. A sluggish winter starter plus a cool counter means the dough needs far longer than the recipe’s summer timeline to fill with gas — and most people pull the trigger too early because the clock said so.
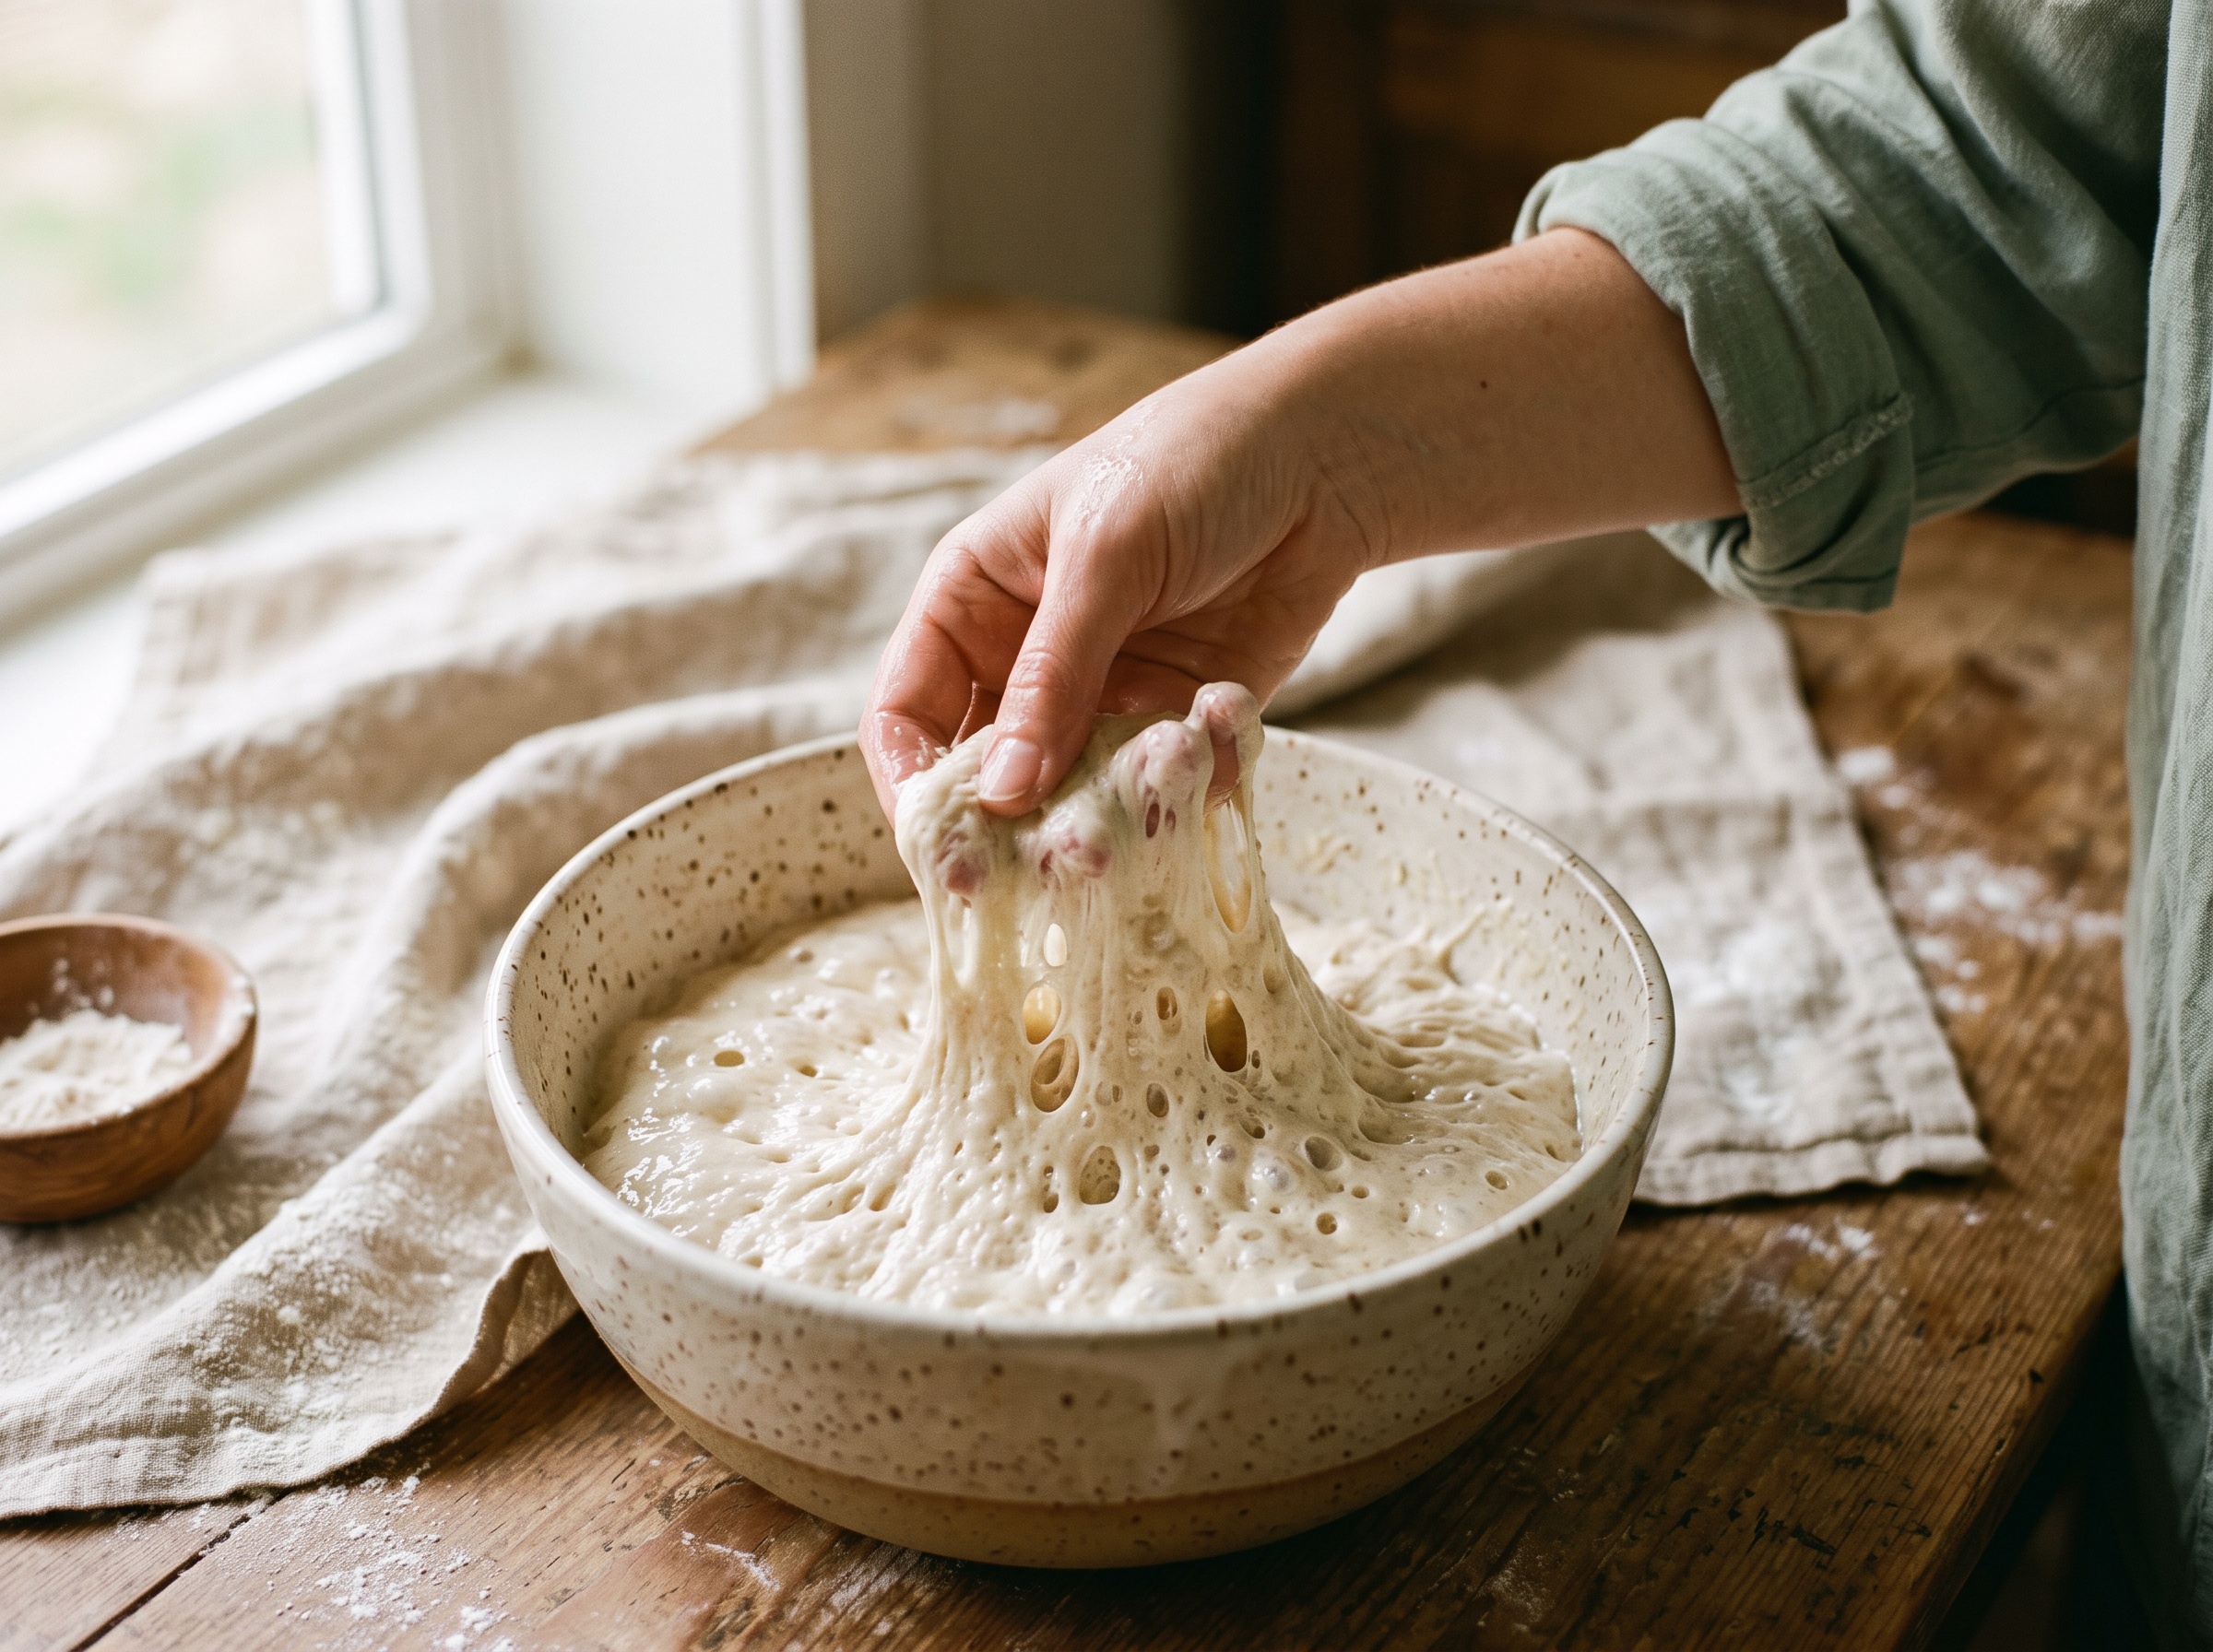
Focaccia proofs in two stages, and both matter. The bulk ferment (the first rise, before it goes in the pan) should leave the dough visibly expanded, domed, and jiggly, with bubbles showing on the surface and around the edges of the bowl. The second proof in the oiled pan should leave it puffy and wobbly, so a gentle poke springs back slowly and leaves a faint dent. If your dough looked flat and lifeless going into the oven, it will look flat and lifeless coming out.
The fix: stop baking by the clock and start reading the dough. Give the bulk ferment as long as it needs to genuinely grow and bubble — in a cold kitchen that can be several hours longer than you expect. If you’re not sure whether you’re under or over, our guide to how long bulk fermentation should actually run walks through reading the dough instead of the timer. And if your starter itself is sluggish, that’s its own fix — a weak starter can double in the jar and still fail to lift a dough, which we unpack in why a starter that doubles still won’t raise your bread.
Cause #2: The dough was too stiff and dry
Focaccia is a high-hydration dough on purpose. All that water is what makes the crumb open, custardy, and tall; a stiff, dry dough bakes into something closer to a thick flatbread. If your dough felt like sandwich-bread dough — easy to handle, holding a neat ball, not sticky — it had too little water to ever puff the way focaccia should.
This usually happens one of two ways: the recipe’s hydration was too low to begin with, or (more often) you added extra flour during mixing or folding because the wet dough felt alarmingly sticky and you wanted to tame it. That instinct is the enemy of focaccia. The stickiness is the recipe.
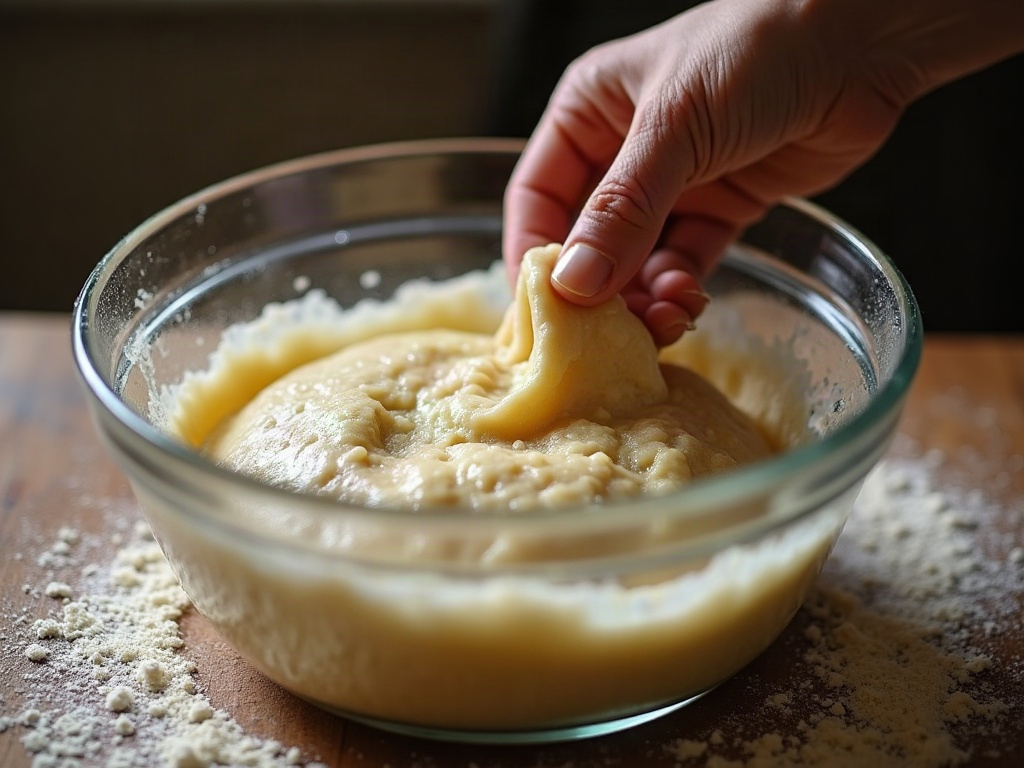
The fix: aim for a genuinely wet dough — around 75–80% hydration for most focaccia — and resist adding flour. Instead of kneading, build strength with a few sets of stretch-and-folds in the bowl during the first hour or two: wet your hand, lift one side of the dough, stretch it up, and fold it over, rotating the bowl. This develops the gluten that traps gas without drying the dough out. A wet dough you strengthen with folds is what holds those big bubbles; a dry dough you kneaded stiff will always bake flat.
Cause #3: You dimpled too early and deflated it
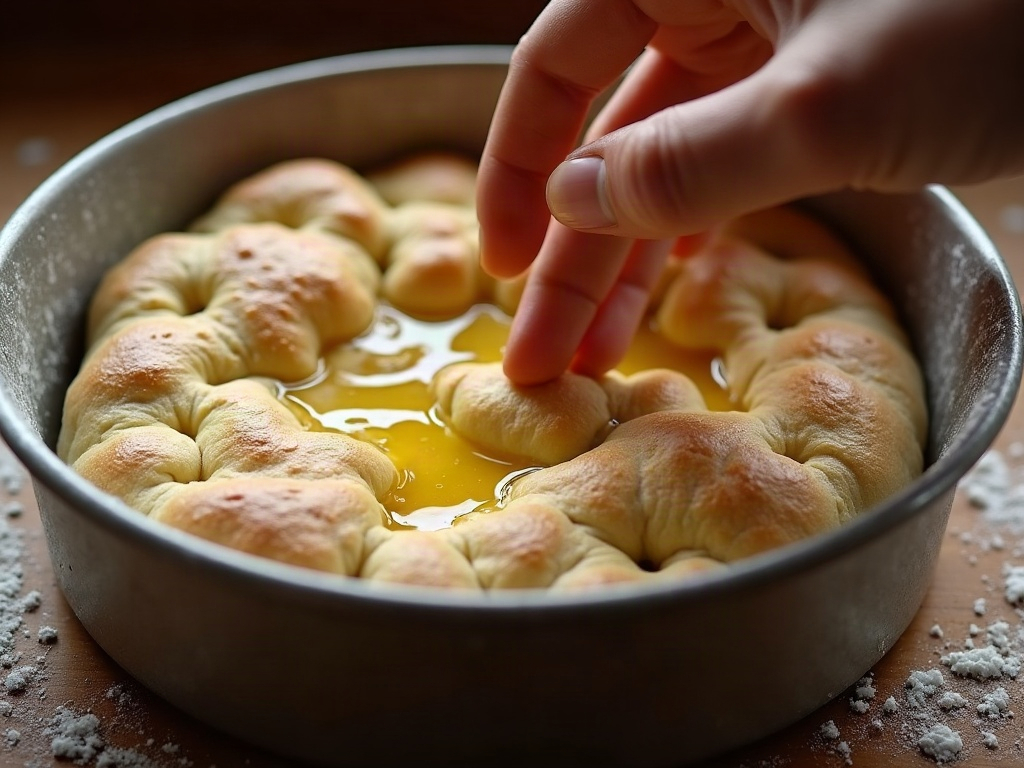
Those deep dimples are part of what makes focaccia focaccia — they hold pools of olive oil and create the signature dappled top. But timing matters enormously. If you pressed the dimples in while the dough was still slack and under-risen, you squeezed out the gas before it ever had a chance to inflate, and the dough had no time left to recover. The result bakes flat with sad, shallow dents.
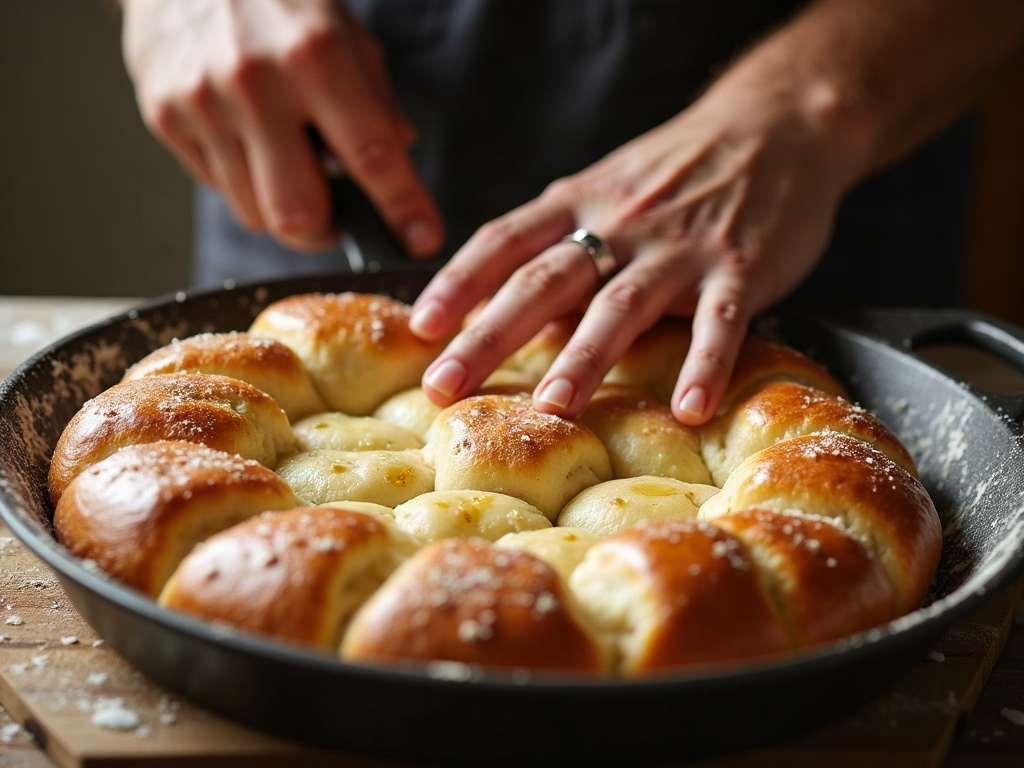
The fix: dimple late, not early. Let the dough do its full second proof in the oiled pan until it’s visibly puffy and jiggly, then oil your fingertips and press straight down to the bottom of the pan with a confident, gentle touch — you want to push oil into deep dimples without crushing the whole slab. Done at the right moment, dimpling redistributes bubbles rather than destroying them, and the dough springs tall in the oven. Being generally rough with a wet dough deflates it the same way; if yours tends to tear and collapse when you handle it, the gentle-handling habits in why dough tears instead of stretching carry straight over to focaccia.
Cause #4: Not enough oil, or the oven wasn’t hot enough
Focaccia is basically shallow-fried on its bottom and top by a generous slick of olive oil, and that oil does real work: it conducts heat into the dough fast, crisps the base, and helps the whole thing spring up and brown. A dry pan and a stingy drizzle give you a pale, tough, flat result even when the proof was perfect. The same goes for a cool oven — focaccia wants real heat to get that burst of oven spring before the crust sets.
The fix: be generous with oil in the pan and on top — focaccia is not the place to count tablespoons. A well-oiled metal pan gives the best bottom crust and lift. And bake hot: most focaccia bakes at 450°F (230°C) or higher on a rack in the lower third of the oven, fully preheated. If your bakes always come out pale and under-risen, a weak or under-preheated oven may be stealing your oven spring, the same way it does for a boule — the steam-and-heat principles in getting real oven spring without a Dutch oven apply to the open pan too.
Cause #5: The dough was ice-cold going into the oven
If you cold-proofed your focaccia overnight in the fridge (a great move for flavor and schedule), baking it straight from cold can blunt the rise. A fridge-cold dough is sluggish and tight; it needs to wake up and finish puffing at room temperature before it hits the heat, or it spends its oven time just thawing instead of springing.
The fix: after a cold proof, pull the pan out and let it sit on the counter until the dough looks puffy, jiggly, and comes toward room temperature — often 1 to 2 hours in a cool kitchen — then dimple and bake. This warm-up-before-baking question comes up for every cold-proofed sourdough, and we cover the general rule in whether to bake sourdough straight from the fridge or let it warm first.
A quick diagnostic, from the crumb
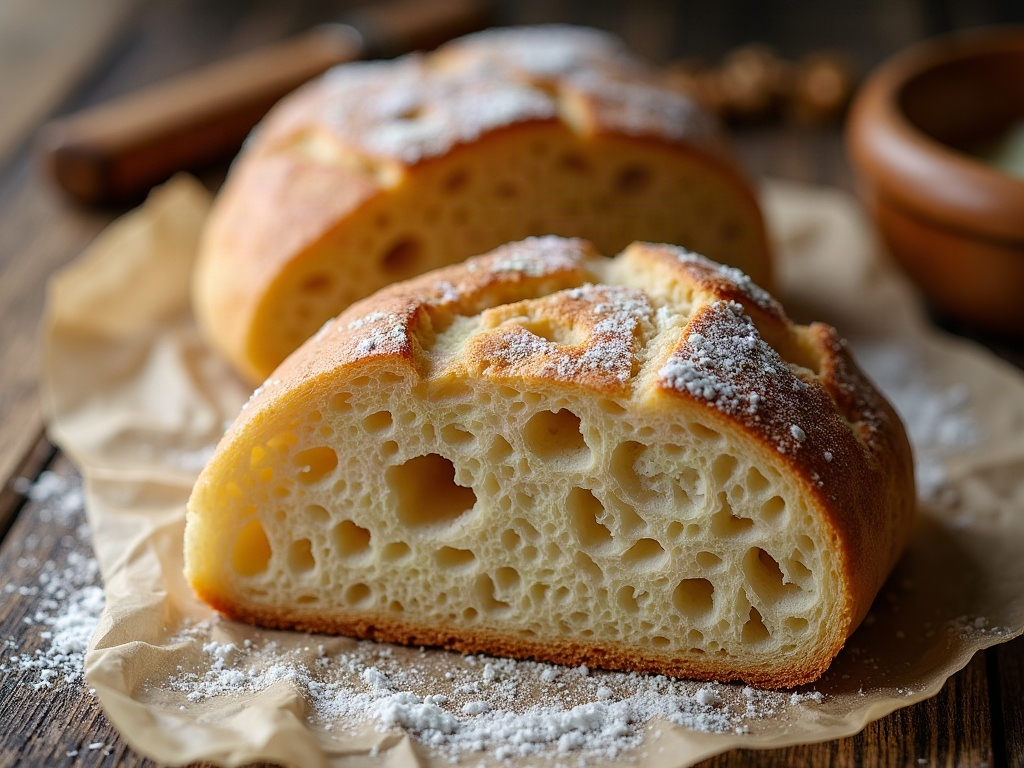
Cut into a flat focaccia and the crumb tells you which problem you had:
- Tight, gummy, close crumb with few holes → underproofed or a weak starter. Give it more time; fix the starter.
- Dense but dry and bready, almost like a thick flatbread → dough too stiff. Add water, do folds instead of kneading.
- Some big holes but an overall collapsed, deflated look → dimpled too early or handled too roughly. Proof fully, dimple late and gently.
- Pale, tough, and flat all over → not enough oil or oven too cool. More oil, hotter oven.
If you’re also getting wildly uneven results — big caverns in one spot, tight crumb in another — that’s usually uneven fermentation or shaping rather than a focaccia-specific issue, and it’s worth reading why sourdough gets huge holes in some spots and tight crumb in others.
Get it tall next time
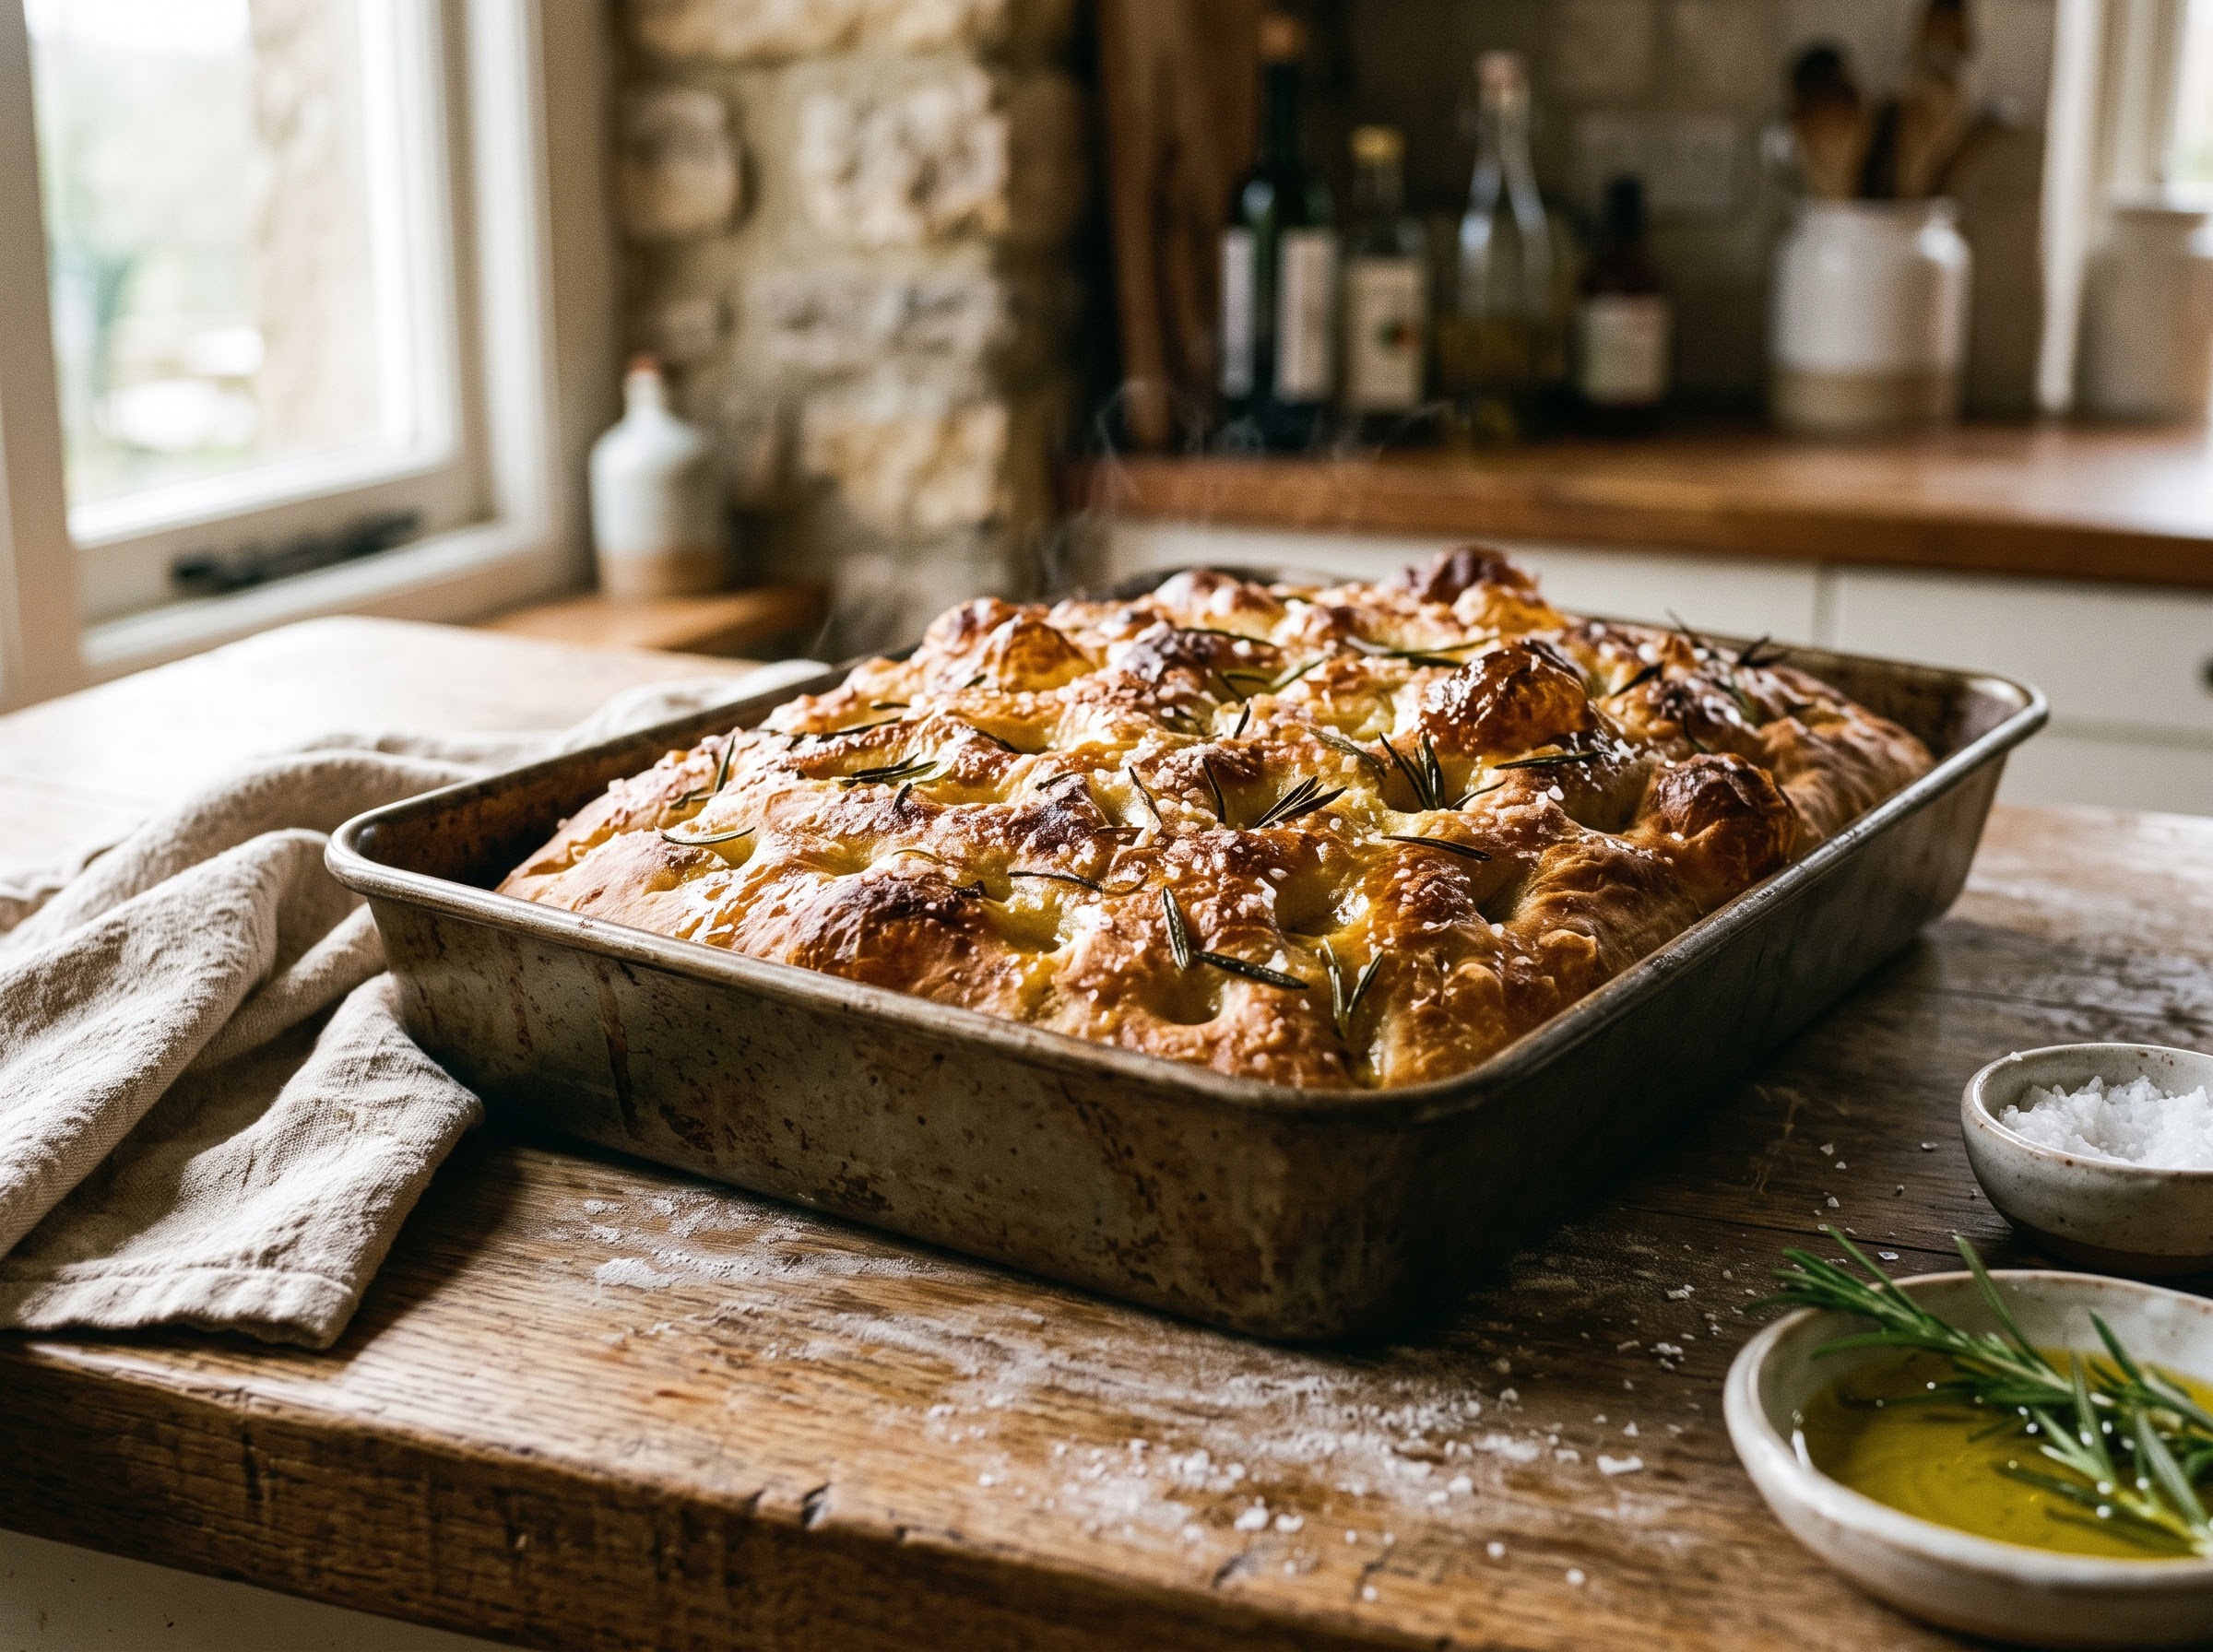
Flat focaccia almost never means you ruined the dough — it means one link in the chain was short. Nine times out of ten it’s the proof: a cold kitchen and a cautious clock conspired to send an under-risen dough into the oven. Keep the dough wet, build strength with folds instead of flour, let both rises go until the dough is genuinely puffy and jiggly, dimple late and gently into a well-oiled pan, and bake it hot. Do that and the next one springs tall, with a crisp oily crust and a crumb full of big, irregular, custardy holes.
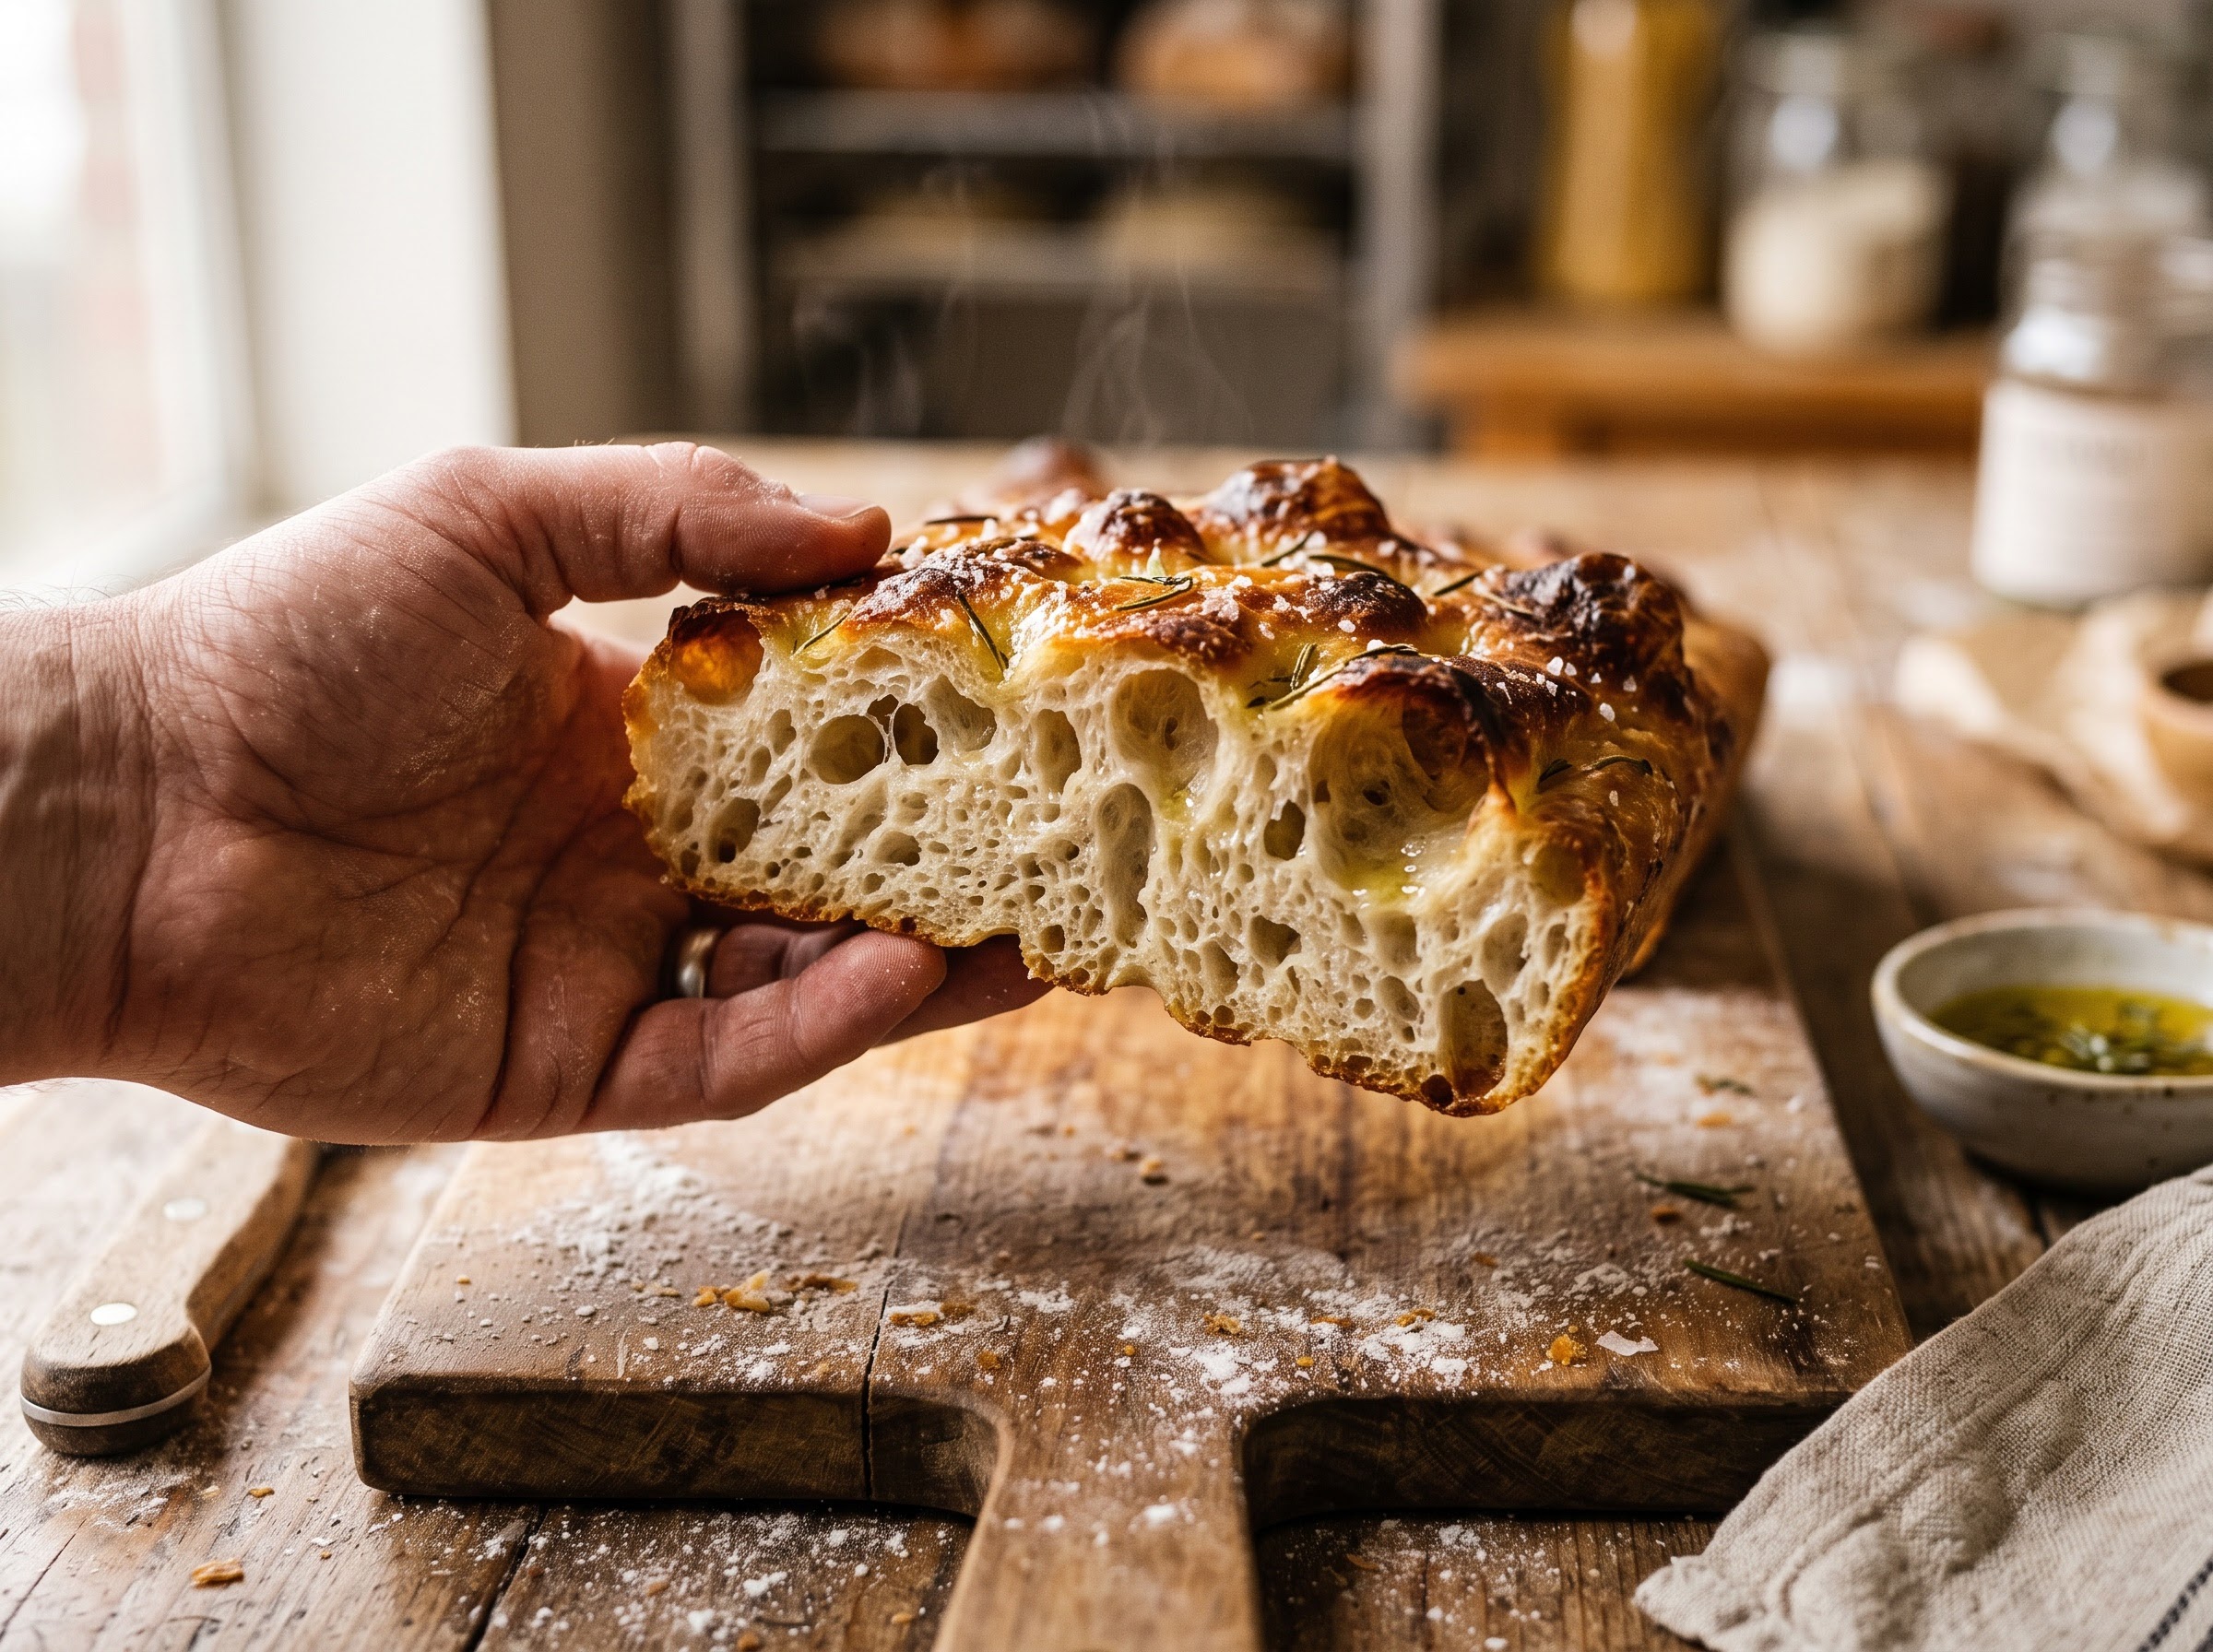
Focaccia is one of those bakes that clicks the instant you watch what “puffy and ready” actually looks like — how wobbly the dough should be, how deep to dimple, how much oil is really enough. The full step-by-step sourdough focaccia, from the wet dough to the deep-dimple finish, lives on the LoafLovers YouTube channel, and our free sourdough troubleshooting guide has a printable proofing-check cheat sheet so you never send a flat one into the oven again. Keep it wet, proof it fully, and go bake the tall one.