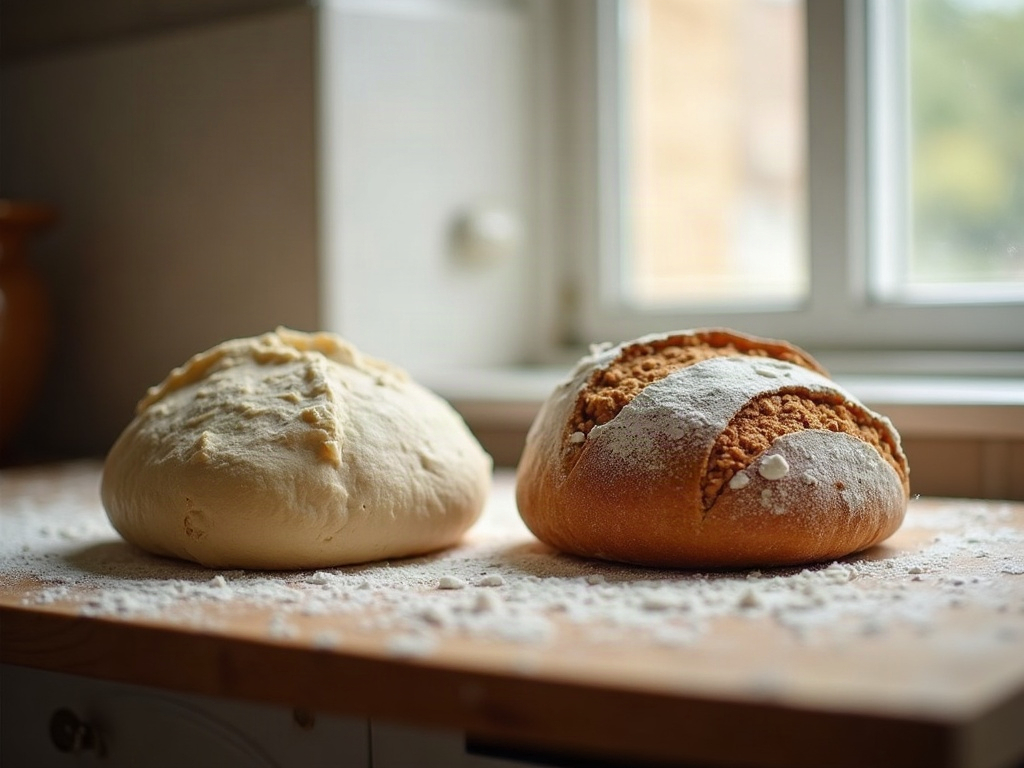
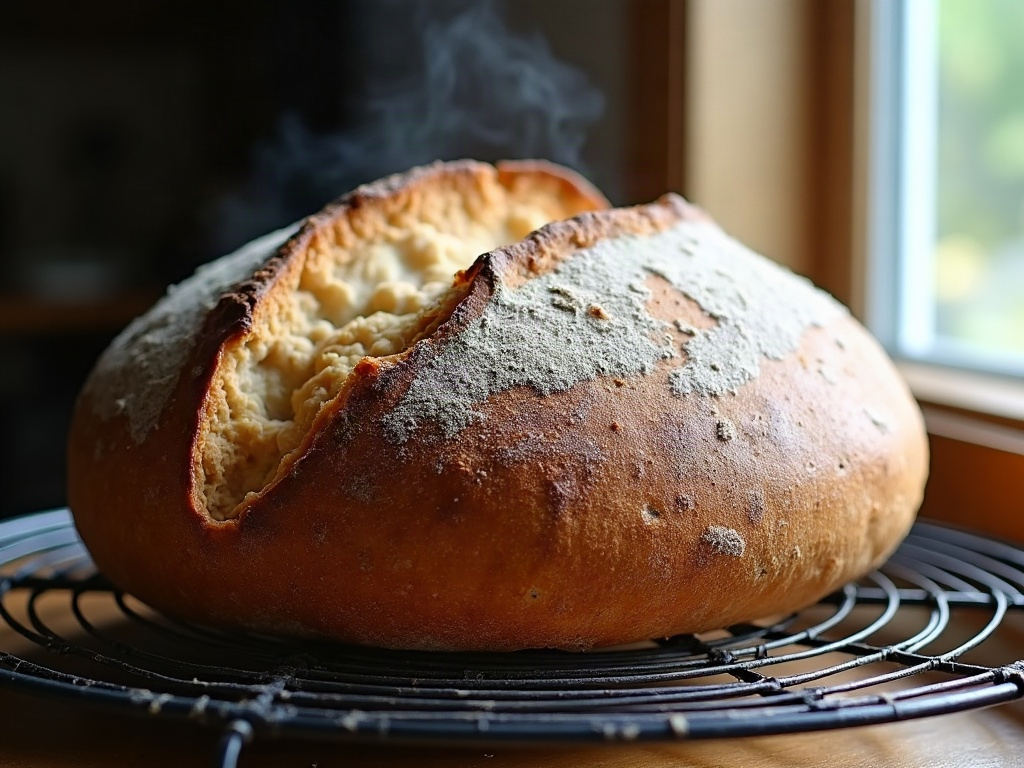
A boule forgives a lot. Round shaping is so natural — you just gather the dough and spin it into a ball — that even a slightly slack loaf usually rounds up into something respectable. A batard gives you no such cover. The long oval is the shape that tells the truth about your technique: every loose end, every soft spot, every bit of tension you failed to build shows up as a loaf that spreads flat, bulges on one side, or tapers into a sad lopsided tongue.
The good news is that a batard isn’t harder to shape than a boule — it’s just less willing to hide your mistakes. Once you understand what you’re actually trying to build (an even, taut skin along a long axis instead of a round one), it becomes one of the most satisfying shapes to make. Let’s break it down into the moves that matter.
What a batard actually is — and why the shape matters
A batard is simply an oval, oblong loaf — longer than a boule, shorter and fatter than a baguette. But the shape isn’t just cosmetic. That elongated form gives you a longer surface to score, which means a bigger, more dramatic ear and a prettier open face when it springs. It also slices into those classic oval pieces that fit a sandwich or a cheese board far better than a round boule does.
Here’s the key mental shift: a boule gets its strength from tension pulled evenly in every direction toward a single point. A batard needs tension built along two parallel axes — a taut skin running the length of the loaf, held firm from end to end. Get that even, lengthwise tension right and the loaf stands tall and holds. Get it uneven — tight in the middle, loose at the ends — and you get the classic batard failure: a loaf that sags into a flat, spreading oval the moment it hits the oven.
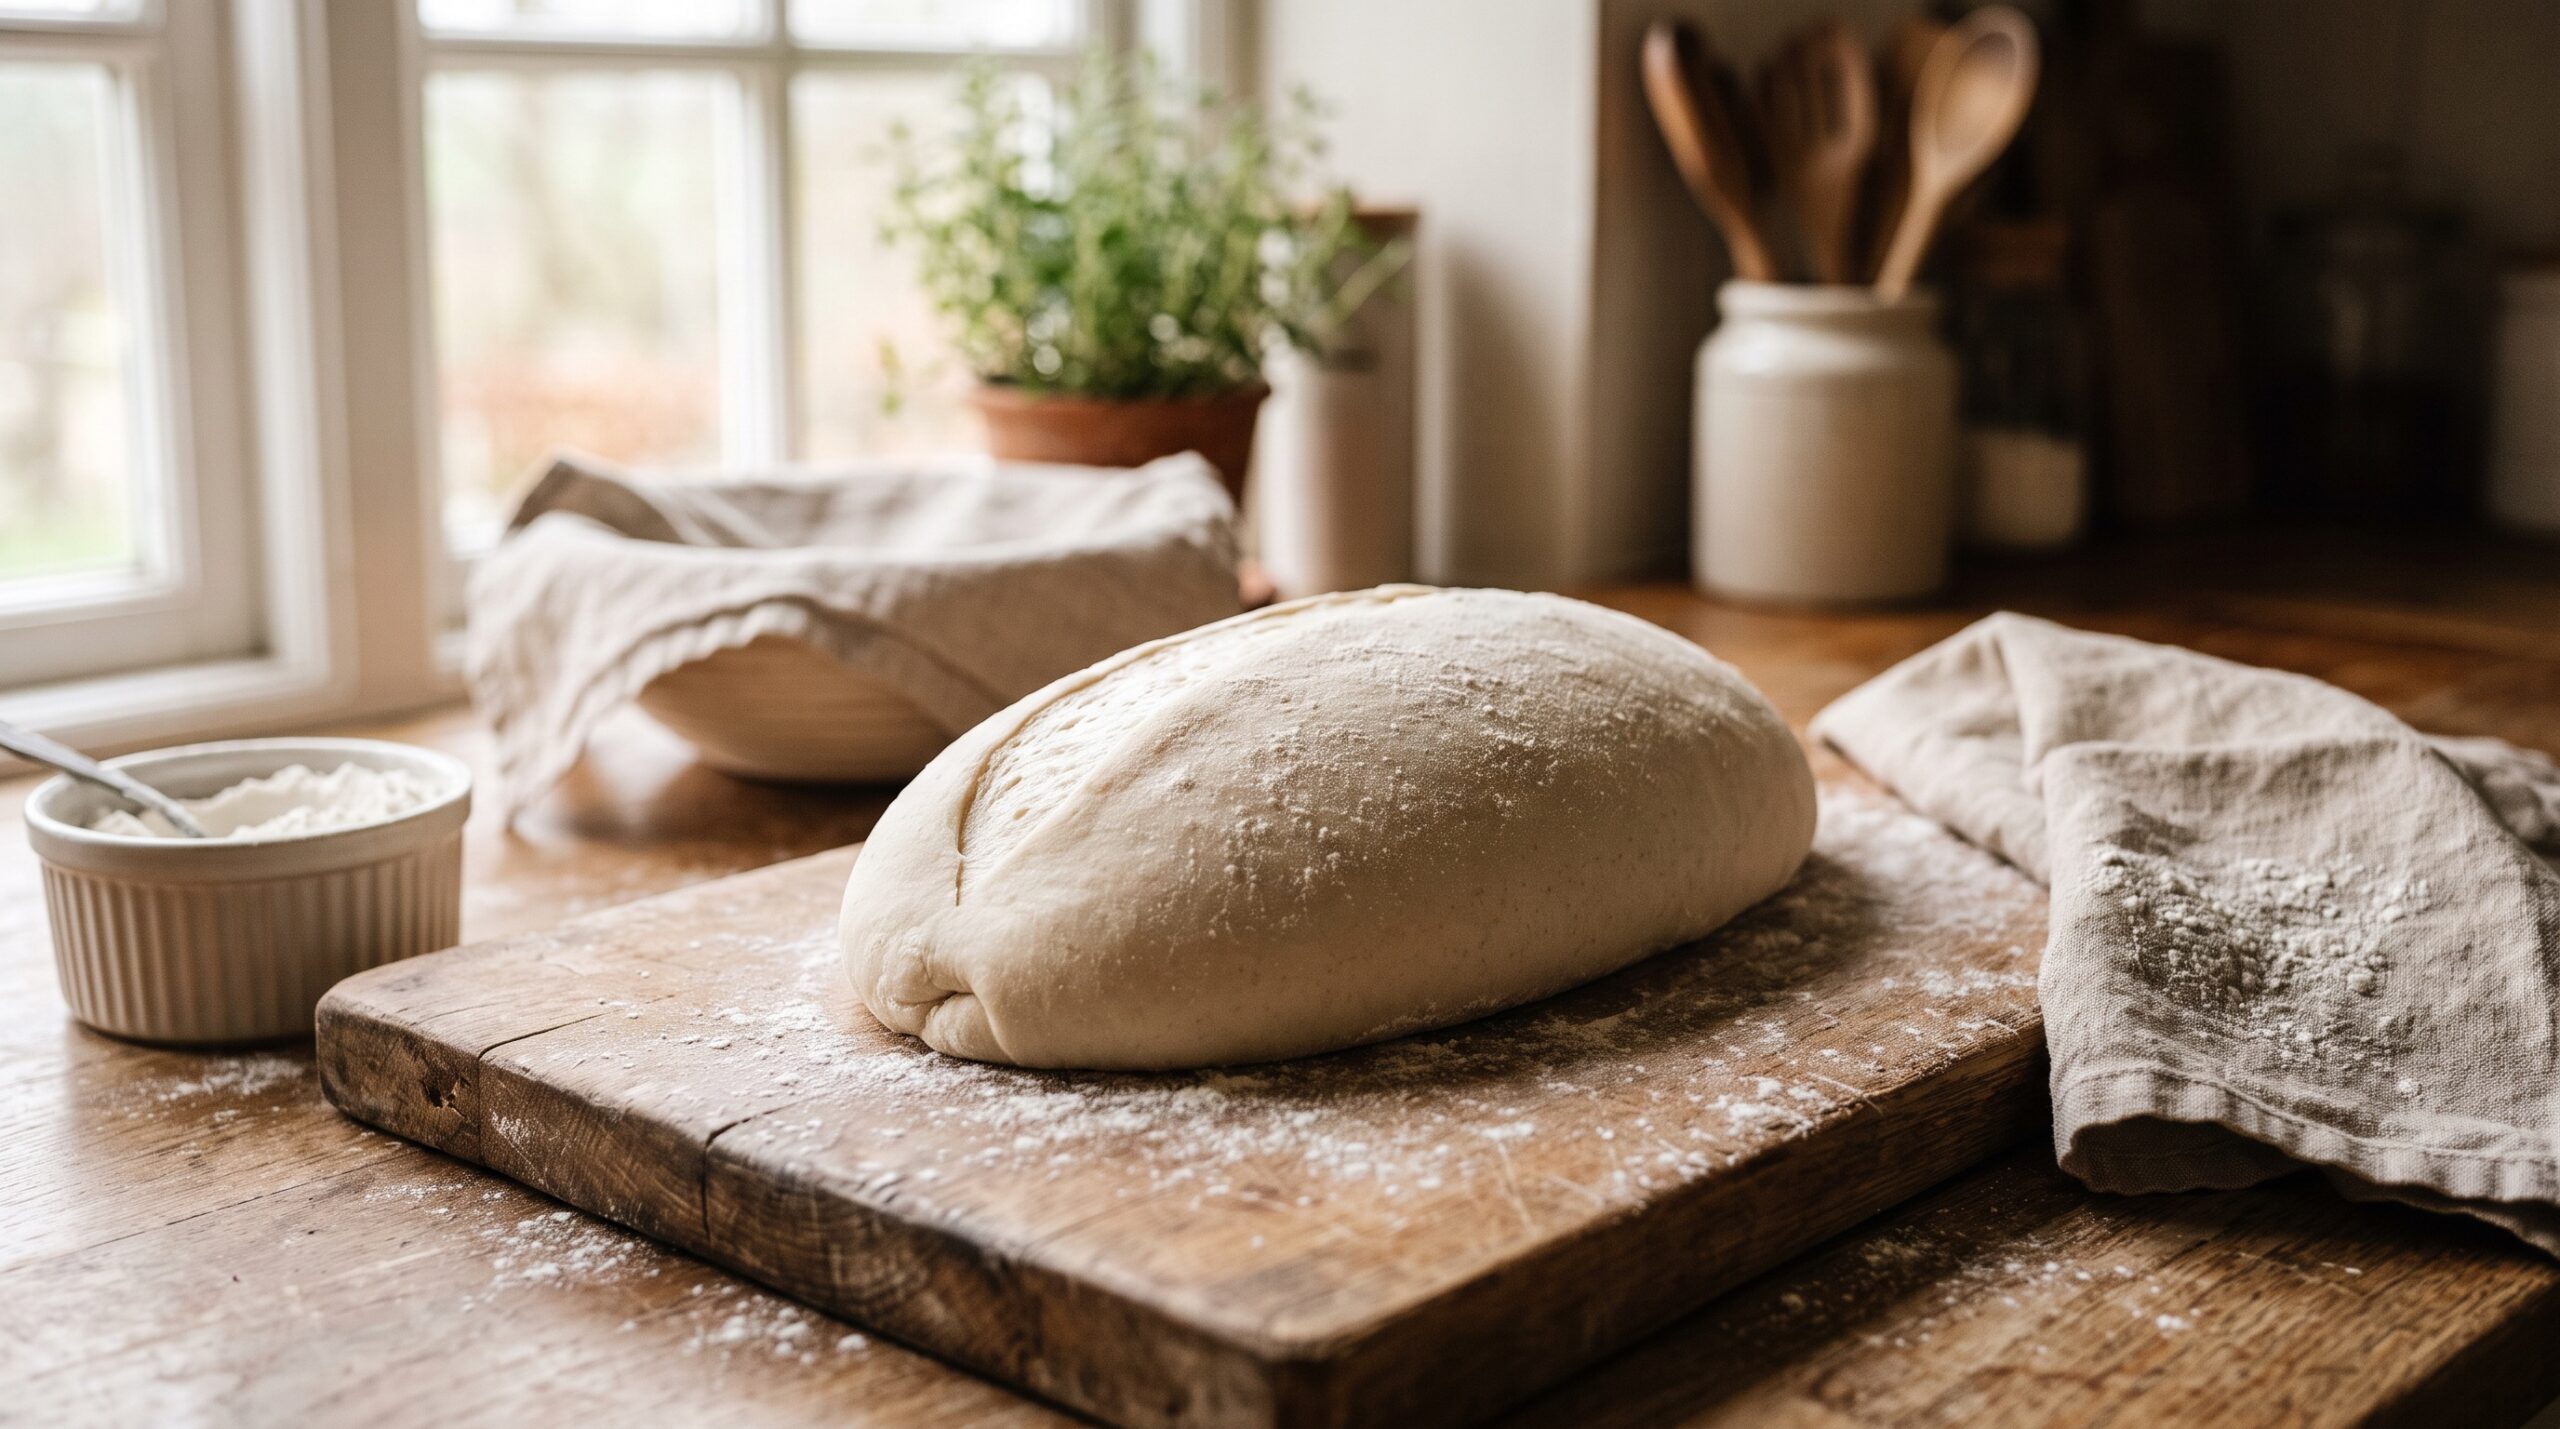
Start with a good preshape (this is half the battle)
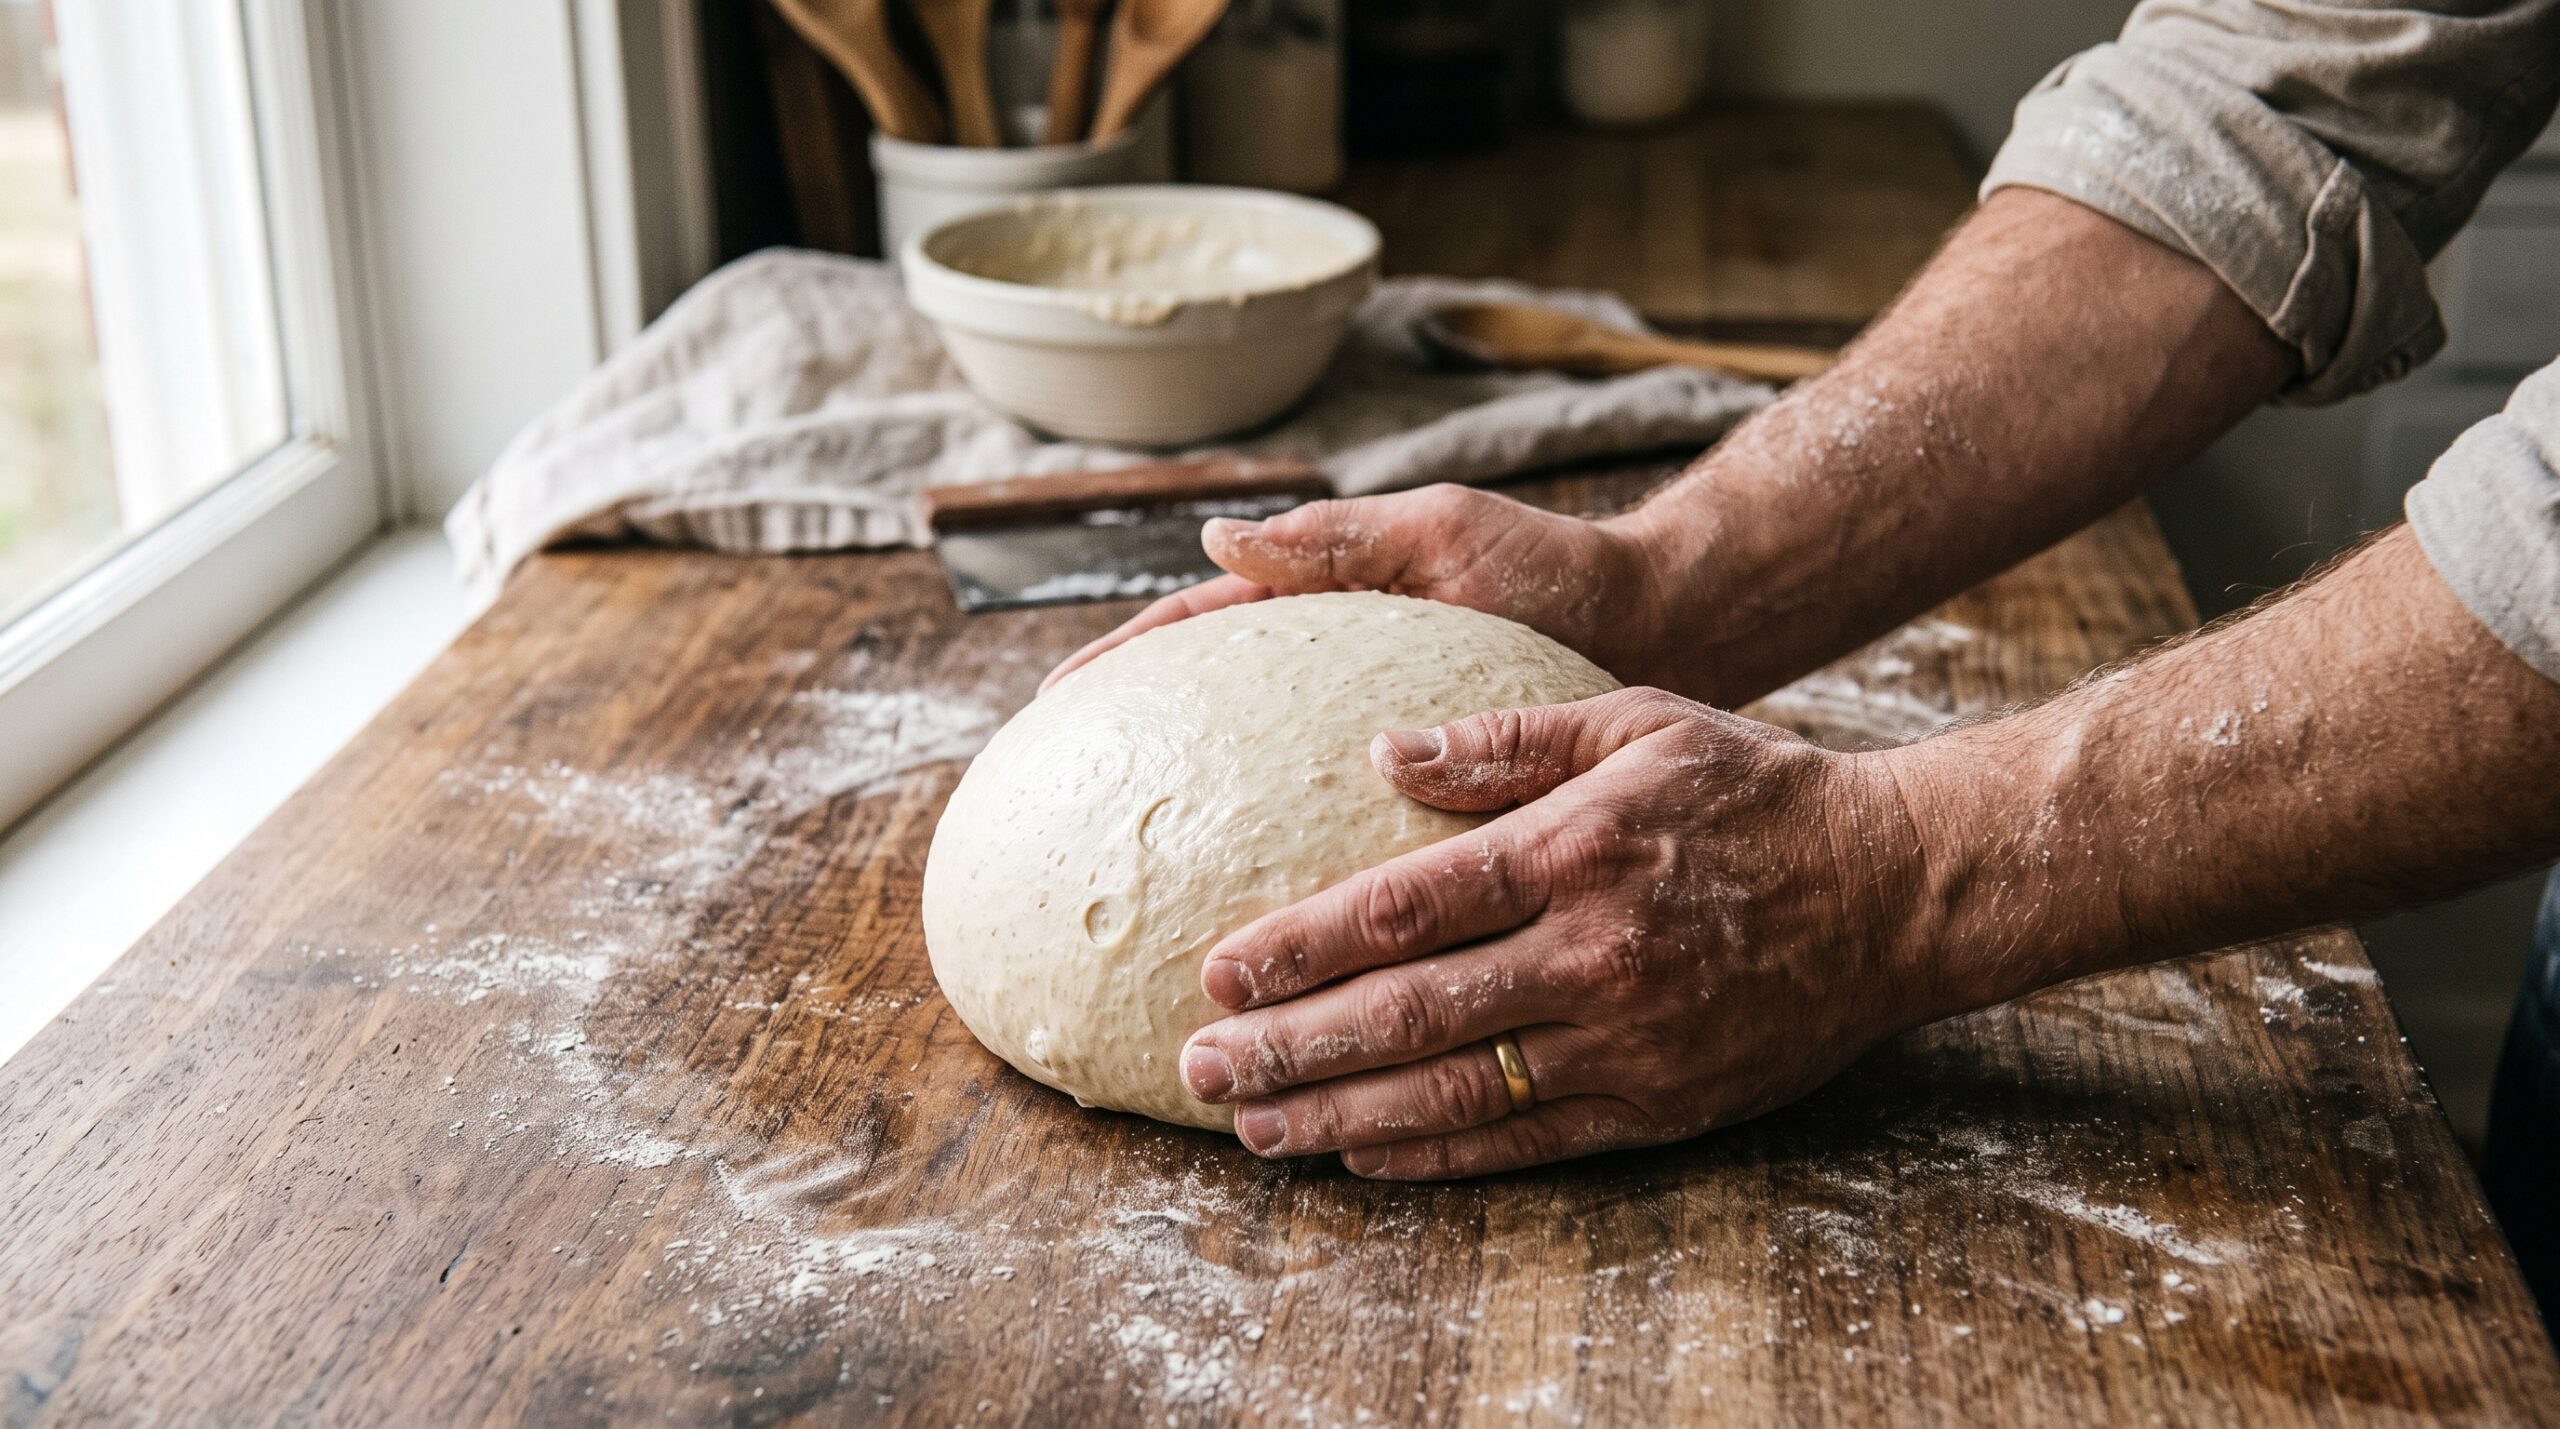
Almost every batard problem is actually a preshape problem. If you try to build a tight final shape on dough that’s slack, sticky, and disorganised, you’ll fight it the whole way and lose. The preshape is where you gently gather the dough into a loose round and let it rest — it reorganises the gluten so the final shape goes smoothly.
Turn your bulk-fermented dough onto a very lightly floured counter, fold it loosely into a round, and let it sit for 20 to 30 minutes uncovered. You want it relaxed but not spreading into a puddle. This quiet rest is doing real work: it lets the gluten settle so that when you shape, the dough stretches instead of tearing. If your loaves routinely won’t hold their form, this step is usually the fix — we walk through it in detail in our guide to the preshape and bench rest that fix a loaf that won’t hold its shape. Skip it and even perfect final shaping can’t rescue the loaf.
The letter fold and roll: building even tension
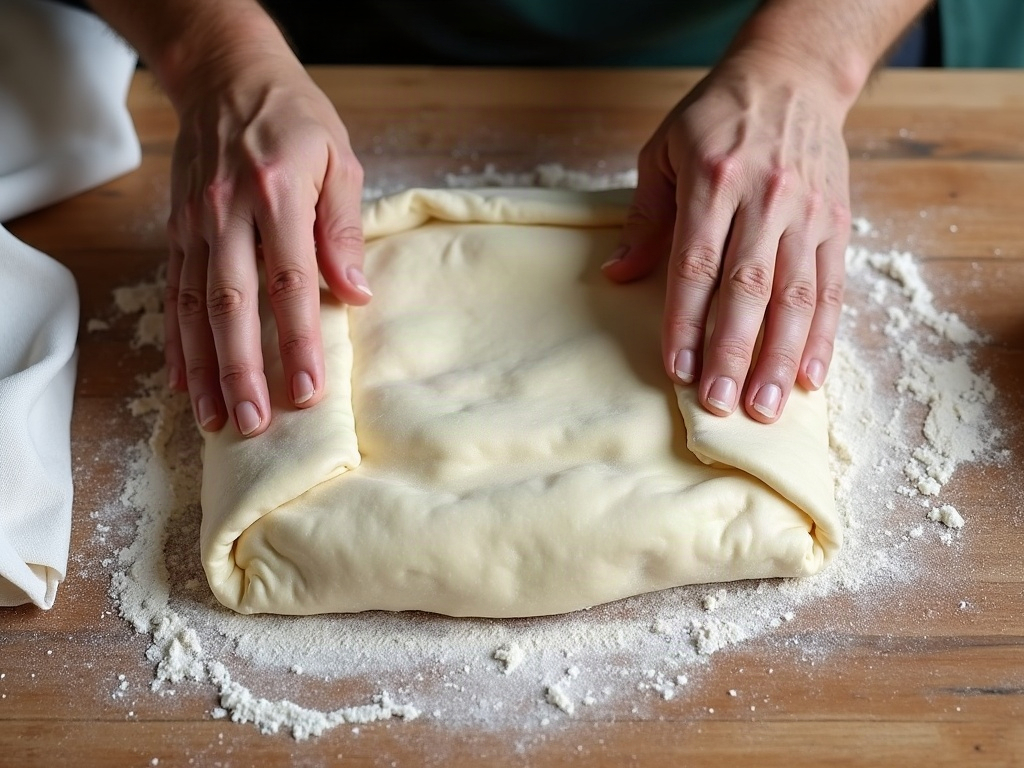
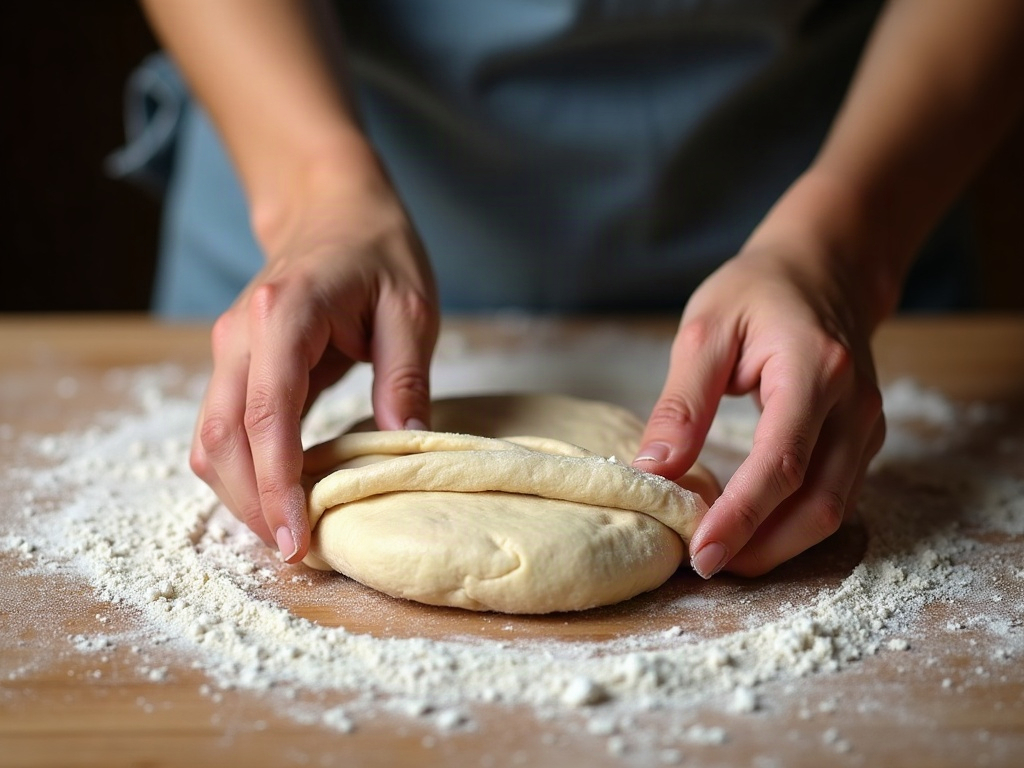
Once your preshaped round has rested, it’s time for the final shape. Lightly flour the top, flip it so the sticky underside faces up, and gently pat it into a rough rectangle — don’t crush it, just coax it. You’re not trying to degas it completely; you want to keep some of those fermentation bubbles for an open crumb. Think of it as organising the dough, not punishing it.
Now the two moves that create a batard:
- The letter fold. Fold the left side into the middle, then the right side over it, like folding a letter to fit an envelope. This sets up even, parallel tension across the width — the foundation of a straight loaf that won’t bulge to one side.
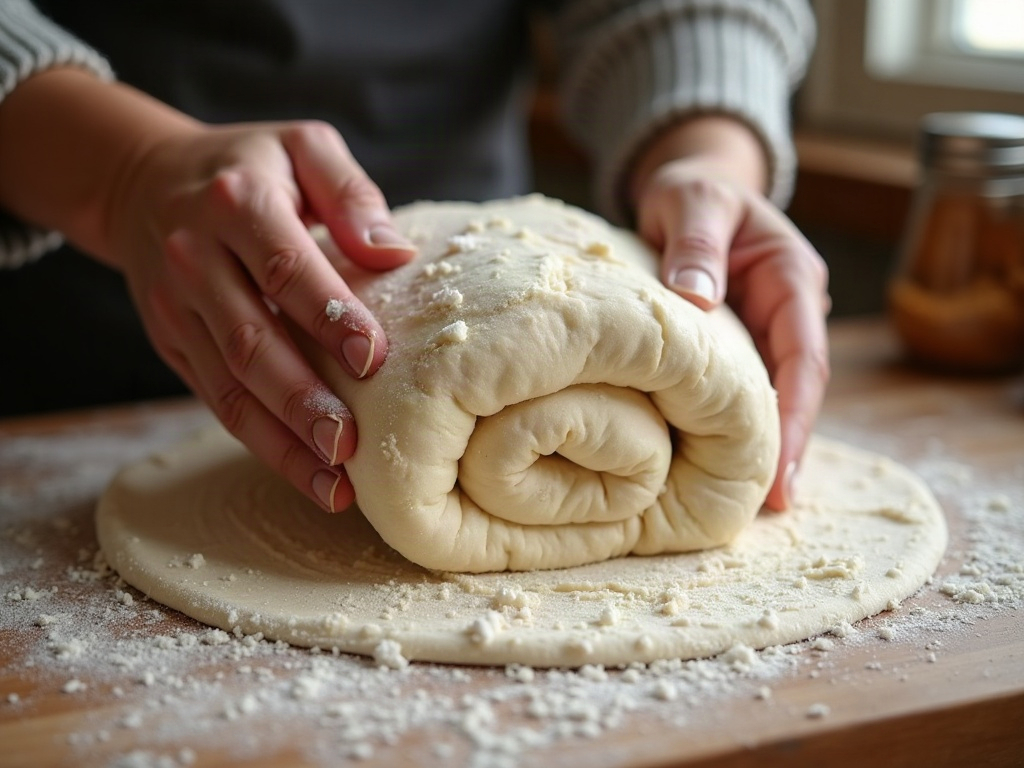
- The roll-up. Starting from the top edge nearest you, roll the dough down into a tight cylinder, tucking firmly with your thumbs as you go. Each turn should feel like it’s tightening the outer skin. Finish with the seam running cleanly along the bottom.
The whole thing should take fifteen or twenty seconds of confident handling. Batards punish hesitation — dithering warms and slackens the dough. Commit to the folds, roll with intent, and move on.
Seal the seam and shape the ends
This is the step beginners skip, and it’s exactly why their batards spread. After the roll-up, you have a seam running along the bottom. Pinch it closed firmly along the entire length — a loose seam is a weak point that pops open or lets the loaf relax flat during proofing. Run your fingers down it and really commit to sealing it shut.
Then address the ends. Gently cup your hands over each end and rock the loaf back and forth a few times to taper them slightly — this is what gives a batard its characteristic pointed, graceful tips rather than blunt, stubby ends. Don’t overdo it; a little tapering goes a long way, and rolling too aggressively here will tear the skin you just built.
Into the oval banneton — and why the basket matters
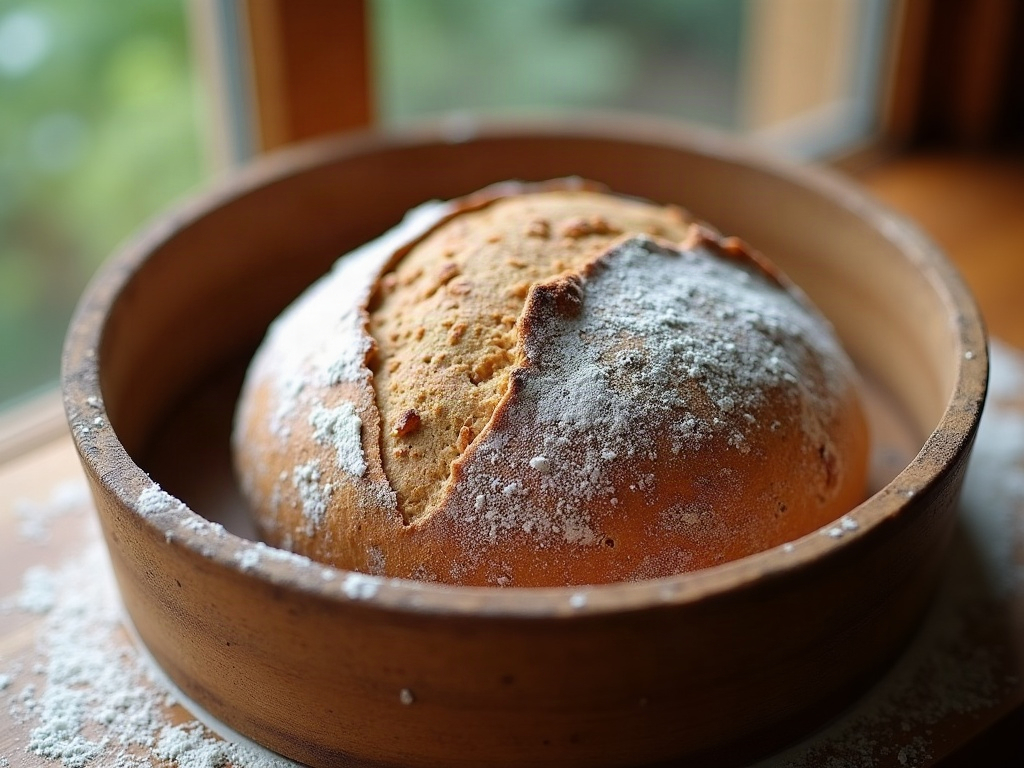
A round boule can proof in almost anything, but a batard really wants a long, oval banneton (or a makeshift equivalent). The basket’s job is to cradle that elongated shape and hold it upright while the dough proofs, so it rises up instead of relaxing out. Without lateral support, even a well-shaped batard will slowly flatten over a long proof.
Flour the banneton well — rice flour is the champion here because it doesn’t absorb moisture and grip the dough the way wheat flour can. Lower the shaped loaf in seam-side up, so that when you tip it out onto the baking surface later, the smooth taut skin ends up on top and the seam on the bottom. If you’re forever battling dough that cements itself to the basket and tears on the way out, our breakdown of why sourdough sticks to the banneton and how to stop it will save you a few heartbreaks. No oval basket yet? A linen-lined loaf pan or a folded tea towel supporting both long sides works in a pinch.
Common batard failures — and the real cause of each
If your ovals keep disappointing you, it’s almost always one of these, and every one traces back to tension:
- It spreads flat and wide. The number one batard complaint. Usually a loose seam, not enough surface tension in the roll-up, or an overproofed dough that’s run out of structure. Tighten the shaping and consider a shorter proof.
- One end is fat, the other is thin. Uneven tension during the roll — you rolled harder on one side. Focus on keeping your thumbs and pressure symmetrical as you roll down.
- It collapses when I tip it out or score it. This is often overproofing or a weak skin that deflates the instant it’s disturbed. It’s a shaping-adjacent problem worth diagnosing on its own; here’s why sourdough deflates when you turn it out or score it.
- The skin tears while I shape. The opposite problem — you’re being too rough, or the dough is underdeveloped and can’t stretch. Lighten your hands and make sure your bulk fermentation and gluten development are complete before you shape.
Notice the pattern: a batard that fails almost never fails because of a bad recipe. It fails because the tension was uneven, lost, or never built. That’s genuinely good news, because tension is a skill — it gets dramatically better with a handful of reps, and you can feel the difference the moment you get it right. The dough goes from a slack blob to a taut, springy little torpedo under your hands.
Score it to show off the shape
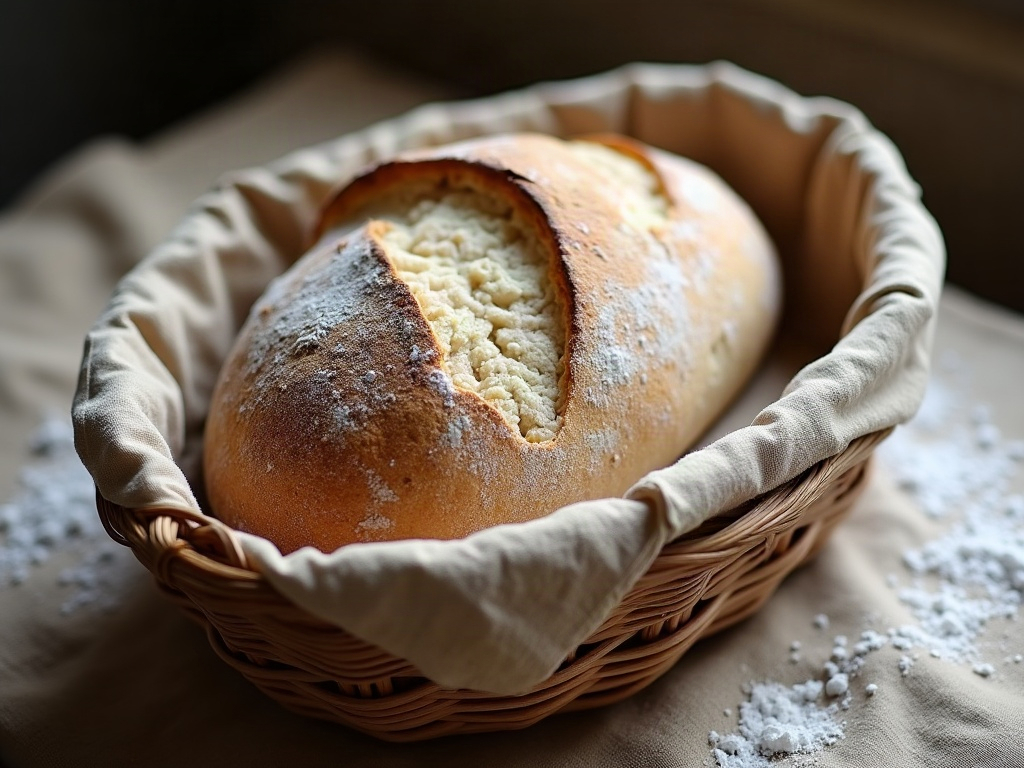
You went to the trouble of making a long loaf — use that canvas. A single long, confident slash down the length of a batard (held at a shallow angle so it undercuts the surface) gives you that dramatic lifted ear that makes the shape worth it. One decisive stroke beats three timid scratches every time. If your scores keep dragging and tearing instead of gliding, that’s usually a blade or a dough-tension issue rather than a shaping one.
Shaping a batard well is one of those sourdough skills that feels mysterious until suddenly it doesn’t. Build a good preshape, fold and roll with even tension, seal that seam like you mean it, and give the oval the lateral support it needs — and you’ll pull a tall, even, handsomely scored loaf out of the oven instead of a flat tongue. If you’d like to watch the letter fold, the roll-up, and the seam seal happen in real time — the hand movements are much easier to copy than to read — the full step-by-step shaping walkthrough lives on the LoafLovers YouTube channel, and our free sourdough troubleshooting guide has a printable shaping checklist you can keep on the counter. Shape with intent, and let the batard show off.