There is a particular disappointment that belongs only to gluten-free bakers. You kept a gluten-free starter alive for weeks, you fed it faithfully, it bubbled up beautifully, you mixed your dough with real hope — and out came a loaf that is squat, pale, heavy as a paperweight, and unmistakably gummy through the middle. It is easy to blame yourself, or the starter, or gluten-free baking as a whole. Don’t. A dense, gummy gluten-free loaf is not a mystery and it is almost never bad luck. Gluten-free sourdough simply fails along different lines than wheat sourdough, and once you know what those lines are, the fix for each is concrete and repeatable. Let’s diagnose it properly.
First, Understand Why Gluten-Free Behaves Nothing Like Wheat
Everything about that gummy crumb traces back to one fact: there is no gluten. In a wheat loaf, gluten forms a stretchy elastic web that traps fermentation gas and sets into an airy, springy structure in the oven. Gluten-free flours — rice, sorghum, buckwheat, starches — have none of that. On their own they behave like wet sand: they cannot trap gas, they cannot hold a tall shape, and they cannot form the scaffold that makes bread light. So gluten-free sourdough is not “wheat sourdough with different flour.” It is a different craft that borrows the flavor of sourdough. The dough is usually a thick, pourable batter rather than a kneadable ball, structure comes from an added binder instead of gluten development, and the loaf is baked far longer and to a specific internal temperature. Miss those differences and you get exactly the dense, sticky brick you are holding. Nearly every cause below is really a version of this same truth: the loaf never got the structure or the full bake that gluten-free bread demands.
Cause 1: Not Enough Binder (Usually Psyllium)
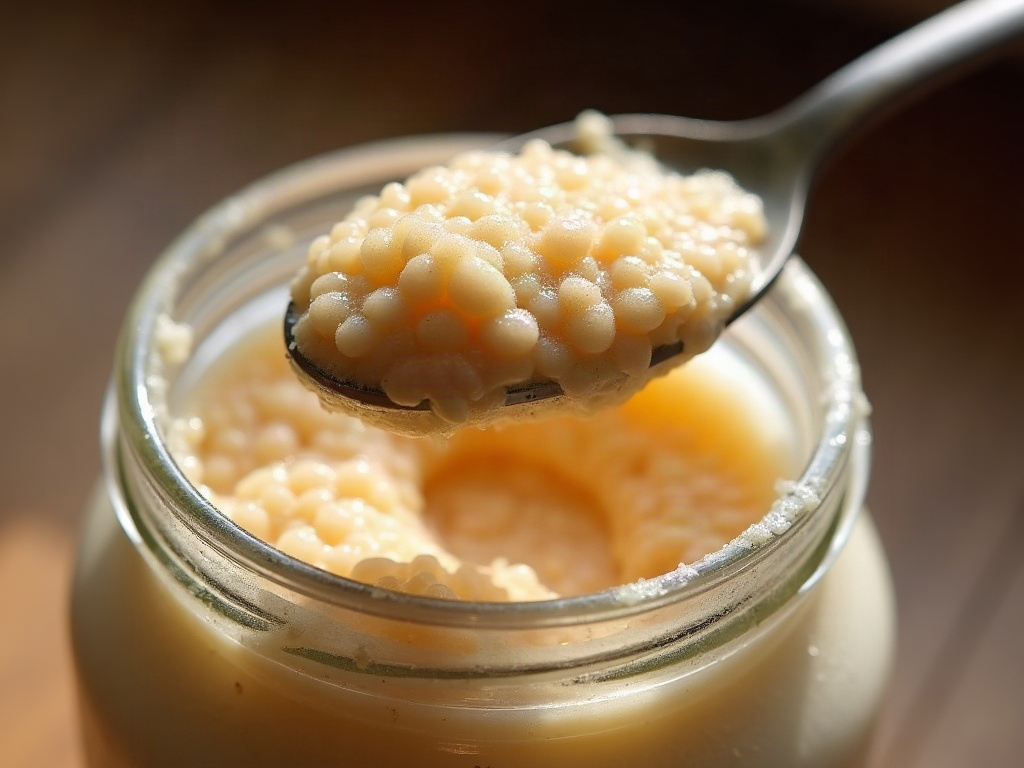
This is the number-one reason a gluten-free loaf comes out dense and gummy, and it is the first thing to check. Because there is no gluten, something else has to trap the gas and give the crumb its set, stretchy structure — and for real bread-like results, that something is almost always psyllium husk. Psyllium forms a gel that mimics gluten’s gas-holding, gives the dough enough cohesion to rise and hold a shape, and sets into a proper crumb instead of a paste. Too little psyllium (or leaning only on xanthan gum, which helps but will not carry a whole hearth loaf on its own) and the structure collapses: the gas escapes, the loaf sinks, and the interior bakes into that tight gummy band. The fix is to make sure your recipe uses a meaningful amount of psyllium husk — whole husk or powder — and to measure it by weight, because the difference between a good loaf and a gummy one can be a few grams. If your recipe uses no psyllium at all and relies solely on a pinch of gum, that recipe is the problem, not your technique. Find a formula built around psyllium and the single biggest cause of gumminess usually disappears.
Cause 2: The Hydration Is Wrong for a Batter Dough
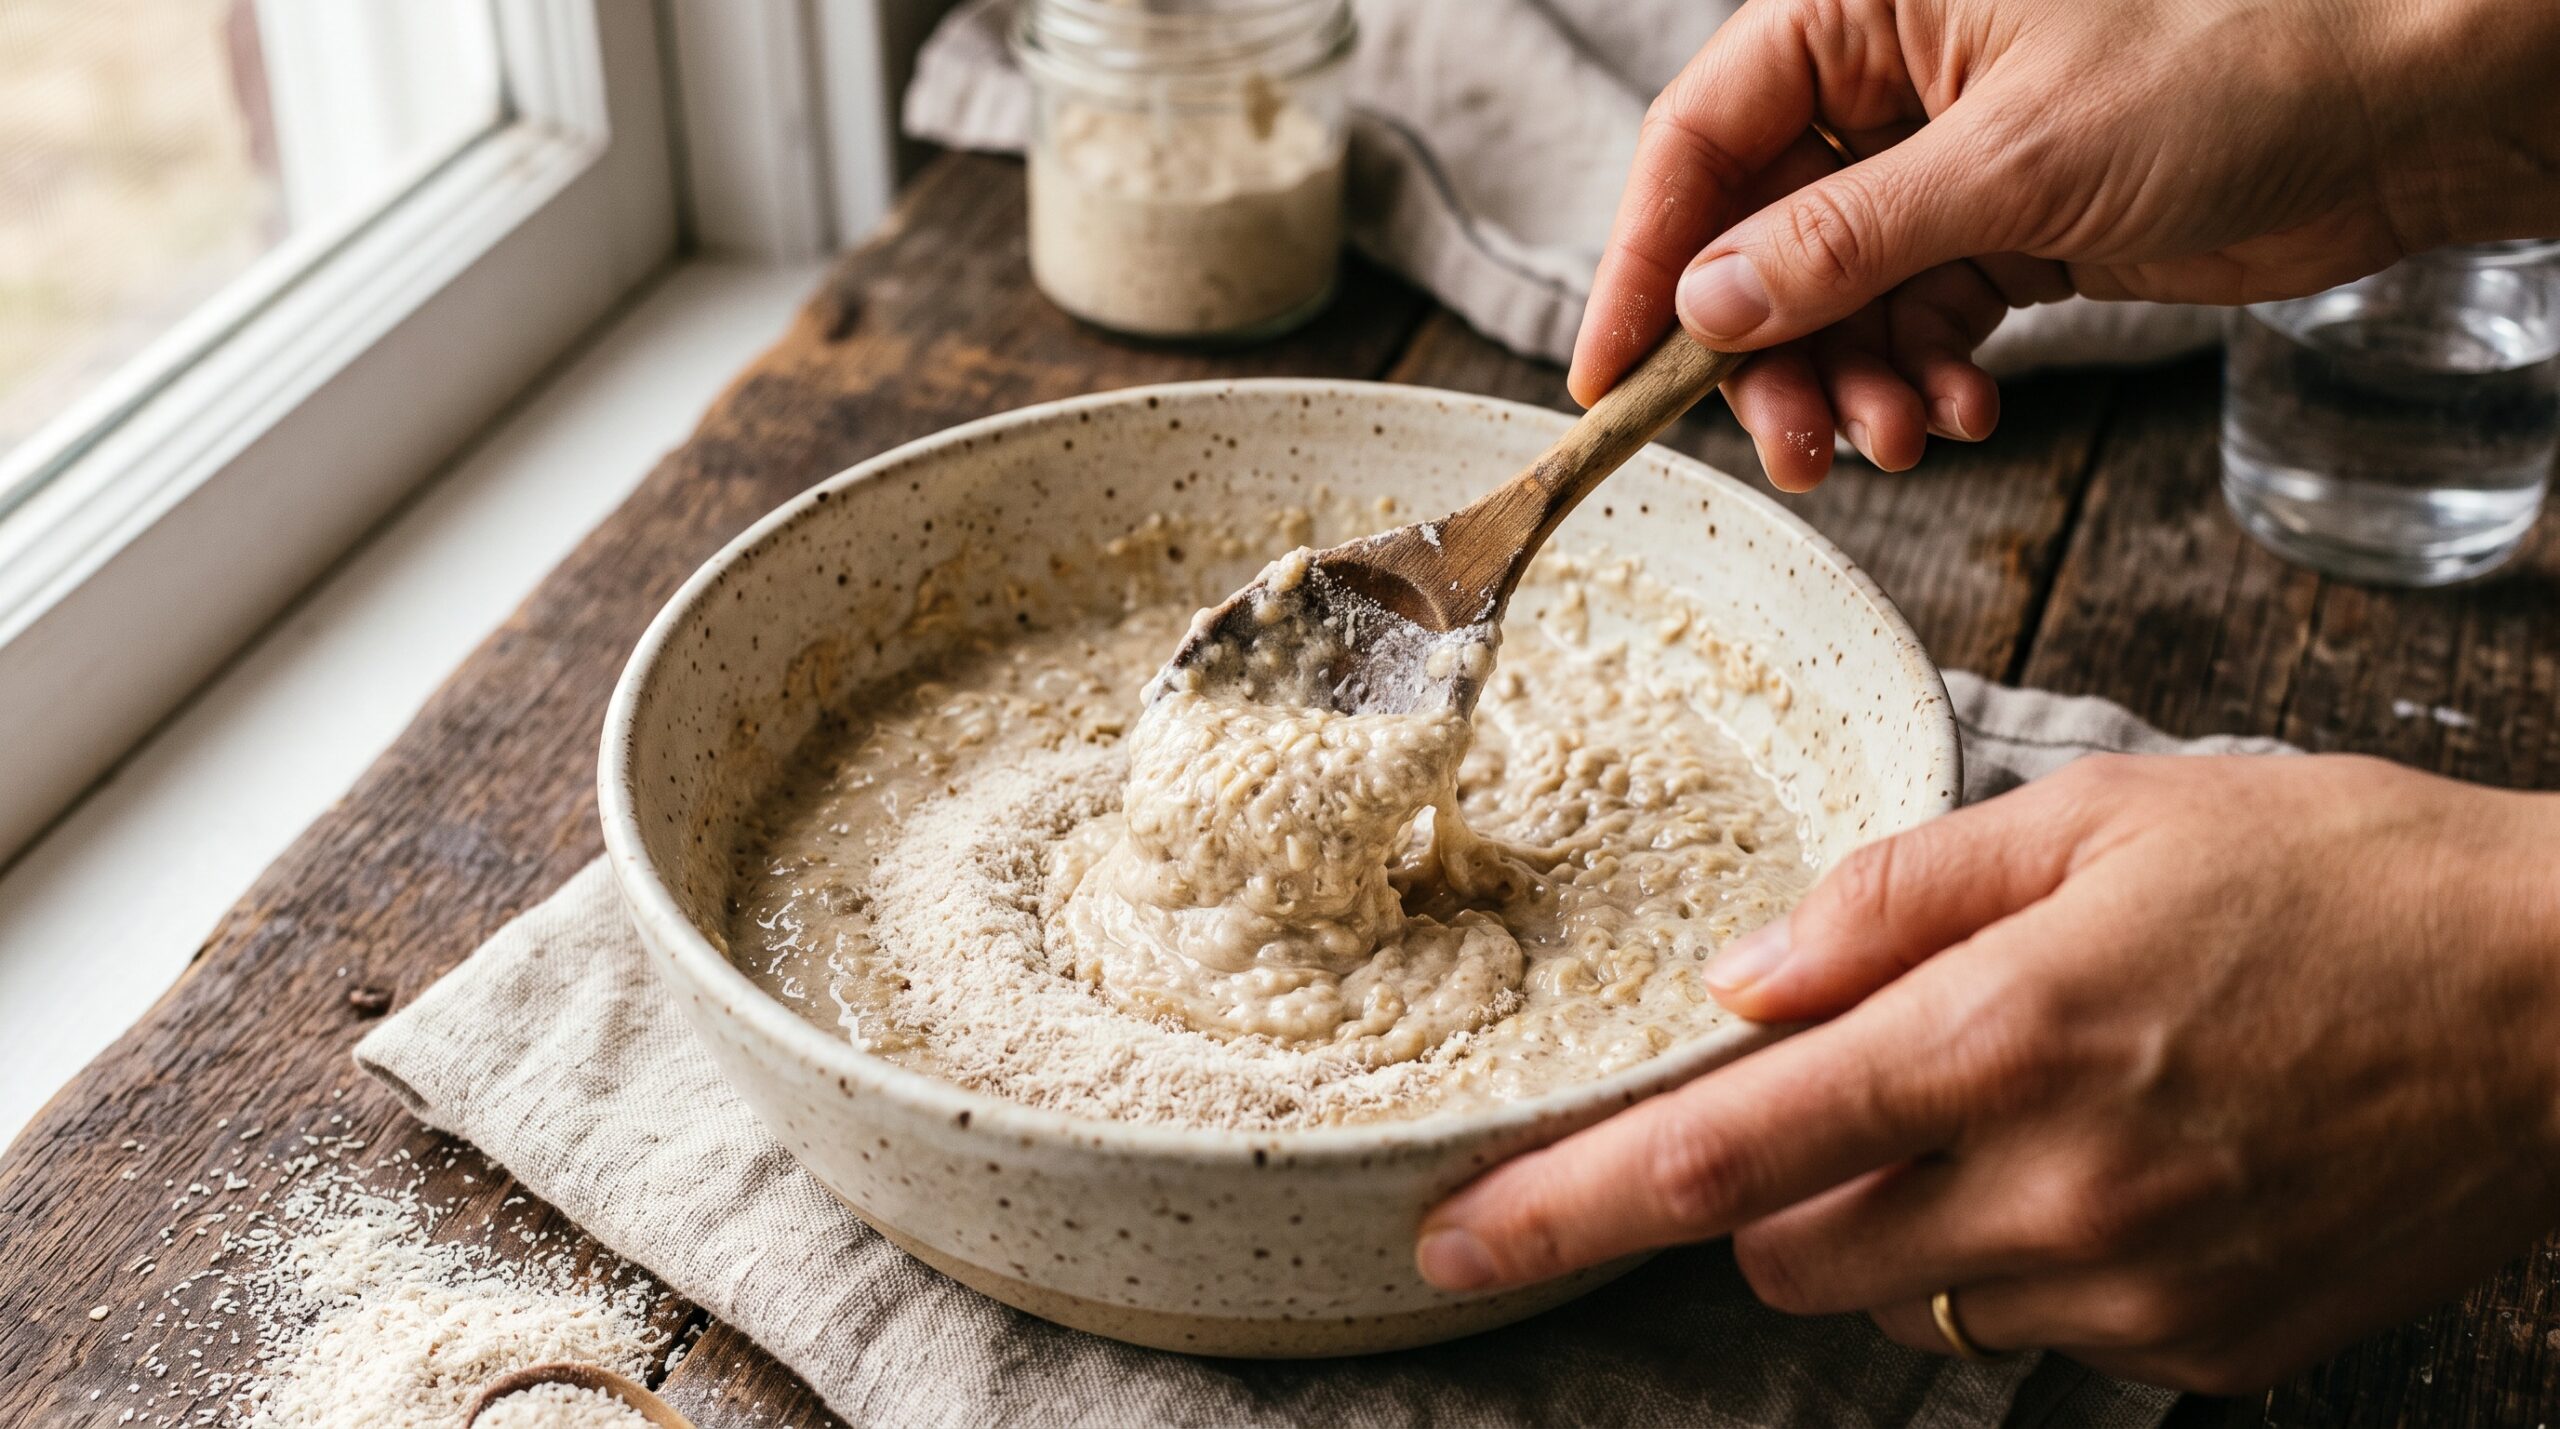
Gluten-free doughs need more water than wheat doughs — the flours and psyllium are thirsty, and a stiff gluten-free dough bakes up dry, crumbly, and dense because there was never enough moisture to gelatinize the starches properly. But there is a trap on the other side: too much water, with too little binder to manage it, gives you a loaf that is soft, wet, and gummy no matter how long you bake it. The target is a thick, spreadable, batter-like consistency — think stiff cake batter or soft mashed potato that holds a mounded shape, not a dough you can knead. If your mix pours like pancake batter, it is too wet for the structure to set and you will chase gumminess forever; if it is stiff enough to feel like play-dough, it is too dry. Managing that wet, sticky texture is a skill of its own — the same wet-hands, bench-scraper, work-with-it-not-against-it approach that helps with high-hydration wheat dough applies here too. Weigh your water, follow your recipe’s hydration closely, and adjust in small steps rather than by eye.
Cause 3: Underbaked and Cut Too Soon (the Big One)
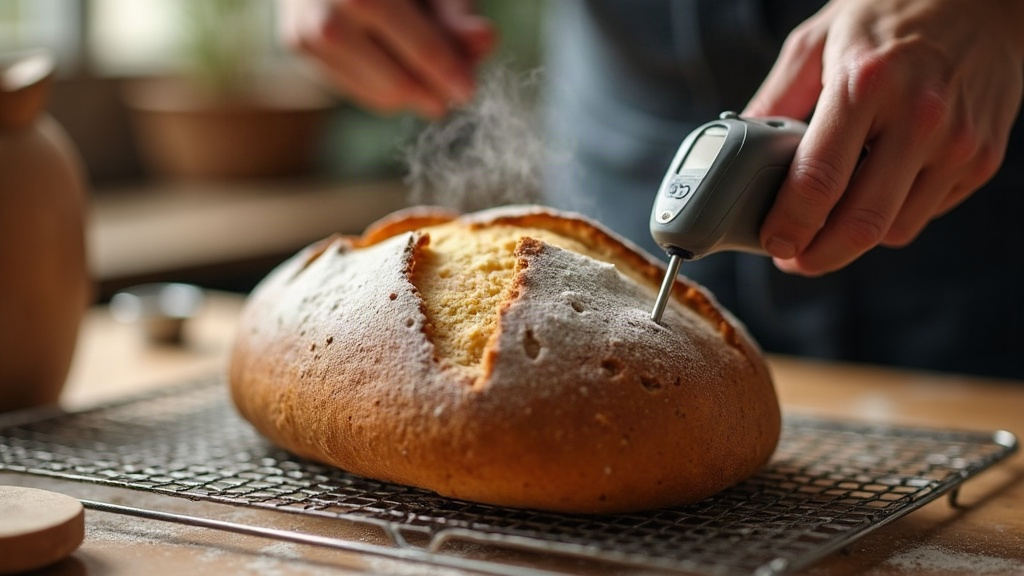
Here is the cause that fools almost everyone, because the loaf looks done. Gluten-free bread needs to bake longer and to a higher internal temperature than most people expect — the dense, wet batter takes a long time for heat to penetrate to the center, and a gluten-free loaf pulled when a wheat loaf would be ready is simply raw in the middle. That raw center is your gumminess. The fix is to stop baking by color and start baking by temperature: bake until the internal temperature at the very center reads fully done — for most gluten-free hearth loaves that means around 205 to 210°F (96 to 99°C), noticeably higher than a wheat loaf. An instant-read thermometer is not optional here; it is the single most useful tool in gluten-free baking. And then comes the discipline nobody wants to hear: you must let it cool completely before slicing, and gluten-free bread means completely — several hours, fully to room temperature. The crumb of gluten-free bread finishes setting as it cools; the starches are still gelatinized and pasty when hot, and cutting a warm loaf smears that unset interior into a gummy streak that was never actually the fault of your dough. If you take only one thing from this article: bake it longer and hotter than feels right, and do not cut it until it is stone cold.
Cause 4: A Weak or Wrongly Fed Gluten-Free Starter
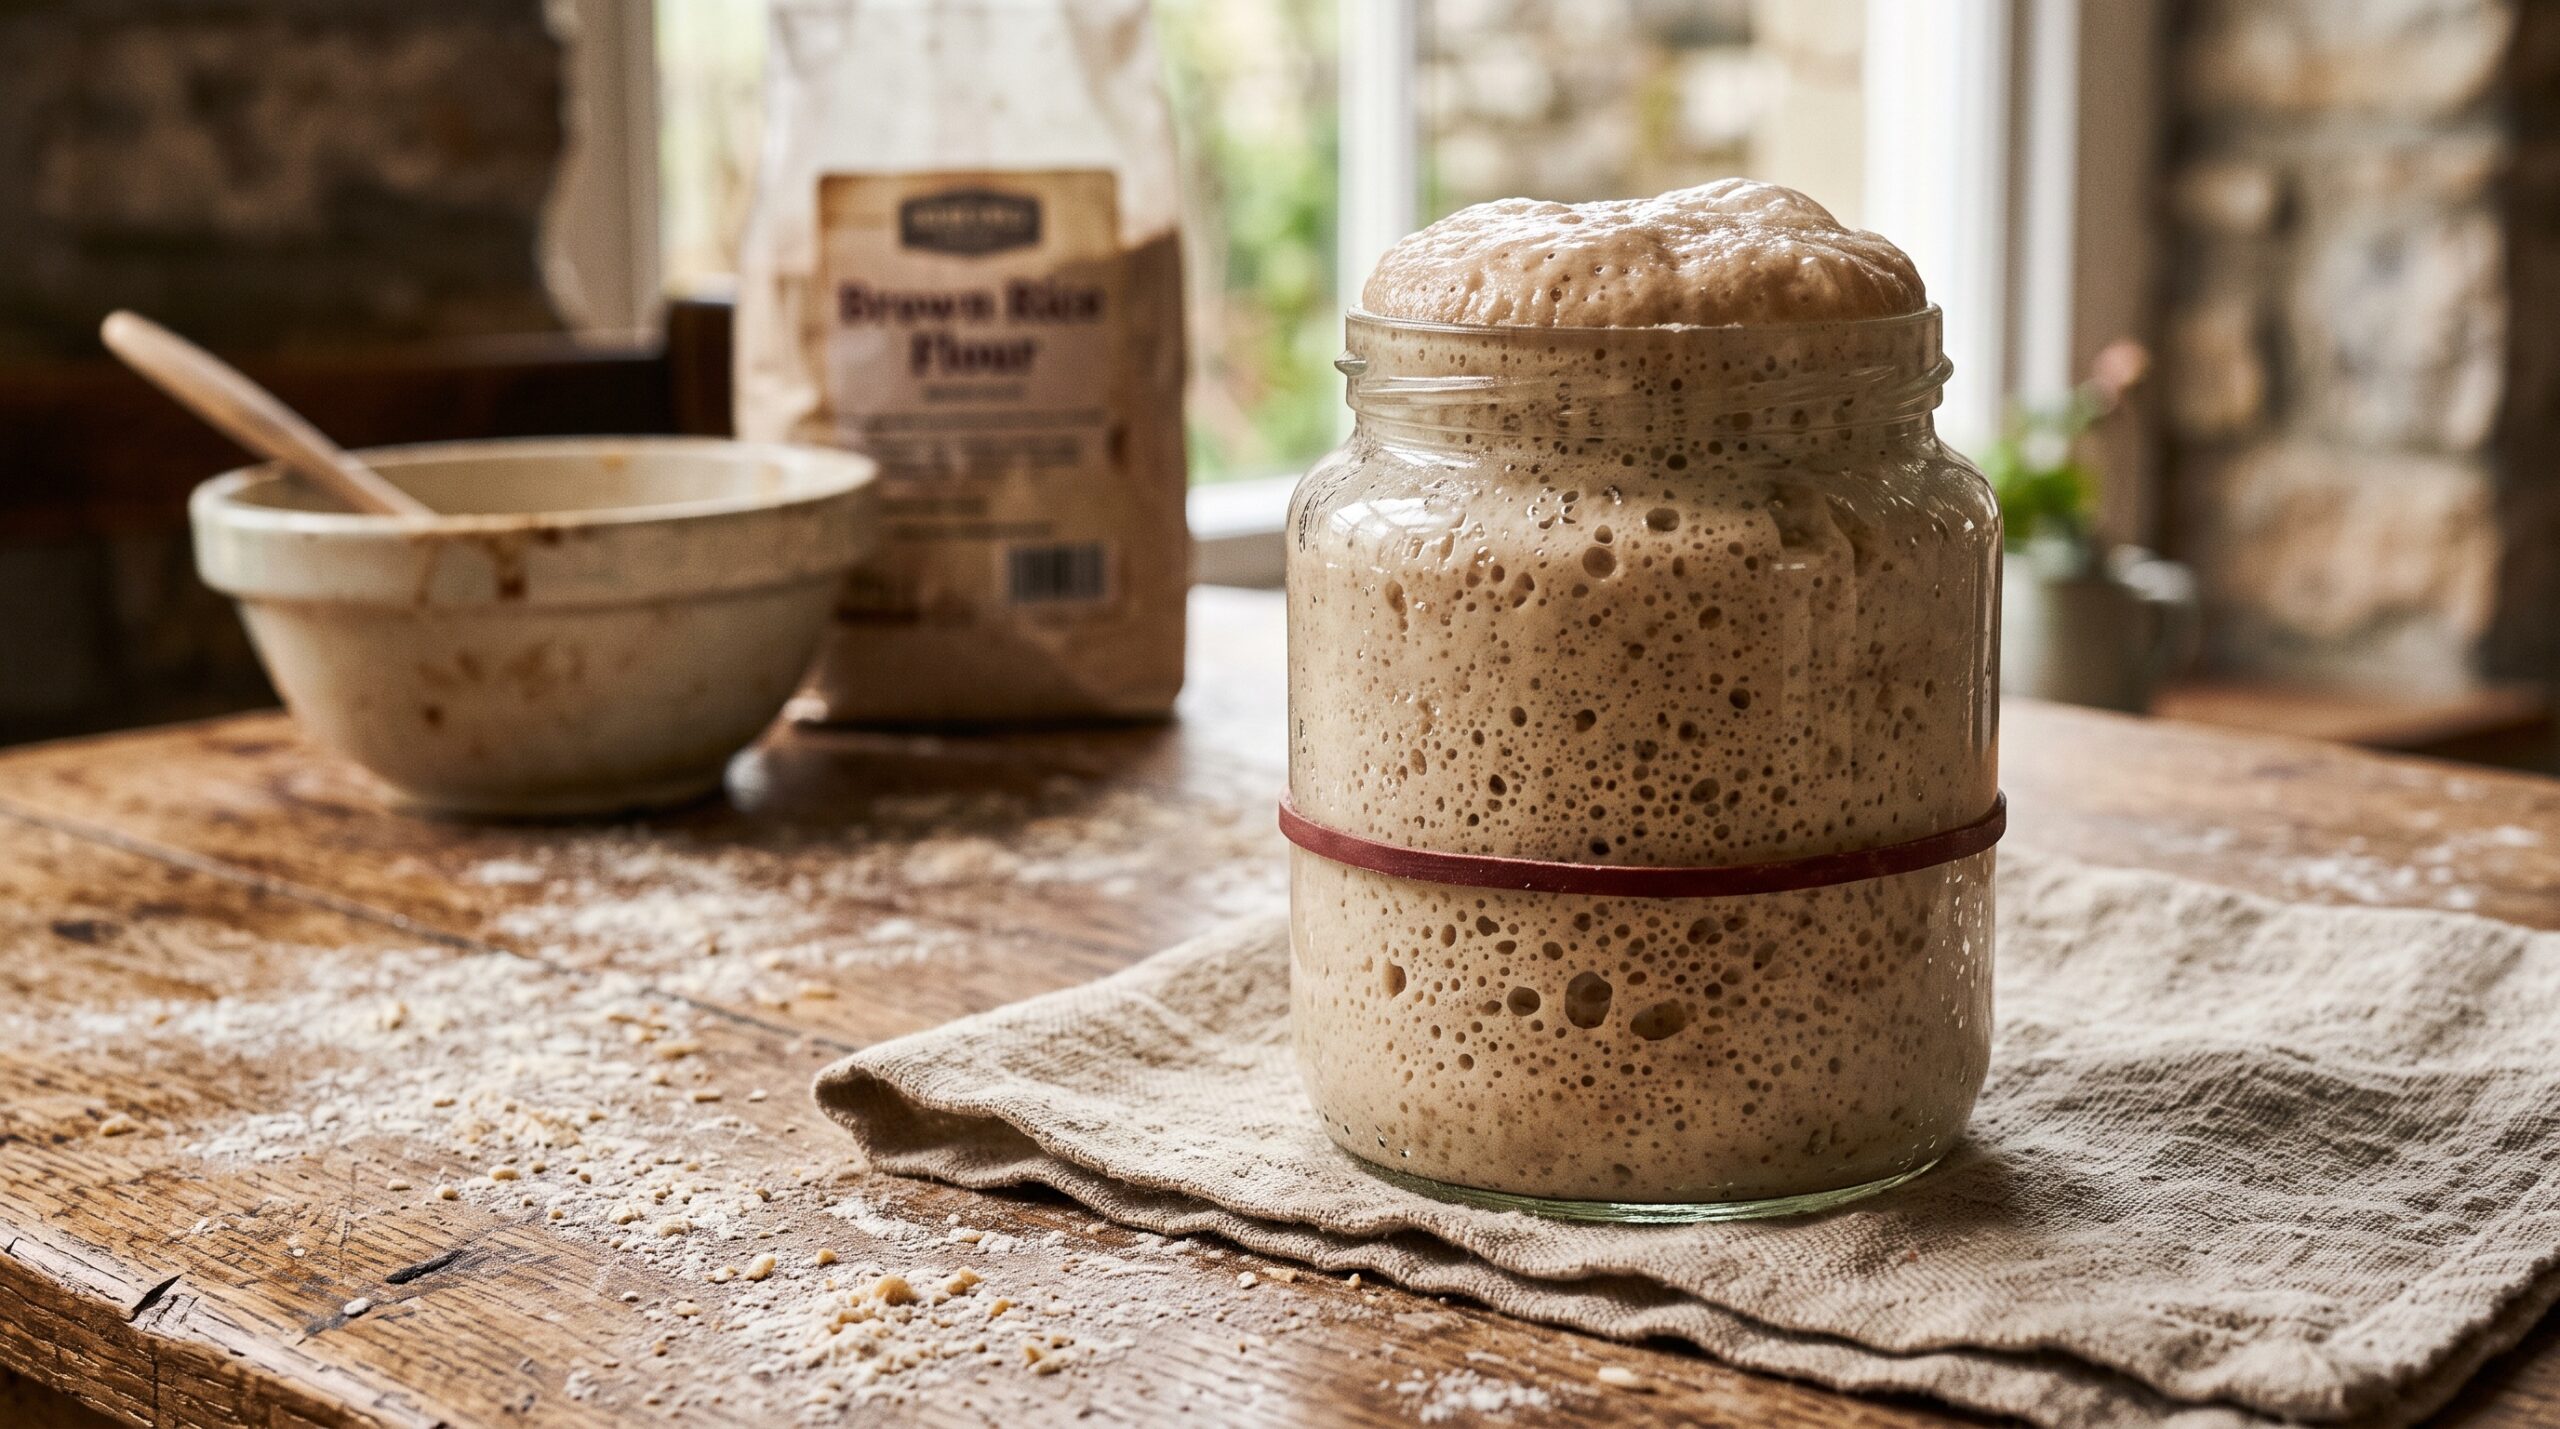
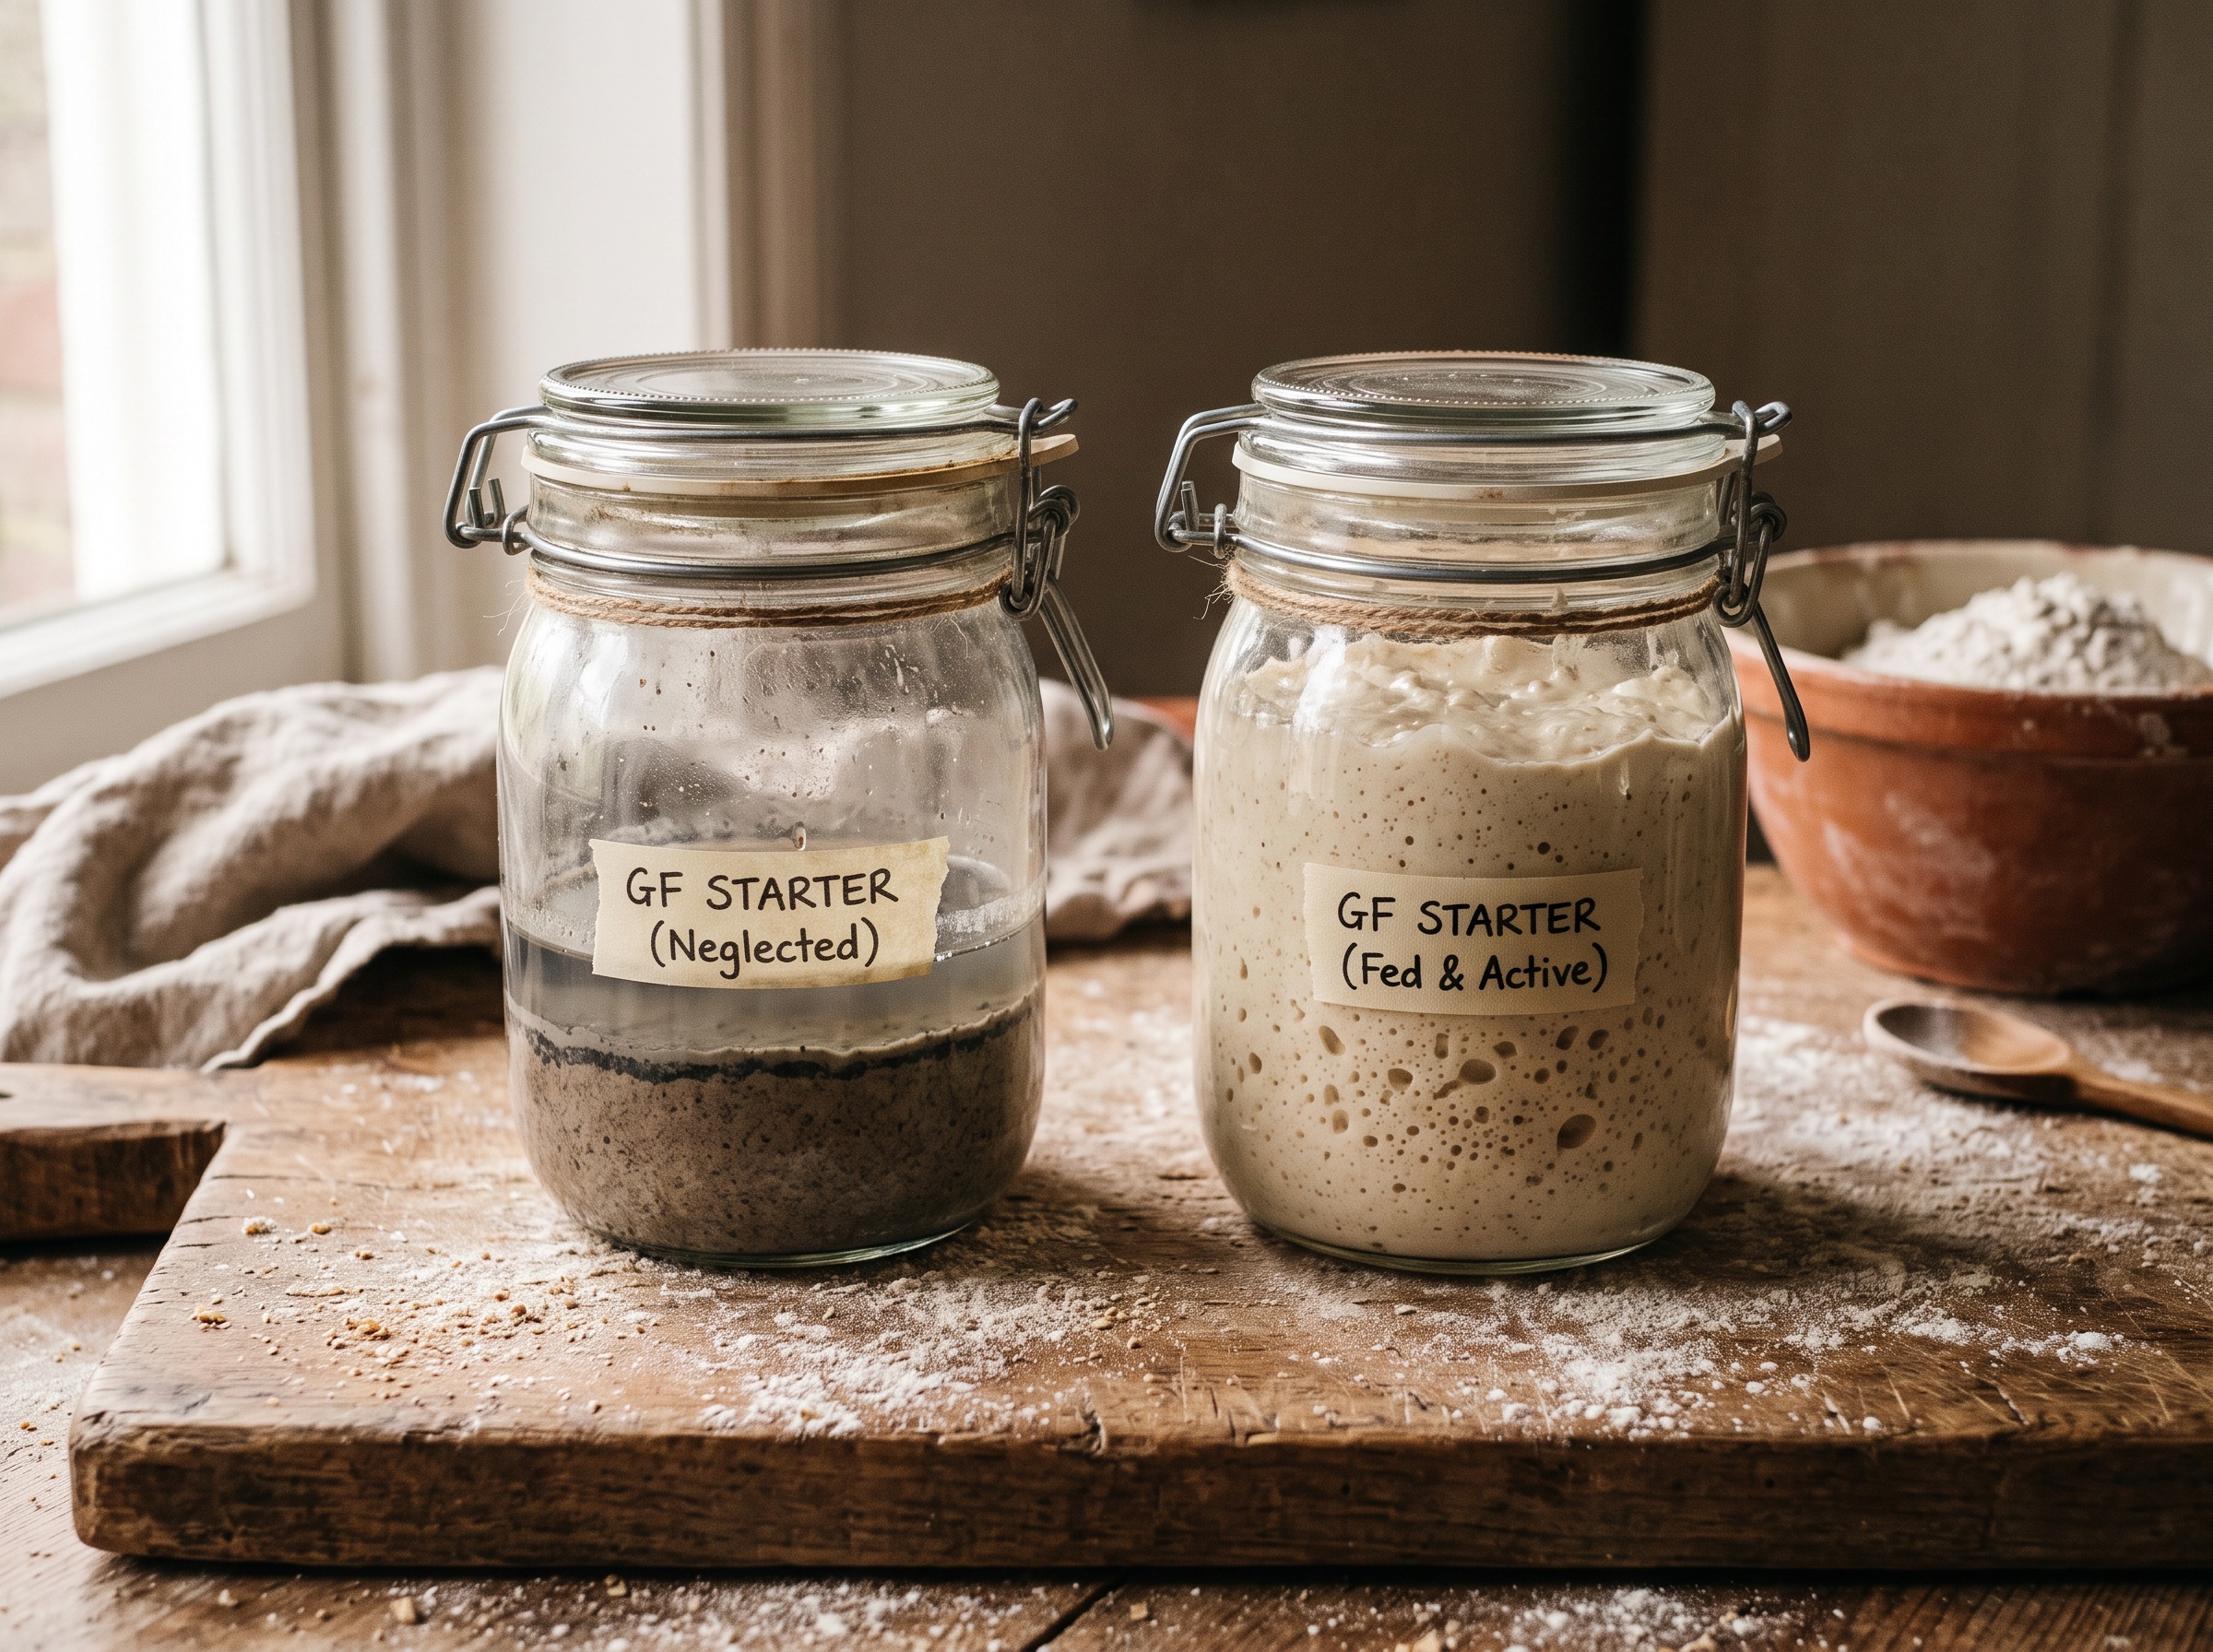
Structure and bake are the usual culprits, but fermentation matters too, and a sluggish gluten-free starter leaves you underpowered from the start. A gluten-free starter that is not vigorous will not produce enough gas to lift a heavy batter, so the loaf never gets airy and bakes dense. Make sure your starter is genuinely active — bubbly, risen, and predictable — before you bake, and that you are feeding it a gluten-free flour it actually likes (brown rice and sorghum are reliable workhorses; whole-grain gluten-free flours ferment more energetically than plain starches). If your starter is limp, weak, or barely moving, fix that before you blame the loaf. Building a gluten-free starter that truly rises is its own project, and if yours has never been reliably lively, our guide to building a gluten-free starter that actually rises is the place to start. A strong loaf begins with a strong culture.
Cause 5: Over- or Under-Fermented Dough
Fermentation timing cuts both ways, and gluten-free dough is less forgiving than wheat about it. Under-ferment — not enough rise time — and there is too little gas in the dough, so the loaf bakes tight and heavy. Over-ferment — leaving that batter to rise far too long — and the fragile gluten-free structure breaks down, loses its ability to hold gas, and collapses into a dense, damp crumb during the bake. Because gluten-free dough won’t give you the obvious dome-and-jiggle cues a wheat dough does, watch for a clear rise of roughly 50 percent and visible bubbles rather than a strict clock, and get to know how your particular dough looks at its peak. The gummy-crumb diagnosis has a lot in common with its wheat cousin here — if you have read our piece on why regular sourdough turns out gummy, you will recognize the same fermentation-and-bake logic, just with a smaller margin for error.
Cause 6: A Poor Flour Blend
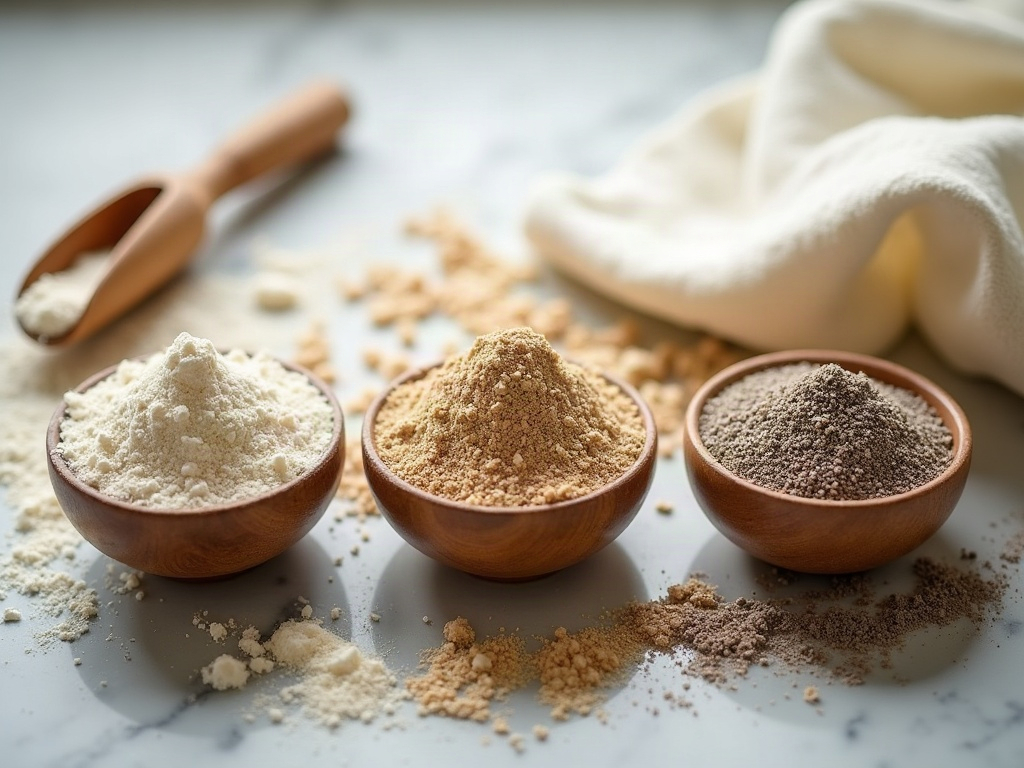
Finally, the flour itself. A gluten-free loaf built on nothing but light starches (white rice flour, tapioca, potato starch) tends toward a gummy, dense, oddly bouncy crumb because there is little substance to set around. The best gluten-free bread blends whole-grain gluten-free flours — brown rice, sorghum, buckwheat, millet, oat — for body and flavor with a portion of starch for lightness. If you have been using a generic all-purpose gluten-free blend designed for cookies and cakes, that is likely part of your problem; those blends are tuned for tender pastry, not for the structure a hearth loaf needs. Use a bread-specific gluten-free flour blend, or build your own around whole-grain flours plus psyllium, and the crumb gets meaningfully better on its own.
Putting the Diagnosis Together
Work the causes in order and the fix is usually fast. Start with the two that account for most gummy loaves: is your recipe built around enough psyllium, and did you bake it long enough, to temperature, and cool it completely before cutting? Those two alone rescue the majority of dense gluten-free loaves. If they check out, move down the list — hydration in the right batter range, a genuinely lively starter, fermentation caught at its peak, and a bread-worthy whole-grain flour blend. Change one variable at a time so you actually learn what your kitchen and your ingredients want, rather than swapping everything at once and never knowing what fixed it. Gluten-free sourdough has a smaller margin than wheat, but it is not luck — it is a set of knowable rules, and every one of them is in your hands.
If you want to see the batter consistency, the psyllium gel, and the cold-slice test in motion — because gluten-free is a craft you really have to see — the full walkthrough lives on the LoafLovers YouTube channel, and our free sourdough troubleshooting guide will help you pin down whichever of these causes is behind your loaf. Bake it longer than feels right, let it cool all the way, and slice into a gluten-free loaf that finally holds together.