Here’s the honest truth that the intimidating corner of the internet won’t tell you: making a sourdough starter from scratch is one of the easiest things in all of baking. You need flour, water, a jar, and about a week of two-minute daily visits. That’s it. There is no secret ingredient, no packet of yeast, no heirloom culture you have to beg from a stranger. The wild yeast and bacteria that make sourdough rise are already in your flour and floating in your kitchen air — your only job is to give them a comfortable home and feed them until they wake up and organize themselves.
What actually trips people up isn’t the recipe. It’s not knowing what’s supposed to happen on each day — so when the starter does something surprising (and it will, especially around day two), beginners panic, assume they’ve failed, and quit a day or two before it would have come alive. So let’s walk through the whole thing day by day, the way it really goes, so nothing catches you off guard.
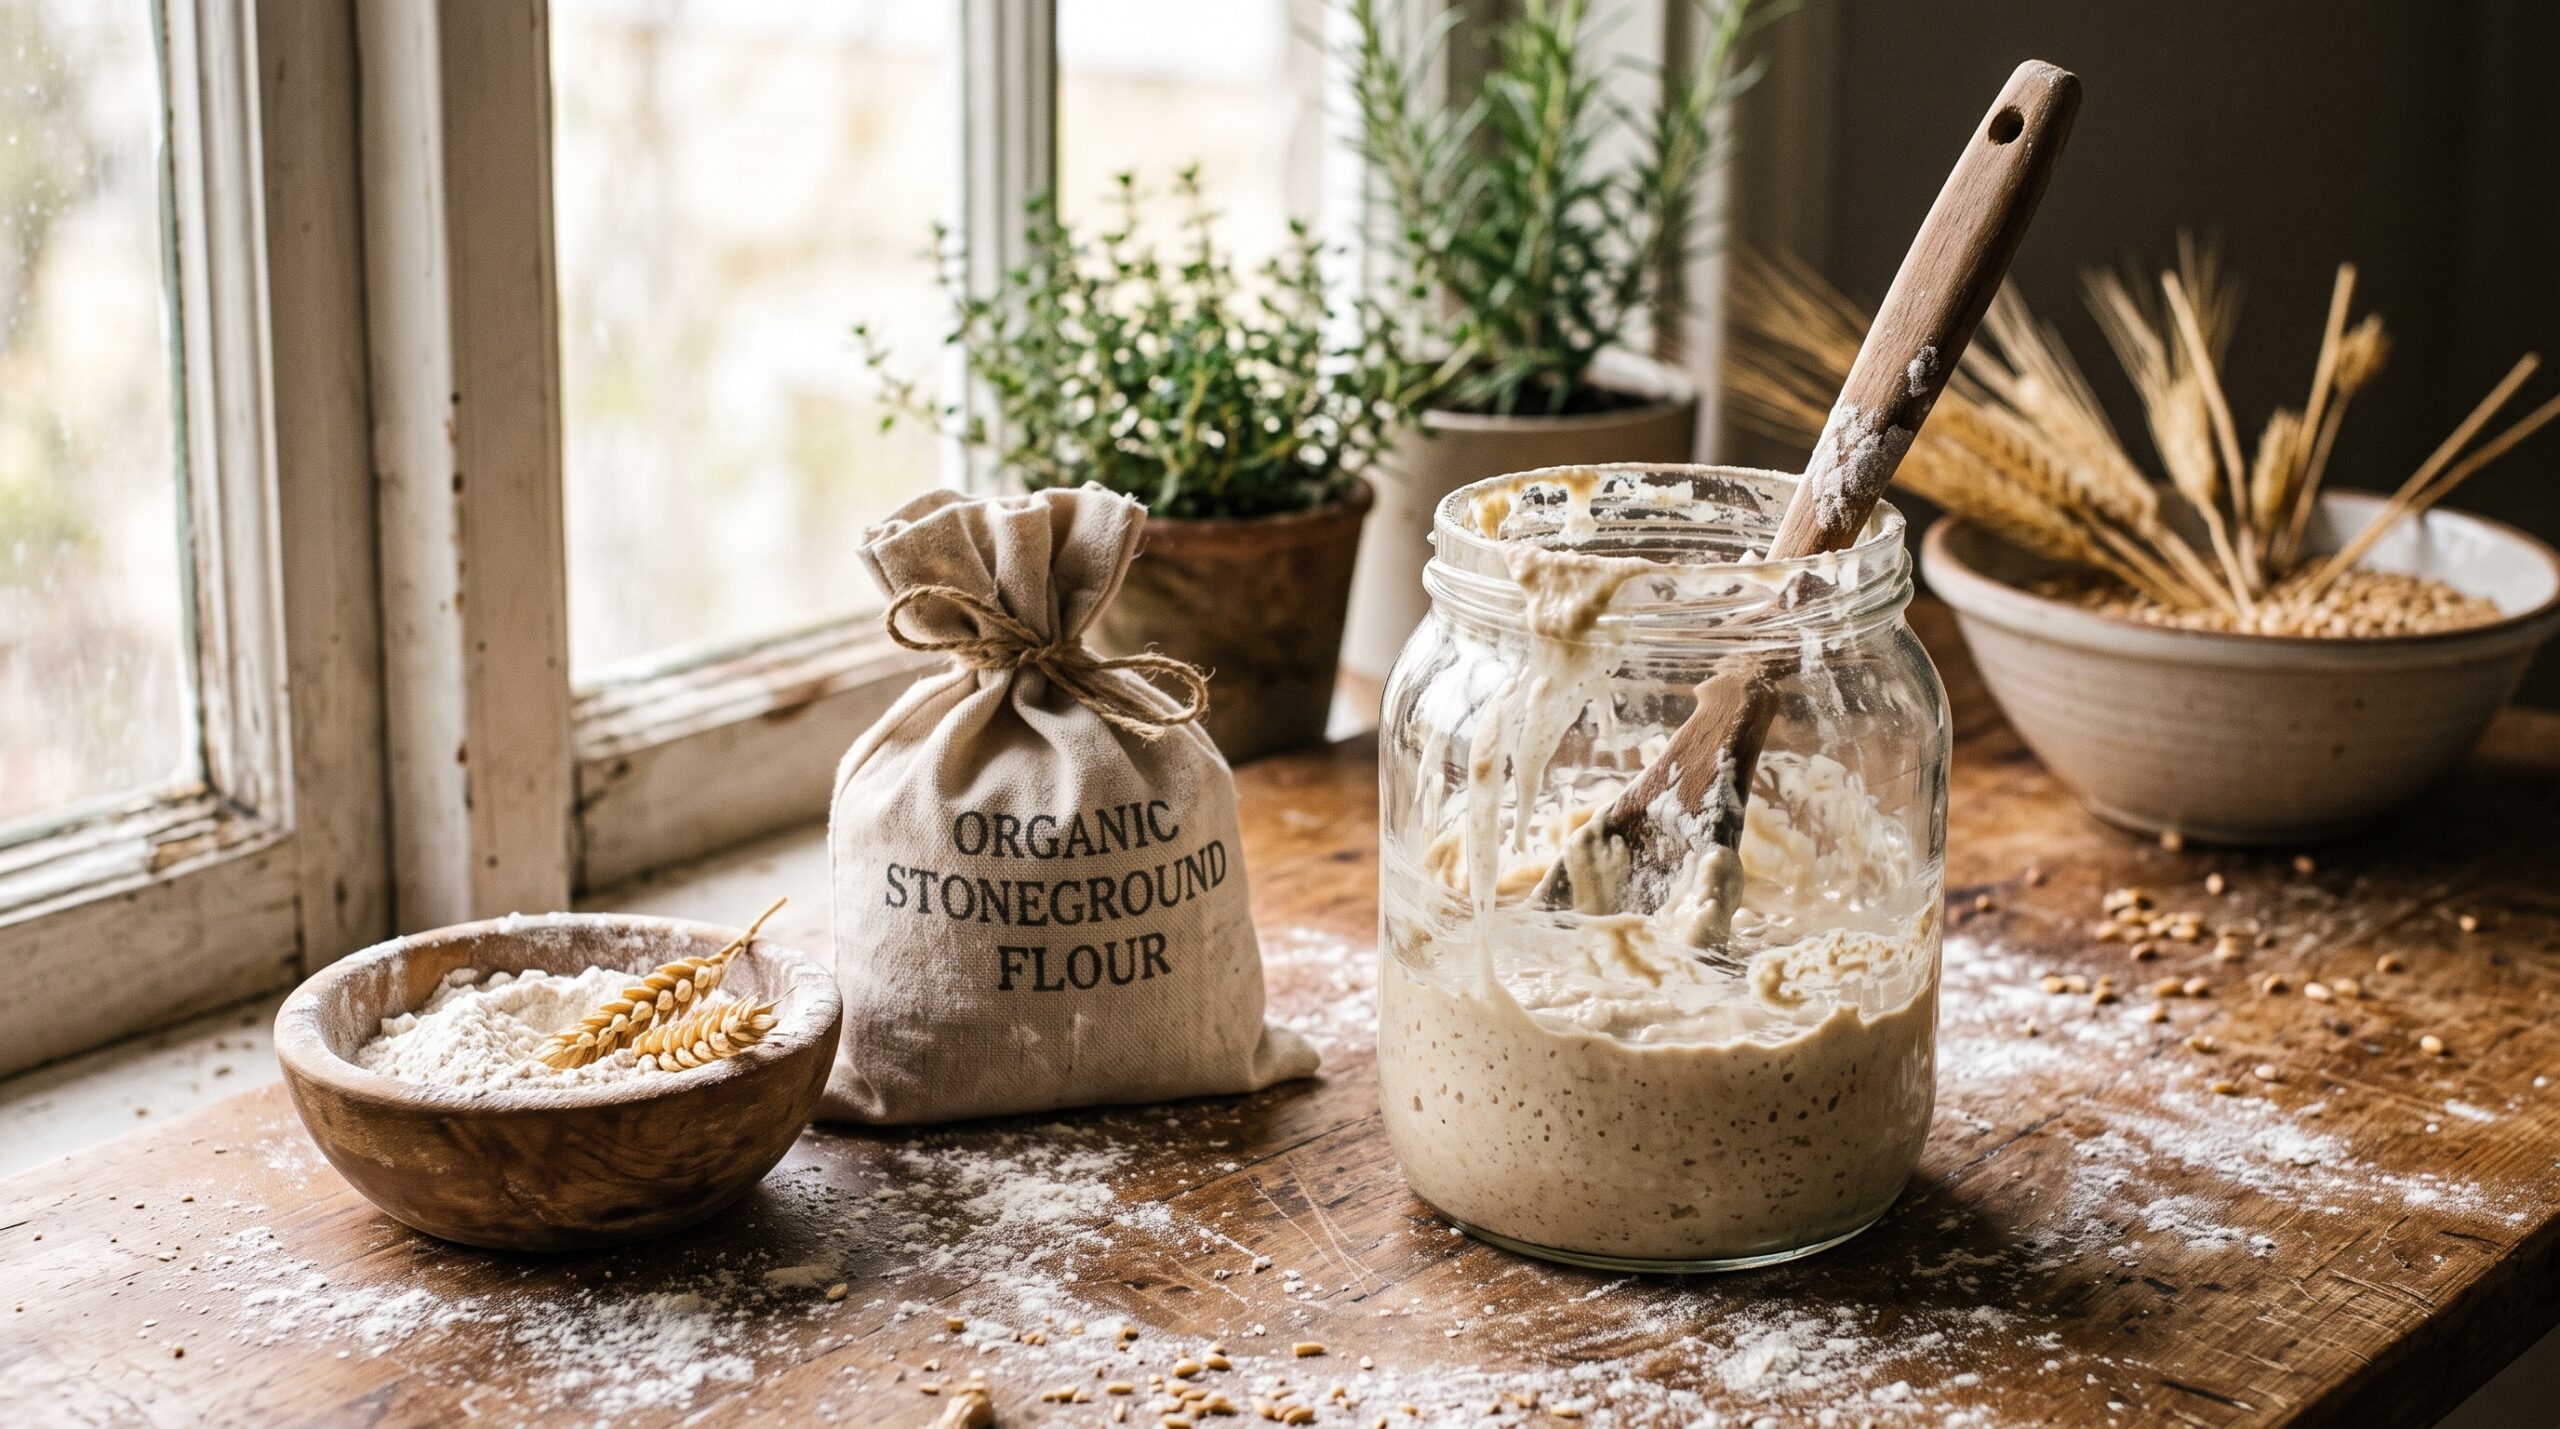
What you need (it’s almost nothing)
Keep it simple:
- Flour. Plain all-purpose works fine, but a starter wakes up fastest on whole wheat or whole rye — the bran carries more wild microbes and more of the minerals they feed on. A great approach is to begin with whole grain for the first few days, then transition to all-purpose or bread flour once things are lively.
- Water. Room-temperature, and ideally not straight from a heavily chlorinated tap — chlorine can slow the microbes you’re trying to encourage. If your tap water is chlorinated, letting it sit out or using filtered water helps, as we cover in our guide to whether tap water is hurting your starter.
- A clear jar (so you can see the bubbles and the rise) and something to stir with. A loose lid or cloth on top — never airtight.
- A kitchen scale if you have one. Weighing makes feeding consistent and takes the guesswork out, but you can manage with measuring cups if you must.
Day 1: just mix flour and water
Combine roughly equal weights of flour and water — about 50 grams of each is plenty — and stir to a thick, smooth paste the texture of pancake batter or wet cement. Scrape down the sides, cover loosely, and leave it somewhere warm-ish (around 21–26°C / 70–78°F is ideal). Then do the hardest part of the whole process: nothing. Walk away for 24 hours. That’s the entire first day.
Day 2: the big fake-out
This is the day that fools everyone, so read this carefully. Often around 24 to 48 hours in, your jar erupts with bubbles and puffs up dramatically. It looks like roaring success. It usually isn’t the yeast yet. That early burst is typically from a fast-moving bacterium (leuconostoc) throwing a quick party — a false rise. It’s harmless and actually a good sign that things are alive, but it is not the stable, repeatable rise you’re building toward.
Stir it down, and feed it: discard about half, then add fresh flour and water in roughly equal weight to what remains. The reason beginners quit here is what comes next — because tomorrow, that exciting bubbling often stops.

Day 3: the discouraging stall
Day three is the valley. The jar frequently goes quiet, flat, and sluggish. It might smell sharp, cheesy, or faintly like old socks. Nothing seems to be happening and it’s easy to assume your starter died. It didn’t. What’s really happening is an invisible power struggle: the false-rise bacteria have crashed, the environment is turning acidic, and underneath it all the wild yeast and the good lactic-acid bacteria are slowly taking over. This changeover looks like failure from the outside. Push through it.
Keep calm and keep to the rhythm. From here on, the routine is the same every day: discard most of the jar, then feed the remainder with equal parts fresh flour and water. If your kitchen is warm and things look active, move to feeding twice a day; if it’s cool and slow, once a day is fine. The daily discard isn’t waste for its own sake — it keeps the acidity from building up too far and keeps the colony young and vigorous (and no, you can’t skip it by just adding more flour; over-feeding without discarding actually dilutes the microbes you’re trying to grow).

Days 4 to 6: the real rise builds
Somewhere in this stretch, the starter quietly turns a corner. The smell shifts from funky and sharp to pleasantly sour, tangy, a little yogurty or beery. You’ll start seeing a real rise after each feeding — the jar climbing and filling with a web of bubbles, finer and more even than the day-two chaos. Put a rubber band around the jar at feeding level so you can actually see how far it climbs.
The pattern you’re watching for is predictability: feed it, and within a handful of hours it rises up toward double, then slowly sinks back down. When it starts doing that on a reliable schedule, you have a working starter. Don’t be surprised if it rises then falls faster than you can keep up at first — if yours balloons and then collapses before you can use it, that’s just a timing issue to dial in, not a failure.
Day 7 and beyond: is it actually ready?
Most starters are bake-ready somewhere between day 7 and day 14 — the range is wide because warmth, flour, and your kitchen’s own microbes all change the pace. Don’t bake on the calendar; bake on the behavior. Your starter is ready when it reliably passes these three tests:
- It roughly doubles within about 4 to 8 hours of a feeding, consistently, several days running.
- It’s full of bubbles throughout — a light, airy, domed structure at peak, not a flat sludge with a few holes.
- It smells pleasantly sour, tangy and alive — not like harsh nail-polish acetone or rot.
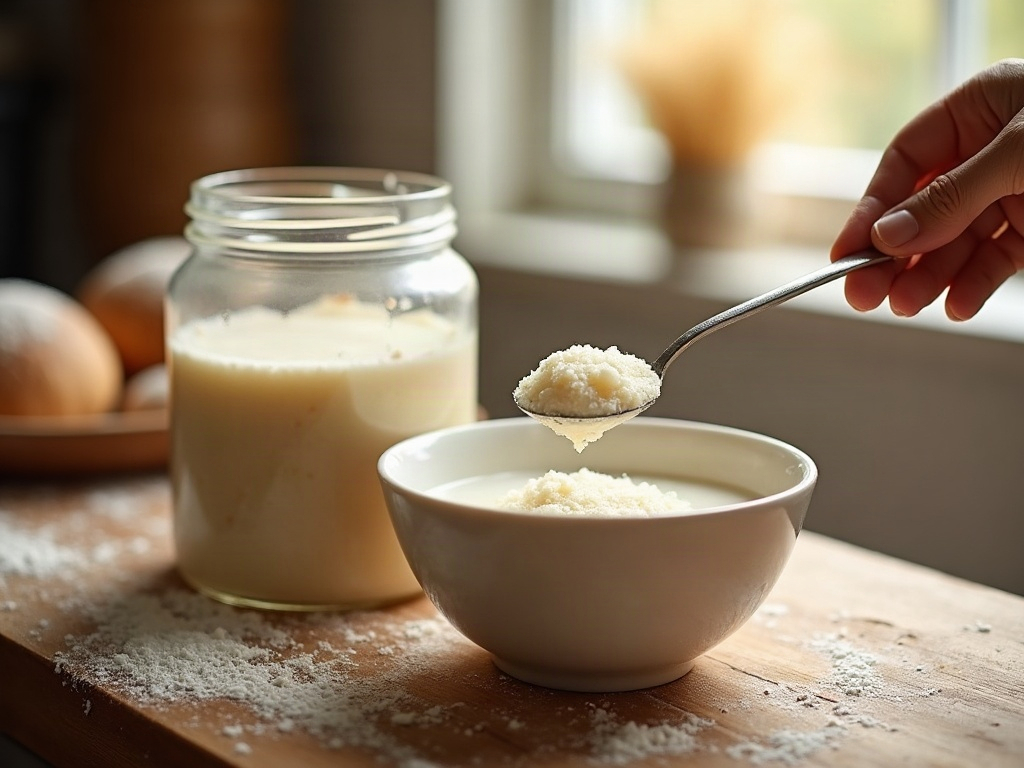
A classic final confirmation is the float test: drop a small spoonful of starter at its peak into water, and if it floats, it’s airy enough to raise bread. It’s a handy quick check, though not infallible — we dig into its quirks and better alternatives in our piece on whether the float test really works.

When it genuinely stalls (and what to do)
Sometimes a starter gets stuck — days go by with no real rise, even after the day-three valley should have passed. Before you start over, work through the usual culprits:
- It’s too cold. This is the number one reason. Wild yeast is sluggish below about 20°C/68°F. Find the warmest spot in your home — on top of the fridge, in the oven with just the light on, near a warm appliance.
- The flour’s too refined. If plain white isn’t getting going, switch to whole wheat or rye for a few feedings to inject more microbes and food.
- The water’s working against you. Heavily chlorinated water slows things down — switch to filtered or left-out water.
- You’re feeding too much or too little. Stick to equal-weight feedings with a proper discard and give it a consistent daily rhythm.
If you’d like a fuller diagnostic walk-through for a stubborn jar, our guide to a starter that won’t rise covers each cause in depth.
You made life from flour and water
Once your starter is strong and doubling on cue, maintaining it is almost no work — a healthy starter is remarkably hard to kill. You can keep baking from it daily, or park it in the fridge and feed it just once a week when you’re not baking (more on that in how often to feed a fridge starter). It’ll outlast the jar, honestly — people keep the same starter alive for decades.
But that’s the maintenance phase. The part you just did — coaxing a living, breathing culture out of nothing but flour, water, and patience — is the small quiet miracle at the heart of every sourdough loaf. The only real skill is holding your nerve through the day-three valley and learning to read the jar instead of the clock.
If watching it happen would help — the day-two false rise, the stall, the first real climb all look very different in motion than they do described — the full visual walkthrough lives on the LoafLovers YouTube channel, and our free sourdough troubleshooting guide keeps all the starter fixes in one place. Grab it, start a jar today, and in about a week you’ll be baking with something you grew yourself.
Leave a Reply