Tag: bakers percentage

  • Baker’s Percentage Made Simple: What Those Hydration Numbers Really Mean for Your Loaf

    Baker’s Percentage Made Simple: What Those Hydration Numbers Really Mean for Your Loaf

    You find a sourdough recipe that looks promising, and somewhere near the top it says something like “this is a 75% hydration dough.” Maybe it lists the flour and water in grams, maybe it lists percentages, maybe both. And if no one has ever explained it, that number floats there meaning nothing — is 75% a lot? A little? Will it help you, or is it just baker jargon showing off?

    It is one of the most useful ideas in all of bread baking, and it is far simpler than it sounds. Once it clicks, you can read any recipe, compare two recipes that look nothing alike, scale a loaf up or down without guessing, and — most importantly for a frustrated baker — make a deliberate change to your dough and know exactly what you did. Let us take the mystery out of it, one step at a time.
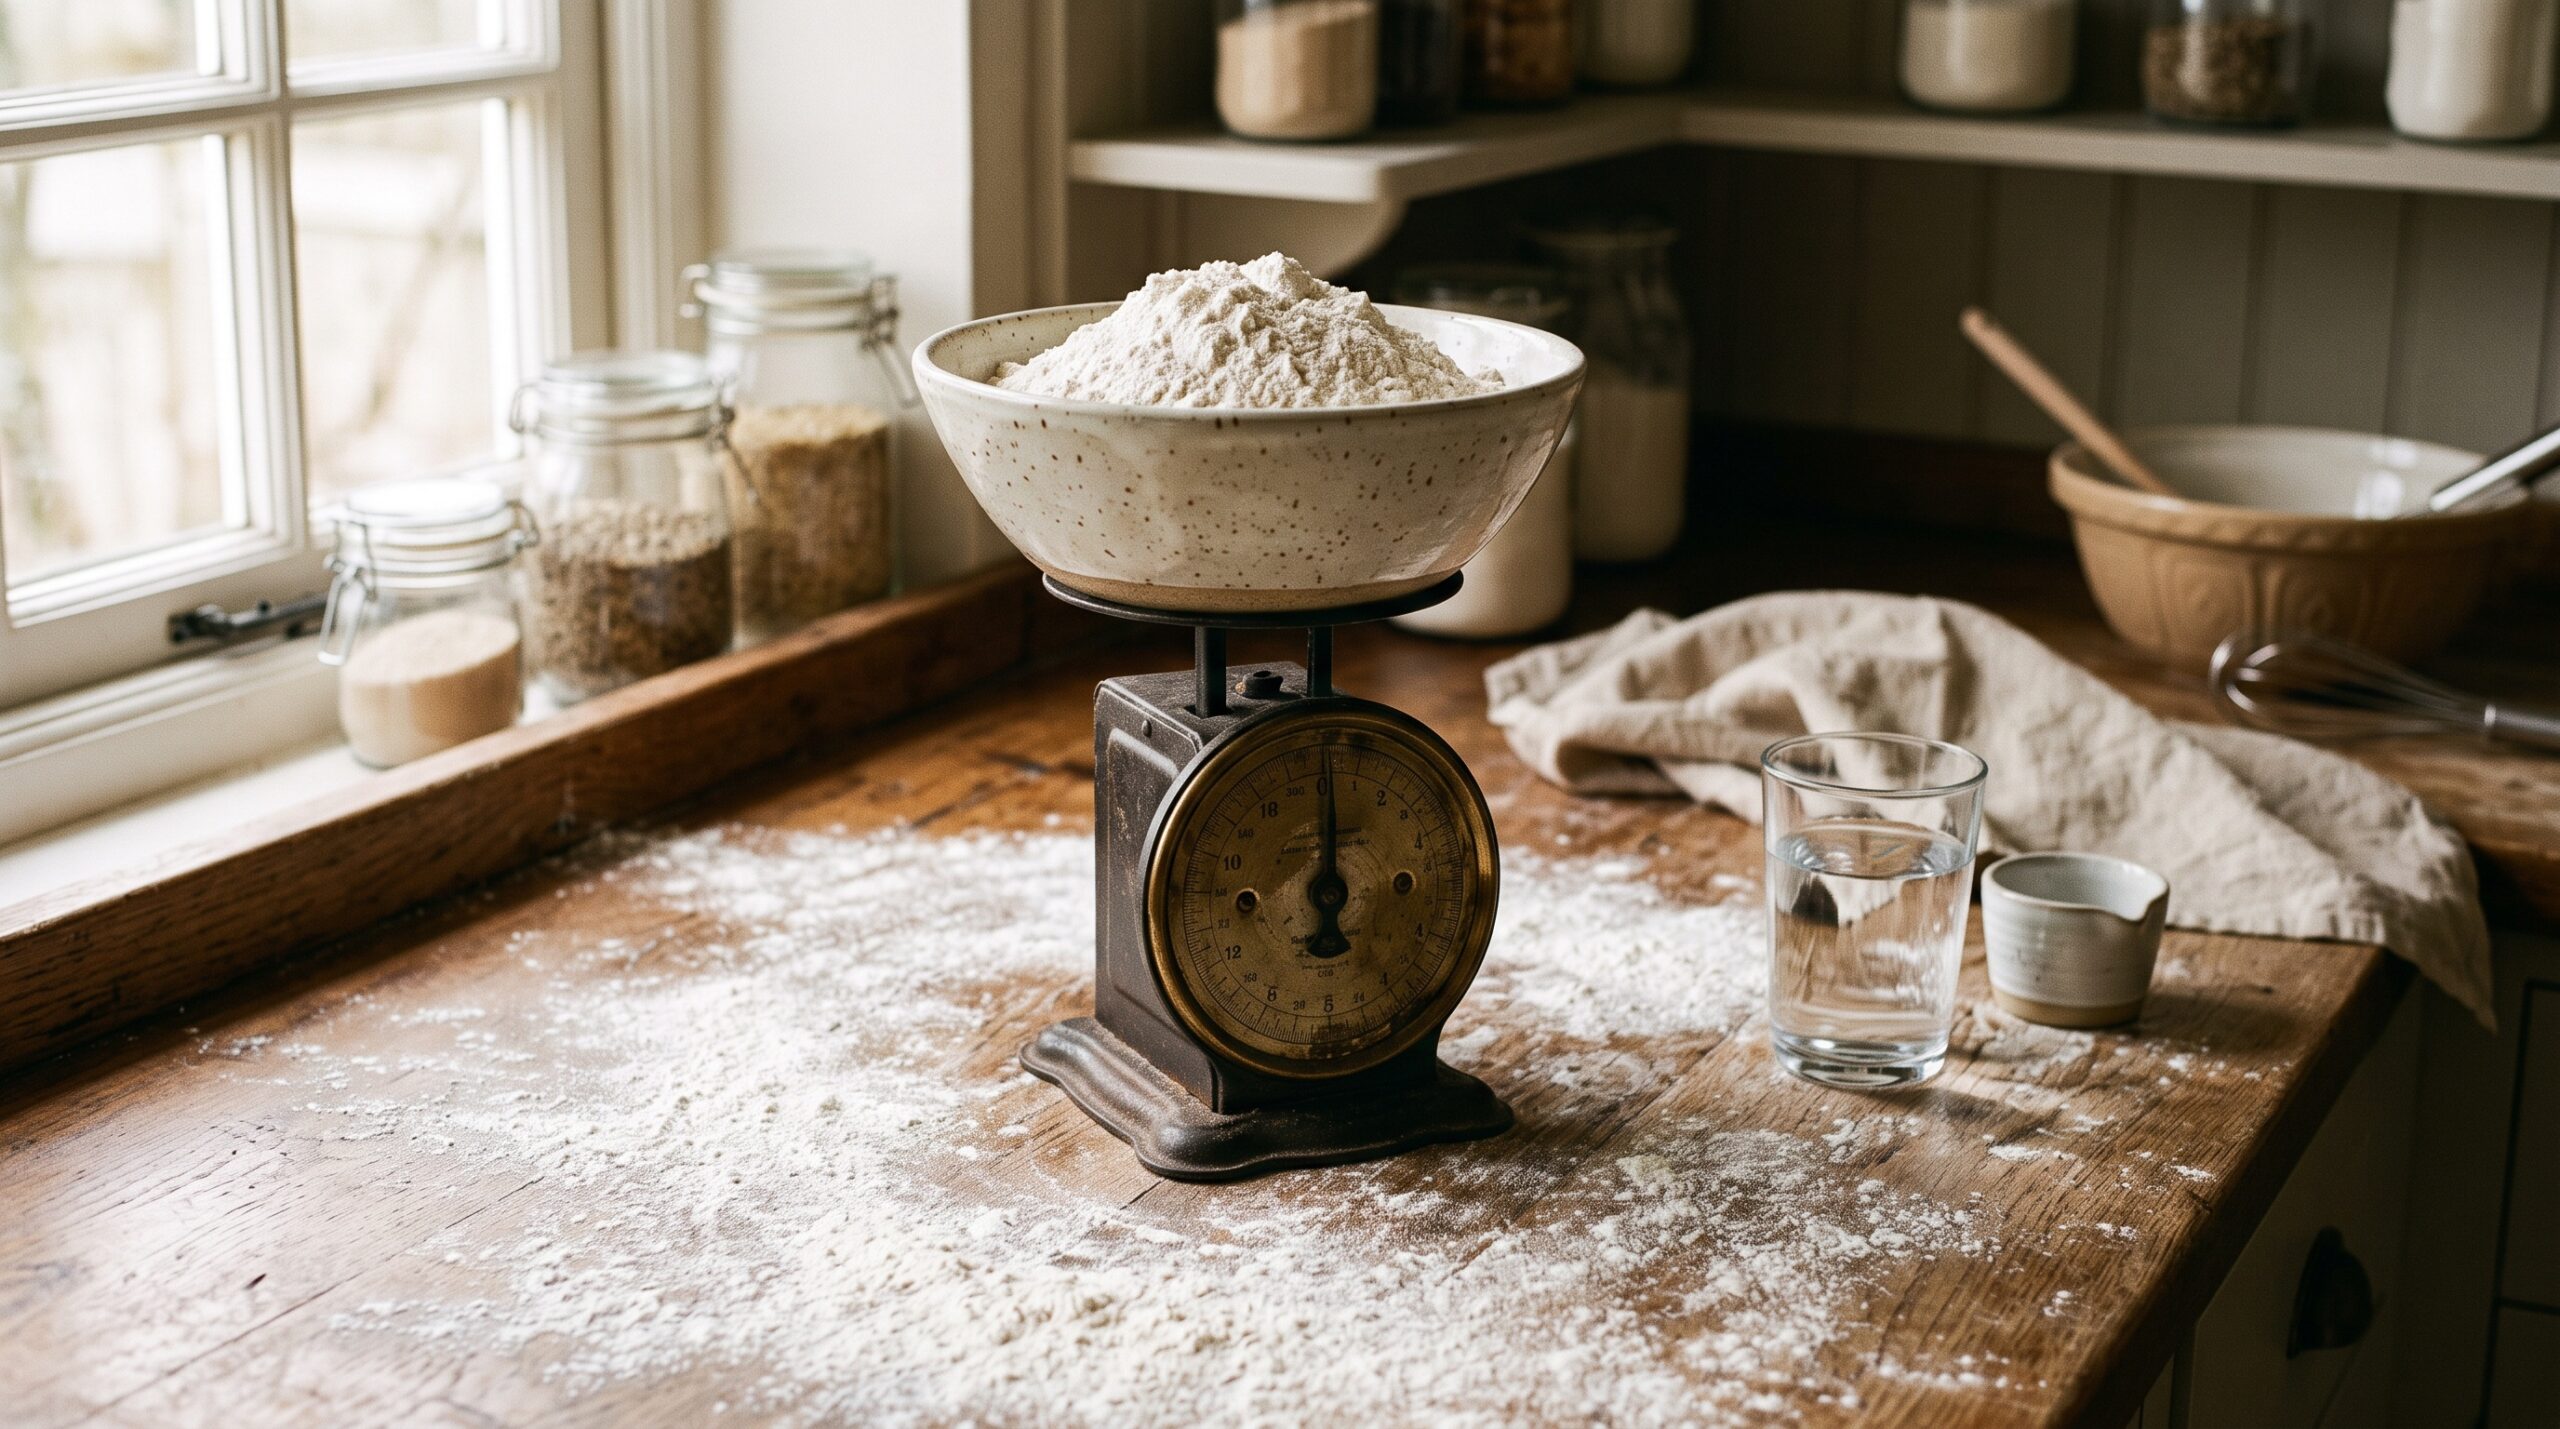
    A kitchen scale holding a bowl of flour next to a glass of water on a flour-dusted wooden counter
    Baker’s percentage starts here: everything is measured against the weight of the flour.

    The one idea behind all of it: flour is always 100%

    Baker’s percentage looks like normal percentages but it follows one rule that trips everyone up at first. Every ingredient is expressed as a percentage of the total flour weight, not as a percentage of the whole dough. The flour itself is always, by definition, 100%. Everything else is measured against it.

    So when a recipe says 75% hydration, it means the water weighs 75% of what the flour weighs. If you have 1,000 grams of flour, then 75% hydration means 750 grams of water. Salt at 2% means 20 grams of salt. If you used two kinds of flour — say 800 grams bread flour and 200 grams whole wheat — they still add up to 1,000 grams, and that combined 1,000 grams is your 100%.

    That is the whole concept. Flour is the anchor at 100%, and every other ingredient is sized relative to it. This is why percentages can add up to well over 100% — a dough might be 100% flour, 75% water, 2% salt, and 20% starter, which totals 197%, and that is completely normal. You are not measuring parts of a whole; you are measuring everything against the flour.

    Why bakers bother with it at all

    You might reasonably ask why not just use grams and be done with it. The answer is that percentages let you see the shape of a recipe instantly, independent of how big the batch is. A one-loaf recipe and a ten-loaf bakery formula can look wildly different in grams but be identical doughs in percentages. The percentage is the recipe’s fingerprint; the grams are just today’s batch size.

    That unlocks three things home bakers quietly struggle with. First, comparison: two recipes written in grams can be impossible to compare at a glance, but convert them to percentages and you can see in a second that one is a wetter, more open-crumbed dough and the other is a tighter sandwich loaf. Second, scaling: want to make half a loaf or three loaves? Keep the percentages, change the flour weight, and recalculate — the dough behaves the same. Third, and best of all, deliberate change: when you think in percentages you can nudge one variable, like bumping hydration from 70% to 75%, and know precisely what you altered when the next loaf turns out different.

    How to actually calculate it

    The math is a single division, and you can do it on any phone. To find any ingredient’s baker’s percentage, divide its weight by the total flour weight, then multiply by 100.

    Say your recipe uses 500 grams of flour and 350 grams of water. Hydration is 350 divided by 500, which is 0.70, times 100 — so 70% hydration. If you add 10 grams of salt, that is 10 divided by 500, or 2% salt. Going the other direction is just as easy: if you want a 500-gram-flour dough at 78% hydration, you multiply 500 by 0.78 to get 390 grams of water. That is the entire toolkit. Divide to read a recipe, multiply to build one.

    A small but important note: your sourdough starter contains both flour and water, and strict baker’s math folds those into the totals. For everyday home baking you can keep it simple and treat the recipe’s listed flour and water as your base — but if you are chasing precision, know that a 100%-hydration starter adds equal parts flour and water to the mix, which nudges your true hydration up a little. It is the same principle at work: if you want to go deeper on how much starter changes things, the idea of inoculation percentage and how it shifts your timeline is the companion concept to hydration.
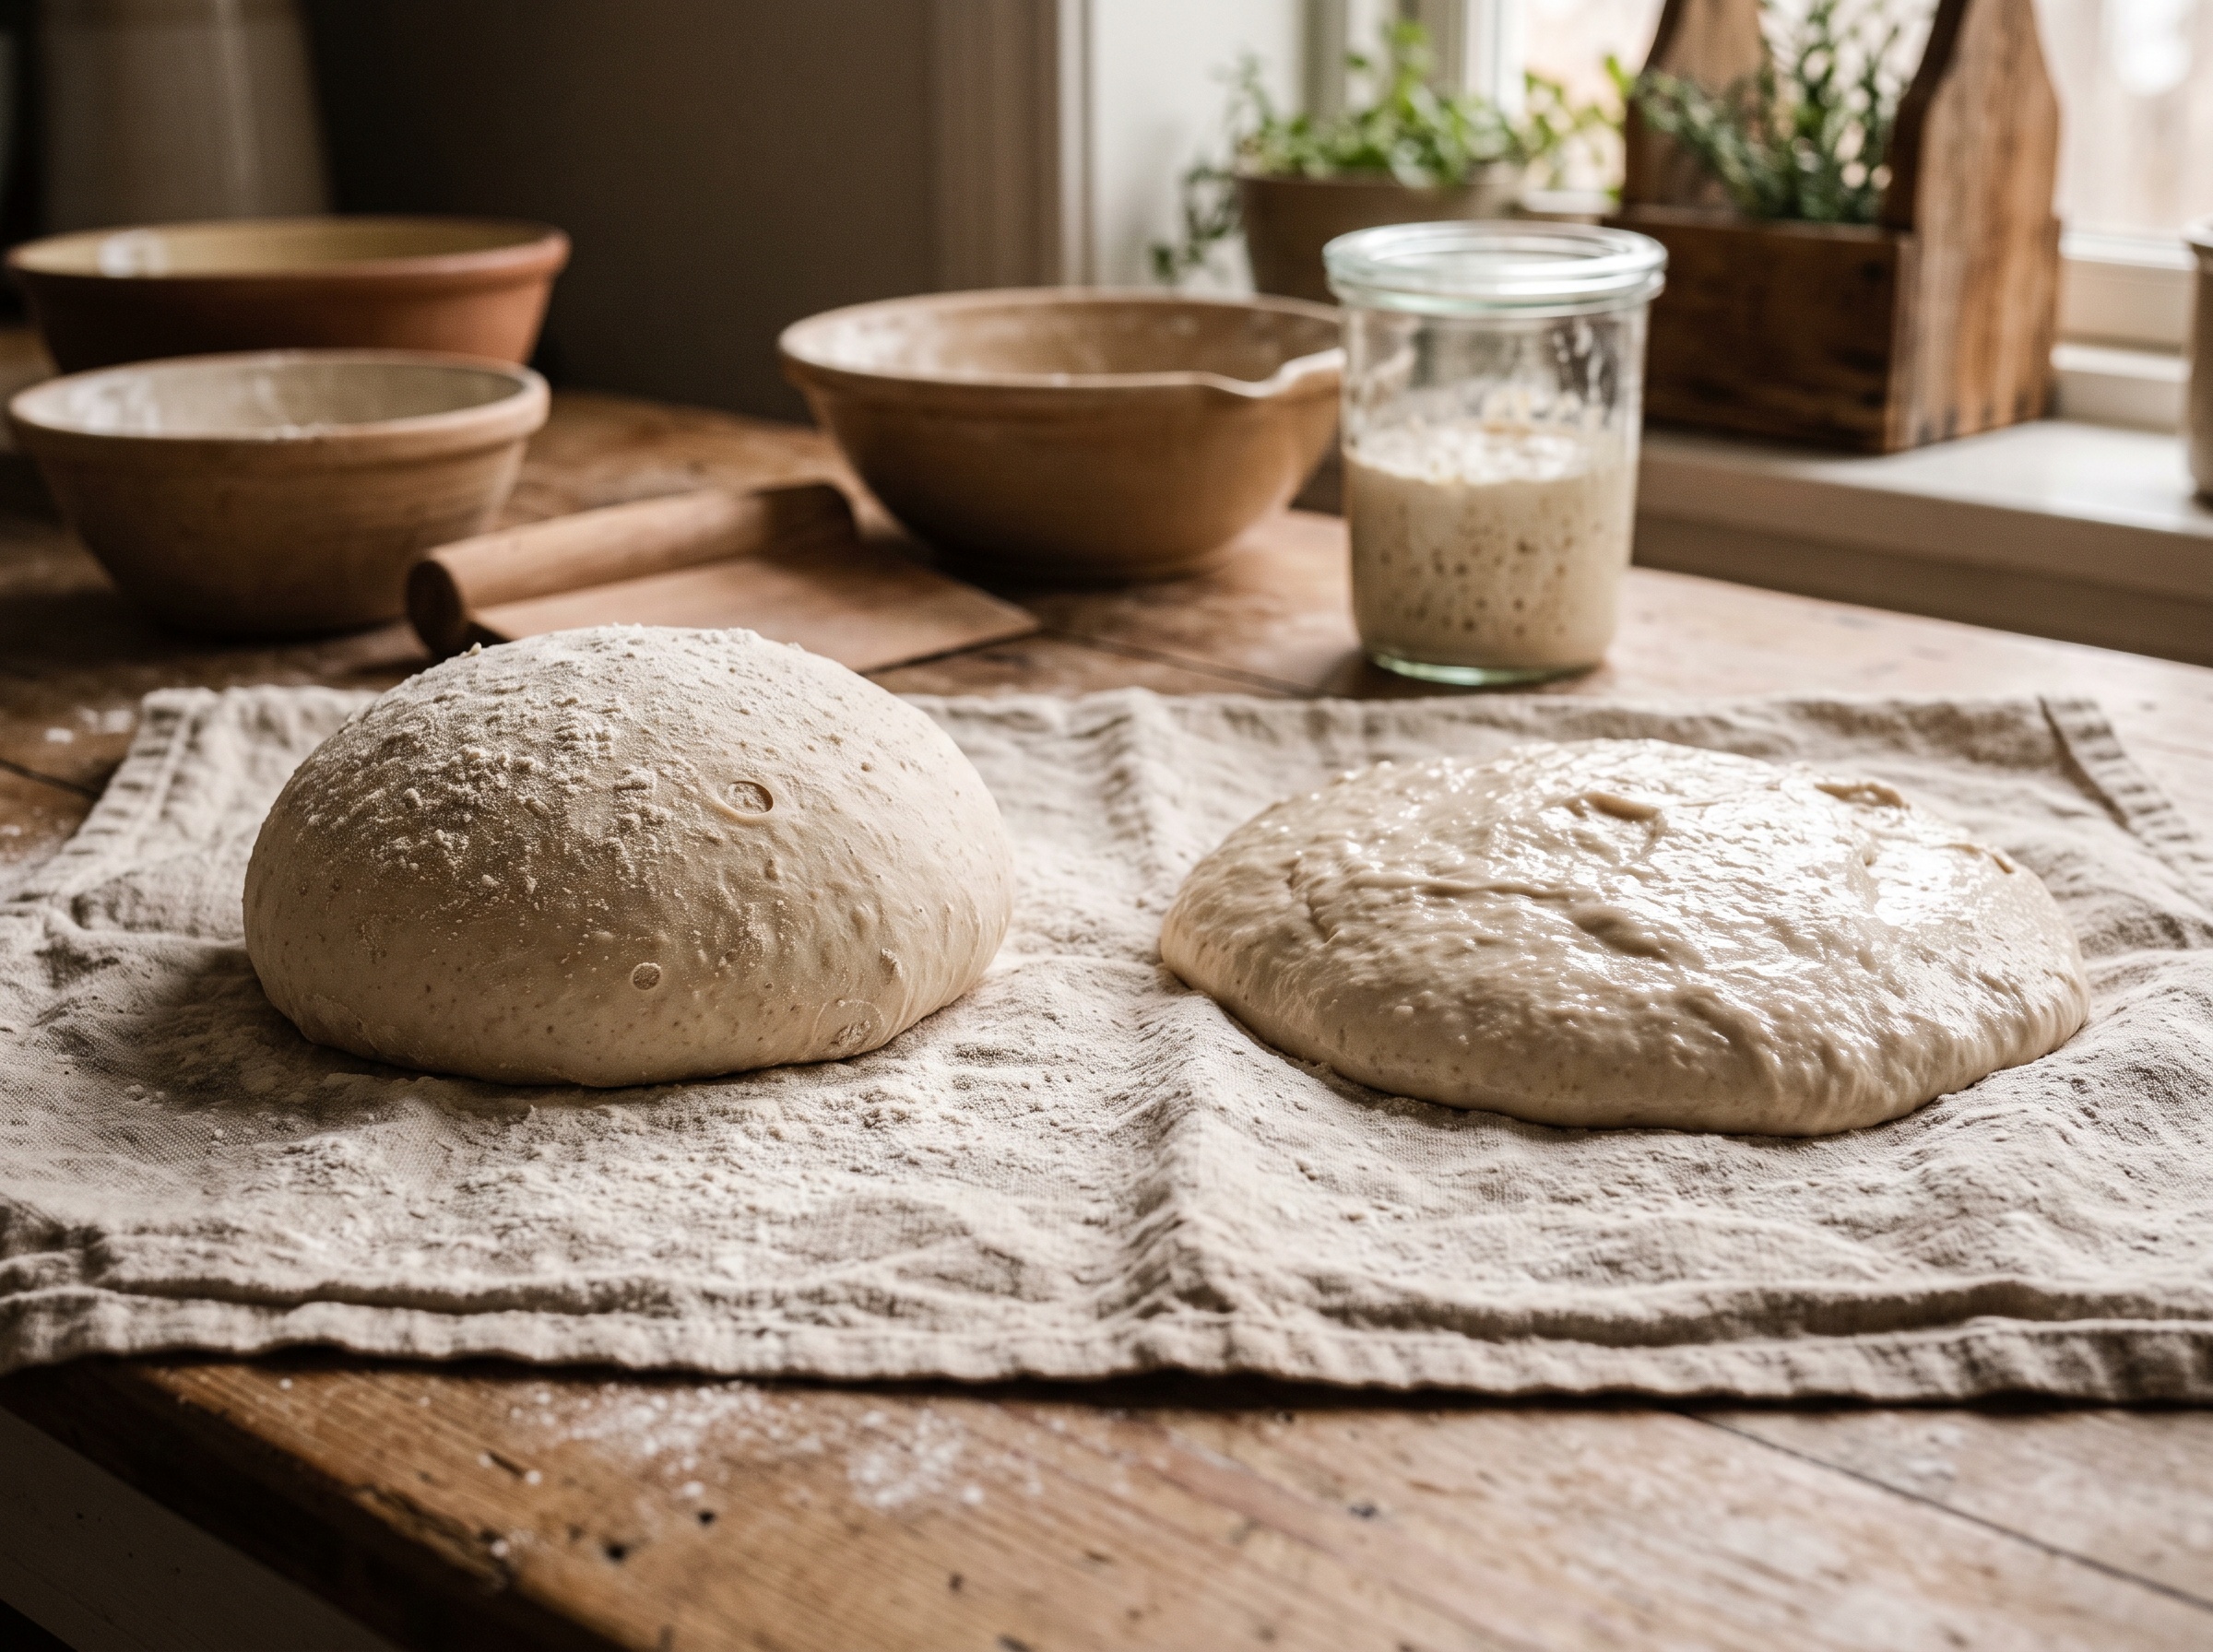
    Two sourdough dough balls side by side: a stiffer rounded one and a wetter, slacker one
    Same flour, different hydration. The wetter dough on the right spreads; the stiffer one holds its shape.

    What hydration actually does to your loaf

    Numbers are only useful if you know what they feel like, and hydration is the number that most directly changes the dough in your hands and the crumb on your plate. In plain terms, hydration is how wet the dough is — and wetness is a trade-off, not a target.

    Lower-hydration doughs, roughly in the 60-68% range, are stiffer, drier, and far easier to handle. They hold their shape, they are forgiving to shape and score, and they tend toward a tighter, more even crumb — exactly what you want for a sandwich loaf or a sturdy everyday bread. Higher-hydration doughs, up around 75-85% and beyond, are slack, sticky, and harder to manage, but that extra water is what gives you the dramatic open, irregular, airy crumb that artisan loaves are famous for. More water generally means a more open crumb and a crisper, more blistered crust — and a dough that will test your patience.

    This is why hydration is the first number experienced bakers look at: it tells them roughly how the dough will behave and what kind of loaf it is aiming for, before they read another word. There is no universally correct hydration. There is only the right hydration for the loaf you want and the flour you are using — and that last part matters more than beginners expect.
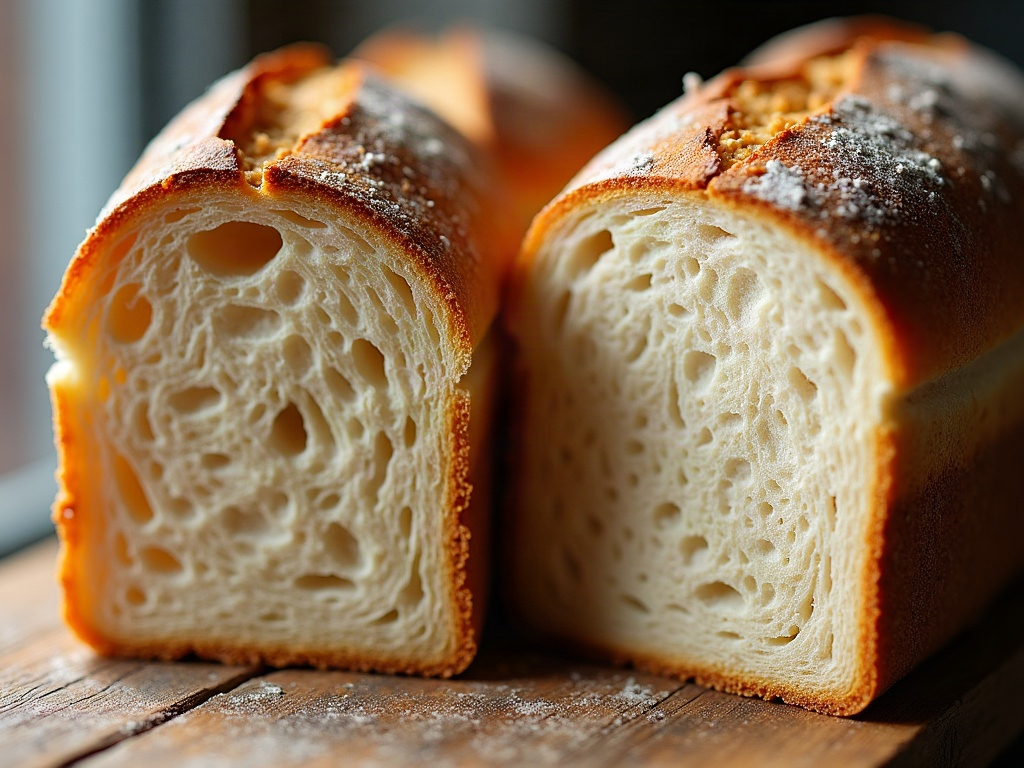
    Two sourdough crumb cross-sections: one tight and even, one open and airy
    Hydration is one of the biggest levers on crumb: drier dough tends tight and even, wetter dough tends open and irregular.

    Flour changes everything, which is why the number is a starting point

    Here is the honest caveat that keeps baker’s percentage from being a magic formula: the same hydration number behaves completely differently depending on your flour. A strong bread flour with high protein drinks up far more water than a low-protein all-purpose, and whole grains like whole wheat and rye are thirstier still. A 75% dough made with a thirsty high-protein bread flour might feel manageable, while the identical 75% with all-purpose can feel like a slurry.

    So treat a recipe’s hydration as a well-informed starting point, not a guarantee. If a dough feels far wetter or stiffer than the recipe implied, your flour is almost certainly the reason, and the fix is to adjust the water a little to match what your flour can actually absorb. This is exactly the kind of adjustment baker’s percentage makes easy: you are not scrapping the recipe, you are changing one number by a few points and noting the result. If you often find yourself fighting a slack, sticky mass, our guide to handling high-hydration dough without the mess picks up right where this leaves off.

    Putting it to work: read, then change one thing

    Here is how to actually use all of this the next time you bake. Before you start, convert the recipe into percentages so you can see what kind of loaf it really is — a quick division of water by flour tells you the hydration, and that alone sets your expectations for how the dough will handle and how open the crumb will be. Then bake it as written, and pay attention to how the dough felt and how the loaf turned out.

    If something was off, resist the urge to change five things at once. Change one number, by a modest amount, and bake again. Too tight a crumb and the dough felt dry? Nudge hydration up a few points. Dough so slack you could not shape it? Bring it down. Because you are working in percentages, you will know exactly what you altered and you can repeat your success — or undo your mistake — with confidence. That is the real gift here: it turns baking from a series of hopeful guesses into a system you can steer.
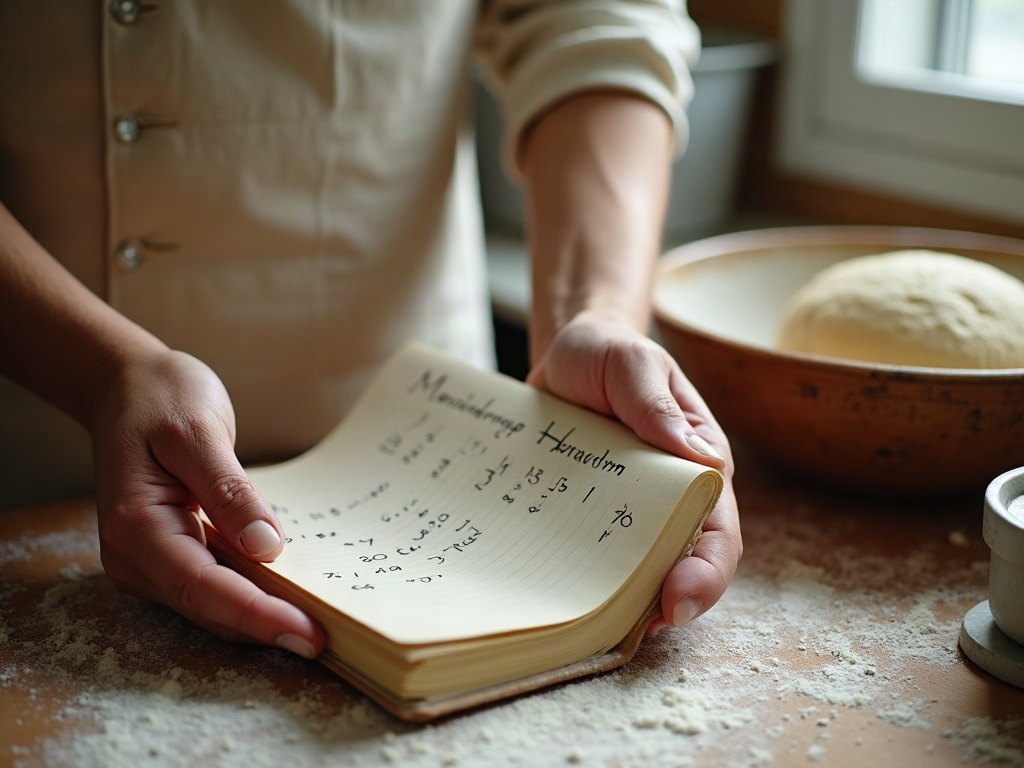
    A baker's hands with a small notebook beside a bowl of dough and a scale
    Once you think in percentages, you can write down a formula, repeat it exactly, and change one number at a time.

    Baker’s percentage is not advanced baking reserved for professionals. It is the simplest, most practical lens you can put on a recipe, and it rewards you the moment you understand it: flour is 100%, everything else is measured against it, and hydration is the number that tells you how your dough will feel and how your crumb will open. Learn to read it and you stop being at the mercy of whoever wrote the recipe — you start making deliberate, repeatable decisions about your own bread.

    If you would rather see the wet-versus-dry difference with your own eyes, we walk through doughs at different hydrations side by side over on the LoafLovers YouTube channel, and our free sourdough troubleshooting guide keeps these numbers handy for the next time a loaf does not go to plan. Drop your email and we will send it over — so the next time a recipe says “75% hydration,” you will know exactly what it is promising you, and exactly how to change it if it does not deliver.
    Related Reading

  • Why a Kitchen Scale Beats Measuring Cups for Every Sourdough Bake

    Why a Kitchen Scale Beats Measuring Cups for Every Sourdough Bake

    You followed the recipe. Same flour, same starter, same steps as last week — and yet this loaf came out dense and tight when the last one was airy, or soupy and unshapeable when the last one behaved. Before you blame your starter, your technique, or the weather, look at how you measured. If the answer is “cups,” we’ve probably found your problem.

    This isn’t baker snobbery. The single highest-leverage upgrade a struggling sourdough baker can make isn’t a banneton, a fancy flour, or a new folding technique. It’s an $15 digital scale and the habit of weighing in grams.

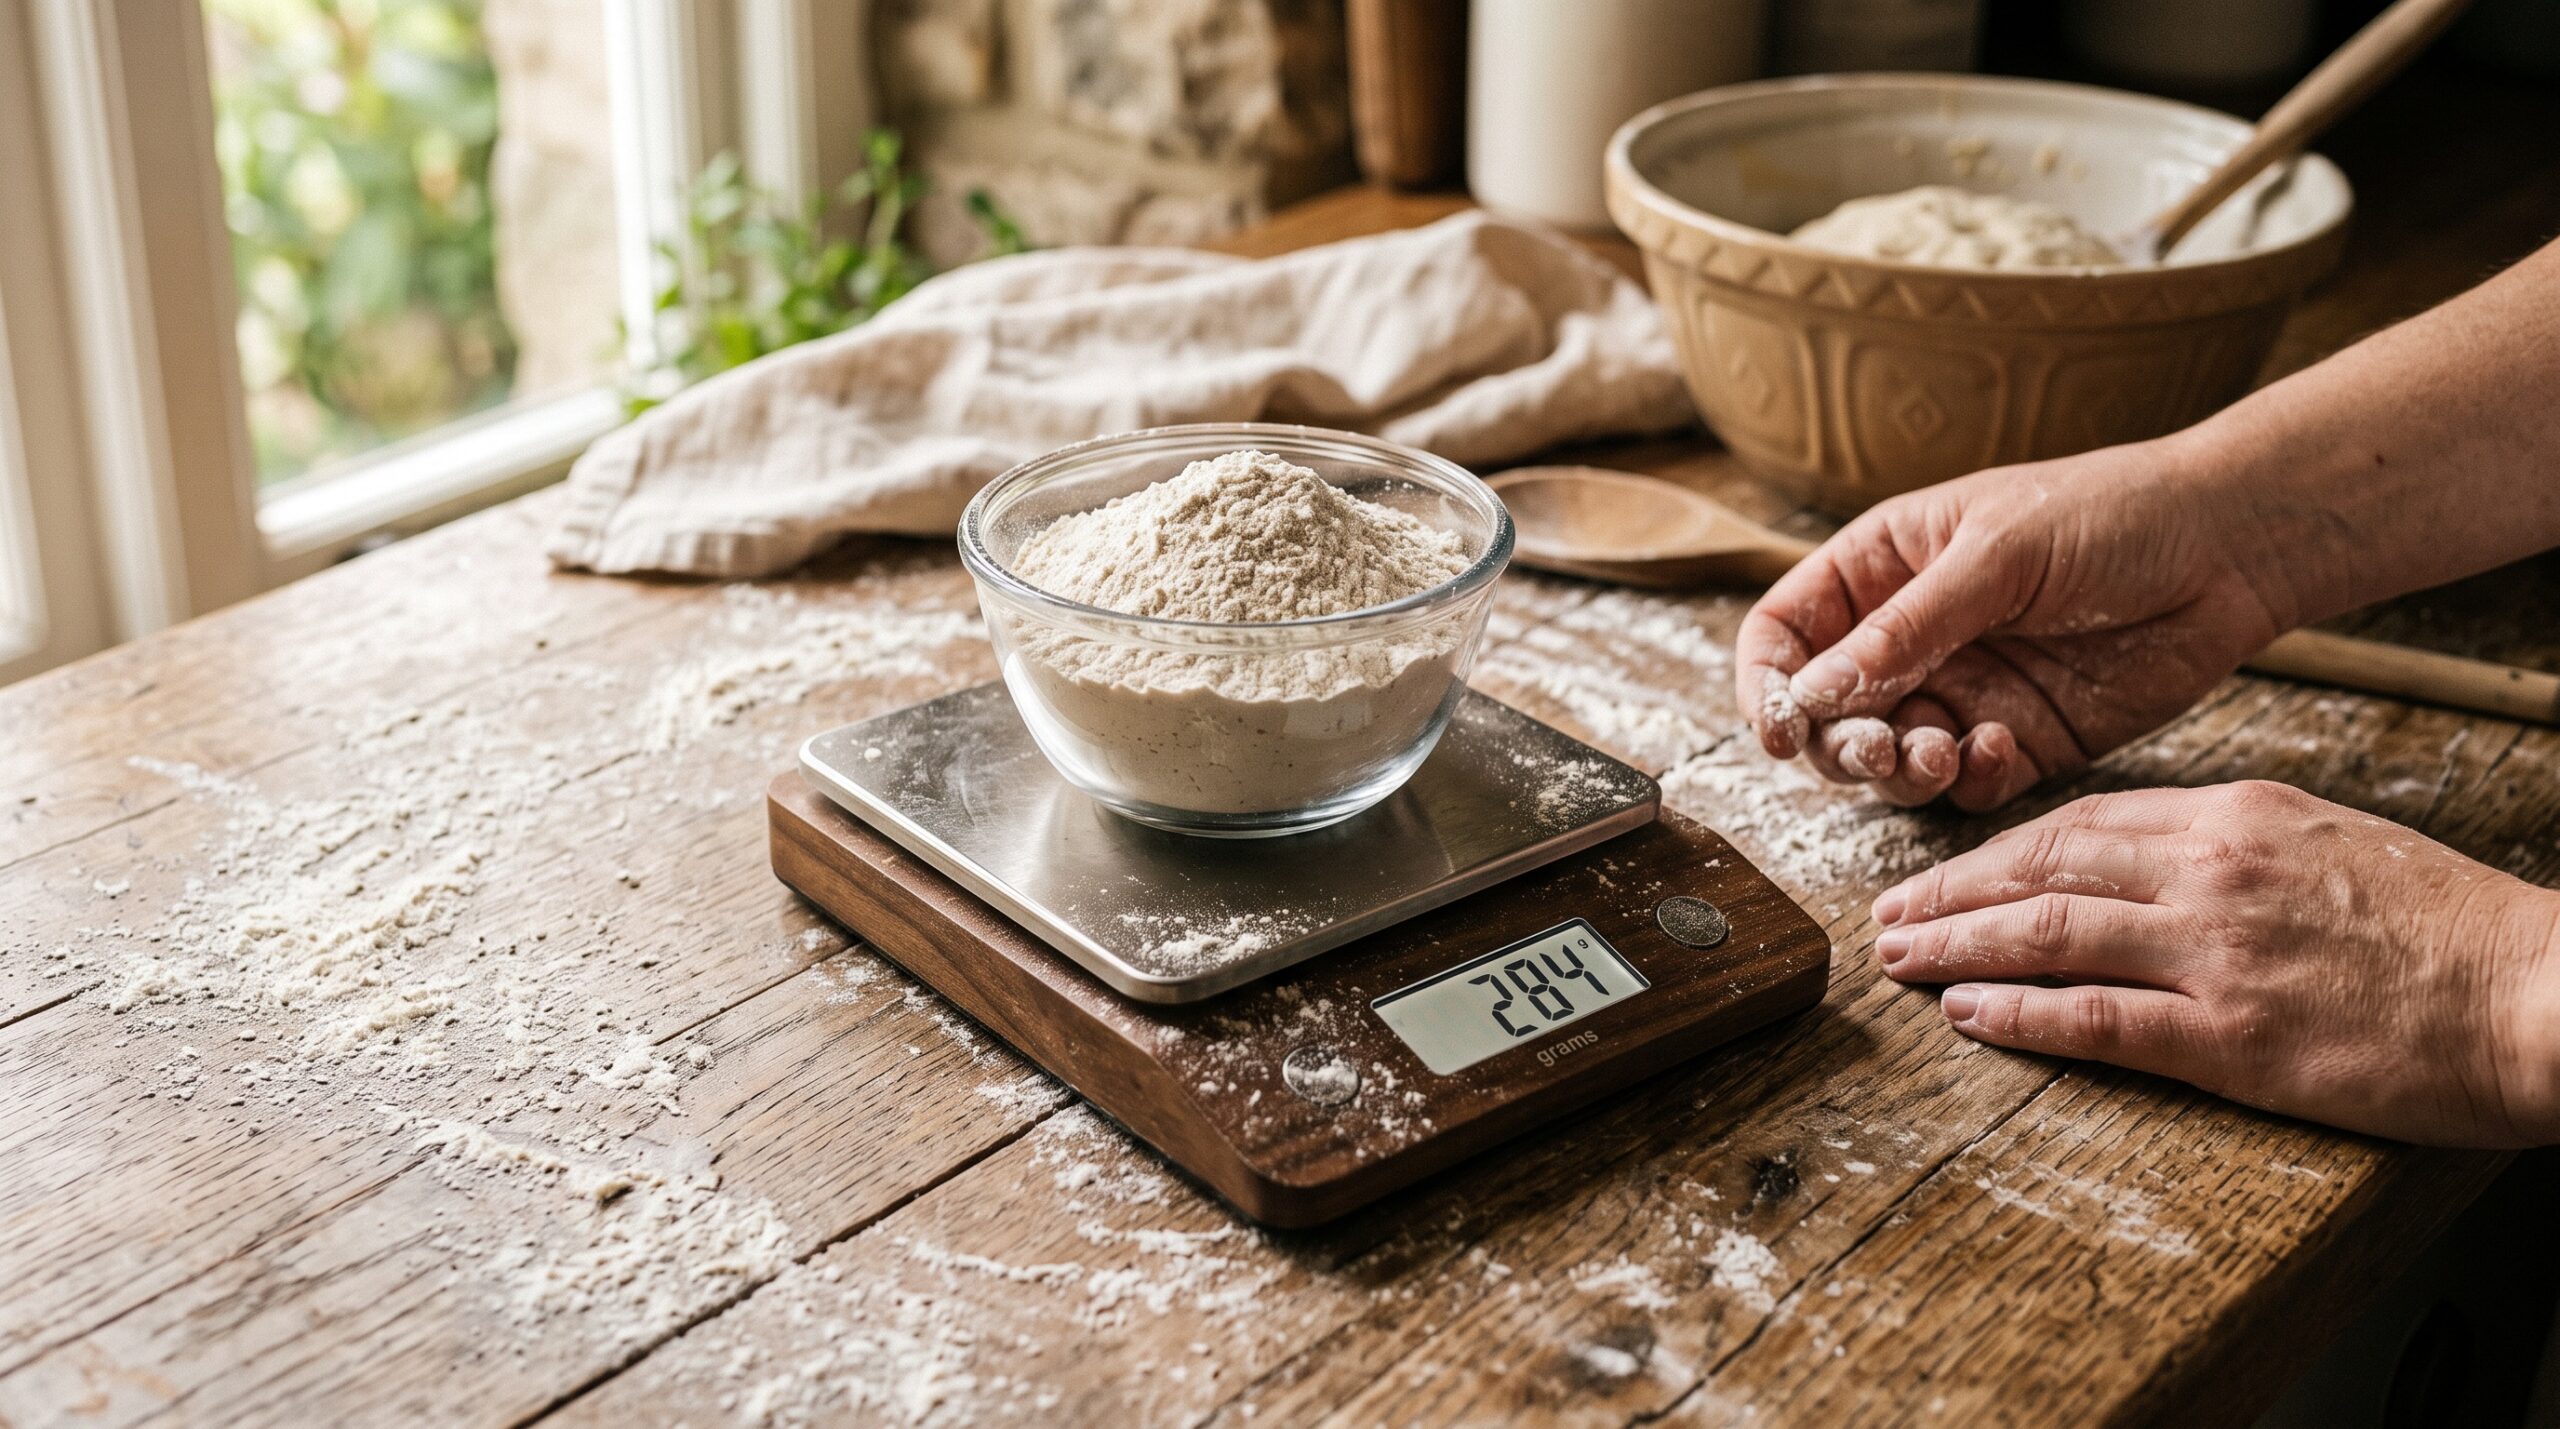
    Digital kitchen scale weighing bread flour in a glass bowl on a floured wooden counter
    One bowl, one number: weighing flour removes the biggest source of guesswork.

    A cup of flour isn’t a cup of flour

    Flour is fluffy, compressible, and wildly inconsistent by volume. Scoop it straight from the bag and you pack it down; spoon it in gently and you aerate it. Depending on how you fill the cup, “one cup” of bread flour can weigh anywhere from about 120 to 150 grams.

    Two cups of the same flour, one loosely scooped and one packed, showing different amounts
    Same cup, very different amount of flour – and your dough feels every gram of it.

    That’s a swing of up to 25 percent. In a recipe calling for three cups, you could be off by nearly a full cup of flour without doing anything “wrong.” Your water stayed the same, so your real hydration lurched. That is exactly why one bake is a stiff brick and the next is a sticky puddle — not bad luck, just a measuring tool that can’t hold still.

    Hydration is a ratio, and cups can’t do ratios

    Everything that makes sourdough behave — how slack the dough feels, how much it spreads, how open the crumb gets — comes down to the ratio of water to flour. Bakers call that hydration, and it’s a percentage: 350g water to 500g flour is 70% hydration, every single time.

    You simply cannot track that with cups, because the cup itself keeps changing weight. When you weigh, hydration becomes a dial you can actually turn. Dough too tight and dense? Nudge the water up a few percent next time. Too slack to shape? Dial it back. With cups, you’re turning a dial that isn’t connected to anything.

    One bowl, one scale, far less mess

    Weighing is also just easier once you try it. Put your mixing bowl on the scale, press tare to zero it, pour in flour to your target number. Tare again, add water. Tare again, add starter and salt. The whole dough gets built in one bowl with nothing to wash but a spoon.

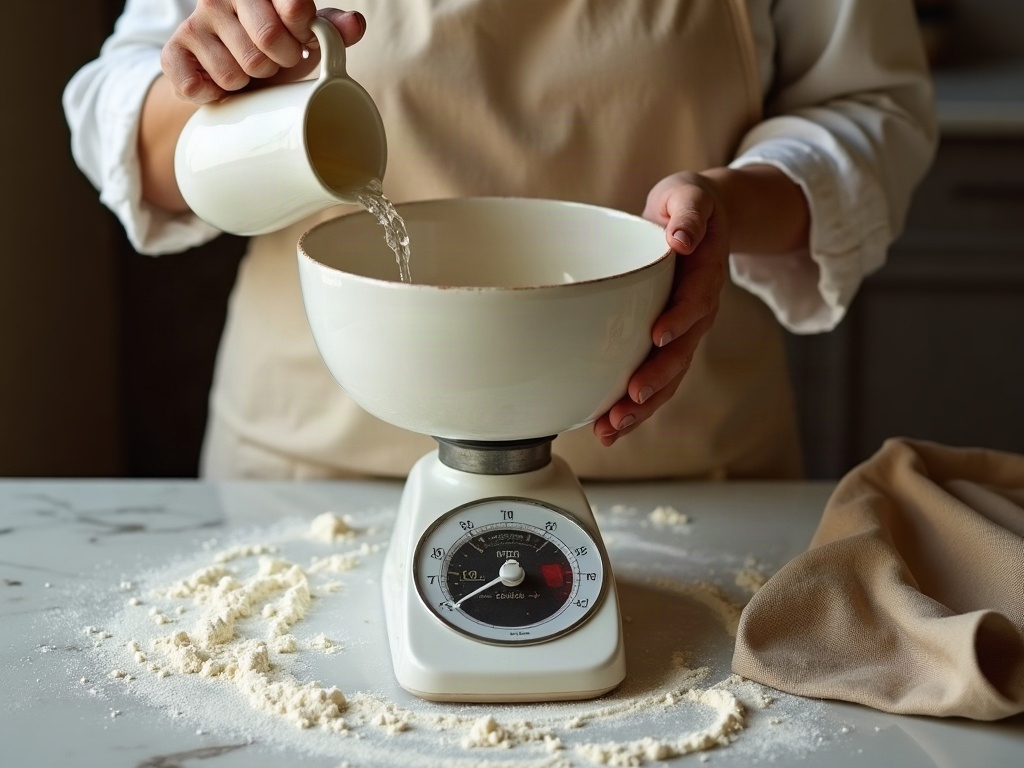
    Baker adding water to a bowl on a tared kitchen scale
    Tare to zero, add the next ingredient, repeat – the whole dough in one bowl.

    No nested cups, no leveling off with a knife, no spoons crusted with starter. For sticky ingredients especially — starter clings to a measuring cup and lies to you about how much you actually added — weighing straight into the bowl is both cleaner and honest.

    It turns a recipe into something you can fix

    Here’s the part that changes everything for a frustrated baker: when your bake is written in grams, a bad loaf becomes a solvable problem instead of a mystery.

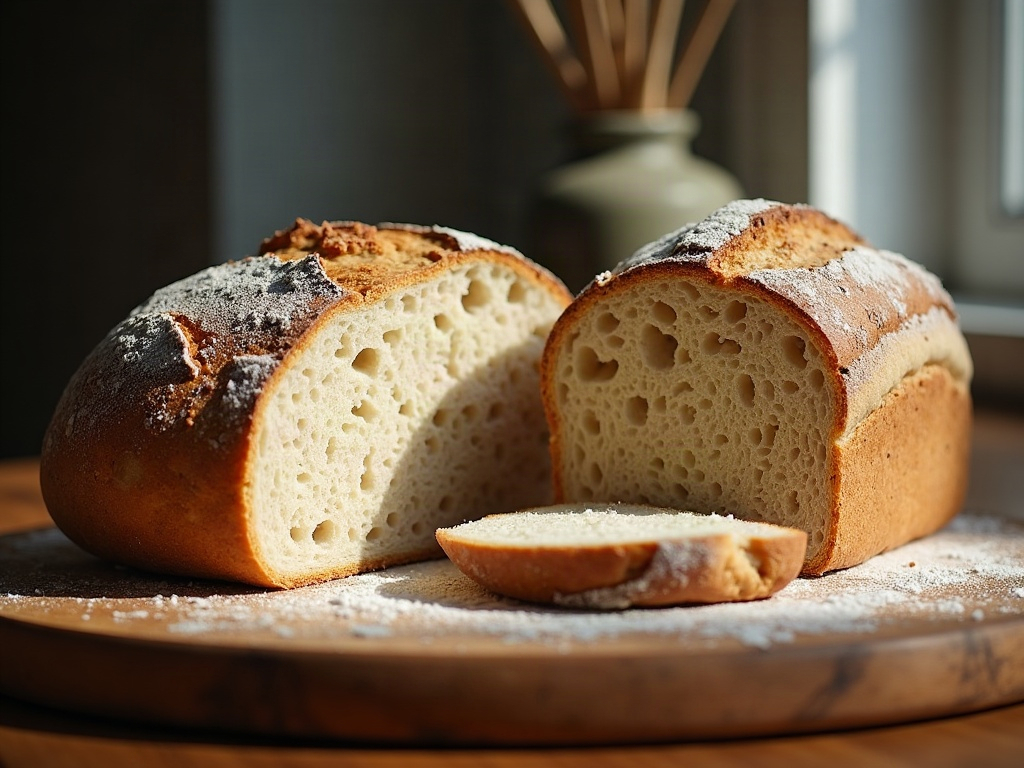
    Two sourdough loaves cut open, one dense and one with an open crumb
    Inconsistent measuring, inconsistent crumb – the loaf on the right is the repeatable one.

    If you weighed everything and the loaf came out gummy, you can look back and reason: the hydration was 78% and this flour couldn’t handle it, so next time I’ll try 72%. If you used cups, you have no idea what you actually did, so you can’t change one thing and learn from it. Weighing is what lets you troubleshoot at all. Every “why is my loaf…” fix we talk about assumes you can repeat a bake — and you can’t repeat what you never measured.

    How to switch over without the overwhelm

    You don’t need to relearn baking. Grab any inexpensive digital scale that reads in grams (1-gram increments is fine) and has a tare button. Then use a simple starting formula you can memorize:

    • 500g bread flour
    • 350g water (that’s 70% hydration)
    • 100g active starter
    • 10g salt

    That’s one standard loaf. Weigh it once, write down how the dough felt and how the crumb turned out, and adjust a single number next time. Keep a little notebook of your weights and results.

    A notebook of gram weights and percentages beside a scale, flour, and a starter jar
    Once it’s in grams, every bake becomes a recipe you can actually repeat and tweak.

    Within a few bakes you’ll stop chasing ghosts. The loaf that worked becomes a loaf you can make again on purpose — which, when you’re learning sourdough, is the whole game.

    If you want to see the weighing-and-building flow in action, the full walkthrough lives on the LoafLovers YouTube channel, and our free sourdough troubleshooting guide covers the ratios step by step. Weigh it, write it down, and let your next loaf be a repeat instead of a roll of the dice.

    Related Reading

  • How Much Salt Does Sourdough Really Need? What Salt Does and What Happens When You Get It Wrong

    How Much Salt Does Sourdough Really Need? What Salt Does and What Happens When You Get It Wrong

    Salt is the ingredient nobody worries about — until the day everything goes wrong. You mix your usual dough, and somehow it’s slack and soupy by early afternoon, tearing instead of stretching, racing through fermentation like it’s on fire. Or the opposite: the loaf comes out pale, tight, and strangely flat, and you can’t figure out why. Both of those are very often a salt problem, and salt is the one variable most bakers eyeball, guess at, or forget entirely.

    Here’s the good news. Salt is also the easiest thing in the whole process to get exactly right, once you understand what it’s actually doing in there. Let’s fix it for good.

    Salt being sprinkled over a bowl of bubbly sourdough dough in warm window light
    Salt is small in quantity and huge in effect — it shapes fermentation, structure, and flavor all at once.

    The short answer: 2%

    The reliable target for sourdough is 2% salt, measured against the weight of your flour — what bakers call baker’s percentage. If your recipe uses 500 grams of flour, that’s 10 grams of salt. For 1,000 grams of flour, 20 grams. Simple.

    Most people are happy somewhere between 1.8% and 2.2%. Drop much below about 1.5% and the dough starts misbehaving; push much above 2.5% and fermentation drags and the bread tastes noticeably salty. But 2% is the number to memorize. It’s forgiving, it’s balanced, and it works across almost every flour and schedule.

    One crucial note: measure salt by weight, not by volume. A teaspoon of fine table salt and a teaspoon of flaky sea salt weigh very different amounts, because the flakes pack so much more loosely. This is the single most common way home bakers accidentally under- or over-salt — they measure a “teaspoon” of a salt that’s much lighter or heavier than the one the recipe writer used. A cheap digital scale ends the guesswork.

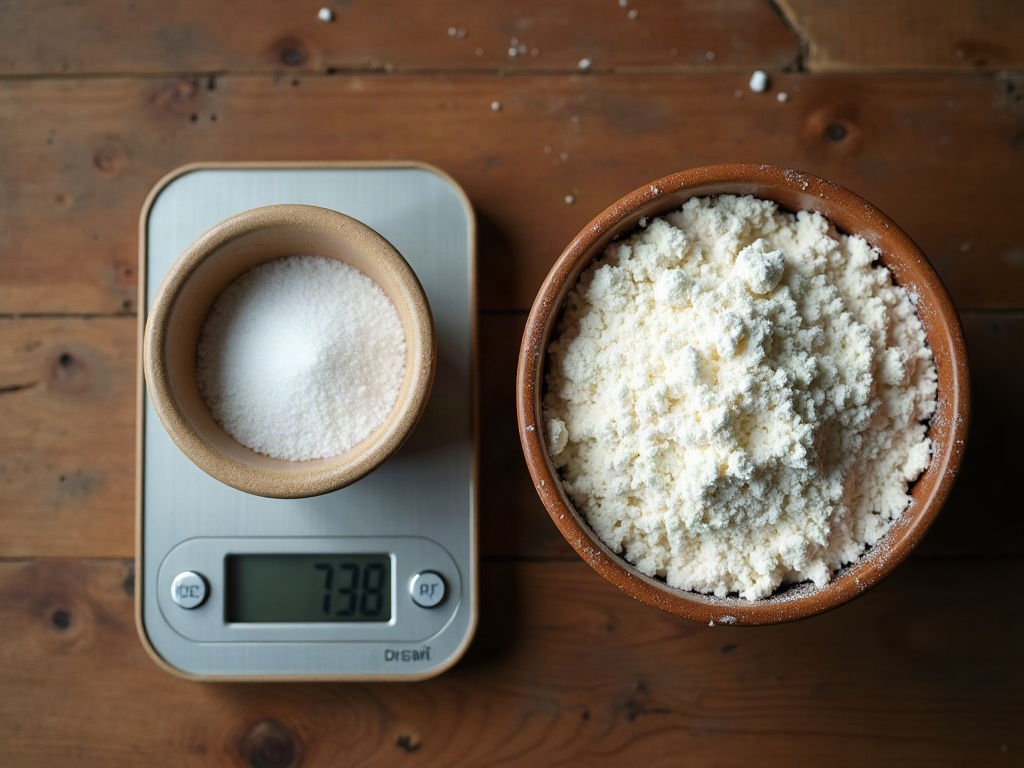
    A kitchen scale with salt beside a bowl of flour on a wooden counter
    Weigh salt against your flour, not by the spoonful — two percent of the flour weight is the reliable target.

    What salt is actually doing in your dough

    Salt isn’t just for flavor. It’s quietly running three jobs at once, and that’s why getting it wrong throws so much off.

    1. It controls the pace of fermentation

    Salt slows down your wild yeast and bacteria. That sounds like a downside, but it’s exactly what you want — a controlled, steady rise instead of a frantic one. Salt is a brake pedal. With the right amount, your dough ferments at a manageable speed and gives you a workable window to shape and bake. Take the salt away and you’ve cut the brake line: the yeast goes into overdrive, the dough over-ferments fast, and it turns slack and sticky long before you’re ready. Salt sits right alongside temperature and how much starter you use as one of the main dials that set how fast your dough moves.

    2. It tightens and strengthens the gluten

    Salt makes the gluten network firmer and more elastic. A properly salted dough feels strong and stretchy; it holds its shape, traps gas well, and gives you that lovely tension when you shape it. An under-salted dough feels the opposite — loose, weak, extra sticky, and unwilling to hold structure. If your dough has suddenly gone slack and formless for no obvious reason, salt (or the lack of it) is a prime suspect.

    3. It builds and sharpens flavor

    This is the obvious one, but it goes deeper than “salty.” The right amount of salt makes the wheat taste more like wheat and keeps the sourness in balance, so the tang reads as pleasant rather than sharp. Under-salted sourdough doesn’t just taste “less salty” — it tastes flat, dull, and weirdly sour, because there’s nothing rounding out the acidity. Salt is what makes a good loaf taste finished.

    What happens when you use too little

    Under-salting (or forgetting salt completely) is the more dramatic failure, and now you know why. All three jobs collapse at once:

    • Fermentation runs away. With the brake off, the dough over-proofs quickly — sometimes hours faster than your usual timeline.
    • The dough goes slack and sticky. Weak gluten plus over-fermentation means a loose, soupy mess that won’t hold a shape.
    • The flavor falls flat. Dull, bland, and often oddly sour, with none of the roundness good bread has.
    • The crust can look oddly pale or, confusingly, over-dark as the sugar balance shifts — either way it looks off.

    What happens when you use too much

    Over-salting is subtler and easier to miss, because the dough doesn’t fall apart — it just underperforms:

    • Fermentation drags. Too much salt over-brakes the yeast, so the rise is sluggish and your normal timeline leaves the loaf under-proofed.
    • The crumb comes out tight and dense. The bread never got the airy, open rise it should have, because the yeast was held back too hard.
    • The loaf bakes up pale. Slow fermentation leaves things looking under-colored even when the inside is done.
    • It simply tastes too salty — the flavor tips from balanced to harsh.

    If your loaves are chronically dense and pale and taking forever to rise, and you’ve ruled out a weak starter, weigh your salt. An over-heavy hand is easy to develop without noticing, especially if you switched salts.

    Two sourdough cross-sections, one pale and tight, one golden and open
    Too much salt tightens and pales a loaf; the right amount lets it color, rise, and open up.

    “I think I forgot the salt” — can you rescue it?

    It happens to everyone eventually. The fix depends on when you catch it:

    • Right after mixing. No problem at all. Sprinkle the salt over the dough, add a splash of water to help it dissolve, and work it in with a few stretches and folds. It’ll fully incorporate over the next hour. This is basically how bakers who autolyse add salt anyway — deliberately, a bit later than everything else.
    • Partway through bulk. Still salvageable, though harder. Dissolve the salt in a little warm water and squeeze and fold it through as evenly as you can. It won’t be perfect, but it beats a saltless loaf.
    • After it’s shaped or proofed. Now you’re stuck — there’s no working salt in at this point. Bake it anyway and treat it as a lesson. A saltless loaf is edible (toast it, use it for something with a salty topping), just noticeably flat.

    The bigger takeaway: because a saltless dough ferments so fast, watch the clock closely if you added the salt late. It may still be ahead of your normal schedule.

    A few practical habits that prevent salt mistakes

    Salt errors are almost always process errors, so tighten the process:

    • Weigh it every time. 2% of your flour weight, on a scale. Don’t switch to spoons.
    • Add salt at a consistent point. Whether you mix it in at the start or add it after a rest, do it the same way every bake so it never gets skipped.
    • Keep salt and starter separate until mixing. Undissolved salt sitting directly on your starter can stun the yeast at the contact point. Dissolving salt in the dough water first sidesteps this entirely.
    • Pick one salt and stick with it. Any non-iodized salt works — fine sea salt, kosher salt — but weighing means it barely matters which, as long as you’re consistent.
    Hands stretching a slack, sticky sourdough dough
    A loaf that forgot its salt ferments too fast and goes slack and soupy long before it should.

    The bottom line

    Salt is tiny in quantity and enormous in effect. Two percent of your flour weight, measured on a scale, added the same way every time — that’s the whole rule. Get it right and salt quietly does its three jobs: pacing your fermentation, strengthening your dough, and rounding out the flavor. Get it wrong and it sabotages all three at once, leaving you with a slack, racing, flat loaf or a dense, pale, sluggish one.

    So the next time a bake goes mysteriously sideways — too fast, too slack, too dull, or too dense — before you blame your starter or your schedule, weigh your salt. More often than you’d think, that ten or twenty grams is the difference between a frustrating loaf and a great one.

    A finished golden sourdough boule with a blistered crust on linen
    Get the salt right and everything else you already do starts working the way it’s supposed to.

    Related Reading