Tag: crumb structure

  • The Dense Gum Line at the Base of Your Loaf: What Causes That Compressed Layer and How to Fix It

    The Dense Gum Line at the Base of Your Loaf: What Causes That Compressed Layer and How to Fix It

    It’s a specific kind of disappointment. The loaf looks great from the outside — good rise, decent ear, deep color. The top two-thirds of the crumb is open and airy, exactly what you were hoping for. And then, right at the bottom, there’s a thin band of dense, tight, slightly gummy bread pressed against the base crust, like a different loaf snuck in underneath.

    That compressed layer at the base has a few distinct causes, and the good news is that none of them are mysterious or unfixable. Let’s work through them like a diagnosis: figure out which one is happening to your loaf, then fix exactly that. Most bakers are making just one or two of these mistakes, and correcting them gets you an even crumb from crust to crust.
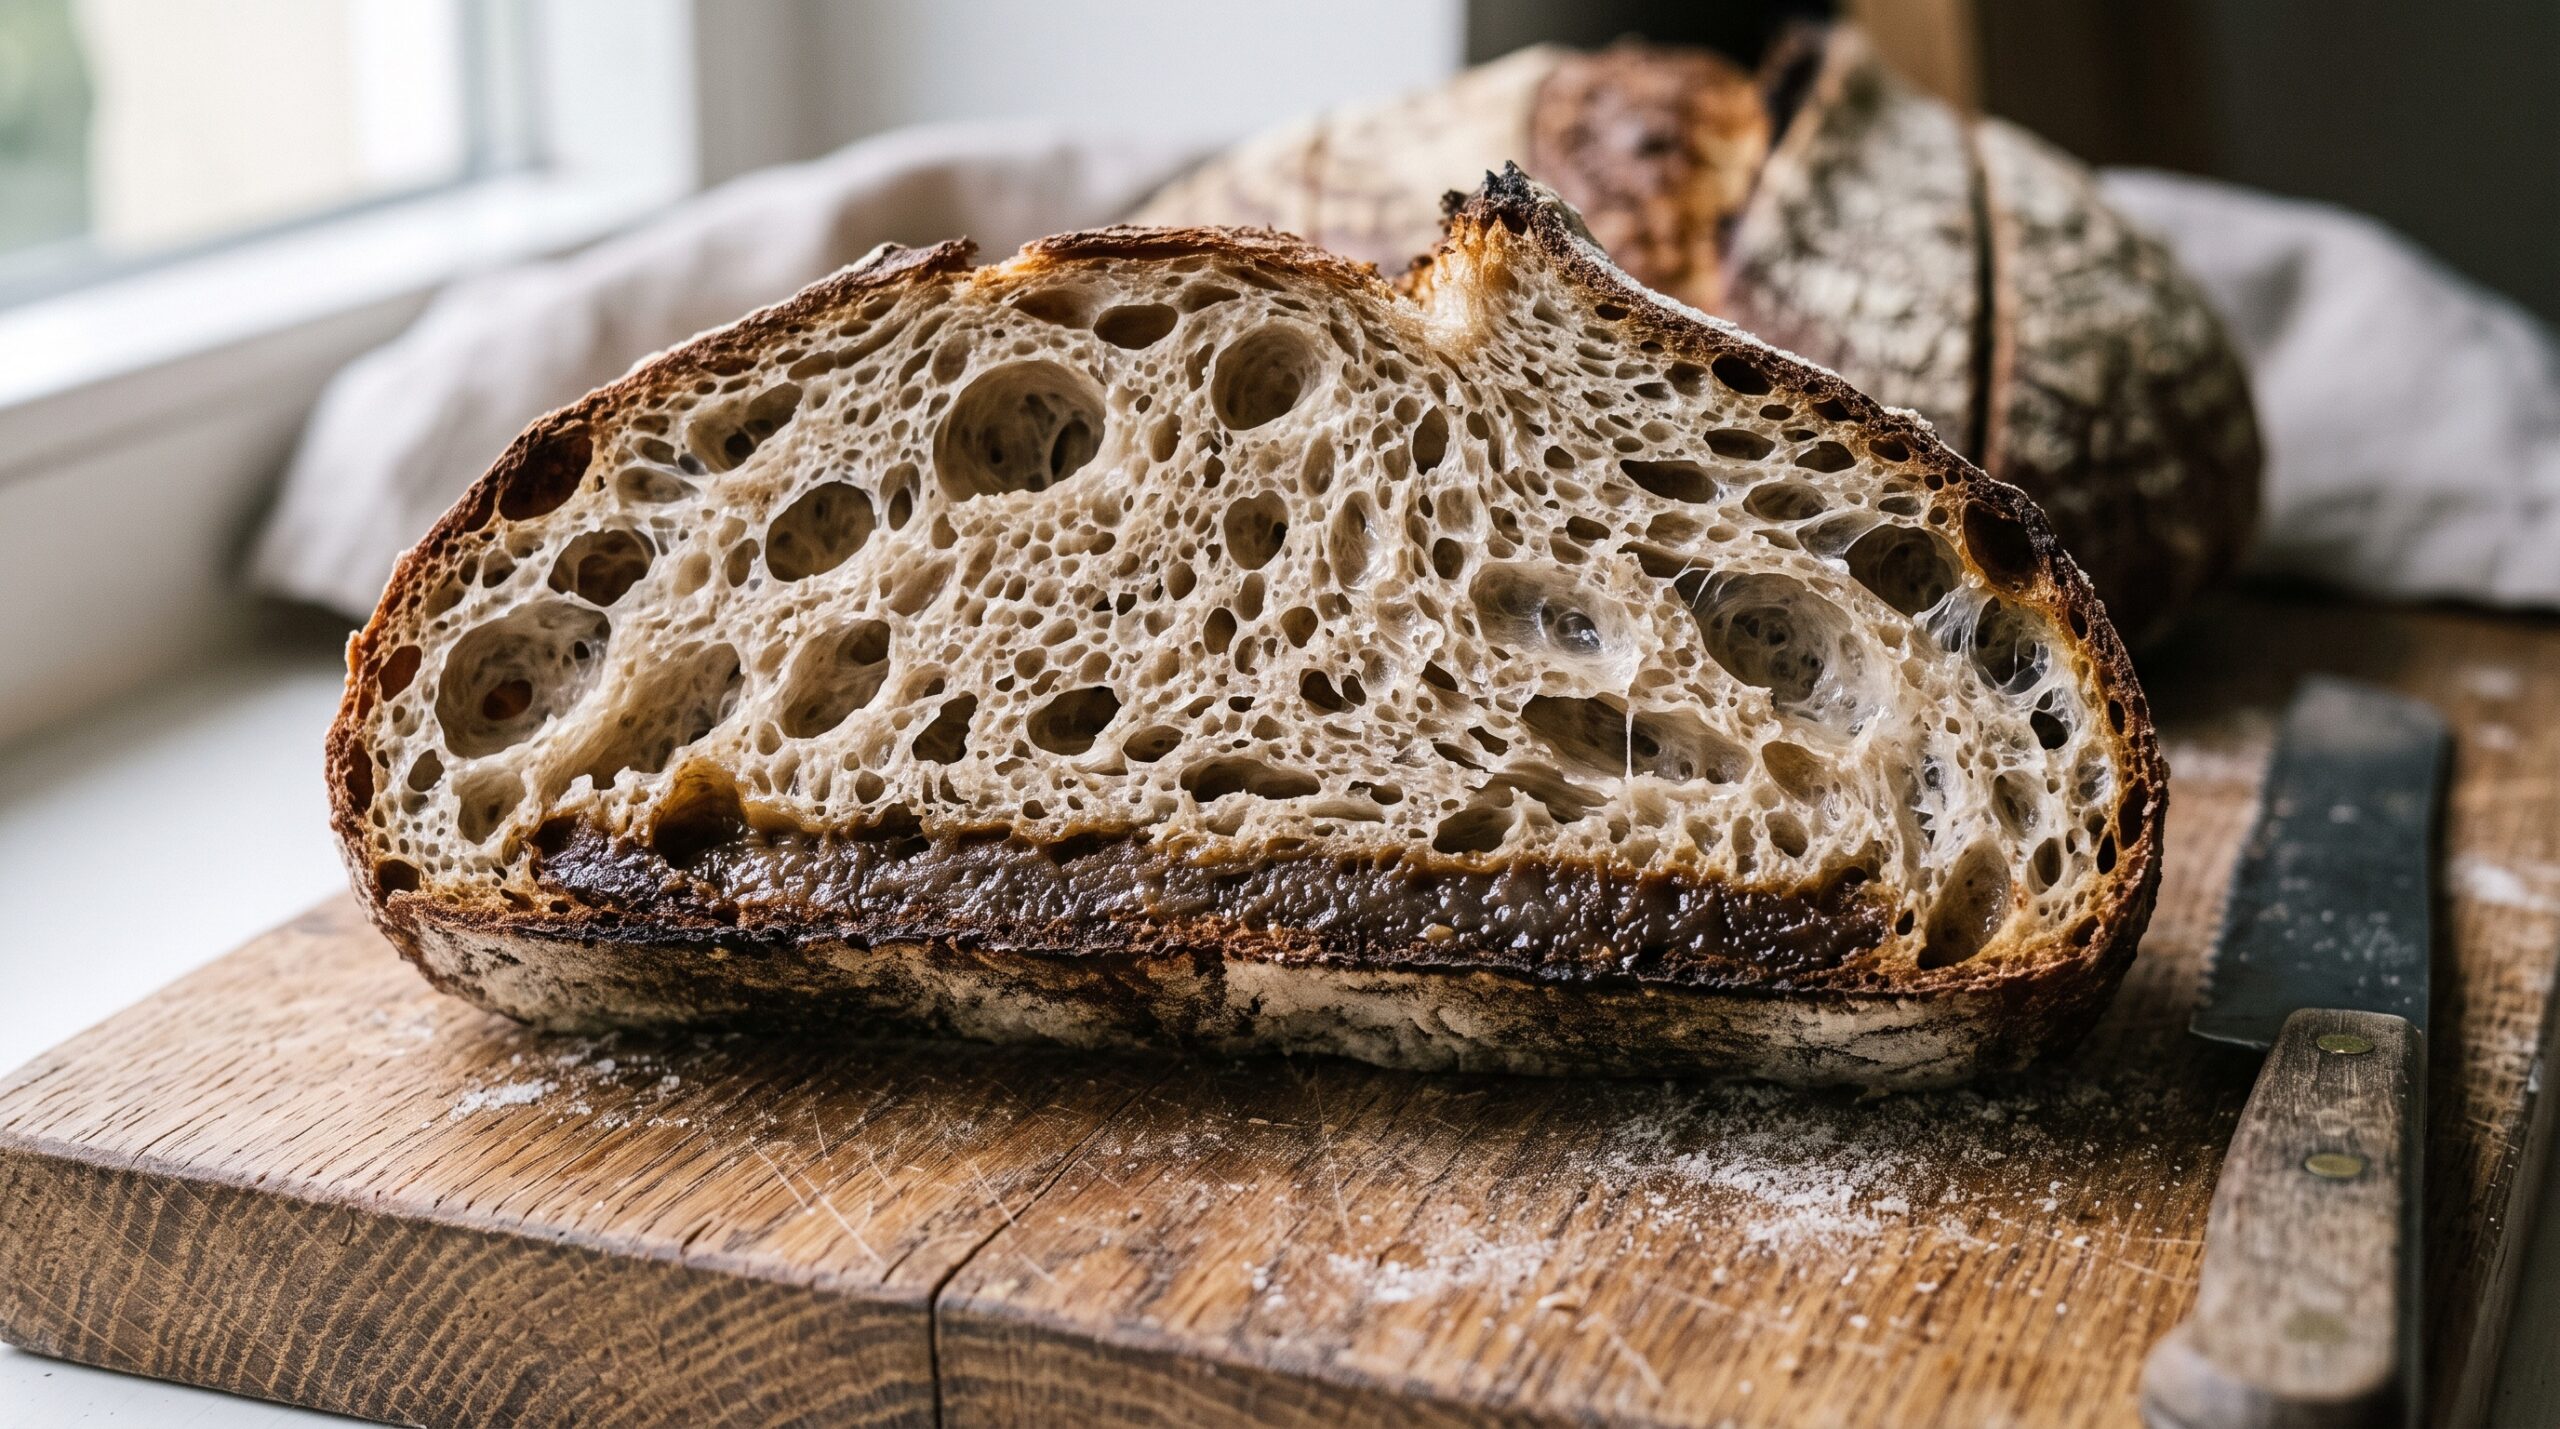
    Sliced sourdough showing an open crumb on top and a dense compressed layer at the base
    The tell-tale sign: an airy crumb up top, then a thin, dense, slightly gummy band clinging to the bottom crust.

    First, what that gum line actually is

    The dense band at the bottom is bread that never fully expanded and set the way the rest of the loaf did. Instead of trapping gas and staying light, that section stayed compact and moisture-heavy. It often feels slightly sticky or gummy because it’s denser and holds more water than the open crumb above it.

    Crucially, this is a localized version of gumminess — confined to the base — which points you toward causes tied to the bottom of the loaf specifically: the heat under it, the strength of the dough there, and what happens as it cools. That’s different from a whole loaf coming out gummy, which is usually a broader fermentation or bake-time problem. If your entire crumb is dense and wet rather than just the base, start with the wider causes of a loaf that went into the oven at the wrong stage of proof.

    Cause #1: You cut it too soon (the most common culprit)

    If you take only one thing from this article, take this: a warm loaf is still baking. When bread comes out of the oven, the interior is full of hot steam and the starches are still setting. Cutting into it before it has fully cooled releases that steam, and the crumb around the cut — especially the dense, heavy base where moisture collects — collapses and turns gummy.

    Bakers do this constantly because warm sourdough is irresistible. But that gum line at the bottom is very often not a baking fault at all — it’s a cooling fault. The fix costs nothing but patience:

    • Cool the loaf on a wire rack, never flat on a solid surface where the base sits in its own trapped steam.
    • Wait until it is completely cool to the touch before slicing — a minimum of a couple of hours for a standard loaf, longer for a large or high-hydration one.
    • If you suspect this is your problem, run a test: bake as usual, then cut one loaf warm and leave an identical one to cool fully. If the cooled one has no gum line, you’ve found your answer.

    Before you change your recipe, your schedule, or your starter, rule this out first. It’s the single most common cause and the easiest to fix.
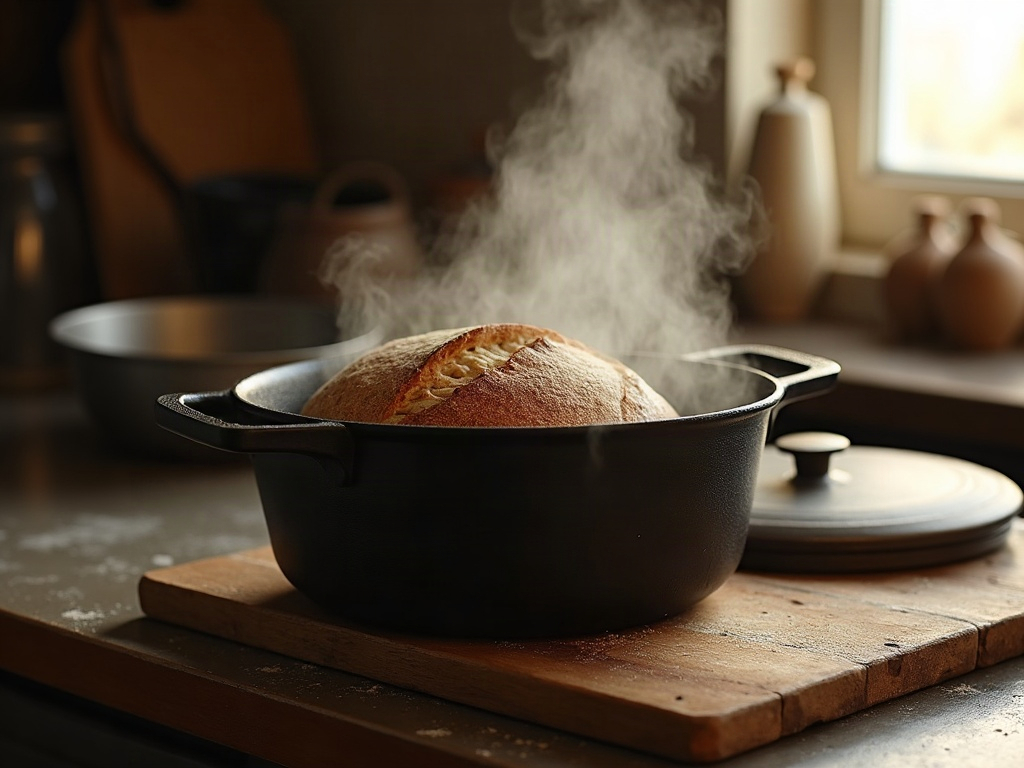
    A sourdough loaf inside a hot dutch oven fresh from baking
    A cold or poorly preheated base is a leading cause — the bottom sets before it can rise.

    Cause #2: Not enough heat under the loaf

    The base of your loaf needs a strong blast of heat early to spring up and set before it can compress under the weight of the dough above it. If the bottom is getting less heat than the top, it stays dense while the upper crumb rises freely — producing exactly that layered look.

    This happens when:

    • The oven or Dutch oven wasn’t preheated long enough. A vessel needs a good, thorough preheat so it’s genuinely hot when the dough lands. A lukewarm base is a gummy base.
    • The loaf is baking too high in the oven, far from the bottom heat source, or on a thin tray that doesn’t hold and transfer heat well.
    • There’s too much insulation under the dough — thick doubled parchment, or a cold stone that never came up to temperature.

    Fixes: preheat your Dutch oven or baking stone fully (give it a solid 45 minutes to an hour at temperature), position your bake in the lower-middle of the oven, and if your bottoms run consistently pale and dense, try a preheated stone or steel beneath the vessel to drive heat into the base. Getting strong bottom heat is the same reason a well-preheated setup matters so much for oven spring in general — the loaf rises before it sets, not after.

    Cause #3: A weak or wet base from shaping and proofing

    Sometimes the compressed layer starts before the oven. If the dough lacks structure at the bottom, or if extra moisture pools there during proofing, that section goes in already predisposed to stay dense.

    A few things feed this:

    • Under-developed gluten or slack shaping means the dough can’t hold its gas well, and the weight of the loaf settles and compresses the base. Building real surface tension when you shape gives the loaf the backbone to rise evenly — the same skill behind shaping a boule that rises up, not out.
    • Very high hydration without enough strength lets water migrate down and sit at the base, especially during a long proof, leaving that zone wetter and denser.
    • Seam-side handling — if the seam ends up on the bottom and isn’t sealed, or the base is where slack dough gathers, that spot bakes up tighter.

    If your gum line comes with an overall slack, hard-to-handle dough, the root fix is dough strength: a bit more gluten development, better shaping tension, and making sure your dough isn’t over-hydrated for your flour’s ability to hold it.
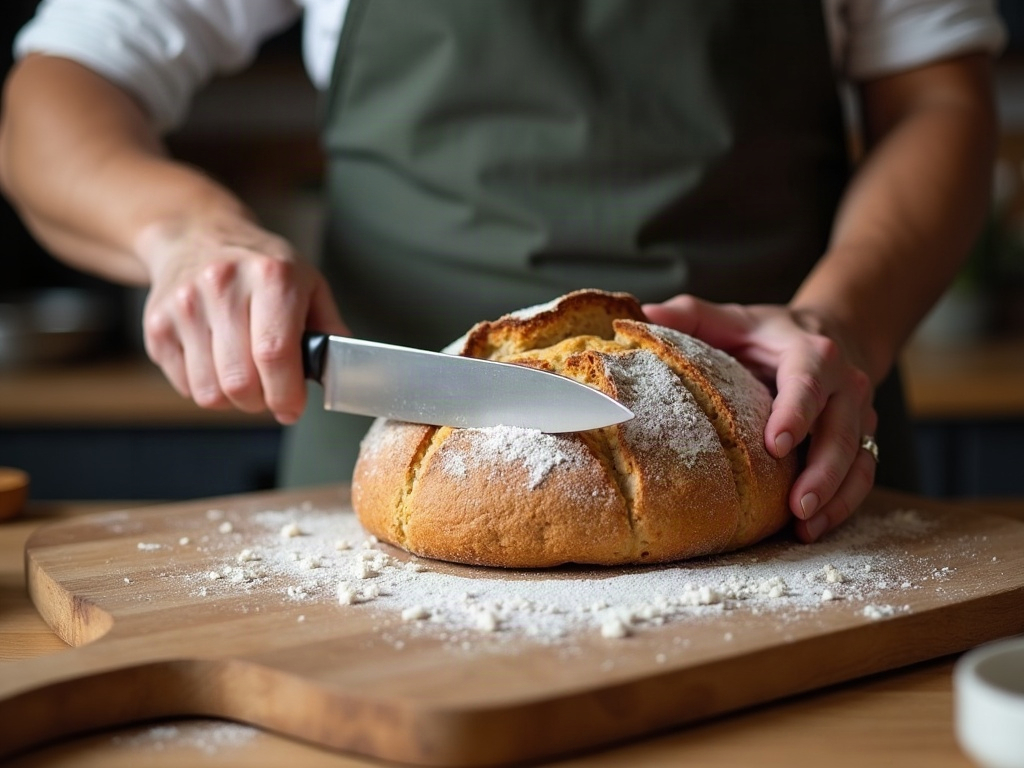
    A baker slicing a fully cooled sourdough loaf
    Cutting a loaf while it is still warm is the single most common way bakers create a gummy layer that was not there.

    Cause #4: Underbaked overall (check this if the base is truly wet)

    If the base isn’t just dense but genuinely wet, the loaf may simply be underbaked. The bottom is the last part to finish, and it’s where undercooking shows up first. An internal temperature check is the honest test here: a fully baked lean sourdough reads around 205–210°F (96–99°C) in the center. If yours is coming out well below that, extend the bake.

    A useful trick for a stubbornly dense base: for the last 5–10 minutes, take the loaf out of the Dutch oven and set it directly on the oven rack or a hot stone. That exposes the bottom to direct heat and drives off the last of the moisture, firming up the base crust and finishing that lower crumb.

    Your quick diagnostic checklist

    Run through these in order — they’re arranged from most to least common:

    1. Did you cut it warm? Cool completely on a rack and re-test. Fixes most gum lines by itself.
    2. Was the base fully preheated? Give your Dutch oven or stone a longer, hotter preheat and bake lower in the oven.
    3. Is the whole dough slack and weak? Build more shaping tension and gluten strength; reconsider your hydration.
    4. Is the base genuinely wet, not just dense? Check internal temp and extend the bake, finishing the loaf out of the vessel for a few minutes.

    Change one thing at a time so you actually learn what your loaf needed. Most bakers find it’s the cooling, then the bottom heat — and once those two are handled, that dense band at the base disappears for good.
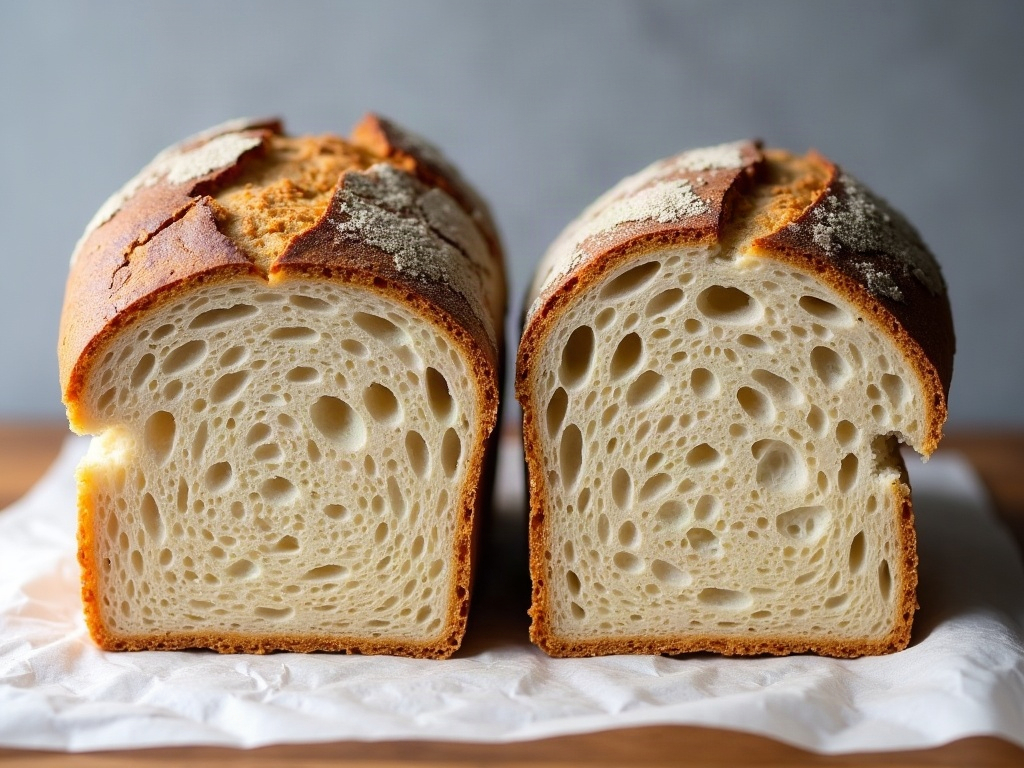
    Comparison of a sourdough with a gummy base next to one with an even crumb throughout
    The goal: an even, open crumb that runs all the way down to a crisp, thin bottom crust.

    An even crumb, all the way down

    A gum line at the base of the loaf feels like a mysterious flaw, but it’s really just the bottom of your loaf telling you it didn’t get one of three things: enough patience while cooling, enough heat while baking, or enough strength while proofing. Give it those, and the reward is a crumb that stays open and tender right down to a thin, crisp bottom crust.

    Want to see exactly what a properly cooled base and a fully preheated bake look like in real time? The full walkthrough — including a side-by-side of a gummy base versus a clean one — lives on the LoafLovers YouTube channel, and our free sourdough troubleshooting guide has the whole bake-and-cool checklist you can keep by the oven. Grab it, and let your next loaf be even from crust to crust.
    Related Reading

  • How to Get an Open Crumb in Sourdough: Why Your Holes Are Small and How to Fix It

    How to Get an Open Crumb in Sourdough: Why Your Holes Are Small and How to Fix It

    The loaf tastes wonderful. The crust is crackly, the flavor is tangy and deep — and then you slice it and the inside is tight, even, and slightly cakey. Not bad, exactly, but nothing like the wild, glossy, hole-riddled crumb you keep scrolling past online. It feels like there’s a secret you’re not being told.

    Here’s the honest version: an open crumb isn’t one trick. It’s the sum of a few things going right together — enough fermentation, the right amount of strength, adequate hydration, and gentle handling that keeps the air in. Get most of them right and the holes open up. Miss one and the dough quietly closes back into a tight little brick. Let’s walk through what actually moves the needle, and which lever is probably holding you back.

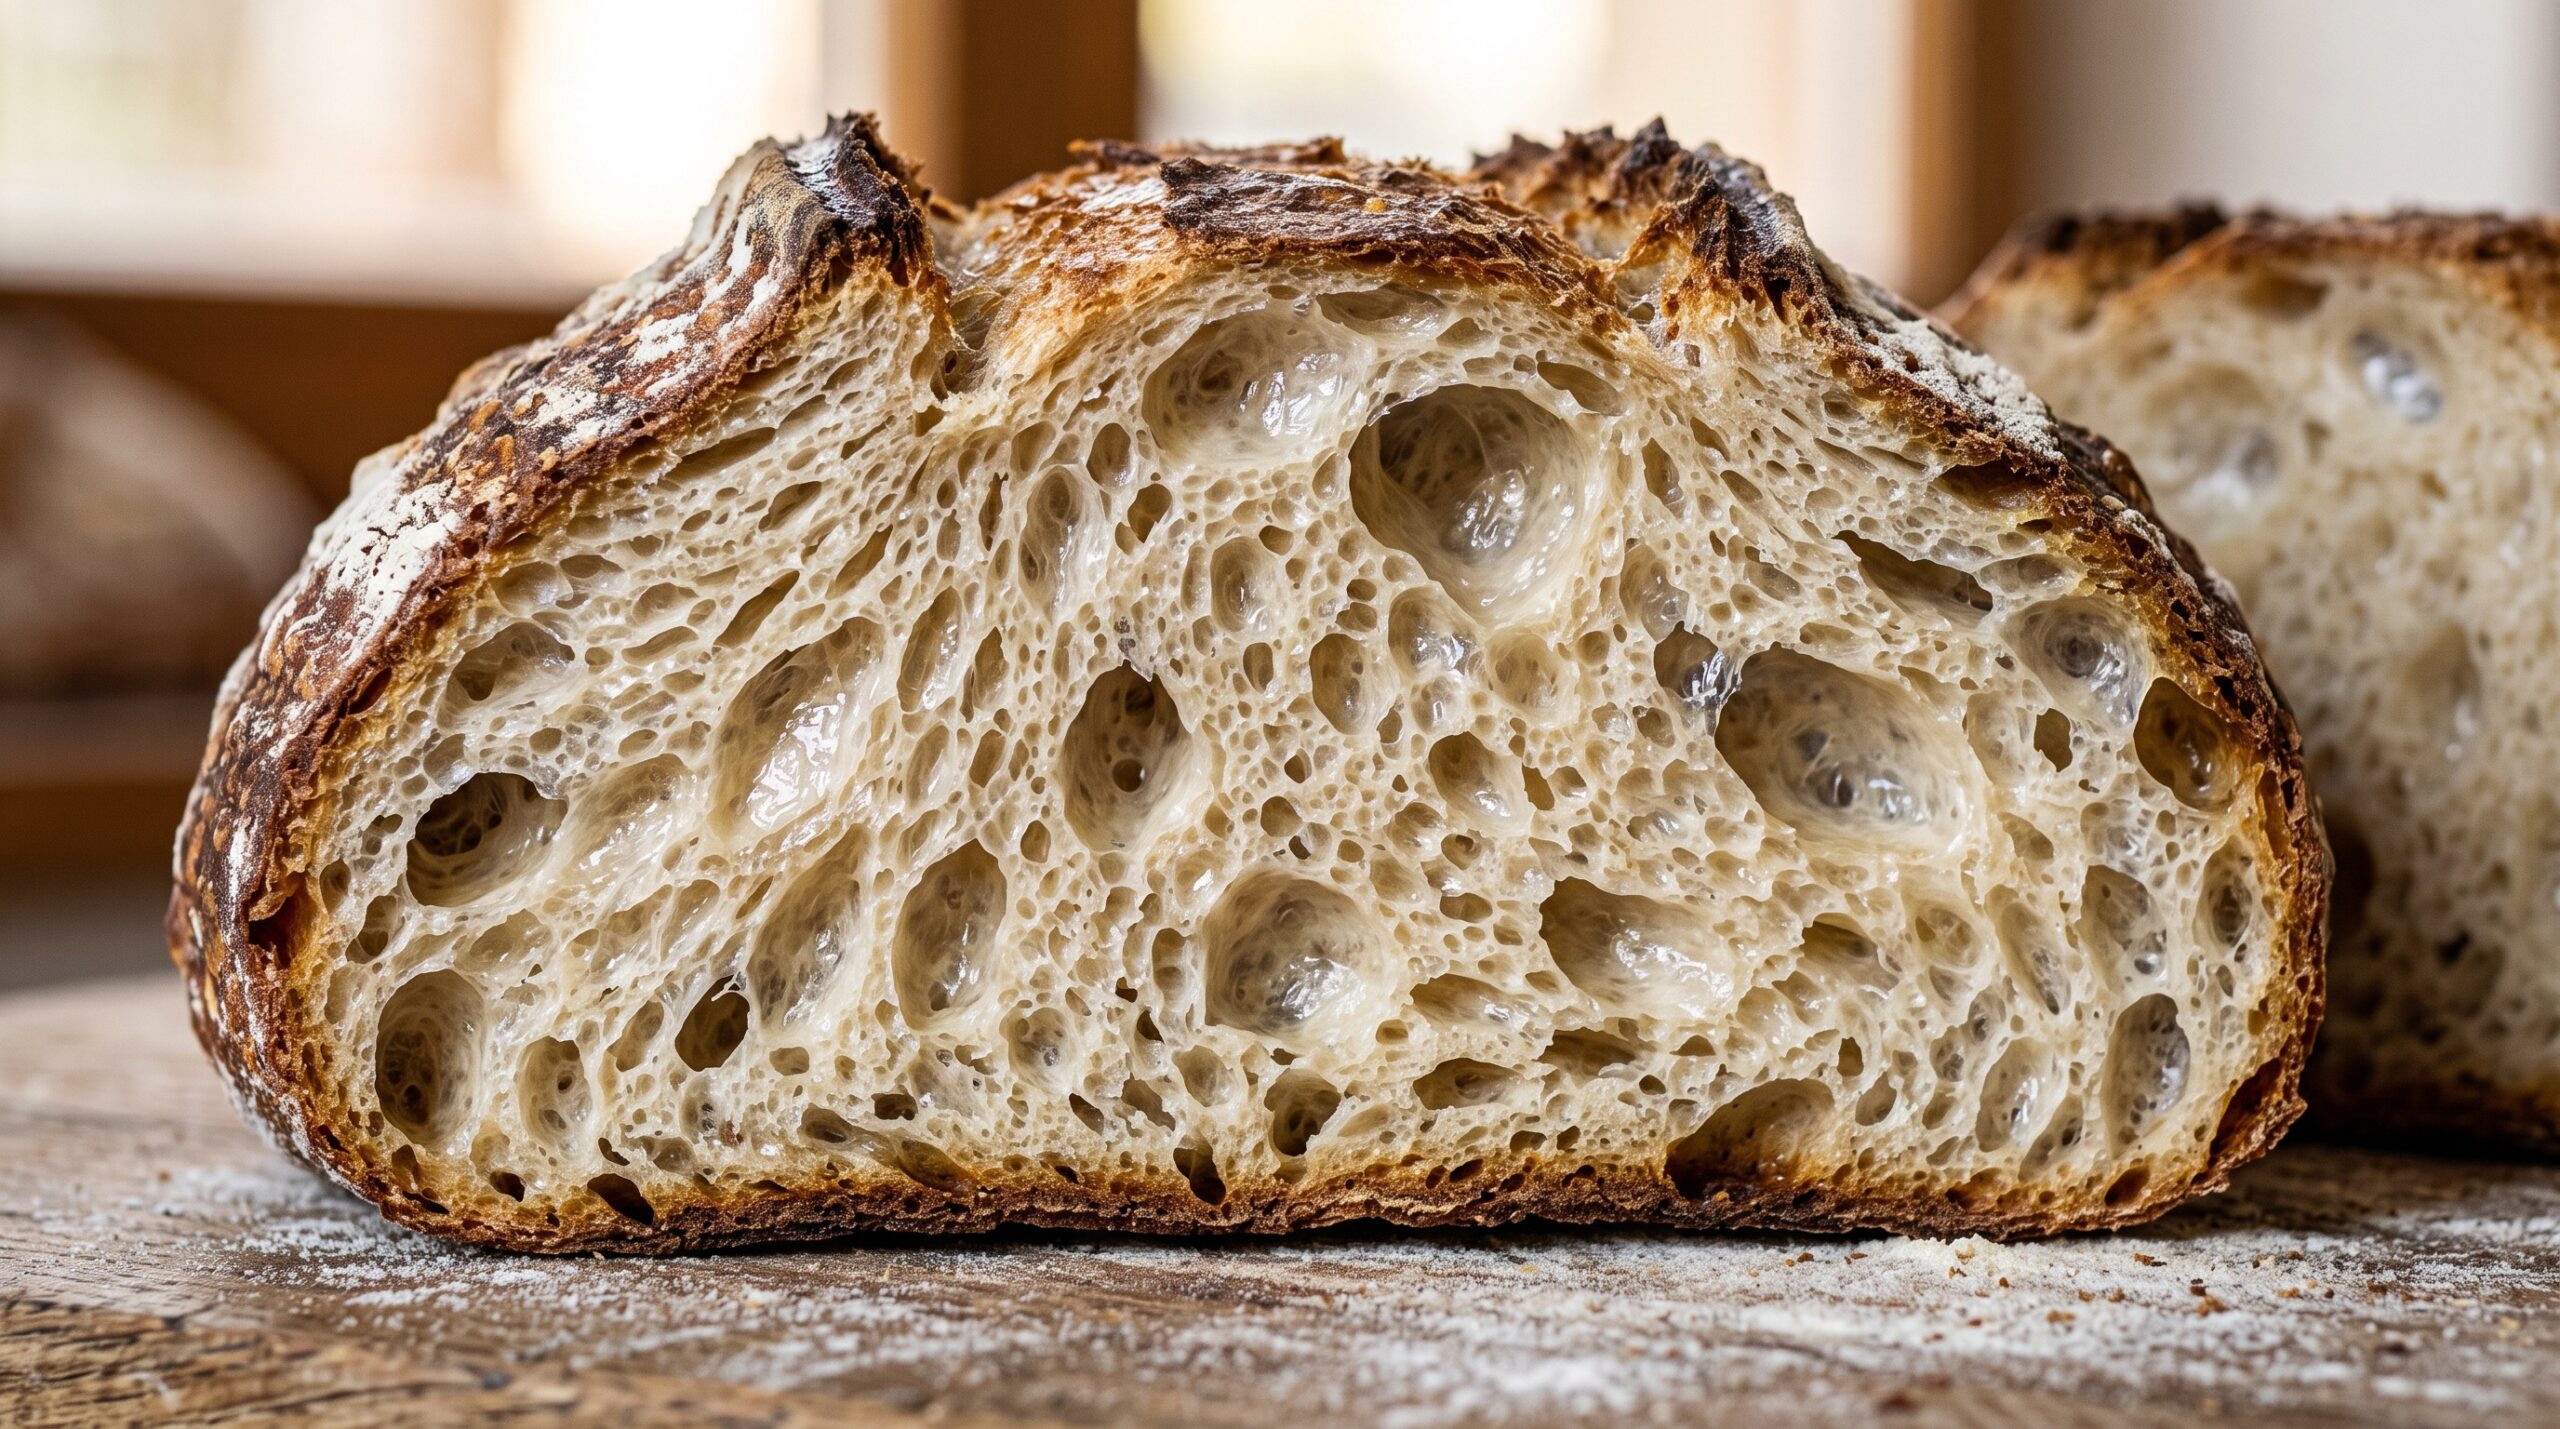
    Cross-section of a sourdough loaf showing an open, airy crumb with large irregular holes
    The look everyone chases: an open, irregular crumb with a glossy, translucent web. It comes from fermentation and handling — not luck.

    First: what an “open crumb” really is (and isn’t)

    An open crumb means an interior with irregular holes of varying sizes and thin, glossy, translucent walls between them. It is not a loaf full of giant caverns — those are usually a shaping fault or trapped gas, and they make for lousy toast and butter that falls through. What you actually want is an airy, well-aerated crumb that’s even in lightness, if not in hole size.

    Keep that in mind, because chasing enormous holes will push you toward wetter, harder-to-handle dough and more fragile loaves. For most home bakers, “noticeably more open and airy than what I’m getting now” is the real, useful goal.

    Cause #1: The dough is under-fermented (the #1 culprit)

    If your crumb is tight, dense, and gummy near the center, you almost certainly didn’t ferment long enough. This is the most common reason home loaves come out closed. The gas that inflates the crumb is produced by your starter over the course of bulk fermentation — cut it short and there simply isn’t enough of it, no matter how well you shape.

    Under-fermented dough feels dense and doesn’t jiggle; it hasn’t grown much and shows few bubbles at the edges of the bowl. The fix is patience and reading the dough, not the clock: bulk should run until the dough is puffy, domed, jiggly, and grown by roughly 50% or more, with visible bubbles. If you’re not sure what “done” looks like, our guide on how to tell when bulk fermentation is done walks through the exact signs home bakers miss. A tight crumb is very often just a bulk that ended an hour too early.

    Cause #2: Not enough gluten strength — or too much

    Strength is what lets the dough trap the gas instead of letting it leak out. A slack, under-developed dough can’t hold a bubble, so it spreads and bakes tight and flat. But there’s a catch on the other end: overworking the dough (especially by machine) can make it so tight and elastic that it resists expanding at all, giving you a dense, rubbery crumb.

    For sourdough, the sweet spot is usually built gently with stretch-and-folds or coil folds during bulk — three or four sets in the first couple of hours. The dough should go from shaggy to smooth, elastic, and able to hold a shape, passing a gentle windowpane-ish stretch without tearing immediately. Aim for supple and strong, not tight as a drum.

    Baker performing a stretch-and-fold on bubbly, elastic sourdough during bulk fermentation
    Strength built with folds — not overworking — lets the dough hold the gas that makes the holes.

    Cause #3: Hydration that’s too low for an open crumb

    Water is what makes the crumb open. A stiff, low-hydration dough (say 65% and below) will almost always bake tighter than a wetter one, because there’s less water to create steam and thin those cell walls. If you want a more open crumb, you generally need more water — many bakers find the magic starts around 72–78% hydration.

    The honest trade-off: wetter dough is stickier and harder to handle, and pushing hydration before your handling is ready just gives you a flat, sticky mess. Climb gradually. Add 2–3% water at a time across bakes, get comfortable, then add more. If your loaves are already spreading or sticking, don’t chase hydration yet — fix handling first (see our piece on flat, spreading loaves) and raise water once you have control.

    Cause #4: You’re degassing during shaping

    This one breaks a lot of hearts. You do everything right — great bulk, good strength — then flatten and press all the air out during a heavy-handed pre-shape and shape. Every firm pat is popping the bubbles you spent all day growing.

    Shape gently. Handle the dough like it’s full of air you want to keep, because it is. Use a light pre-shape to build just enough tension, give it a proper bench rest so the gluten relaxes, then a final shape that creates a taut skin without squashing the body flat. The goal is surface tension on the outside and preserved bubbles on the inside — tension and gentleness at the same time.

    Gentle sourdough shaping that preserves internal air bubbles while building surface tension
    Shape gently. A firm, deflating pre-shape crushes the very bubbles you spent all day growing.

    Cause #5: Proof problems — cold, rushed, or overproofed

    Two more traps sit at the final proof. Baking straight from the fridge is great for scoring and release, but a very cold, under-relaxed loaf can spring less and read tighter — make sure the dough actually completed enough proof before it went cold. On the flip side, overproofing collapses the structure: the gluten degrades, the loaf goes slack, and it bakes into a dense, flat crumb because it can no longer hold the gas. If you’re unsure which way you’ve gone, the difference between overproofed and underproofed dough is worth learning cold — the fixes are opposite.

    Cause #6: A weak oven spring

    The final expansion happens in the oven, in the first ten minutes, and it needs steam and heat. A dry oven sets the crust before the loaf can bloom, trapping the crumb tight. Bake in a preheated Dutch oven (lid on for the first 20 minutes to trap the dough’s own steam), or add steam another way, and start hot — around 475–500°F / 245–260°C. Score confidently so the loaf has a designed place to burst open. Weak spring almost always shows up as a tighter, shorter crumb.

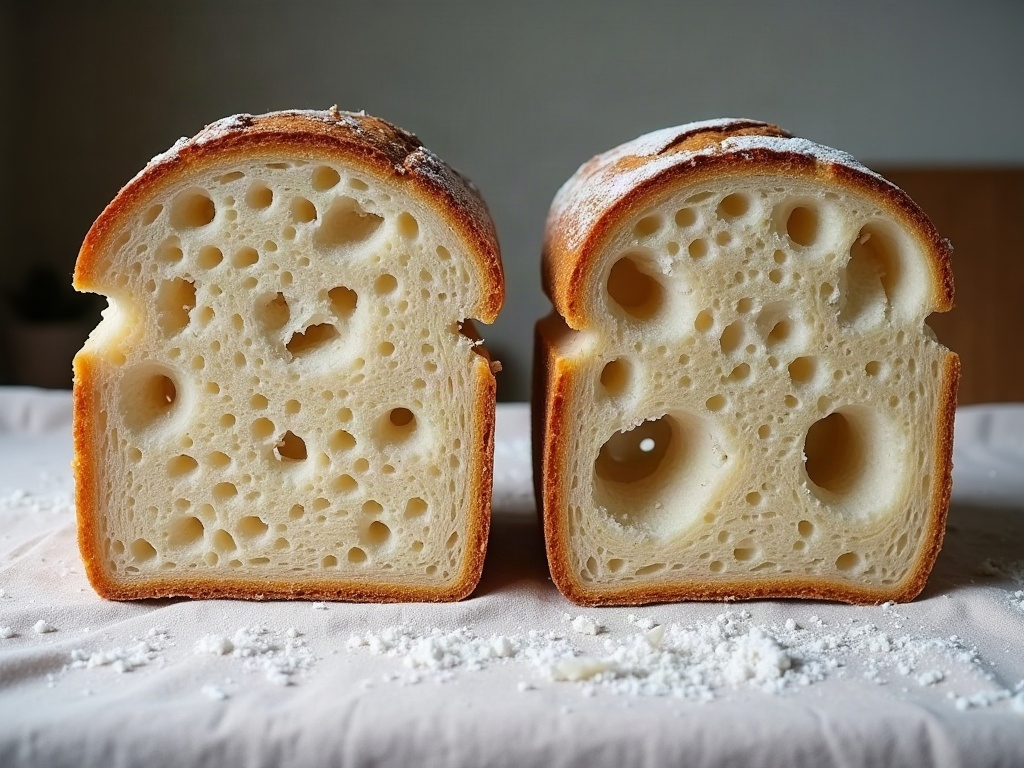
    Two sourdough crumb cross-sections compared, tight and dense on the left, open and airy on the right
    Tight and cakey (left) versus open and airy (right). Same ingredients — the difference is fermentation, strength, and how gently it was shaped.

    The quick open-crumb checklist

    • Tight and gummy in the middle? Ferment longer — this is usually under-fermentation. (More on a gummy, dense crumb.)
    • Slack, won’t hold shape? Build more strength with folds during bulk.
    • Rubbery and stubborn? You may be overworking it — ease off.
    • Consistently tight? Nudge hydration up a few percent once handling is solid.
    • Great dough, closed crumb? You’re likely degassing — shape gently.
    • Short, pale loaf? More steam and a hotter start for oven spring.

    Change one thing at a time

    The temptation is to jack up the hydration, add folds, and extend bulk all in one bake — and then you have no idea what worked. Change a single variable per loaf. Nine times out of ten, the fix is simply more fermentation and gentler shaping, no wetter dough required. Get those two locked in and most tight crumbs open right up.

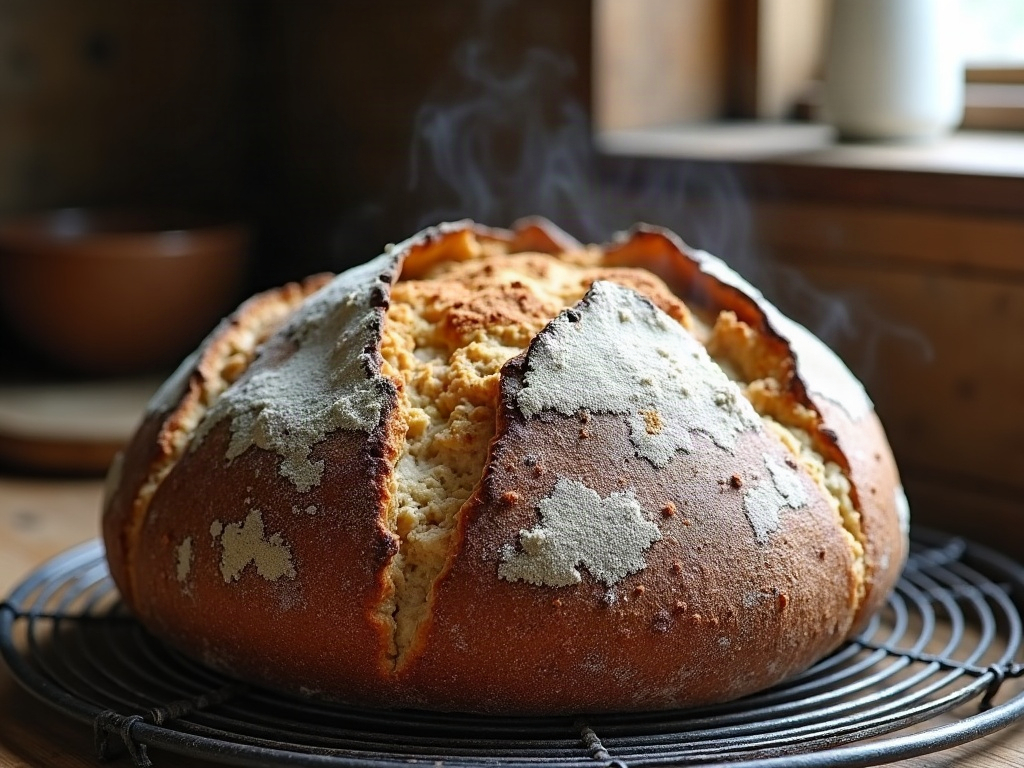
    Freshly baked sourdough boule with a blistered crust and open ear on a cooling rack
    A strong oven spring in a well-steamed oven is the final push that opens the crumb up.

    An open crumb is a byproduct of a well-fermented, well-handled loaf — not a separate skill you’re missing. Nail the bulk, build honest strength, keep the air in, and give it a hot, steamy start, and the holes arrive on their own.

    Want to see the fold technique, a gentle shape, and a proper turnout in real time? The full walkthrough lives on the LoafLovers YouTube channel, and our free sourdough troubleshooting guide lines up the fermentation and shaping fixes side by side — grab it and bake your most open loaf yet.


    Sources & further reading:

    Related Reading