Tag: fermentation

  • Chasing an Open Crumb but Getting a Gummy Center? Here’s the Fix

    Chasing an Open Crumb but Getting a Gummy Center? Here’s the Fix

    You did everything the open-crumb videos told you. High hydration. Gentle shaping. A long bulk. And when you cut in, there it is – a gorgeous ring of big, glossy holes near the crust wrapped around a damp, heavy, almost translucent center that smears on the knife. Somehow you chased a beautiful open crumb and landed on a gummy one instead.

    Frustrating, but not mysterious. A gummy center on an otherwise-open loaf is one of the most common traps for the baker who’s leveled up past “flat and dense” and is now pushing for airy. The good news: it’s almost always three specific things, and they’re all fixable. Let’s diagnose.
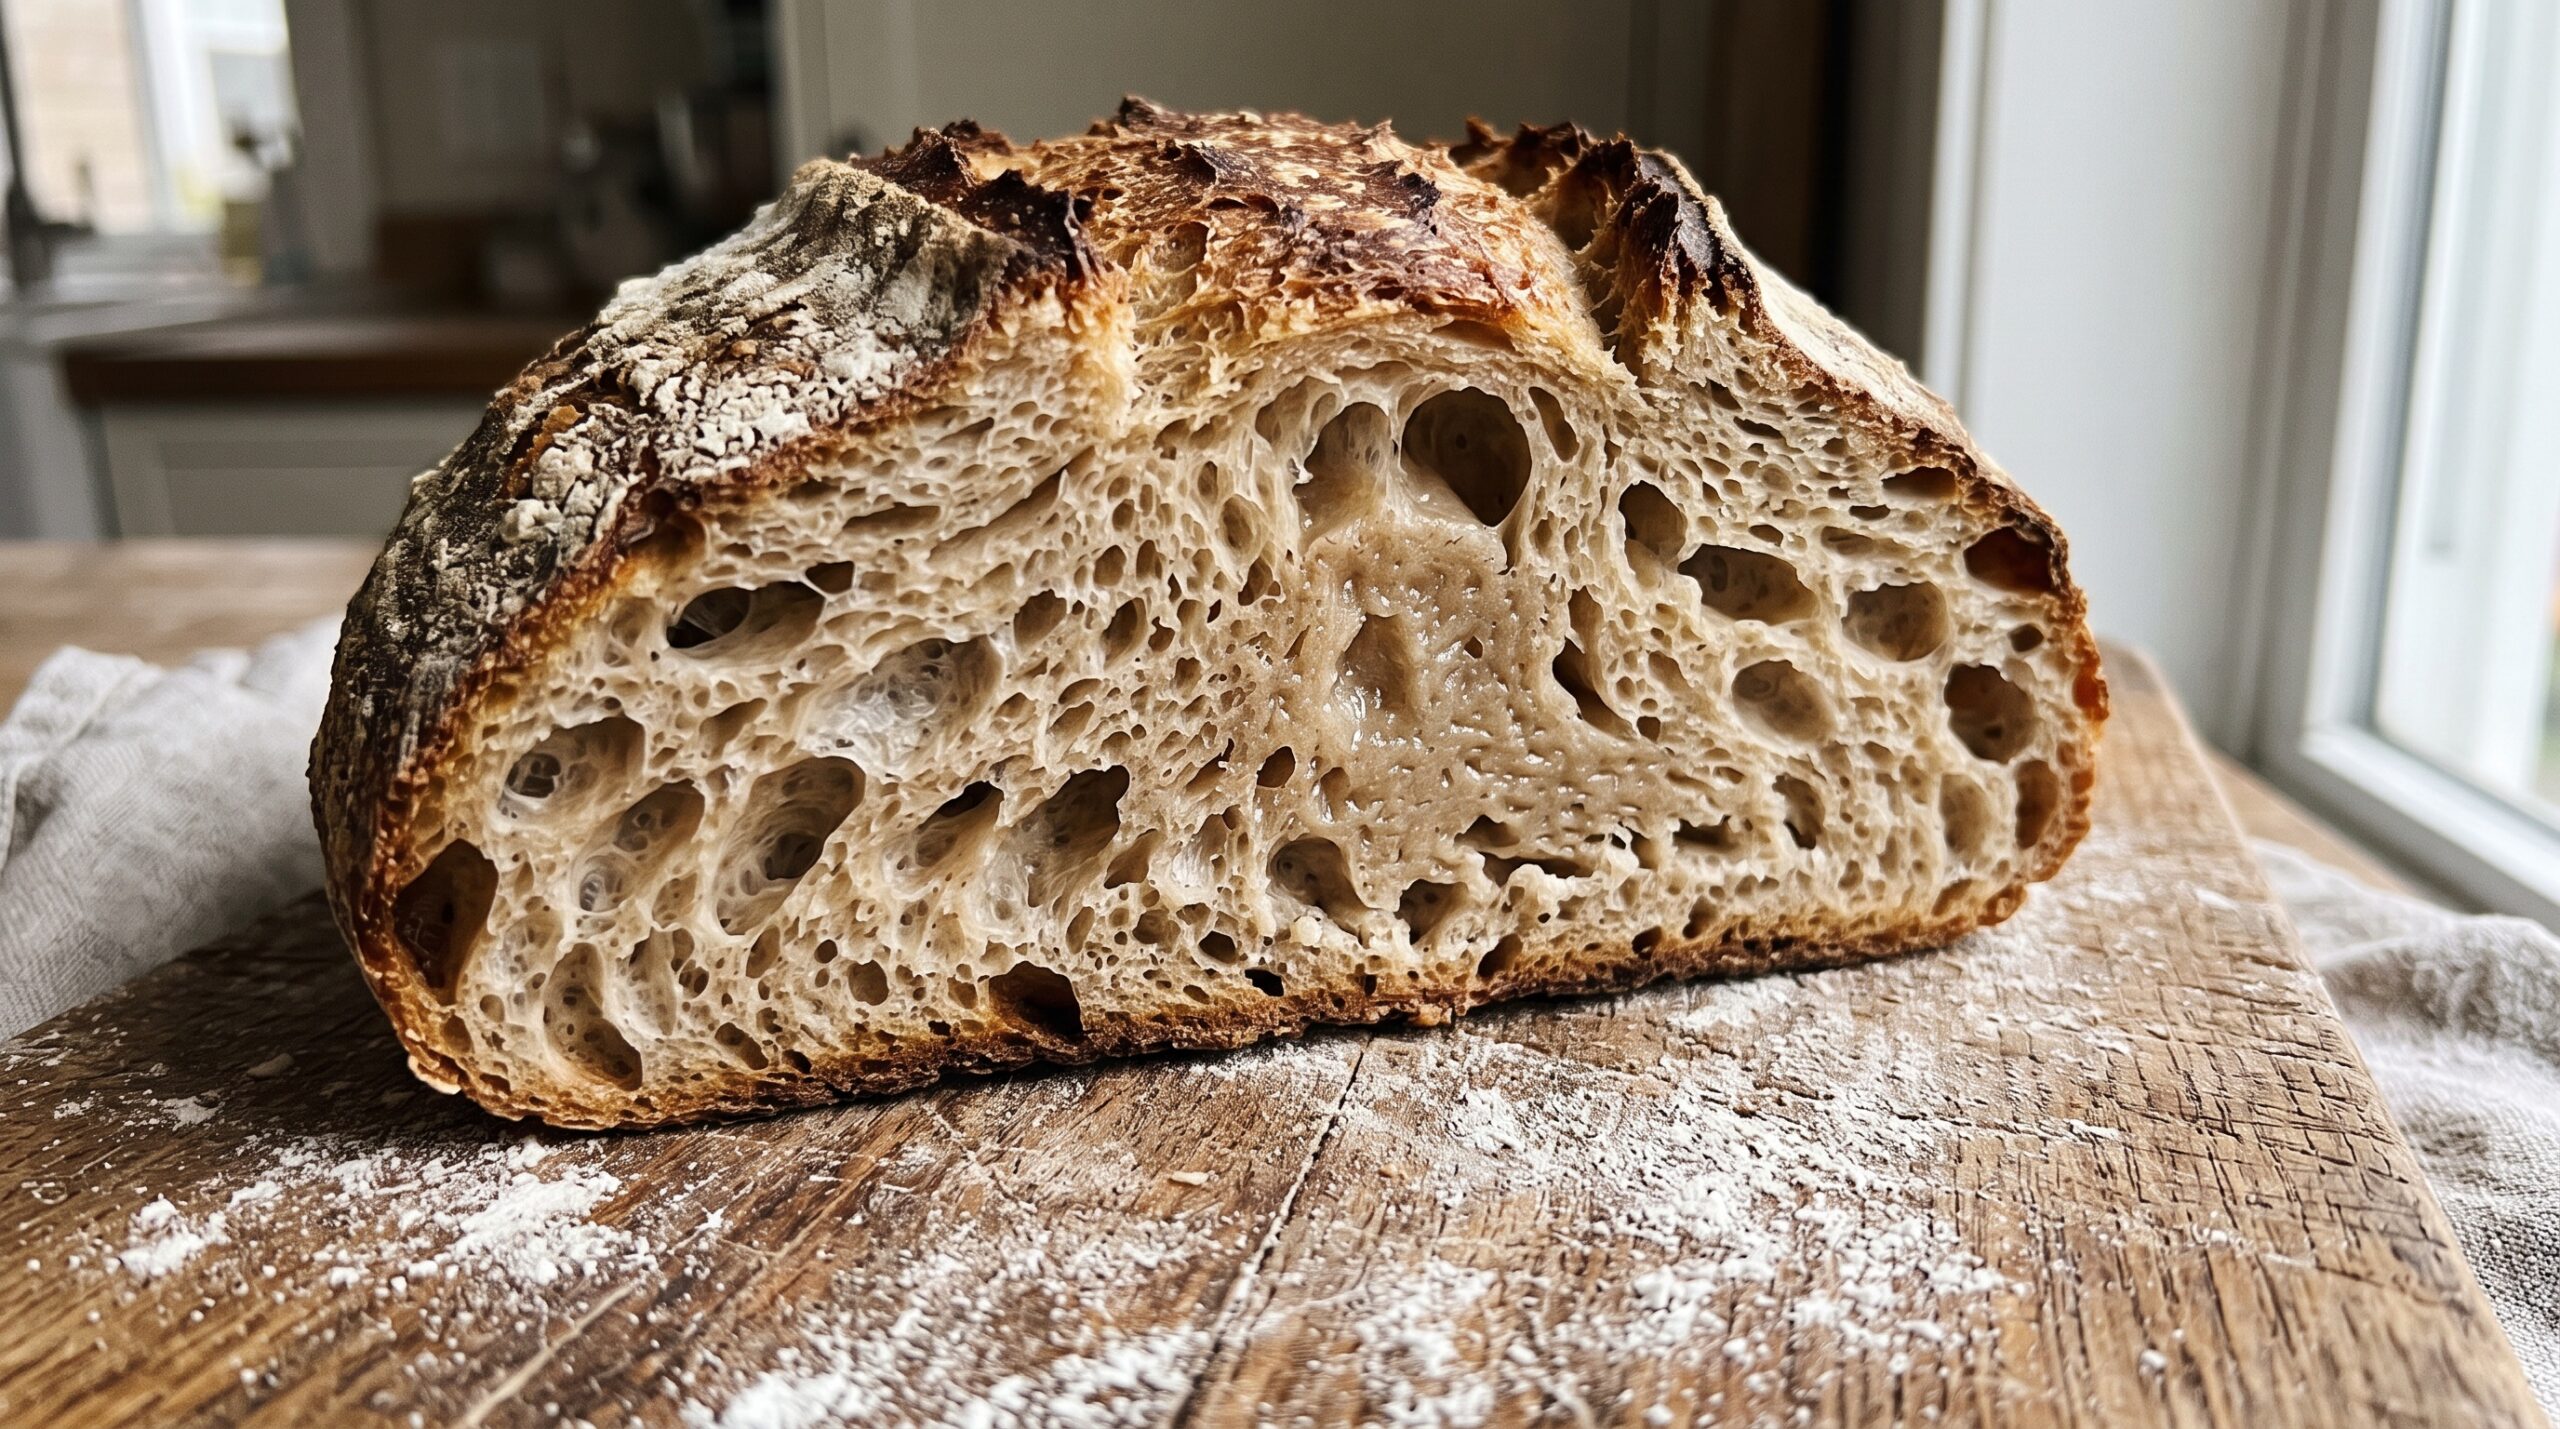
    Sourdough cross-section with open holes near the crust and a gummy, dense center
    Airy at the edges, paste in the middle – the classic open-crumb-gone-gummy loaf.

    First, know what a gummy center is telling you

    Gumminess is a moisture problem. The starch in that center never fully set – either because the loaf came out of the oven before the middle was done, because fermentation went too far and the starch structure broke down, or because the dough simply carried more water than your process could handle. Open holes near the crust plus a gummy middle is the signature of pushing hydration and fermentation hard without the bake or the structure to back it up.

    Importantly, this is different from a generally dense, underbaked crumb where the whole loaf is tight and damp. Here the edges are open – so your gas production is fine. The problem is that all that openness collapsed inward and never got cooked and dried out in the core. Three causes, in order of how often they’re the culprit.

    Cause 1: The bake stopped too soon

    This is the number-one offender, and the easiest to fix. A high-hydration dough holds a lot of water, and the center is the last place to hit temperature. Pull it when the crust “looks done” and the middle is still a wet paste that firms into gum as it cools.

    The fix:

    • Bake bolder and longer. That nervous-making dark crust is usually a sign the inside finally finished. Add 5-10 minutes with the lid off and let the crust go a deep golden-brown.
    • Check the internal temperature. Stop guessing – an instant-read thermometer in the center should read about 205-210°F (96-99°C) for a well-set crumb.
    • Wait to slice. The loaf is still cooking and setting as it cools. Cutting a warm loaf drags the knife through un-set starch and creates gumminess that would have vanished. Give it a full two hours, minimum.
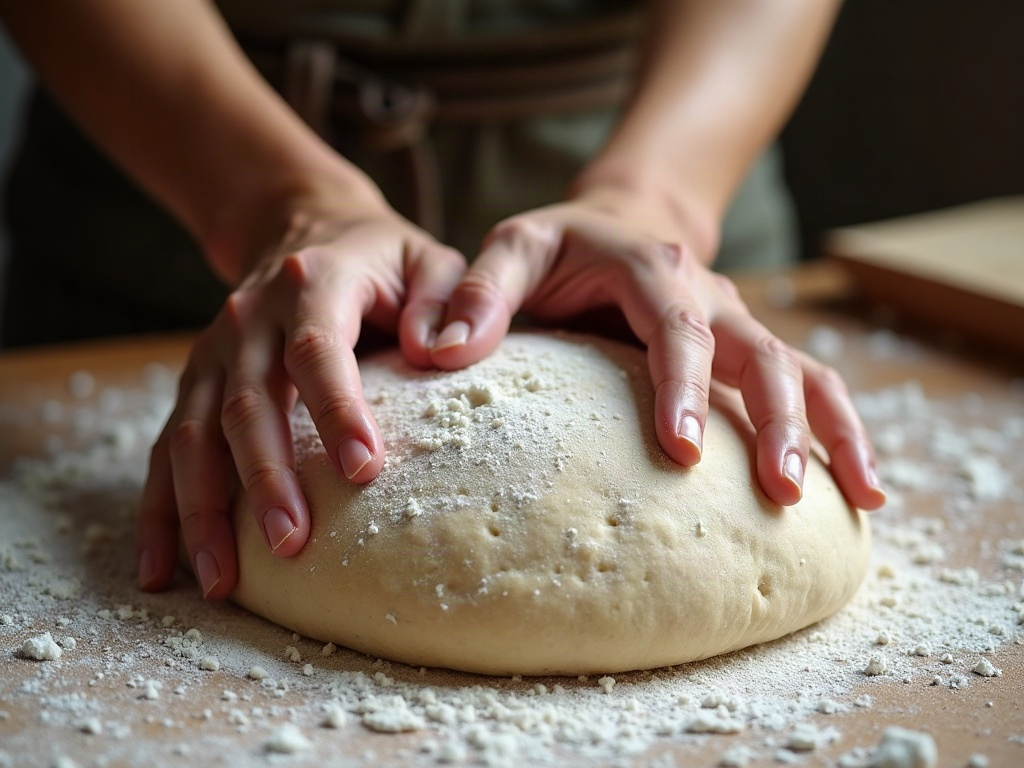
    Hands pressing a proofed round of sourdough dough to test readiness
    The poke test tells you more about gumminess than any clock.

    Cause 2: You over-fermented chasing those big holes

    In the hunt for an open crumb, it’s tempting to let bulk run long and feed the dough an aggressive amount of ripe starter. Push it too far and the acids and enzymes degrade the gluten and starch. The dough can still trap gas – hence the big holes – but the structure is too weak to hold its shape, so the crumb collapses into a wet, gummy wall through the middle.

    The fix:

    • Use your starter at peak, not past it. A starter that’s already falling is over-acidified and will over-ferment your dough. Catch it at the top of its rise, bubbly and domed.
    • End bulk a touch earlier. Look for roughly 30-50% volume increase, a domed and jiggly surface, and some bubbles – not a doubled, slack, puddle-prone mass. When in doubt, under-ferment slightly; a tight crumb beats a gummy one.
    • Do the poke test. A well-proofed dough springs back slowly and leaves a shallow dent. If your finger leaves a crater that doesn’t recover, it’s overproofed.
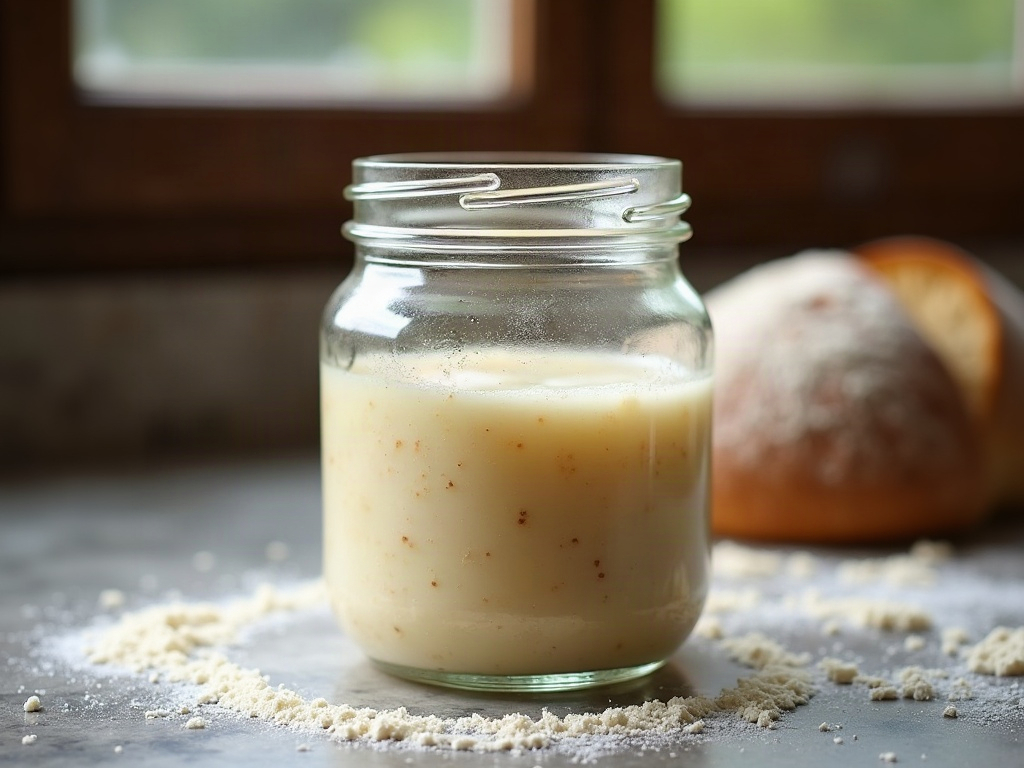
    Active bubbly sourdough starter at peak rise in a glass jar
    A starter used past peak over-ferments the dough and breaks down the crumb.

    Cause 3: Your hydration outran your skill (for now)

    High hydration is how you get a dramatically open crumb – and it’s also how you get a gummy one, because more water means a weaker, harder-to-handle dough and a wetter center that’s slower to set. There’s nothing wrong with your flour or your hands; the dough is just writing a cheque your current process can’t cash yet.

    The fix:

    • Drop the hydration 5%. If you’re fighting 80% water, come back to 73-75%. You’ll lose a little hole-drama and gain a crumb that’s open and fully baked. Climb back up as your handling improves.
    • Build more structure. Add a round or two of stretch-and-folds during bulk. A stronger gluten network holds the crumb open instead of letting it slump into the middle.
    • Match your flour to your ambition. A higher-protein bread flour tolerates more water than an all-purpose. If you’re chasing a wet, open crumb, give the dough the flour that can carry it.
    Deeply baked sourdough loaf with a dark blistered crust cooling on a wire rack
    A bolder, longer bake drives off the moisture that leaves the center gummy.

    Put it together

    Next bake, change one variable at a time so you learn what fixed it. Start with the bake – go bolder and longer, confirm 205°F+ in the center, and wait a full two hours before slicing. If the gummy patch survives even that, pull your hydration back 5% and tighten your bulk by catching the starter at peak and ending fermentation a shade earlier. Most of the time, a longer bake and a little patience on the cutting board solve it outright.
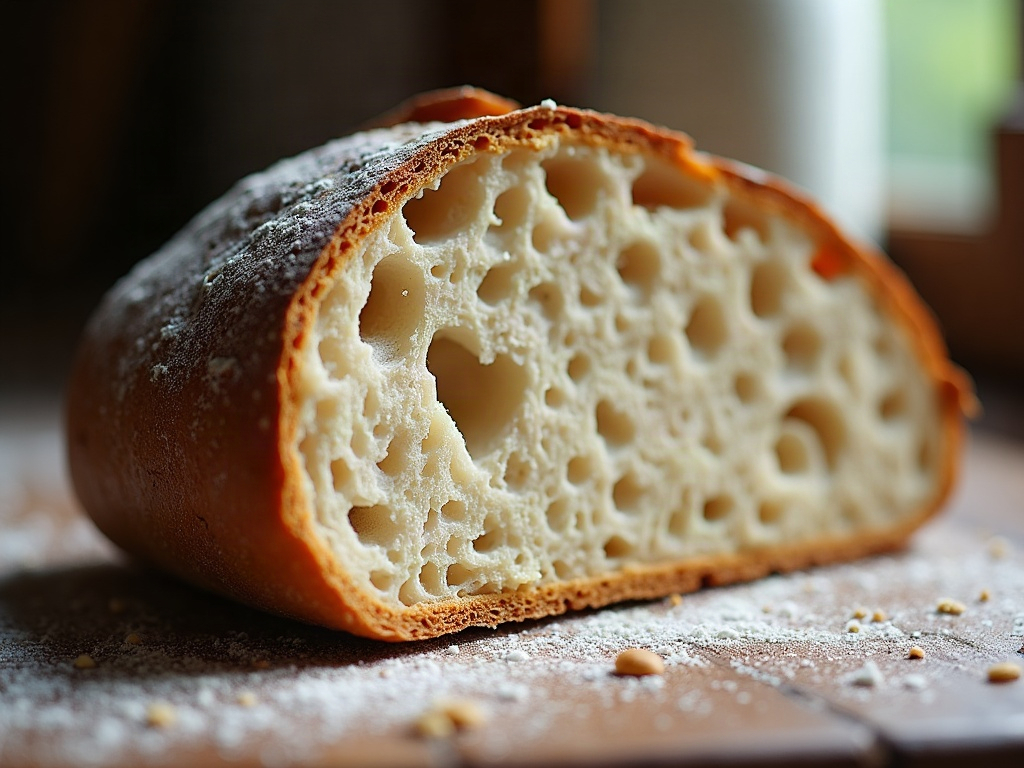
    Evenly open sourdough crumb that is dry and well structured throughout
    The goal: open and airy all the way through, with no damp, gummy patch.

    An open crumb and a fully set, dry crumb aren’t at war – plenty of bakers get both every week. The gummy center just means one of three dials is turned a notch too far. Adjust, bake again, and you’ll get the holes and the clean slice.

    Want to see the poke test, the bulk-fermentation cues, and a bold bake side by side? The full visual walkthrough lives on the LoafLovers YouTube channel, and our free sourdough troubleshooting guide covers each of these fixes step by step. Bake it, cut it, and let us know which dial was yours.

    Related Reading

  • How Much Salt Does Sourdough Really Need? What Salt Does and What Happens When You Get It Wrong

    How Much Salt Does Sourdough Really Need? What Salt Does and What Happens When You Get It Wrong

    Salt is the ingredient nobody worries about — until the day everything goes wrong. You mix your usual dough, and somehow it’s slack and soupy by early afternoon, tearing instead of stretching, racing through fermentation like it’s on fire. Or the opposite: the loaf comes out pale, tight, and strangely flat, and you can’t figure out why. Both of those are very often a salt problem, and salt is the one variable most bakers eyeball, guess at, or forget entirely.

    Here’s the good news. Salt is also the easiest thing in the whole process to get exactly right, once you understand what it’s actually doing in there. Let’s fix it for good.

    Salt being sprinkled over a bowl of bubbly sourdough dough in warm window light
    Salt is small in quantity and huge in effect — it shapes fermentation, structure, and flavor all at once.

    The short answer: 2%

    The reliable target for sourdough is 2% salt, measured against the weight of your flour — what bakers call baker’s percentage. If your recipe uses 500 grams of flour, that’s 10 grams of salt. For 1,000 grams of flour, 20 grams. Simple.

    Most people are happy somewhere between 1.8% and 2.2%. Drop much below about 1.5% and the dough starts misbehaving; push much above 2.5% and fermentation drags and the bread tastes noticeably salty. But 2% is the number to memorize. It’s forgiving, it’s balanced, and it works across almost every flour and schedule.

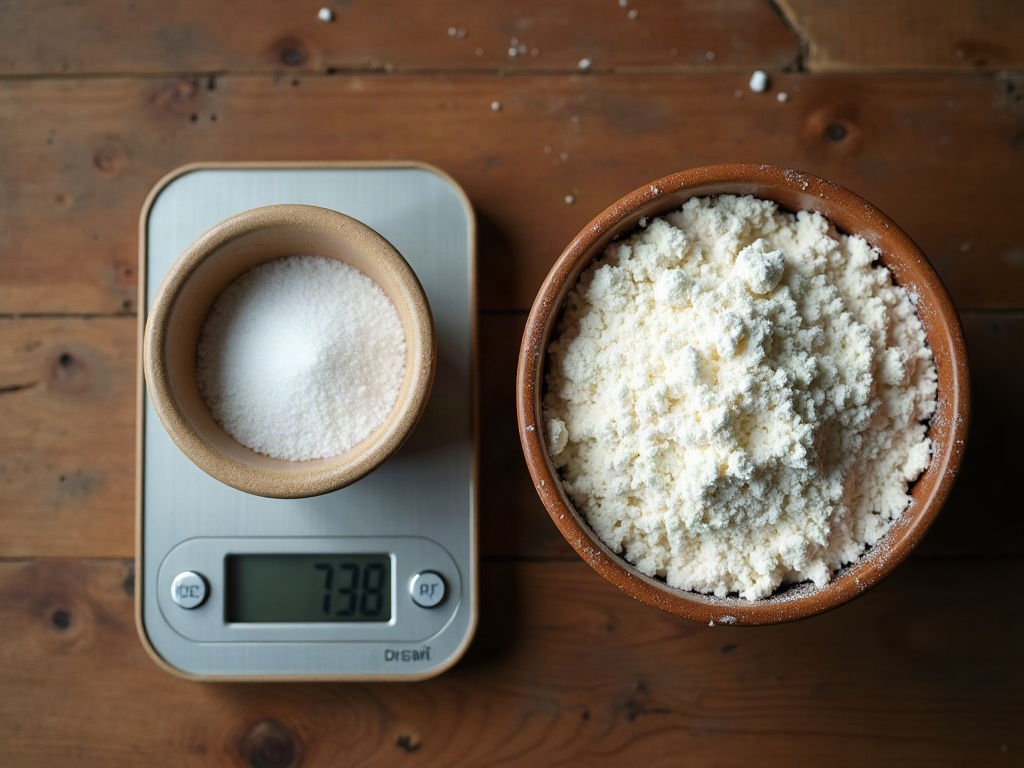
    One crucial note: measure salt by weight, not by volume. A teaspoon of fine table salt and a teaspoon of flaky sea salt weigh very different amounts, because the flakes pack so much more loosely. This is the single most common way home bakers accidentally under- or over-salt — they measure a “teaspoon” of a salt that’s much lighter or heavier than the one the recipe writer used. A cheap digital scale ends the guesswork.

    A kitchen scale with salt beside a bowl of flour on a wooden counter
    Weigh salt against your flour, not by the spoonful — two percent of the flour weight is the reliable target.

    What salt is actually doing in your dough

    Salt isn’t just for flavor. It’s quietly running three jobs at once, and that’s why getting it wrong throws so much off.

    1. It controls the pace of fermentation

    Salt slows down your wild yeast and bacteria. That sounds like a downside, but it’s exactly what you want — a controlled, steady rise instead of a frantic one. Salt is a brake pedal. With the right amount, your dough ferments at a manageable speed and gives you a workable window to shape and bake. Take the salt away and you’ve cut the brake line: the yeast goes into overdrive, the dough over-ferments fast, and it turns slack and sticky long before you’re ready. Salt sits right alongside temperature and how much starter you use as one of the main dials that set how fast your dough moves.

    2. It tightens and strengthens the gluten

    Salt makes the gluten network firmer and more elastic. A properly salted dough feels strong and stretchy; it holds its shape, traps gas well, and gives you that lovely tension when you shape it. An under-salted dough feels the opposite — loose, weak, extra sticky, and unwilling to hold structure. If your dough has suddenly gone slack and formless for no obvious reason, salt (or the lack of it) is a prime suspect.

    3. It builds and sharpens flavor

    This is the obvious one, but it goes deeper than “salty.” The right amount of salt makes the wheat taste more like wheat and keeps the sourness in balance, so the tang reads as pleasant rather than sharp. Under-salted sourdough doesn’t just taste “less salty” — it tastes flat, dull, and weirdly sour, because there’s nothing rounding out the acidity. Salt is what makes a good loaf taste finished.

    What happens when you use too little

    Under-salting (or forgetting salt completely) is the more dramatic failure, and now you know why. All three jobs collapse at once:

    • Fermentation runs away. With the brake off, the dough over-proofs quickly — sometimes hours faster than your usual timeline.
    • The dough goes slack and sticky. Weak gluten plus over-fermentation means a loose, soupy mess that won’t hold a shape.
    • The flavor falls flat. Dull, bland, and often oddly sour, with none of the roundness good bread has.
    • The crust can look oddly pale or, confusingly, over-dark as the sugar balance shifts — either way it looks off.

    What happens when you use too much

    Over-salting is subtler and easier to miss, because the dough doesn’t fall apart — it just underperforms:

    • Fermentation drags. Too much salt over-brakes the yeast, so the rise is sluggish and your normal timeline leaves the loaf under-proofed.
    • The crumb comes out tight and dense. The bread never got the airy, open rise it should have, because the yeast was held back too hard.
    • The loaf bakes up pale. Slow fermentation leaves things looking under-colored even when the inside is done.
    • It simply tastes too salty — the flavor tips from balanced to harsh.

    If your loaves are chronically dense and pale and taking forever to rise, and you’ve ruled out a weak starter, weigh your salt. An over-heavy hand is easy to develop without noticing, especially if you switched salts.

    Two sourdough cross-sections, one pale and tight, one golden and open
    Too much salt tightens and pales a loaf; the right amount lets it color, rise, and open up.

    “I think I forgot the salt” — can you rescue it?

    It happens to everyone eventually. The fix depends on when you catch it:

    • Right after mixing. No problem at all. Sprinkle the salt over the dough, add a splash of water to help it dissolve, and work it in with a few stretches and folds. It’ll fully incorporate over the next hour. This is basically how bakers who autolyse add salt anyway — deliberately, a bit later than everything else.
    • Partway through bulk. Still salvageable, though harder. Dissolve the salt in a little warm water and squeeze and fold it through as evenly as you can. It won’t be perfect, but it beats a saltless loaf.
    • After it’s shaped or proofed. Now you’re stuck — there’s no working salt in at this point. Bake it anyway and treat it as a lesson. A saltless loaf is edible (toast it, use it for something with a salty topping), just noticeably flat.

    The bigger takeaway: because a saltless dough ferments so fast, watch the clock closely if you added the salt late. It may still be ahead of your normal schedule.

    A few practical habits that prevent salt mistakes

    Salt errors are almost always process errors, so tighten the process:

    • Weigh it every time. 2% of your flour weight, on a scale. Don’t switch to spoons.
    • Add salt at a consistent point. Whether you mix it in at the start or add it after a rest, do it the same way every bake so it never gets skipped.
    • Keep salt and starter separate until mixing. Undissolved salt sitting directly on your starter can stun the yeast at the contact point. Dissolving salt in the dough water first sidesteps this entirely.
    • Pick one salt and stick with it. Any non-iodized salt works — fine sea salt, kosher salt — but weighing means it barely matters which, as long as you’re consistent.
    Hands stretching a slack, sticky sourdough dough
    A loaf that forgot its salt ferments too fast and goes slack and soupy long before it should.

    The bottom line

    Salt is tiny in quantity and enormous in effect. Two percent of your flour weight, measured on a scale, added the same way every time — that’s the whole rule. Get it right and salt quietly does its three jobs: pacing your fermentation, strengthening your dough, and rounding out the flavor. Get it wrong and it sabotages all three at once, leaving you with a slack, racing, flat loaf or a dense, pale, sluggish one.

    So the next time a bake goes mysteriously sideways — too fast, too slack, too dull, or too dense — before you blame your starter or your schedule, weigh your salt. More often than you’d think, that ten or twenty grams is the difference between a frustrating loaf and a great one.

    A finished golden sourdough boule with a blistered crust on linen
    Get the salt right and everything else you already do starts working the way it’s supposed to.

    Related Reading