Tag: freezing sourdough

  • Can You Freeze Sourdough Dough? Freezing Shaped Loaves, Par-Baked Bread, and Dough for Later

    Can You Freeze Sourdough Dough? Freezing Shaped Loaves, Par-Baked Bread, and Dough for Later

    You love the bread. You do not love being chained to it. A real sourdough loaf asks for a starter feed, a long bulk ferment, a shape, a proof, and a bake, all spread across a day or more, and that rhythm does not always fit a work week or a houseful of weekend plans. So the question comes up for almost every home baker eventually: can I just make a batch of dough and freeze it, then pull out a loaf whenever I want fresh bread?

    The short answer is yes, you can freeze sourdough, and freezing is one of the best low-friction tricks there is. But when you freeze it matters enormously. Freeze at the wrong stage and you get a dense, lifeless brick; freeze at the right stage and you get a loaf that is nearly indistinguishable from same-day bread. Let’s walk through each stage, from the one that works best to the one that mostly disappoints, so you can pick the method that fits your kitchen.
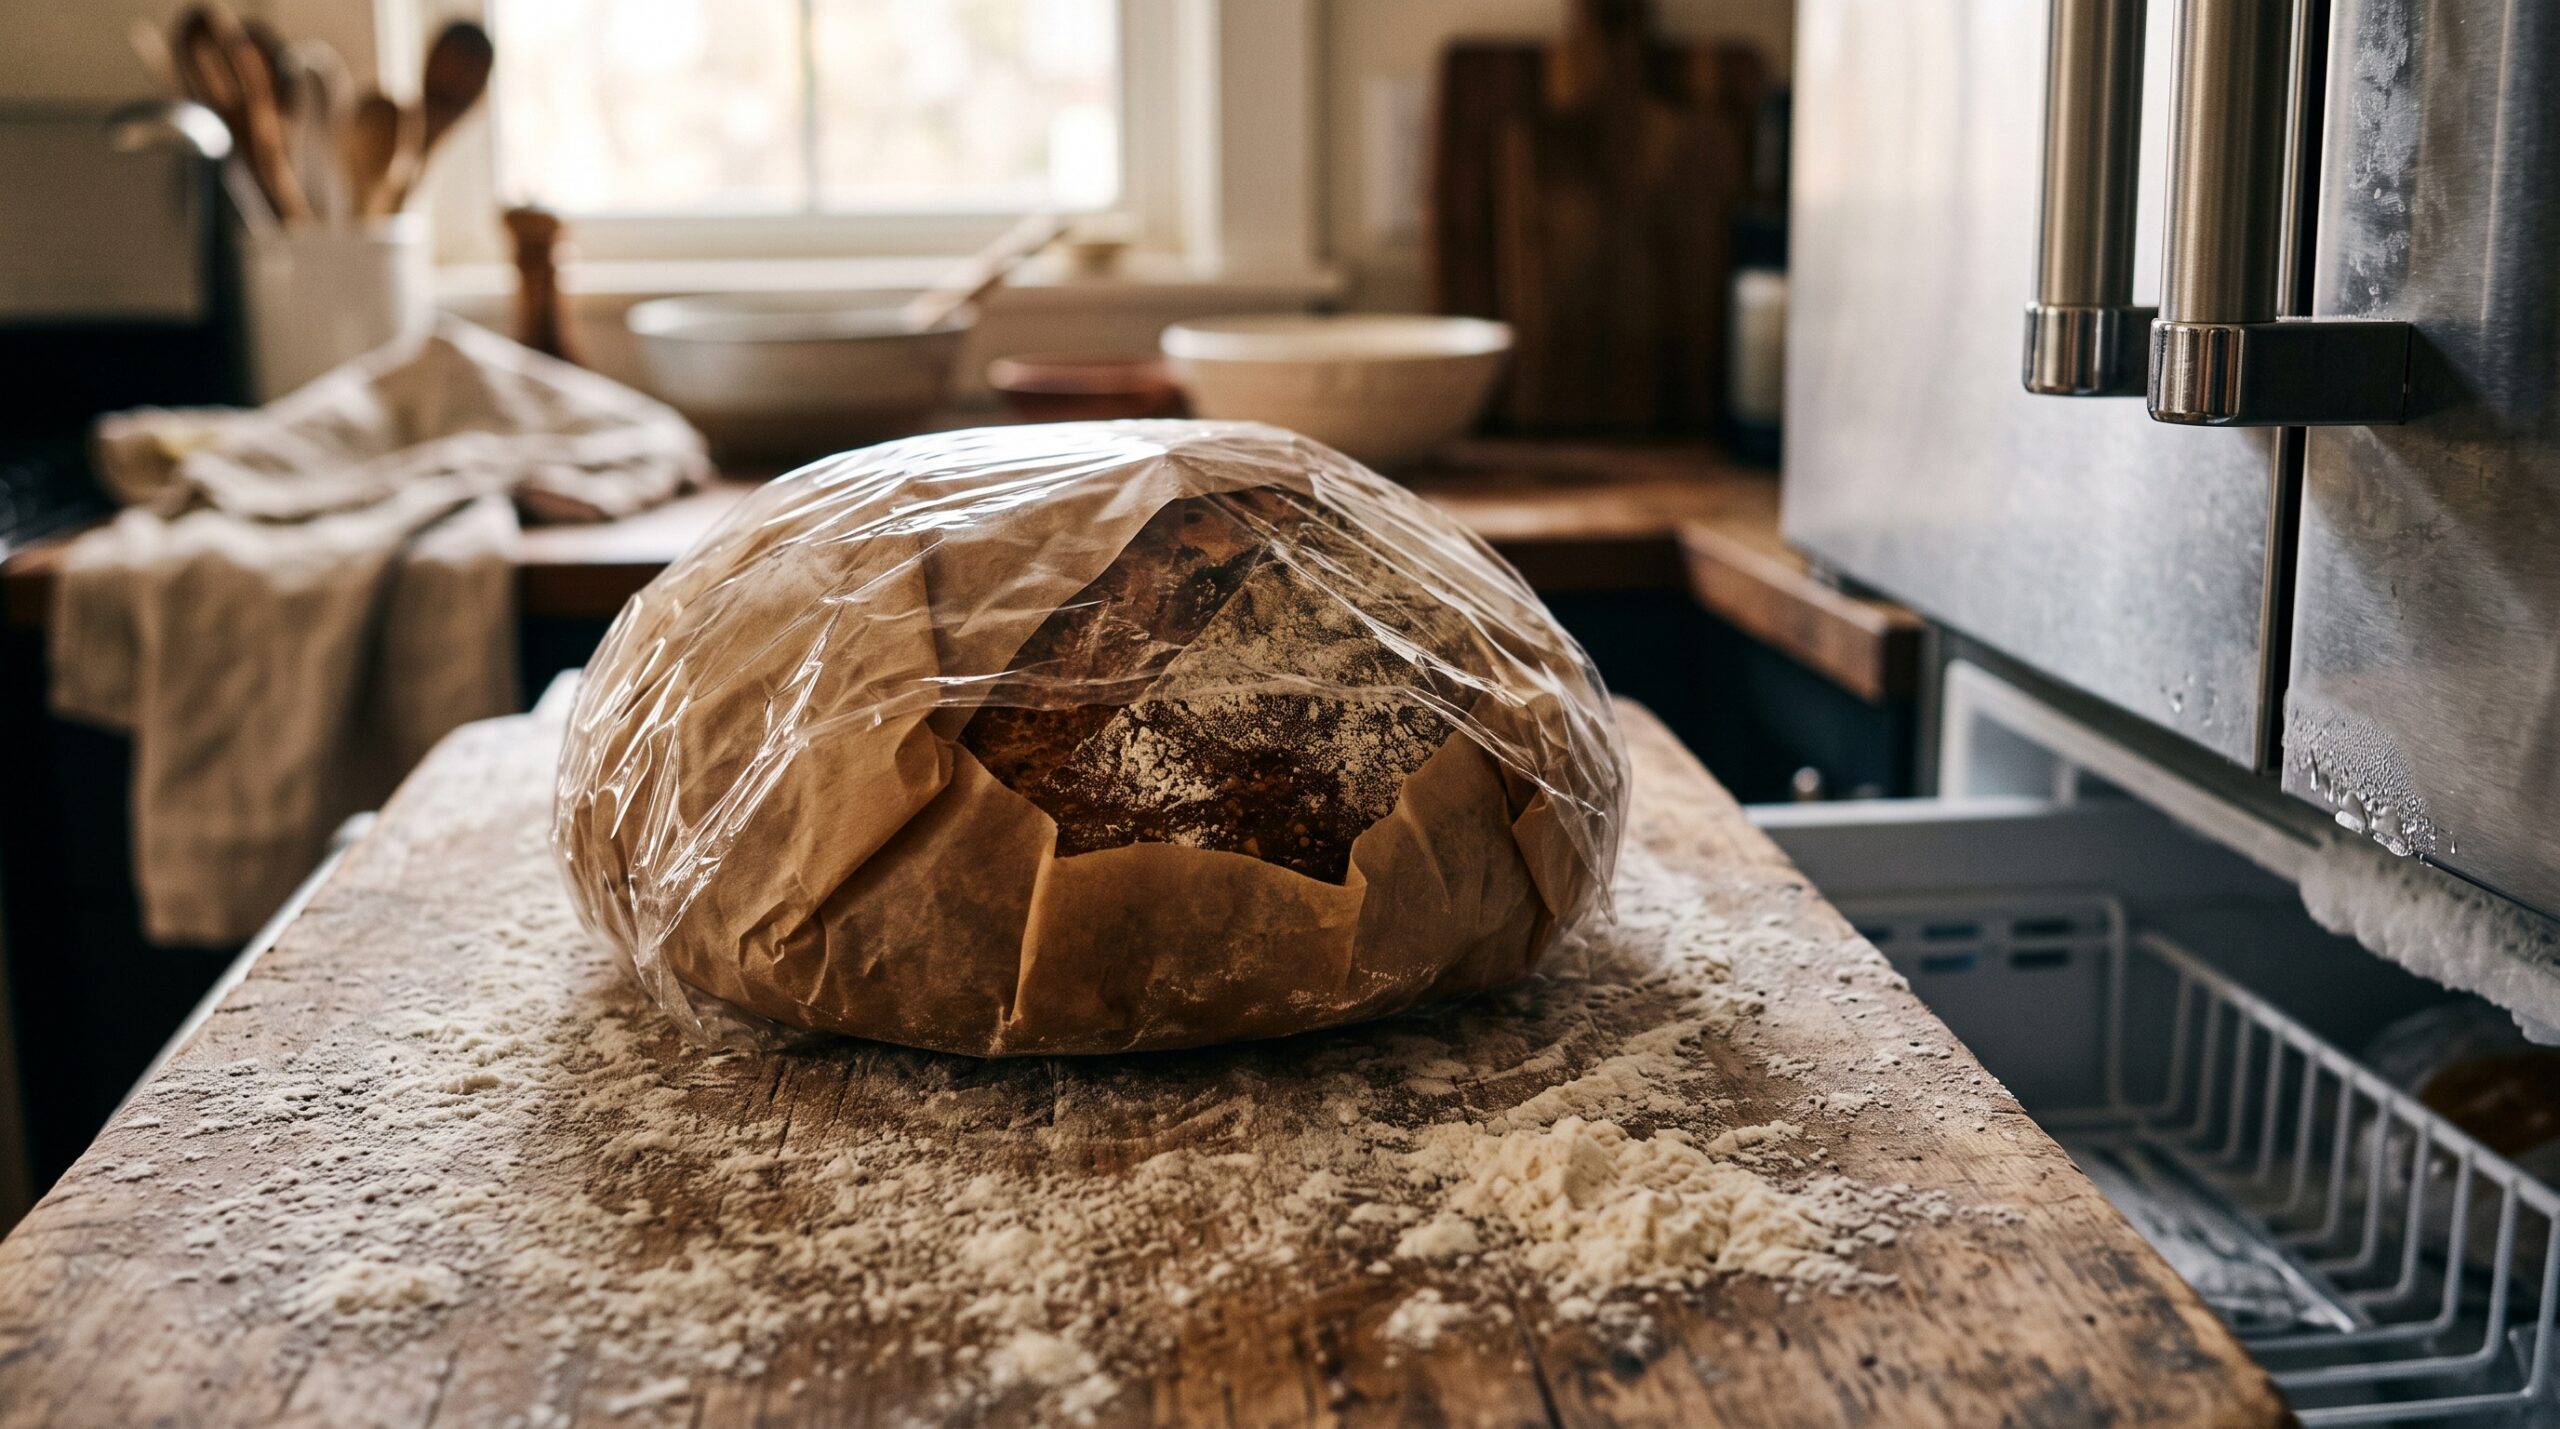
    A shaped sourdough loaf wrapped for the freezer on a floured board
    Freezing sourdough works, but the stage you freeze it at changes everything.

    The honest short answer: freeze shaped, or par-baked, or fully baked

    There are three stages where freezing sourdough reliably works, and one where it usually lets you down. The reliable ones are: shaped dough frozen after its final shape (before or partway through the final proof), a par-baked loaf (baked until set but not browned, then frozen), and a fully baked, completely cooled loaf. The stage that disappoints is freezing a fresh, barely-fermented dough and expecting the wild yeast to come roaring back; cold storage is hard on a young leavening, and you will usually pay for it with a weak rise.

    The reason comes down to one idea: the colder things get, the slower and weaker your wild yeast works, and freezing is the ultimate cold shock. So the guiding rule is simple. The more of the rising you can do before the dough goes into the freezer, the better your loaf will be. Keep that in mind and every method below makes sense.

    Best for most bakers: freeze shaped dough

    This is the make-ahead sweet spot. You run your normal process through bulk fermentation and shaping, so all the heavy lifting of flavor and structure is already done, then you freeze the shaped loaf and finish it on a day that suits you.

    Hands placing a shaped round of sourdough dough onto parchment before freezing
    Shape first, then freeze: a taut, well-formed round holds together far better through the freezer.

    Here is the method. Mix, bulk ferment, and shape your loaf exactly as you normally would, building good tension in the shape so the round holds itself together. Then you have two good options. You can freeze it right after shaping, or you can let it do about half to three-quarters of its final proof first, then freeze; that partial proof banks a little more rise before the cold shuts things down, which tends to give a slightly better result. Either way, place the shaped dough on a small square of parchment, set it on a tray to firm up in the freezer for an hour or two, then wrap it snugly in parchment plus a freezer bag or wrap so no air can dry it out. It will keep well for about two to four weeks.

    To bake, move the frozen dough to the fridge the night before, or let it sit out, so it both thaws and finishes proofing. This is really just a longer, colder version of the fridge rest you may already use; if cold proofing is new to you, our guide to the cold retard and how long sourdough can sit in the fridge explains exactly what to watch for. Give the dough time to come back to a jiggly, risen state before it goes into a screaming-hot oven. Do not rush it straight from frozen into the heat and expect spring; it needs to wake up and finish proofing first.

    The stage that usually disappoints: freezing fresh dough before it ferments

    It is tempting to think you can mix a dough, freeze it green, and simply thaw it into a ready-to-go loaf another day, the way you might with commercial yeasted dough. With sourdough it rarely works well.

    Two sourdough loaves compared, one tall and airy, one dense and flat
    The squat loaf on the right is what happens when frozen dough was asked to do too much of the rising after thawing.

    Wild yeast and the bacteria in your starter are more fragile than commercial instant yeast, and freezing kills or weakens a meaningful share of the cells. If you freeze before the dough has done most of its fermenting, you are asking a damaged, slow population to do nearly all the work after thawing, and it usually cannot. The loaf comes out squat, tight, and gummy, with little oven spring, because the rise it needed never fully happened. If you have ever thawed frozen dough and watched it sit there stubbornly flat, this is why. The lesson is the one from above: let the dough ferment and rise first, then freeze. Do not freeze the potential and hope it survives the cold.

    Most reliable crust: par-bake, then freeze

    If you want the surest path to a loaf that tastes freshly baked, par-baking is hard to beat, especially if you want to keep several loaves ready for drop-of-a-hat baking.

    A pale par-baked sourdough loaf cooling on a wire rack before freezing
    A par-baked loaf, set but barely colored, freezes beautifully and finishes to a fresh crust in minutes.

    Par-baking means you bake the loaf only partway: fully proof and bake it until the structure is set and the inside is cooked through, but pull it before it takes on real color, so it comes out pale and blond rather than golden. Cool it completely, then wrap and freeze. Because the loaf is already fully risen and set, the fragile wild yeast no longer matters at all; you have locked in the crumb. To serve, bake the frozen par-baked loaf straight from the freezer in a hot oven for roughly ten to twenty minutes until the crust browns and crisps and the bread is heated through. The crust comes back crackling and the inside is tender, and almost no one can tell it was not baked that morning. The small trade-off is oven and freezer space, since you are storing a full loaf’s worth of bread rather than a compact ball of dough.

    Simplest of all: freeze a fully baked loaf

    If your goal is just to not waste bread, freezing a finished loaf is the easy answer and it works very well. Cool the loaf completely, slice it first if you like (so you can pull out a slice at a time), and wrap it airtight. It keeps its quality for a few weeks and refreshes nicely with a quick toast or a brief reheat. Because this overlaps heavily with everyday bread keeping, we cover the wrapping, slicing, and reheating details in our full guide to storing sourdough bread so it stays fresh and freezes perfectly. The one thing to avoid is the fridge for finished bread; refrigeration actually stales a loaf faster than the counter or the freezer.

    What freezing actually does to your sourdough

    It helps to picture what is happening inside the dough, because it explains every rule above. Your starter is a living community of wild yeast and lactic bacteria. Those microbes drive both the rise and the tangy flavor, and like most living things they slow down as it gets colder and take damage when they freeze. Fermentation does not stop cleanly at the freezer door; it crawls to a near halt, and a portion of the yeast simply does not survive.

    That is why the timing of the freeze is everything. Freeze while the yeast still has most of its job ahead of it, and the weakened survivors cannot deliver. Freeze after the dough has already risen, or after it is baked, and the yeast’s damage no longer costs you anything, because the structure you needed is already built. This is the same reason a tired, cold starter struggles to leaven a loaf; if you have wrestled with sluggish leavening before, the fixes in baking with cold starter straight from the fridge rest on exactly this principle of giving the yeast time and warmth to recover before it has to perform.

    Troubleshooting a loaf that came out of the freezer wrong

    If your frozen-dough loaf baked dense, flat, and gummy with no real spring, the cause is almost always that it was frozen too early or baked before it had finished thawing and proofing. The fix is to push more of the rise to before the freeze, and to be patient on thaw day: let the dough return fully to a risen, jiggly state at room temperature before baking, even if that takes several hours. If the crust came out pale and soft from a par-baked loaf, your finishing bake was too short or the oven too cool; give it a few more minutes at high heat uncovered to drive off moisture and set a crisp crust.

    And if you simply find the whole frozen-dough dance finicky, remember there are other ways to fit real sourdough into a busy life that do not involve the freezer at all. A compressed, work-friendly timeline like our same-day sourdough around a full-time schedule may suit your week better than stockpiling frozen loaves.

    Putting it all together

    Yes, you can freeze sourdough, and it is one of the most useful tools for baking real bread on your own schedule. Just remember the single rule that governs all of it: do as much of the rising as you can before the dough goes cold. Freeze a shaped loaf after bulk ferment for the best make-ahead dough, par-bake and freeze for the most reliable fresh-tasting crust, and freeze finished bread to simply never waste a loaf. The one move to skip is freezing green, unfermented dough and hoping the wild yeast bounces back, because it usually will not.

    Want to see the shaping, the wrap, and the bake-from-frozen finish in real time? The full walkthrough lives on the LoafLovers YouTube channel, and our free sourdough troubleshooting guide covers dense loaves, weak rise, and timing in the same symptom-to-fix format. Freeze smart, and a great loaf is never more than an oven away.
    Related Reading

  • How to Store Sourdough Bread So It Stays Fresh (and Freezes Perfectly)

    How to Store Sourdough Bread So It Stays Fresh (and Freezes Perfectly)

    You pulled a beautiful loaf out of the oven yesterday – crackly crust, open crumb, that deep tangy smell filling the kitchen. This morning it is drier, the crust has gone leathery, and the slices feel firmer than they should. It is a quietly deflating moment, because the baking went right; only the storing went wrong.

    Homemade sourdough has no preservatives and no soft-crust conditioners, so it behaves differently from a supermarket loaf in a plastic sleeve. Store it the way that loaf was designed to be stored and it will reward you for days. Here is exactly how to keep sourdough fresh on the counter, how to freeze it so it tastes almost new, and how to bring a firm loaf back to life.

    A whole sourdough loaf resting cut-side down on a wooden board beside a linen cloth
    A good loaf deserves better than a plastic bag – here is how to keep it fresh.

    Why sourdough goes stale (it is not just drying out)

    Most people assume stale bread is simply dry bread, but there are two different things happening, and they pull in opposite directions.

    The first is moisture loss. The soft interior slowly gives up water to the air, and the crust – which started crisp – draws that moisture up and turns tough and chewy. The second, and the bigger culprit, is starch retrogradation: as the bread cools and sits, the gelatinized starches that made the crumb soft begin to recrystallize and firm up. That is why a day-old loaf can feel hard even when it is not truly dried out.

    This distinction matters because it explains everything that follows. Good storage slows moisture loss without trapping so much of it that the crust goes soggy – and, crucially, it keeps the loaf out of the exact temperature range where starch firms up fastest.

    The counter method: your first few days

    For the two or three days most loaves actually last, the counter is the right home. The goal is to protect the cut face while letting the crust breathe.

    • Cool completely first. Never store a warm loaf. Let it cool for at least a couple of hours after baking so the crumb finishes setting; wrapping a warm loaf traps steam and softens the crust into something gummy.
    • Store it cut-side down. The single most useful trick: once you slice into a loaf, stand it on its cut face on a wooden board. The crust becomes its own lid, sealing the crumb against the board so it does not dry out, while the rest of the crust stays exposed and crisp.
    • Use cloth, paper, or a bread box – not plastic. A linen bread bag, a paper bag, or a bread box lets a little air move so the crust keeps its crackle. A sealed plastic bag does the opposite: it traps moisture against the crust and turns it soft and leathery within hours. Plastic is only worthwhile for a soft-crust sandwich loaf, where you want a tender crust.

    Stored this way, a well-baked sourdough holds up beautifully for two to three days, sometimes longer for a higher-hydration loaf with a thick crust.

    A halved sourdough loaf standing on its cut face to protect the crumb
    Cut-side down turns the loaf into its own lid, sealing the crumb against the board.

    Why the fridge is the worst place for it

    It feels logical – the fridge keeps everything else fresh, so surely it helps bread. It does the opposite. Refrigerator temperatures, right around 4C or 40F, sit squarely in the range where starch retrogradation happens fastest. A loaf in the fridge goes stale several times quicker than the same loaf left on the counter.

    The confusion comes from cold dough, where the fridge genuinely is your friend – slowing fermentation to a crawl. If you want the details on that stage, see our guide to how the fridge slows a shaped sourdough during proofing. But that is raw dough. For baked bread, the rule is simple: counter for the short term, freezer for the long term, and skip the fridge entirely.

    Freezing sourdough the right way

    Freezing is the honest answer to keeping sourdough for more than a few days, and done properly the results are excellent – the freezer stops staling in its tracks rather than accelerating it. The key is to freeze while the bread is still fresh, not after it has already started to turn.

    Slice first, almost always. Unless you are freezing a whole loaf for a specific occasion, slice it before freezing. You can then pull out one or two pieces at a time instead of thawing the entire loaf and refreezing the rest, which degrades the texture. Lay a small square of parchment between slices so they do not fuse into a solid block.

    Wrap tightly, then bag. Air is the enemy in the freezer. Wrap the loaf or the stack of slices snugly in plastic wrap or foil, then seal that inside a freezer bag with as much air pressed out as you can manage. The double layer guards against freezer burn and off-flavors.

    Label and use within about three months. Frozen sourdough stays good for roughly three months. Beyond that it is still safe, but the flavor and texture slowly fade, so a date on the bag saves you guessing.

    Baking a smaller loaf in the first place can sidestep the storage question entirely – if you often struggle to finish a full boule, our approach to baking a single small loaf without a giant starter means less bread to store and less to waste.

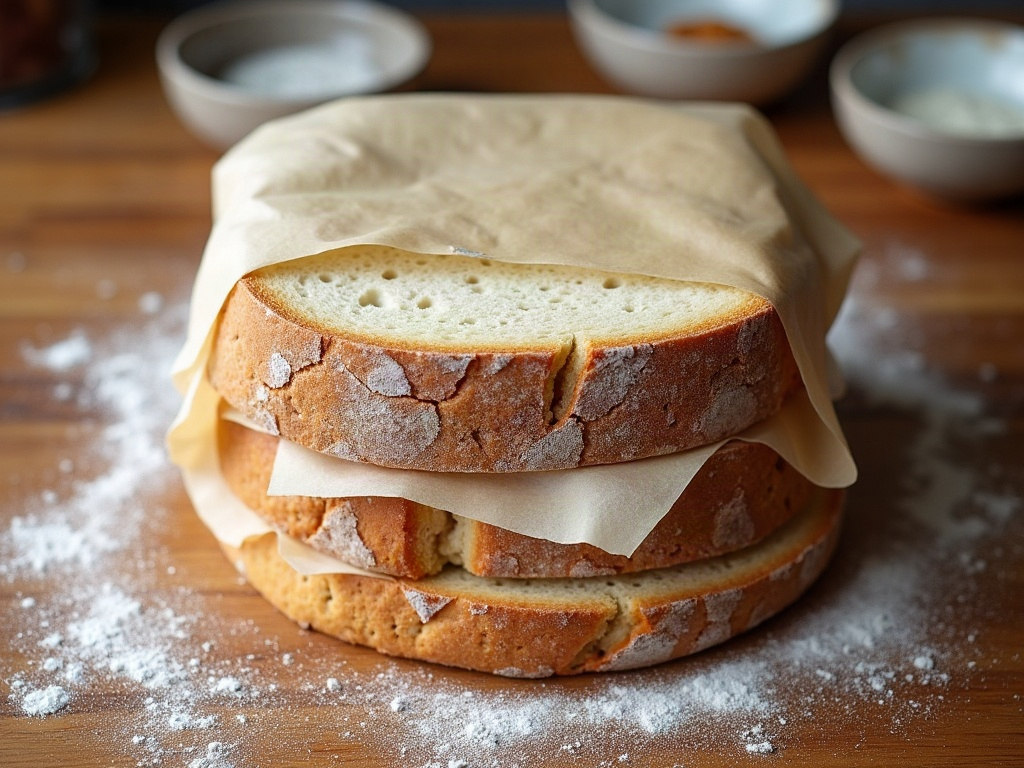
    Slices of sourdough stacked with parchment between them ready to freeze
    Slice before freezing and layer with parchment so you can pull one piece at a time.

    How to revive stale or frozen sourdough

    Here is the genuinely satisfying part: because staling is largely starch recrystallizing, gentle heat can partly reverse it. A firm, day-old loaf is not a lost cause – it just needs a short, hot refresh.

    To revive a whole stale loaf: run the crust briefly under the tap or mist it lightly with water, then place it in a 180C or 350F oven for about 8 to 10 minutes. The moisture turns to steam inside, softening the crumb, while the direct heat re-crisps the crust. It comes out remarkably close to fresh – best eaten within a few hours, since it will stale again faster the second time.

    To thaw frozen bread: individual slices can go straight from the freezer into the toaster – no thawing needed, and they toast up beautifully. For a whole frozen loaf, let it come to room temperature still wrapped so condensation forms on the outside rather than in the crumb, then refresh it in a hot oven for 10 to 15 minutes to bring back the crust.

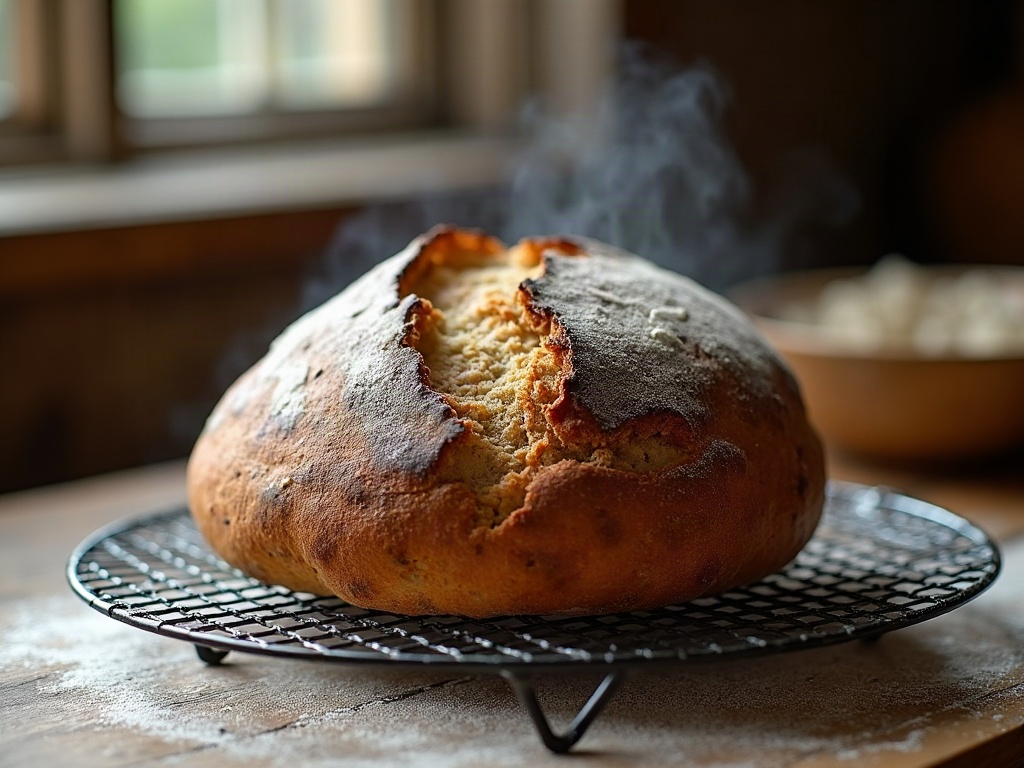
    A refreshed sourdough loaf on a cooling rack with a crisp crust and light steam
    A few minutes in a hot oven brings a firm loaf’s crust and crumb back to life.

    When a loaf is truly past its best

    Sometimes you find a heel of bread that has gone too far to refresh – firm all the way through, or simply forgotten at the back of the counter. Before you toss it, remember that stale sourdough is arguably better than fresh for a whole category of uses, because it holds its shape and soaks up flavor.

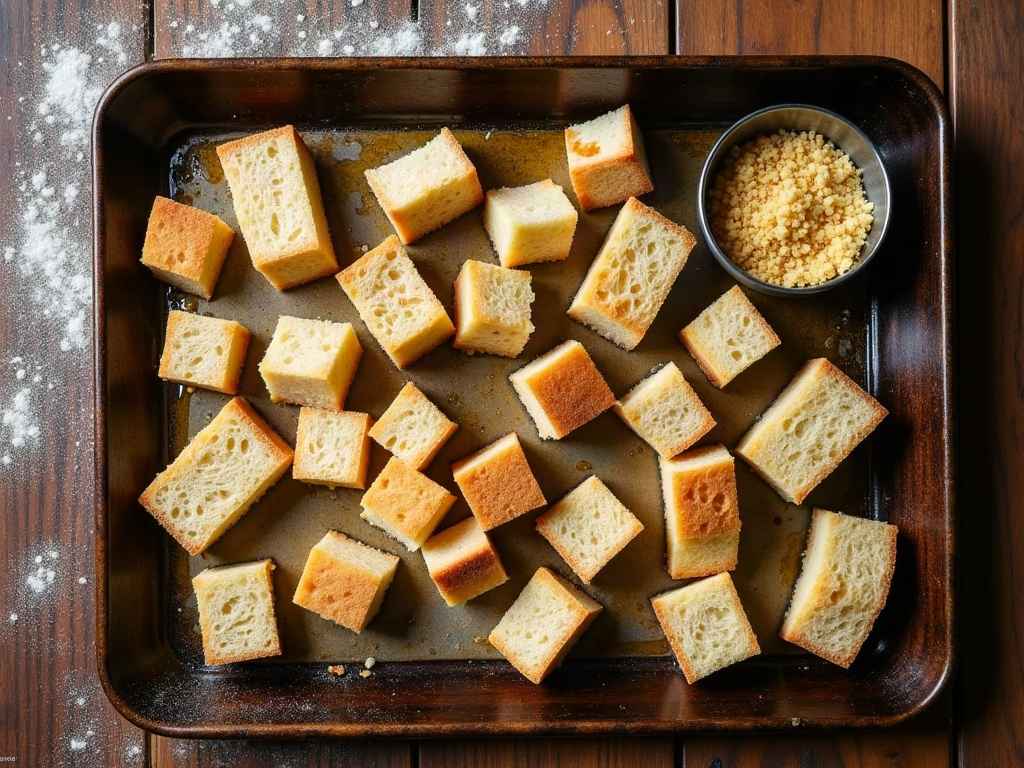
    • Croutons: cube it, toss with olive oil and salt, and bake until golden and crunchy.
    • Breadcrumbs: blitz dried pieces in a food processor and store the crumbs in the freezer for coating and topping.
    • Panzanella, ribollita, or French toast: all classic dishes that specifically call for bread with some age and structure to it.

    The one thing to watch for is mold. If you see any fuzzy spots or off smells, discard the whole loaf rather than cutting around it – mold sends threads through soft bread well beyond the visible patch. This is different from the harmless film that can appear on a neglected starter; if you are ever unsure which is which, our guide to telling mold from harmless kahm yeast walks through the difference.

    Cubes of stale sourdough on a tray becoming croutons beside a bowl of breadcrumbs
    Even a loaf that is truly past its best still has a second life as croutons or crumbs.

    A simple storage routine to remember

    You do not need special equipment or a system – just a few habits that match how sourdough actually behaves:

    • Cool the loaf completely before storing anything.
    • For the next two to three days: cut-side down on a board, wrapped in cloth or paper or kept in a bread box – never a sealed plastic bag on a crusty loaf.
    • Never refrigerate baked sourdough; the cold stales it faster.
    • For anything longer: slice, wrap tightly, and freeze within three months.
    • Refresh stale or frozen bread with a splash of water and a few minutes in a hot oven.
    • Turn the truly-past-it heels into croutons or breadcrumbs instead of the bin.

    Storing sourdough well is not fussy once you understand the why behind it – you are simply keeping moisture where it belongs and staying out of the fridge’s staling zone. Get these habits down and the loaf you were proud of on baking day is still worth eating three days later, or three weeks later out of the freezer. If you want the full walkthrough, including a demo of the water-and-oven refresh that makes a stale loaf taste new again, it lives on the LoafLovers YouTube channel alongside our free sourdough troubleshooting guide.


    Sources & further reading:

    Related Reading