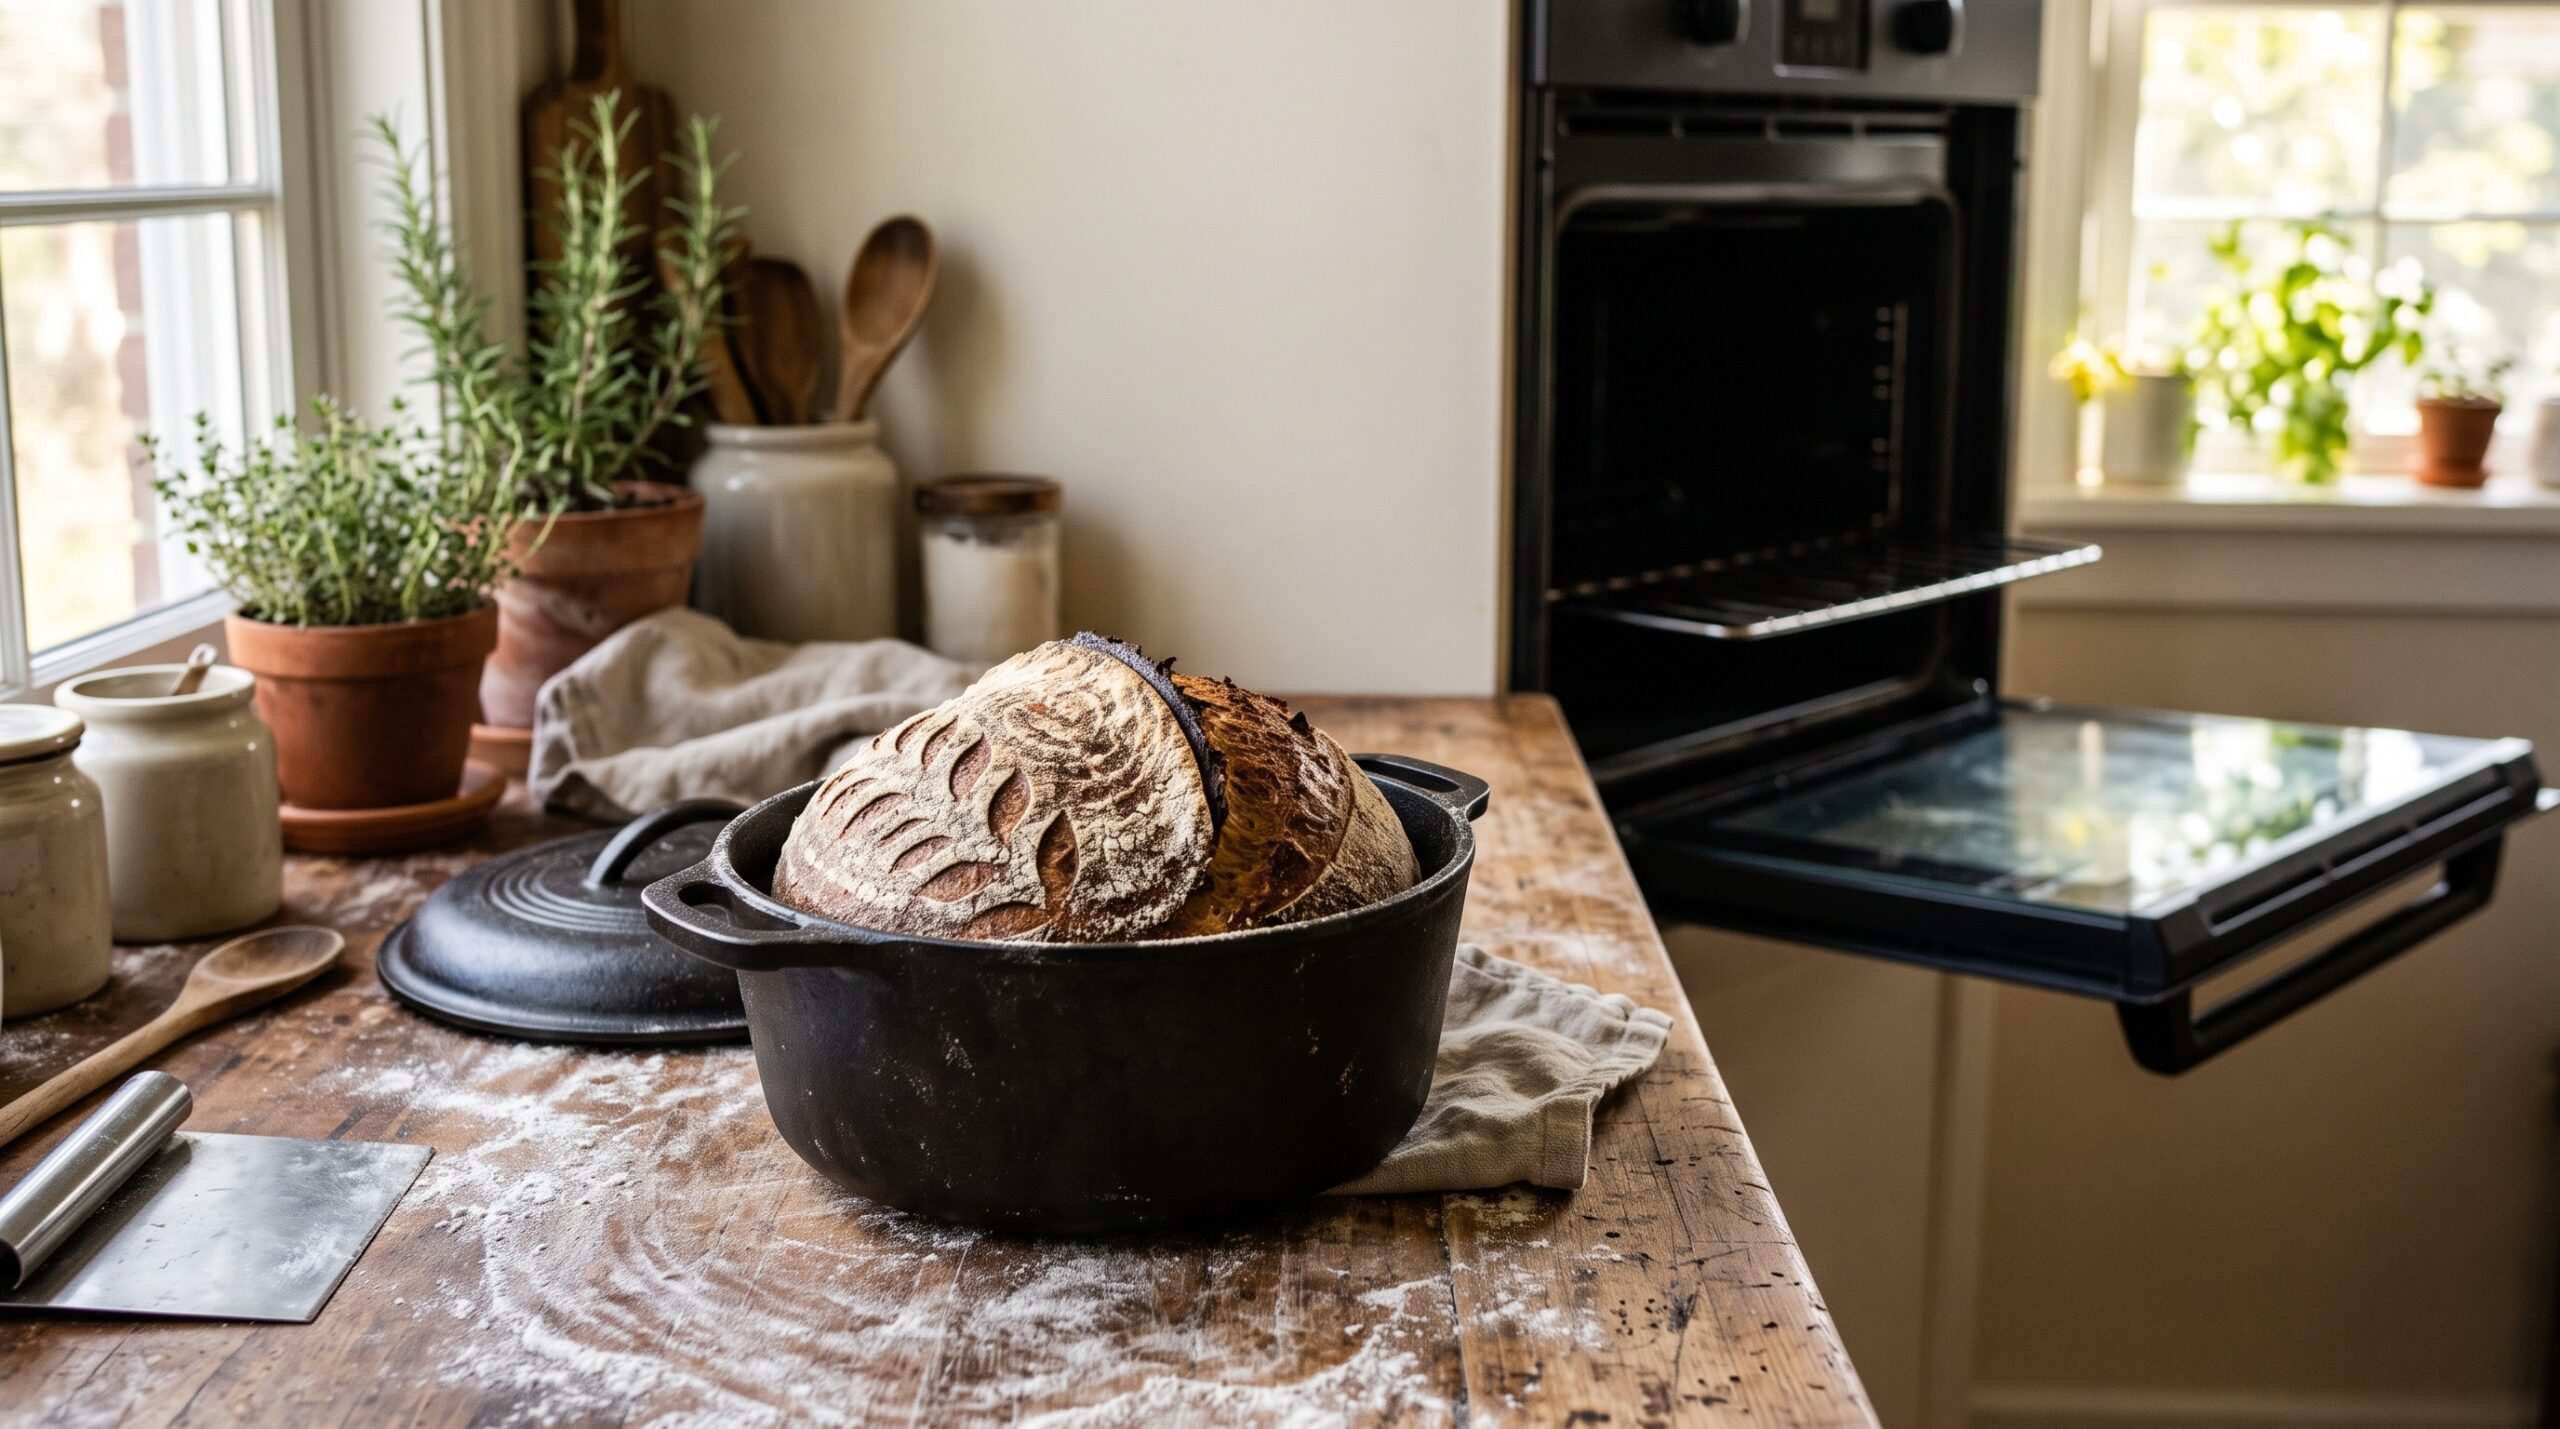
Preheating a Dutch oven for 45 minutes to an hour is the single most tedious, energy-hungry step in a sourdough bake. You’ve shaped and proofed a loaf, you’re ready to go, and now you have to wait out a long preheat while a screaming-hot pot sits in your oven using power and heating up your kitchen. It’s no surprise that one of the most-searched sourdough shortcuts is the cold start: load the loaf into a cold Dutch oven, put it in a cold oven, and turn the heat on with everything already inside.
So does it actually work? The honest answer is yes – with trade-offs you should understand before you commit your next loaf to the experiment. Here’s exactly what changes, why, and how to make a cold start produce a loaf you’re happy with.
What a Cold Start Actually Is
A traditional sourdough bake relies on thermal shock. You preheat the Dutch oven until it’s blisteringly hot, drop in a room-temperature (or cold-from-the-fridge) loaf, and the sudden blast of heat drives a fast, dramatic rise in the first few minutes – the oven spring that gives sourdough its lofty, open structure.
A cold start throws that playbook out. You place the shaped, scored loaf into a room-temperature Dutch oven, put the lid on, set it in a cold oven, and only then turn the oven on – usually to around 450 F / 230 C. The loaf, the pot, and the oven all heat up together, gradually.
It sounds like it shouldn’t work. But the dough still rises, still forms a crust, and still bakes through. What changes is the character of the rise and the crust, because you’ve removed the thermal shock that defines the conventional method.
What You Gain
The appeal is real, and for a lot of home bakers it’s worth it:
- No preheat wait. You skip the 45-to-60-minute preheat entirely. From shaped loaf to oven-on is immediate.
- Less energy, less heat in the kitchen. You’re not running the oven empty for an hour, which matters in summer and matters on an electricity bill.
- No handling a 500-degree pot. Lowering a slack, proofed dough into a searing-hot Dutch oven is the scariest, burn-prone moment of the whole bake. A cold start removes it completely – you simply set the loaf into a cool pot on the counter.
- Gentler on cold-proofed dough. A loaf straight from a long fridge proof can take a cold start especially well, because it warms up gradually alongside the pot rather than being shocked.
If the preheat is the reason you bake less often than you’d like, a cold start can be the difference between baking and not baking. For a low-friction routine, that’s the whole point.
What You Give Up
Thermal shock isn’t just tradition – it does real work, and skipping it has consequences:
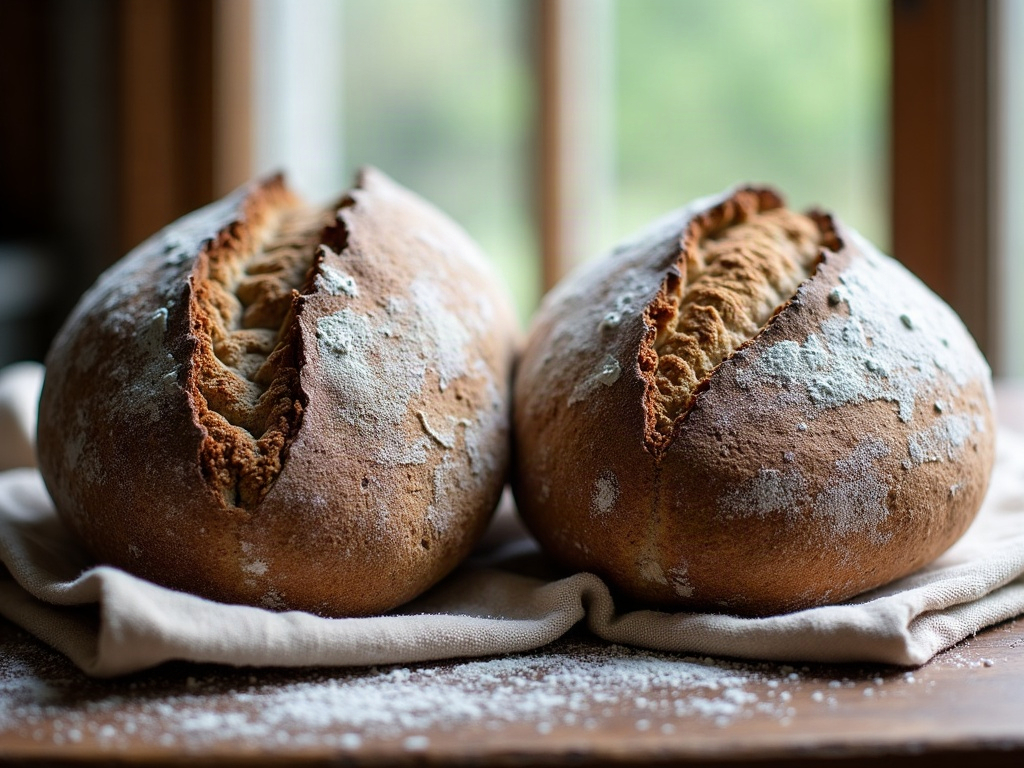
- Less dramatic oven spring. The gradual heat gives the crust time to set before the dough has fully expanded, so you often get a slightly flatter, denser loaf with less of that explosive, ear-forming rise.
- A paler, softer crust – if you stop too soon. This is the number-one cold-start complaint, and it’s usually a timing error rather than a flaw in the method (more on the fix below).
- Less predictable results. Every oven heats at a different rate, so a cold start that’s dialed in on one oven needs tweaking on another. Your first few cold-start loaves are a calibration exercise.
If you’re chasing competition-grade oven spring and a shattering, deeply blistered crust, the preheated method still wins. A cold start is a convenience trade, not a performance upgrade.
The One Fix That Makes It Work: Bake Longer
Most disappointing cold-start loaves aren’t underproofed or badly shaped – they’re underbaked. Because the oven starts cold, the loaf spends extra minutes just getting up to temperature, so a timer set for a conventional bake pulls the loaf out pale and gummy.
The fix is simple: add time, not just temperature. Expect a cold-start loaf to need roughly 10 to 20 minutes longer in total than the same loaf would with a preheated pot. A reliable sequence looks like this:
- Load the scored loaf into the cold Dutch oven, lid on, and set it in the cold oven.
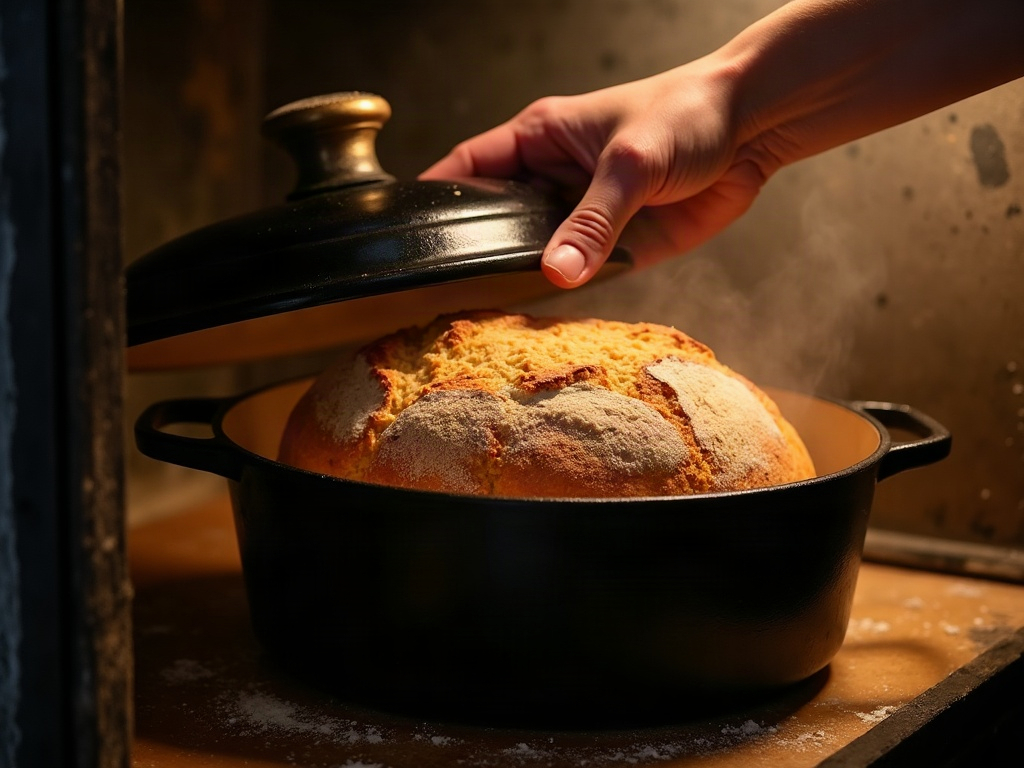
- Turn the oven to 450 F / 230 C and start a timer for about 50 minutes lid on, rather than the usual 20-25. The loaf rises and sets gently inside its own trapped steam.
- Remove the lid and bake another 15-25 minutes until the crust is a deep, honest caramel brown – not pale tan.
- Judge by color and by internal temperature (around 205-210 F / 96-99 C), never by the clock alone.
Baking to color and temperature instead of to a fixed time is the whole game here. Do that, and the pale-crust problem disappears.
Why Steam Still Saves You
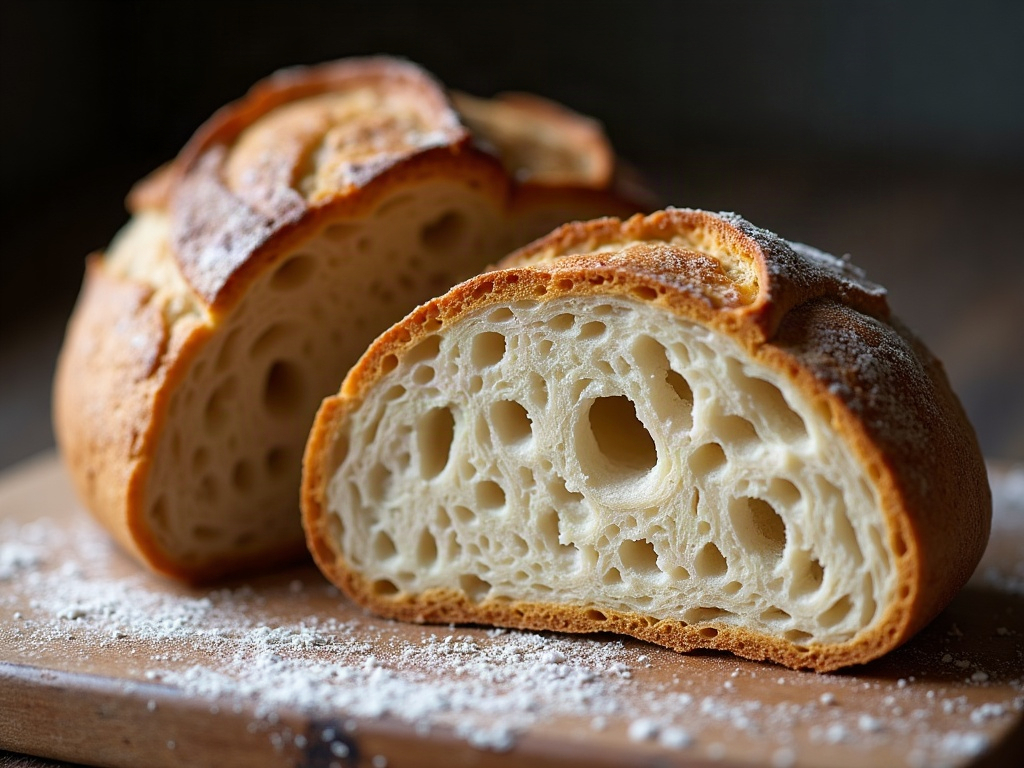
Here’s the reassuring part: the Dutch oven still does its most important job in a cold start. As the loaf heats, it releases moisture, and the lidded pot traps that steam around the dough. That humid environment keeps the crust soft and extensible during the rise, letting the loaf expand before the surface hardens.
So even without the preheat, you get much of the benefit of the Dutch oven method – the enclosed, steamy chamber that home bakers struggle to replicate on an open rack. If you’ve ever fought to build steam without a Dutch oven, you already know how much that trapped moisture matters; the same physics is working for you in a cold start, just on a slower timeline. The difference is the pace of the rise, not whether steam is present.
When to Use a Cold Start – and When Not To
Reach for a cold start when:
- You want to bake without the preheat wait or the extra energy use.
- You’re baking a loaf straight from a long fridge proof, which takes the gradual warm-up gracefully.
- You care more about convenience and a good everyday loaf than about maximum oven spring.
- You’d rather not wrestle a proofed dough into a scorching-hot pot.
Stick with a preheated Dutch oven when:
- You’re pushing for the tallest possible oven spring and a dramatic ear.
- You’re baking a high-hydration or slack dough that needs an immediate heat blast to set its shape before it spreads.
- You’ve got a loaf that’s a touch underproofed and relying on strong oven spring to open up – a cold start won’t rescue weak structure, and an overproofed dough has its own recovery playbook that a slow heat-up won’t fix either.
The Honest Verdict
A cold start works. It is not a myth, and it is not cheating – it’s a legitimate method with a clear trade-off: you swap a little oven spring and crust drama for a huge amount of convenience. For the baker who’s stopped baking because the preheat feels like a chore, that trade is often well worth making, and the quality gap narrows dramatically once you commit to baking longer and judging by color rather than the clock.
Try it as an A/B test. Bake one loaf your usual preheated way and the next with a cold start, same dough and same recipe, and see whether the difference actually bothers you. Many bakers are surprised to find it doesn’t – and that the loaf they’ll actually make on a busy weeknight beats the perfect loaf they keep putting off. If your cold-start loaves keep coming out flat, the culprit is often the proof rather than the preheat, and a cold proof that stalls in the fridge is a common hidden cause worth ruling out. And if you’d rather chase big oven spring without a Dutch oven at all, there’s a pan-and-steam approach that gets you most of the way there.
Still not sure whether your flat loaf is a cold-start trade-off or a sign something earlier went wrong? That’s exactly the kind of diagnosis we walk through step by step on the LoafLovers YouTube channel – and our free sourdough troubleshooting guide is there whenever you need a second set of eyes on your bake.
Leave a Reply