Few sourdough steps start as many arguments as the autolyse. Scroll one baking forum and you’ll be told it’s the non-negotiable secret behind every open, airy loaf. Scroll the next and someone with gorgeous bread swears they’ve never done it in their life. So which is it? Is autolyse the missing piece in your bakes, or a fussy extra step you can quietly drop?
The honest answer is: it depends, and it’s far less mysterious than the debates suggest. Autolyse is a genuinely useful tool that makes some doughs noticeably better and other doughs no different at all. Once you understand what it actually does, you’ll know exactly when to use it and when to skip it without a shred of guilt. Let’s clear the flour dust off this one for good.
What Autolyse Actually Is (and Isn’t)
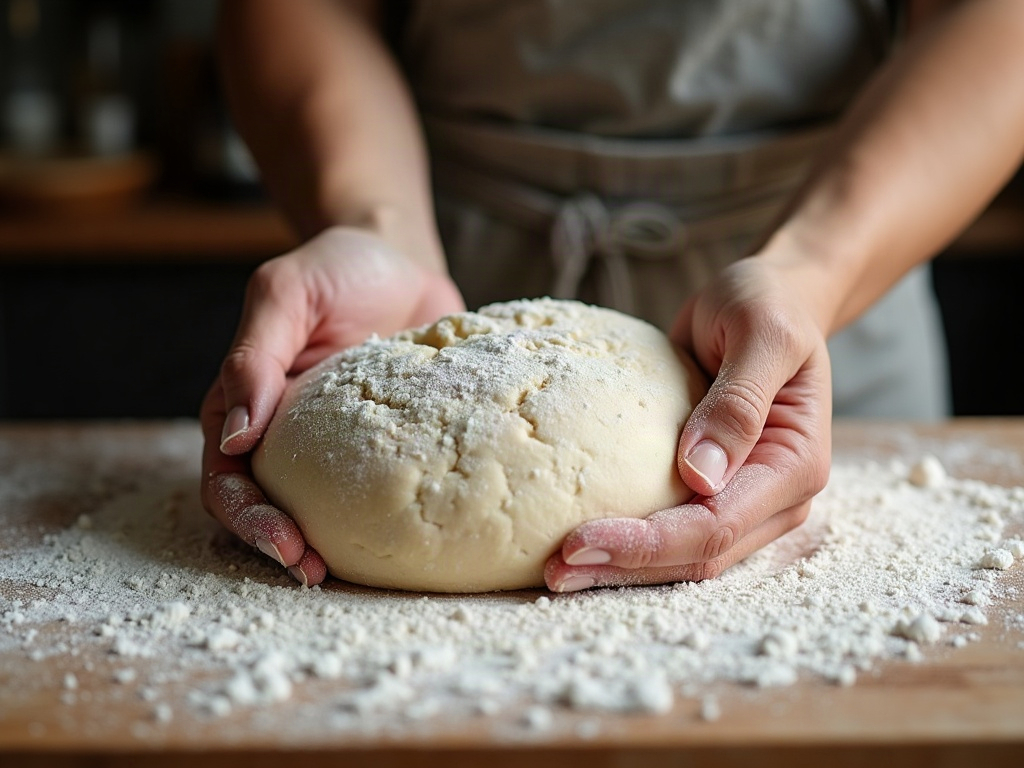
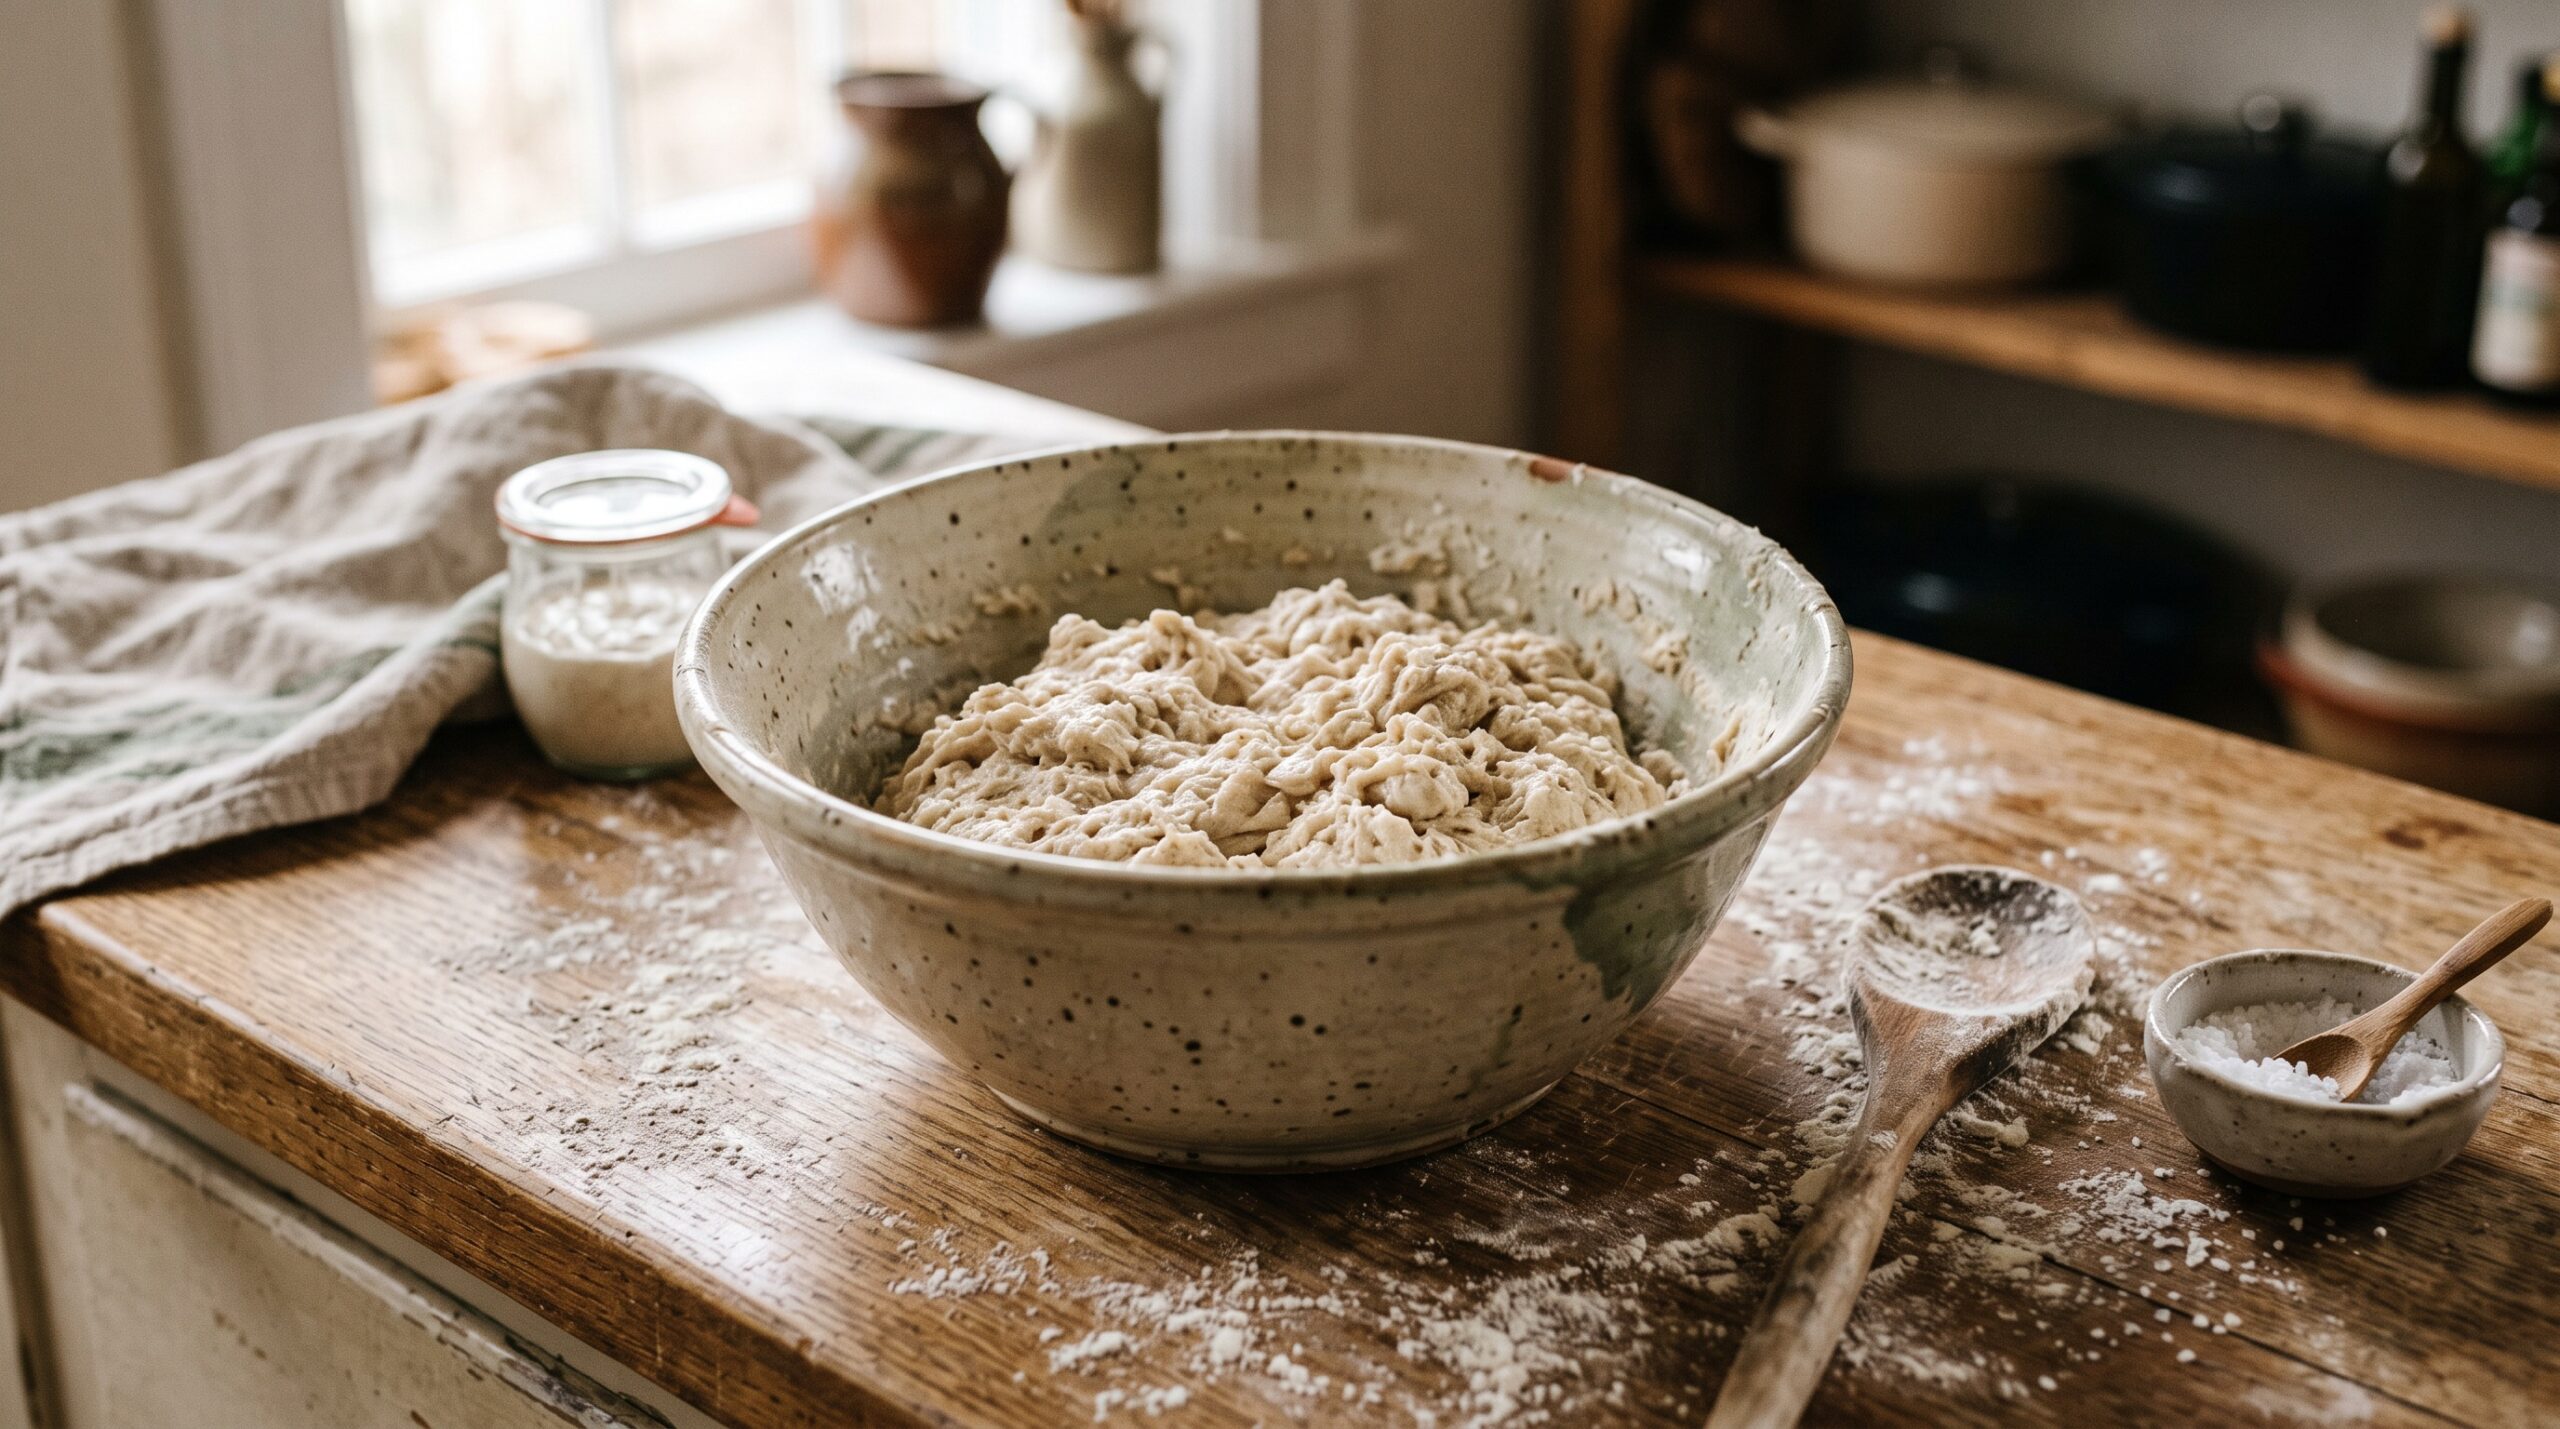
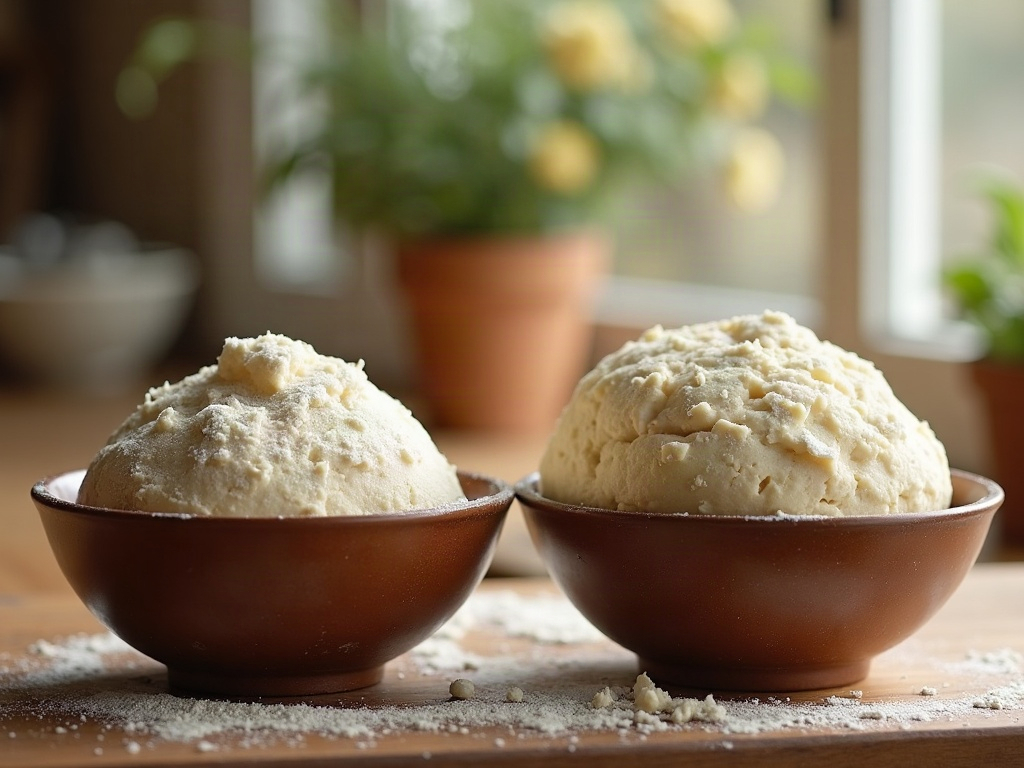
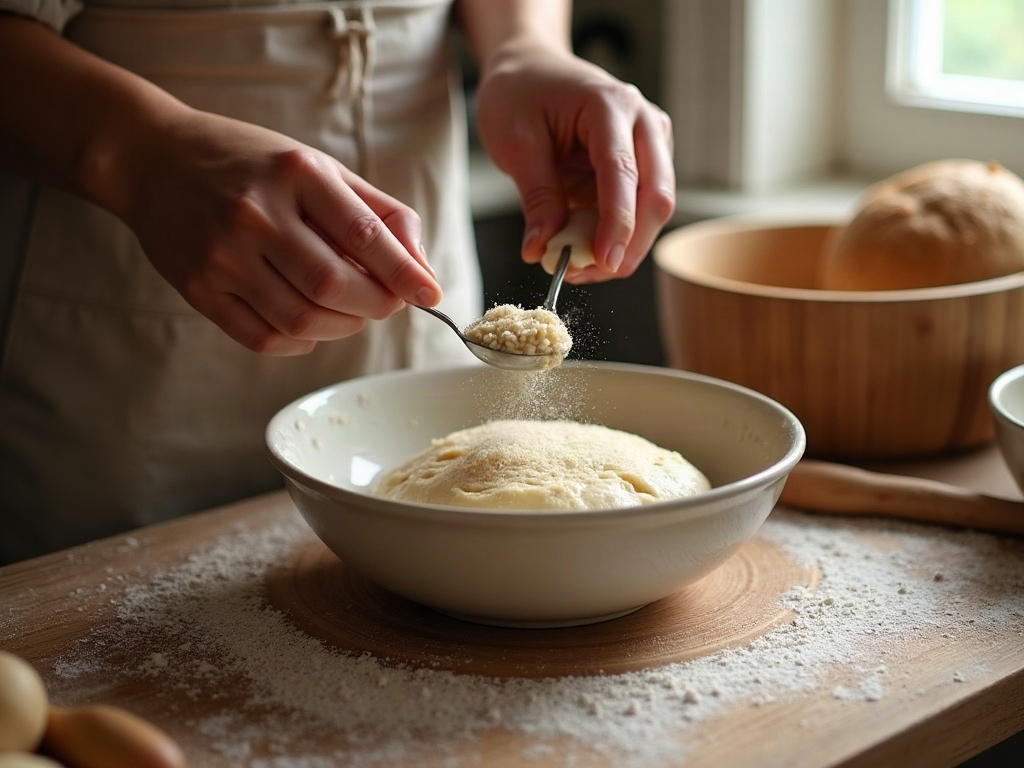
Autolyse is almost anticlimactically simple: you mix just your flour and water, then let them rest together – usually somewhere between 20 minutes and a couple of hours – before you add your salt and starter. That’s the whole technique. No kneading, no special equipment, no watching the clock nervously. You mix a shaggy mass, cover it, and walk away.
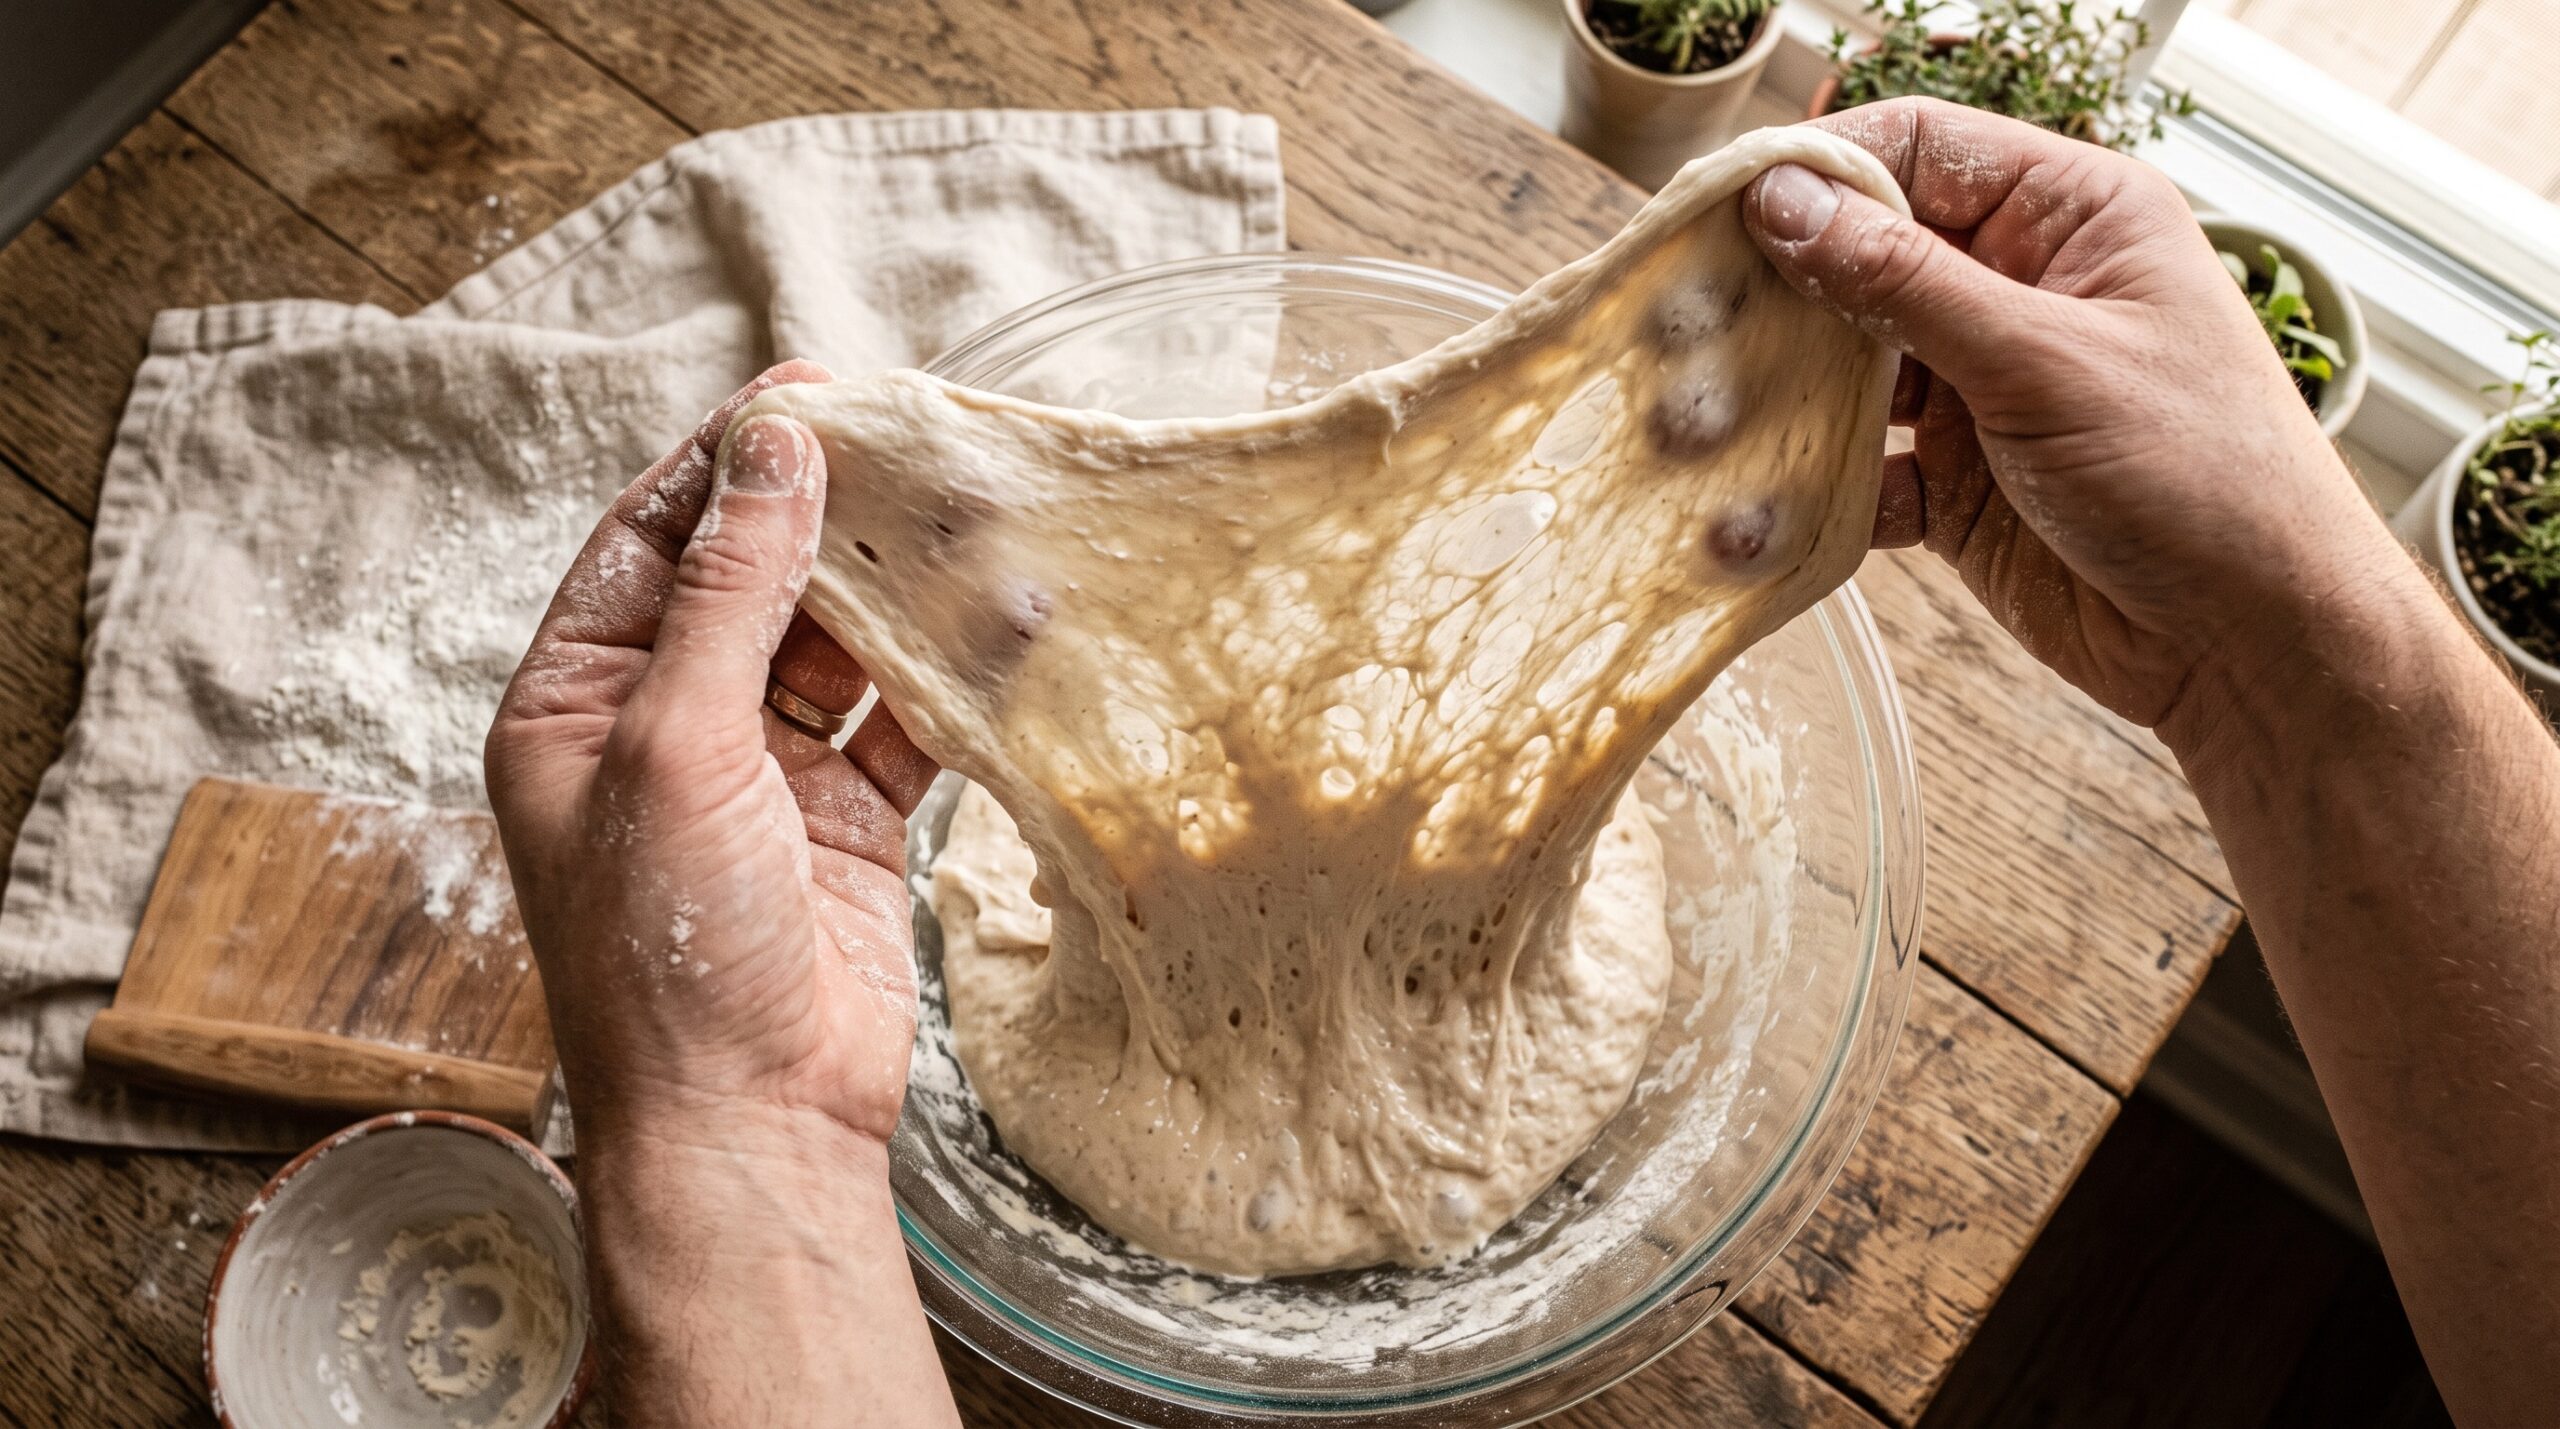
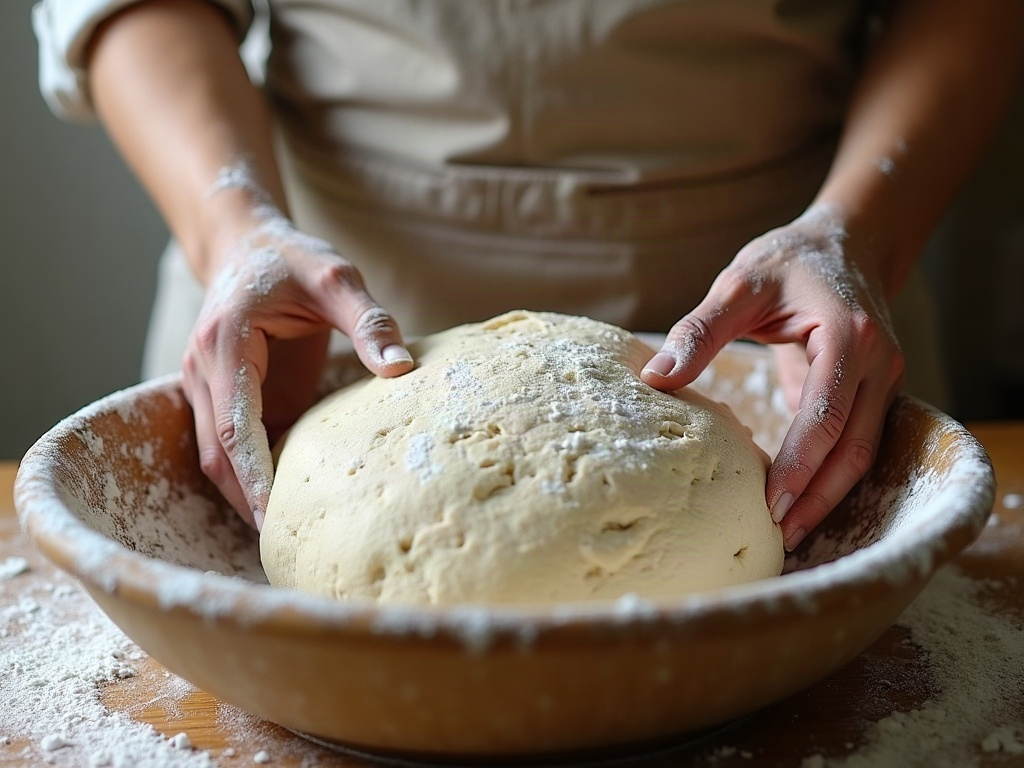
What’s happening during that quiet rest is where the value lives. The flour fully hydrates, so every bit of it drinks up the water. At the same time, enzymes naturally present in the flour begin gently breaking down proteins and starches, and the two gluten-forming proteins start linking up into a network – all on their own, with zero effort from you. The result is a dough that becomes smoother, stretchier, and easier to work, before you’ve done any real mixing.
It’s worth clearing up what autolyse is not. It is not fermentation – with no starter in the mix, very little souring is going on. It’s not a magic switch that guarantees a bakery-worthy crumb. And it is not mandatory. It’s simply a head start on gluten development that lets time do some of the work your hands would otherwise have to.
Why Bakers Bother: The Real Benefits
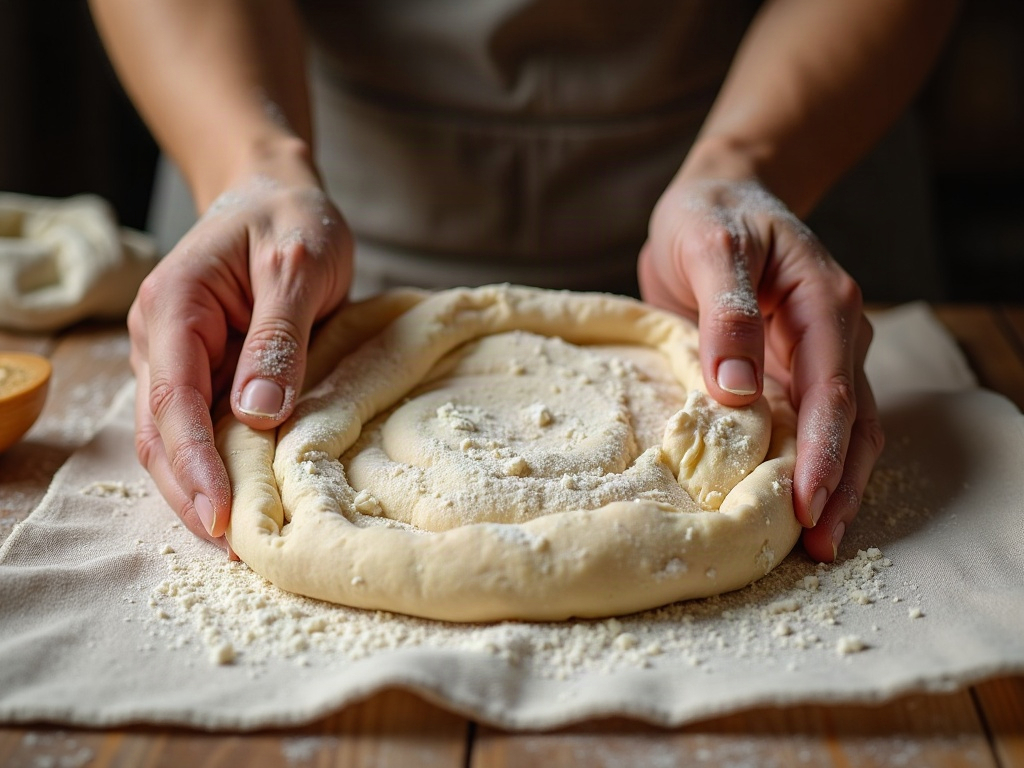
When autolyse earns its reputation, it’s for one word above all: extensibility. A rested dough stretches farther without tearing, which makes the whole back half of your bake easier. Stretch-and-folds go more smoothly, shaping is less of a wrestling match, and the dough holds a tighter, more confident structure. If your dough has ever felt tight, springy, and determined to snap back at you, autolyse is one of the gentlest ways to relax it.
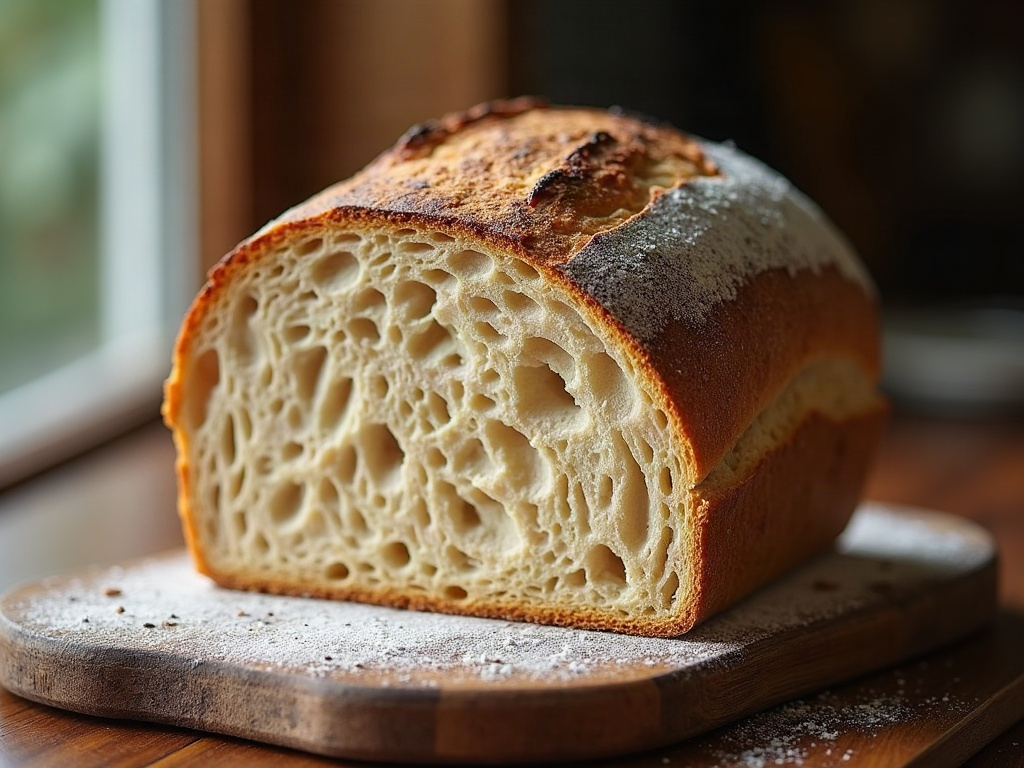
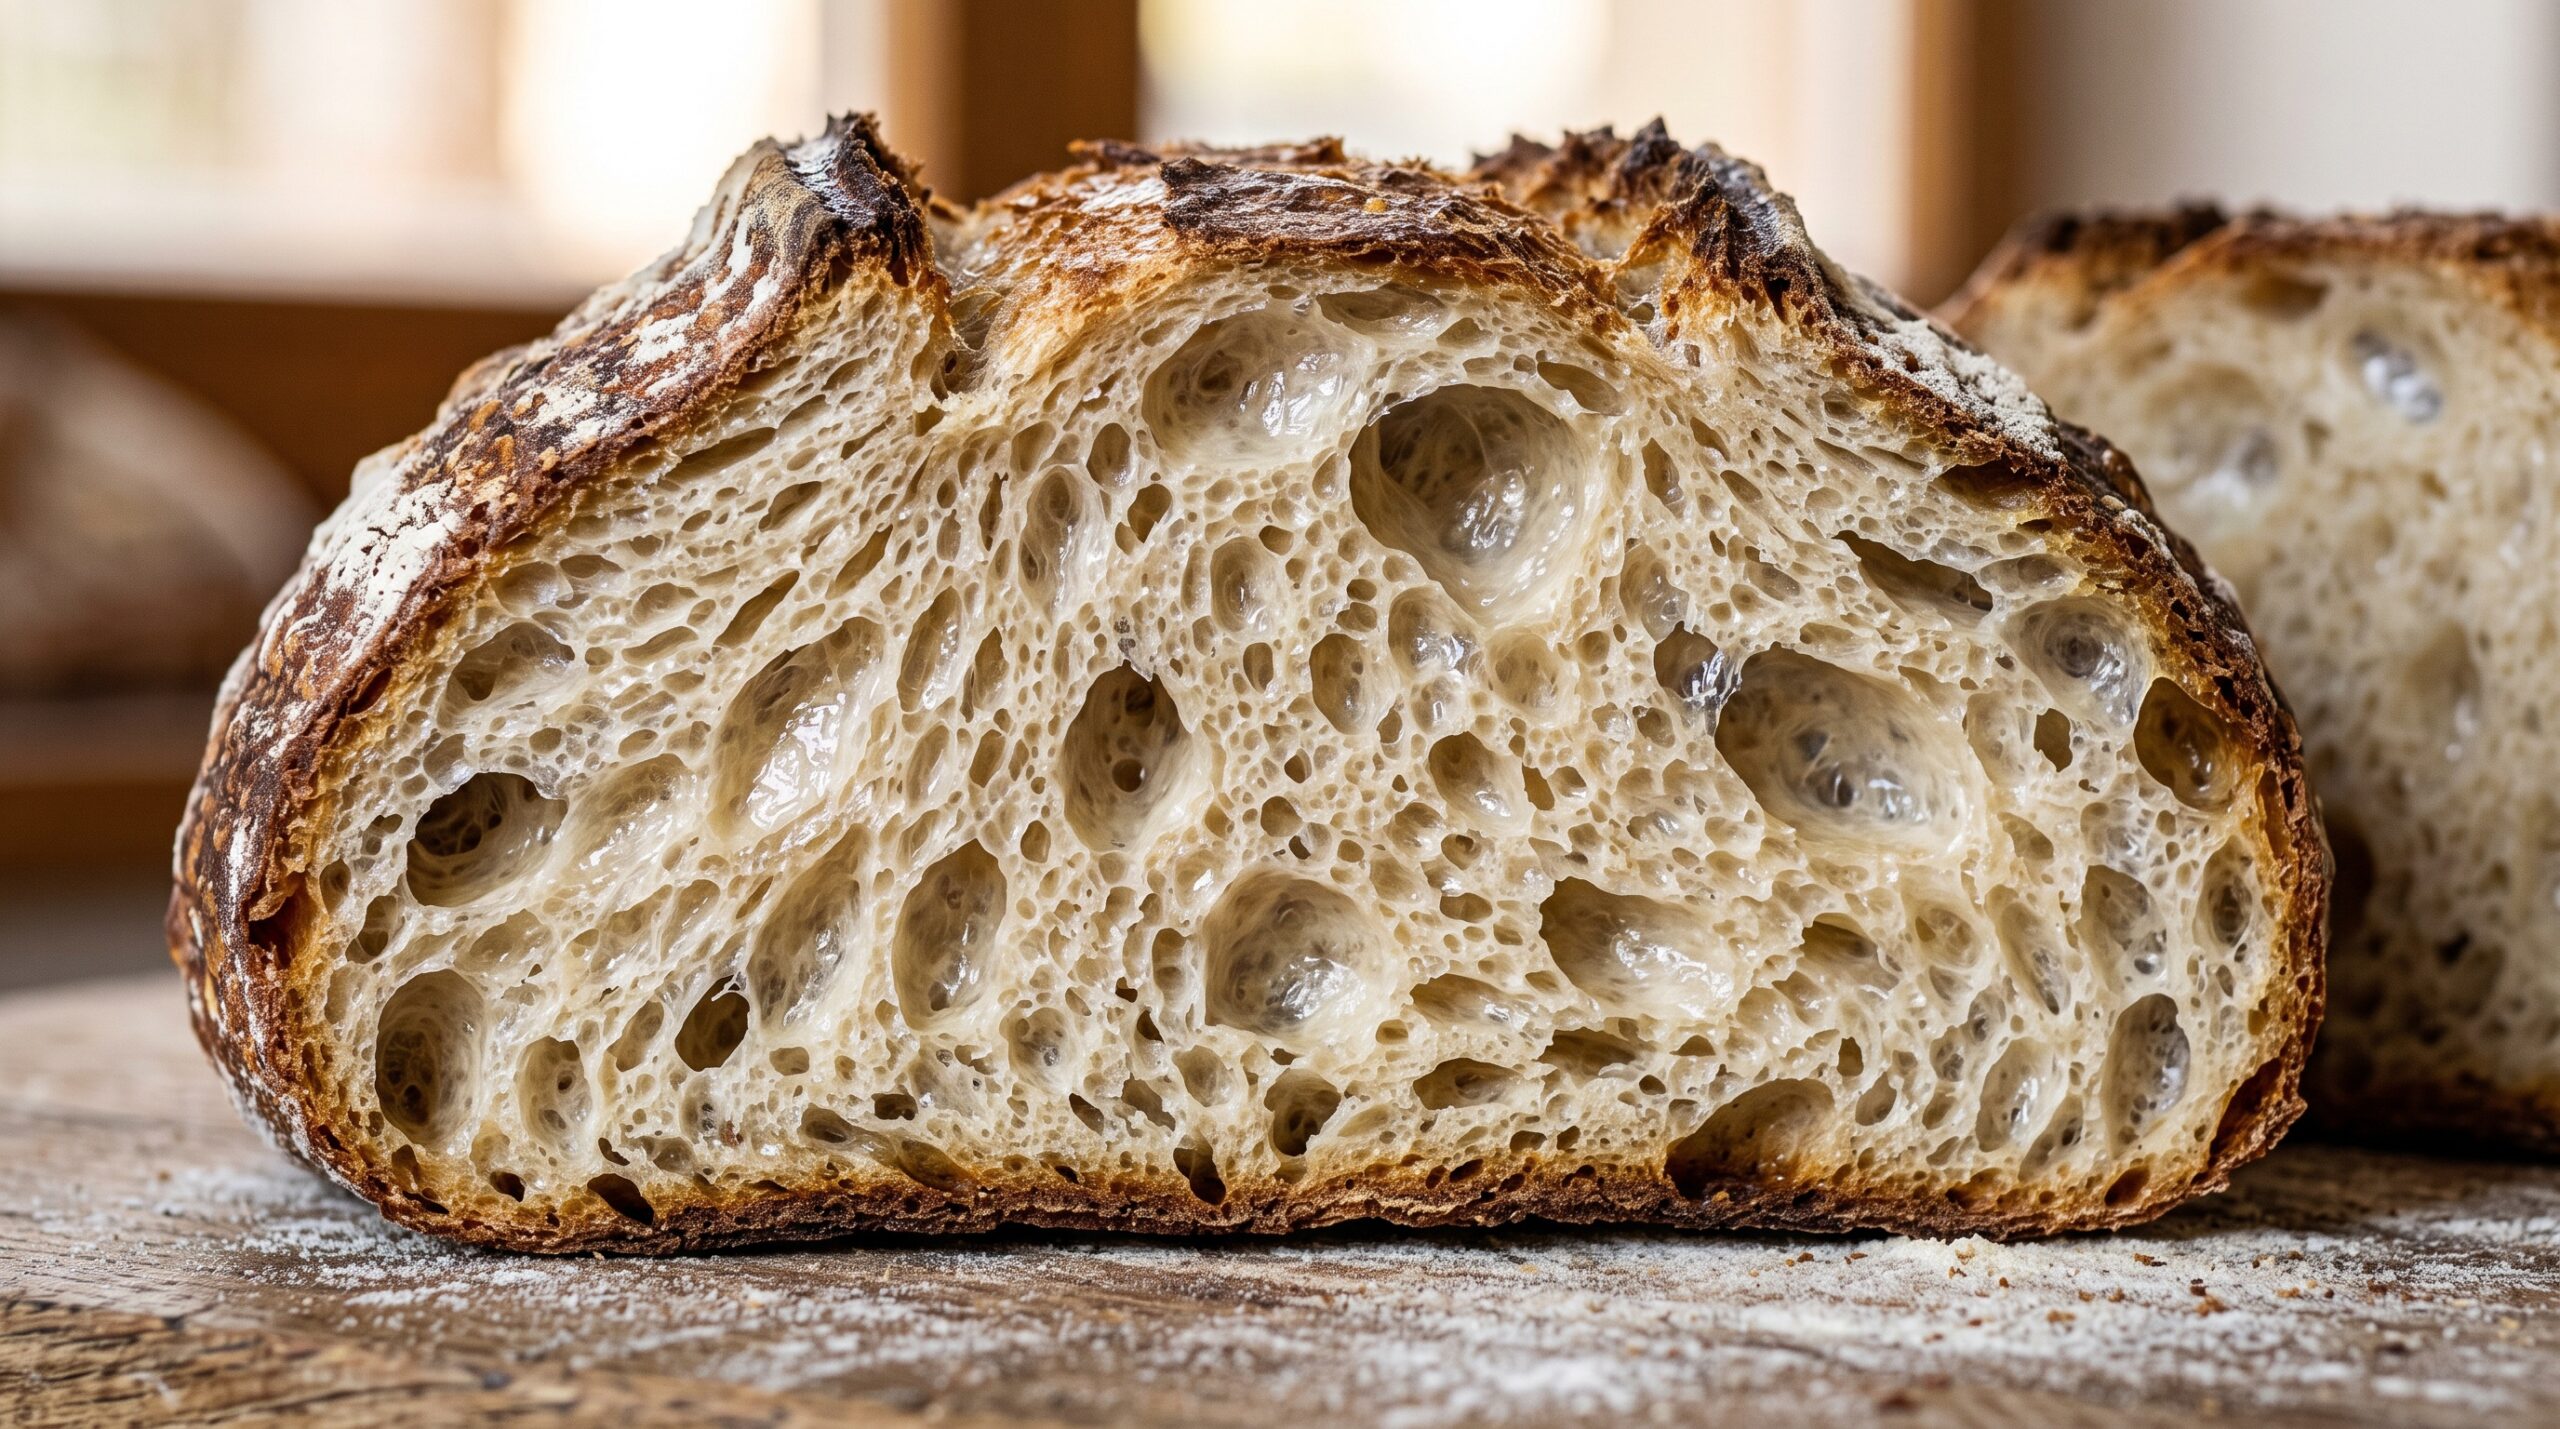
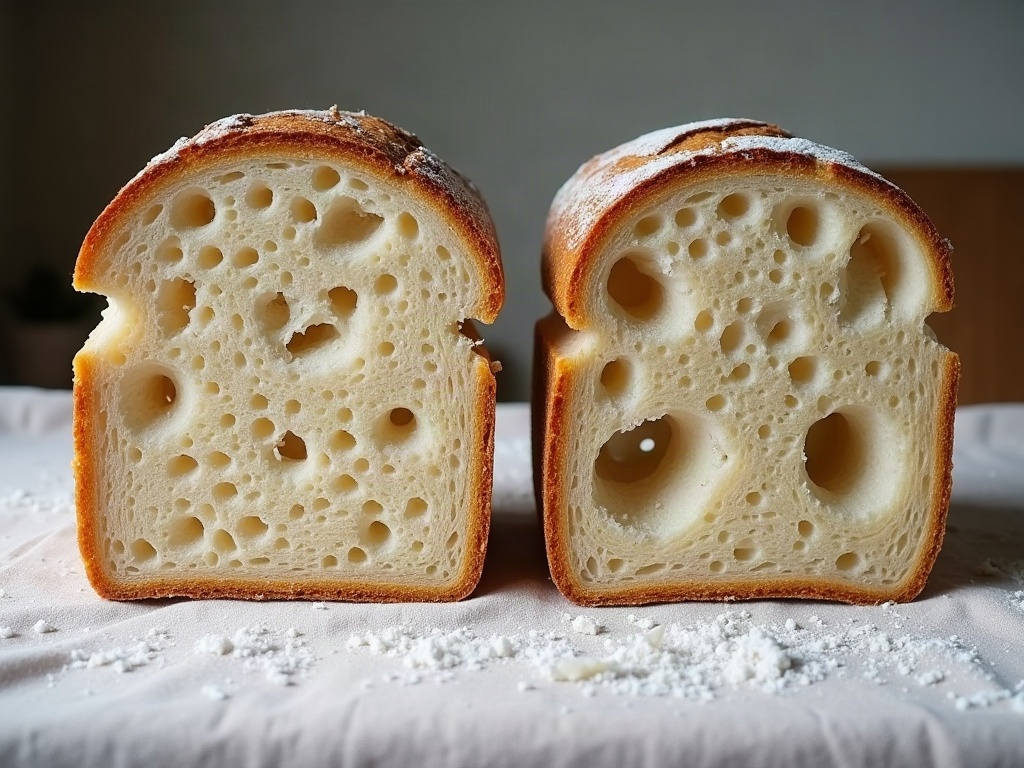
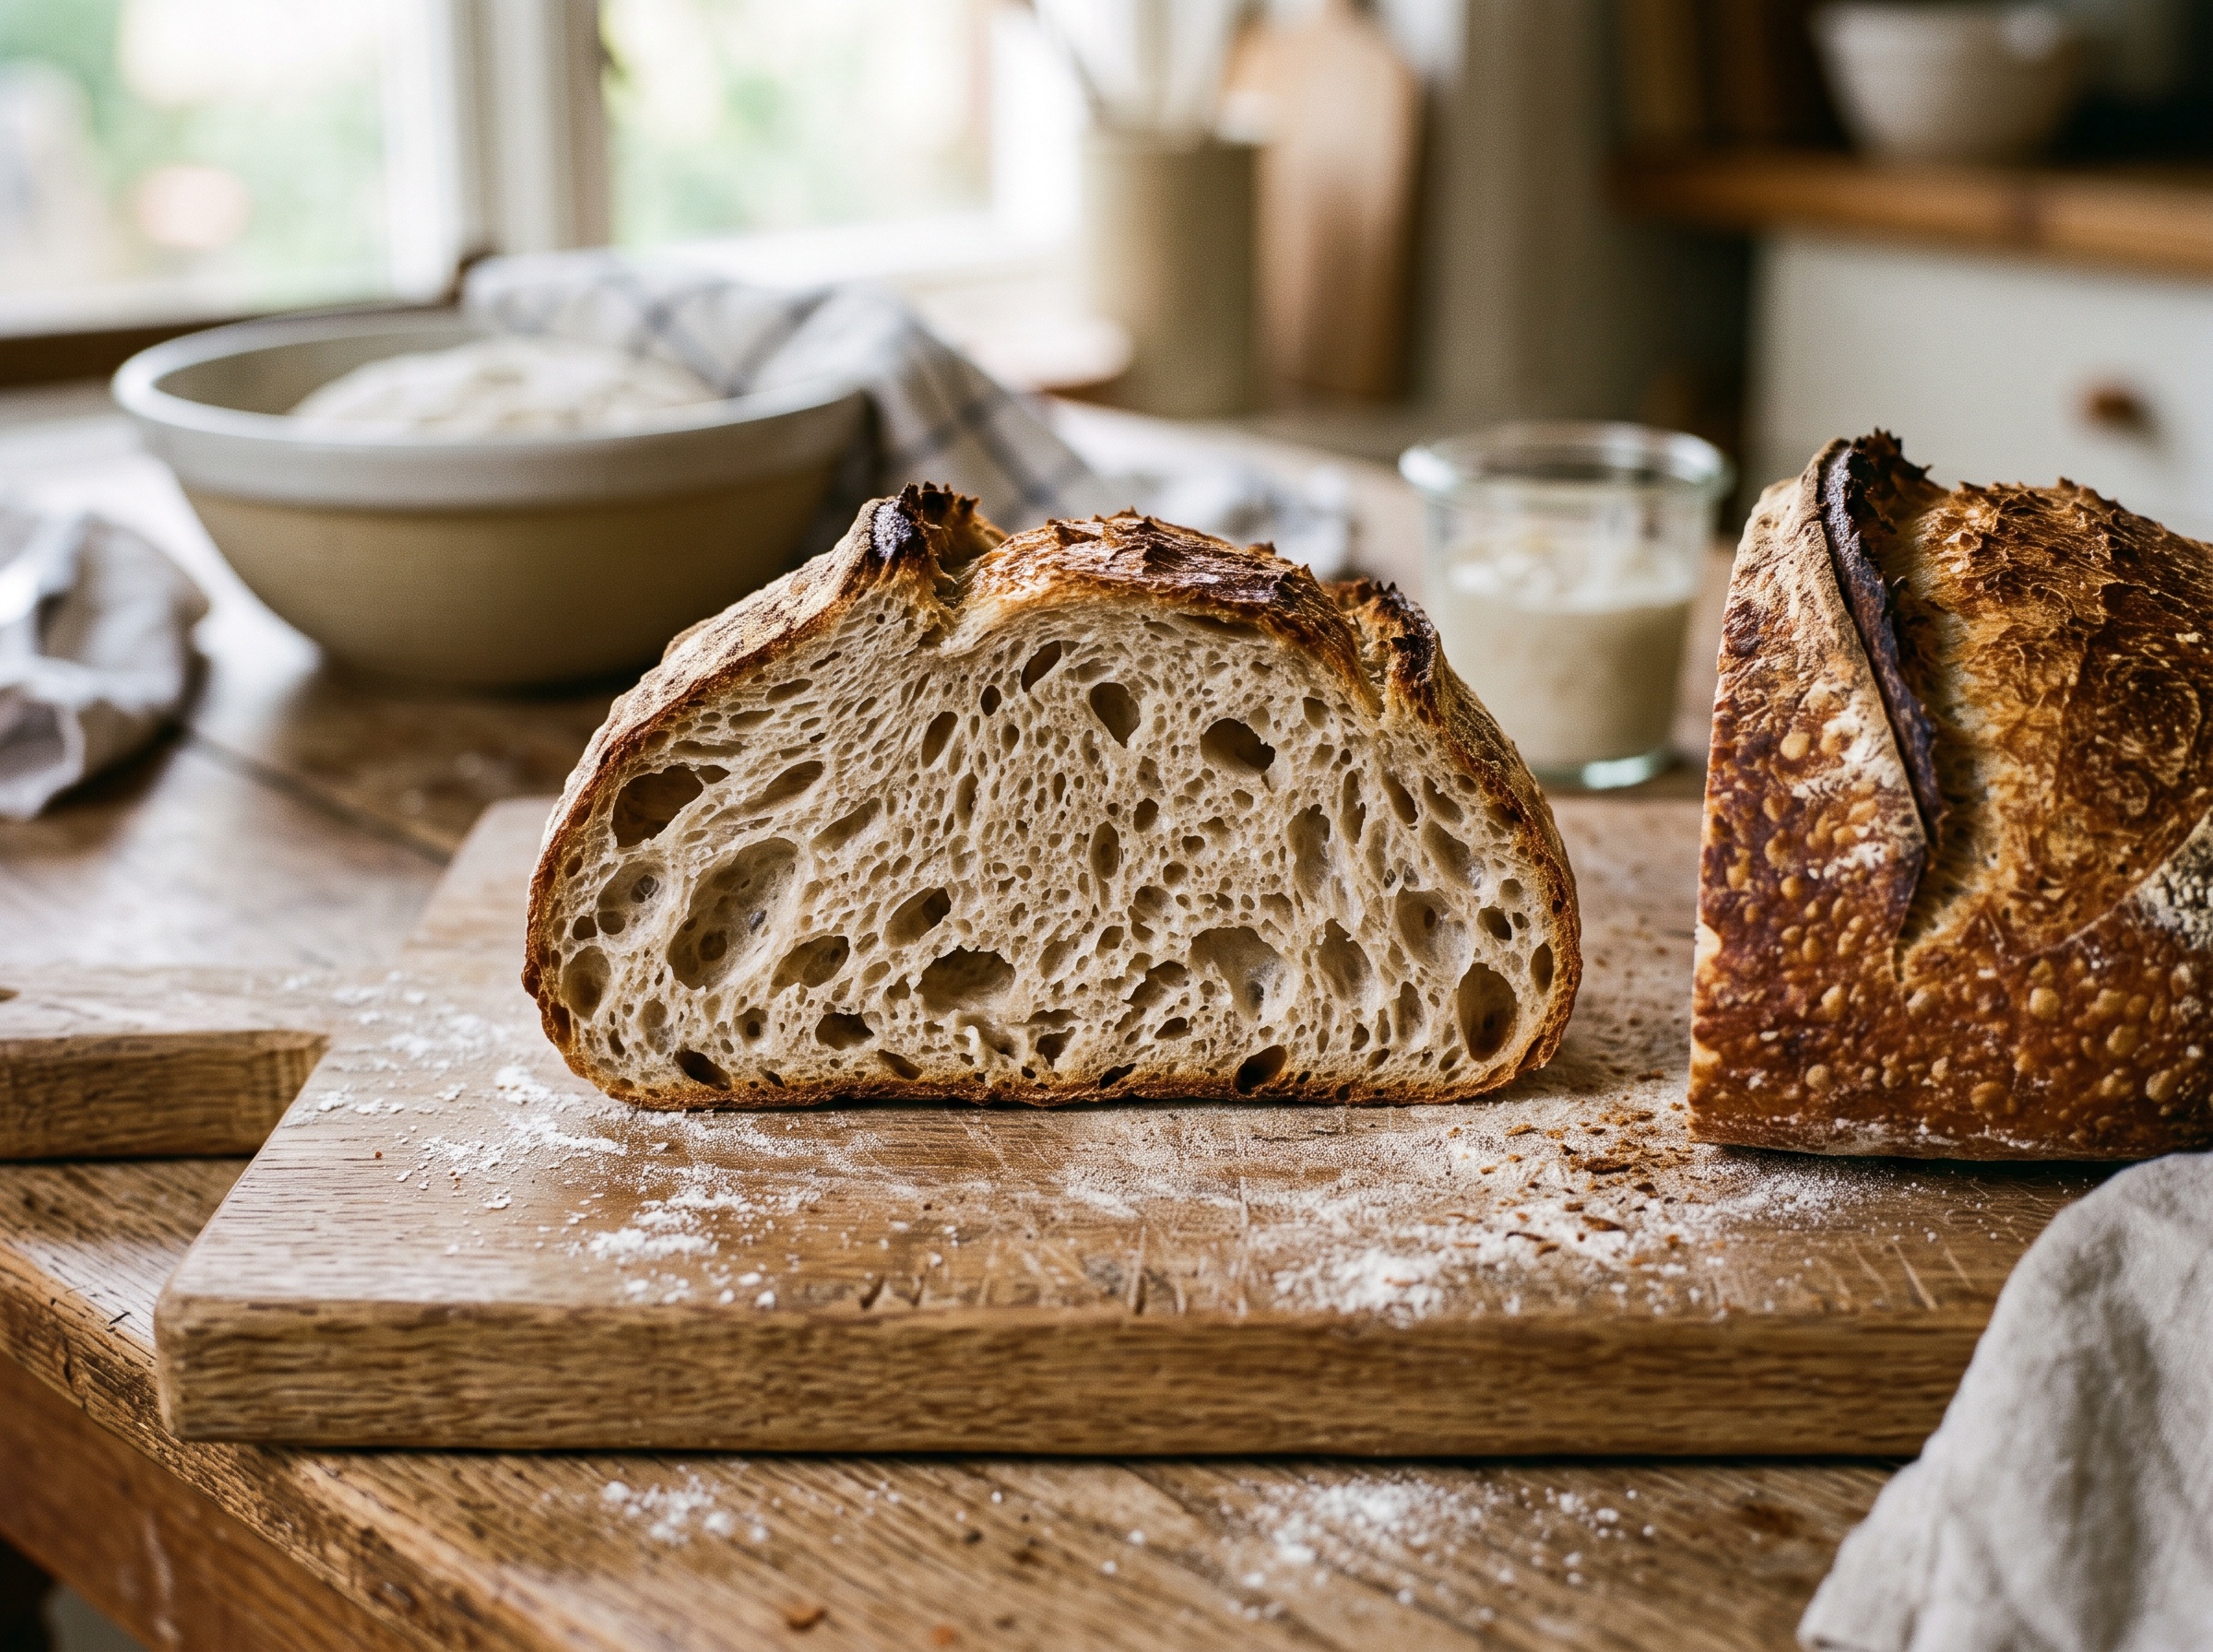
That improved handling tends to show up in the finished loaf too. A dough that’s supple and well-developed traps gas more evenly, which supports a lighter, more open crumb and a better rise. Autolyse isn’t the only thing that gets you there – fermentation, shaping, and your overall crumb strategy matter enormously – but it stacks the deck in your favor from the very first step.
There’s a quieter benefit too: less mixing. Because time has already begun building the gluten, you often need fewer folds and less muscle to reach a strong dough. For anyone who finds intensive kneading tedious or bakes with tired hands, that’s a small daily gift. You’re essentially trading a few minutes of effort for a bit of patience.
When Autolyse Genuinely Helps
Autolyse isn’t equally useful for every bake, and knowing where it shines saves you from cargo-culting a step that isn’t doing anything. It matters most in three situations.
The first is whole grain and high-extraction flours. Whole wheat, rye, and spelt drink up water more slowly and carry sharp bran that can cut through gluten strands. A longer rest gives these flours time to hydrate fully and soften, which is one of the most reliable fixes for a heavy, tight bake – a common culprit when your whole wheat loaf comes out dense. If you bake with any meaningful percentage of whole grain, autolyse is close to essential.
The second is high-hydration dough. Wet, slack doughs can feel impossible to control, and a good rest helps the flour absorb all that water so the dough firms up into something you can actually shape. If you regularly fight with sticky, soupy dough, pairing autolyse with solid wet-dough handling technique makes a real difference. The third situation is any dough that simply feels tight and unworkable – autolyse is the low-effort relaxant that makes it cooperate.
When You Can Skip It Without Guilt
Here’s the permission slip a lot of bakers are waiting for: plenty of excellent sourdough is made with no autolyse at all. If you’re baking a straightforward loaf with mostly white bread flour at a moderate hydration, the benefits shrink to the point where you may not notice them. White flour hydrates quickly and develops gluten readily, so it needs less help getting there.
Skipping autolyse is also perfectly reasonable when it doesn’t fit your schedule. The whole point of a rest is that it’s optional convenience, not obligation – if adding another timed step turns baking from a joy into a chore, drop it. A few extra stretch-and-folds during bulk fermentation will build all the strength you need. Our guide to stretch-and-folds shows how much gluten you can develop with your hands alone, autolyse or not.
The key mindset shift is this: autolyse is a tool, not a rule. Bread was made beautifully for centuries before the term existed. If your loaves are already coming out well, there’s no obligation to bolt on a step just because the internet is loud about it. Save it for the bakes that actually benefit.
How Long, and What About Salt and Starter?
If you do autolyse, the timing is forgiving. For everyday white and lightly whole-grain doughs, 30 minutes to an hour captures most of the benefit. For heavier whole grain, you can stretch to two, three, even four hours to give tough flours time to soften. Beyond that, the enzymes can begin to over-soften the dough and make it slack and sticky, so more is not endlessly better – a long rest with no upside just delays your bake.
The classic method holds back both salt and starter during the rest, and there are reasons for each. Salt tightens gluten and slows enzyme activity, so leaving it out lets the dough relax and extend more freely – you stir it in afterward. The starter is usually held back so that fermentation doesn’t run ahead during a long rest, which keeps you in control of your timeline. Add both once the rest is done, mix until evenly combined, and carry on with bulk fermentation as normal.
There’s a popular shortcut worth knowing: the fermentolyse, where you add the starter along with the flour and water and only hold back the salt. It saves a step and works well for many home bakers, especially on shorter rests. The tradeoff is that fermentation starts immediately, so it’s best kept brief. It’s a fine middle path if the two-stage classic method feels like too much fuss.
Is Autolyse Even Your Problem? How to Tell
Before you credit or blame autolyse for anything, make sure it’s actually the variable that matters for your bake. Bakers often reach for a fancy technique when a more fundamental issue is the real culprit. If your loaves are dense, gummy, or flat, autolyse is rarely the first thing to fix.
Far more often, the answer lies in fermentation and temperature. A weak or underfed starter, a bulk ferment cut short, or a cold kitchen will flatten a loaf no matter how perfectly you autolysed. Dialing in your dough temperature and learning to read when bulk fermentation is truly done will transform your bread far more than any rest ever could. Autolyse polishes a good process; it can’t rescue a broken one.
A simple way to judge your gluten – with or without autolyse – is the windowpane test: stretch a small piece of dough thin and see if it goes translucent without tearing. If it does, your gluten is well developed, and how you got there matters less than that you arrived. Our walkthrough of the windowpane test gives you an honest read on where your dough actually stands, so you can stop guessing about whether that rest is pulling its weight.
The Bottom Line: Use It When It Earns Its Place
So, do you really need to autolyse? For a light white loaf on a busy day, no – skip it and enjoy your bread. For a hearty whole grain or a slack, high-hydration dough, yes – that rest does real, visible work and is one of the easiest upgrades you can make. Everywhere in between, it’s a helpful option you can take or leave based on the flour in your bowl and the time on your hands.
Treat autolyse as what it is: a simple, low-effort tool that makes certain doughs kinder to work with and often a touch better in the crumb. Not a secret, not a rule, and definitely not a step to feel guilty about skipping. Match the technique to the bake and it stops being a thing to argue about and becomes just another quiet way to make better bread.
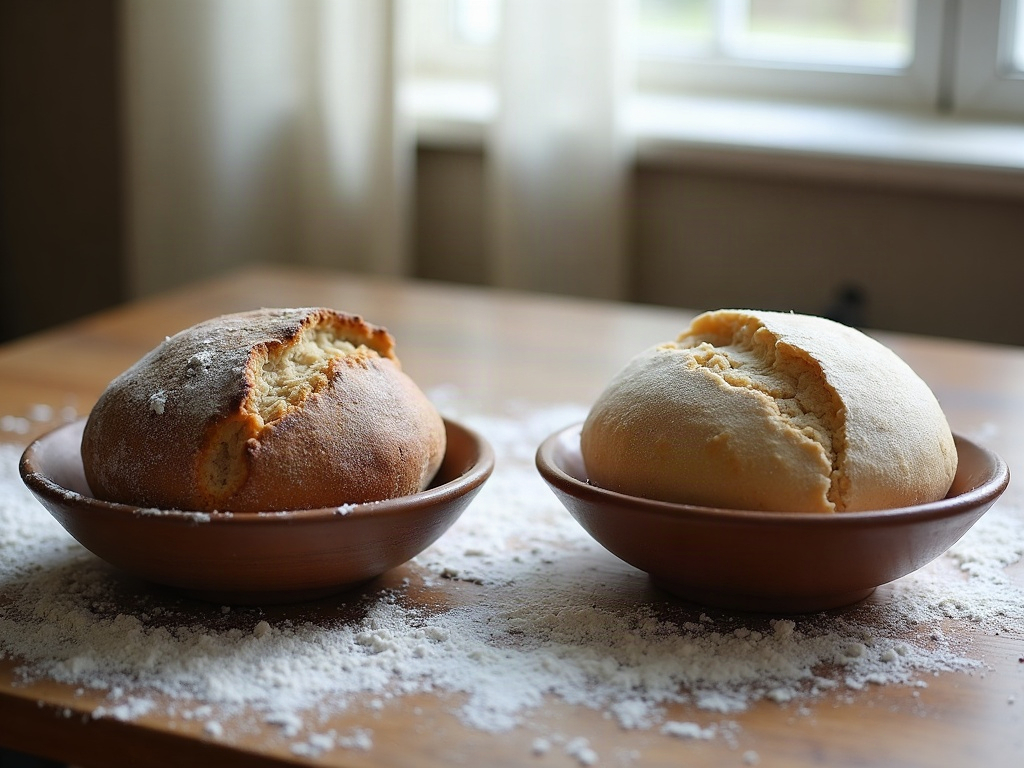
Want to see the difference an autolyse actually makes, side by side, in real dough? The full walkthrough – including how the rested dough looks and handles at each stage – lives on the LoafLovers YouTube channel, and you can grab our free sourdough troubleshooting guide to keep by the oven for the days a bake fights back.