You did everything the same. Same flour, same recipe, same starter that was climbing out of its jar all summer. But the weather turned, and suddenly your loaf is flat, your bulk rise takes forever, and your starter looks half-asleep at feeding time. It is one of the most disheartening moments in a baker’s year – and one of the most misdiagnosed.
Here is the reassuring truth: you didn’t lose your touch. The temperature dropped, and sourdough is exquisitely sensitive to it. The good news is that a cold kitchen is one of the easiest problems to fix, and you almost certainly own everything you need already. Let’s walk through why it happens and exactly how to keep your dough and starter warm and on schedule when the house cools down.
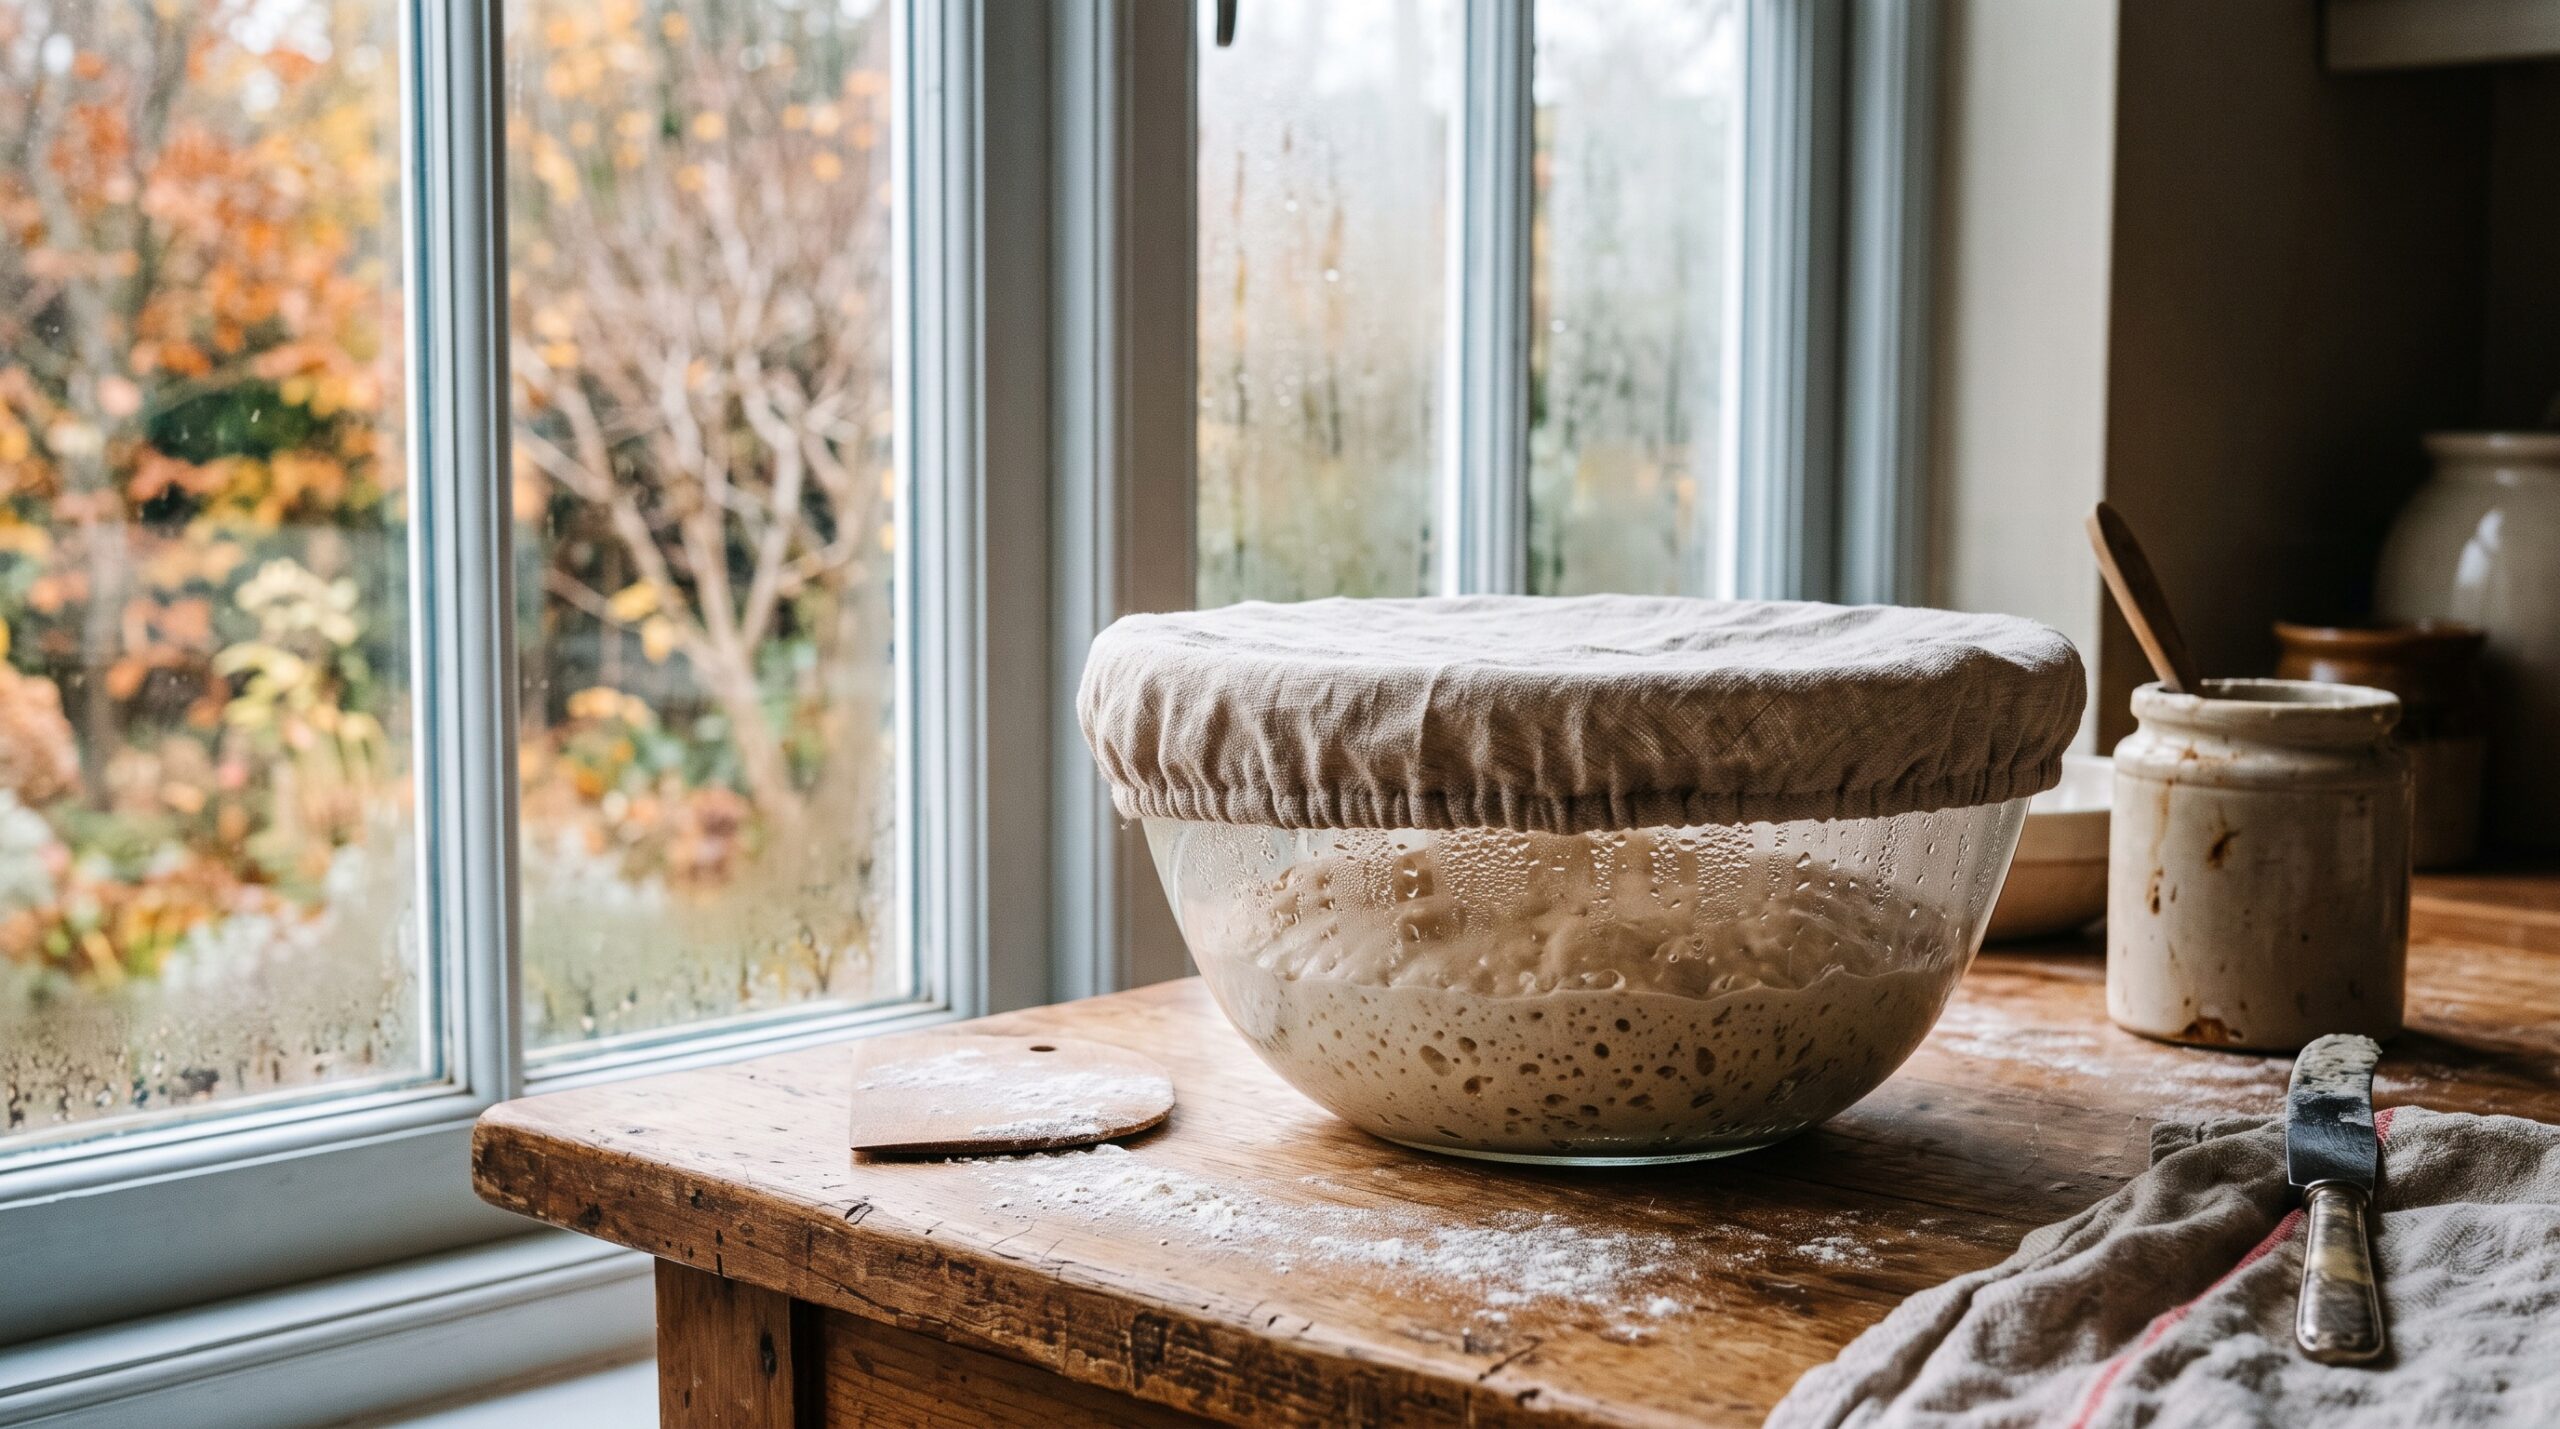
Why Sourdough Slows to a Crawl When the House Gets Cold
Sourdough is alive, and like everything alive it runs on temperature. The wild yeast that inflates your loaf and the bacteria that give it flavor are most active in a warm range – roughly 75 to 82 F (24 to 28 C). Push them colder and they don’t die, they just slow down, dramatically. Every few degrees you lose can add hours to a rise.
A summer kitchen might sit at a comfortable 78 F without you thinking about it. The same kitchen in October or January can easily drift to 65 F or lower, especially overnight or near a drafty window. To your starter and dough, that isn’t a small change – it’s the difference between a four-hour bulk ferment and one that’s still not done at bedtime. Nothing is broken. The clock in your old recipe was simply written for a warmer room.
This is why the single most useful skill for cold-weather baking is separating temperature from time. Once you understand that dough responds to warmth, every fix below becomes obvious. If you want to go deeper on the exact numbers, our guide to the dough temperature that quietly controls your whole bake explains how to measure and hit a target – but for now, just know that warmth is the lever you’re missing.
First, Rescue the Starter: Waking a Sluggish Cold-Weather Culture
Before you worry about the loaf, fix the engine. A starter that has gone quiet and slow in the cold will produce weak, flat bread no matter how well you handle the dough. The symptom is familiar: it used to double in four or five hours, and now it barely lifts, or takes all day to peak.
The fix is warmth and a slightly more frequent feeding rhythm. Move the jar somewhere consistently warm – more on where in a moment – and feed it on a schedule that suits its new pace. In a warm spot around 78 F, a healthy starter will perk right back up, usually within a day or two of steady feeding. Use a little warm (not hot) water when you feed, aiming for lukewarm to the touch, and it will wake up faster.
If your starter has gone truly sleepy – separated liquid on top, a sharp smell, no rise at all – it isn’t ruined, it’s just neglected and cold. The cure is the same as at any time of year, and we cover it step by step in how to revive a neglected starter. Cold alone rarely kills a culture; it just makes a struggling one look worse. If it’s still stalling after a few warm feedings, our rundown of the reasons a starter won’t rise will help you find the real culprit.

Find the Warm Spots You Already Have
You don’t need to buy anything to warm a starter or a bowl of dough. Most kitchens are full of gentle, steady warm spots – you just have to know where to look. The goal is a stable, draft-free pocket somewhere in the 75 to 80 F range.
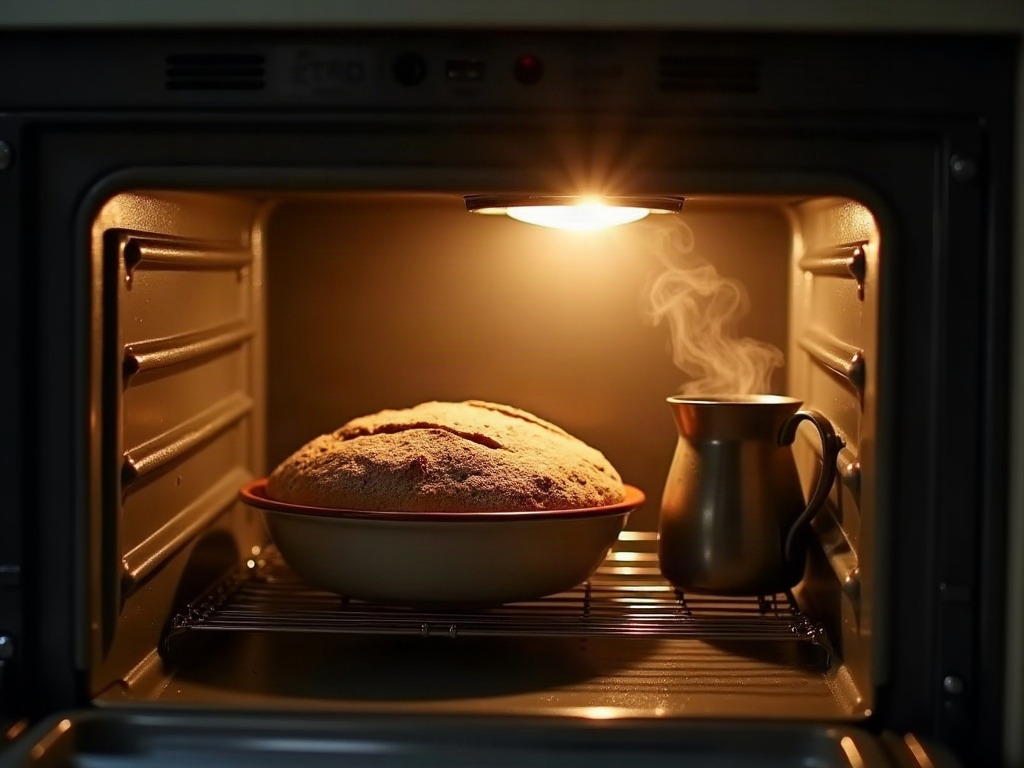
The best free proofing box in the house is your oven with the light on and the heat off. In many ovens, the small interior bulb throws just enough warmth to hold the cavity around 75 to 85 F – perfect. Pop your covered bowl or starter jar inside, flip on the light, and check the temperature with a thermometer the first time so you know what yours actually does. Just leave a note on the oven so nobody preheats it with your dough inside.
Other reliable warm spots include the top of the refrigerator, where the motor gives off steady low heat; a shelf above a running dishwasher; near (not on) a radiator or heating vent; or inside a microwave alongside a mug of just-boiled water, which adds gentle warmth and humidity. Avoid anything that gets genuinely hot – a dough baked by a radiator or a too-warm spot ferments unevenly and can develop an off, over-sour flavor.
Build a Simple Proofing Box for Steady Warmth
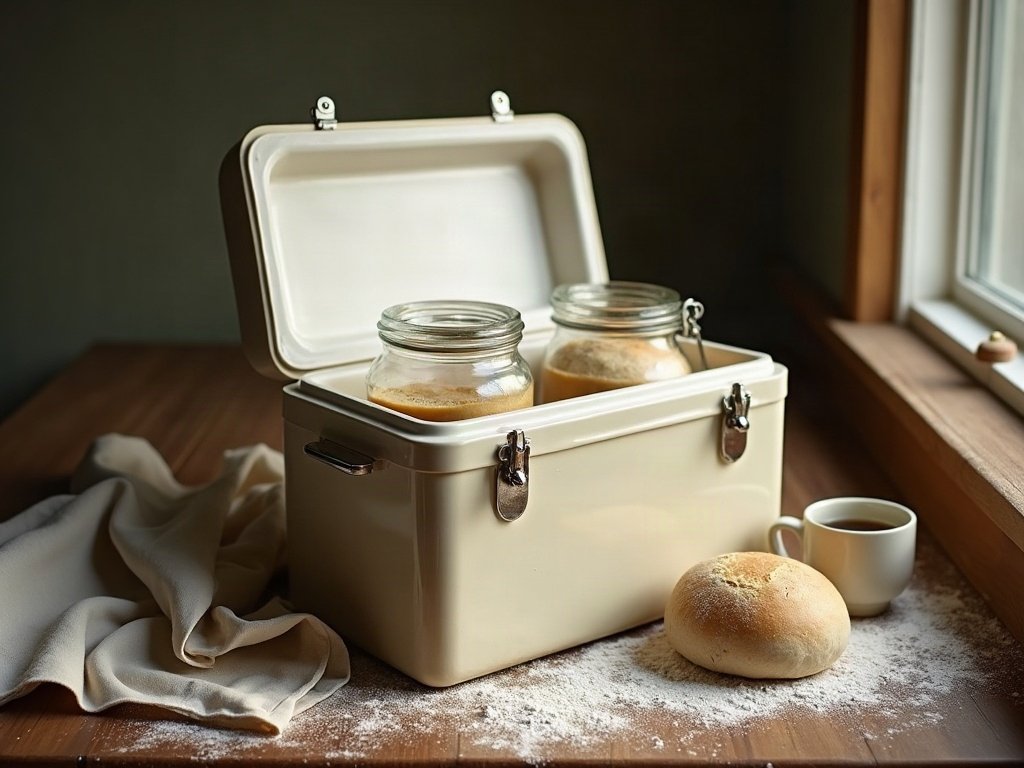
If your kitchen is properly cold, or your oven light isn’t warm enough, spend five minutes building a proofing box. The classic no-cost version is an insulated picnic cooler: put your covered dough and starter inside with a mug or small jug of hot water, close the lid, and you’ve made a warm, humid, draft-free chamber. Swap the water for fresh hot water every couple of hours to keep it steady. A large pot with a lid, or even a turned-off microwave, works on the same principle.
If you bake often through the winter, two small purchases are worth it. A cheap seedling heat mat – the kind gardeners use to start plants – sits under a bowl and holds a gentle, reliable warmth; pair it with a thermometer so you don’t cook the dough. A folding electric proofing box does the same job with a set temperature, and if sourdough is a year-round habit it pays for itself in consistency. None of this is essential, but all of it removes the guesswork that cold weather introduces.
Read the Dough, Not the Clock
Even with a warm spot, cold-weather baking asks you to trust your eyes over your timer. A recipe that said “bulk ferment four hours” was describing what happens at a certain temperature. In a cooler room, the same dough might need six, eight, or more – and if you turn it out on the old schedule, you’ll bake it underproofed and dense, then wrongly blame your starter.
The dough will tell you when it’s ready if you know the signs: it should grow by roughly 50 to 75 percent, feel puffy and alive with a few bubbles at the edges, and jiggle when you nudge the bowl. Those cues matter far more than any number of hours. Our guide to knowing when bulk fermentation is actually done walks through exactly what to look for so you can adjust confidently to whatever pace the cold sets.
One practical habit for winter: warm your ingredients, not just your air. Using slightly warm water when you mix nudges the whole dough up a few degrees from the start, which shortens an otherwise glacial rise. And be patient with the final proof – a cold proof can lull you into thinking the loaf is done rising when it has plenty left to give.
When Cold Is Actually Your Friend
Not all cold is the enemy. There’s a world of difference between an accidentally cold bulk ferment – which stalls flavor development and structure – and a deliberate cold retard in the fridge after your dough is already well fermented. The first is a problem; the second is a technique.
Once your dough has finished a proper bulk rise in a warm spot, chilling the shaped loaf overnight in the fridge slows things right down, deepens the flavor, and makes the dough firmer and easier to score in the morning. That’s cold working for you, on purpose, at the right stage. The key is that the warm, active fermentation happened first. If you’d like to use the cold this way, see how long sourdough can sit in the fridge before baking – it turns your cold kitchen from an obstacle into a scheduling tool.
The Warm-Kitchen Habits That Carry You Through Winter
Cold-weather sourdough isn’t a different craft – it’s the same craft with the thermostat working against you. Once you stop fighting the season and start managing warmth, everything falls back into place. Keep your starter in a steady warm spot and feed it on a rhythm that matches its pace. Give your dough a reliable warm chamber, whether that’s the oven light, a cooler with hot water, or a heat mat. And above all, judge your rises by how the dough looks and feels, not by the times in a recipe written for July.
Do those three things and your winter loaves will rise just as tall, taste just as good – arguably better, thanks to those long, cool retards – and you’ll never again mistake a cold room for a dying starter. The season changed; your baking doesn’t have to.

Want to see a warm-spot setup and a cold-weather rise in real time? The full walkthrough – including how the dough should look at each stage – lives on the LoafLovers YouTube channel, and you can grab our free sourdough troubleshooting guide to keep by the oven for the days a bake fights back.