You followed the recipe. The dough proofed beautifully, you scored a confident slash, slid it into the oven – and out came a pale, squat loaf with a tough, matte crust and no ear to speak of. Then you watch a video of someone pulling a gorgeous blistered boule out of a cast-iron Dutch oven and think: that’s the thing I’m missing.
You’re not. A Dutch oven is a convenience, not a requirement. What it actually does is trap steam around the loaf for the first part of the bake – and you can recreate that in any home oven with gear you already own. Let’s fix the pale, flat bake for good.
What the Dutch oven is really doing
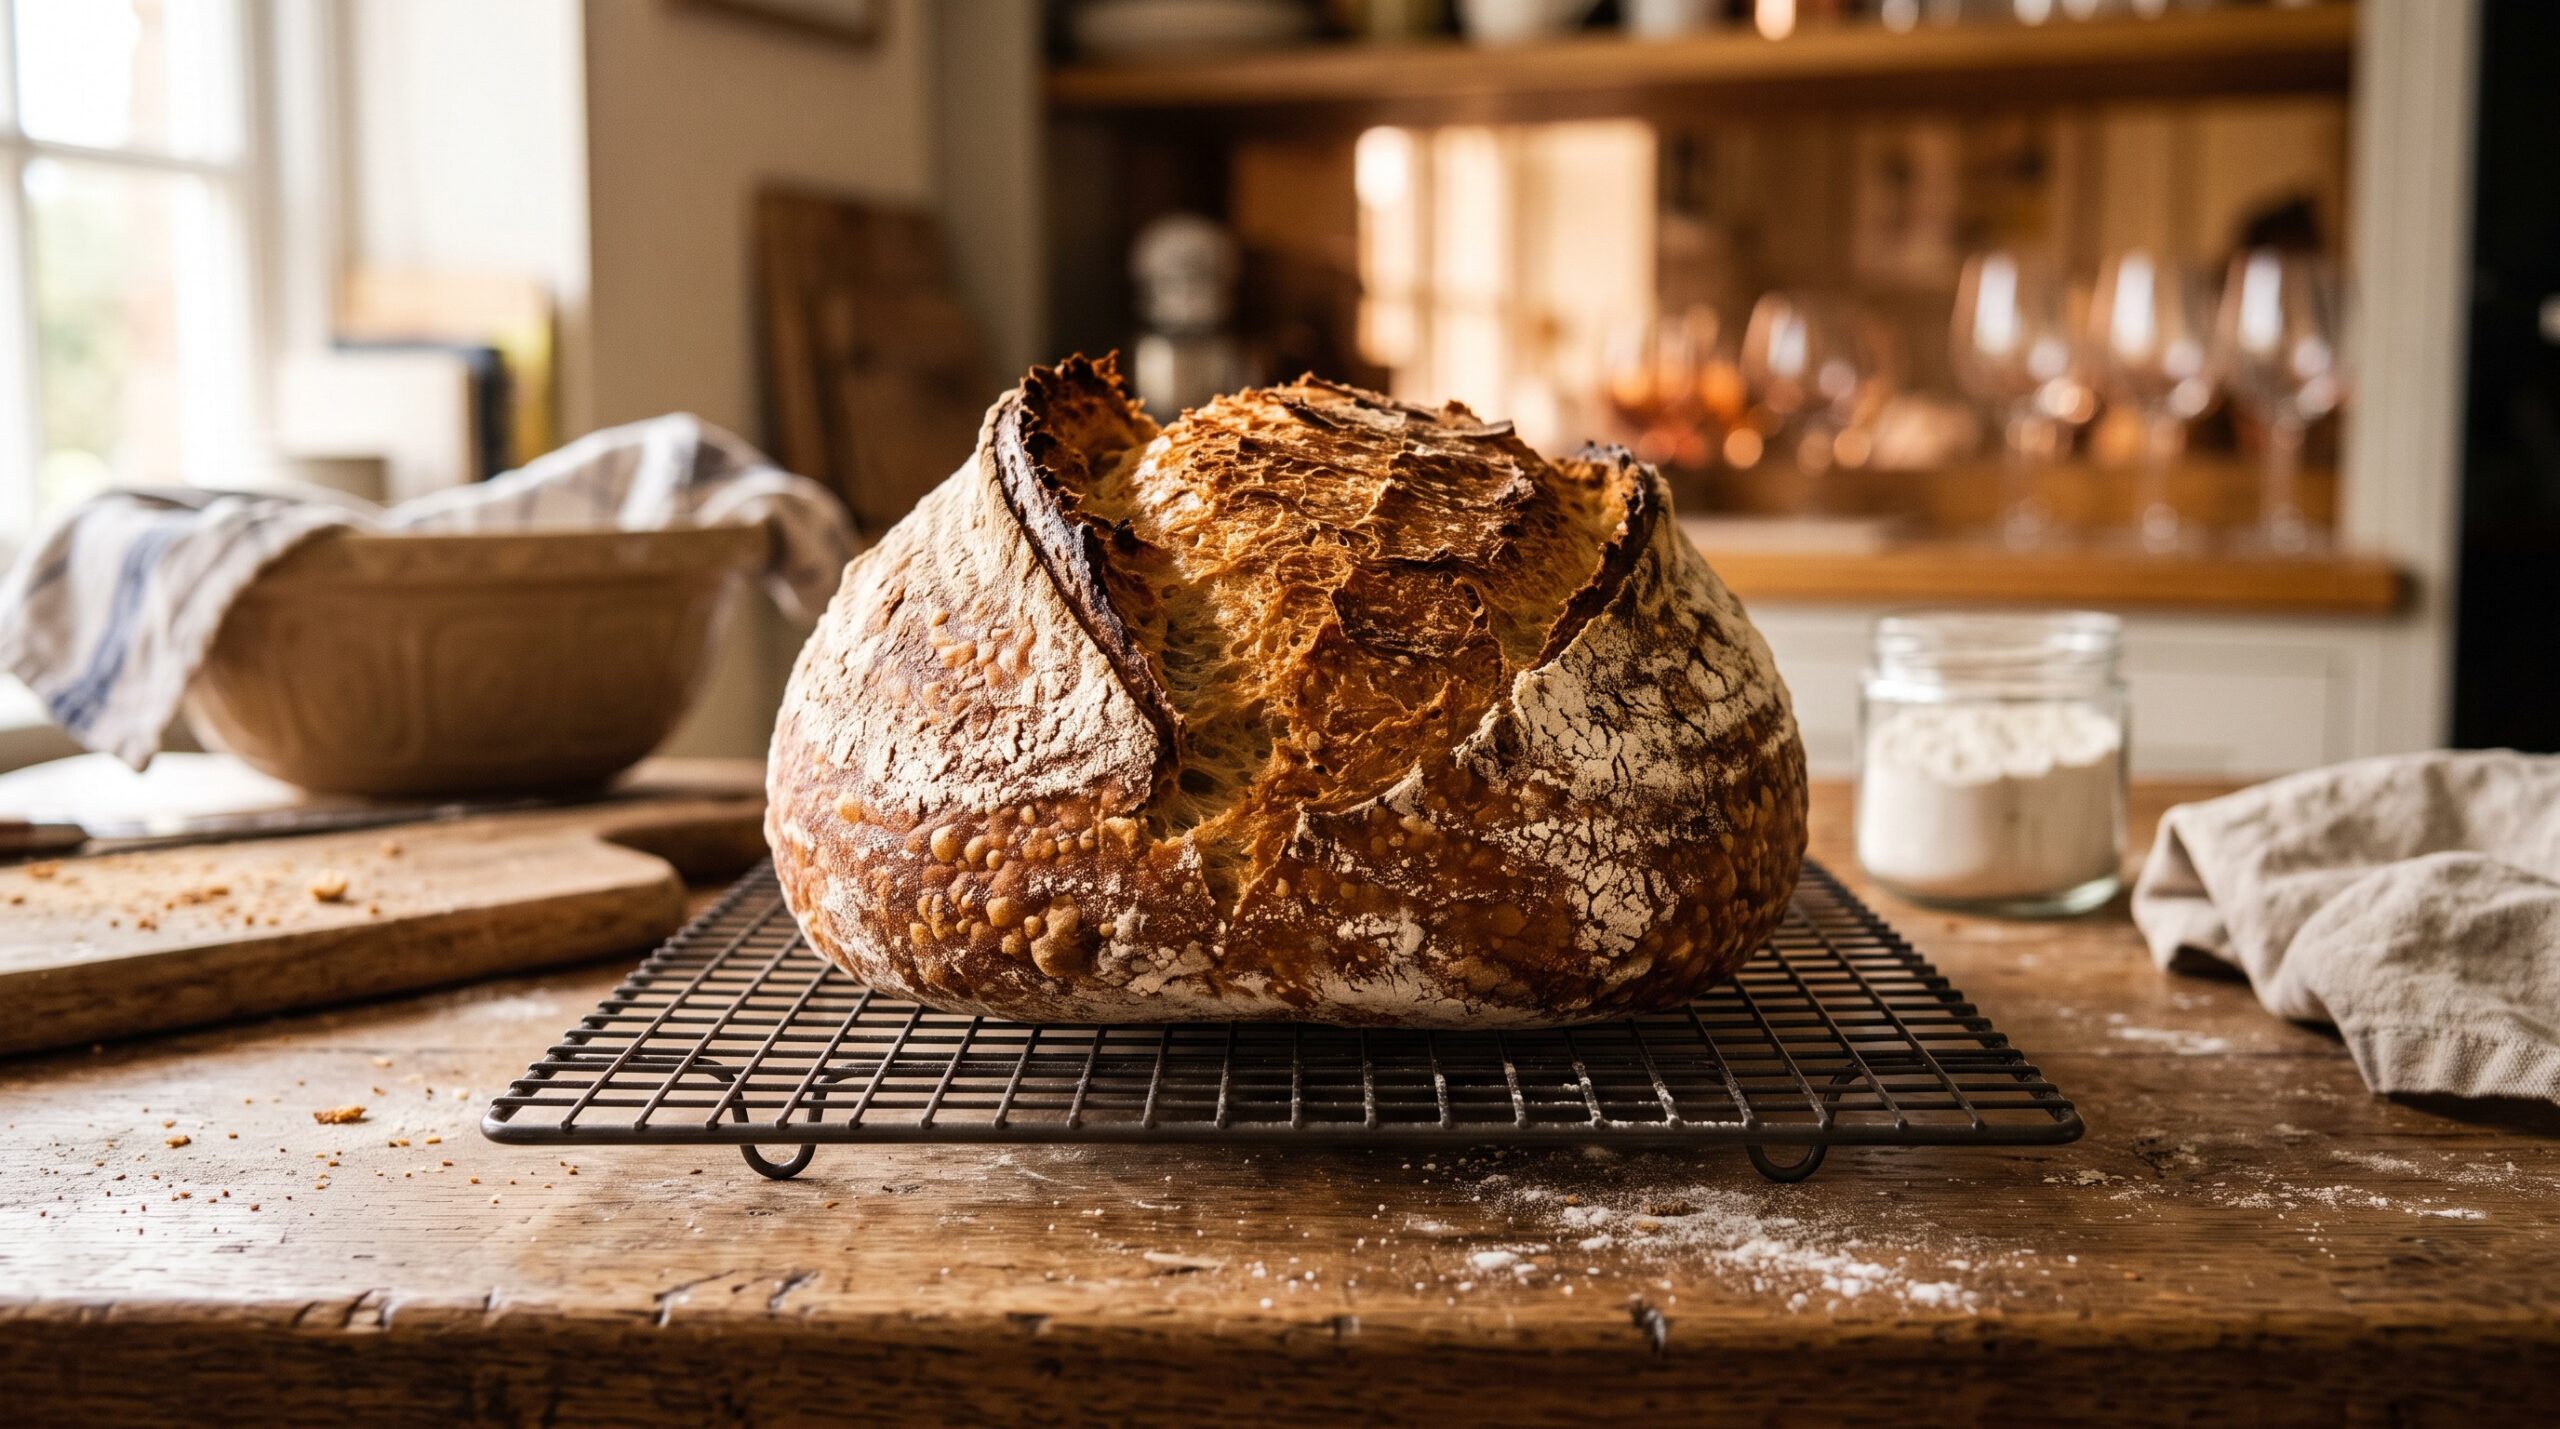
Here’s the whole secret in one sentence: a Dutch oven traps steam. For the first 15-20 minutes of baking, that moist environment keeps the surface of your dough soft and flexible. A soft surface can keep expanding as the loaf’s trapped gases heat up and push outward – that burst of rise is oven spring, and the clean split where you scored it is the ear.
Once you remove the lid (or, in our case, kill the steam) and let the oven go dry, the surface sets, dries, and caramelizes into a crisp, deep-brown crust. That’s the two-phase bake: wet first, dry second. Any method that gives you those two phases will give you the loaf. The pot is just one way to do it.
Why your no-pot loaves come out flat and pale
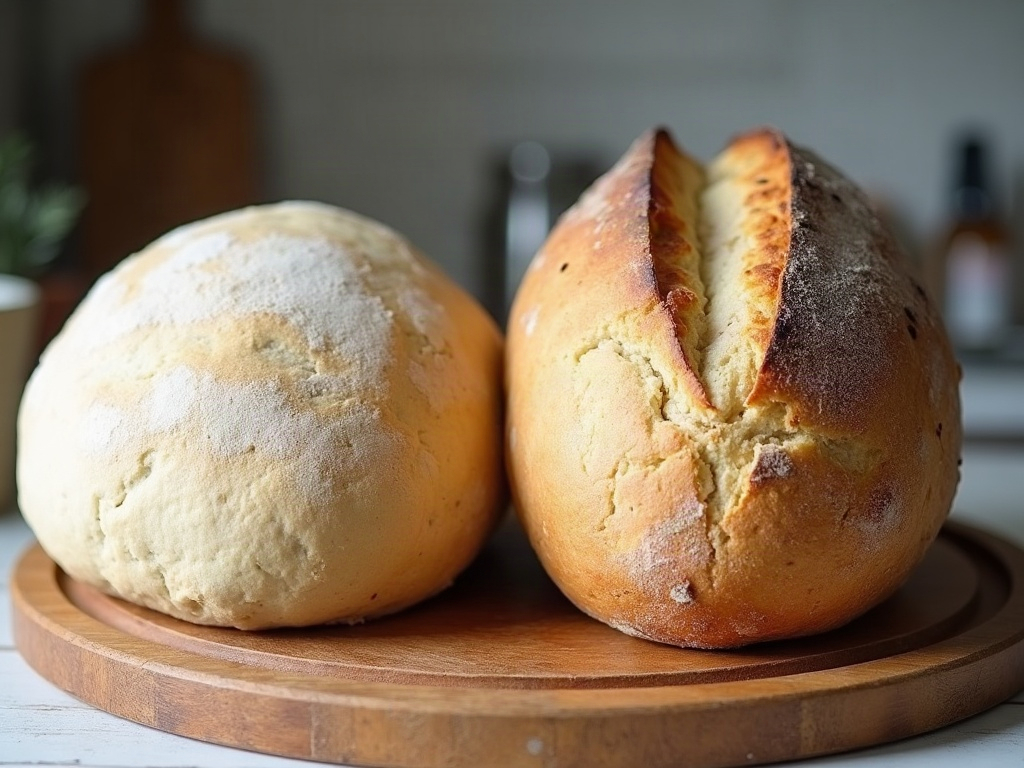
If you’ve been baking a bare loaf on a cold sheet pan, you’re missing both halves of the equation:
- No steam. The surface skins over and sets within a couple of minutes, which physically caps the oven spring. The loaf wants to rise; the hardened crust won’t let it.
- Weak bottom heat. A cold pan takes forever to heat, so the base of your loaf never gets the fierce initial blast that drives rise up through the dough.
Fix those two things and your existing dough will look like a different recipe.
Method 1: Baking steel (or stone) + a steam pan
This is the closest thing to Dutch-oven results and my default. You’ll need a baking steel or stone and a metal pan you don’t mind abusing.
- Preheat hard. Put the steel on the middle rack and an empty cast-iron skillet or metal roasting pan on the bottom rack. Heat the oven to 250C / 480F for a full 45-60 minutes. The steel needs to be genuinely hot, not just the air.
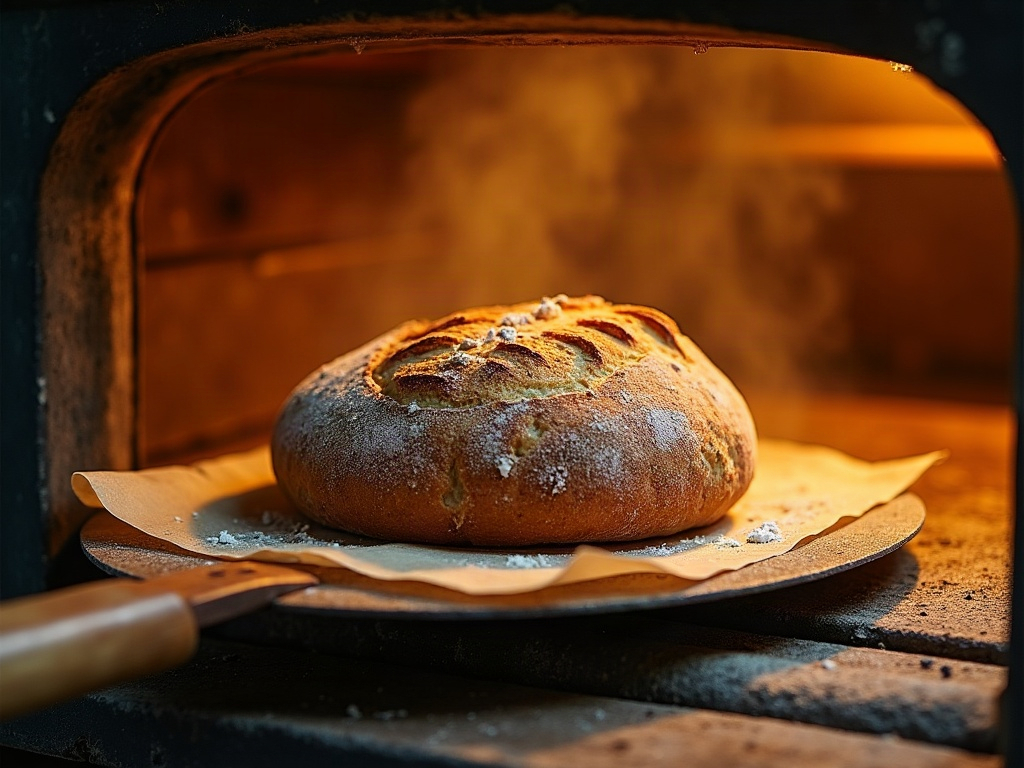
- Load the loaf. Slide your scored dough (on parchment) directly onto the hot steel using a peel or the back of a sheet pan.
- Make steam immediately. Pour about a cup of boiling water into the hot skillet and shut the door fast. It’ll erupt into steam. For an even bigger burst, fill the skillet with lava rocks or metal chain beforehand – more surface area means more steam.
- Dry it out. After 20 minutes, open the door for a few seconds to let the steam escape (pull the pan if it’s easy), drop the temp to 220C / 430F, and bake another 20-25 minutes until deep golden brown.
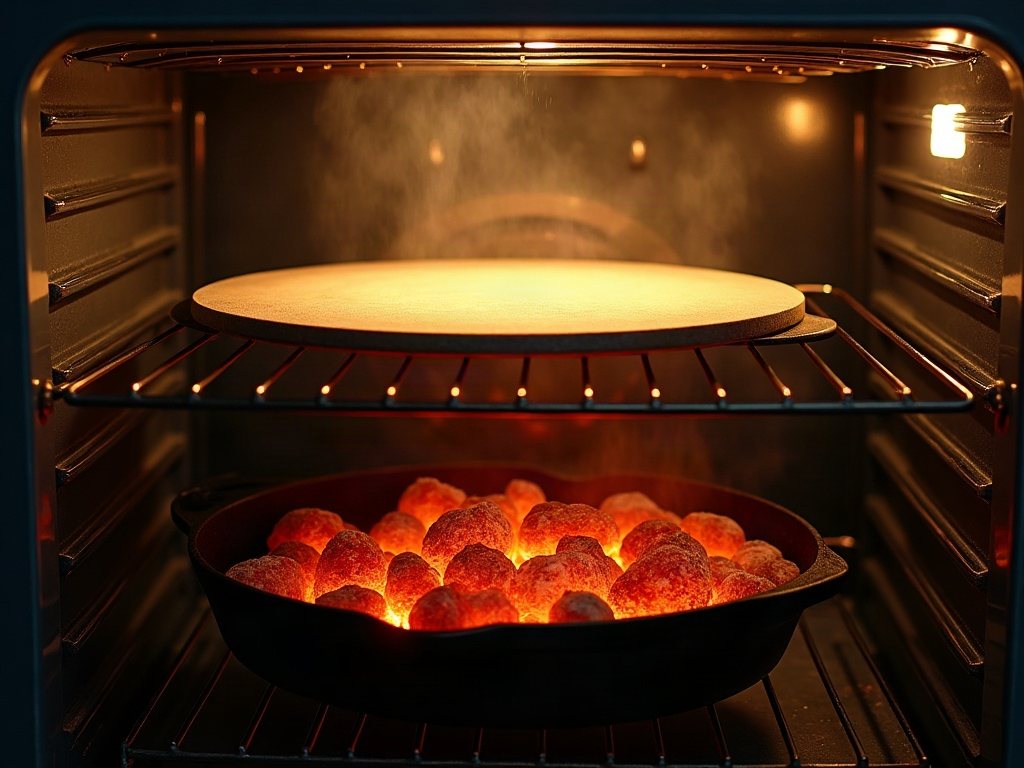
Safety note: steam burns. Wear oven mitts, keep your face back when you pour, and never splash water onto the oven glass or a hot light bulb – it can crack. Pour into the metal pan only.
Method 2: The inverted bowl or pan trap
No steel and no stone? This one uses the loaf’s own moisture and costs nothing. Bake your loaf on a preheated heavy sheet pan, then cover it with a large oven-safe metal bowl or a deep roasting pan – essentially building a mini Dutch oven around it.
- Preheat the oven with the sheet pan inside to 240C / 465F.
- Slide the scored loaf (on parchment) onto the hot pan and immediately invert a large metal bowl over it so it’s fully enclosed. The bowl traps the steam the dough releases as it bakes.
- Leave it covered for 20 minutes, then carefully lift the bowl off (mind the steam), lower to 220C / 430F, and bake uncovered another 20 minutes to color the crust.
It’s not quite as fierce as a preheated steel, but it reliably beats a bare, dry bake and turns pale bricks into proper loaves.
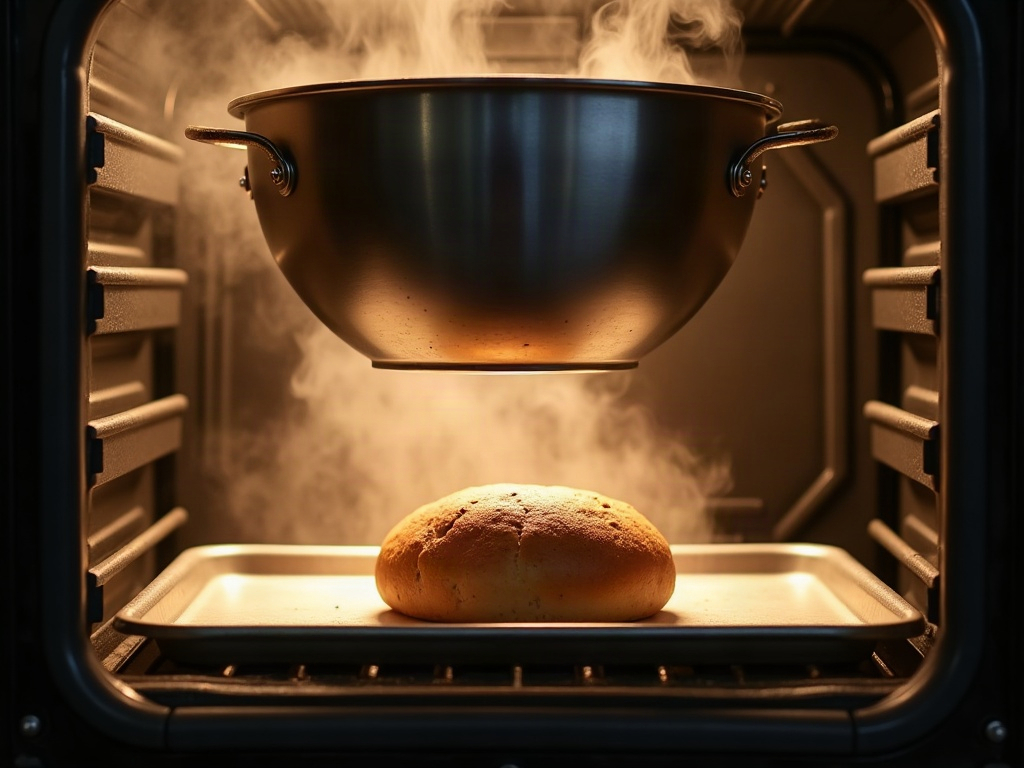
Method 3: The two-tray sandwich
Have two identical sheet pans? Bake the loaf on one and invert the second over it as a lid, propping or clipping the edges if needed. Same principle as the bowl – trap the moisture early, uncover to brown. It’s the most accessible version of all and worth trying before you buy a single piece of new kit.
The small things that still matter
- Score with confidence. One decisive slash about a centimeter deep at a shallow angle gives the expanding loaf a clean place to open. Timid scratches close up.
- Bake it dark. Pull it too early and you get that pale, soft crust. A well-baked sourdough is a deep mahogany – trust the color, not just the timer.
- Preheat longer than you think. Most home ovens lie about being ready. Give your steel or pan the full hour.
The takeaway
A flat, pale loaf almost never means you need a Dutch oven – it means your bake was missing steam up front and heat underneath. Trap the steam with a pan of water, a bowl, or a second tray, give it a screaming-hot surface to land on, and let the second half of the bake run dry to build the crust. Same dough, same starter, dramatically better loaf.
Want to see the steam-pan setup and the bowl method in action – exactly when to pour, when to vent, and what the ear should look like as it opens? The full step-by-step is on the LoafLovers YouTube channel, and our free sourdough troubleshooting guide walks through every stuck-loaf symptom in one place. Go get the oven spring you’ve been missing.