Somewhere along the way, sourdough got intimidating. The round banneton, the screaming-hot Dutch oven, the razor blade and the perfectly angled slash, the anxious peek to see if you got an “ear.” It’s beautiful when it works – and it’s a lot of gear and pressure for someone who just wants bread for toast and sandwiches.
Here’s the quiet secret: you can skip almost all of it. A plain metal loaf pan gives you a soft, tall, even-crumbed sandwich loaf with real sourdough flavor, and it is the most forgiving way to bake there is. No banneton. No Dutch oven. No dramatic scoring. Just a pan and a little patience.
Why the Loaf Pan Is So Forgiving
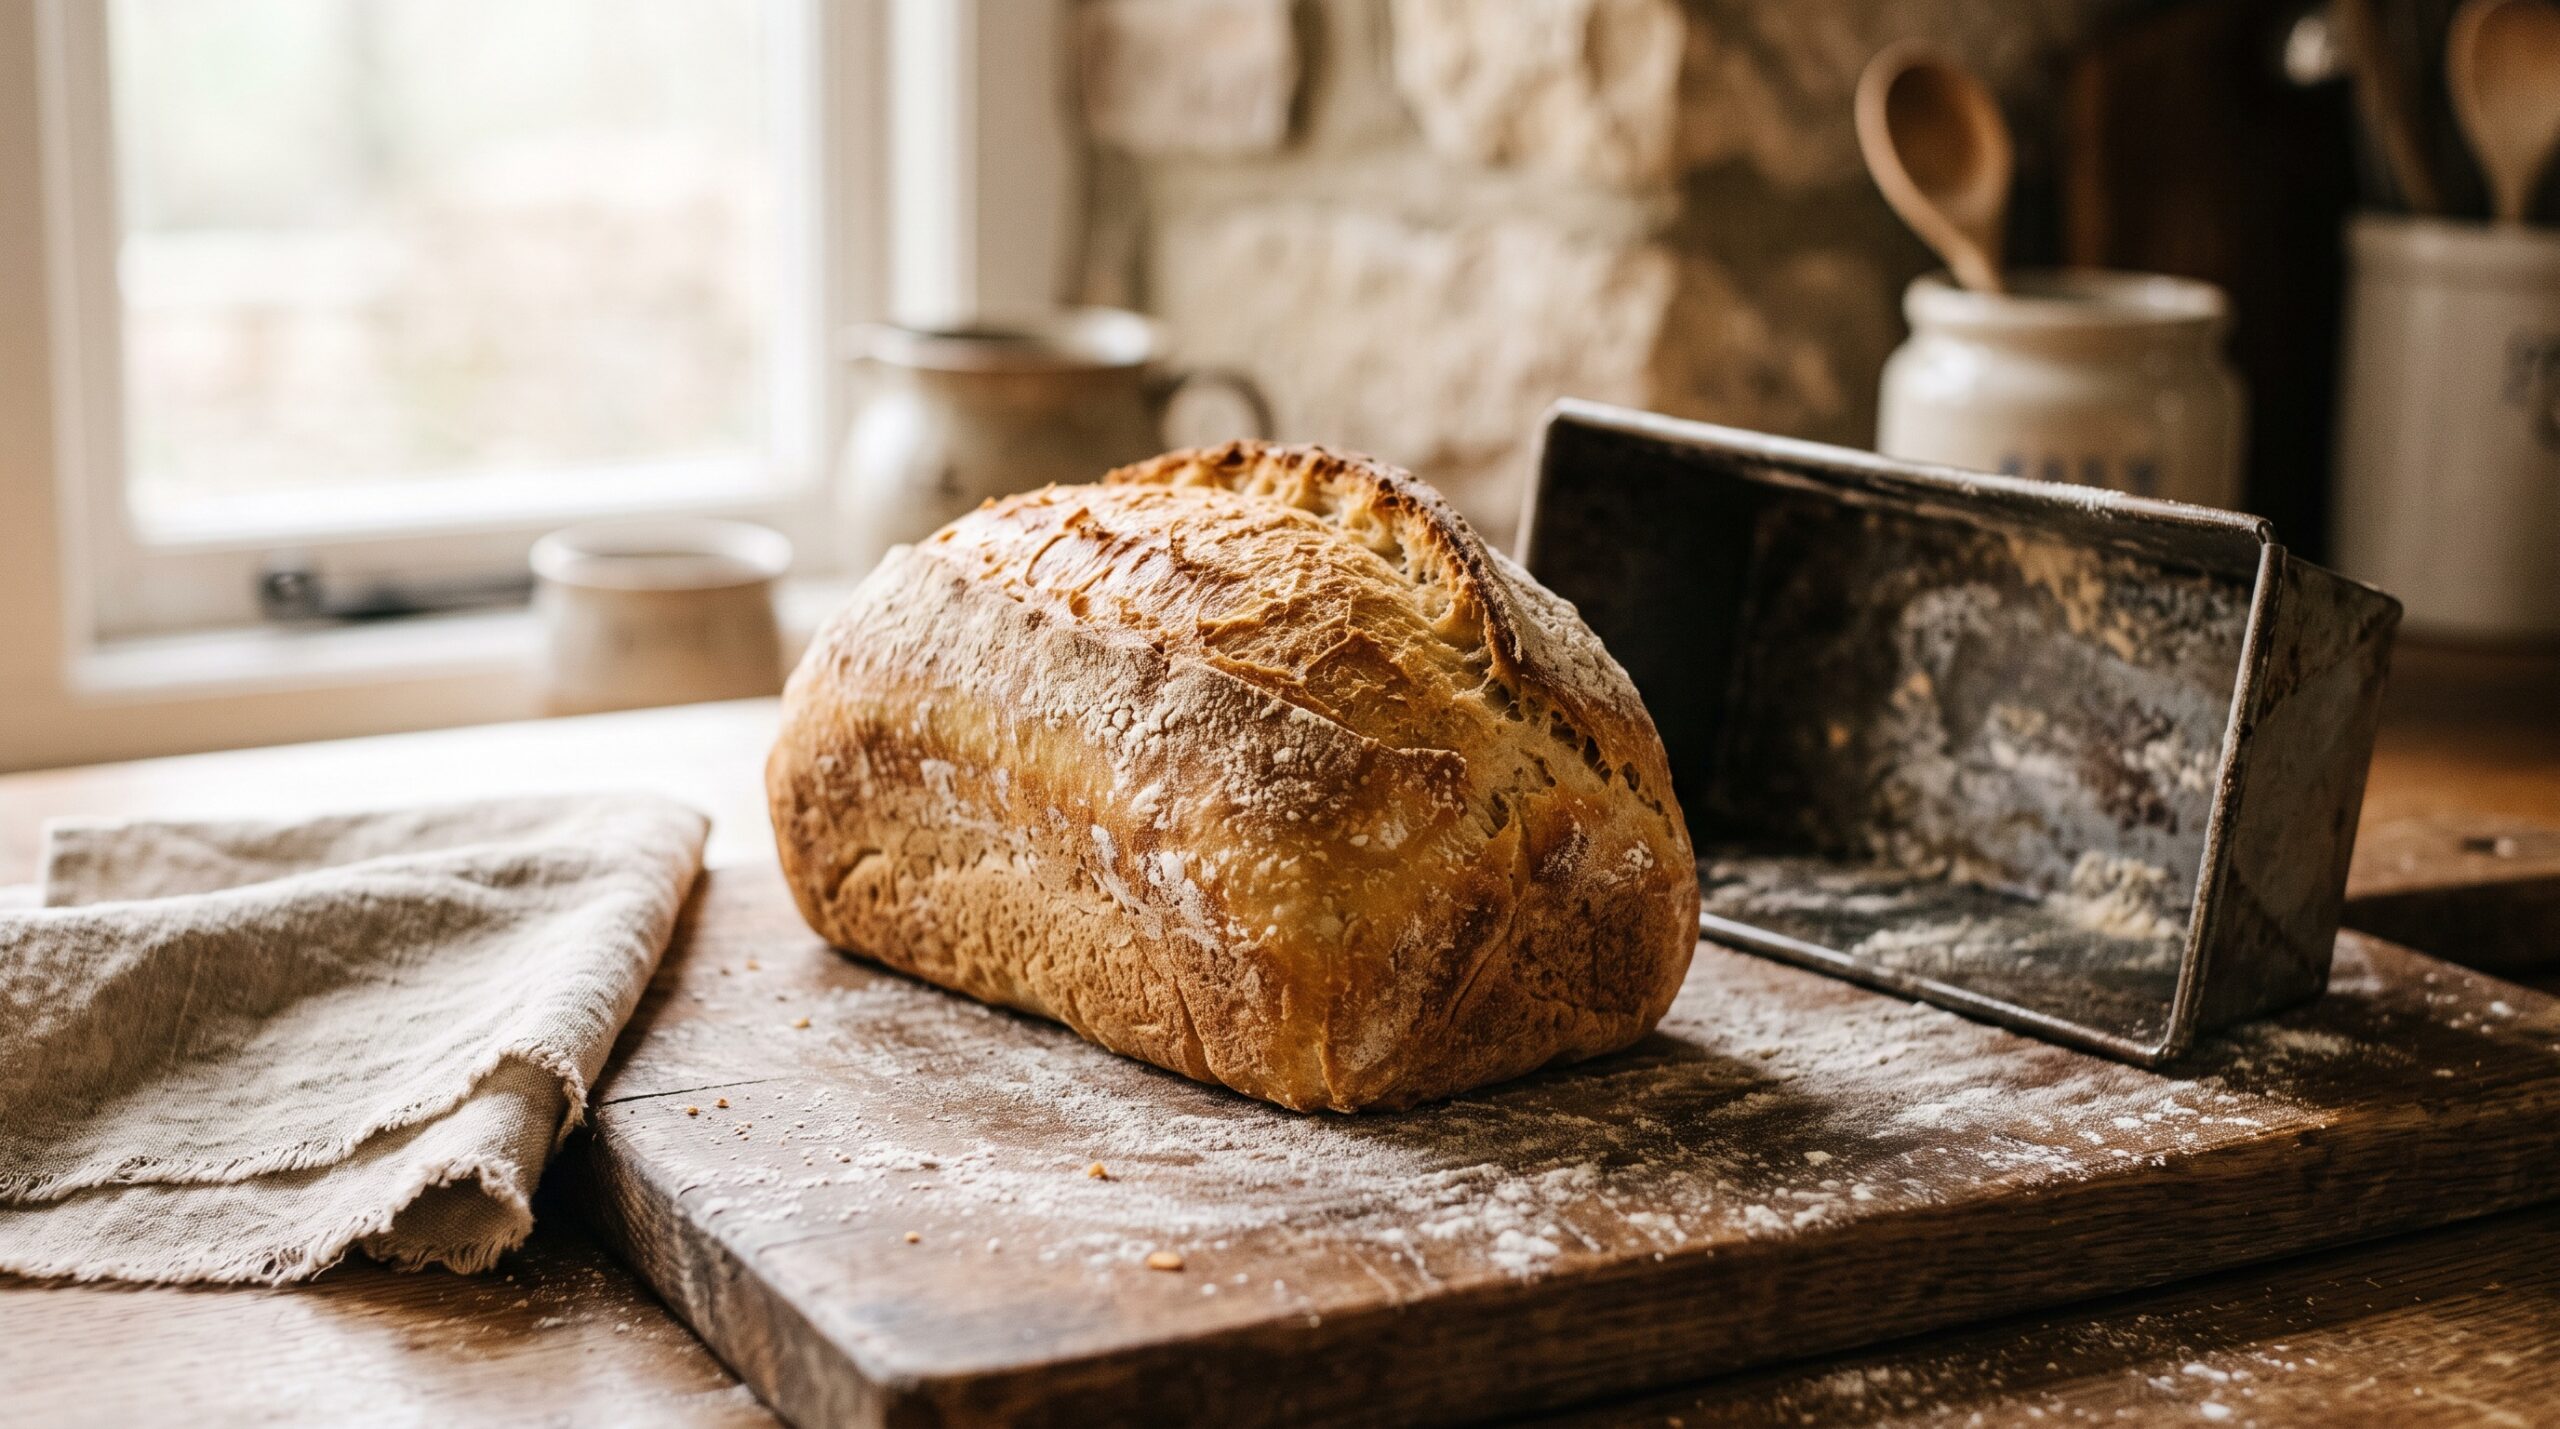
The reason a pan makes everything easier comes down to one word: support. When you proof a free-form boule in a banneton and turn it out onto a hot surface, the dough has to hold its own shape while it rises and bakes. If your gluten is a touch underdeveloped, or the dough is slightly overproofed, it spreads into a sad puddle. That is the single most common heartbreak in free-form baking.
A loaf pan removes that risk entirely. The walls hold the dough up, so instead of spreading outward it has nowhere to go but up. That means you can run a slightly wetter, softer dough, you can be less precise with shaping, and you don’t have to nail proofing to the minute. The pan quietly covers for you. It’s the same reason a beginner often has more success here than with a boule – and if you’ve struggled to get a round loaf to rise up instead of out, the pan is a genuine relief.
You also skip the Dutch oven. Free-form loaves need that trapped steam to stay expandable and get a crackly crust. A sandwich loaf isn’t chasing a crackly crust – it wants a thin, soft, sliceable one – so a regular oven is exactly right.
A Softer Dough for a Softer Loaf
A sandwich loaf isn’t just a boule poured into a pan. The goal is different – tender, even, and soft enough to fold around a filling – so the dough is a little different too. A light enrichment does the work.
Here’s a reliable starting point for one standard loaf pan (around 9×5 inches):
350g bread flour, 210g warm milk (or water), 100g active bubbly starter, 30g softened butter or oil, 25g honey or sugar, 8g salt.
The milk and a little fat give you a softer, more tender crumb than a lean water dough. The touch of honey feeds a gentle browning and rounds out sourdough’s tang. Bread flour brings the structure that keeps the loaf tall. If you want a purely lean loaf, you can drop the butter and honey and use all water – it will simply be a bit chewier and more rustic, which some people prefer.
Mix, Rest, and Build Strength
Mix everything except the salt and butter until no dry flour remains, then rest it – covered – for about 30 minutes. This is the autolyse in miniature, and it lets the flour hydrate so the dough comes together more easily. Then add the salt and softened butter and mix until smooth.
From here you’ll build strength with a few sets of stretch-and-folds over the first couple of hours: grab one side of the dough, stretch it up, and fold it over the middle, turning the bowl a quarter each time. Three or four sets, spaced 30 to 45 minutes apart, is plenty. Enriched doughs feel a little slack and greasy at first – that’s normal. By the last fold it should be noticeably smoother and holding together.
Shaping: The Easiest Part
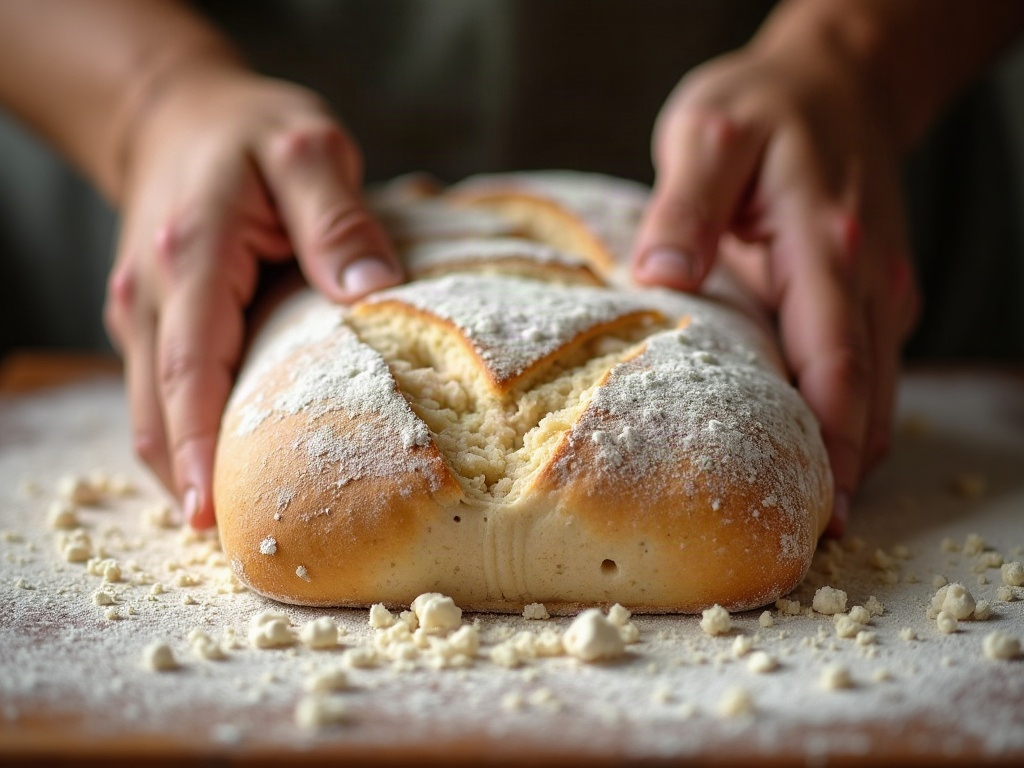
This is where the pan really pays off, because shaping for it is almost impossible to get wrong. After the dough has finished its bulk rise and looks puffy and alive, tip it gently onto a lightly floured counter and pat it into a rough rectangle, roughly as wide as your pan is long.
Then simply roll or fold it into a snug log: fold the far edge down, the near edge up, and roll it tight, sealing the seam with the heel of your hand. Pinch the seam closed and place the log seam-side down into a greased loaf pan. That’s it. No tension boule, no bench rest, no coil folds. Tuck it in evenly so it fills the corners and you’re done.
Proofing: How to Know It’s Ready
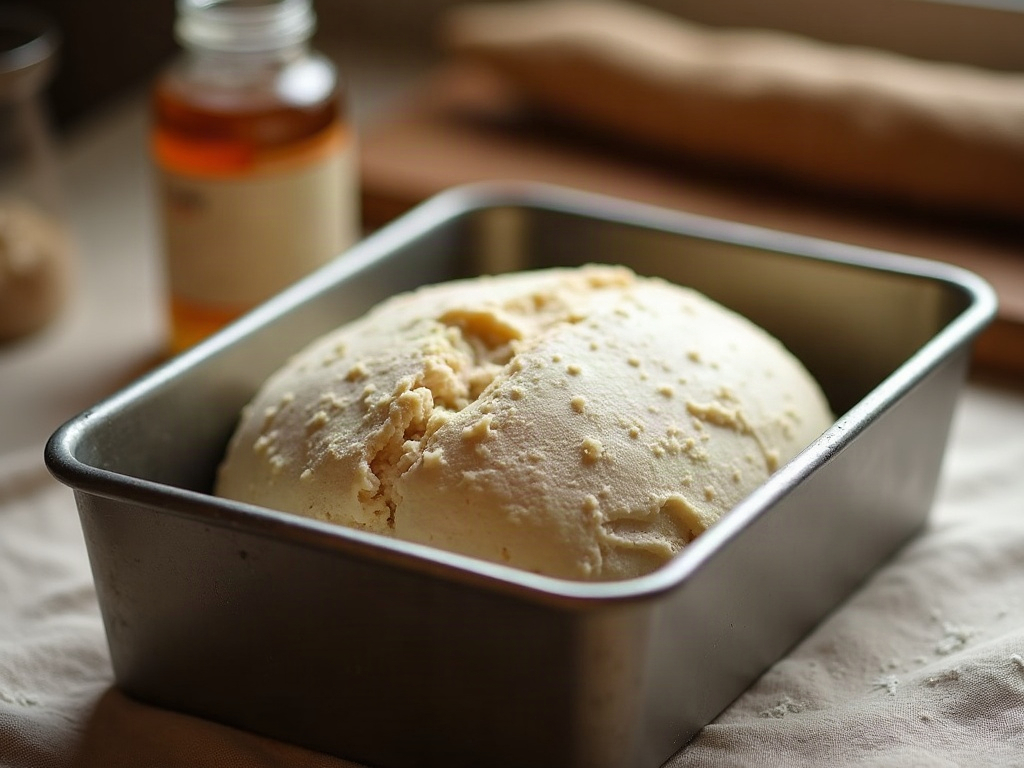
Now the dough proofs right in the pan until it has risen and crests just below – or gently level with – the rim. Depending on your kitchen temperature and starter strength, that usually takes a few hours at room temperature. Warm kitchen, faster; cool kitchen, slower. Watch the dough, not the clock.
The reliable test is the poke test: flour a fingertip and press gently into the dough. If it springs back slowly and leaves a slight dent, it’s ready. If it springs back instantly and fully, give it more time. If your finger leaves a dent that doesn’t recover at all and the dough sighs, it has gone a little far – bake it now rather than waiting. Because the pan supports the loaf, a slightly overproofed sandwich dough still bakes into perfectly good bread, which is exactly why this method is so beginner-friendly.
You can also proof it in the pan overnight in the fridge and bake cold in the morning – a genuinely low-friction move if you’d rather bake fresh before work than babysit a rise. If fitting bakes around a busy life is your real challenge, a small-batch, low-maintenance approach pairs perfectly with pan loaves.
Baking and the Optional Scoring
Bake in a preheated oven at around 400 to 425 F (200 to 220 C) on a middle rack. A sandwich loaf usually needs 35 to 45 minutes. You’re looking for a deep golden top and an internal temperature of about 205 to 210 F (96 to 99 C) if you have a thermometer – the surest sign it’s baked through.
Scoring here is optional and low-stakes. A single shallow slash down the length of the loaf gives it a tidy, controlled split as it rises; skip it entirely and the loaf will just crack naturally along the top, which looks perfectly rustic. There’s no ear to chase and no pressure – the pan has already done the hard structural work. If the top is browning faster than the inside is cooking, tent it loosely with foil for the last ten minutes.
Cool It, Then Slice It
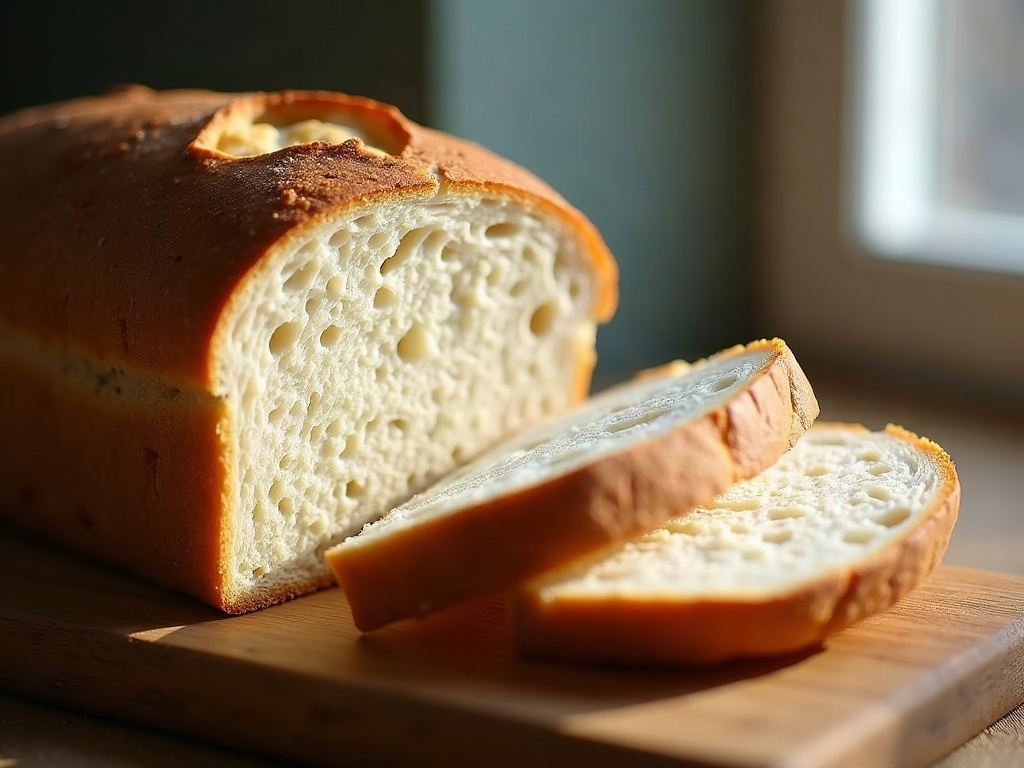
The hardest part of the whole process is waiting. Turn the loaf out of the pan immediately so the sides don’t steam and go soggy, and let it cool completely on a wire rack – ideally two hours or more. The crumb is still setting as it cools, and if you slice into a warm loaf you’ll get a gummy, squashed texture and blame the recipe when the real culprit was impatience.
Once it’s fully cool, a sharp serrated knife will give you clean, even sandwich slices with a soft, tender crumb and a thin crust that folds without cracking. It keeps well wrapped at room temperature for a few days, and it freezes beautifully – slice first, then freeze, and pull out what you need. If you want it to stay fresh as long as possible, it’s worth knowing how to store sourdough so it lasts.
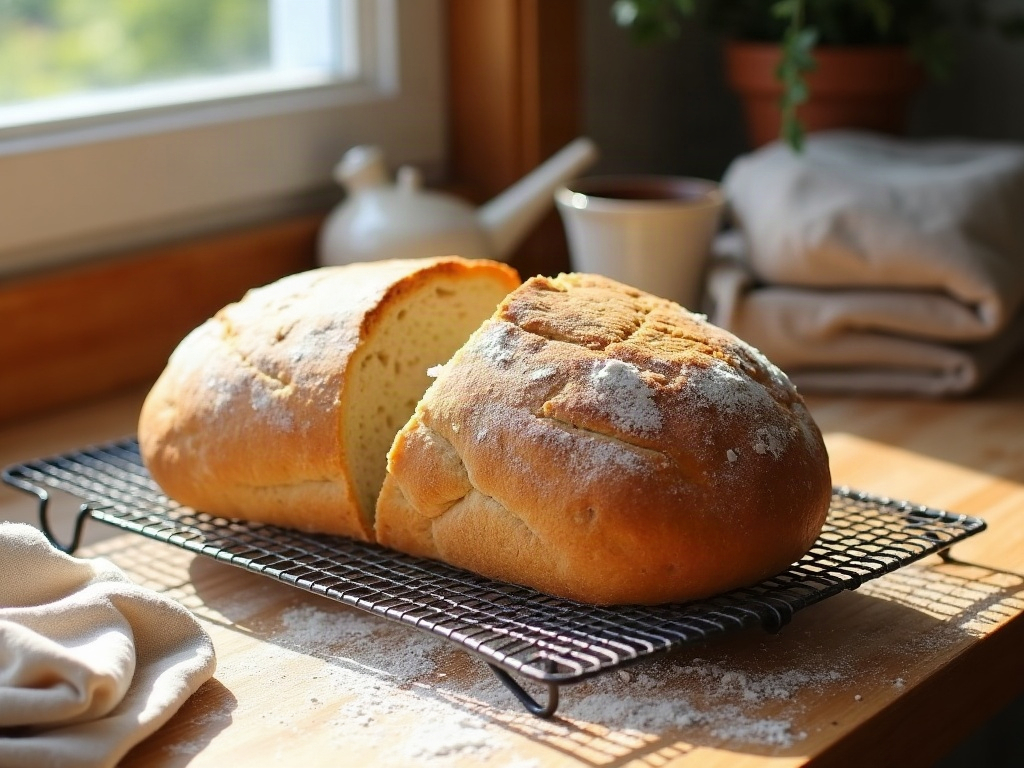
The Everyday Loaf Worth Keeping
A boule is a showpiece. A pan loaf is a habit. This is the bread you bake on a Sunday and eat all week – toast in the morning, sandwiches at noon, no special equipment and no anxiety about whether it’ll spread or spring. It’s real sourdough, with real flavor and real gut-friendly slow fermentation, in the shape your kitchen actually uses.
If free-form baking has burned you before, start here. Get comfortable with the pan, learn what a good proof feels like under your finger, and you’ll have a dependable everyday loaf you can make half-asleep – the kind of low-friction win that keeps you baking for years.
Want to see the shaping and the poke test in action? The full step-by-step – including exactly how the dough should look at each stage – is on the LoafLovers YouTube channel, and you can grab our free sourdough troubleshooting guide to keep by the oven for the days a bake doesn’t go to plan.
Leave a Reply