Tag: oven spring

  • Why Won’t My Sourdough Get an Ear? Scoring and Oven Spring Fixes

    Why Won’t My Sourdough Get an Ear? Scoring and Oven Spring Fixes

    You pull the loaf out, and the flavor is there, the crumb is fine – but the top is flat and closed, the score has healed over into a faint scar, and there is no ear. Just a rounded, sealed dome where you wanted that proud, curling ridge. It is one of the most disheartening finishes in sourdough, because the loaf looks like it gave up right at the finish line.

    Here is the reassuring part: the ear is not luck, and it is not a fancy technique reserved for professionals. It is the visible result of a short chain of things going right. When there is no ear, one link in that chain broke – and every link is something you can control. Let us walk the chain from the symptom back to the cause.

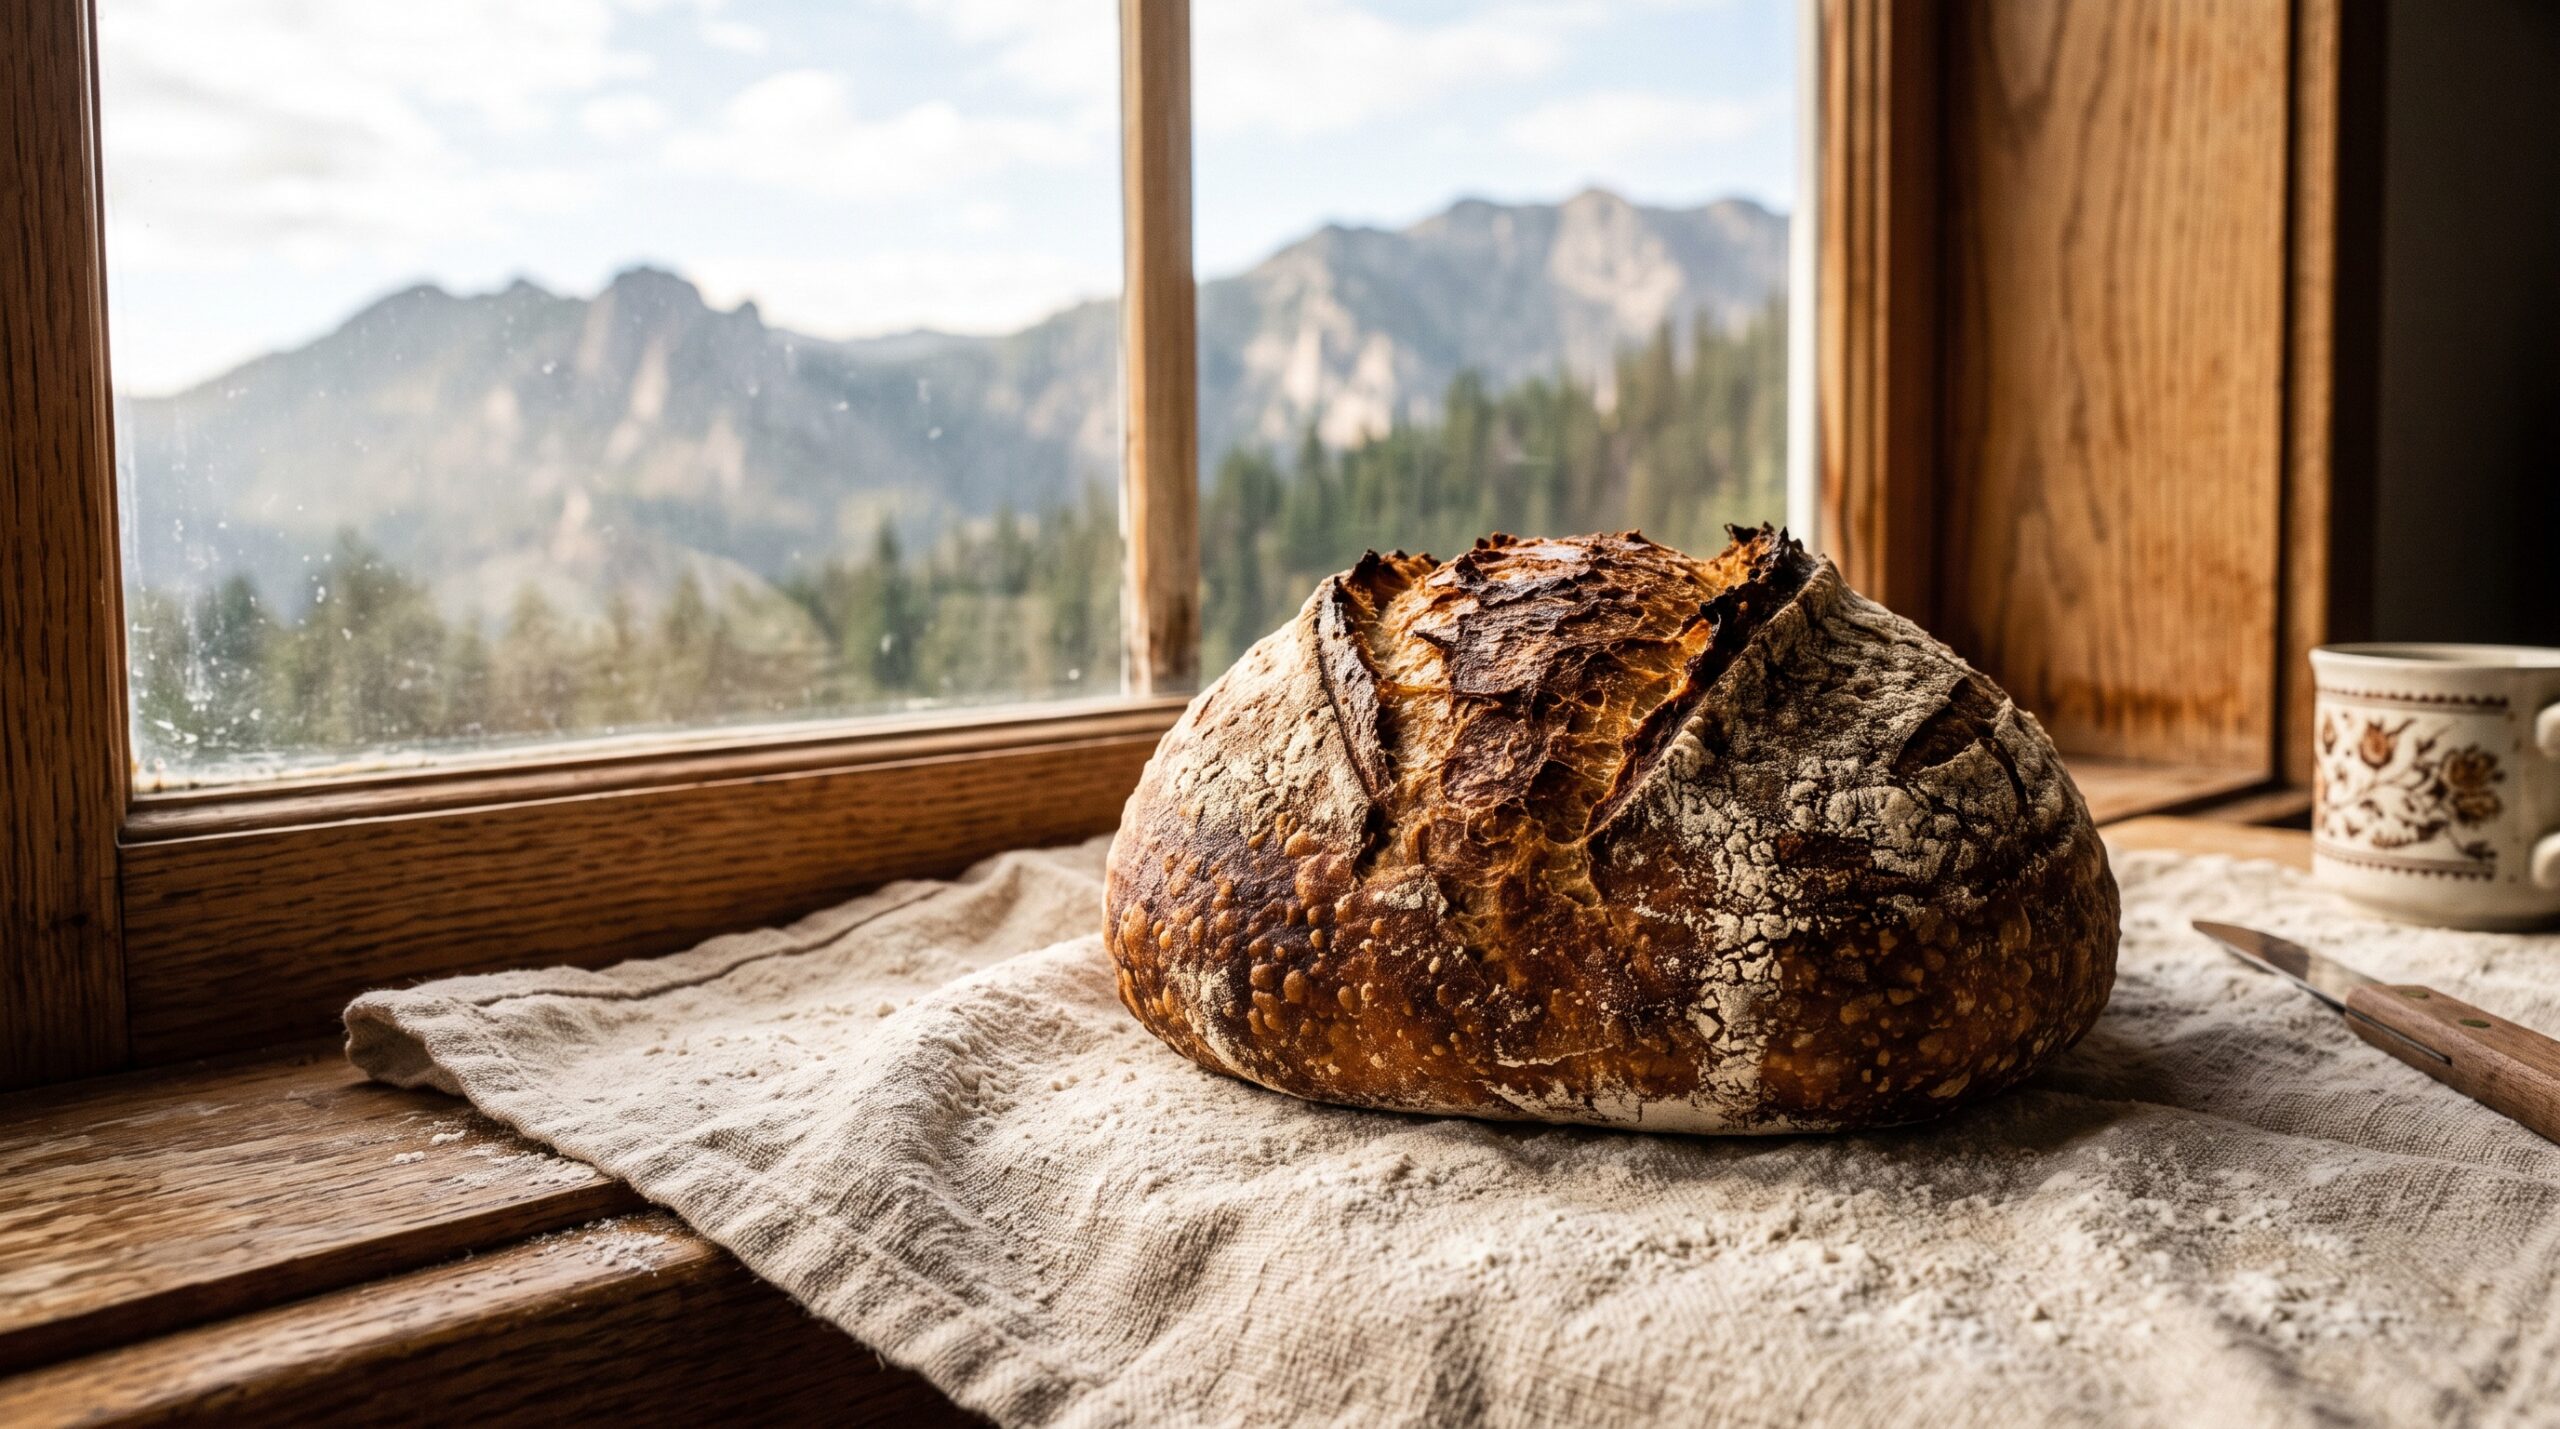
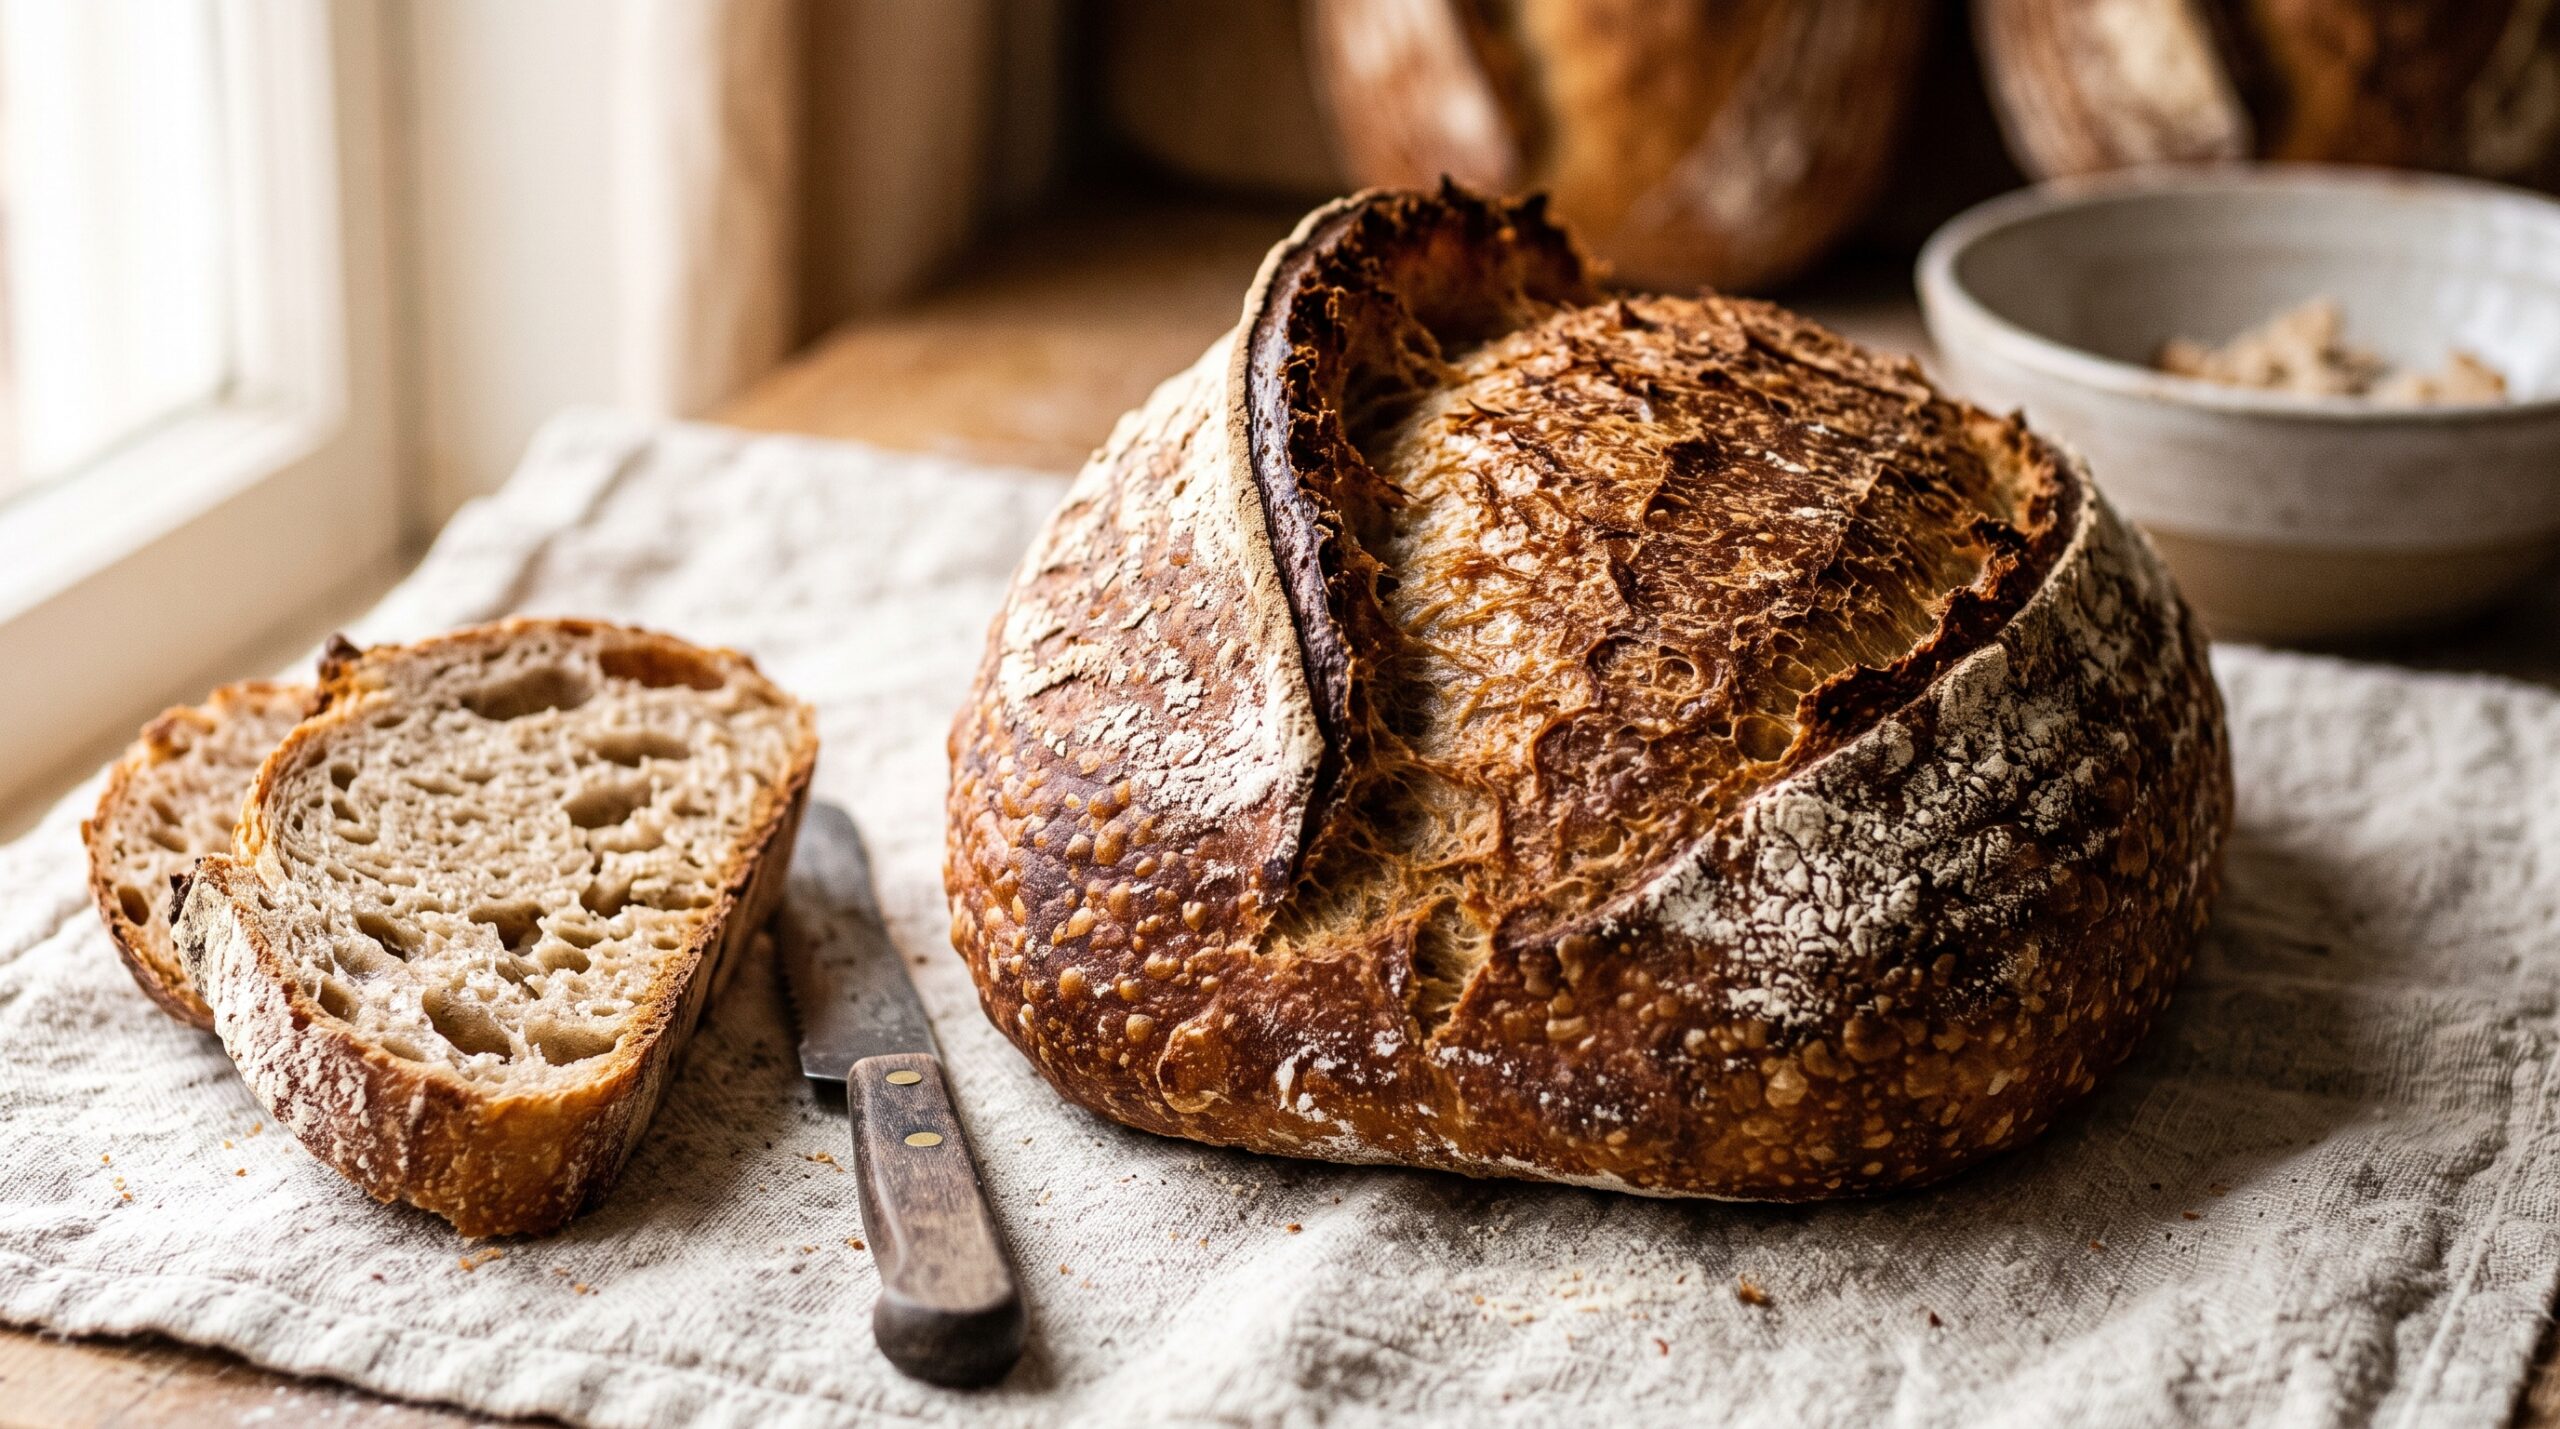
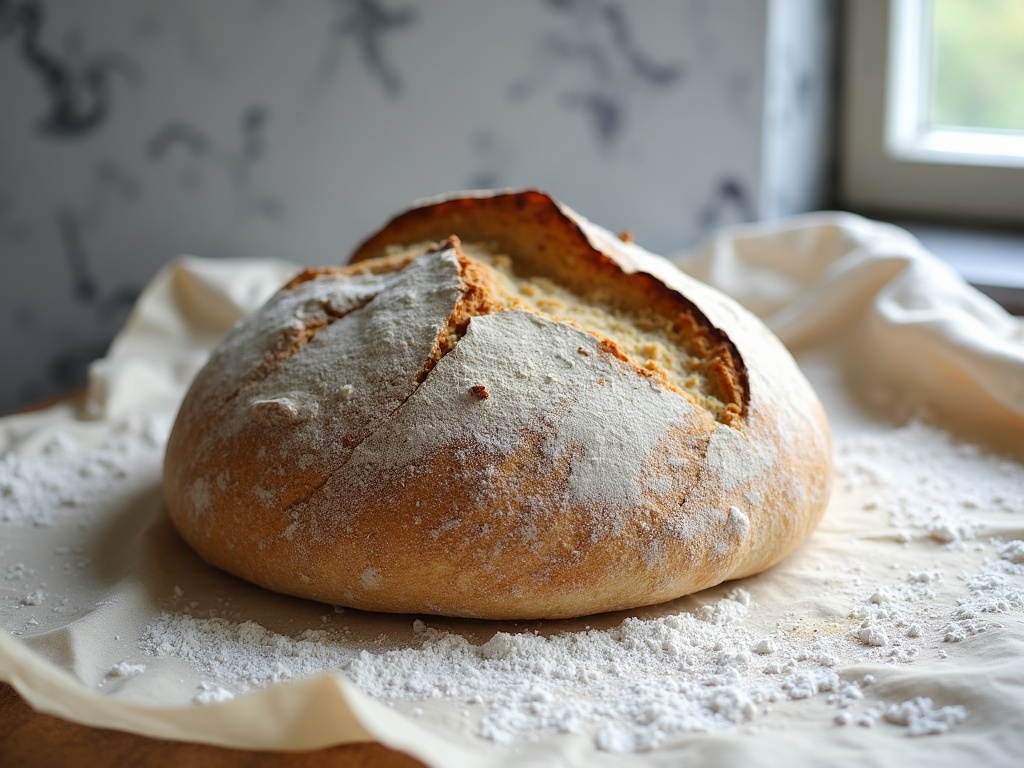
    A sourdough loaf with a dramatic curled ear and blistered golden crust

    What an Ear Actually Is – and Why It Matters

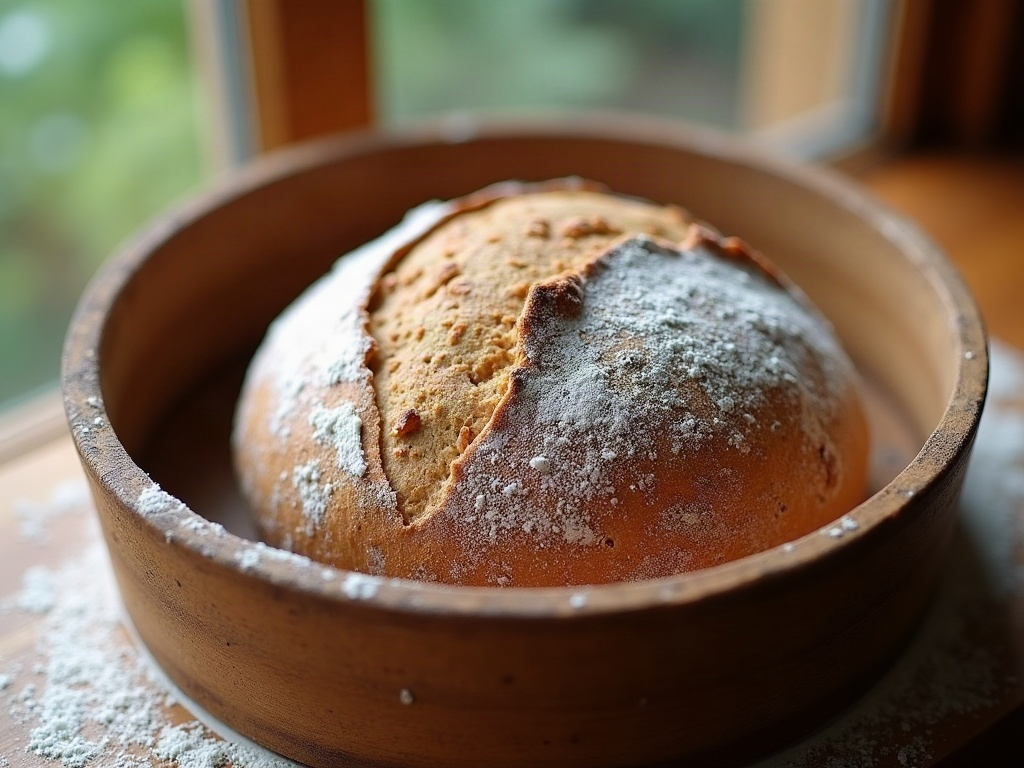
    An ear is the raised, curled flap of crust that lifts up along your scoring line as the loaf expands in the oven. It forms because you gave the bread one deliberate weak point in an otherwise tight skin. As the dough surges upward in the first minutes of the bake – what bakers call oven spring – all that expansion escapes through the cut, peeling the crust back and setting it crisp before it can fall.

    So an ear is really a report card. It tells you that your dough had gas left to give, that the surface was tight enough to force the expansion in one direction, and that your score and your steam let it happen. No ear means one of those was missing. Let us find which.

    The Real Reasons Your Loaf Won’t Open Up

    Four things create an ear, and any one of them failing will flatten it: the dough still has to be springy and not overproofed, the surface has to be under tension, the score has to be cut correctly, and the oven has to be hot and steamy. Chase them in that order, because a perfect score cannot rescue dough that has nothing left to give.

    Cause 1: Your Dough Is Overproofed

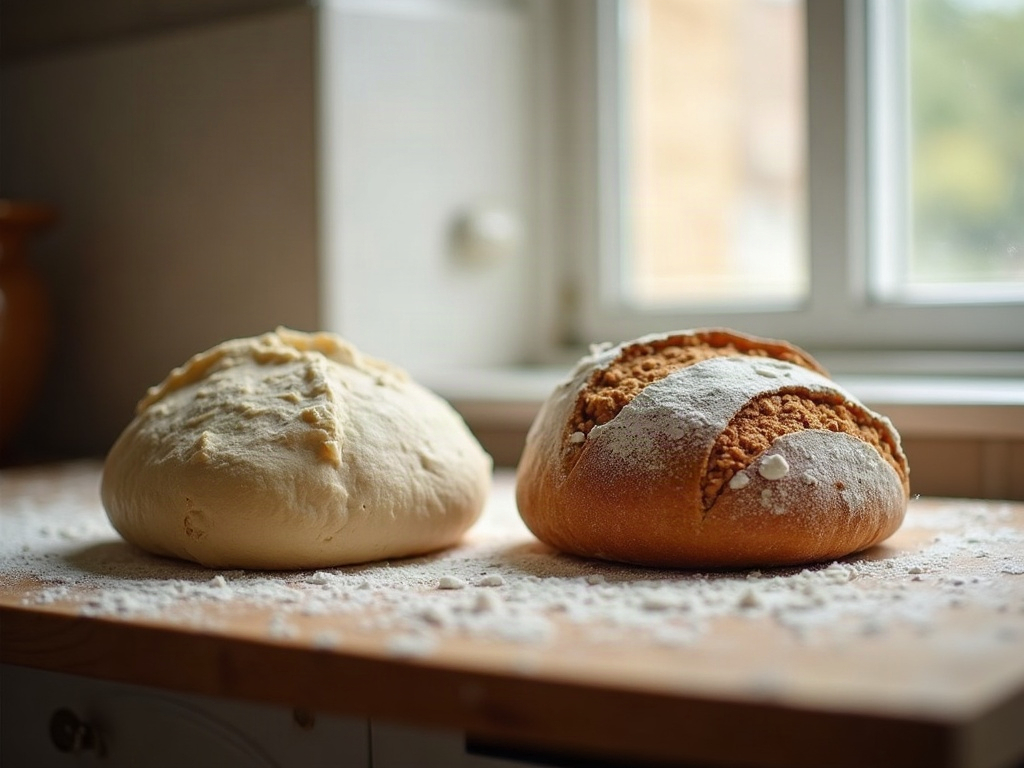
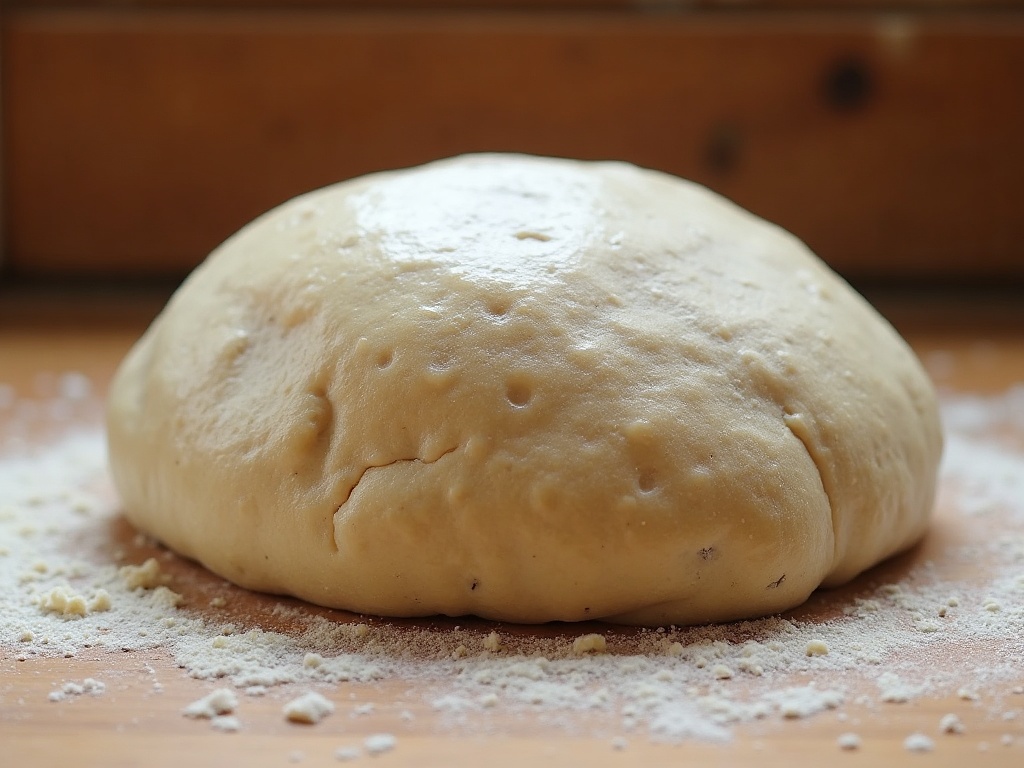
    This is the number one ear-killer, and it is the cruelest, because an overproofed loaf feels so promising in the bowl – puffy, alive, full. But if the dough has fermented too long, the yeast has already spent most of its gas and the gluten has gone slack and tired. There is simply no stored energy left for a violent rise in the oven, so the loaf just spreads and seals over instead of bursting upward.

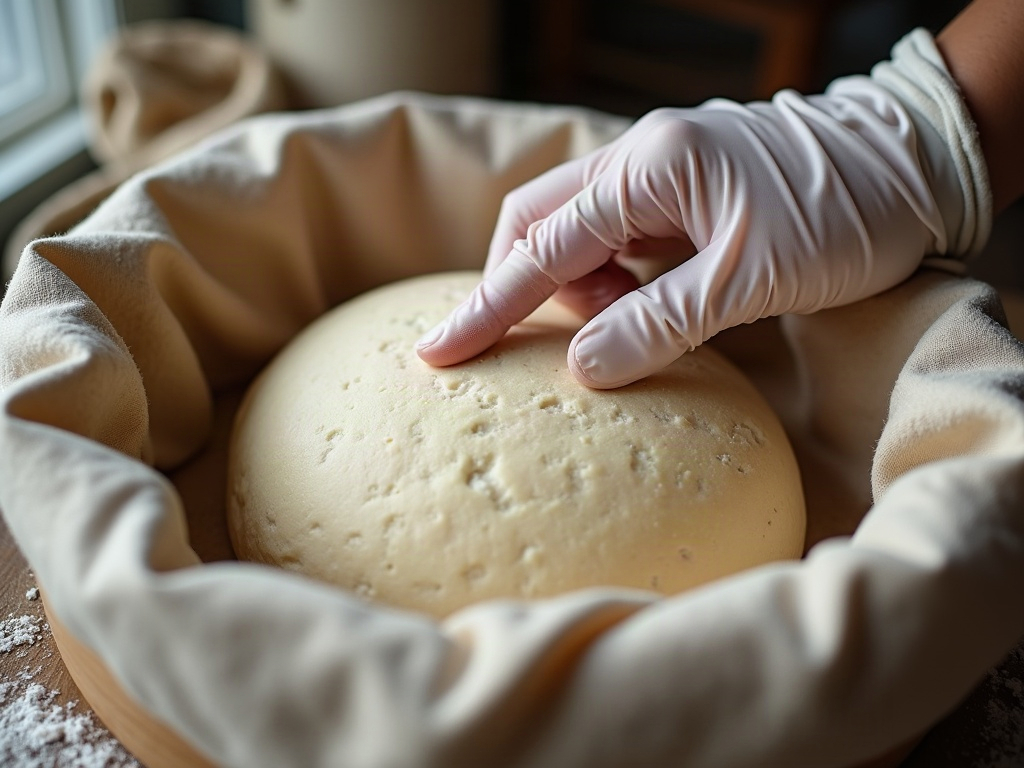
    The fix is to catch the dough earlier. Aim for the point where it has risen by roughly half to three-quarters, feels airy but still domed, and springs back slowly when poked – leaving a shallow dent that fills in gradually. If your finger leaves a dent that stays put and the dough sighs flat, you have gone too far. When in doubt, bake a touch early: a slightly underproofed loaf will still throw a dramatic ear, while an overproofed one never will.

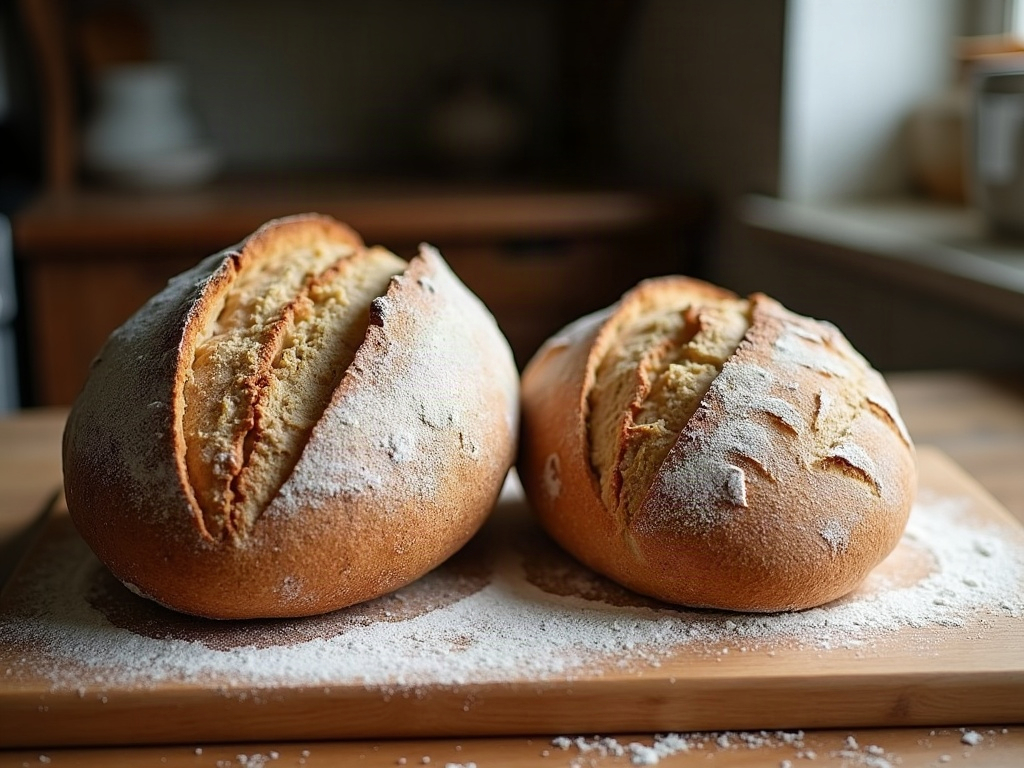
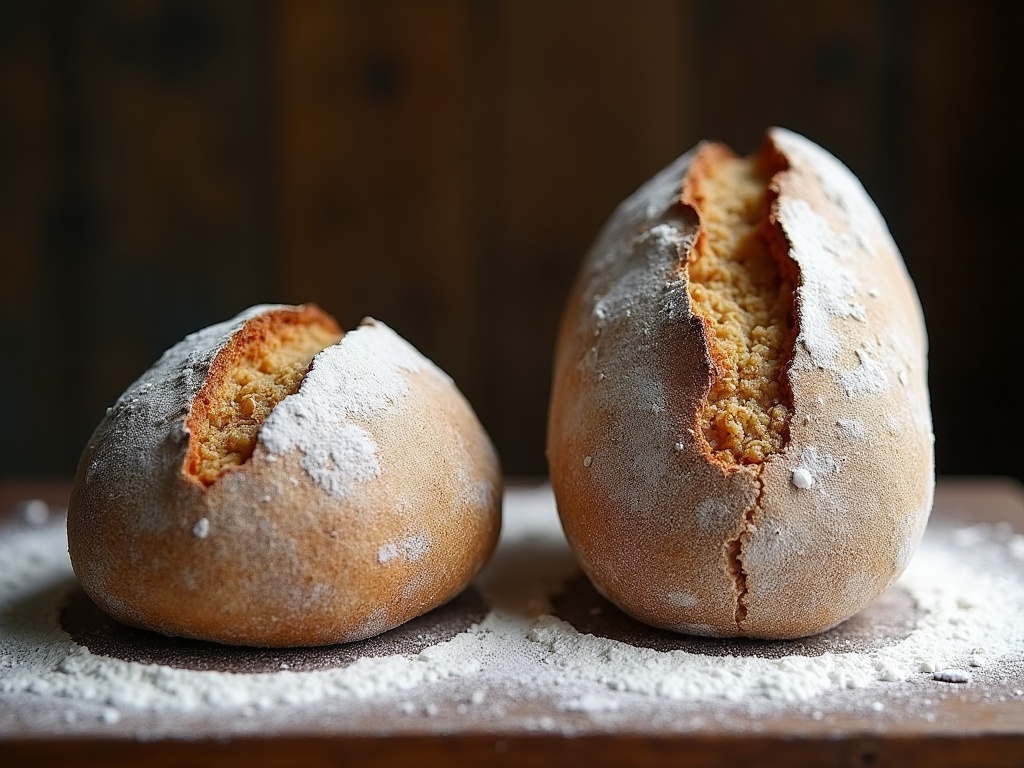
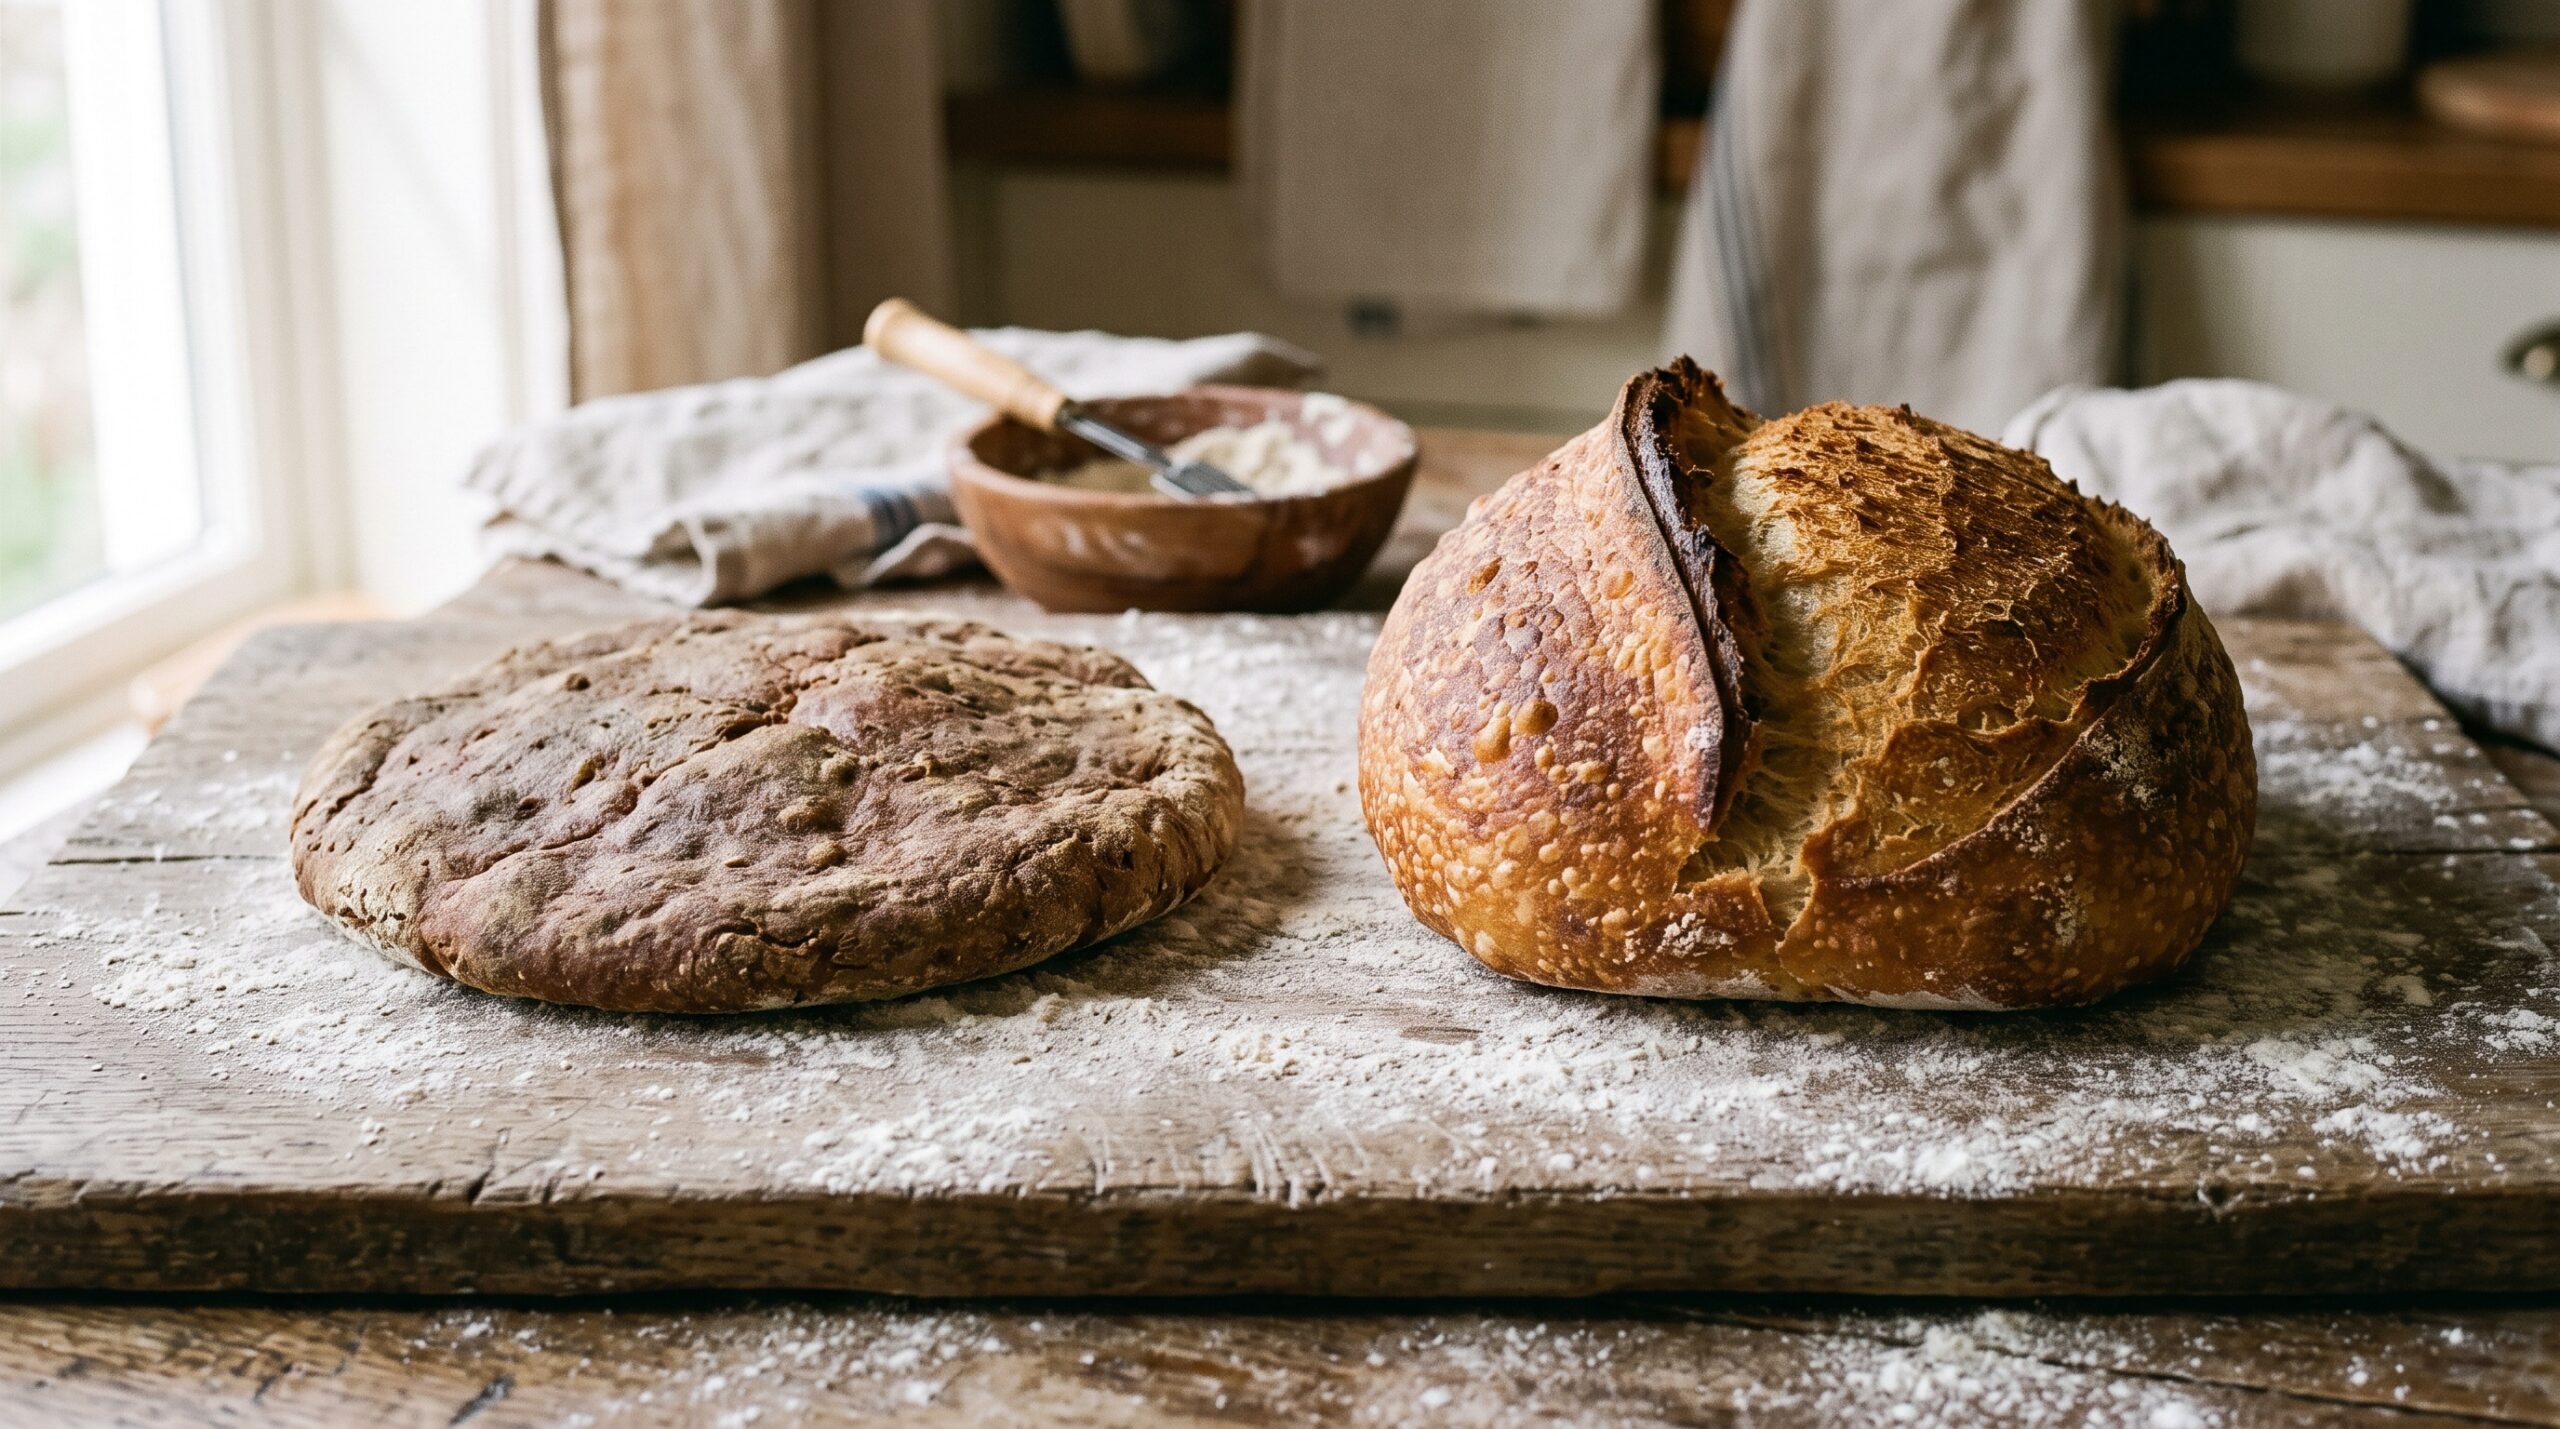
    Two sourdough loaves compared, one flat with no ear and one tall with an ear

    Cause 2: Weak Dough With No Surface Tension

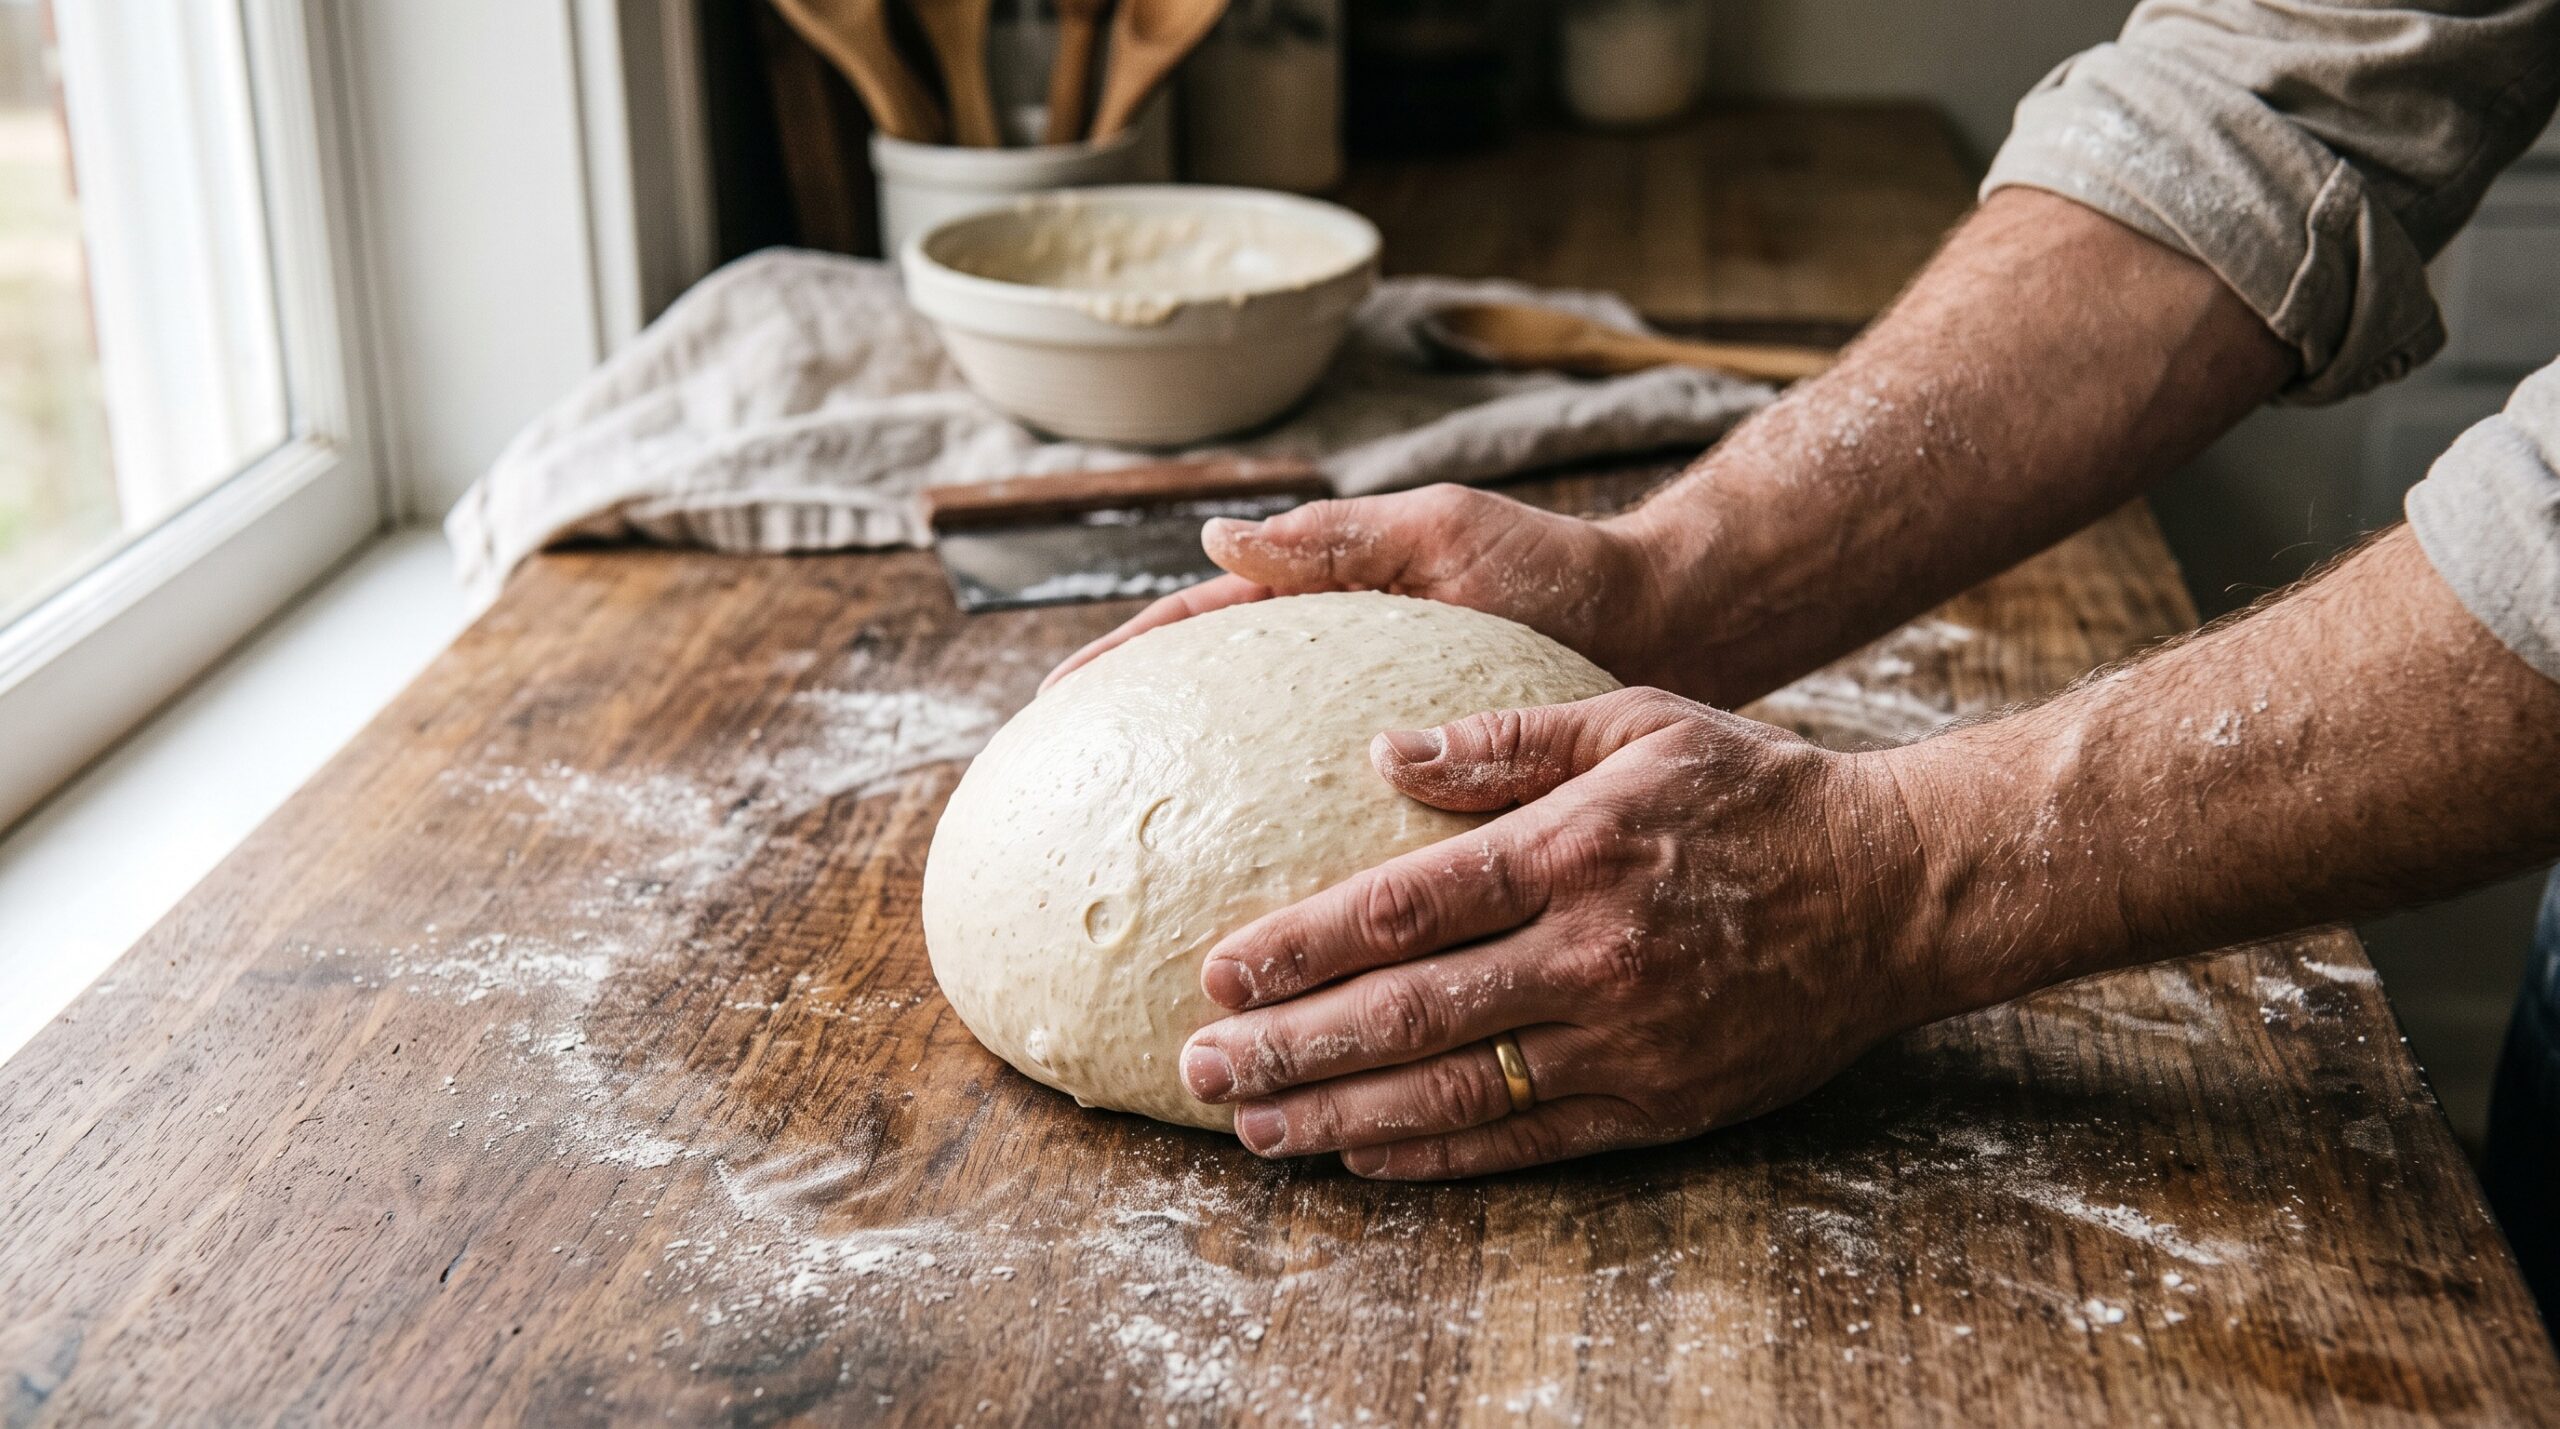
    Even perfectly proofed dough will not open cleanly if its skin is loose. The ear needs a taut outer surface to push against – a drum, not a puddle. If your shaping leaves the dough slack and shapeless, the expansion has nowhere to concentrate and simply flows outward.

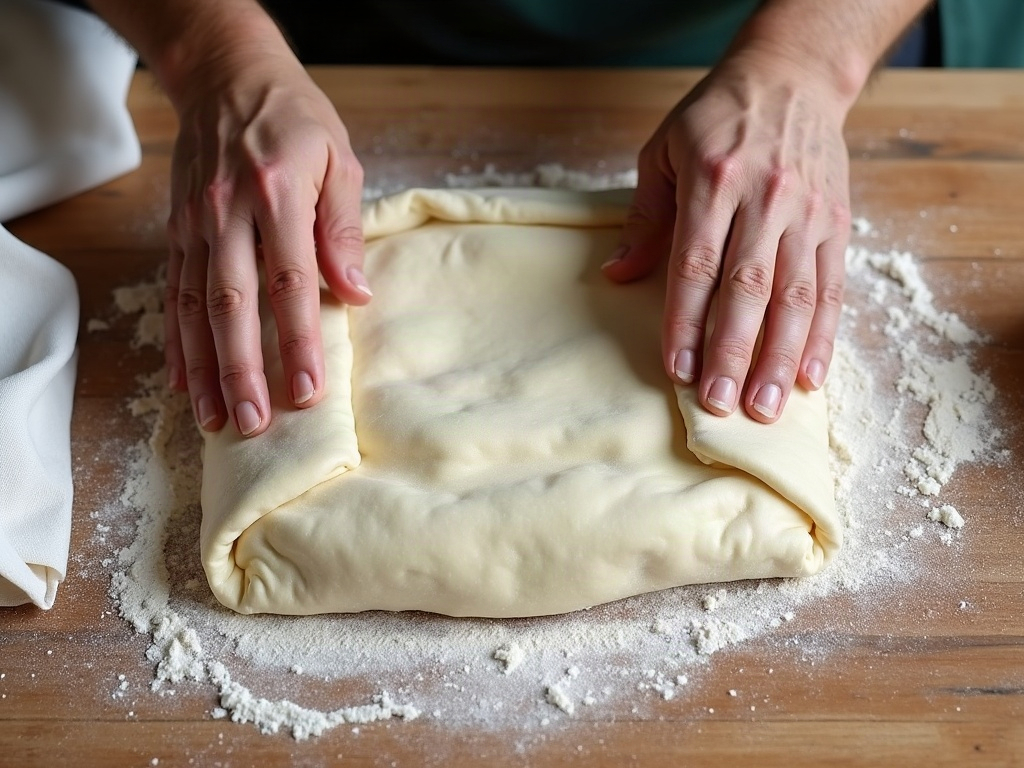
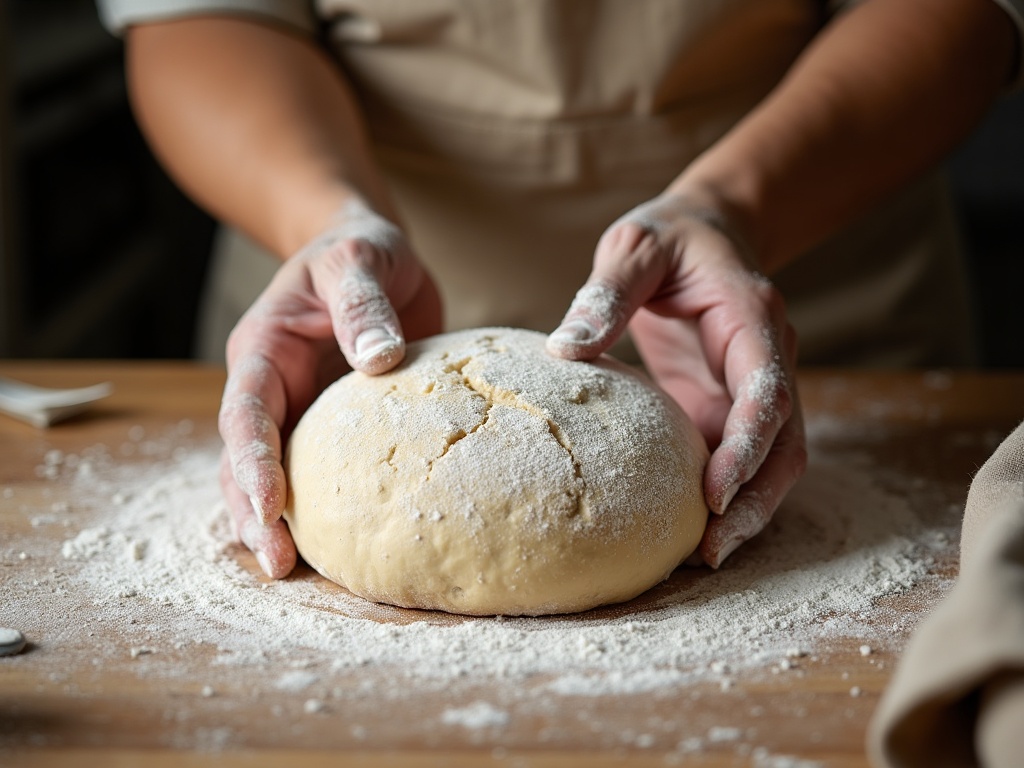
    Two fixes work together here. First, build real strength during bulk fermentation with a few sets of stretch-and-folds so the dough holds its shape. Second, shape with intention: create tension across the surface by dragging the shaped round against the counter to tighten the skin, then proof it seam-side up in a banneton so that taut face becomes the top you score. A cold dough helps enormously too – which brings us to a trick that fixes several problems at once.

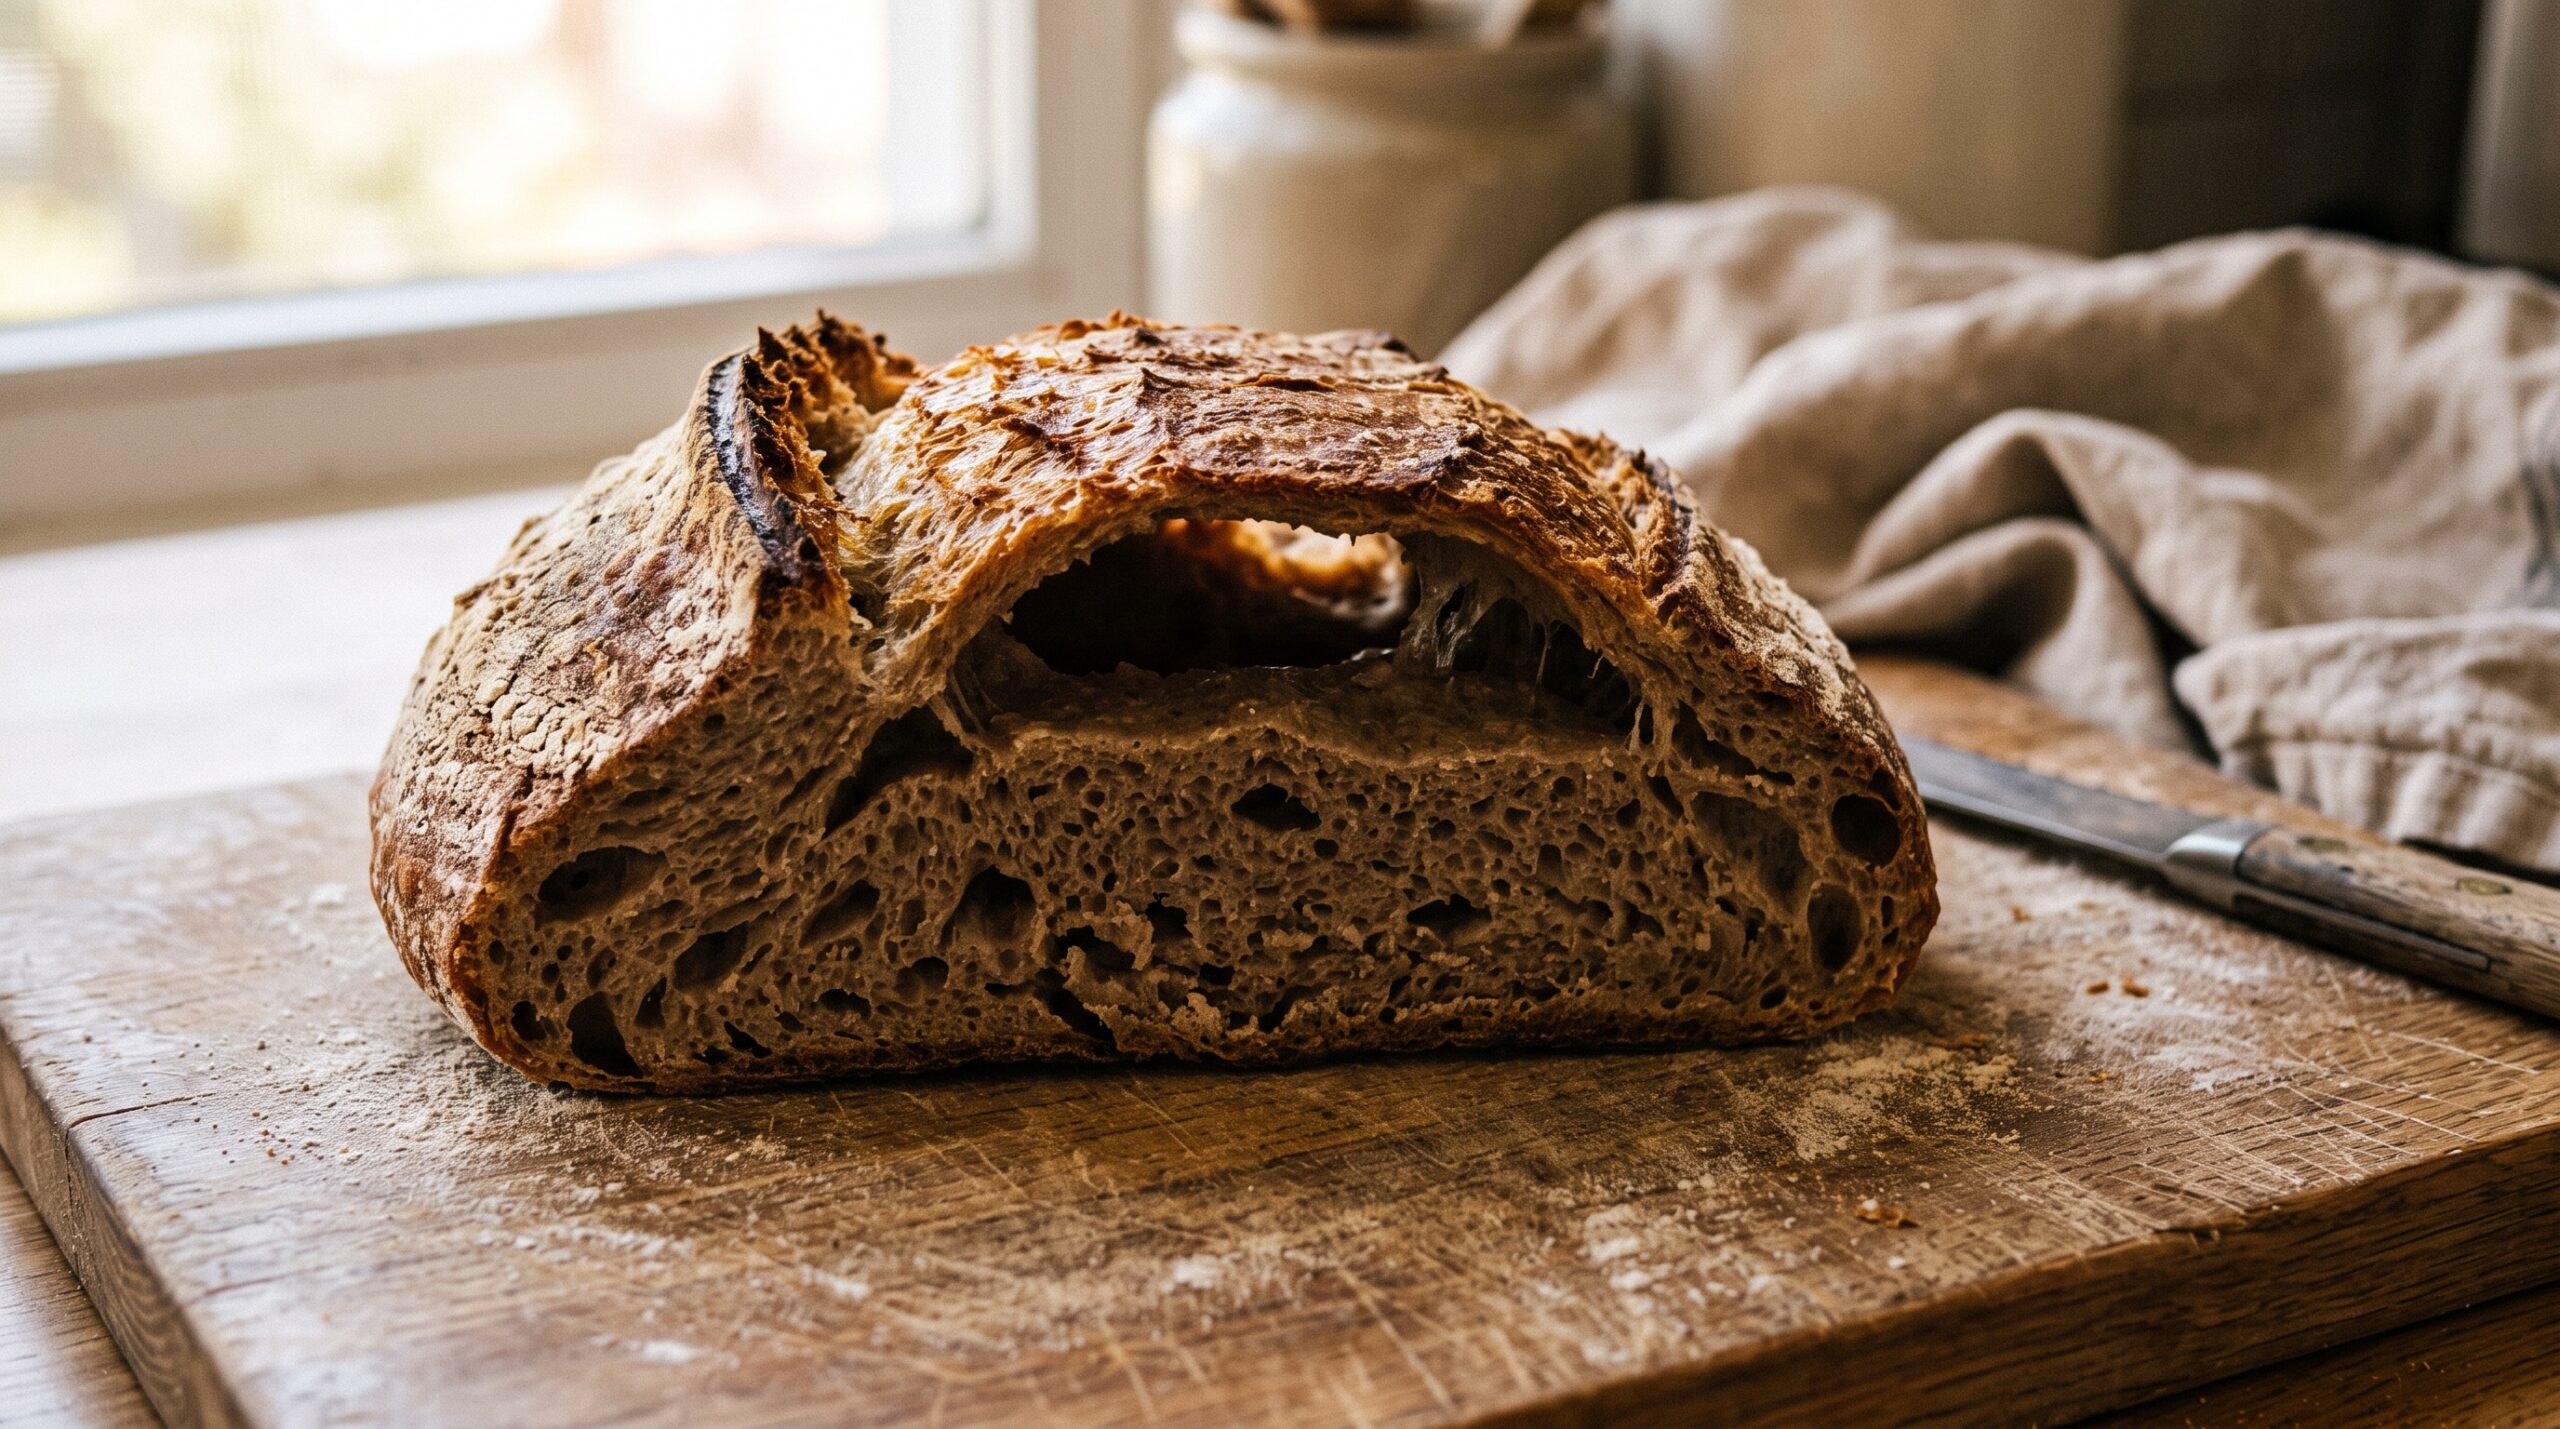
    A round of sourdough turned out of a banneton showing taut skin and flour spiral

    Cause 3: You Are Scoring It Wrong

    This is where most bakers actually lose the ear, and it usually comes down to three habits.

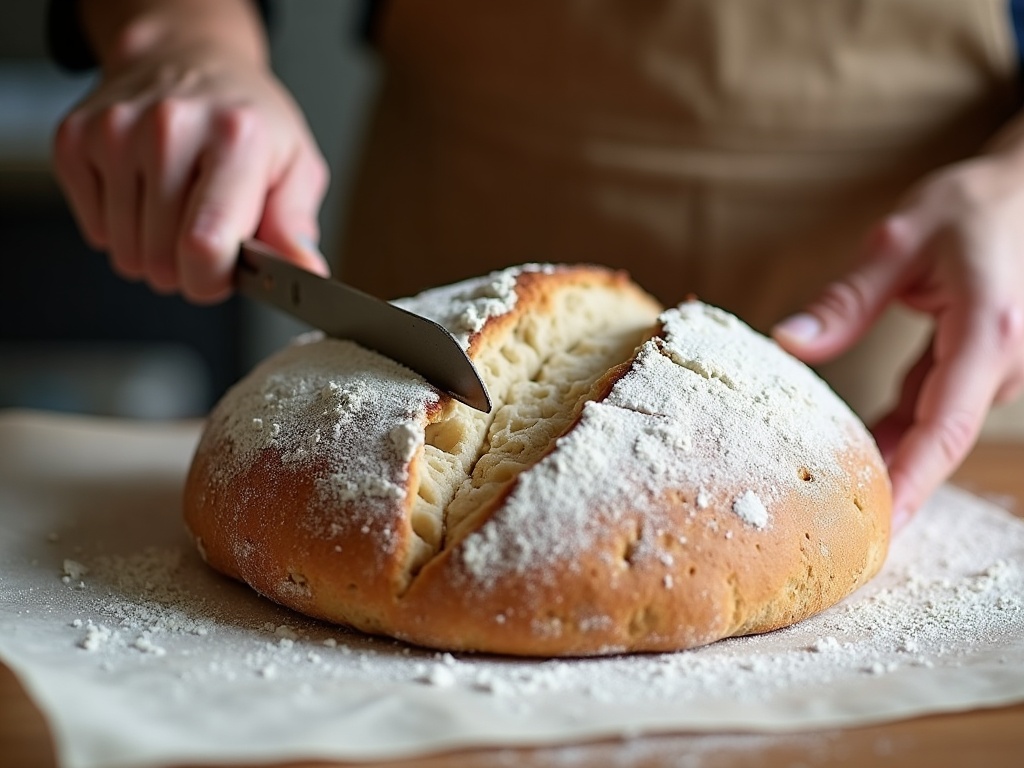
    The first is the angle. A vertical, straight-down cut opens into a valley, not an ear. To get a lifting flap you want a shallow angle – hold the blade at roughly 30 degrees to the surface and slice almost sideways, cutting under a thin lip of skin. That lip is what peels back and curls into the ear.

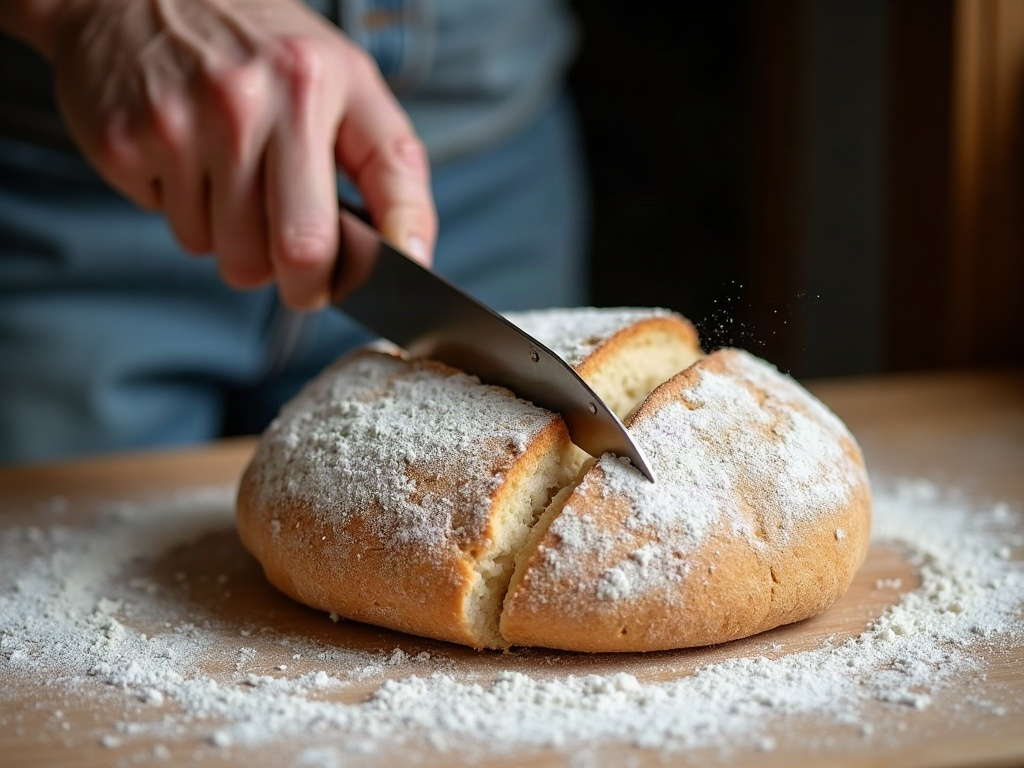
    The second is depth and confidence. A timid, shallow scratch heals shut; a hesitant sawing motion drags and tears. You want one smooth, committed stroke about a quarter to half an inch deep, in a single pass. Use a genuinely sharp blade – a lame or a fresh razor, never a butter knife – so it glides instead of dragging the surface.

    The third is temperature. Cold dough scores like a dream and warm, slack dough smears and sticks. Proof your shaped loaf in the fridge overnight and score it straight from the cold – the firm surface takes a clean, crisp cut and holds the shape of your lip until the oven sets it.

    Hands scoring a round of cold sourdough with a lame at a shallow angle

    Cause 4: No Steam, or an Oven That Isn’t Hot Enough

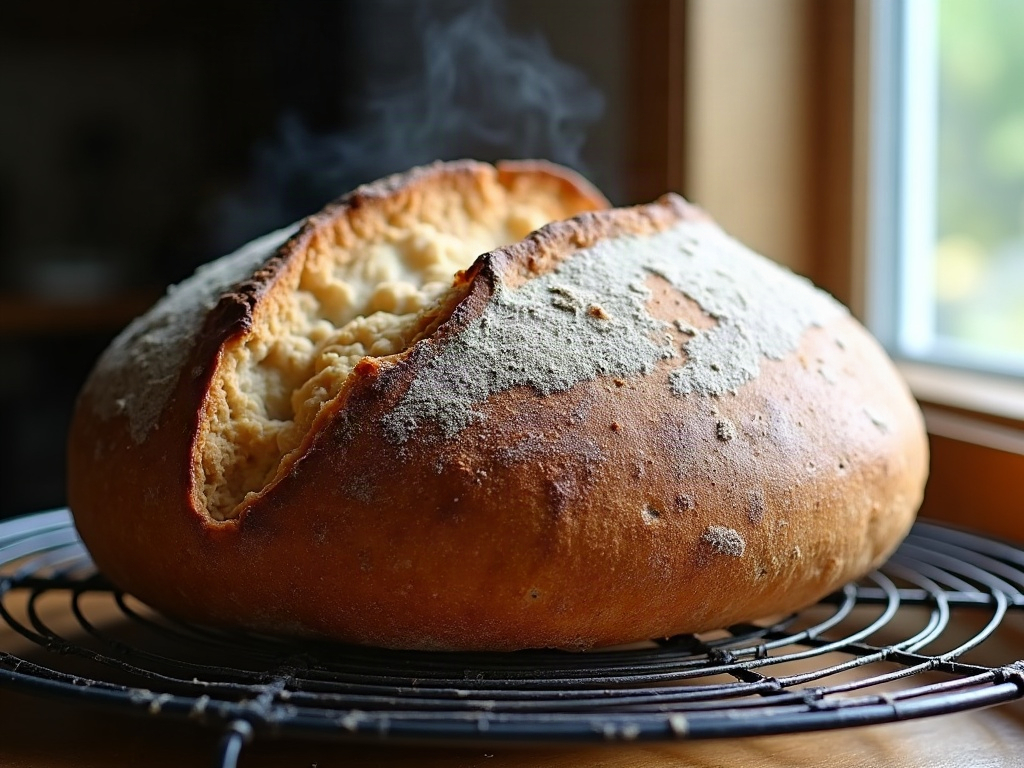
    You can do everything above perfectly and still lose the ear in a dry oven. Steam keeps the crust soft and flexible for the first crucial minutes, buying time for the loaf to expand and the ear to peel up before the surface hardens. Without it, the crust sets almost instantly – locking the loaf shut like glue and choking off the spring.

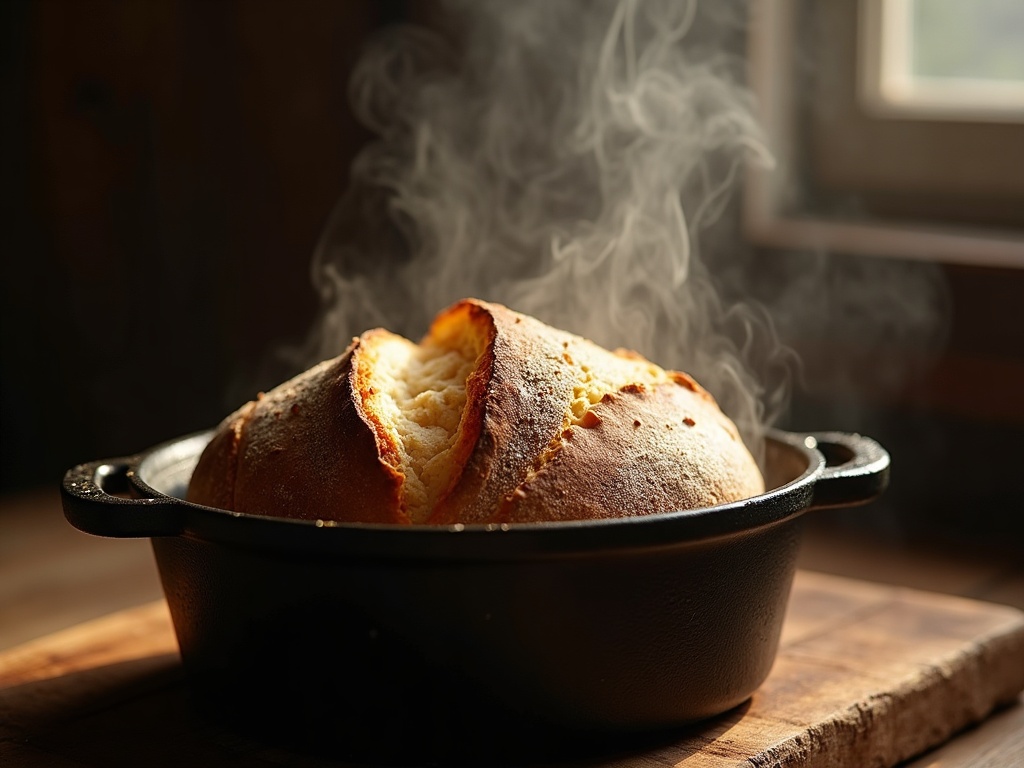
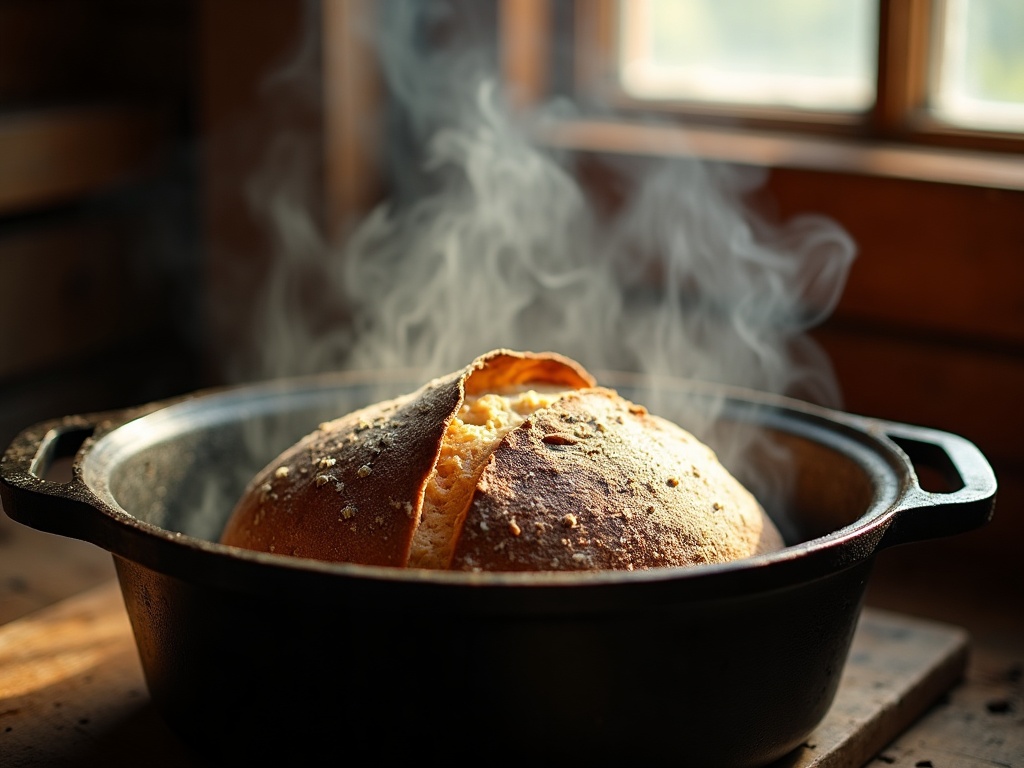
    The simplest reliable fix is a preheated Dutch oven: it traps the loaf’s own moisture into a private steam chamber. Preheat it hard, get the dough in fast, and keep the lid on for the first 20 minutes or so, then remove it to color the crust. And genuinely preheat – a fully hot oven (usually around 230 to 250C, 450 to 480F) delivers the initial blast of heat that drives oven spring. A lukewarm oven gives a lazy, ear-less rise.

    A Repeatable Routine That Gets an Ear

    Put the chain together and it becomes a checklist you can trust. Build dough strength with stretch-and-folds. Catch the proof a little early rather than late. Shape tight for a taut skin, then cold-proof overnight. Score the cold loaf in one confident stroke, blade held low at about 30 degrees. Bake in a ripping-hot, preheated Dutch oven with the lid on to trap steam. Miss the ear? Walk back through those five steps in order and one of them will be the culprit – almost always the proof or the scoring angle.

    A sourdough loaf springing and opening into an ear inside a hot dutch oven

    An ear is not the point of good bread – a tender, open crumb and honest flavor matter far more. But it is one of the clearest signals that your whole process came together, and chasing it will quietly make you a better baker at every step. If you want to see the scoring angle and the confident single stroke in motion – because this really is easier to watch than to read – the full technique lives on the LoafLovers YouTube channel, and you can grab our free sourdough troubleshooting guide to keep the whole chain on hand for your next bake. Cut with confidence, and let that loaf open up.

    Related Reading

  • Why Is My Sourdough Flat? Fixing Loaves That Spread Instead of Rising Tall

    Why Is My Sourdough Flat? Fixing Loaves That Spread Instead of Rising Tall

    You slid the dough into the oven hoping for a tall, domed loaf with a bold ear – and twenty minutes later you’re looking at something low, wide, and spread out like a frisbee. No lift, no drama, just a sad puck of bread. It’s one of the most deflating moments in sourdough, and if you’re standing at the oven door right now wondering what went wrong, take a breath. A flat loaf is not a mystery. It’s a symptom, and it almost always points to one of a handful of specific causes.

    The trick is that several different problems all end in the same flat result, so the fix depends entirely on which one bit you this time. Let’s read the clues on the loaf in front of you and match them to the real cause – then fix it for good.

    A flat spread sourdough loaf beside a tall well-risen boule on a floured board
    Same recipe, two outcomes: a flat spreader on the left, a tall loaf with real oven spring on the right.

    What a Flat Loaf Is Actually Telling You

    A loaf rises tall for two reasons working together: the dough holds a strong, gas-tight gluten structure, and that structure has enough tension to push up rather than out when it hits the heat. When a loaf spreads flat instead, one of those two things failed – the structure was too weak to hold the gas, or the tension that would have directed the rise upward was never there.

    That splits every flat loaf into two families. In the first, the dough was over-fermented – it rose beautifully at some point, then the gluten broke down and could no longer hold its shape, so it slumped. In the second, the dough was structurally weak from the start – underdeveloped gluten, too much water for your skill level, a tired starter, or a slack shape – so it never had the backbone to rise in the first place. Knowing which family you’re in is the whole game.

    How to Tell Which Problem Is Yours

    Before you fix anything, diagnose it. Think back over the last few hours and answer these:

    • How did the dough feel at shaping? Slack, sticky, and unwilling to hold a ball points to overproofing or too-high hydration. Firm and springy but flat anyway points to shaping or oven problems.
    • Did it spread the moment you turned it out of the banneton? If it puddled outward before it ever saw heat, the structure was already gone – suspect over-fermentation, a weak starter, or a dough that was simply too wet and too warm.
    • Did it hold its dome on the counter but refuse to spring in the oven? That’s a heat-and-steam problem, or a shape with too little tension to climb.
    • What did it smell like? A sharp, boozy, acetone or nail-polish note means fermentation ran long. A mild, pleasant tang means fermentation was probably fine and the fault is elsewhere.

    Hold those answers in mind. As we walk through each cause below, you’ll see your loaf in one of them.

    Slack sourdough dough spreading flat on a floured surface after turnout
    A dough that puddles the moment it leaves the banneton has lost its structure before it ever reached the oven.

    Cause 1: The Dough Overproofed

    This is the single most common reason a loaf spreads. Overproofing – whether from an over-fermented bulk, a too-long final proof, or dough that sat somewhere too warm – means fermentation ran past the dough’s peak. The yeast kept producing acid and gas long after the gluten could cope, and the network that was holding everything taut slowly dissolved. By the time it hits the oven there’s no structure left to spring, so it flows outward instead of rising.

    The tells: slack, sticky, hard-to-handle dough at shaping; a shaped loaf that flattens on the counter instead of holding its dome; little to no oven spring; and that sharp, boozy smell. A poke test seals it – if you press a floured finger in and the dent stays put or the dough sighs and deflates, it’s overproofed.

    The fix: shorten fermentation and watch the dough, not the clock. Most home bakers over-ferment because they trust a recipe’s “bulk for 4 hours” in a kitchen that’s warmer than the recipe assumed. End bulk when the dough has risen roughly 50-75% and looks domed, jiggly, and alive – not when the timer says so. Use an aliquot jar (a pinch of dough in a straight-sided jar, marked at the start) so you can read the rise precisely. And keep your dough cooler: warmth is the accelerator here, which brings us to the next culprit.

    Cause 2: The Dough Was Too Warm

    Temperature is the throttle on your entire bake, and a warm kitchen is the quiet reason so many loaves overproof without the baker realizing it. Dough ferments dramatically faster as it warms – a batch at 26 C / 78 F can be racing through bulk while the recipe was written for a calm 22 C / 72 F. You follow the times exactly and still end up past peak, because your kitchen was running hot the whole time.

    The fix: take your dough’s actual temperature with a probe thermometer and aim for a target dough temperature around 24-25 C / 75-77 F. If your kitchen runs warm, use cooler water when mixing, shorten the bulk, and lean on the fridge for the final proof. Cold, slow fermentation is far more forgiving – it widens the window where the dough is perfectly ready, so you’re less likely to blow past it.

    Cause 3: A Weak or Under-Strength Starter

    If your dough never really came alive – sluggish bulk, barely any rise, dense and flat at the same time – look at your starter before you blame your technique. A young, neglected, or under-fed starter simply can’t generate the gas and acidity a loaf needs, and no amount of good shaping will save a dough that had a weak engine.

    A jar of bubbly active sourdough starter at peak rise
    A strong starter at peak – domed, bubbly, and lively – is the engine behind a tall loaf.

    The fix: feed your starter on a reliable schedule and only bake when it’s at peak – domed, bubbly, and roughly doubled within 4-8 hours of feeding. The float test is a quick confidence check: a spoonful that floats in water is full of gas and ready to work. If yours is sluggish, give it a few days of consistent feedings (try 1:2:2 or 1:3:3 starter-to-flour-to-water by weight) somewhere warm before your next bake. A strong starter is the cheapest upgrade to your bread there is.

    Cause 4: Weak Gluten and Too-Slack Dough

    Gluten is the scaffolding that traps gas and holds the loaf’s height. If it’s underdeveloped – not enough mixing, too few stretch-and-folds, or a flour too low in protein – the dough stays extensible and floppy instead of strong and elastic, and it spreads under its own weight. The same thing happens when the hydration is simply too high for your current skill level: a very wet dough can make a gorgeous open crumb in experienced hands, but for many bakers it just puddles.

    The fix: build more strength and, if you’re struggling, take some water out. Give the dough a proper set of stretch-and-folds or coil folds during bulk – usually three or four sets in the first couple of hours – until it feels smooth, tight, and holds its shape. Do a windowpane check: stretch a small piece thin; if it goes translucent without tearing, your gluten is there. And there’s no shame in dropping hydration. If your recipe calls for 80% and you’re fighting a soupy mess, come down to 68-72% until you’re consistently getting tall loaves, then climb back up. A strong dough at lower hydration beats a slack one at high hydration every time.

    Cause 5: Not Enough Shaping Tension

    Even a perfectly fermented, well-developed dough will spread if you shape it loosely. Shaping is where you build the taut outer skin that holds the loaf together and directs the oven spring upward instead of outward. Skip that tension and the dough has nothing to climb.

    Floured hands building surface tension on a round of sourdough dough
    Shaping is where you build the taut skin that holds the loaf tall – drag and cup until the surface tightens.

    The fix: shape with intent. After a gentle pre-shape, let the dough rest 20-30 minutes so it relaxes, then do a final shape where you build real surface tension – fold the dough over itself and drag the taut ball across an unfloured patch of counter, cupping your hands around it so friction tightens the skin. You want to feel it firm up under your hands. A well-shaped loaf should sit up as a proud, tight round or oval, not sag. This one habit rescues more flat loaves than any other single change.

    Cause 6: A Cold Oven and No Steam

    Sometimes the dough was fine and the oven let you down. Oven spring – that final dramatic rise in the first ten minutes – depends on two things: intense heat that sets the crust fast enough to trap the rise, and steam that keeps the crust soft and stretchy long enough for the loaf to expand before it hardens. Bake in a cool oven or a dry one, and the crust sets too soon, the loaf can’t push up, and it settles wide.

    A sourdough loaf springing tall inside a steaming hot dutch oven
    Trapped steam plus a screaming-hot start is what turns a good dough into a tall, blistered loaf.

    The fix: preheat hard and trap steam. Get your oven fully up to temperature – usually 230-250 C / 450-480 F – and preheat a Dutch oven or baking stone inside it for a good 45 minutes so it’s genuinely screaming hot when the dough goes in. The easiest way to guarantee steam is to bake in a covered Dutch oven for the first 20 minutes; the loaf steams itself in its own moisture, then you remove the lid to brown and crisp. If you bake on a stone, add steam with a preheated tray of water or a few ice cubes. Hot start, trapped steam, tall loaf.

    Your Next-Bake Fix List

    Put it together and the flat loaf stops being a mystery. Next time, run down this short list: bake with a starter at peak; keep your dough temperature around 24-25 C and end bulk by rise, not by clock; develop the gluten until it passes the windowpane and drop hydration if you’re fighting the dough; shape with real surface tension; and load it into a screaming-hot, steamy oven. Change one thing at a time so you learn which lever mattered for your kitchen, and you’ll watch the loaves climb.

    Want to see the shaping tension, the poke test, and a proper Dutch-oven load in real time? The full fix – with close-ups of every step – lives on the LoafLovers YouTube channel. And if you’d like a one-page cheat sheet to keep by the oven, grab our free sourdough troubleshooting guide when you join the email list. No hard sell, just the answers for your next bake.


    Sources & further reading:

    Related Reading