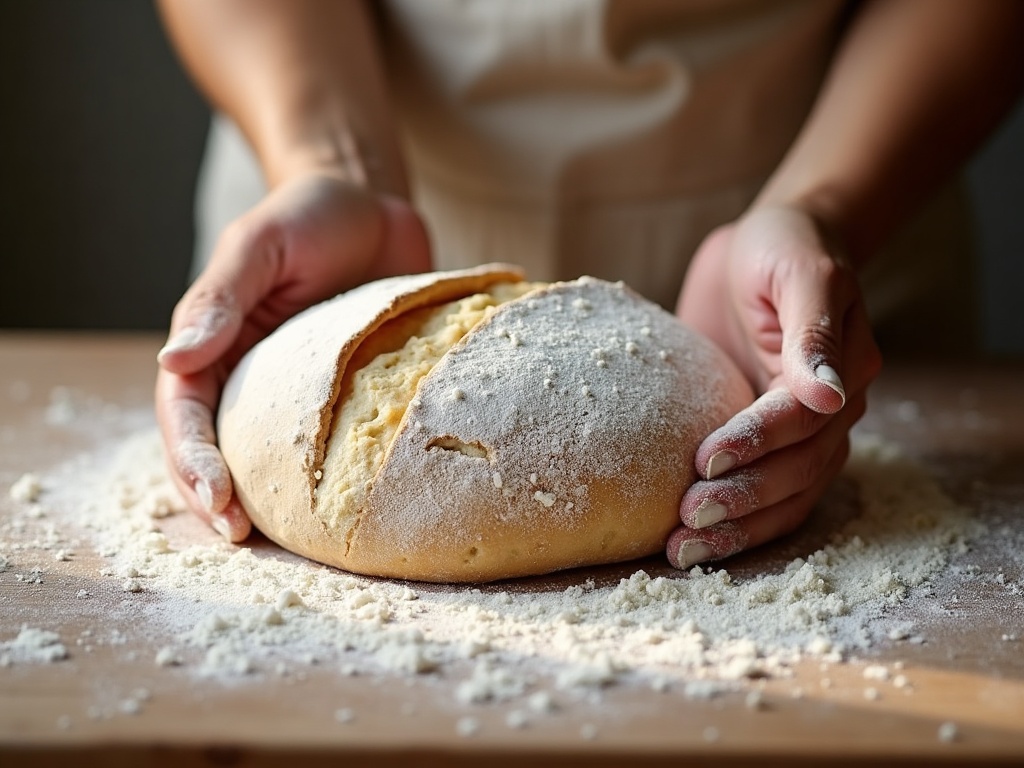
Bulk fermentation is the step that decides whether your sourdough opens up or bakes into a dense brick — and it’s the one step almost every recipe gets wrong by handing you a number of hours instead of a sign to watch for. “Bulk for four hours” is a guess dressed up as an instruction, because your kitchen isn’t the recipe writer’s kitchen and your dough doesn’t own a clock. The good news: your dough will tell you exactly when it’s done, if you know what to look for. Here’s how to read it — the rise, the wobble, the bubbles — so you shape at the right moment instead of hoping.
What bulk fermentation actually is (and why the clock lies)
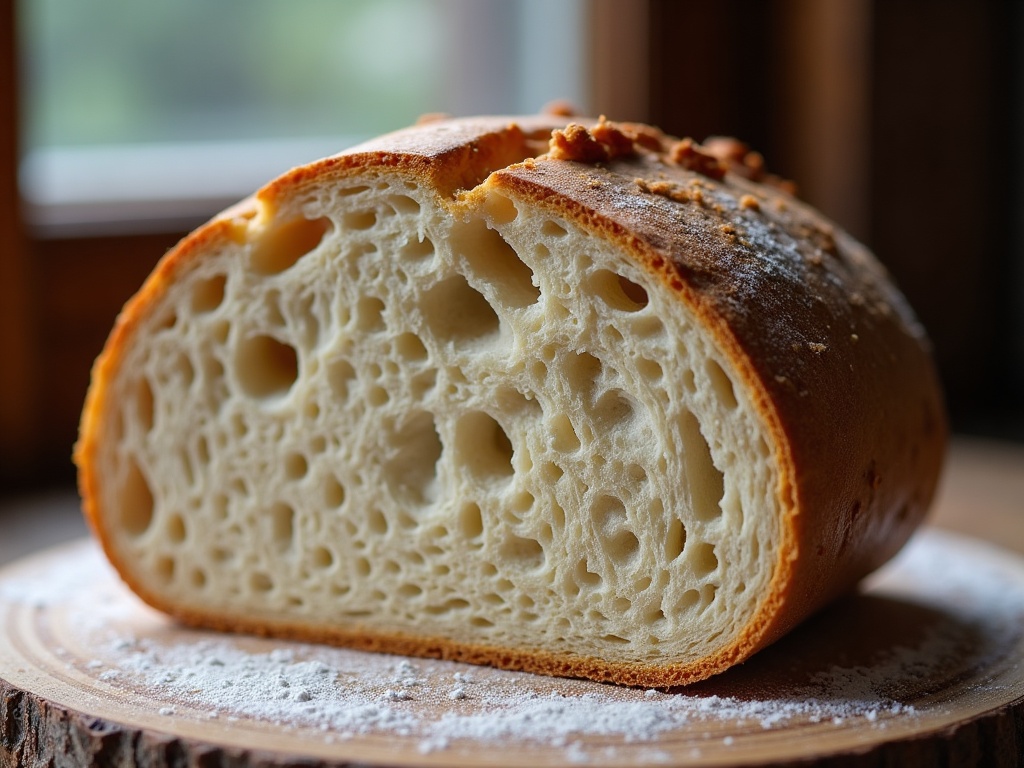
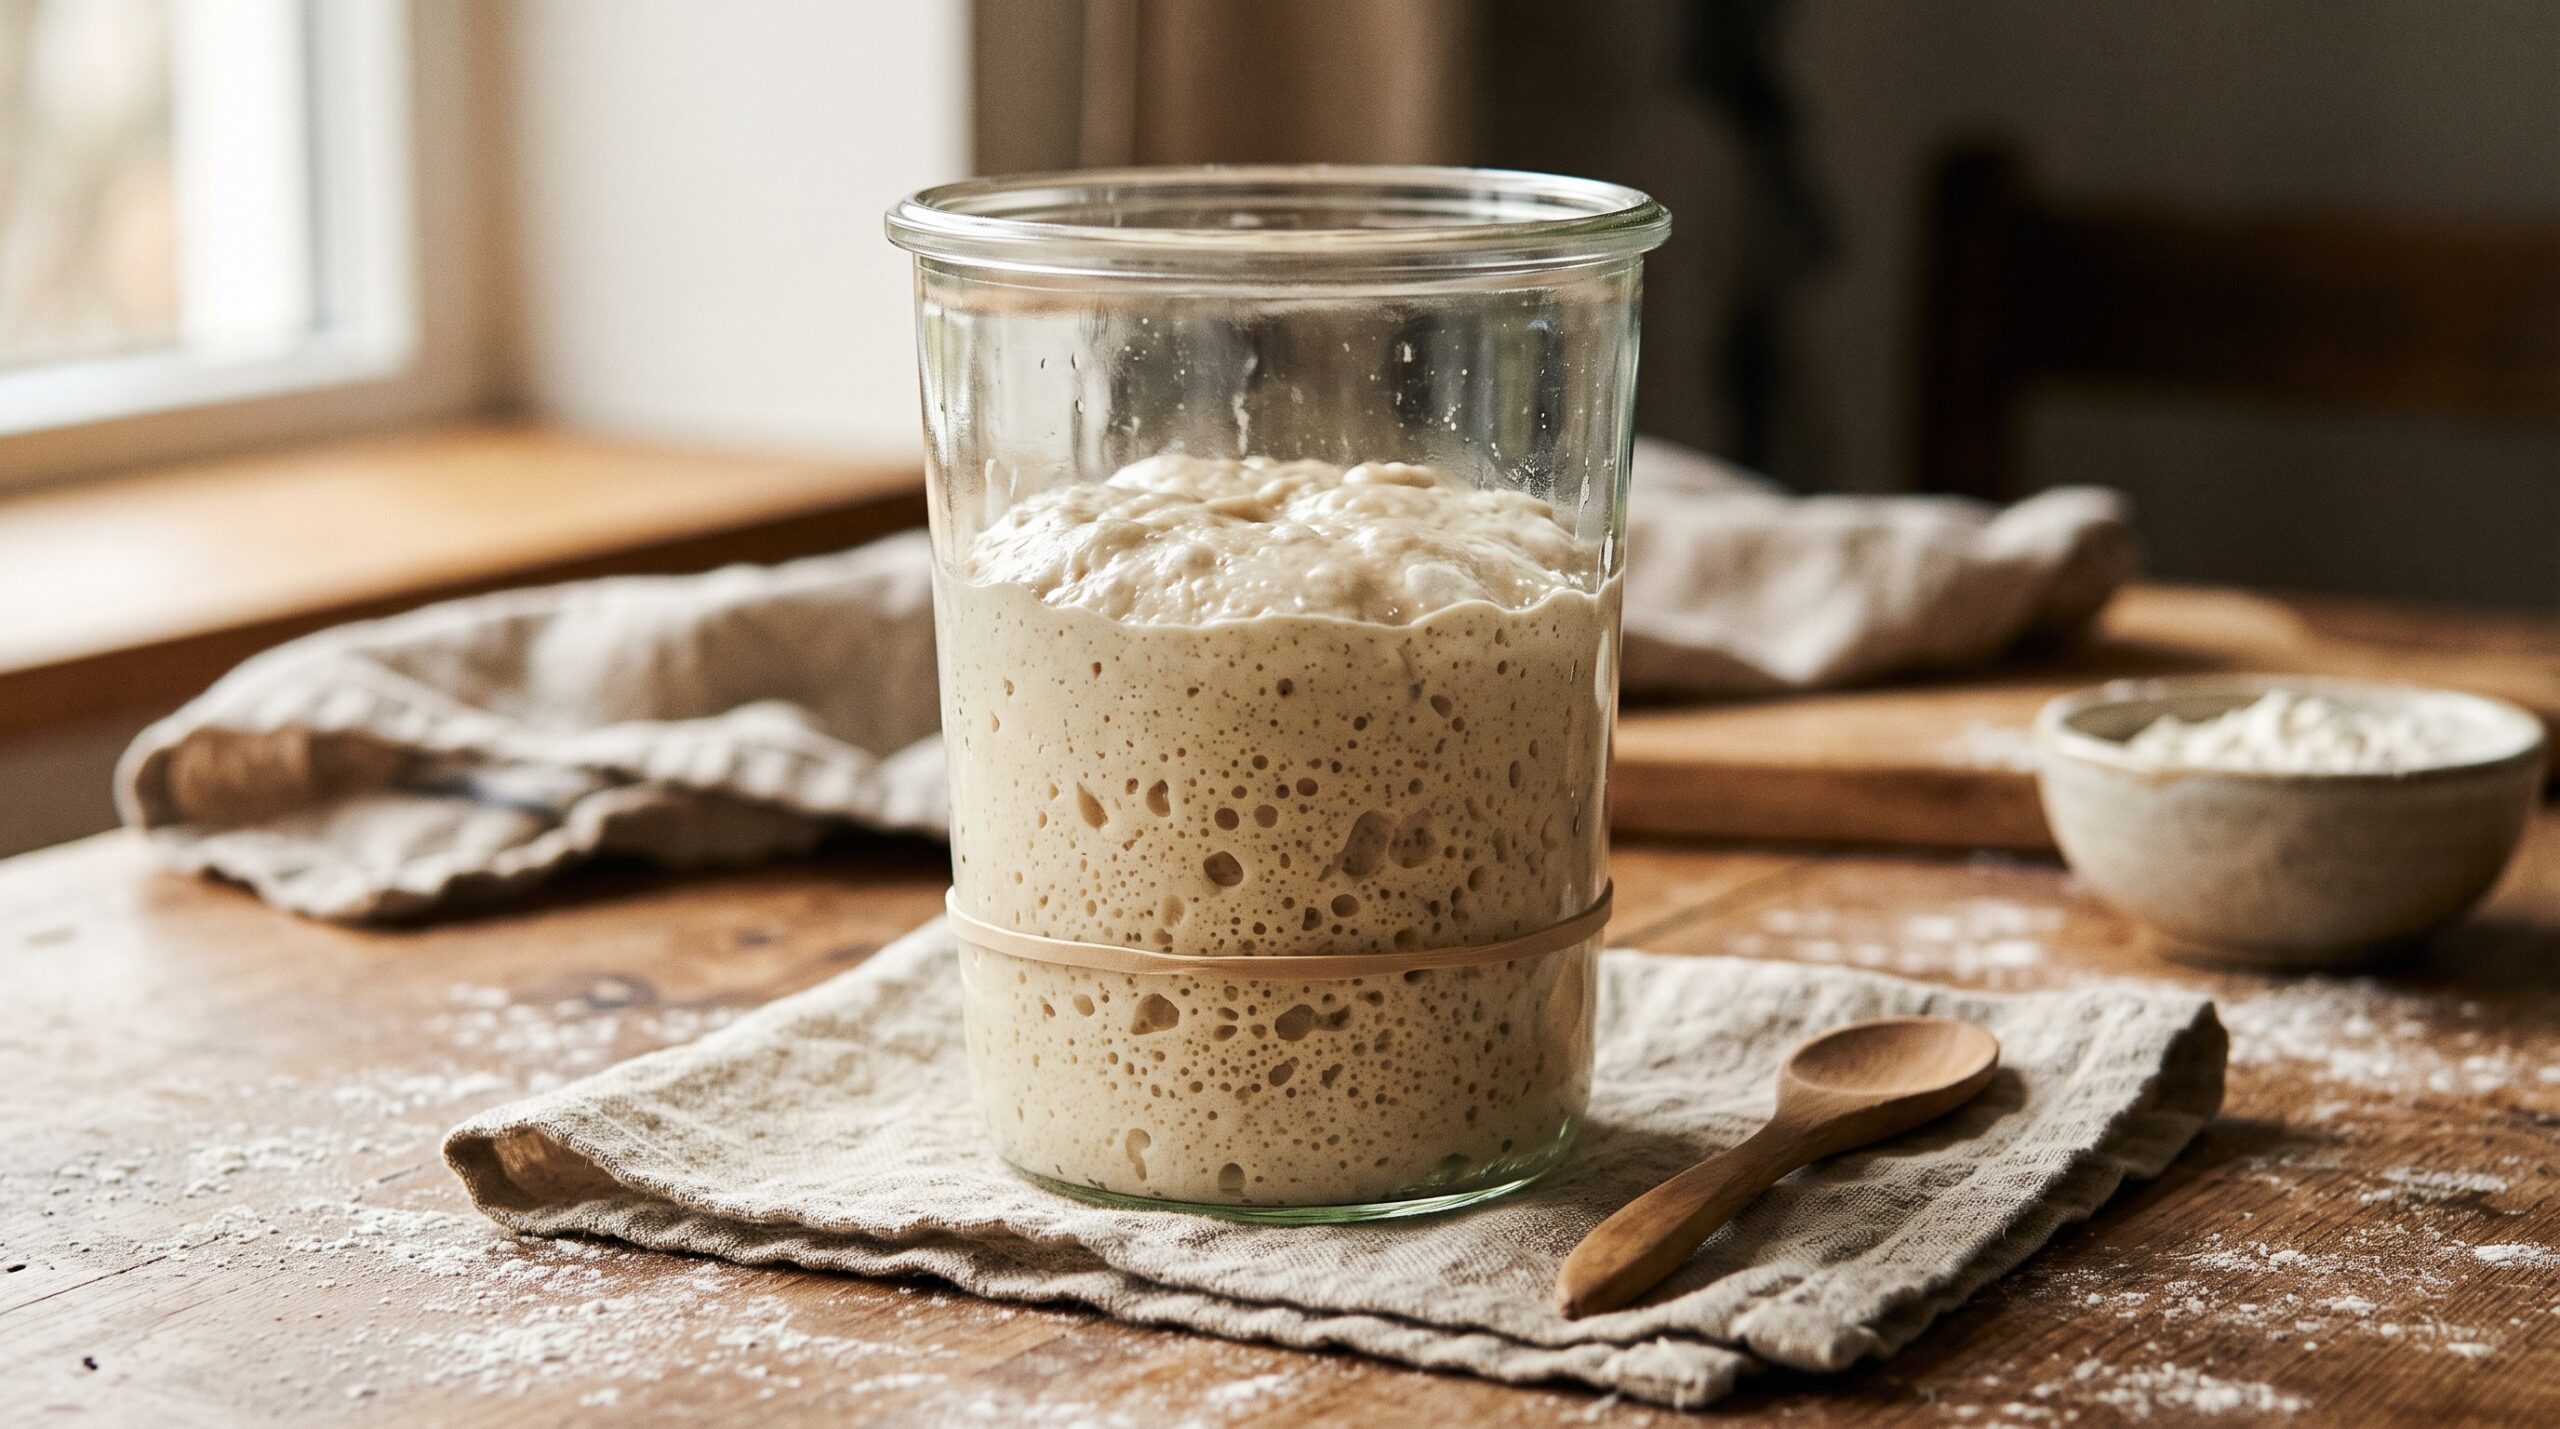
Bulk fermentation — the “first rise” — is the stretch after mixing when your whole batch of dough ferments together, before you divide and shape it. This is where the wild yeast inflates the dough with gas and the bacteria build flavour and structure. Get it right and you’ve done most of the hard work; the final proof and the bake are comparatively forgiving. Get it wrong and nothing downstream can rescue it.
The reason a set time fails so often is that fermentation runs on temperature, not minutes. The same dough that’s perfectly bulked in four hours at a warm 26°C might need seven or eight hours in a cool 20°C kitchen — and could be racing toward overproofed in under three on a hot summer afternoon. A recipe can only ever give you the time that worked in its conditions. Your job is to stop reading the clock and start reading the dough.
The signs that actually matter
Forget “double in size” — that old advice is a big reason people overshoot bulk and end up with slack, spreading loaves. For most everyday sourdough, you’re aiming to end bulk when the dough has risen roughly 50 to 75 percent, not a full 100. Here’s the cluster of signs that, together, tell you it’s time:
- A meaningful rise. The dough is noticeably puffier and taller — up by about half again, give or take — not doubled.
- A domed, alive surface. The top has gone from flat and slack to gently domed, smooth, and a little glossy.
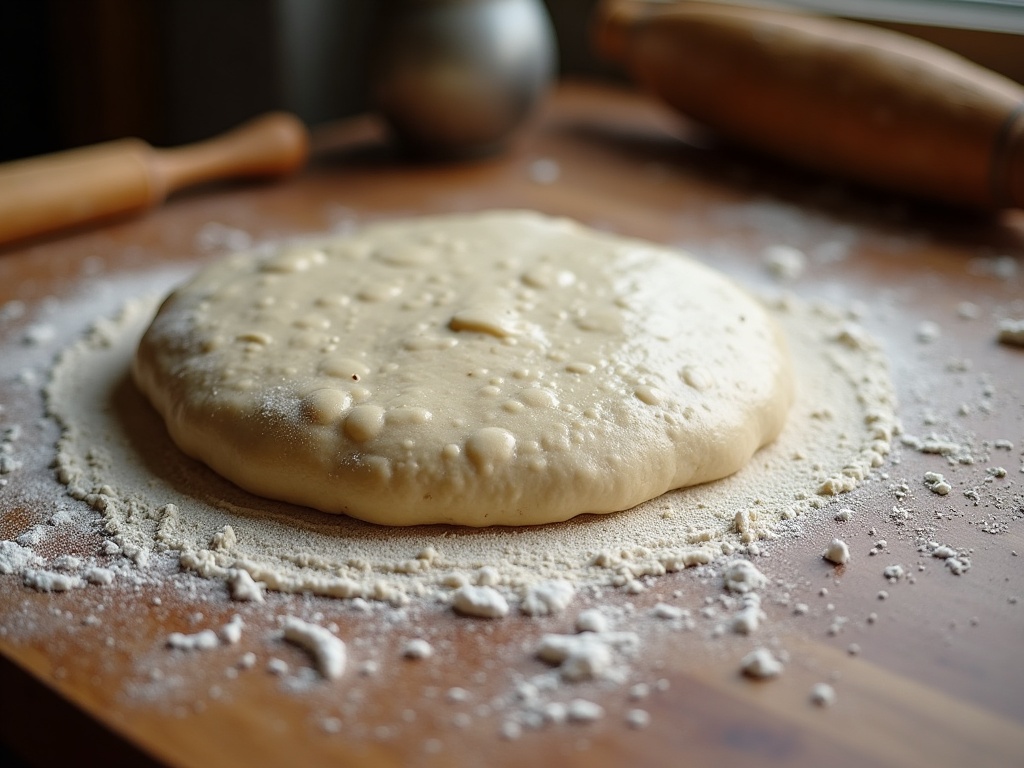
- Bubbles you can see. Small and large bubbles appear on the surface and along the sides of the container, and a few may be just breaking through the top.
- A jiggle. Nudge the bowl and the dough wobbles like a soft set jelly — it feels aerated and lively rather than dense and dead.
- It pulls from the sides. The edges begin to release and dome away from the walls of the container.
No single one of these is proof on its own. Read them together, and when most of them line up, you’re there.
The aliquot jar: the most reliable method
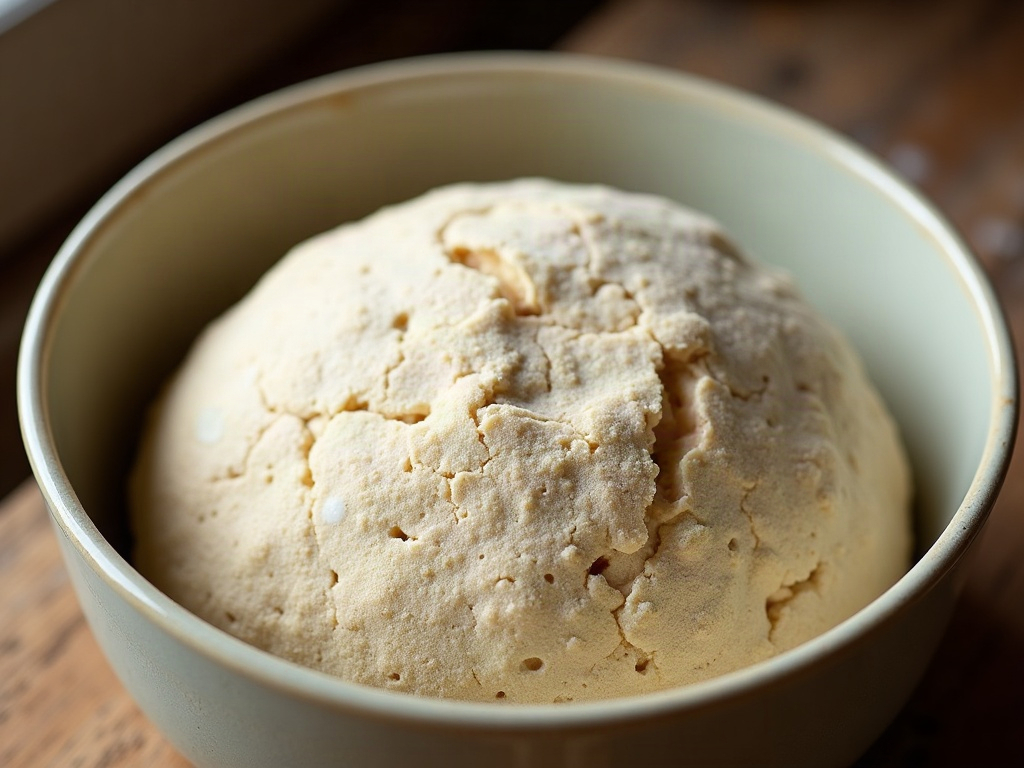
If you want to take the guesswork out entirely, use an aliquot jar — it’s the single biggest upgrade you can make to your bulk-fermentation accuracy, and it costs nothing. Right after your last set of stretch-and-folds, pinch off a small, walnut-sized piece of the same dough and press it into a small straight-sided jar, flattening the top. Mark the level with a rubber band or a marker.
Because this little sample sits in the same spot at the same temperature as your main dough, it rises at the same rate — but in a clear, straight-sided container you can measure the rise precisely. When the sample has climbed to about 50 percent above its starting mark (a bit more for an open, airy crumb; a bit less if your kitchen is very warm or your starter very active), bulk is done. No poking your actual dough, no denting the loaf, no guessing. A straight-sided container is the key detail here, for both the jar and your main dough — a curved bowl distorts how much the dough has actually risen and makes percentages impossible to judge.
The poke test and the wobble
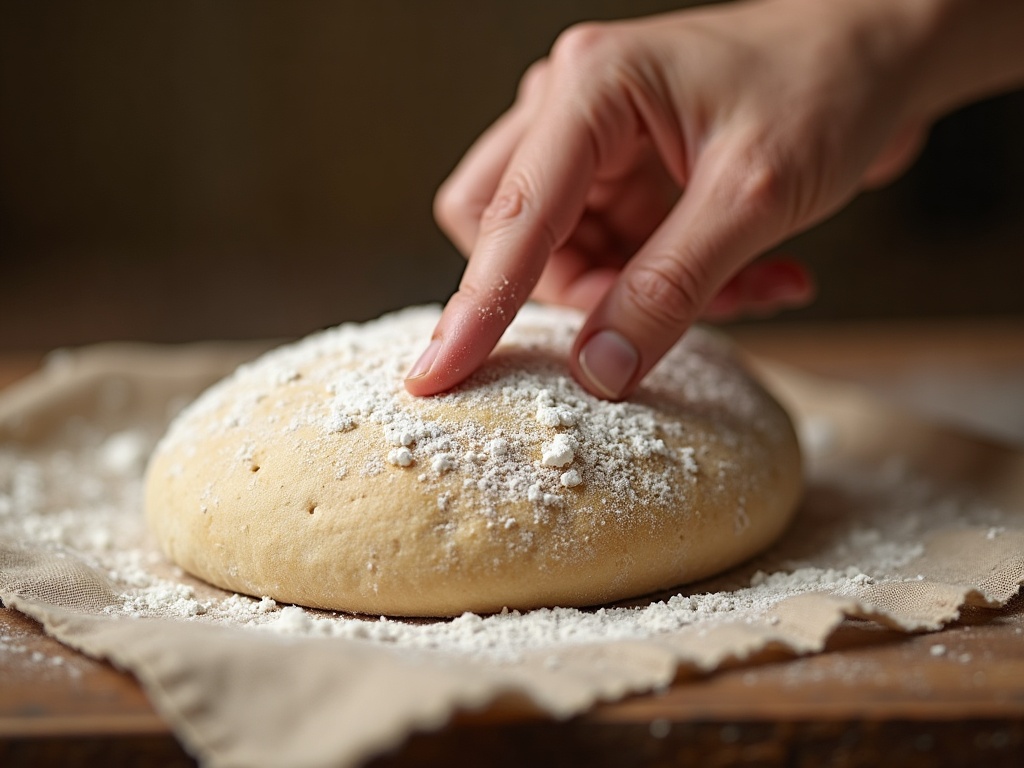
Without a jar, you read the dough directly, and the poke test is your best tactile check. Flour a finger and press gently into the dough about a centimetre deep. A dough that’s ready gives softly, feels airy, and springs back slowly, leaving a shallow dimple that fills in over a few seconds. If it springs back fast and firmly and the dent vanishes instantly, it’s underfermented — give it more time. If the dent stays put and the dough feels slack, deflated, or sighs out gas, you’ve gone past the ideal window into overproofing.
Pair the poke with the wobble and the visual signs. A ready dough jiggles, domes, shows bubbles, and holds a slow-filling dimple. When those agree, trust them over any number in the recipe.
Temperature changes everything
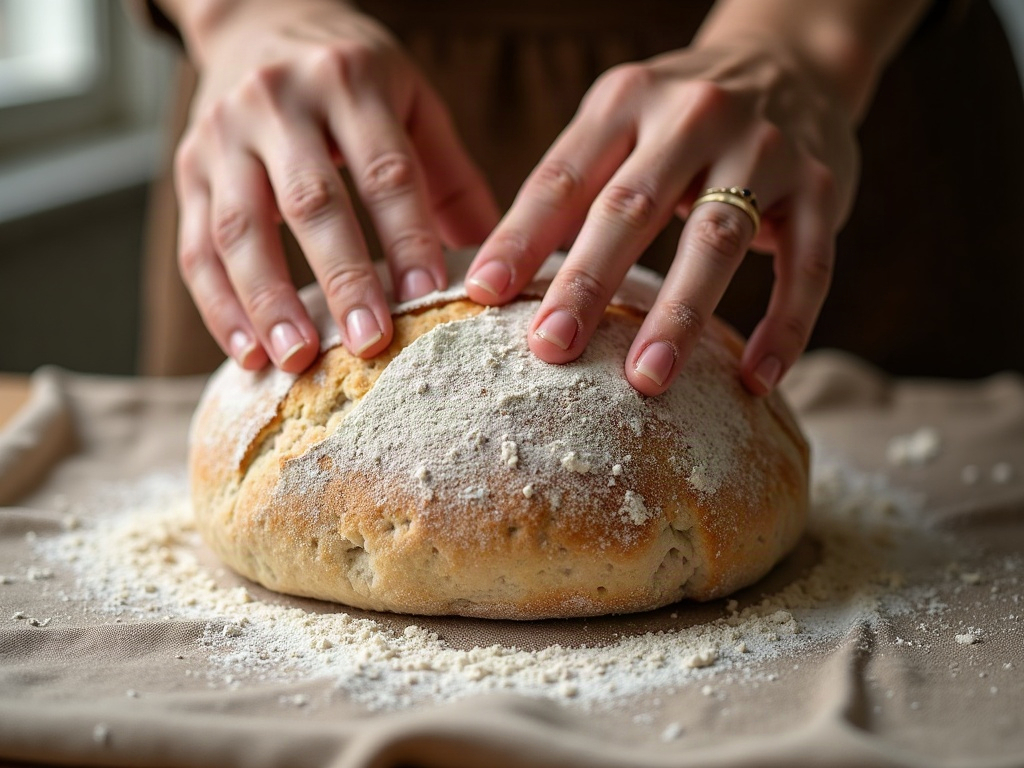
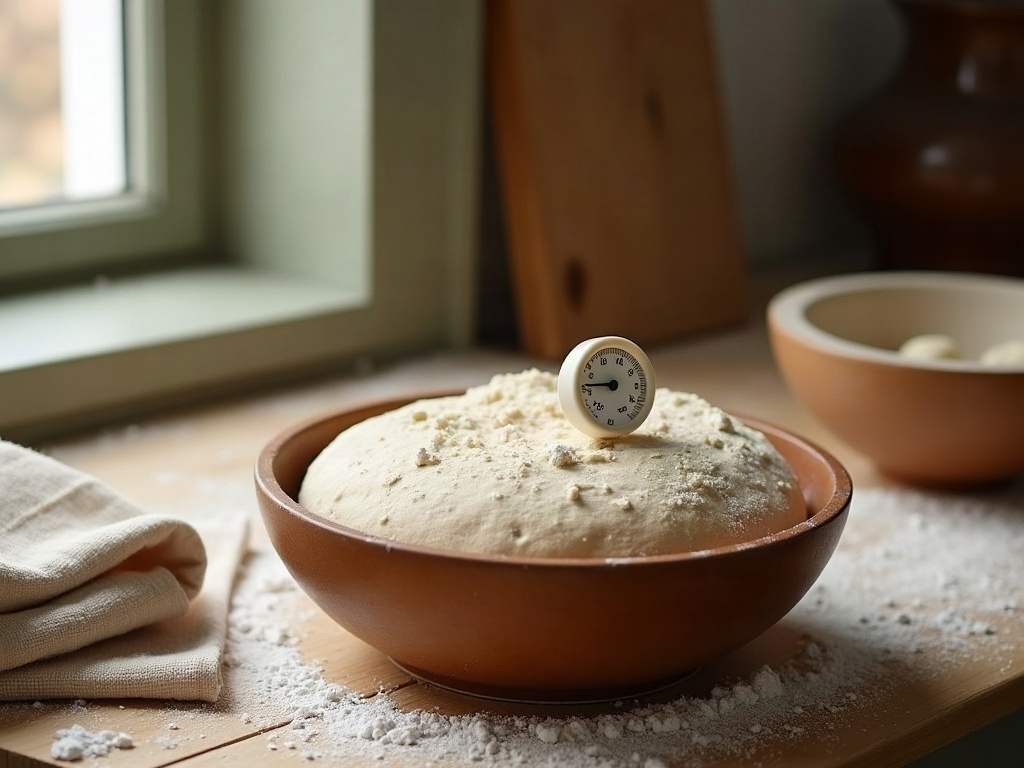
If you only take one thing from this article, make it this: know your dough’s temperature. A cheap instant-read thermometer poked into the dough turns bulk fermentation from a mystery into a decision. Most sourdough behaves beautifully with a dough temperature around 24 to 26°C. Warmer than that and everything accelerates — you’ll need to watch closely and end bulk sooner. Cooler, and you’ll simply need patience; a 19°C kitchen can easily double the time your recipe suggested, and there’s nothing wrong with that.
This is exactly why bakers working around a job lean on temperature to bend the schedule — a cooler spot to stretch bulk across a workday, a warmer one to speed it up. If that’s you, our guide to baking a real loaf around a full-time work schedule shows how to use temperature deliberately rather than fighting it. The signs of doneness don’t change with temperature — only how long they take to appear.
What under- and over-fermenting look like in the loaf
The whole point of reading bulk correctly is what comes out of the oven, so it helps to recognise the two failure modes in the finished loaf and trace them back.
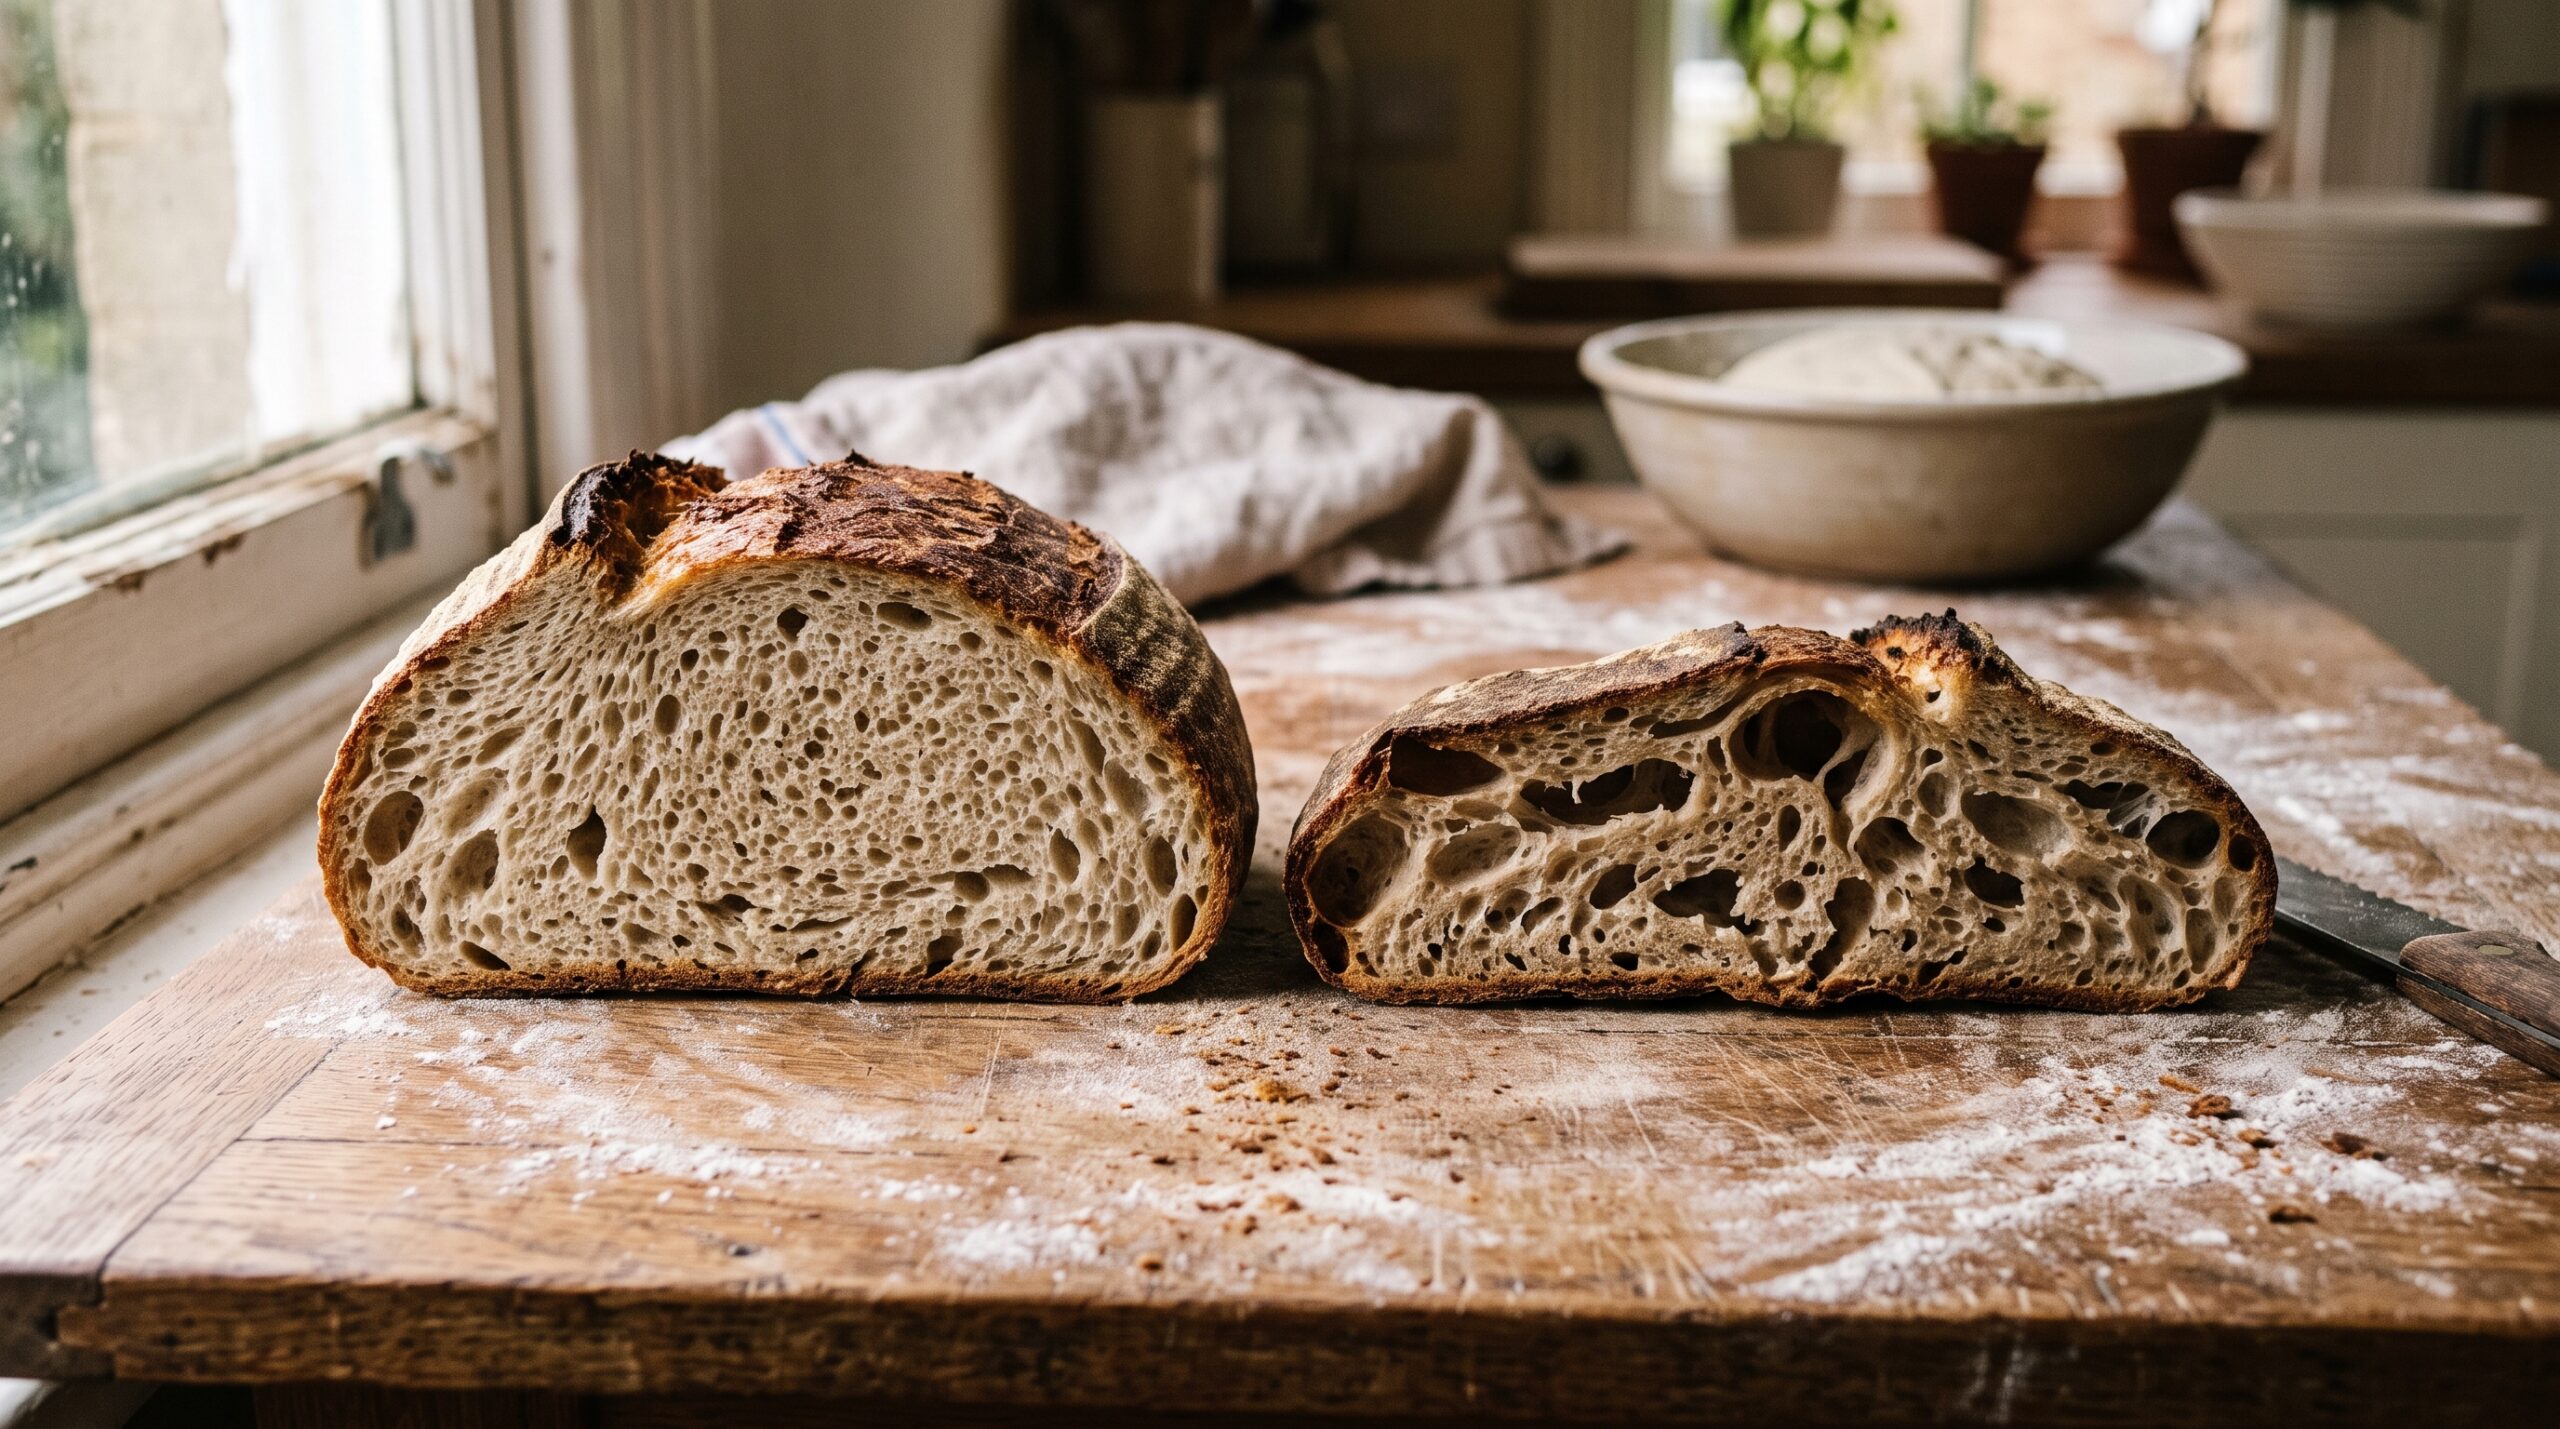
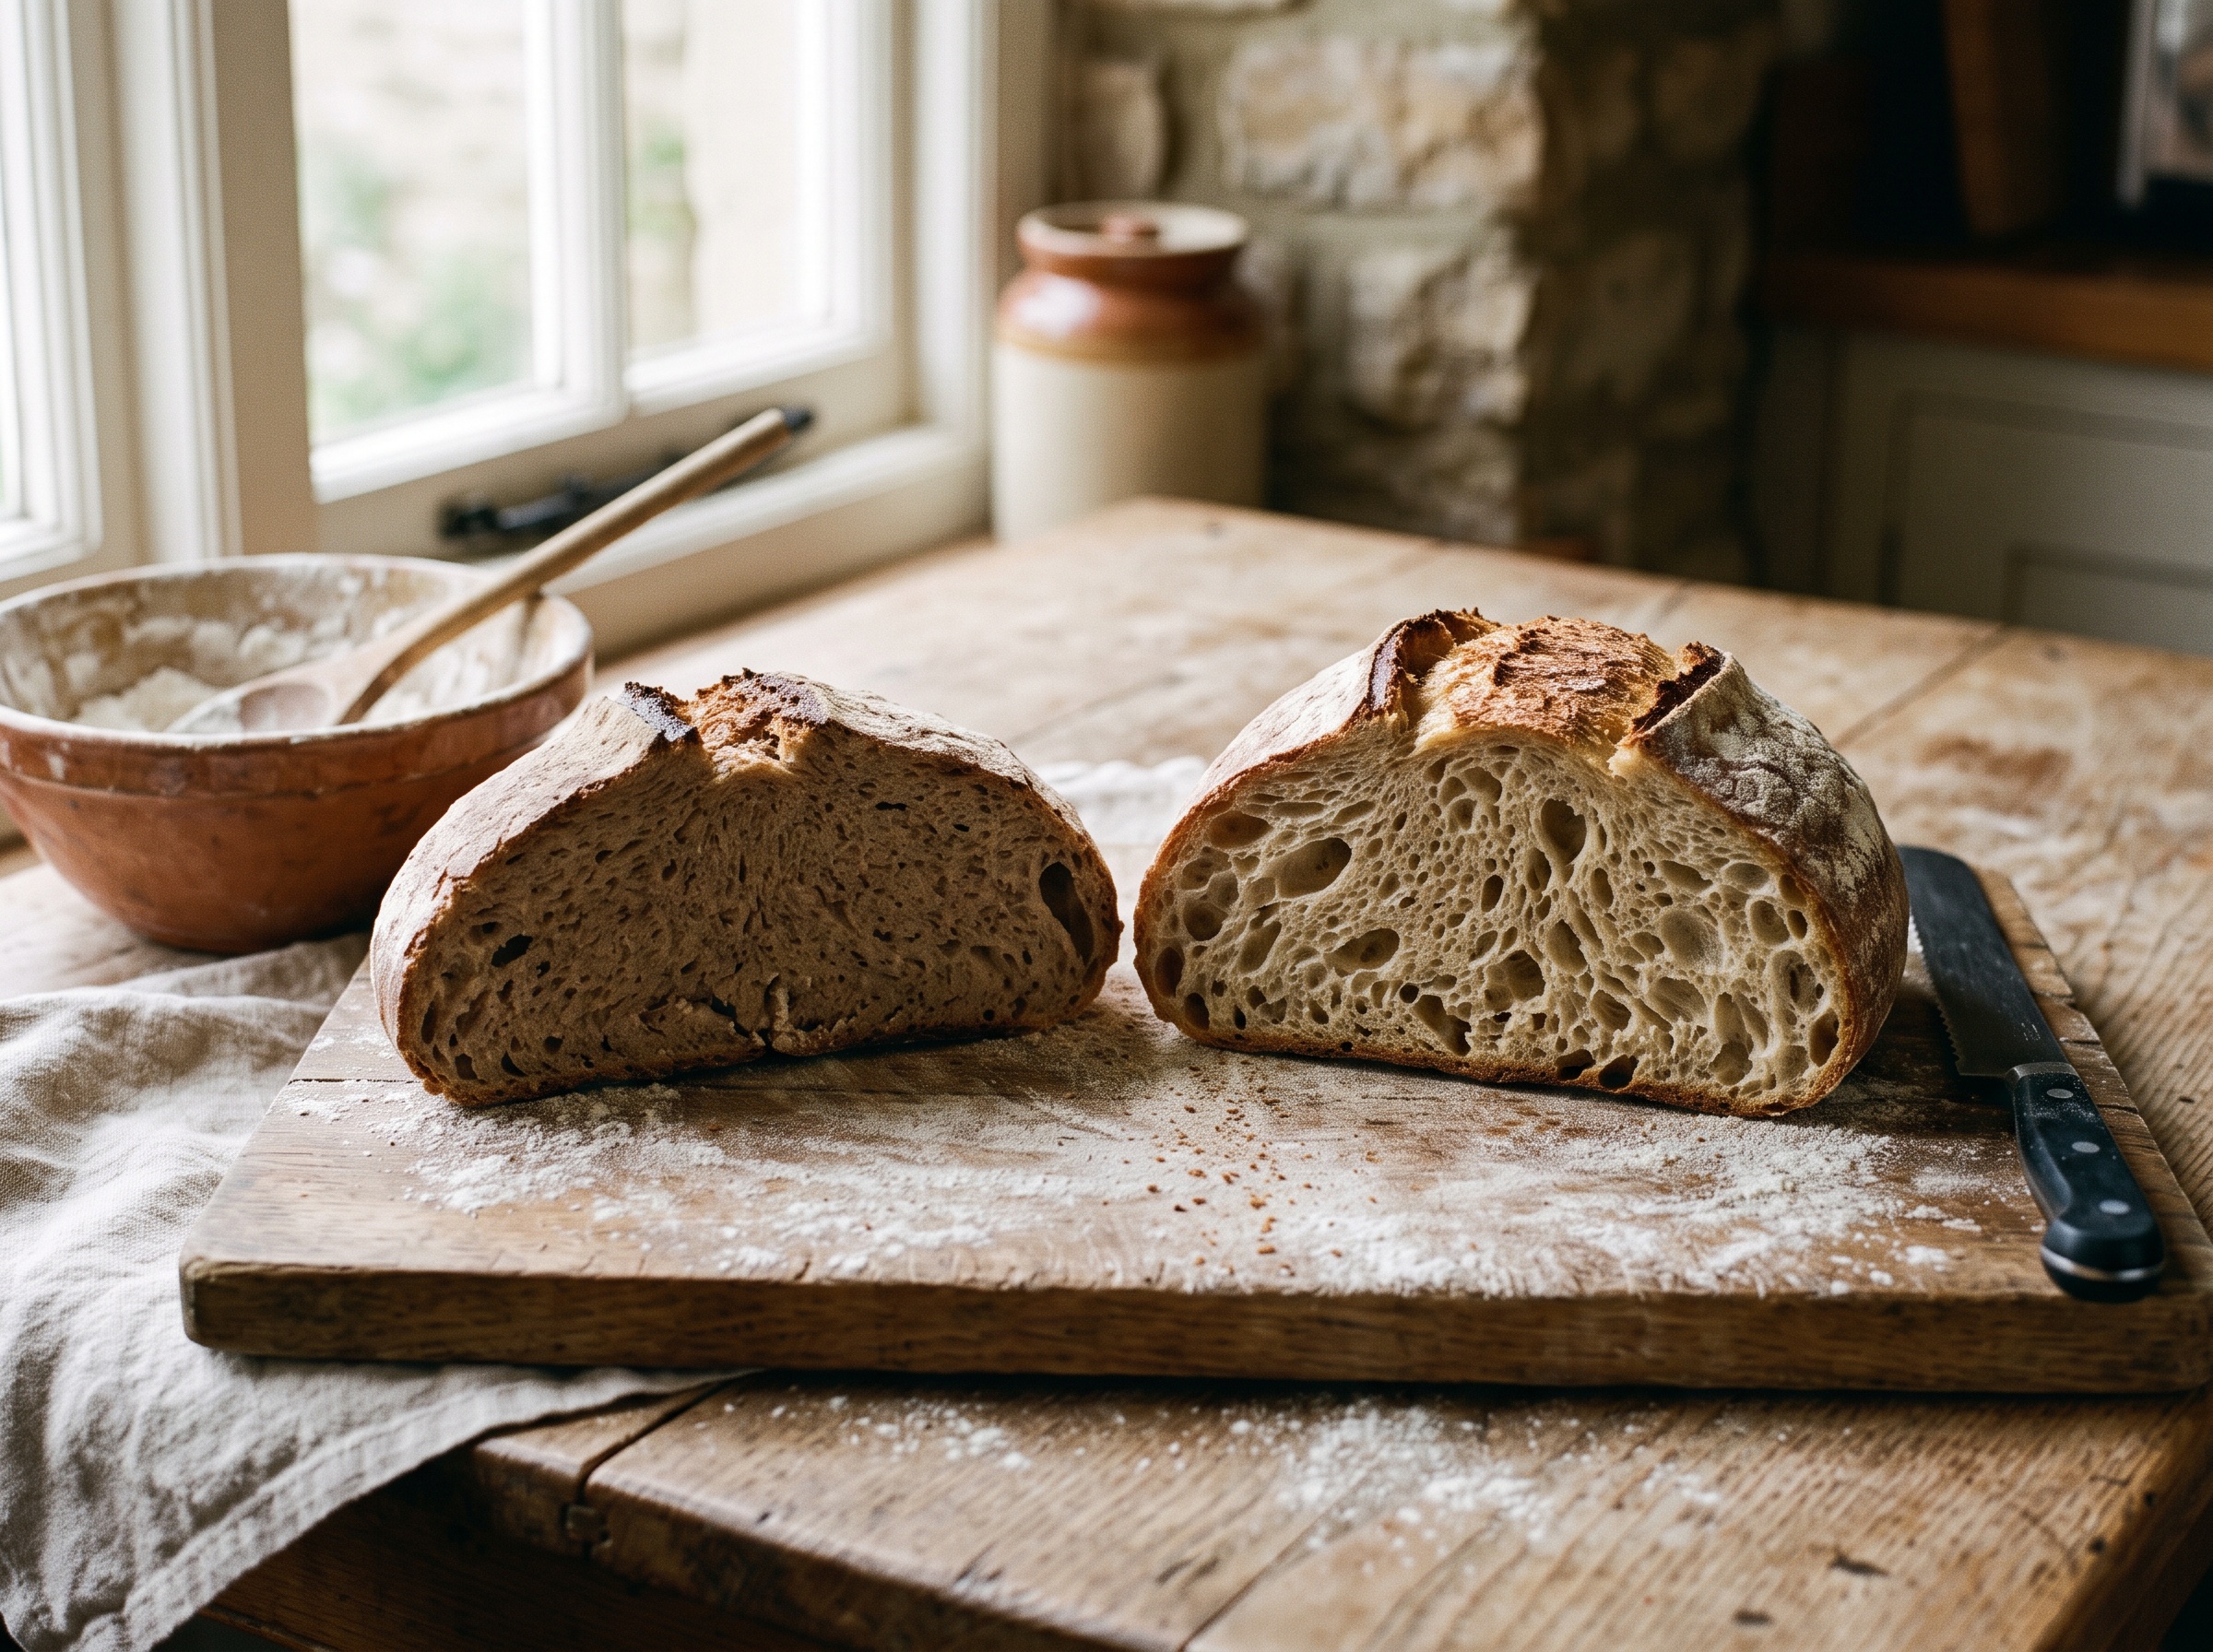
Underfermented (bulk ended too early) tends to bake up dense and tight, with a pale, gummy, close crumb and often a dramatic but misleading burst at the score, because the dough had too much gas still to give. If your loaves come out heavy and tight-crumbed, short bulk is a prime suspect — it’s one of the leading causes of a gummy, dense crumb.
Overfermented (bulk ran too long) leaves the dough slack, sticky, and structurally exhausted. It struggles to hold a shape, spreads outward instead of rising, tears easily, and gives you little to no oven spring. If your loaves spread flat instead of rising tall, over-bulking is very often the reason. Because bulk and the final proof work together, it’s also worth understanding how the two stages interact — our breakdown of overproofed versus underproofed dough connects the whole timeline from first rise to bake.
A simple, repeatable routine
Put it all together and bulk fermentation stops being the scary part. Here’s a routine you can lean on every bake:
- Set up to measure. Bulk in a straight-sided container, and set an aliquot jar with a marked line right after your final fold.
- Take the dough’s temperature once or twice so you know whether you’re on the fast or slow track, and roughly when to start checking.
- Watch the signs, not the clock. Check in as the dough approaches a 50 to 75 percent rise; look for the dome, the bubbles, the jiggle, and the pull from the sides.
- Confirm with a poke. A slow, partial spring-back seals it — shape now.
- Keep notes. Jot the temperature, the timing, and how the loaf turned out. After a few bakes you’ll know your own kitchen cold, and the whole thing becomes second nature.
Err slightly toward ending bulk a touch early if you’re unsure. A marginally underfermented dough still shapes and bakes into a decent loaf; an overfermented one is far harder to save.
Read the dough, and it will tell you
Bulk fermentation feels intimidating because recipes frame it as a countdown you can fail. It isn’t. It’s a conversation — the dough shows you a rise, a dome, a scatter of bubbles, a slow spring-back, and all you have to do is learn to notice. Set up a straight-sided container and an aliquot jar, take a temperature reading, aim for that 50 to 75 percent rise, and confirm with a gentle poke. Do that a handful of times and you’ll never again wonder whether it’s “ready.”
If you’d rather see exactly what a properly bulked dough looks like — the wobble, the surface bubbles, the poke springing back — the full step-by-step is on the LoafLovers YouTube channel, where those cues are so much clearer in motion than in words. And if you’d like it all in one place, grab our free sourdough troubleshooting guide and we’ll send the bulk-fermentation checklist straight to your inbox. Watch the dough, not the clock — that’s the whole secret.