Tag: proofing

  • Why Is My Sourdough Gummy? The Real Causes of a Dense, Underbaked Crumb (and How to Fix It)

    Why Is My Sourdough Gummy? The Real Causes of a Dense, Underbaked Crumb (and How to Fix It)

    You did everything right. You fed the starter, timed the folds, watched the loaf dome up golden in the oven. Then you cut into it an hour later and the middle is dense, sticky, almost raw-looking — the knife drags and the crumb smears instead of springing back. That gummy, gluey interior is one of the most common and most demoralizing sourdough problems, and it almost never means you have to start over. It means one specific thing went wrong, and once you can name it, you can fix it on the very next bake.

    This is the fix-it desk. We are going to walk the diagnostic arc: what “gummy” actually is, the real causes ranked from most to least common, and exactly how to correct each one. Grab your last loaf if you still have it — the crumb tells the story.

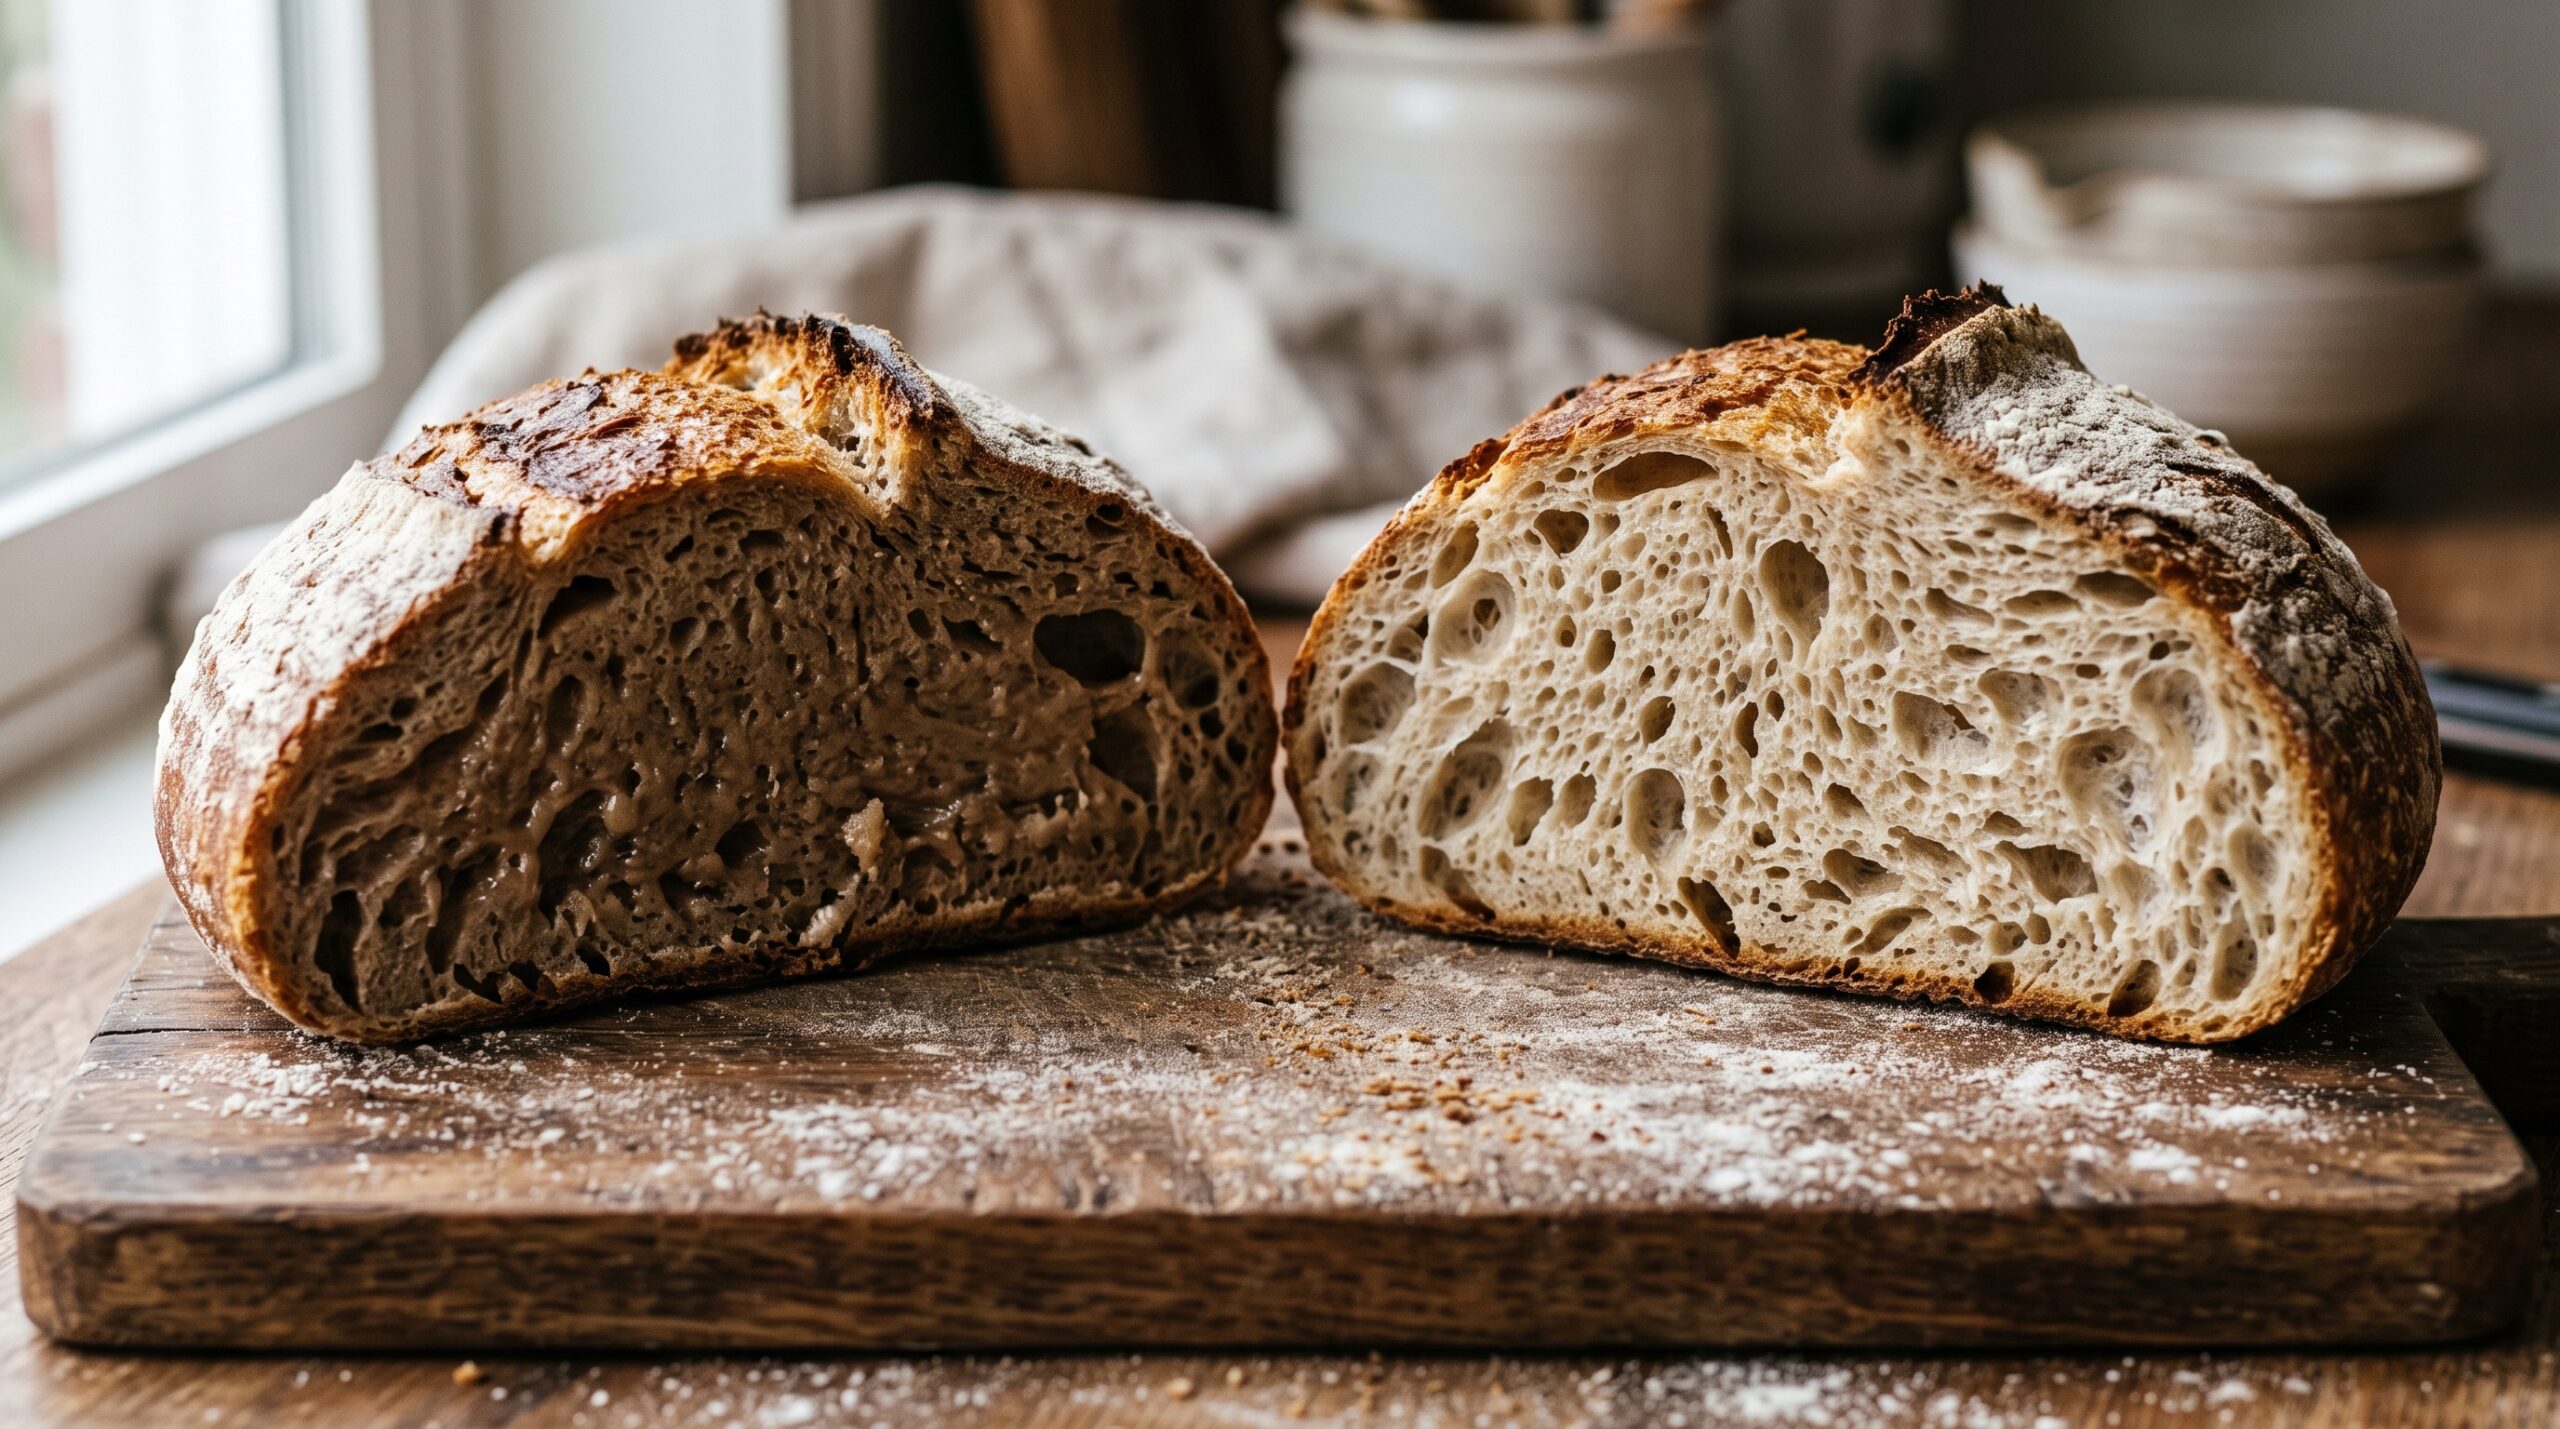
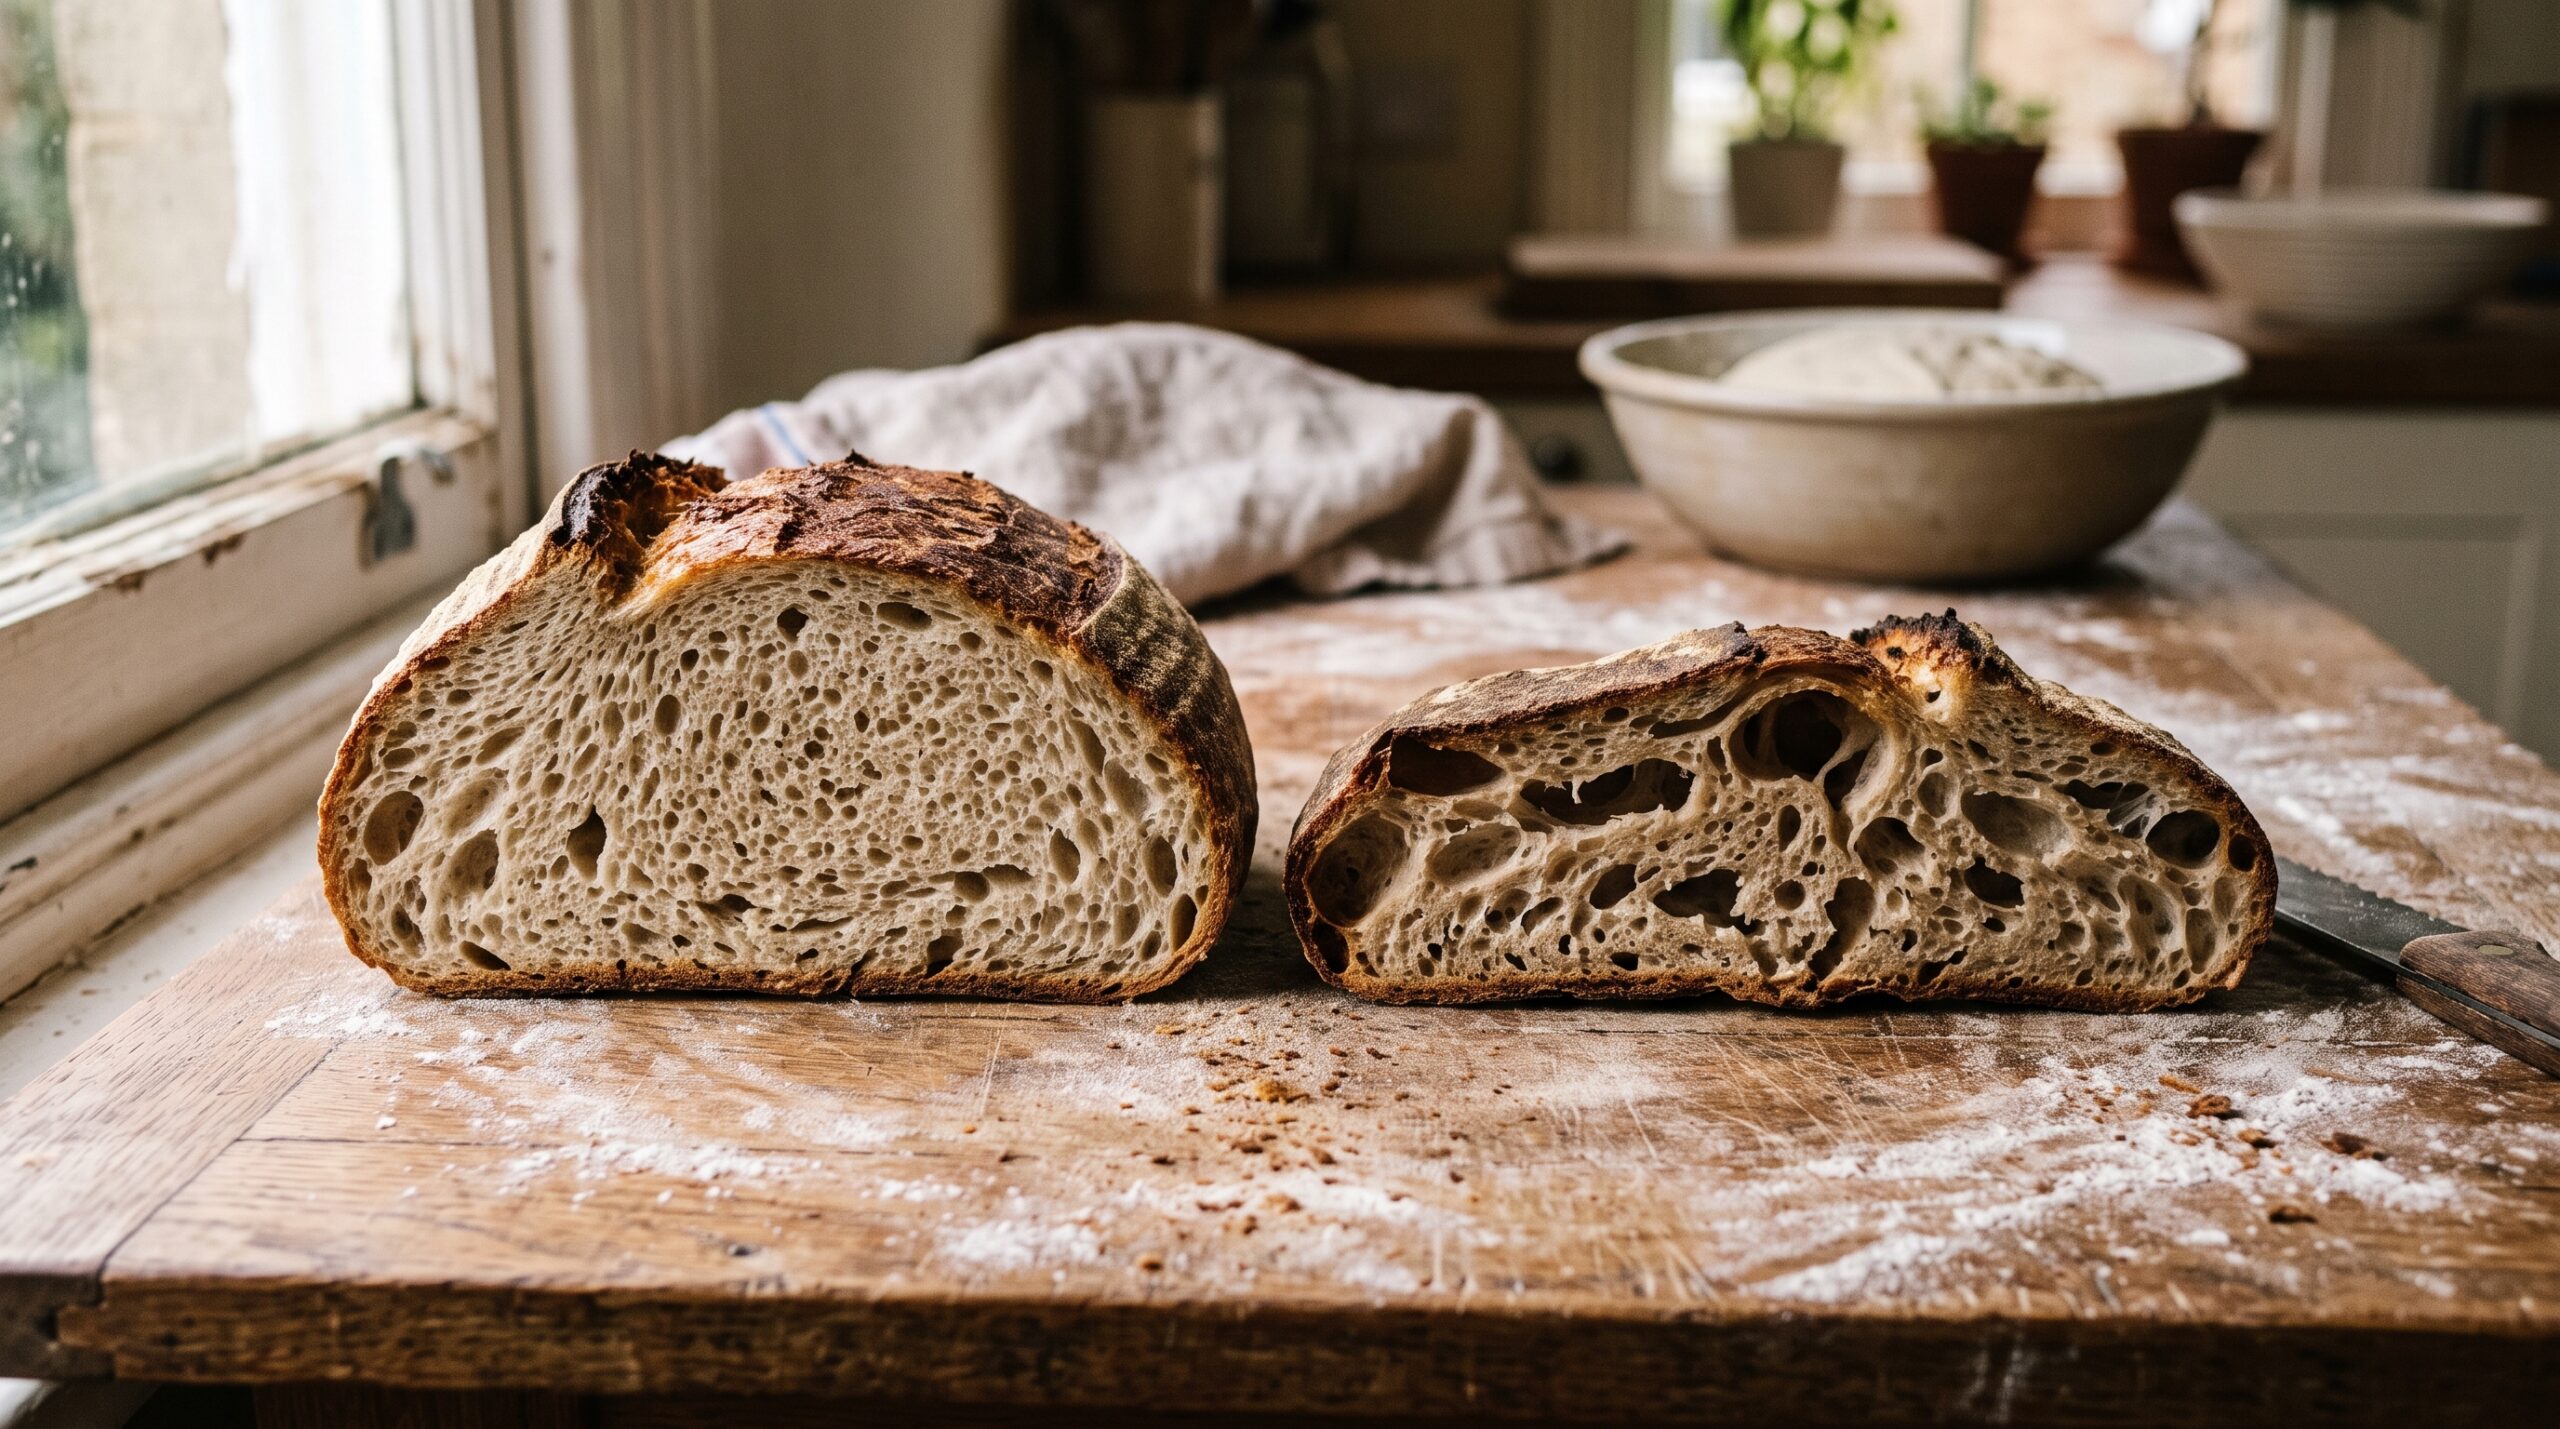
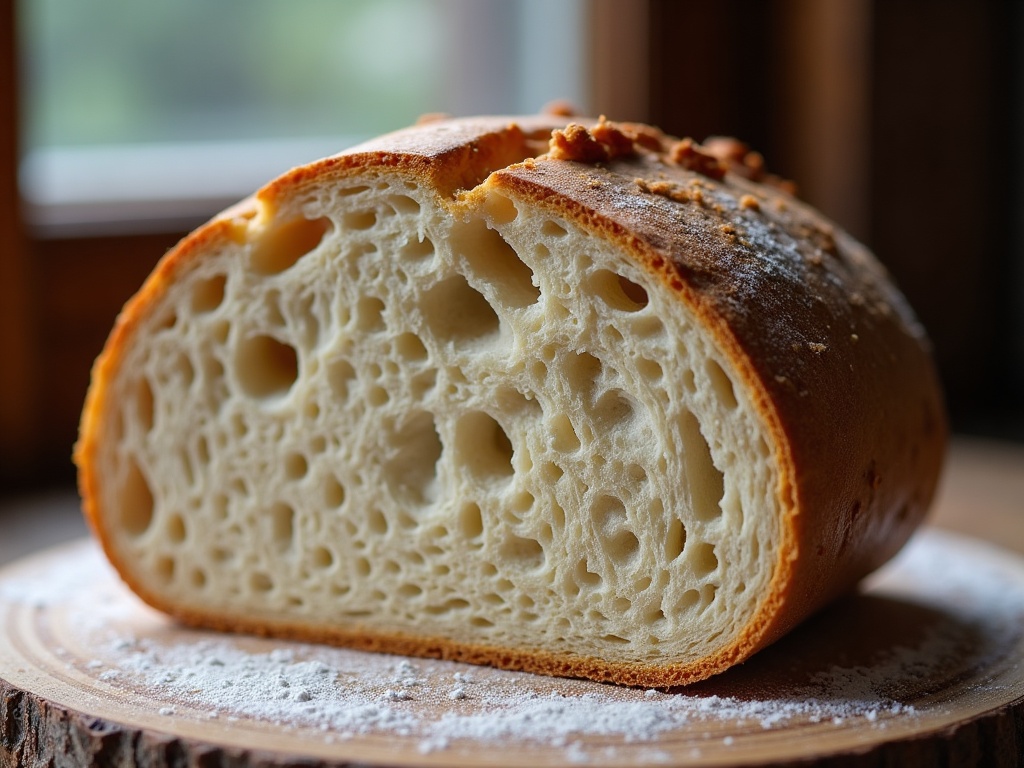
    Two sourdough loaf halves compared: a gummy dense crumb on the left and an open well-set crumb on the right
    Gummy versus set: a sticky, streaky center on the left, a properly baked open crumb on the right.

    First, What “Gummy” Actually Means

    Bakers throw around three words that get tangled together: gummy, dense, and dry. They are not the same problem, and mixing them up sends you chasing the wrong fix.

    Gummy is a moisture-and-set problem. The crumb feels sticky or pasty, it compresses under the knife instead of tearing cleanly, and it can look translucent or streaky near the center. Dense is a rise problem — a tight, heavy crumb with few holes, but the texture is still cooked and dry to the touch. Dry is the opposite of gummy: crumbly, thirsty, falling apart. You can have a loaf that is both dense and gummy at once, which is why diagnosis matters. For the rest of this guide we are hunting the sticky, unset, gluey interior specifically.

    Cause #1: You Sliced It Too Soon

    This is the single most common reason a perfectly good loaf reads as gummy — and the easiest to fix. When bread comes out of the oven it is still cooking. The interior is full of hot steam and the starches are only partly set. Cutting in while it is warm releases that steam, collapses the delicate structure, and the knife smears the still-gelatinizing crumb into a paste. You did not bake a bad loaf. You interrupted it.

    The fix: cool the loaf completely on a wire rack before slicing — a minimum of two hours for a standard boule, and closer to three to four hours for a large, high-hydration loaf. I know that is agonizing when it smells that good. Set a timer, walk away, and cut it cold. Nine times out of ten the “gummy” crumb was simply an impatient crumb.

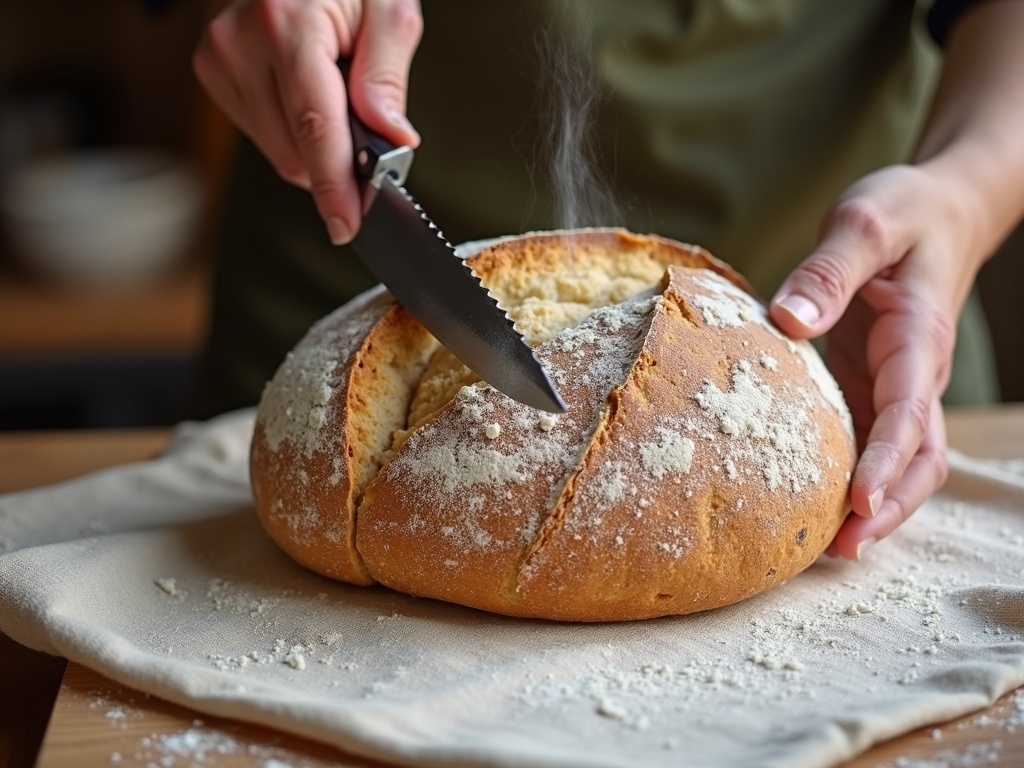
    A knife smearing the sticky crumb of a warm sourdough loaf cut too soon
    Cutting in warm releases steam and smears the crumb — often the whole reason it looks gummy.

    Cause #2: It Is Genuinely Underbaked

    If you waited the full cool-down and the center is still sticky, the loaf was undercooked. Home bakers chronically pull bread too early because they judge by color or by the clock, and a dark crust can hide a raw core — especially in enriched or whole-grain doughs that brown fast.

    The fix: stop baking by time and start baking by internal temperature. Slide an instant-read thermometer into the center of the loaf; a lean sourdough is done at roughly 205 to 210 degrees Fahrenheit (about 96 to 99 Celsius). If it reads low, the inside is not set no matter how dark the crust looks. Two habits solve this for good: bake a little longer with the lid off to drive out moisture, and if your crust is racing ahead of the crumb, drop your oven 15 to 25 degrees and extend the bake so the heat has time to reach the middle.

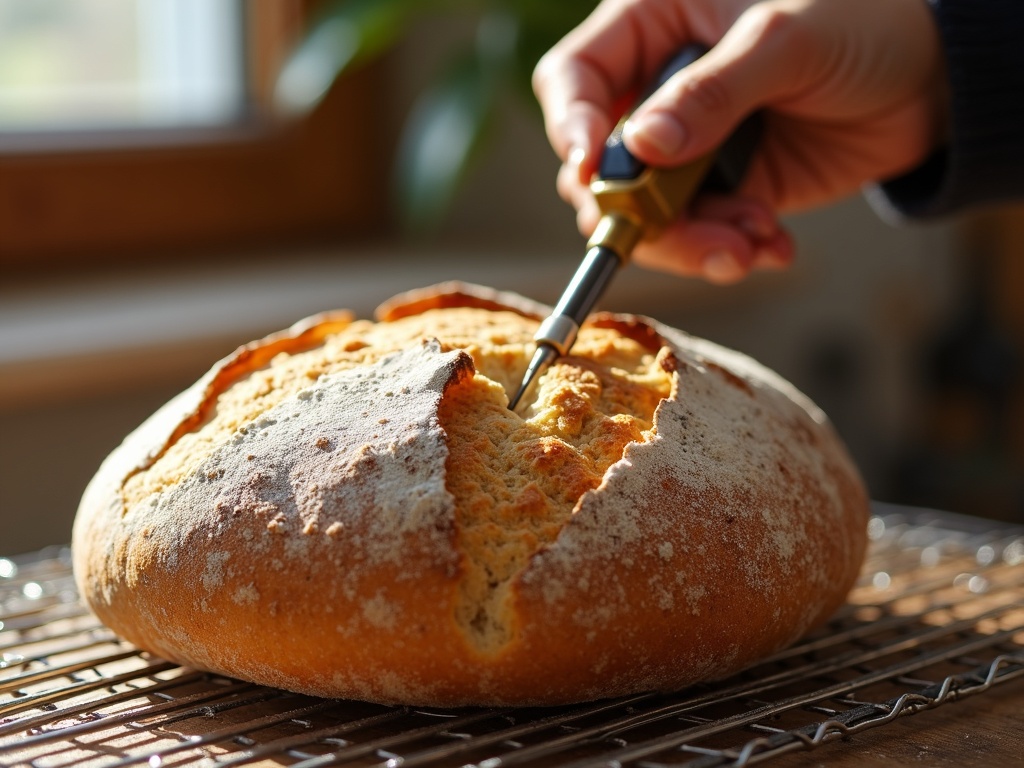
    An instant-read thermometer probed into the center of a sourdough loaf on a cooling rack
    Bake by internal temperature, not the clock — a lean loaf is done around 205 to 210 F in the center.

    Cause #3: The Dough Was Under- or Over-Proofed

    Proof is where gummy crumb is quietly born long before the oven. An underproofed dough has not developed enough gas and structure, so it bakes up tight, damp, and often with a gummy line just above the base. An overproofed dough has exhausted its gluten, collapses in the oven, and can also set into a dense, moist crumb.

    The fix: learn to read the dough, not the recipe’s clock — kitchen temperature changes everything. For underproofing, give the bulk ferment more time and look for a 50 to 75 percent rise, a domed and jiggly surface, and a few bubbles at the edges of the container. Use the poke test: a gentle dimple should spring back slowly and only partway. If it springs back instantly you are underproofed; if it stays fully sunken you have gone too far. When in doubt on a warm day, shorten bulk and let a cold overnight retard in the fridge do the finishing work.

    Cause #4: A Young or Sluggish Starter

    Everything downstream depends on your starter, and a weak one is a hidden cause of gummy loaves. If your starter is not reliably doubling within four to six hours of a feed, it does not have the yeast population to raise a loaf in a sensible window. The dough drags, you either underproof waiting for action that never comes or overproof chasing it, and the crumb pays the price.

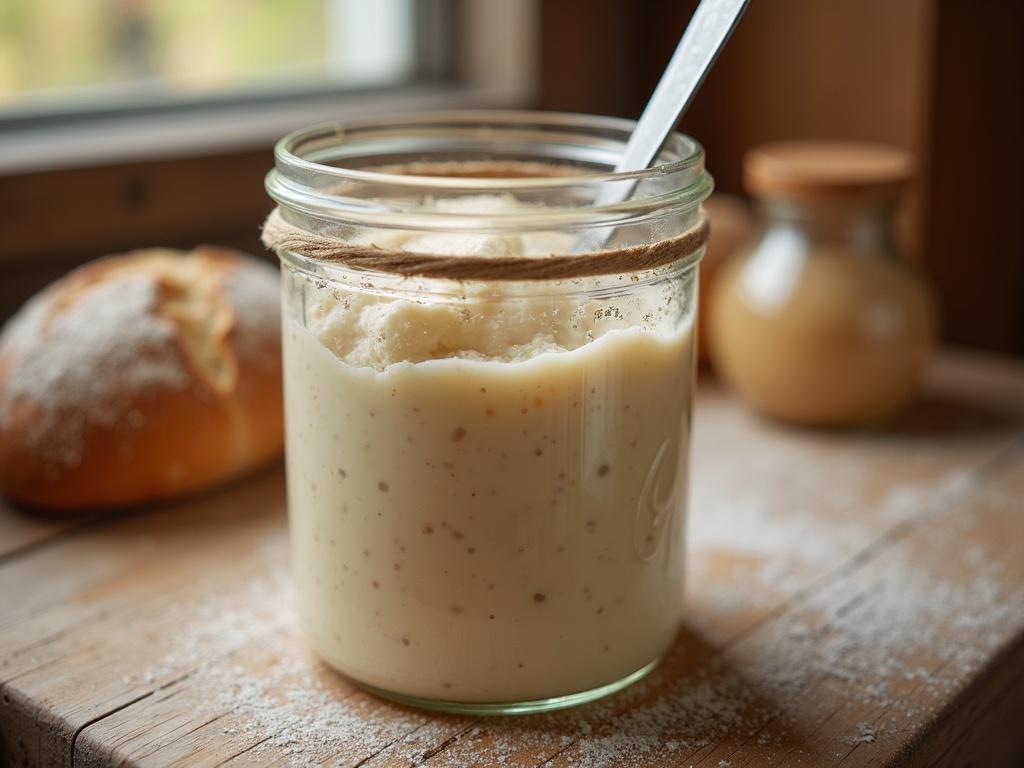
    The fix: get the starter strong before you blame the bake. Feed it on a consistent schedule at a 1:5:5 ratio (one part starter to five parts flour and water) in a warm spot, ideally 75 to 80 degrees Fahrenheit. Watch for a confident, predictable doubling with a domed, bubbly surface and a clean, tangy-yogurt smell — not sharp acetone or a layer of grey hooch. Only build your levain and mix a loaf when the starter is at that reliable peak. A lively starter is the cheapest insurance against a gummy crumb.

    A bubbly, doubled sourdough starter at peak in a glass jar
    A strong starter doubles in four to six hours — the cheapest insurance against a gummy loaf.

    Cause #5: More Water Than Your Flour Can Handle

    High hydration gives you that dreamy open crumb — but only if your flour and your technique can carry the water. Push the hydration too high for a lower-protein supermarket flour, or skip the gluten development, and the dough never builds enough structure to trap steam and set cleanly. The result bakes gummy and slack.

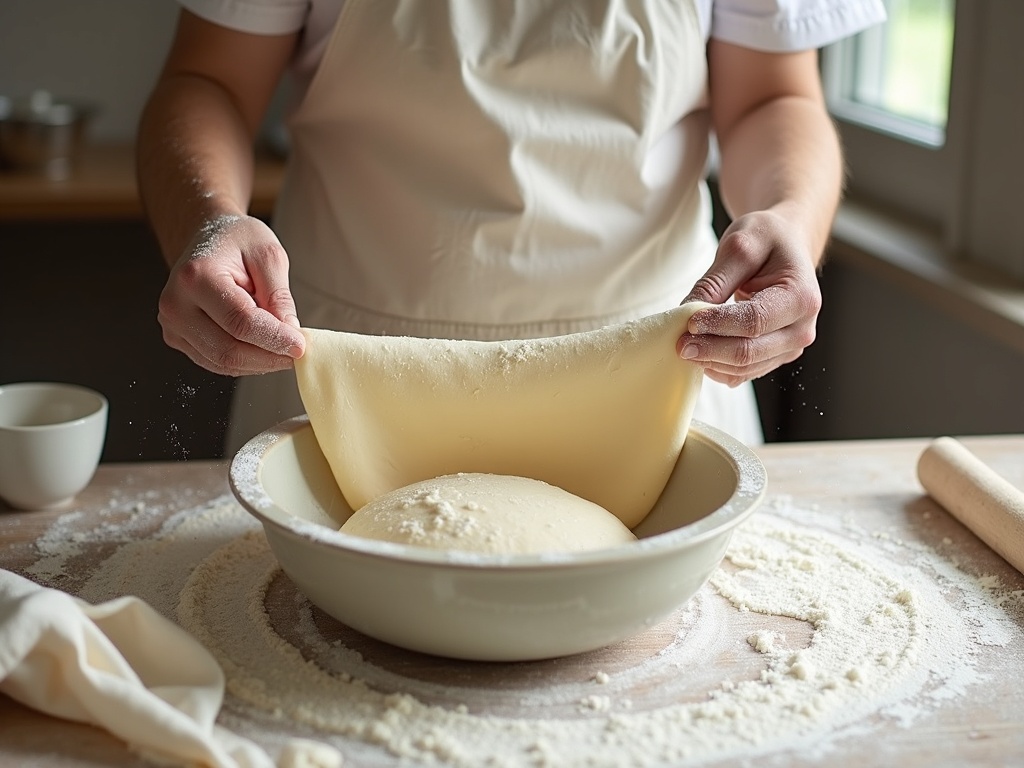
    The fix: match hydration to your flour and your skill honestly. If you are fighting gummy loaves, dial hydration back to 68 to 72 percent and get consistent results there before chasing 80 percent open crumb. Use a bread flour with 12 percent protein or higher for reliable strength. And build real gluten: a proper set of stretch-and-folds during bulk, or a short knead, so the dough passes a rough windowpane and holds its shape. Structure, not just extra water, is what gives you an open, well-set crumb.

    Wet hands stretching and folding a strong, elastic sourdough dough in a bowl
    Structure, not just extra water: proper stretch-and-folds build the gluten that sets an open crumb.

    Your Gummy-Crumb Fix-It Checklist

    Next time the center comes out sticky, run down this list in order — it is roughly most to least common:

    • Did you let it cool fully? Two-plus hours, cut it cold. Fix the easy one first.
    • Did you temp it? 205 to 210 F in the center for a lean loaf, or bake longer lid-off.
    • Was crust outrunning crumb? Lower the oven 15 to 25 F and extend the bake.
    • How was the proof? Aim for a 50 to 75 percent rise and a slow, partial poke-test spring-back.
    • Is your starter strong? It should double in four to six hours before you bake.
    • Is your hydration realistic? Drop to 68 to 72 percent and build proper gluten strength.

    Change one variable at a time, keep a short bake log, and the gummy loaf becomes a solved case rather than a recurring mystery. Sourdough is not luck — it is a set of readable signals, and you are learning to read them.

    Want to see each of these fixes in action? The full visual walk-through — cool-down tests, thermometer checks, and the poke test up close — lives on the LoafLovers YouTube channel. Grab our free sourdough troubleshooting guide while you are there, and we will send the next fix straight to your inbox. No hard sell, just better loaves.


    Sources & further reading:

    Related Reading

  • Overproofed vs Underproofed Sourdough: How to Tell – and How to Save the Loaf

    Overproofed vs Underproofed Sourdough: How to Tell – and How to Save the Loaf

    Your loaf came out wrong, and you’re staring at the crumb trying to work out what happened. Was it in the fridge too long? Not long enough? Almost every proofing failure comes down to one of two culprits – overproofing or underproofing – and here’s the frustrating part: they can produce loaves that look surprisingly similar. Both can bake up dense. Both can disappoint.

    The good news is that once you learn to read the dough instead of the clock, the two become easy to tell apart. And in most cases, the loaf in front of you can still be saved. Let’s diagnose it.

    Two sourdough cross-sections side by side, one dense, one collapsed
    Two failures, two opposite causes: underproofed and dense on the left, overproofed and collapsed on the right.

    First, What “Proof” Actually Means

    Proofing is fermentation. As wild yeast eats the sugars in your flour, it produces gas, and that gas inflates the network of gluten you built during mixing and folding. Get it right and the dough is light, airy, and full of tension – ready to spring in the oven. Proofing happens in two stages: bulk fermentation (the long rise after mixing) and the final proof (after shaping, often overnight in the fridge).

    Underproofed means you baked before the yeast finished its work – not enough gas, not enough airy structure. Overproofed means fermentation ran too long, the gluten broke down, and the dough can no longer hold the gas it made. Two opposite problems, and knowing which one you have decides everything about how you fix it.

    The Poke Test, Done Right

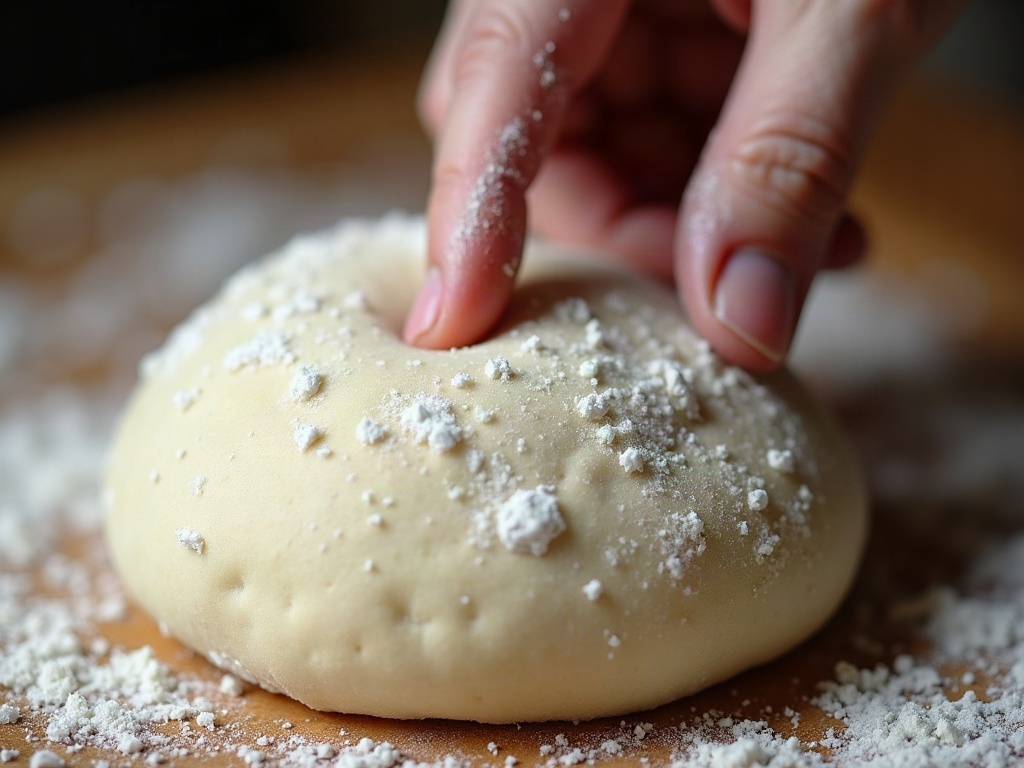
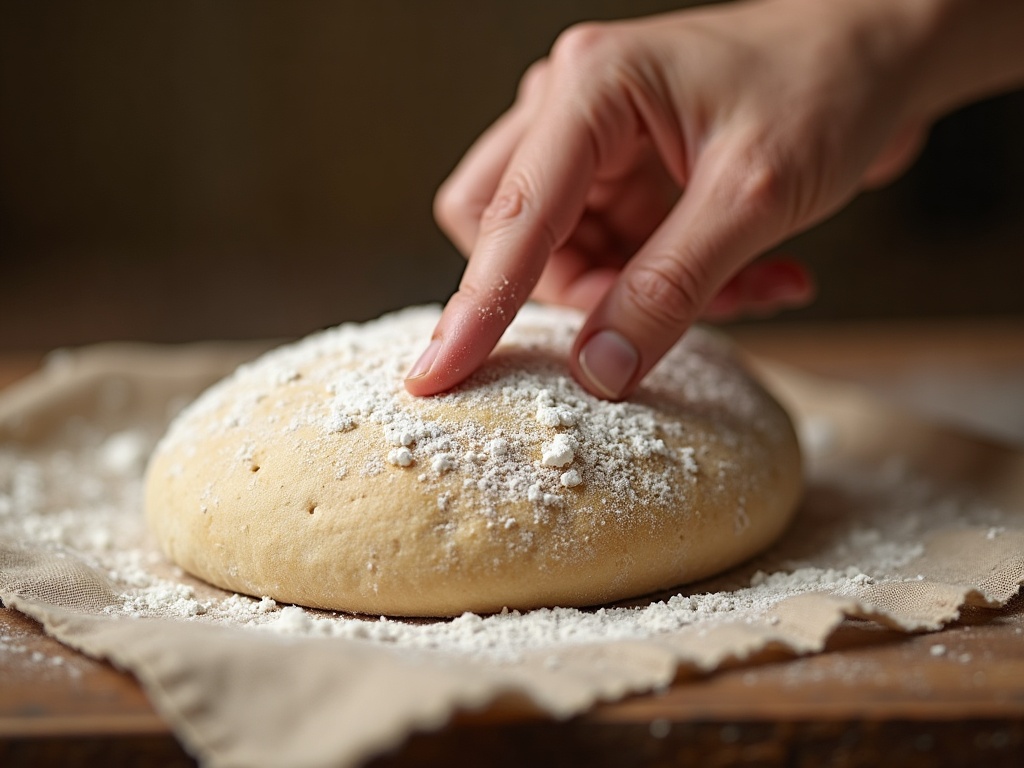
    Before you bake, this is your single best diagnostic. Flour a fingertip and press gently about a centimetre into the dough, then watch how it responds.

    • Springs back quickly and fully – it’s underproofed. The dough still has plenty of tension and needs more time.
    • Springs back slowly, leaving a slight dimple – it’s ready. This is the window you want.
    • Doesn’t spring back at all, and the dent stays or the dough sighs and deflates – it’s overproofed. Fermentation has gone past its peak.
    A floured finger pressing into proofing sourdough dough to test it
    The poke test: press a floured finger in and watch how the dough answers.

    The poke test beats any timer because your kitchen temperature, starter strength, and flour all change the pace. A recipe’s “proof for 4 hours” is a guess. The dough is the truth.

    Signs Your Dough Is Underproofed

    Underproofing usually announces itself after the bake:

    • A tight, dense crumb with small, even holes and not much lift.
    • The loaf burst or tore along the side or bottom rather than opening cleanly at your score – the trapped gas found the weakest exit.
    • An aggressive, uncontrolled oven spring that split the loaf awkwardly.
    • A gummy band near the base, because the crumb was too compact to bake through.
    Cut underproofed sourdough with a tight dense crumb
    Underproofed: a tight, heavy crumb that never got the air it needed.

    If your crumb is dense and gummy specifically from underbaking, that’s its own rabbit hole – we cover the full set of causes in our guide to why sourdough turns out gummy. But when the whole loaf is tight and heavy with a clean, pale, underdeveloped look, underproofing is usually the root.

    Signs Your Dough Is Overproofed

    Overproofing looks and feels different:

    • The shaped dough is slack, sticky, and hard to handle, spreading out rather than holding a taut ball.
    • It spreads flat when you turn it out of the banneton instead of holding its dome.
    • Little to no oven spring – the loaf bakes wide and low, like a pancake with ambitions.
    • A very open but irregular crumb, sometimes with large ragged tunnels and thin, fragile walls.
    • A sharp, boozy or vinegary smell – the sign of fermentation gone long.
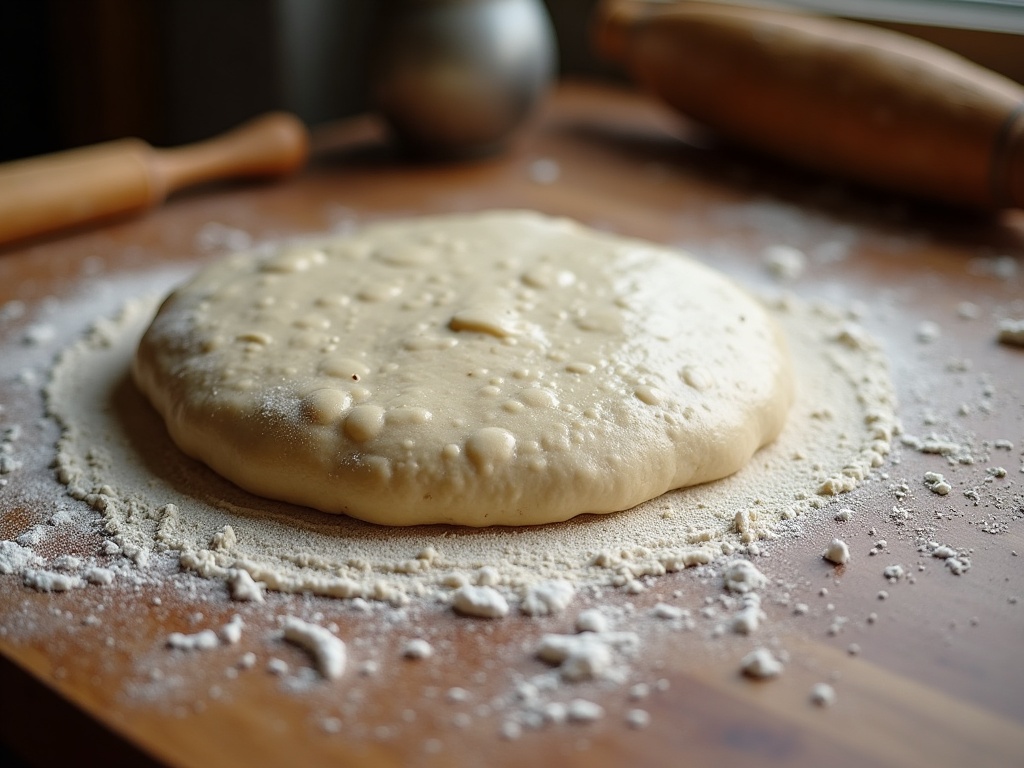
    Slack overproofed sourdough dough spreading flat on a floured surface
    Overproofed: slack, sticky, and spreading – the gluten has given up its structure.

    The Confusing Part: They Can Look Alike

    Here’s why bakers mix these up. A badly overproofed loaf and a badly underproofed loaf can both come out flat and dense. The tell is in the texture and the journey. Underproofed dough was firm and springy going into the oven and burst upward; overproofed dough was slack and sticky and never rose. If you remember how the dough behaved before baking – tense and lively, or loose and tired – you’ll almost always know which one you had.

    How to Save an Underproofed Loaf

    This one is the easier rescue, because underproofing is a timing problem you can still correct – if you catch it before baking. Simply give it more time: let the dough continue proofing in a warm spot (around 24-26 C / 75-78 F) and re-run the poke test every 30-45 minutes until it springs back slowly and holds a slight dimple.

    Already baked it? You can’t un-bake, but you can rescue the slices. Toast them – toasting drives off moisture and transforms a dense, slightly gummy crumb into something genuinely good. Underproofed sourdough also makes excellent croutons, grilled cheese, and bread pudding. Nothing is wasted.

    How to Save an Overproofed Loaf

    Overproofing is trickier because the gluten structure is already degraded – you can’t rebuild it. But you can still get an edible, even enjoyable, loaf:

    • Reshape gently and bake soon. If you catch it just past peak, degas lightly, re-shape with as much surface tension as you can coax, and bake right away before it slackens further.
    • Bake it flat, on purpose. Lean into it – an overproofed dough makes a fine focaccia, ciabatta-style slab, or flatbread where a low, open crumb is the point.
    • Repurpose the bake. A flat, dense overproofed loaf shines as pizza base, sourdough croutons, breadcrumbs, or the foundation of a savoury strata.

    What you can’t do is proof it longer or expect big oven spring. Once the structure is gone, it’s gone – so the win is redirecting it, not resurrecting it.

    Dial It In Next Time

    Most proofing failures trace back to temperature and attention, not luck. A few habits that end the guesswork:

    • Track temperature, not just time. Dough ferments roughly twice as fast for every 8-10 C warmer. A cold kitchen needs hours longer than the recipe says; a hot one, far less.
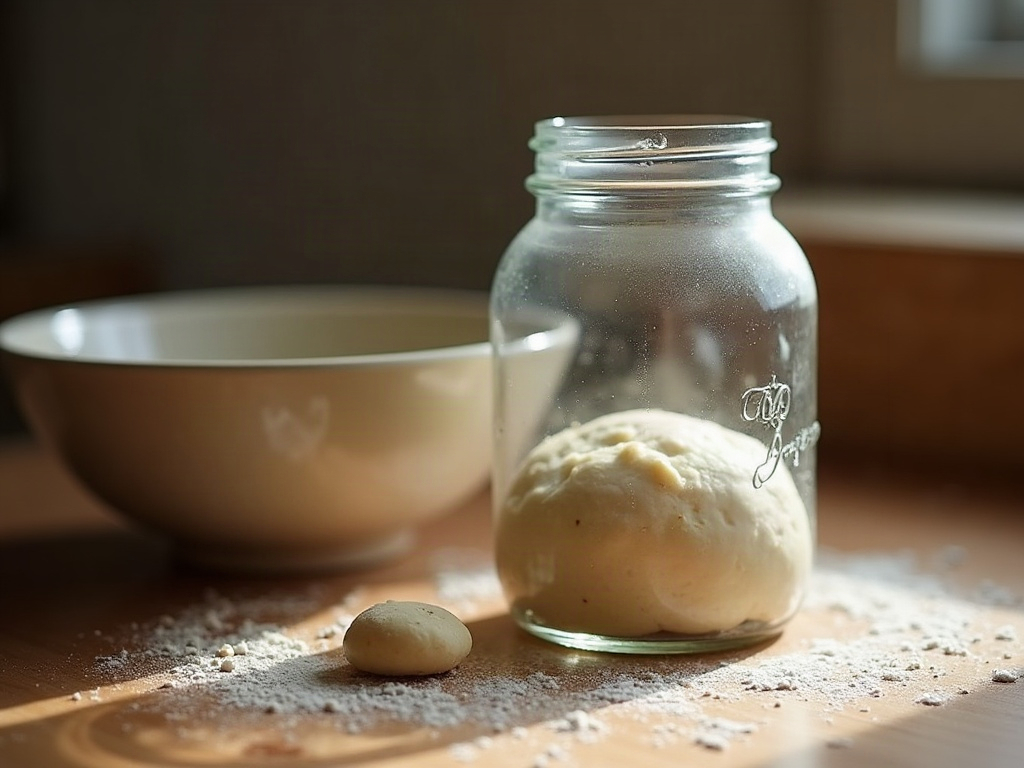
    • Use an aliquot jar. Pinch off a small sample of dough at the start of bulk, drop it in a straight-sided jar, and mark the level. When it’s risen by a set percentage (50-75% for most doughs), bulk is done – no more staring at the mixing bowl.
    • Do the poke test every single bake. It’s five seconds and it’s the difference between a hopeful guess and a real read.
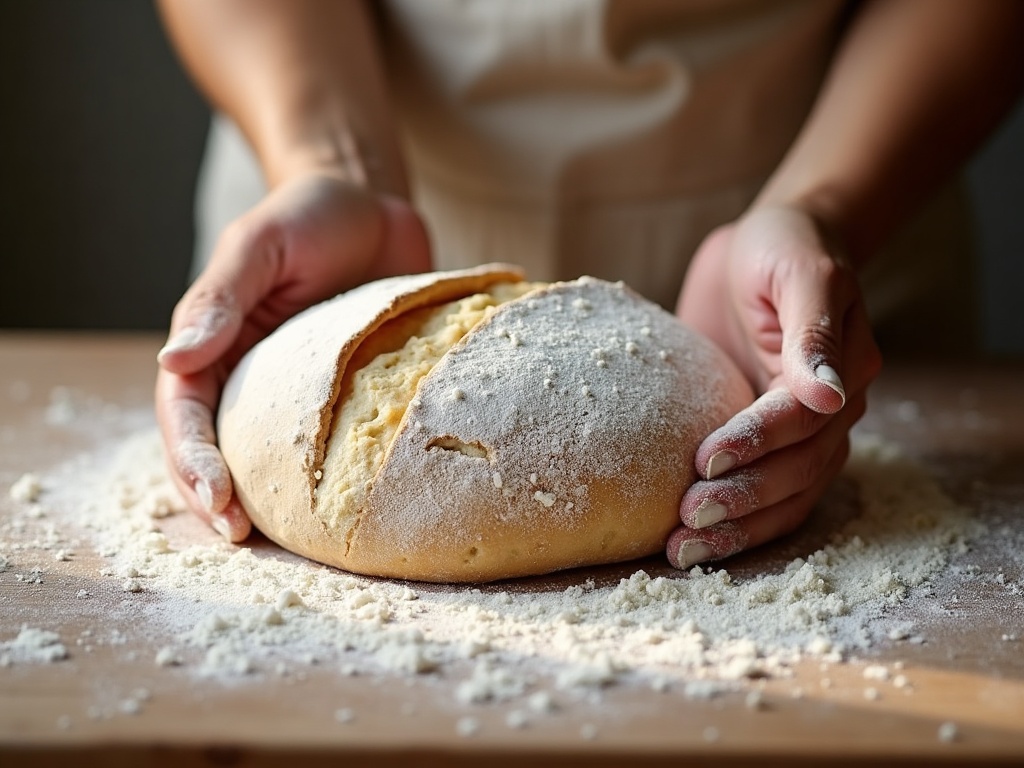
    Floured hands shaping a tensioned round of sourdough dough
    A confident, tensioned shape is your best insurance against both failures.

    Once you can spot overproofed and underproofed on sight, you stop baking by faith and start baking by evidence. That’s the whole game – reading the dough, catching the window, and knowing exactly what to do when it drifts.

    Want to see the poke test, the aliquot jar, and both rescue methods in action? The full walkthrough lives on the LoafLovers YouTube channel, and you can grab our free sourdough troubleshooting guide – a one-page cheat sheet for diagnosing your next loaf – when you join the email list. No hard sell, just the fixes.

    Related Reading