You have mixed your dough, done a few folds, and now you are standing over the bowl asking the question that stalls every batch: is this actually ready, or am I about to bake a brick? You could keep folding and risk overworking it. You could stop now and risk a dough too weak to rise. Or you could pinch off a small piece, stretch it toward the light, and let the dough tell you exactly where it stands.
That is the windowpane test — the single fastest way to read whether your sourdough’s gluten is developed enough to trap gas and hold its shape. It takes ten seconds, needs no equipment, and removes almost all the guesswork from the murkiest stage of the bake. Here is what the test really measures, how to do it without fooling yourself, how to read the result, and exactly how to fix a dough that keeps tearing.
What the Windowpane Test Actually Tells You
Gluten is the stretchy protein network that forms when flour meets water and gets worked. It is the scaffolding of your loaf: as the yeast and bacteria in your starter produce carbon dioxide, that gas gets trapped inside the gluten network like air in a balloon. Strong, well-organized gluten holds the gas and rises tall. Weak, disorganized gluten lets the gas escape, and the dough spreads flat instead of up. If you have ever fought a loaf that pancaked across the counter, weak gluten was very likely part of the story — the same root cause behind many flat, spreading loaves.
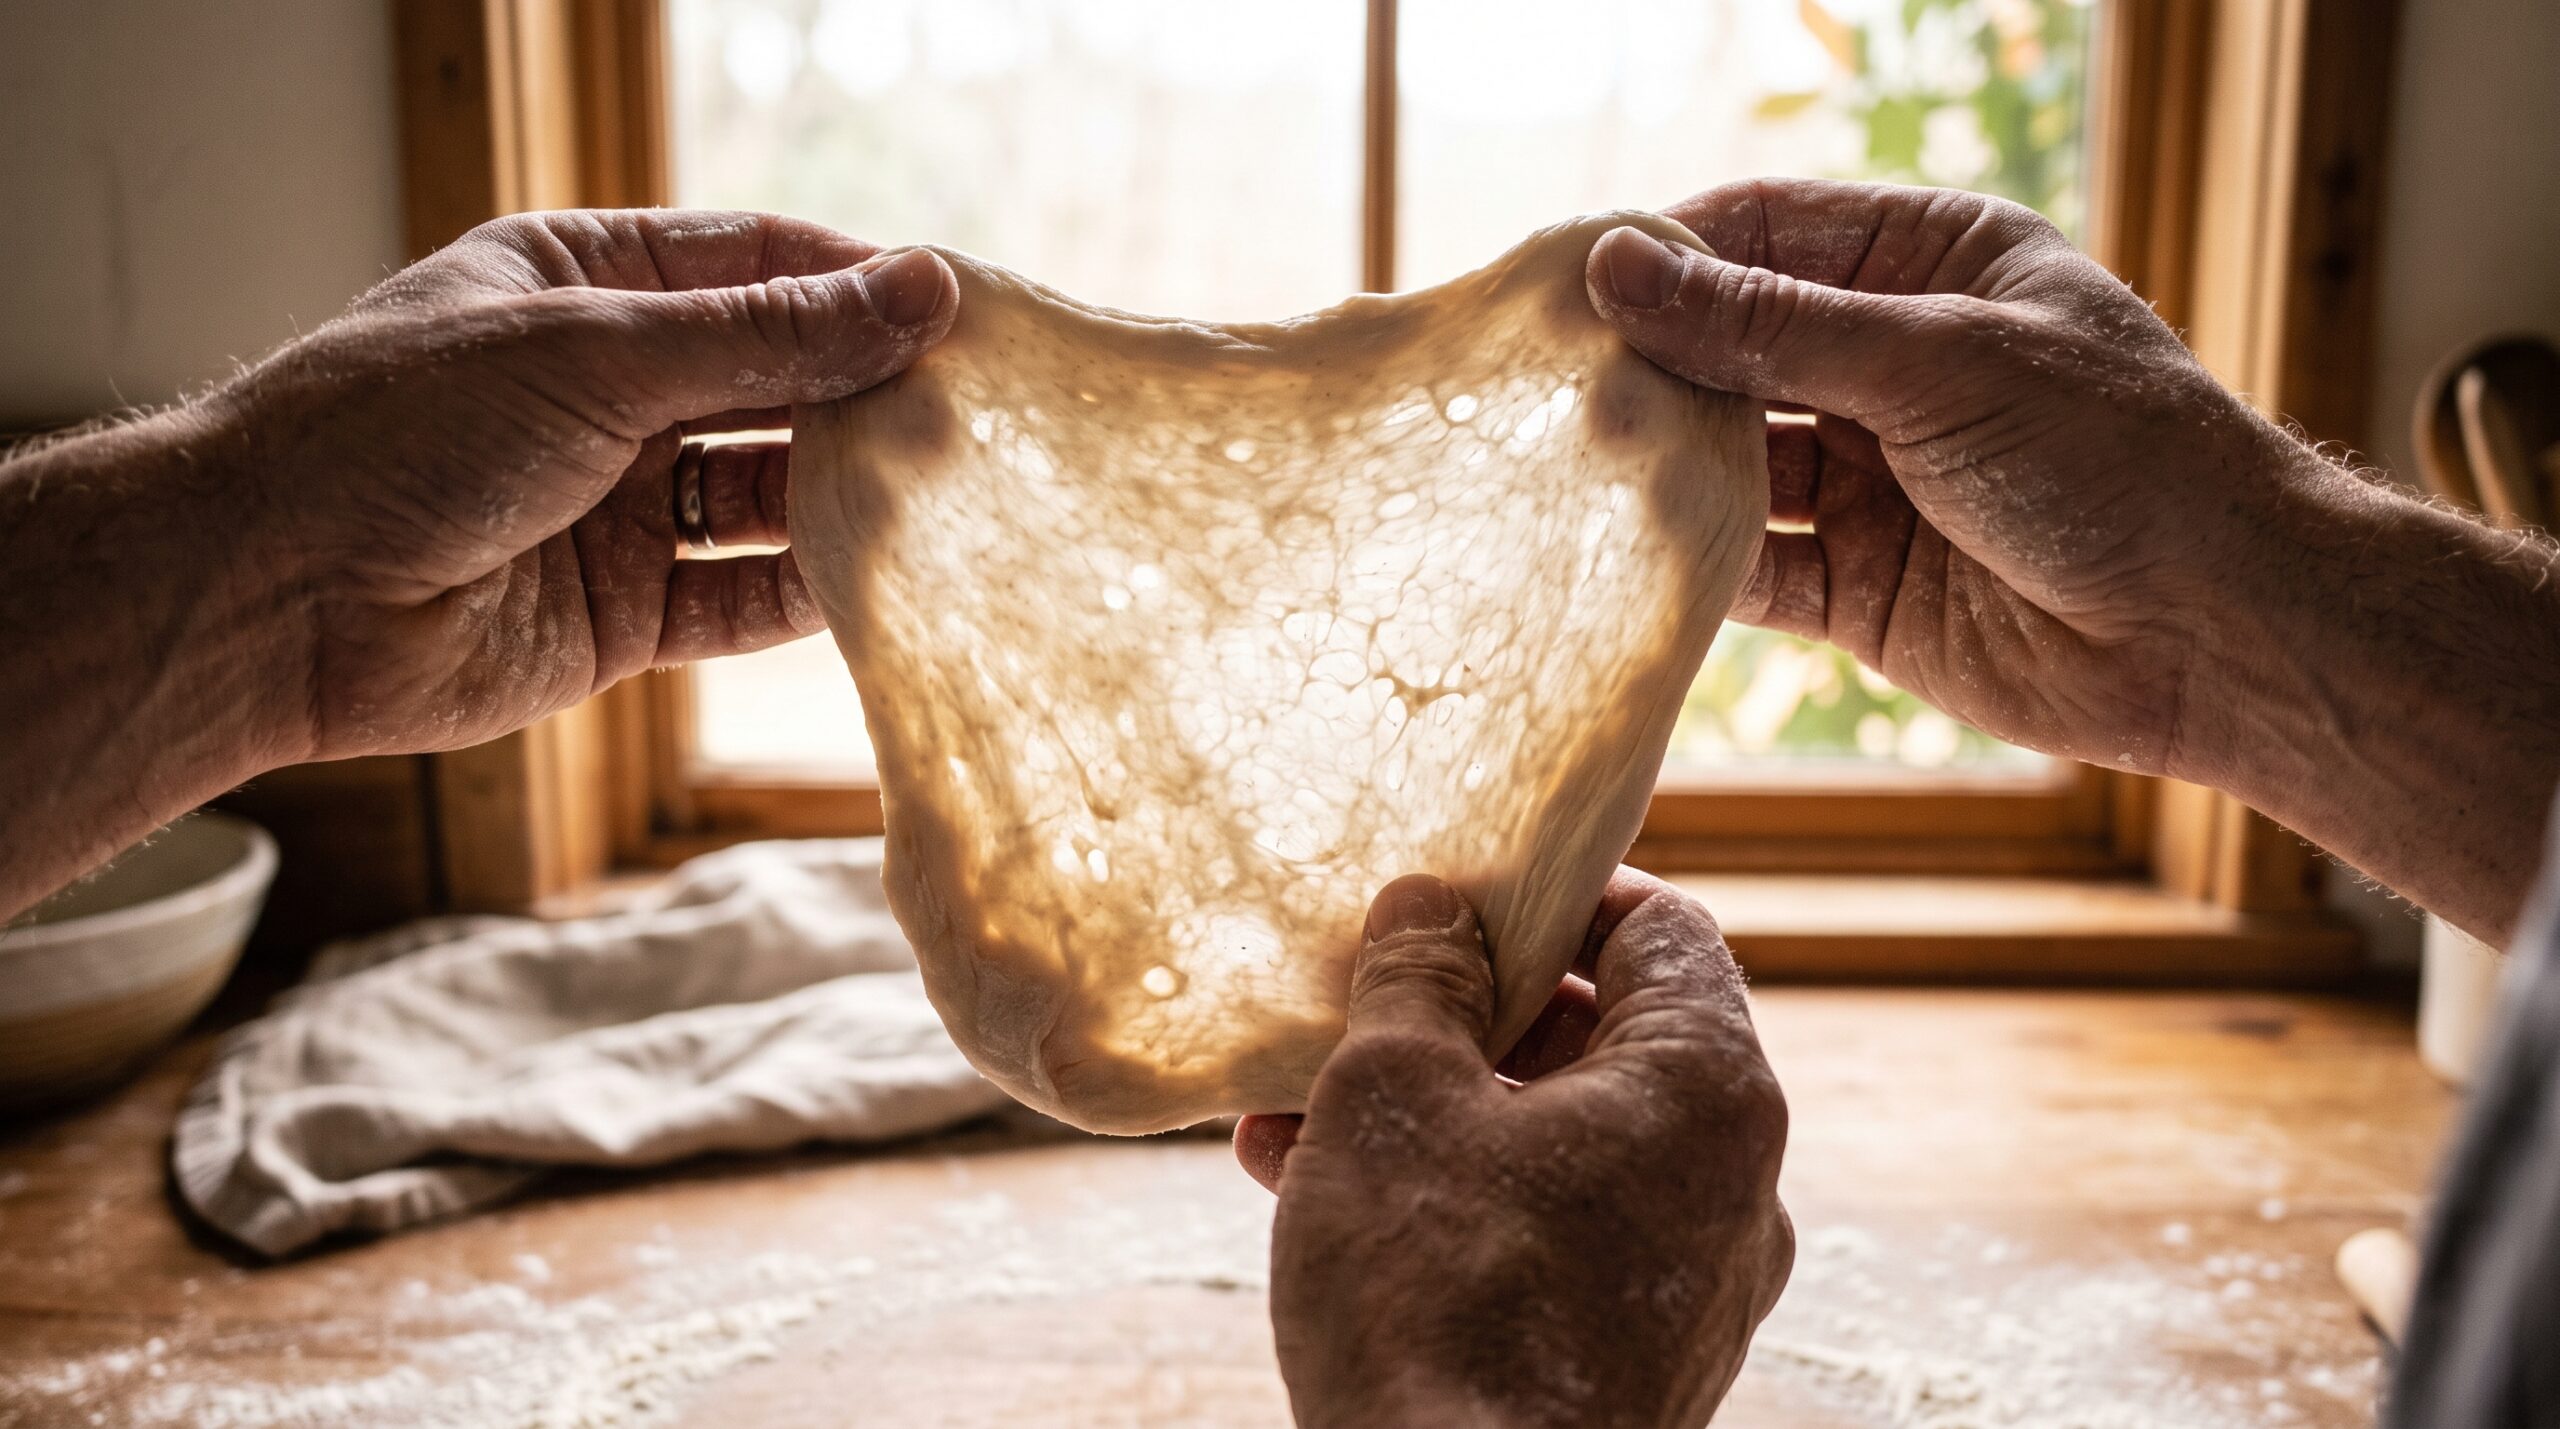
The windowpane test measures exactly this. When you stretch a piece of dough thin and it forms a smooth, translucent membrane without tearing, you are seeing a gluten network that is organized enough to stretch around expanding gas bubbles. That same extensibility is what gives you oven spring and an open, airy crumb. If the dough tears into a thick, ragged hole the moment you pull it, the network is not there yet. The test is not a superstition — it is a direct, visual read of the one structure your entire loaf depends on.
How to Do the Windowpane Test (Step by Step)
The technique matters more than people expect, because a rushed test gives a false fail. Here is the reliable way to do it:
1. Take a small piece. Pinch or cut off a piece of dough about the size of a golf ball. Take it from the main mass gently — you are not trying to deflate the whole batch.
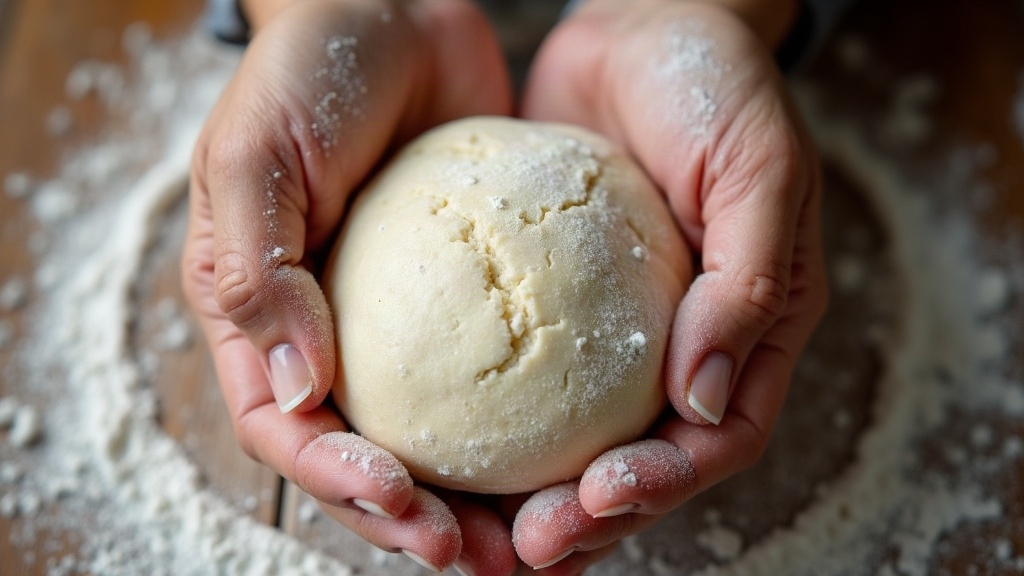
2. Round it briefly. Roll it into a loose little ball between your palms to give the gluten a consistent starting point.
3. Stretch from the center, slowly. Hold the piece with the fingertips of both hands and gently pull outward, working the dough thinner from the middle. Rotate as you go, like you are opening a tiny pizza. The key word is slowly — give the gluten time to relax and stretch rather than snapping it.
4. Hold it up to the light. Once the center is thin, raise it toward a window or a lamp. You are looking to see whether light passes through a smooth, unbroken film.
Do the test after the dough has had a short rest, not immediately after a vigorous fold. Gluten tightens right after it is worked and needs a few minutes to relax before it will show its true extensibility. Test a tense dough and you will underrate it every time.
Reading the Result: Pass, Almost, and Fail
There are really three outcomes, and learning to tell them apart is the whole skill.
Pass. The dough stretches into a thin, translucent membrane you can almost see your fingers through. It glows when you hold it to the light and does not tear, or tears only at the very end when it is already gossamer-thin. The edges of any eventual hole are smooth and clean. This dough has developed gluten and is ready to move on to shaping or its final rest.
Almost. The dough stretches thin and shows some translucency, but tears before it gets truly see-through, leaving a hole with a slightly rough edge. This is a dough that is close — it usually just needs a bit more time or one or two more gentle folds, then a rest and a retest.
Fail. The dough tears almost immediately into a thick, ragged hole with a shaggy edge, and never approaches translucency. The gluten network is under-developed. Do not shape this dough yet — it needs more development, and the next section explains why and how.
Why Your Dough Won’t Pass (and the Fix for Each)
A failed windowpane almost always traces back to one of four causes. Match your symptom to the fix:
Under-mixed or under-worked dough. The most common reason, and the easiest to fix. The gluten simply has not had enough mechanical development. If you are kneading, keep going for a few more minutes, then rest and retest. If you are doing no-knead sourdough, add another set of stretch and folds and give it a proper rest between sets. Development builds with time and gentle work, not brute force.
Hydration is high. Wetter doughs feel slack and can seem to fail even when the gluten is coming along, because a very loose dough is harder to stretch into a clean film. If you are working at high hydration, expect the membrane to be more delicate and give it extra folds with generous rests. It also helps to get comfortable with the feel of a wet dough in the first place — our guide to handling sticky, high-hydration dough makes the test far less frustrating.
Whole grain or low-protein flour. Whole wheat and rye have sharp bran particles that physically cut the gluten strands, and some flours are simply lower in the proteins that build gluten. These doughs may never form a picture-perfect windowpane, and that is normal. Aim for the best translucency the flour will give, lean on longer autolyse and gentle folds, and read the dough as a whole rather than demanding a flawless film.
Over-fermented dough. This one is sneaky. A dough that has fermented too far starts to break down — the acids and enzymes degrade the gluten, so a dough that once could windowpane will start tearing again and feel slack, sticky, and lifeless. If your dough passed earlier and now fails, over-fermentation is the likely culprit, and more folding will not save it. The fix is on the next bake: shorten your bulk ferment. Knowing when bulk fermentation is actually done is what keeps you from crossing that line.
The Windowpane Test and No-Knead Sourdough
Most home sourdough is not kneaded in the classic sense — it is built with rounds of stretch and folds spaced through the bulk ferment. That changes how you use the test. Instead of one long knead and a single check, you are developing gluten gradually, and time itself does much of the work as the flour hydrates and the network organizes on its own.
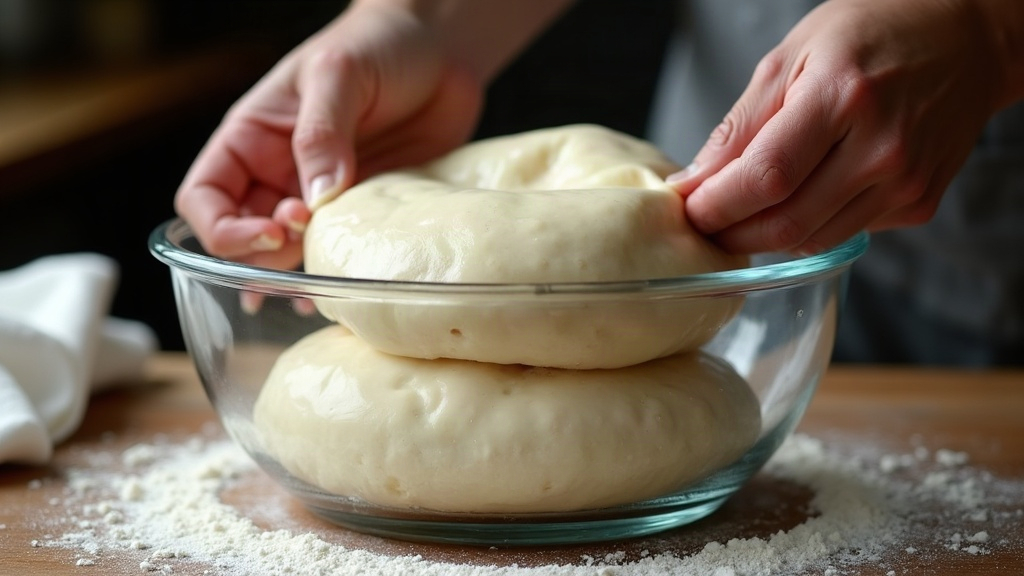
So test at the right moment: after a set of folds and a rest, not in the middle of folding. Early in bulk, expect an “almost” or a fail — that is fine, the dough has more sets to go. By the last set or two, you are looking for that smooth, translucent stretch. If you reach the end of your planned folds and the dough still fails badly, add one more set and extend the rest before you commit to shaping. And remember that in a slow, folded dough, the gluten keeps developing during the rests even when your hands are off it. Patience is a legitimate technique here.
Windowpane vs the Poke Test: Don’t Confuse Them
This is the mix-up that trips up even experienced bakers, so hold onto it: the windowpane test and the poke test answer completely different questions.
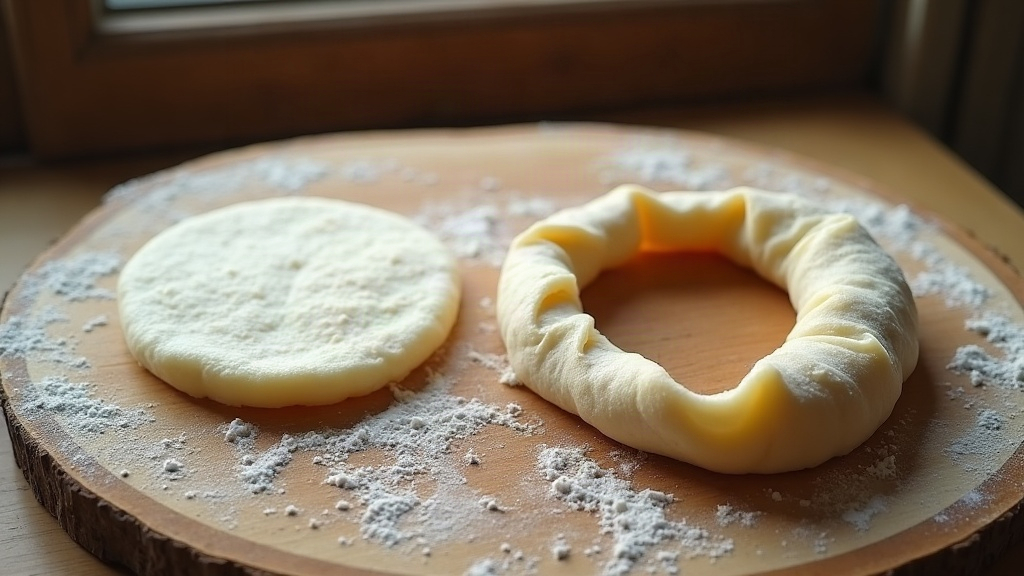
The windowpane test measures gluten development — is the dough strong and organized enough to trap gas? You use it during mixing and bulk fermentation, before shaping. The poke test measures proof — has the shaped loaf fermented to the right point, ready for the oven? You use it after shaping, on the final rise. A dough can pass the windowpane test brilliantly and still be badly underproofed or overproofed, because strong gluten and correct fermentation timing are two separate things.
Think of it as a sequence. First, build and confirm the structure with the windowpane test. Then ferment and shape. Finally, judge the readiness of that shaped loaf with the poke test. Keep the two in their own lanes and a huge amount of sourdough confusion simply evaporates.
When You Can Skip the Test
Once you have made the same recipe a dozen times, you often will not need to stretch a piece to the light — your hands learn the feel of a dough that has come together, going from shaggy and tearing to smooth, supple, and slightly jiggly. The windowpane test is training wheels in the best sense: it teaches your fingers what “developed” feels like until you can read it by touch alone.
Until then, use it freely. It costs you nothing, it deflates only a golf-ball’s worth of dough, and it turns the most anxious stage of the bake into a clear yes or no. On a new recipe, a new flour, or a batch that just feels off, pinch a piece, stretch it toward the window, and let the gluten give you a straight answer.
Want to see a real pass, a real fail, and the recovery folds side by side? The full slow-motion walkthrough lives on the LoafLovers YouTube channel, and you can grab our free sourdough troubleshooting guide — a quick-reference for the symptoms, causes, and fixes that come up most — when you join the email list. No hard sell, just the answer waiting the next time you are hovering over the bowl wondering if it is ready.