Tag: sourdough schedule

  • Can You Freeze Sourdough Dough? Freezing Shaped Loaves, Par-Baked Bread, and Dough for Later

    Can You Freeze Sourdough Dough? Freezing Shaped Loaves, Par-Baked Bread, and Dough for Later

    You love the bread. You do not love being chained to it. A real sourdough loaf asks for a starter feed, a long bulk ferment, a shape, a proof, and a bake, all spread across a day or more, and that rhythm does not always fit a work week or a houseful of weekend plans. So the question comes up for almost every home baker eventually: can I just make a batch of dough and freeze it, then pull out a loaf whenever I want fresh bread?

    The short answer is yes, you can freeze sourdough, and freezing is one of the best low-friction tricks there is. But when you freeze it matters enormously. Freeze at the wrong stage and you get a dense, lifeless brick; freeze at the right stage and you get a loaf that is nearly indistinguishable from same-day bread. Let’s walk through each stage, from the one that works best to the one that mostly disappoints, so you can pick the method that fits your kitchen.
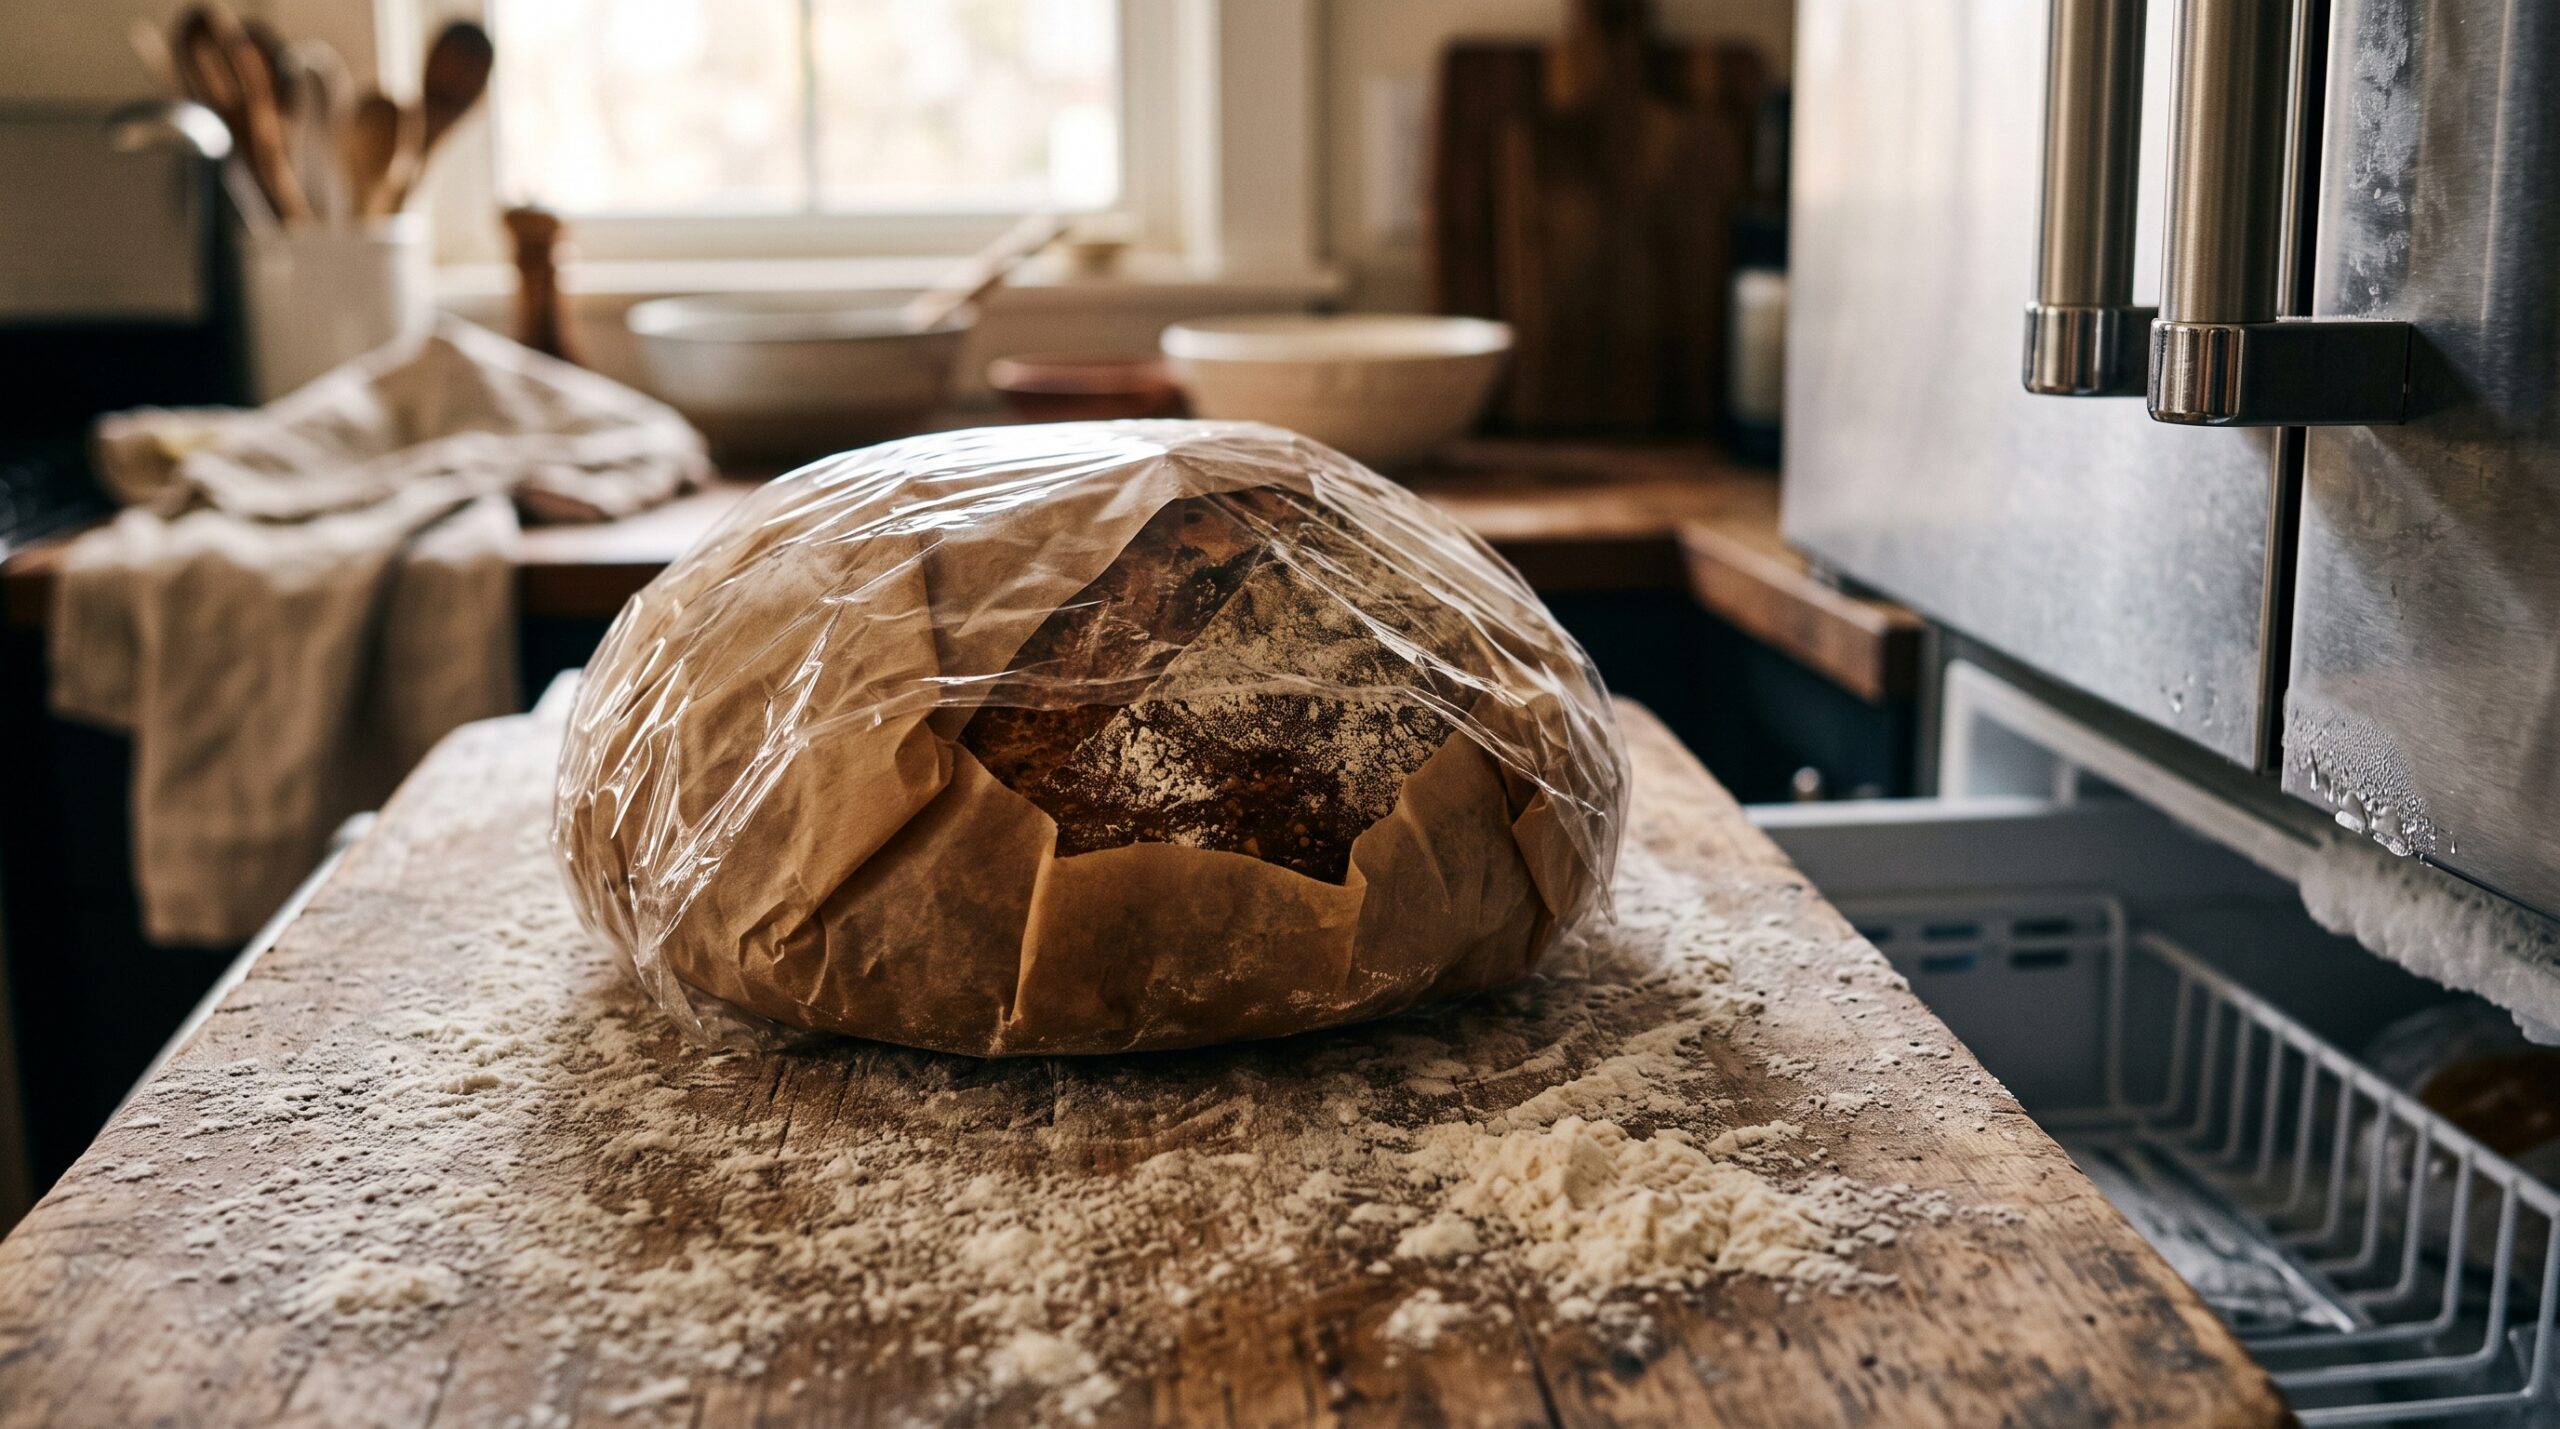
    A shaped sourdough loaf wrapped for the freezer on a floured board
    Freezing sourdough works, but the stage you freeze it at changes everything.

    The honest short answer: freeze shaped, or par-baked, or fully baked

    There are three stages where freezing sourdough reliably works, and one where it usually lets you down. The reliable ones are: shaped dough frozen after its final shape (before or partway through the final proof), a par-baked loaf (baked until set but not browned, then frozen), and a fully baked, completely cooled loaf. The stage that disappoints is freezing a fresh, barely-fermented dough and expecting the wild yeast to come roaring back; cold storage is hard on a young leavening, and you will usually pay for it with a weak rise.

    The reason comes down to one idea: the colder things get, the slower and weaker your wild yeast works, and freezing is the ultimate cold shock. So the guiding rule is simple. The more of the rising you can do before the dough goes into the freezer, the better your loaf will be. Keep that in mind and every method below makes sense.

    Best for most bakers: freeze shaped dough

    This is the make-ahead sweet spot. You run your normal process through bulk fermentation and shaping, so all the heavy lifting of flavor and structure is already done, then you freeze the shaped loaf and finish it on a day that suits you.

    Hands placing a shaped round of sourdough dough onto parchment before freezing
    Shape first, then freeze: a taut, well-formed round holds together far better through the freezer.

    Here is the method. Mix, bulk ferment, and shape your loaf exactly as you normally would, building good tension in the shape so the round holds itself together. Then you have two good options. You can freeze it right after shaping, or you can let it do about half to three-quarters of its final proof first, then freeze; that partial proof banks a little more rise before the cold shuts things down, which tends to give a slightly better result. Either way, place the shaped dough on a small square of parchment, set it on a tray to firm up in the freezer for an hour or two, then wrap it snugly in parchment plus a freezer bag or wrap so no air can dry it out. It will keep well for about two to four weeks.

    To bake, move the frozen dough to the fridge the night before, or let it sit out, so it both thaws and finishes proofing. This is really just a longer, colder version of the fridge rest you may already use; if cold proofing is new to you, our guide to the cold retard and how long sourdough can sit in the fridge explains exactly what to watch for. Give the dough time to come back to a jiggly, risen state before it goes into a screaming-hot oven. Do not rush it straight from frozen into the heat and expect spring; it needs to wake up and finish proofing first.

    The stage that usually disappoints: freezing fresh dough before it ferments

    It is tempting to think you can mix a dough, freeze it green, and simply thaw it into a ready-to-go loaf another day, the way you might with commercial yeasted dough. With sourdough it rarely works well.

    Two sourdough loaves compared, one tall and airy, one dense and flat
    The squat loaf on the right is what happens when frozen dough was asked to do too much of the rising after thawing.

    Wild yeast and the bacteria in your starter are more fragile than commercial instant yeast, and freezing kills or weakens a meaningful share of the cells. If you freeze before the dough has done most of its fermenting, you are asking a damaged, slow population to do nearly all the work after thawing, and it usually cannot. The loaf comes out squat, tight, and gummy, with little oven spring, because the rise it needed never fully happened. If you have ever thawed frozen dough and watched it sit there stubbornly flat, this is why. The lesson is the one from above: let the dough ferment and rise first, then freeze. Do not freeze the potential and hope it survives the cold.

    Most reliable crust: par-bake, then freeze

    If you want the surest path to a loaf that tastes freshly baked, par-baking is hard to beat, especially if you want to keep several loaves ready for drop-of-a-hat baking.

    A pale par-baked sourdough loaf cooling on a wire rack before freezing
    A par-baked loaf, set but barely colored, freezes beautifully and finishes to a fresh crust in minutes.

    Par-baking means you bake the loaf only partway: fully proof and bake it until the structure is set and the inside is cooked through, but pull it before it takes on real color, so it comes out pale and blond rather than golden. Cool it completely, then wrap and freeze. Because the loaf is already fully risen and set, the fragile wild yeast no longer matters at all; you have locked in the crumb. To serve, bake the frozen par-baked loaf straight from the freezer in a hot oven for roughly ten to twenty minutes until the crust browns and crisps and the bread is heated through. The crust comes back crackling and the inside is tender, and almost no one can tell it was not baked that morning. The small trade-off is oven and freezer space, since you are storing a full loaf’s worth of bread rather than a compact ball of dough.

    Simplest of all: freeze a fully baked loaf

    If your goal is just to not waste bread, freezing a finished loaf is the easy answer and it works very well. Cool the loaf completely, slice it first if you like (so you can pull out a slice at a time), and wrap it airtight. It keeps its quality for a few weeks and refreshes nicely with a quick toast or a brief reheat. Because this overlaps heavily with everyday bread keeping, we cover the wrapping, slicing, and reheating details in our full guide to storing sourdough bread so it stays fresh and freezes perfectly. The one thing to avoid is the fridge for finished bread; refrigeration actually stales a loaf faster than the counter or the freezer.

    What freezing actually does to your sourdough

    It helps to picture what is happening inside the dough, because it explains every rule above. Your starter is a living community of wild yeast and lactic bacteria. Those microbes drive both the rise and the tangy flavor, and like most living things they slow down as it gets colder and take damage when they freeze. Fermentation does not stop cleanly at the freezer door; it crawls to a near halt, and a portion of the yeast simply does not survive.

    That is why the timing of the freeze is everything. Freeze while the yeast still has most of its job ahead of it, and the weakened survivors cannot deliver. Freeze after the dough has already risen, or after it is baked, and the yeast’s damage no longer costs you anything, because the structure you needed is already built. This is the same reason a tired, cold starter struggles to leaven a loaf; if you have wrestled with sluggish leavening before, the fixes in baking with cold starter straight from the fridge rest on exactly this principle of giving the yeast time and warmth to recover before it has to perform.

    Troubleshooting a loaf that came out of the freezer wrong

    If your frozen-dough loaf baked dense, flat, and gummy with no real spring, the cause is almost always that it was frozen too early or baked before it had finished thawing and proofing. The fix is to push more of the rise to before the freeze, and to be patient on thaw day: let the dough return fully to a risen, jiggly state at room temperature before baking, even if that takes several hours. If the crust came out pale and soft from a par-baked loaf, your finishing bake was too short or the oven too cool; give it a few more minutes at high heat uncovered to drive off moisture and set a crisp crust.

    And if you simply find the whole frozen-dough dance finicky, remember there are other ways to fit real sourdough into a busy life that do not involve the freezer at all. A compressed, work-friendly timeline like our same-day sourdough around a full-time schedule may suit your week better than stockpiling frozen loaves.

    Putting it all together

    Yes, you can freeze sourdough, and it is one of the most useful tools for baking real bread on your own schedule. Just remember the single rule that governs all of it: do as much of the rising as you can before the dough goes cold. Freeze a shaped loaf after bulk ferment for the best make-ahead dough, par-bake and freeze for the most reliable fresh-tasting crust, and freeze finished bread to simply never waste a loaf. The one move to skip is freezing green, unfermented dough and hoping the wild yeast bounces back, because it usually will not.

    Want to see the shaping, the wrap, and the bake-from-frozen finish in real time? The full walkthrough lives on the LoafLovers YouTube channel, and our free sourdough troubleshooting guide covers dense loaves, weak rise, and timing in the same symptom-to-fix format. Freeze smart, and a great loaf is never more than an oven away.
    Related Reading

  • Cold Retard: How Long Can Sourdough Sit in the Fridge Before Baking?

    Cold Retard: How Long Can Sourdough Sit in the Fridge Before Baking?

    You shaped a beautiful loaf, tucked it into the fridge for an overnight cold proof, and then real life arrived. The overnight became a day. The day is turning into a second night. Now it is sitting there behind the milk, and you are standing at the open fridge door asking the question every home baker eventually asks: how long can sourdough actually sit in the fridge before I have to either bake it or throw it out?

    Good news first — you almost certainly have not ruined it, and cold retarding is one of the most forgiving, most useful tricks in sourdough. But “forgiving” is not “infinite,” and the difference between a loaf that rewards the extra time and one that bakes into a flat, gummy disappointment comes down to reading the dough rather than the clock. Here is exactly how the cold retard works, how long you really have, and how to tell which side of the line your loaf is on.

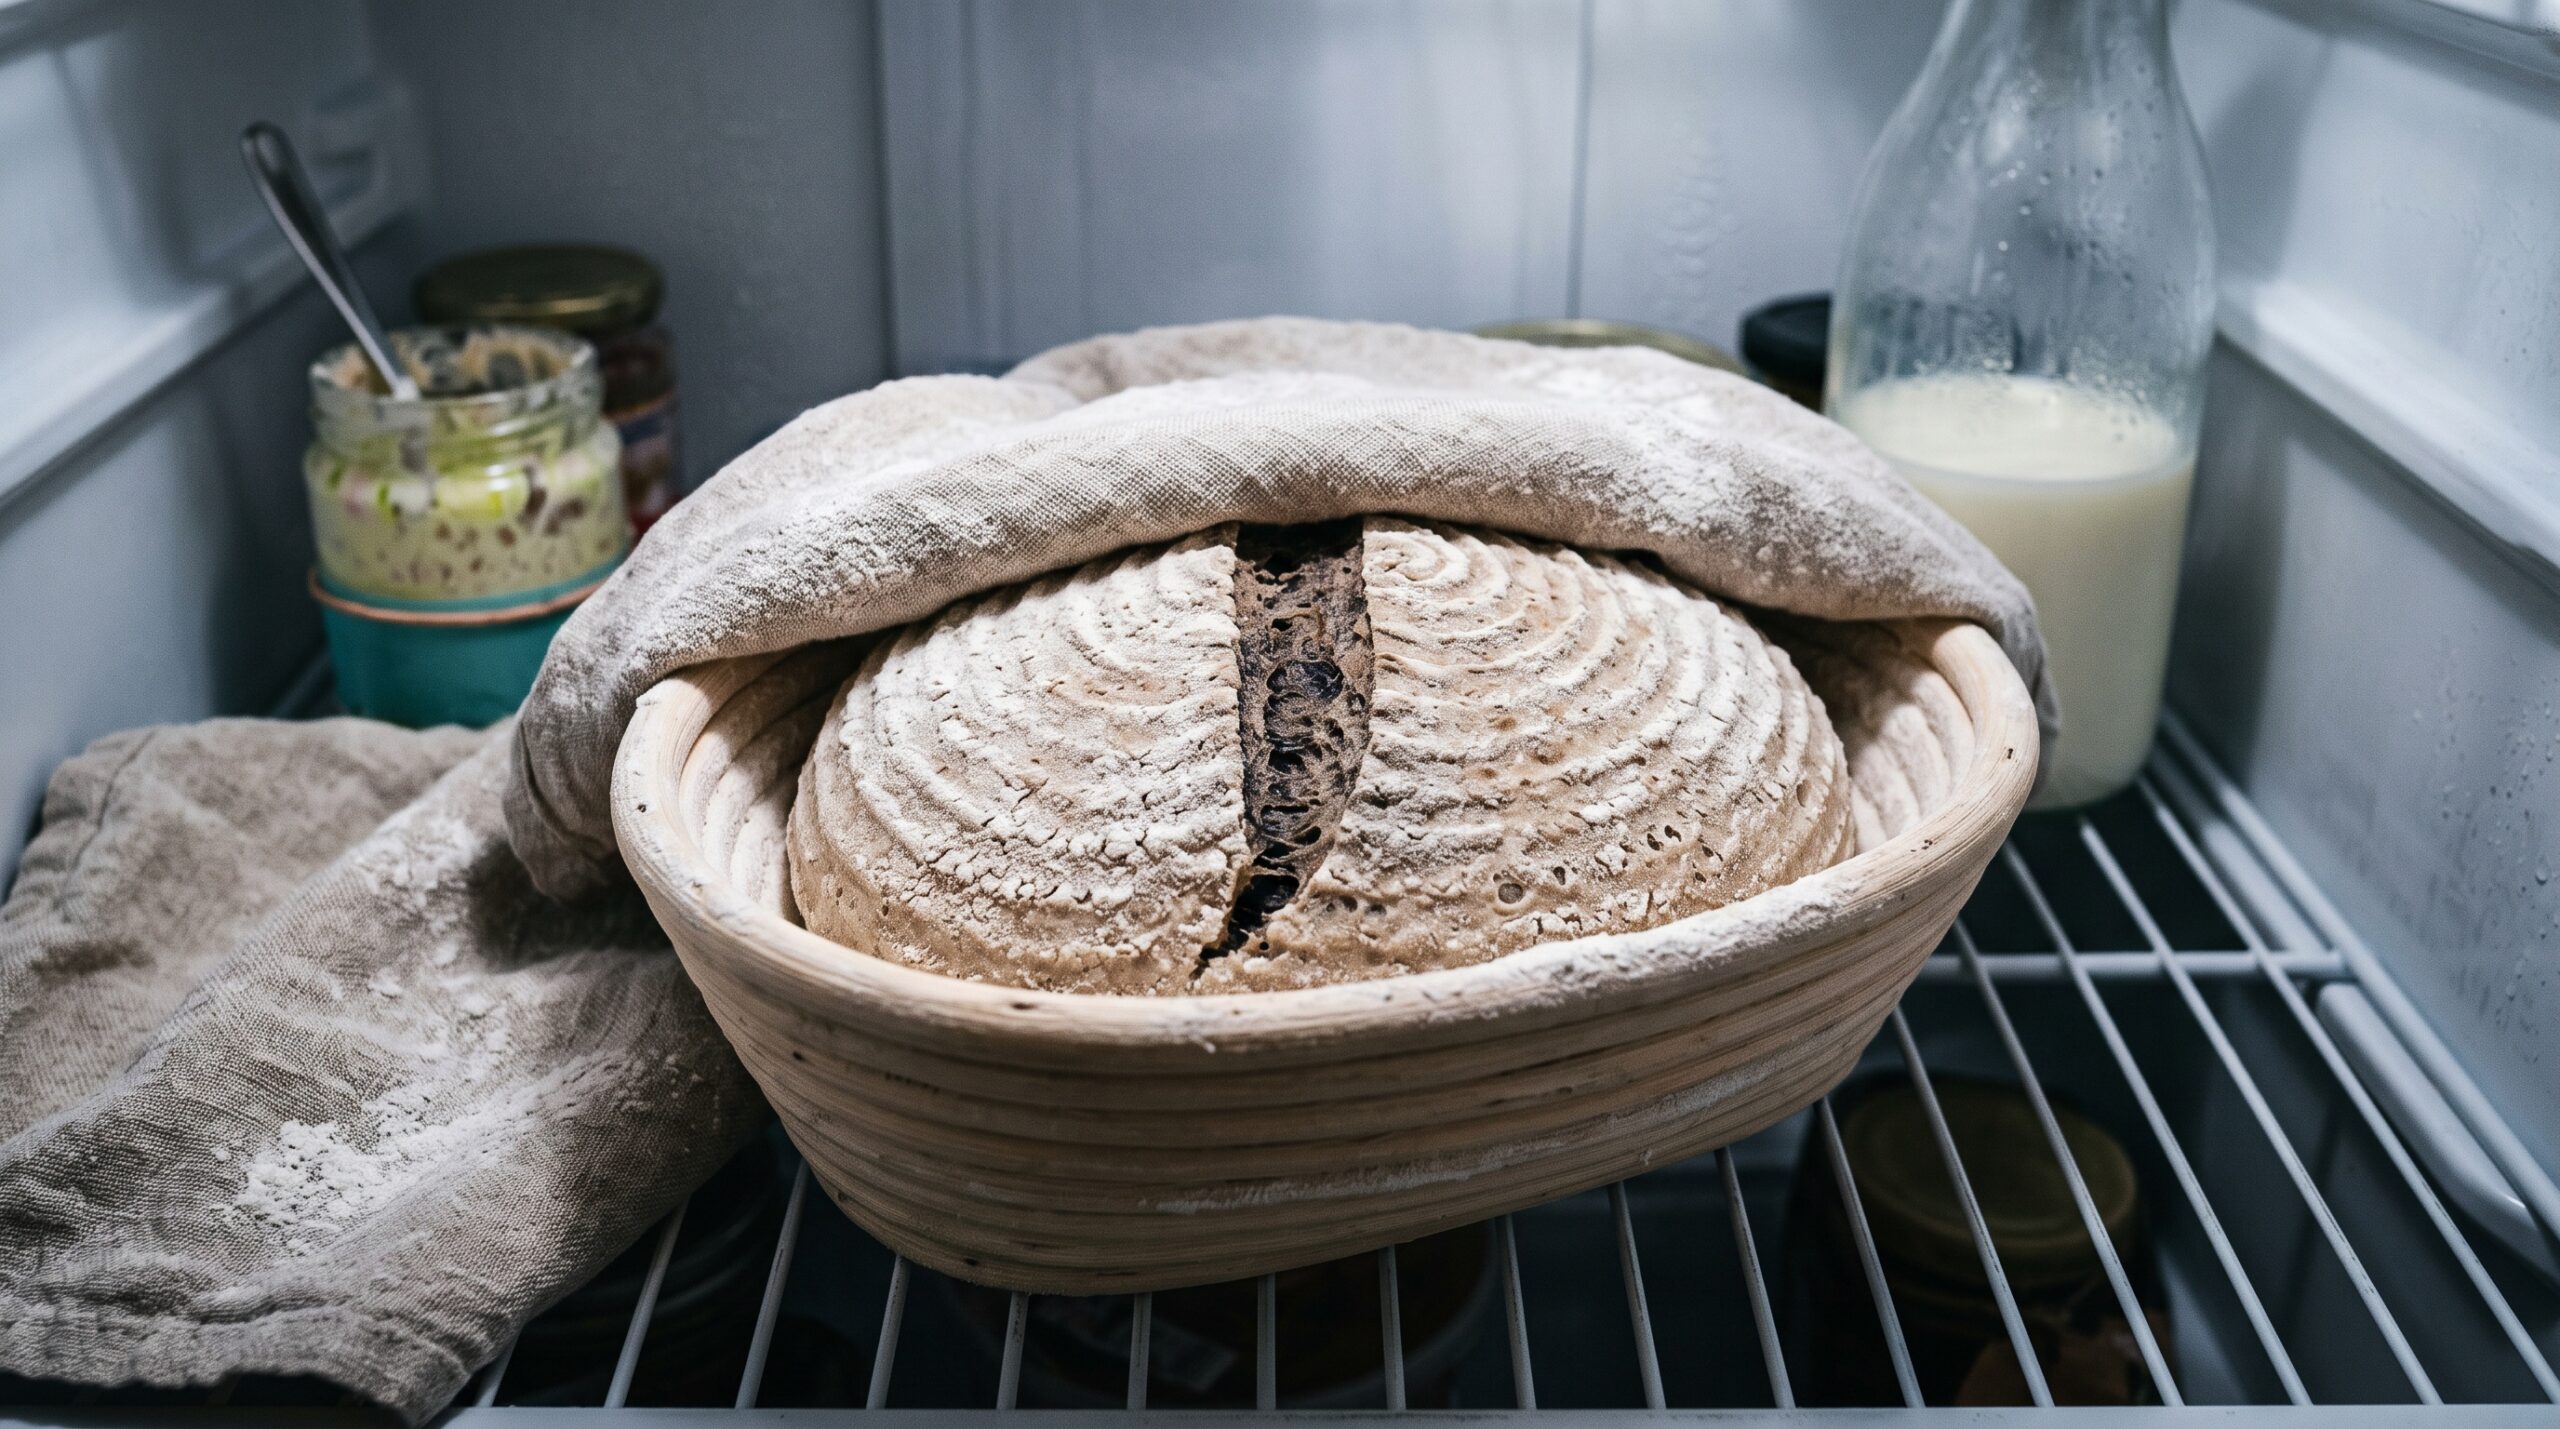
    A shaped sourdough loaf in a floured banneton resting on a shelf inside the refrigerator
    The fridge is not a pause button. It slows fermentation to a crawl, but the clock keeps ticking.

    What Cold Retarding Actually Does

    Fermentation is a temperature game. Warm dough ferments fast; cold dough ferments slowly. When you put a shaped loaf into a fridge running at the usual 38°F to 40°F, you are not stopping the yeast and bacteria — you are dropping them into slow motion. The yeast, which produces most of the gas that makes your loaf rise, goes nearly dormant in the cold. The bacteria that produce sourdough’s tang keep working, just gently. That split is the whole point of the technique.

    Two things happen while your loaf chills. First, the rise slows to a near-standstill, which buys you a wide, flexible window to bake whenever it suits you. Second, those still-active bacteria keep developing acids and flavor, so a retarded loaf tastes deeper and more complex than one rushed straight from shaping to oven. Cold dough is also firmer and less sticky, which means it scores cleanly and gives you that dramatic ear. So a cold retard is not a compromise you make for convenience. It genuinely makes better bread — up to a point.

    The Short Answer: How Long Is Safe

    For most home bakers with a fridge in that 38°F to 40°F range, the practical, reliable window is 12 to 48 hours. Somewhere in there is the sweet spot for nearly every recipe. Twelve to sixteen hours is the classic overnight retard and the safest bet. Push to 24 or 36 hours and you gain flavor and a bit more convenience with very little risk, as long as your dough was not already racing when it went in. Reach toward 48 hours and you are near the edge: still very bakeable for most doughs, but you need to inspect before you commit.

    Can you go to 72 hours? Sometimes — but only if the stars align. A 72-hour retard tends to work when your bulk fermentation was on the shorter side, your fridge runs genuinely cold, and your flour is strong enough to hold structure that long. Whole grain and rye doughs, which ferment faster and have weaker gluten, will overproof well before then. The number on the clock is a guide, not a guarantee. What actually decides it is the state of the dough, which is why you inspect rather than assume.

    A cold sourdough loaf turned out onto parchment showing a domed floured surface with small bubbles
    A loaf retarded just right holds a gentle dome and a few surface bubbles, not a slack puddle.

    Signs It Retarded Just Right

    Pull the loaf and look at it cold, before it warms up. A loaf in the sweet spot holds a gentle, confident dome. It has grown a little since you shaped it — noticeably risen but not ballooned. The surface shows a scattering of small bubbles, a good sign the fermentation kept ticking. Give it the poke test with a floured finger: press gently and the dent should spring back slowly and only partway, leaving a soft impression. That lazy, partial rebound is exactly what you want. The dough should feel alive and pillowy but still hold its shape when you tip it out of the banneton. If that is what you are seeing, stop worrying and start your oven.

    Signs It Went Too Far (Overproofed in the Fridge)

    Now the failure mode. A loaf that overproofed in the cold gives clear tells, and catching them saves you from a confusing bake. The surface looks slack, wet, and heavily bubbled, sometimes with large blisters that have started to collapse. When you turn it out of the banneton it spreads and flattens instead of holding a dome, oozing outward like it has given up. The poke test is the giveaway: press it and the dent stays put, or the dough deflates and sighs rather than springing back at all. You may also notice an aggressively sharp, almost acetone-adjacent smell — the sign fermentation has run well past its peak.

    An overproofed loaf has exhausted its structure: the gluten can no longer trap gas, so it will bake flat and dense with a tight, gummy crumb and little oven spring. It is not dangerous, just disappointing. If you catch it here, you have options. Bake it anyway as a flatter loaf — it will still taste good and make excellent toast or croutons. Or reshape it into a pan loaf or focaccia, where a container does the job the gluten no longer can. Either way, log what happened: an overproofed retard almost always means the loaf went into the fridge too far along in its bulk ferment. Next time, chill it a little earlier.

    Two sourdough loaves compared, one tall and domed, one flat and overproofed and slack
    Left: retarded just right. Right: gone too far in the fridge, spreading and losing its structure.

    How to Bake It Straight From the Cold

    Here is the part that trips people up: do not let a retarded loaf come to room temperature before baking. Cold dough is a feature, not a problem. It is firmer, so it scores cleanly and holds a bold ear, and the cold center gives the outside time to set before the whole thing overspreads. Letting it warm up on the counter for an hour just invites overproofing and undoes the benefit you waited all night for.

    So bake it cold. Preheat your Dutch oven thoroughly — a full 45 minutes at 475°F to 500°F — then take the loaf straight from the fridge, turn it onto parchment, score it decisively, and load it into the hot pot. The cold surface takes a sharp cut and the trapped steam does its work. Give it your usual covered-then-uncovered bake; a fridge-cold loaf sometimes wants an extra few minutes covered to fully spring, so judge by color and an internal temperature around 205°F to 210°F rather than the timer.

    How to Stretch or Shorten the Window on Purpose

    Once you understand the mechanism, you can steer the retard to fit your schedule instead of scrambling around it. To buy more time, put the loaf in the fridge slightly earlier — a touch under-proofed at room temperature — so it has room to finish slowly in the cold. Make sure your fridge is genuinely cold; the back of a lower shelf is coldest, the door is warmest. A colder fridge stretches your window; a warm, crowded one shrinks it.

    To shorten or tighten the window, let the loaf proof a little more at room temperature before it goes in, so it needs only a short chill to be bake-ready. And remember the levers you already have: a dough built with strong bread flour, a firm shaping job, and a bulk ferment you did not push too far will all tolerate a longer, more forgiving retard. Weak flour, over-fermented bulk, and a warm fridge all narrow it. The retard does not have a fixed length — it has a length you design.

    A hand scoring a cold firm sourdough loaf with a lame straight from the fridge on parchment
    Cold dough scores cleanly and holds the cut. Bake it straight from the fridge, no warm-up needed.

    The Bottom Line

    So, how long can sourdough sit in the fridge? For most loaves, 12 to 48 hours is comfortable, overnight is the safe classic, and 72 hours is possible when everything is in your favor. But the honest answer is the one your dough gives you: a gentle dome and a slow, partial spring back means bake it with confidence; a slack, spreading, non-rebounding loaf means it went too far, and the fix is to chill it earlier next time. Trust that read over any number, and the fridge stops being a source of panic and becomes what it should be — the most flexible, flavor-boosting tool in your kitchen.

    Want to see the cold poke test and a straight-from-the-fridge bake in real time? The full walkthrough lives on the LoafLovers YouTube channel, and you can grab our free sourdough troubleshooting guide — a quick-reference for the symptoms, causes, and fixes that come up most — when you join the email list. No hard sell, just the answers waiting for the next time your schedule and your starter disagree.

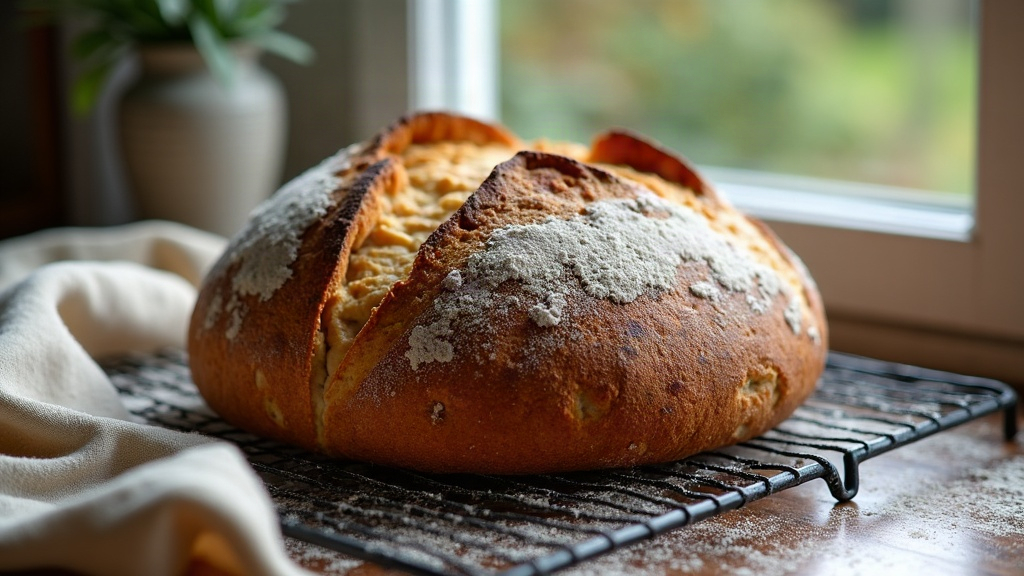
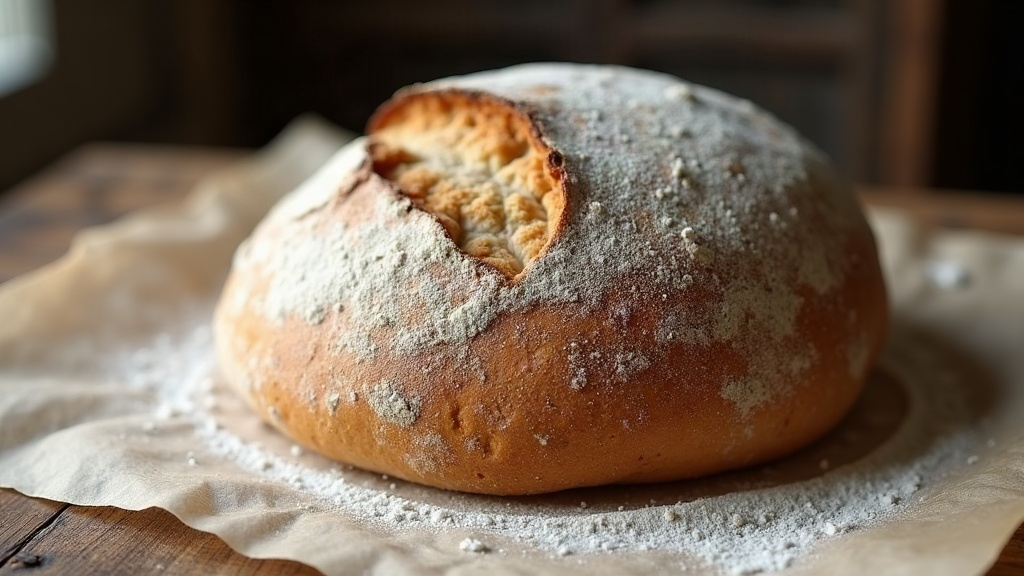
    A finished sourdough boule with a golden blistered crust and open ear cooling on a wire rack
    The reward for a well-timed retard: deeper flavor, a bold ear, and a crust that shatters.

    Related Reading

  • Same-Day Sourdough: How to Bake a Real Loaf Around a Full-Time Work Schedule

    Same-Day Sourdough: How to Bake a Real Loaf Around a Full-Time Work Schedule

    There is a stubborn myth that sourdough belongs to people with empty weekends and unlimited patience – that a real loaf demands two days of hovering over the counter. If you work full time, that story quietly tells you not to bother. Ignore it. You do not need a free weekend to bake good sourdough. You need a plan that bends around your day instead of the other way around.

    There are really two workable approaches for a busy baker: a genuine same-day loaf when you happen to be home, and a split schedule that leans on your fridge so the actual baking lands whenever suits you. Let’s walk through both, and the one thing that makes either one succeed.

    A freshly baked round sourdough loaf cooling on a wire rack in morning light
    A real, well-risen loaf – baked start to finish inside a single busy day.

    Same-day is realistic – warmth is the trick

    The reason sourdough usually takes so long is temperature. A cool kitchen slows the yeast and bacteria in your dough to a crawl, stretching every stage into hours. Warm that same dough up and it moves briskly. A dough proofing at a snug 78 to 82 degrees Fahrenheit can be ready in a fraction of the time it takes in a chilly room.

    So a same-day loaf is not about rushing or cutting corners. It is about keeping the dough warm and cooperative – a turned-off oven with the light on, a spot near a sunny window, or the top of the fridge all work. Get the temperature right and a start-to-finish bake in a single day is completely normal, not a stunt.

    First, the non-negotiable: a lively starter

    Here is the part that decides everything before you mix a thing. A same-day loaf leaves no slack for a sluggish starter. If yours crawls up over 12 hours and never quite domes, a fast bake will give you a flat, dense brick and you will blame the timeline.

    You want a starter that doubles within four to six hours of feeding, dome and all. Feed it in the morning, and when it is bubbly and at its peak – not collapsing – that is your green light to mix. If it is not there yet, this is a day for the split schedule below, not the sprint.

    An active, bubbly sourdough starter risen and domed in a glass jar
    Everything hinges on this: a lively starter at its peak, not a sluggish one dragging its feet.

    The same-day timeline, in plain terms

    Say you are home for the day. Here is the rhythm, no fancy equipment required.

    Morning: feed your starter and let it peak (4 to 6 hours). While you wait, get on with your morning.

    Midday: mix flour, water, starter and salt, then let it rest 30 minutes. Over the next couple of hours, do three or four sets of stretch-and-folds, spaced maybe 30 minutes apart. Each set takes under a minute, so you can slot them between other tasks.

    Afternoon: let the dough rise in the warm somewhere until it is puffy and jiggly and grown by roughly half – usually three to five hours in a warm kitchen. Shape it, let it rest a short final proof of 30 to 60 minutes.

    Evening: bake in a hot Dutch oven, and you are pulling a real loaf out before bed. One day, start to finish.

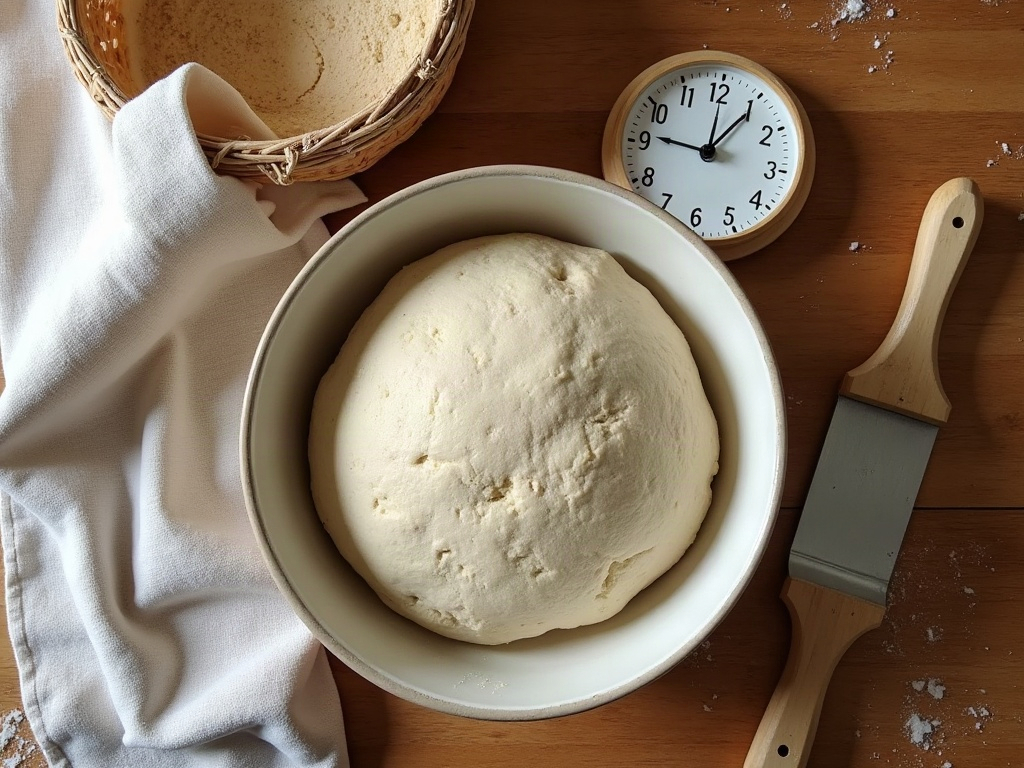
    Sourdough dough, a clock, and a banneton laid out on a wooden counter
    Warmth is the accelerator. A warm kitchen can shave hours off every stage.

    The after-work version: let the fridge do the waiting

    Most of us cannot babysit dough all day. This is where the fridge earns its keep, and honestly it makes better bread anyway.

    The evening-and-morning split: feed your starter before work so it peaks by the time you get home. Mix the dough in the evening, do your folds while dinner cooks, and let it rise on the counter for a couple of hours. Shape it, then slide it into the fridge overnight. In the morning – or even the next evening – you bake it straight from cold. No warming up, no waiting.

    That cold overnight rest, called a retard, does two favors at once: it fits the dough around your sleep, and it deepens the flavor into something tangier and more complex. The fridge does not just delay the dough. It improves it.

    Hands stretching and folding sourdough dough in a bowl
    A few sets of stretch-and-folds replace long kneading and fit neatly around chores.

    Where the busy bake goes wrong – and the quick fix

    Two problems account for most failures on a compressed schedule, and both are easy to catch.

    A flat, dense loaf almost always means an underpowered starter or an under-risen dough – you rushed a stage that was not actually ready. The fix is patience at the one point it matters: wait for the starter to peak, and judge the dough by how it looks and feels (puffy, jiggly, grown), not by the clock.

    A gummy crumb usually means it went into the oven before the bulk rise was truly done, or came out a touch early. Give the bulk rise its full time in the warmth, bake until the crust is deeply golden, and let the loaf cool completely before you cut it – that last hour is when the inside finishes setting.

    A shaped sourdough loaf resting in a banneton, ready for the fridge
    The fridge is your schedule’s best friend – it lets the dough wait for you, not the other way around.

    Bake on your terms

    Sourdough does not require a cleared calendar. It requires a starter you trust and a plan that respects your day – warm and fast when you are home, cold and patient when you are not. Pick the version that fits this week, and let the fridge cover the gaps.

    If you want to see the same-day timeline and the fold-and-shape steps in real time, the full walkthrough lives on the LoafLovers YouTube channel – it is far easier to copy the feel of the dough when you can watch it. Your work schedule was never the thing standing between you and good bread.

    Related Reading