Your recipe said “bulk ferment for 4 hours.” So you set a timer, walked away, and came back to a bowl of dough that looks… different than you expected. Maybe it’s barely moved. Maybe it’s ballooned up, gone slack, and is covered in big wobbly bubbles. Either way you’re standing in the kitchen asking the question every sourdough baker eventually asks: is this still good, or did I just waste two days and a cup of flour?
Here’s the honest answer. The time in your recipe was never really about your kitchen – it was about the baker who wrote it. Bulk fermentation is the one stage where the clock lies to you most, and learning to read the dough instead is the single biggest leap from frustrated beginner to baker who gets consistent loaves. Let’s sort out exactly how long you’ve really got, and how to know.
What bulk fermentation actually does
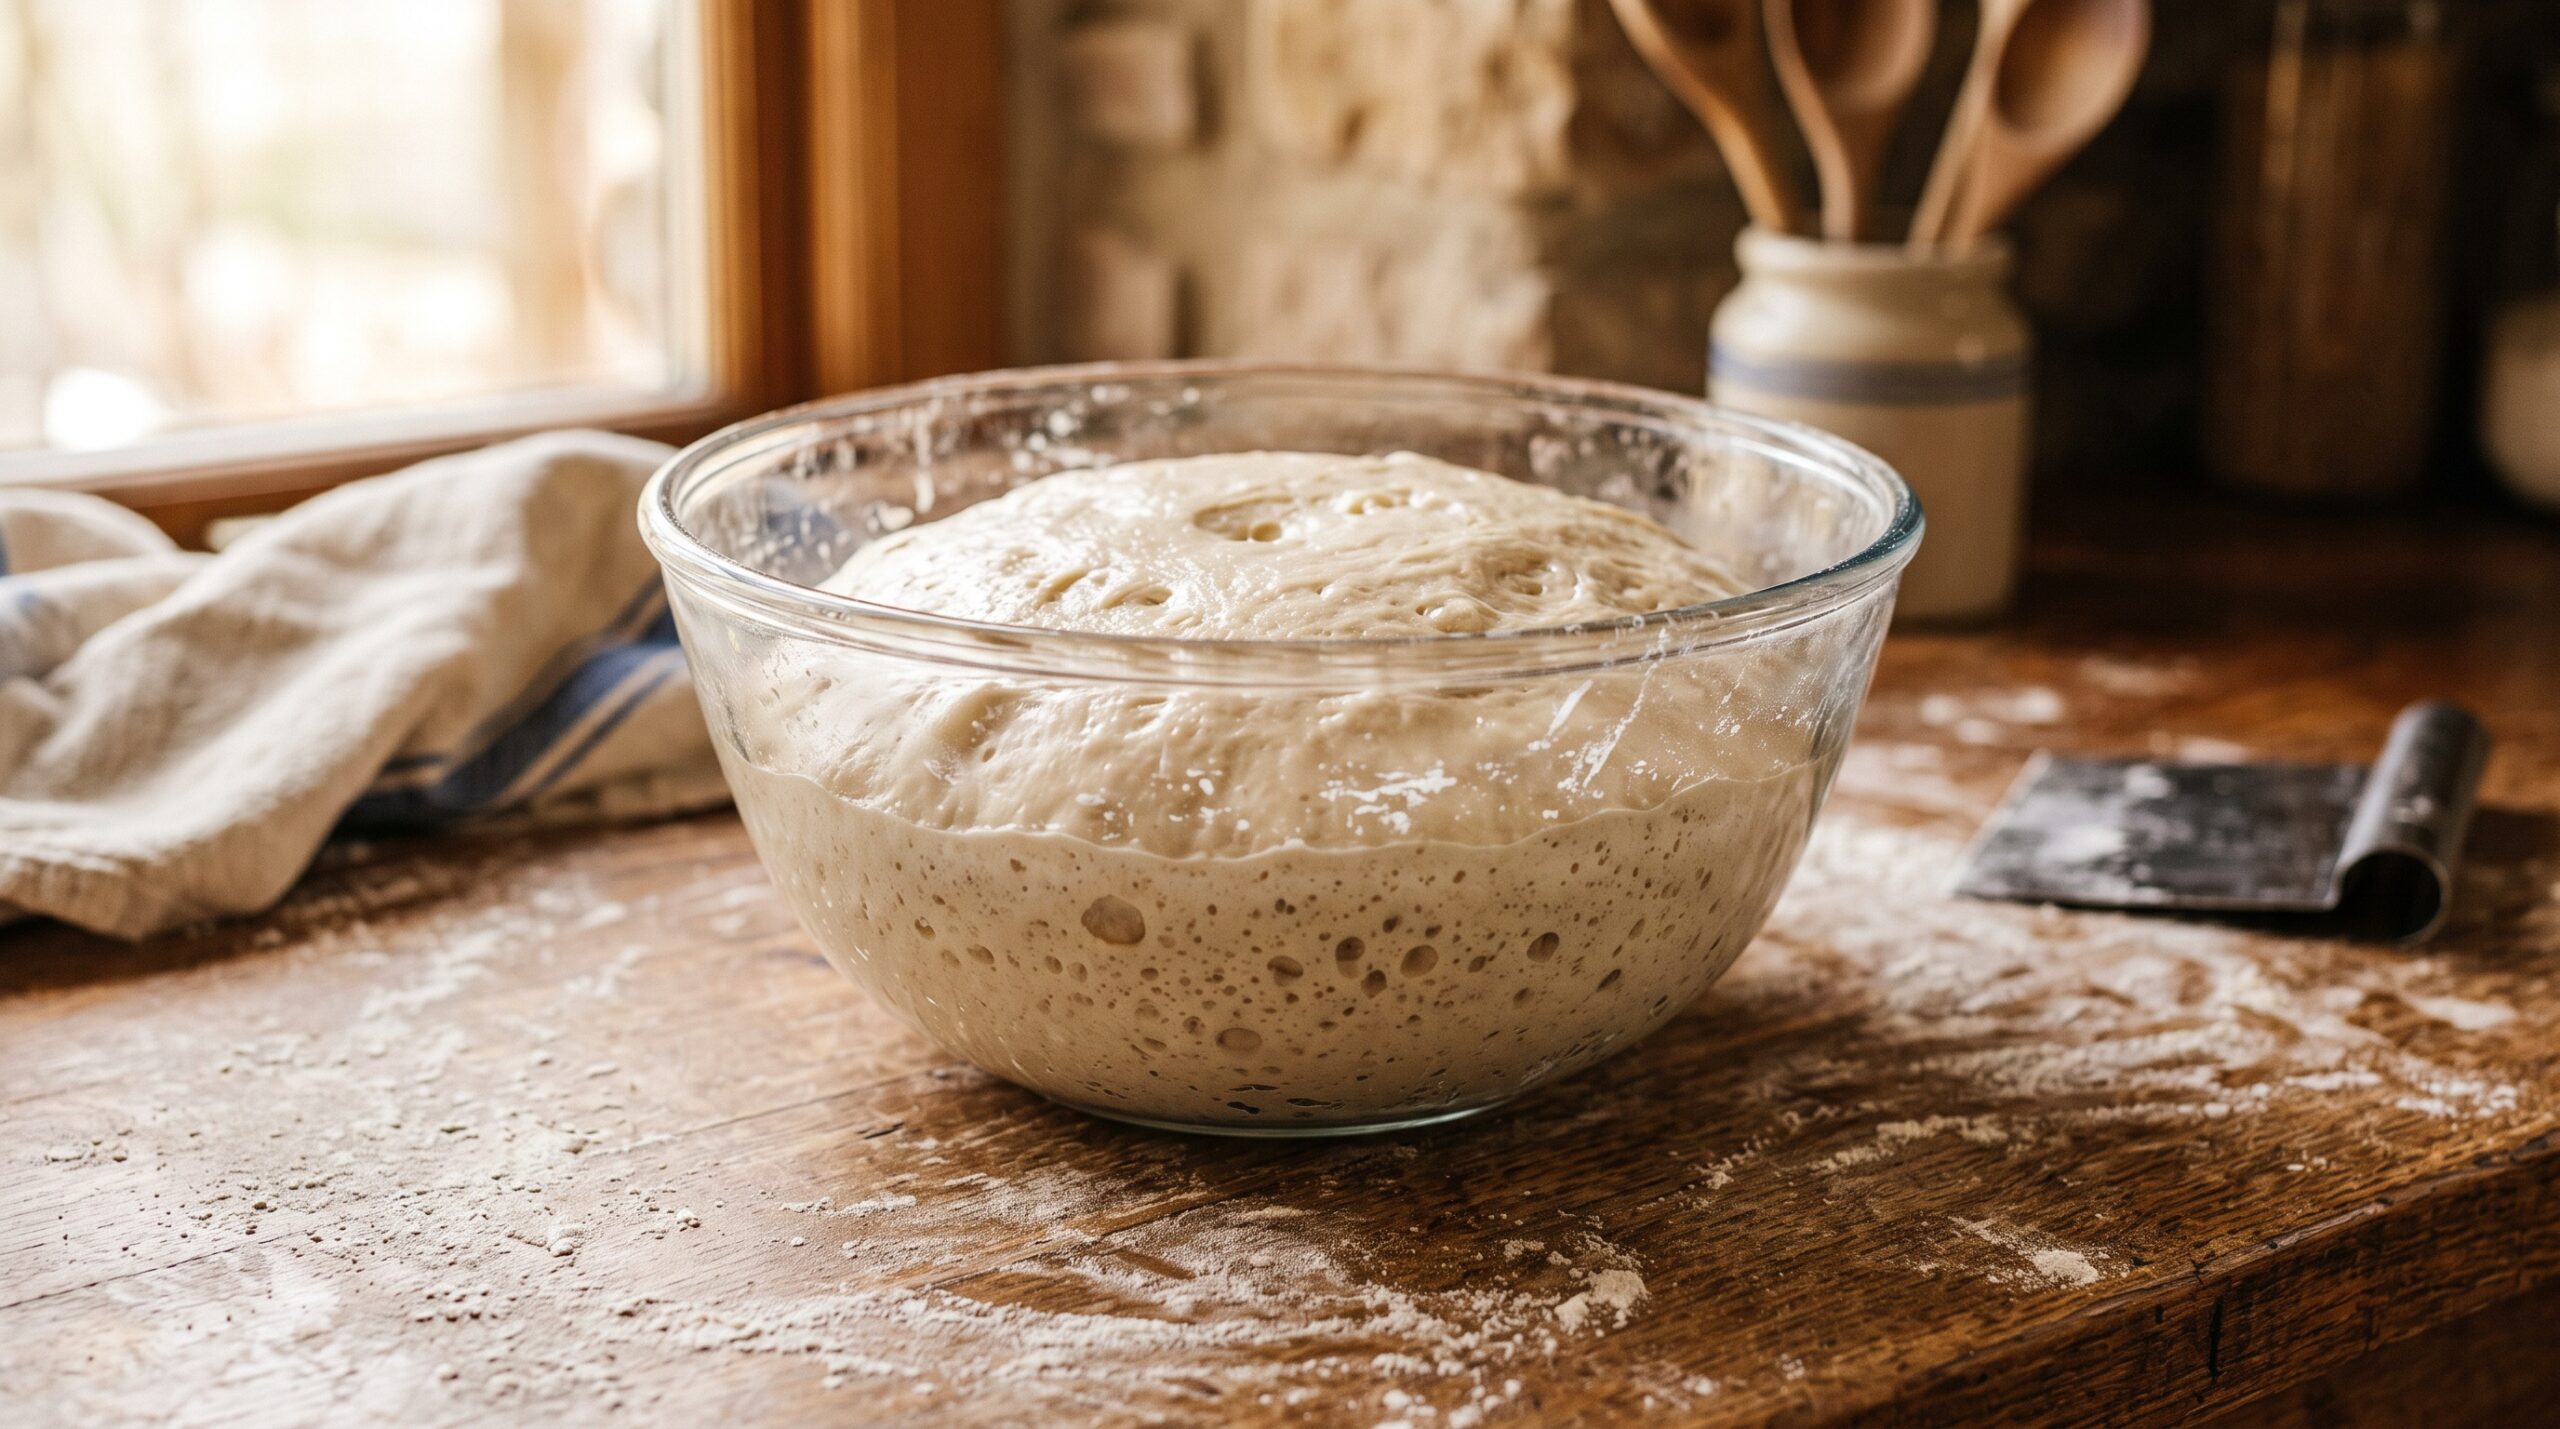
Bulk fermentation – “bulk,” because it happens while the dough is still one big mass, before you divide and shape – is where the real magic of sourdough happens. Your starter’s wild yeast is eating sugars and producing carbon dioxide, inflating the dough and building its rise. At the same time, the bacteria are producing acids that develop flavor and strengthen the gluten, and the gluten network itself is relaxing and organizing so the dough becomes extensible and billowy.
Get this stage right and almost everything downstream goes well: the loaf holds its shape, springs in the oven, and opens into a light crumb. Get it wrong and no amount of careful shaping or scoring will save it. That’s why bulk fermentation, not baking, is where most loaves are actually won or lost.
Why the recipe’s time is basically a guess for your kitchen
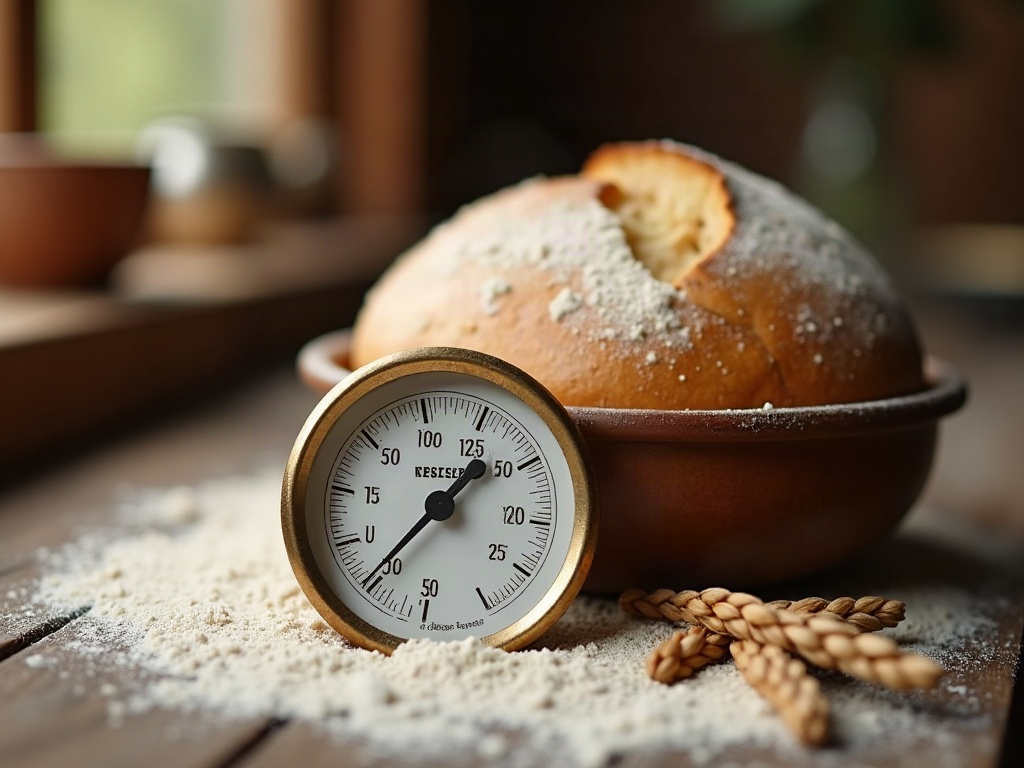
The number-one thing nobody tells you clearly enough: temperature controls everything. Fermentation is a chemical process, and like most chemistry it roughly doubles in speed for every rise of about 15-17°F (8-9°C) in dough temperature. In plain terms, a bulk ferment that takes four hours in a 78°F (26°C) kitchen can be done in under three hours at 82°F, and might take six or seven hours at 68°F.
So when a recipe says “4 hours,” it’s quietly assuming a dough temperature you almost certainly don’t share. The strength and liveliness of your starter, how much of it you used, and the flour you’re baking with all push the number around too. This is exactly why a hot summer kitchen can overproof a loaf while you’re still trusting last winter’s timings. The recipe’s clock is a starting hint, not an instruction.
The signs that actually tell you it’s ready
Stop watching the timer and start watching the dough. Here’s what “done” really looks and feels like:
Rise. A properly bulk-fermented dough typically grows by somewhere between 30% and 75% in volume – not necessarily doubled, which is a common myth that leads straight to overproofing. Mark the starting level (a rubber band on the bowl or a straight-sided container with marks helps enormously) so you’re measuring real change, not guessing.
Bubbles. You should see bubbles forming on the surface and around the edges of the dough, and a few domed blisters. The dough looks alive rather than inert.
Texture and jiggle. The dough should feel lighter and airier, pull away from the sides of the bowl more easily, and wobble like a soft, billowy cushion when you nudge the bowl. It should have gone from dense and tacky to pillowy.
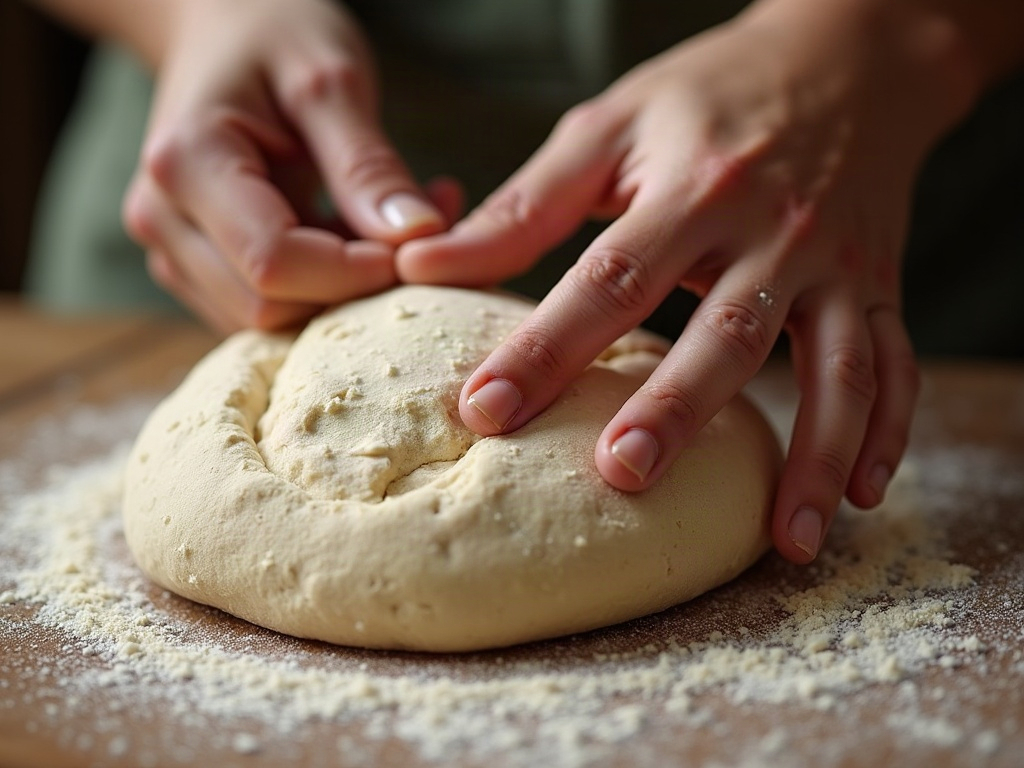
The poke test. Wet a finger and press gently about half an inch into the dough. If it springs back quickly and completely, it needs more time. If it springs back slowly and partially, leaving a soft dent – that’s your window; shape now. If it doesn’t spring back at all and the dent just stays, you’ve gone past ready into overproofed.
So how long before it’s actually ruined?
Here’s the reassuring part: there’s a real difference between “slightly past ideal” and “ruined,” and most dough that worries you is only in the first camp. A loaf that bulk-ferments a little long will still bake – it’ll just be a touch flatter, more sour, and more open or irregular than a perfectly timed one. That’s a slightly disappointing loaf, not a disaster.
“Ruined” is when fermentation has run so far that the gluten has broken down and the dough can no longer hold gas or structure. At warm room temperature (high 70s to low 80s°F), a strong dough usually has a comfortable window of maybe 4 to 6 hours, and starts drifting into genuine overproofing somewhere past 8 to 10 hours – though a hot kitchen or a very vigorous starter can shrink that sharply. Cooler, it stretches much longer. The telltale signs you’ve truly gone too far: the dough has spread into a slack, soupy puddle; it’s gone sticky and soup-like and tears instead of stretching; it smells sharply boozy or like nail polish; and the surface is a mass of big, deflated, broken bubbles. At that point the structure is spent, and no clever handling brings it back.
What to do when you’ve gone too far – or not far enough
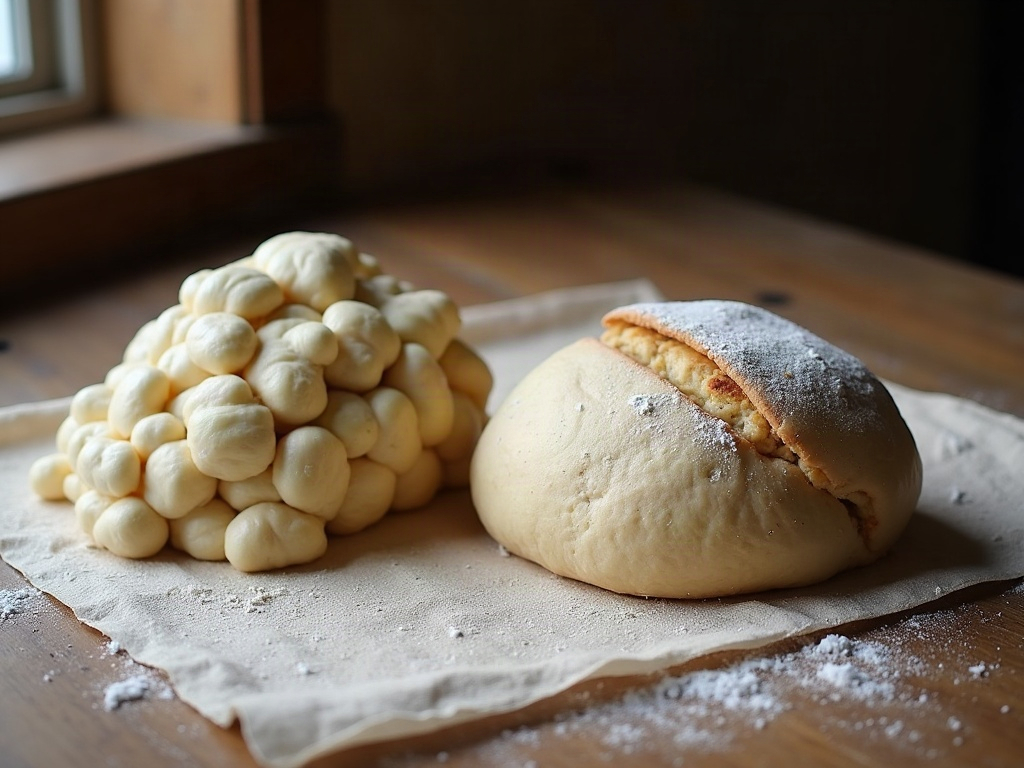
If the dough is only moderately over – risen a lot, a bit slack, poke test barely springing – don’t panic and don’t bin it. Give it a gentle, firm shape to build what surface tension you can, skip or shorten the proof after shaping since it’s already well along, and bake it a touch hotter to grab whatever oven spring remains. It may come out flatter, so lean into it: bake it as a pan loaf, or turn a truly collapsed batch into focaccia, flatbread, or crackers where a flat, airy dough is a feature, not a flaw. For a batch that’s genuinely overproofed rather than just a little past peak, we walk through the full salvage playbook in rescuing overproofed dough.
The opposite problem – under-fermented dough – is just as common and, honestly, easier to miss, because under-proofed dough looks tidy and well-behaved. It just bakes dense, tight, and gummy. If your loaves keep coming out heavy with a close, pasty crumb, the fix is usually more time, not less, and it’s the same root cause behind most gummy, dense crumb problems. When in doubt in a cool kitchen, give it longer.
Train yourself off the clock
The fastest way to get consistent is to make temperature visible and the rise measurable. Take the actual temperature of your dough right after mixing – aim for something in the mid-to-high 70s°F for a predictable few-hour bulk – and ferment in a straight-sided container with the start level marked so you can see the percentage rise at a glance. Keep a one-line bake log: dough temp, start time, when it hit its rise, how the loaf turned out. After a handful of bakes you’ll stop needing the log, because you’ll have internalized what your dough looks like at the exact moment it’s ready in your kitchen.
That’s the whole secret. The recipe’s “4 hours” was somebody else’s kitchen on somebody else’s day. Your dough is telling you the truth in real time – a confident rise, a bubbly, billowy wobble, and a poke that springs back slow and shy. Learn to read those three things and you’ll never be held hostage by a timer again.
Want to see the poke test and a ready-to-shape dough in motion, side by side with one that’s gone too far? The full visual walkthrough lives on the LoafLovers YouTube channel, and our free sourdough troubleshooting guide puts the timing cues in one quick reference.