You fed your starter this morning, and now you’re standing over the jar with a spoon and a glass of water, trying to answer the one question that stalls every bake: is it ready yet? Somewhere along the way you were taught the float test — drop a little starter in water, and if it floats, you’re good to go. It feels scientific and satisfyingly binary. The trouble is, plenty of bakers have floated a spoonful, mixed their dough with full confidence, and still ended up with a flat, dense loaf. Others have watched a perfectly healthy starter sink like a stone and panicked for no reason.
So let’s clear this up. The float test isn’t useless, but it’s a rough, easily-fooled signal — not the reliable green light it’s made out to be. Once you understand what it actually measures, you can stop leaning on it and start reading the handful of signs that genuinely tell you a starter is at peak and ready to raise bread.

What the float test actually measures
The idea behind the float test is simple physics. A healthy, active starter is full of carbon dioxide produced by the wild yeast. Gas is lighter than water, so a scoop of gassy starter traps enough of it to float. That’s the whole mechanism: the float test measures buoyancy, which is a proxy for how much trapped gas is in the starter right now.
And that’s genuinely useful information — up to a point. A starter so lively it floats clearly has active yeast producing gas, which is exactly what you need to leaven a loaf. If your starter reliably floats when it looks bubbly and risen, there’s nothing wrong with using it as a quick confidence check.
The problem is everything the test doesn’t tell you, and the surprisingly common ways it gives you the wrong answer.
Why the float test fails as often as it works
Here are the four situations where the float test quietly lies to you:
1. A stiff or low-hydration starter can sink even at peak. The test was designed with a fairly loose, liquid starter in mind. If you keep a stiffer starter (less water, more flour), it’s denser and can sink straight to the bottom even when it’s bubbling happily and fully ready. These bakers ‘fail’ a test their starter was never built to pass.
2. An overripe, past-peak starter can still float. This is the dangerous one. A starter that peaked hours ago and has started to collapse can still hold enough residual gas to float — while its yeast is tired, its acidity is high, and its raising power is fading. You float it, trust it, and get a sluggish rise. A float tells you gas is present; it says nothing about whether the starter is on its way up or already on its way down.

3. Scooping degasses the sample. How you take the spoonful matters enormously. If you stir or dig down and knock the gas out of the blob before you drop it in, you can sink a starter that would otherwise float. Two bakers can test the same jar and get opposite results based purely on how gently they scooped.
4. It tells you nothing about timing. Even a clean float only tells you about this single moment. It can’t tell you the starter peaked an hour ago, or that it’ll be even stronger in another 45 minutes. And timing — catching the starter near its peak — is the single biggest factor in whether it has the muscle to raise a loaf.
None of this means throw the test out. It means demote it from verdict to hint, and lean on signals that actually track readiness.
The signs that really tell you a starter is ready
Forget the water glass for a second and just look at the jar. A starter that’s ready to bake with shows a cluster of signs together:
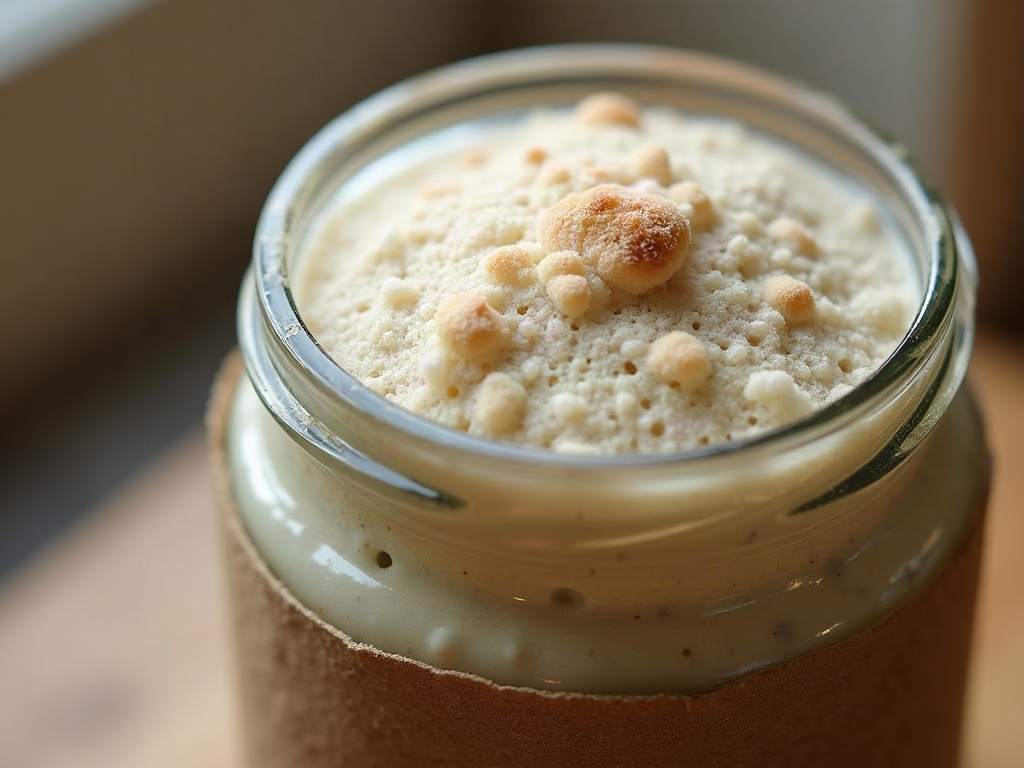
- It has roughly doubled to tripled in volume. This is the headline signal. A ready starter has visibly, dramatically risen since its feed — not crept up 20%, but climbed to two or three times where it started.
- The top is domed, then just barely flattening. As it climbs it pushes up into a dome. The very peak is when that dome is at its tallest, right before the center starts to sink. That moment is the sweet spot.
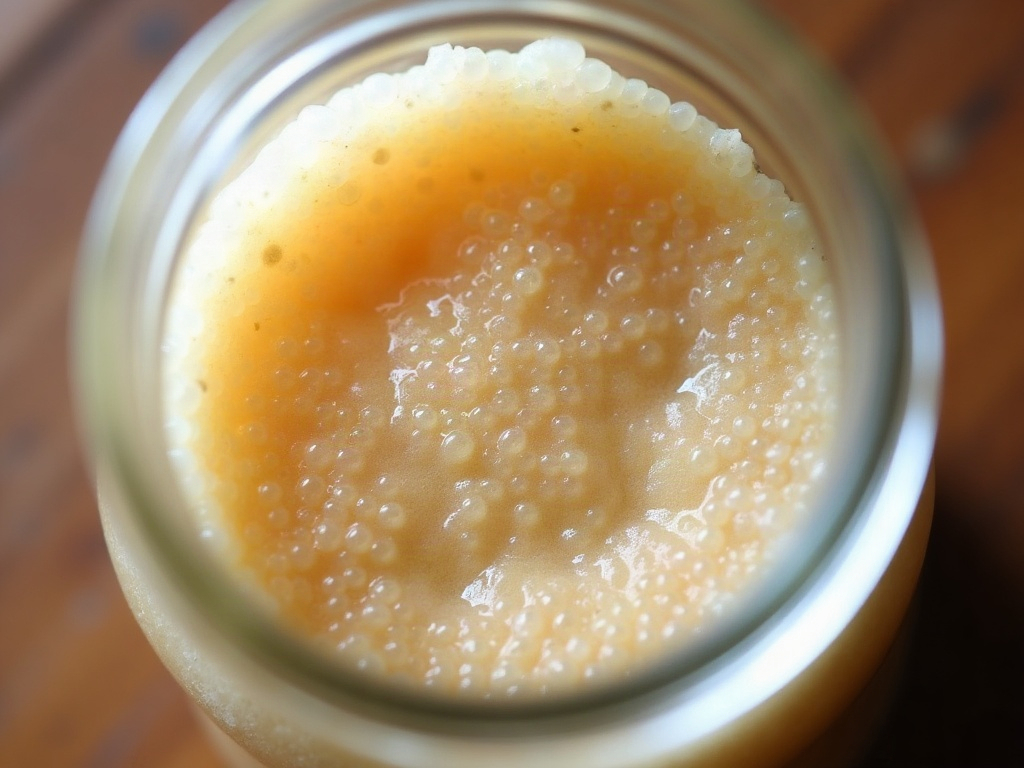
- The surface and sides are webbed with bubbles. Look through the glass: you want an airy network of small and large bubbles throughout, not just a few lonely ones. A gassy, foamy structure means the yeast is working hard.
- The smell has turned tangy. Fresh after feeding it smells mild and sweet, almost like raw dough. At peak it shifts to pleasantly sour and yeasty — like tangy yogurt or ripe fruit, not sharp nail-polish (that sharpness means it’s gone too far and is hungry).
- It’s the right amount of time since feeding. A healthy room-temperature starter usually peaks somewhere around 4 to 8 hours after a feed, depending on temperature, ratio, and how strong it is. Learn your own starter’s clock and you’ll barely need any test at all.
When most of those line up — doubled, domed, bubbly, tangy, and at its usual peak time — your starter is ready, whether or not a scoop happens to float. If those signs aren’t showing up even after a full feed cycle, that’s a different problem, and our guide to a starter that won’t rise walks through the usual culprits.
The rubber-band method: reading rise objectively
Eyeballing ‘doubled’ is harder than it sounds when you’re staring at the same jar all day. The fix is almost embarrassingly low-tech: a rubber band.
Right after you feed and stir your starter, wrap a rubber band (or mark the glass with a marker or piece of tape) around the jar at the starter’s level. Now you have an objective starting line. As the hours pass, you can see exactly how far it’s climbed — no guessing. When it reaches roughly double the band and domes over, you’ve caught peak.
This one habit teaches you your starter’s personality faster than anything else. After a few bakes you’ll know ‘it doubles the band in about six hours at my kitchen temperature,’ and you can plan around it instead of hovering. It also makes the tricky past-peak stage obvious: once the starter rises well above the band and then starts sinking back down toward it, you’ve missed the peak and it’s fading.
Timing your feed so it peaks when you want to mix
Here’s where readiness becomes a scheduling tool rather than a waiting game. Because a starter peaks a fairly predictable number of hours after feeding, you can work backwards. Want to mix your dough at 9 a.m.? If your starter usually peaks around six hours after a feed at room temperature, feed it around 3 a.m. — or, more realistically, feed it the night before and use a cooler spot or a smaller ratio (more flour and water relative to old starter) to slow it down so it peaks in the morning rather than overnight.
Warmer kitchen, bigger proportion of ripe starter, or a looser mix all make it peak faster; a cooler spot, a smaller seed of starter, or a stiffer mix make it peak slower. You have real control here. Dialing in this timing is the same instinct you’ll use when judging the dough itself later — our guide on telling when bulk fermentation is done is the loaf-stage sibling to reading your starter’s peak.
Not-yet, at-peak, past-peak: reading the jar
Once you’re watching rise and timing instead of floating spoonfuls, three clear stages emerge:
Not yet ready. Still close to the band, only a few scattered bubbles, smells mild and sweet. It hasn’t built enough gas or population to raise a loaf well. Give it more time — impatience here is a leading cause of dense bread.
At peak — go. Doubled to tripled, domed at its tallest, thoroughly bubbly, smell turned pleasantly tangy. This is the window. Build your levain or mix your dough now, or within the next hour or so.
Past peak. The dome has collapsed into a dip, the surface looks slack or wet, and it may be starting to smell sharper. It’s not ruined — you can often still bake with a just-past-peak starter, and it’ll simply be a touch weaker and tangier. But if it’s fallen a long way and thrown off liquid, it’s hungry. That liquid is hooch, and it’s telling you the starter needs feeding before it’s baking-strong again; here’s exactly what the liquid on your starter means and what to do about it.
When your starter never seems to get there
If you’re doing all of this and the starter still won’t reliably double, dome, and get bubbly, the issue isn’t your testing method — it’s the starter’s health or its environment. The usual fixes are warmth (most home kitchens are cooler than a starter wants; aim for the mid-70s°F / low-20s°C), consistency (feed on a regular schedule with a good ratio so the yeast population stays strong), and patience with a young or recently-stored culture that simply needs a few vigorous feeds to hit full strength. A starter coming out of the fridge, in particular, is dormant and needs a warm feed or two before it’s ready — which is why our guide to storing your starter ends every long break with a wake-up routine, not a straight-to-bake shortcut.
The quick starter-readiness cheat-sheet
- Float test: a hint, not a verdict — a float means gas is present, nothing more. Don’t bake on it alone.
- The real green light: doubled-to-tripled, domed at its tallest, bubbly throughout, smell turned tangy, at its usual peak time.
- Use a rubber band to mark the post-feed level so ‘doubled’ is a fact, not a guess.
- Catch it near peak — on the way up and domed, not fallen and slack.
- Time the feed backwards from when you want to mix; adjust with temperature and ratio.
- Never ready? Warmer spot, consistent feeding, and a couple of strength-building feeds — not a better float test.
The float test isn’t the enemy; over-trusting it is. Once you learn to read the rise, the dome, the bubbles, the smell, and the clock, you’ll know your starter is ready with a glance — no water glass required — and you’ll catch that peak window that makes the difference between a proud, open loaf and a dense, disappointing one.
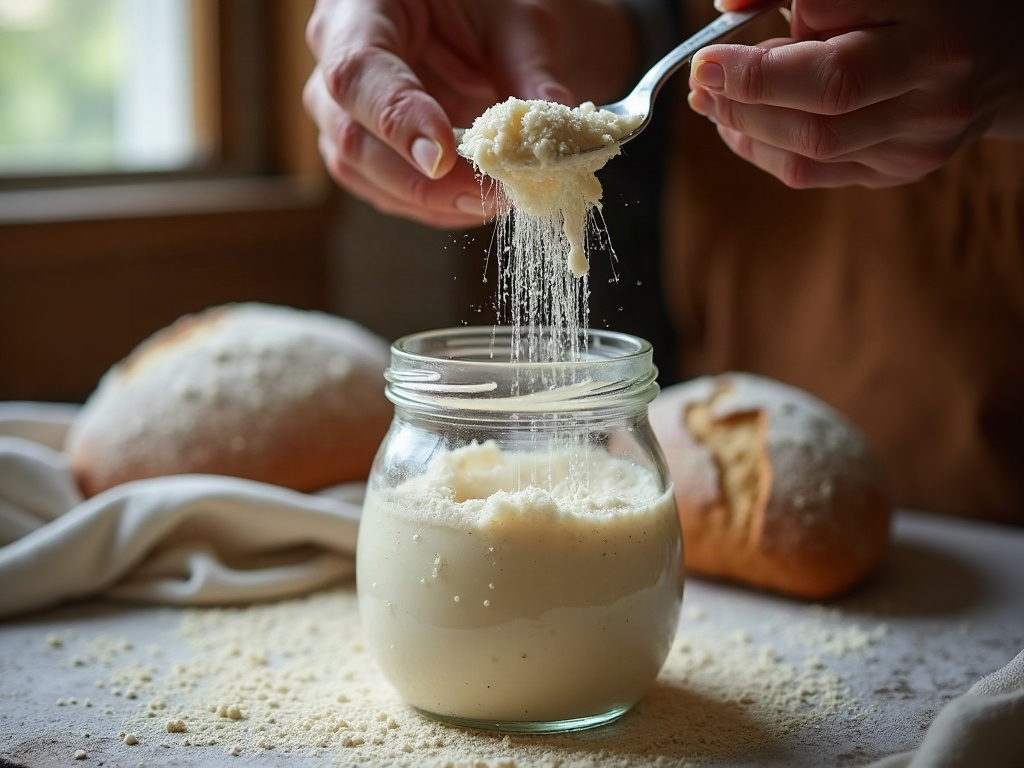
Want to see the difference between a not-yet, at-peak, and past-peak starter in real time — and watch a float test pass and fail on the very same jar? The full walkthrough lives on the LoafLovers YouTube channel, and our free sourdough troubleshooting guide lays out the readiness signs and feed-timing math side by side. Grab it, mark your jar, and bake the next loaf right on cue.
Sources & further reading:
- The Perfect Loaf — Sourdough starter maintenance and readiness
- King Arthur Baking — Is my sourdough starter ready to bake with?