One of the quiet anxieties of keeping a sourdough starter is the feeling that you’ve adopted a needy pet — that if you skip a day, or go away for a weekend, you’ll come home to a dead jar and have to start the whole seven-day ritual over again. It’s the reason a lot of people give up on sourdough entirely. So let’s put the worry to rest: you do not have to feed a healthy starter every single day, and it is much harder to kill than you think. The trick is simply knowing how to store it for the length of break you’re taking.
A mature starter is a robust little ecosystem of wild yeast and lactic acid bacteria. Cold slows it down; drying pauses it; neither one kills it outright. Once you understand the three storage modes — everyday fridge, a couple of weeks off, and a long month-plus break — you can put your starter down and pick it back up on your schedule instead of its own.
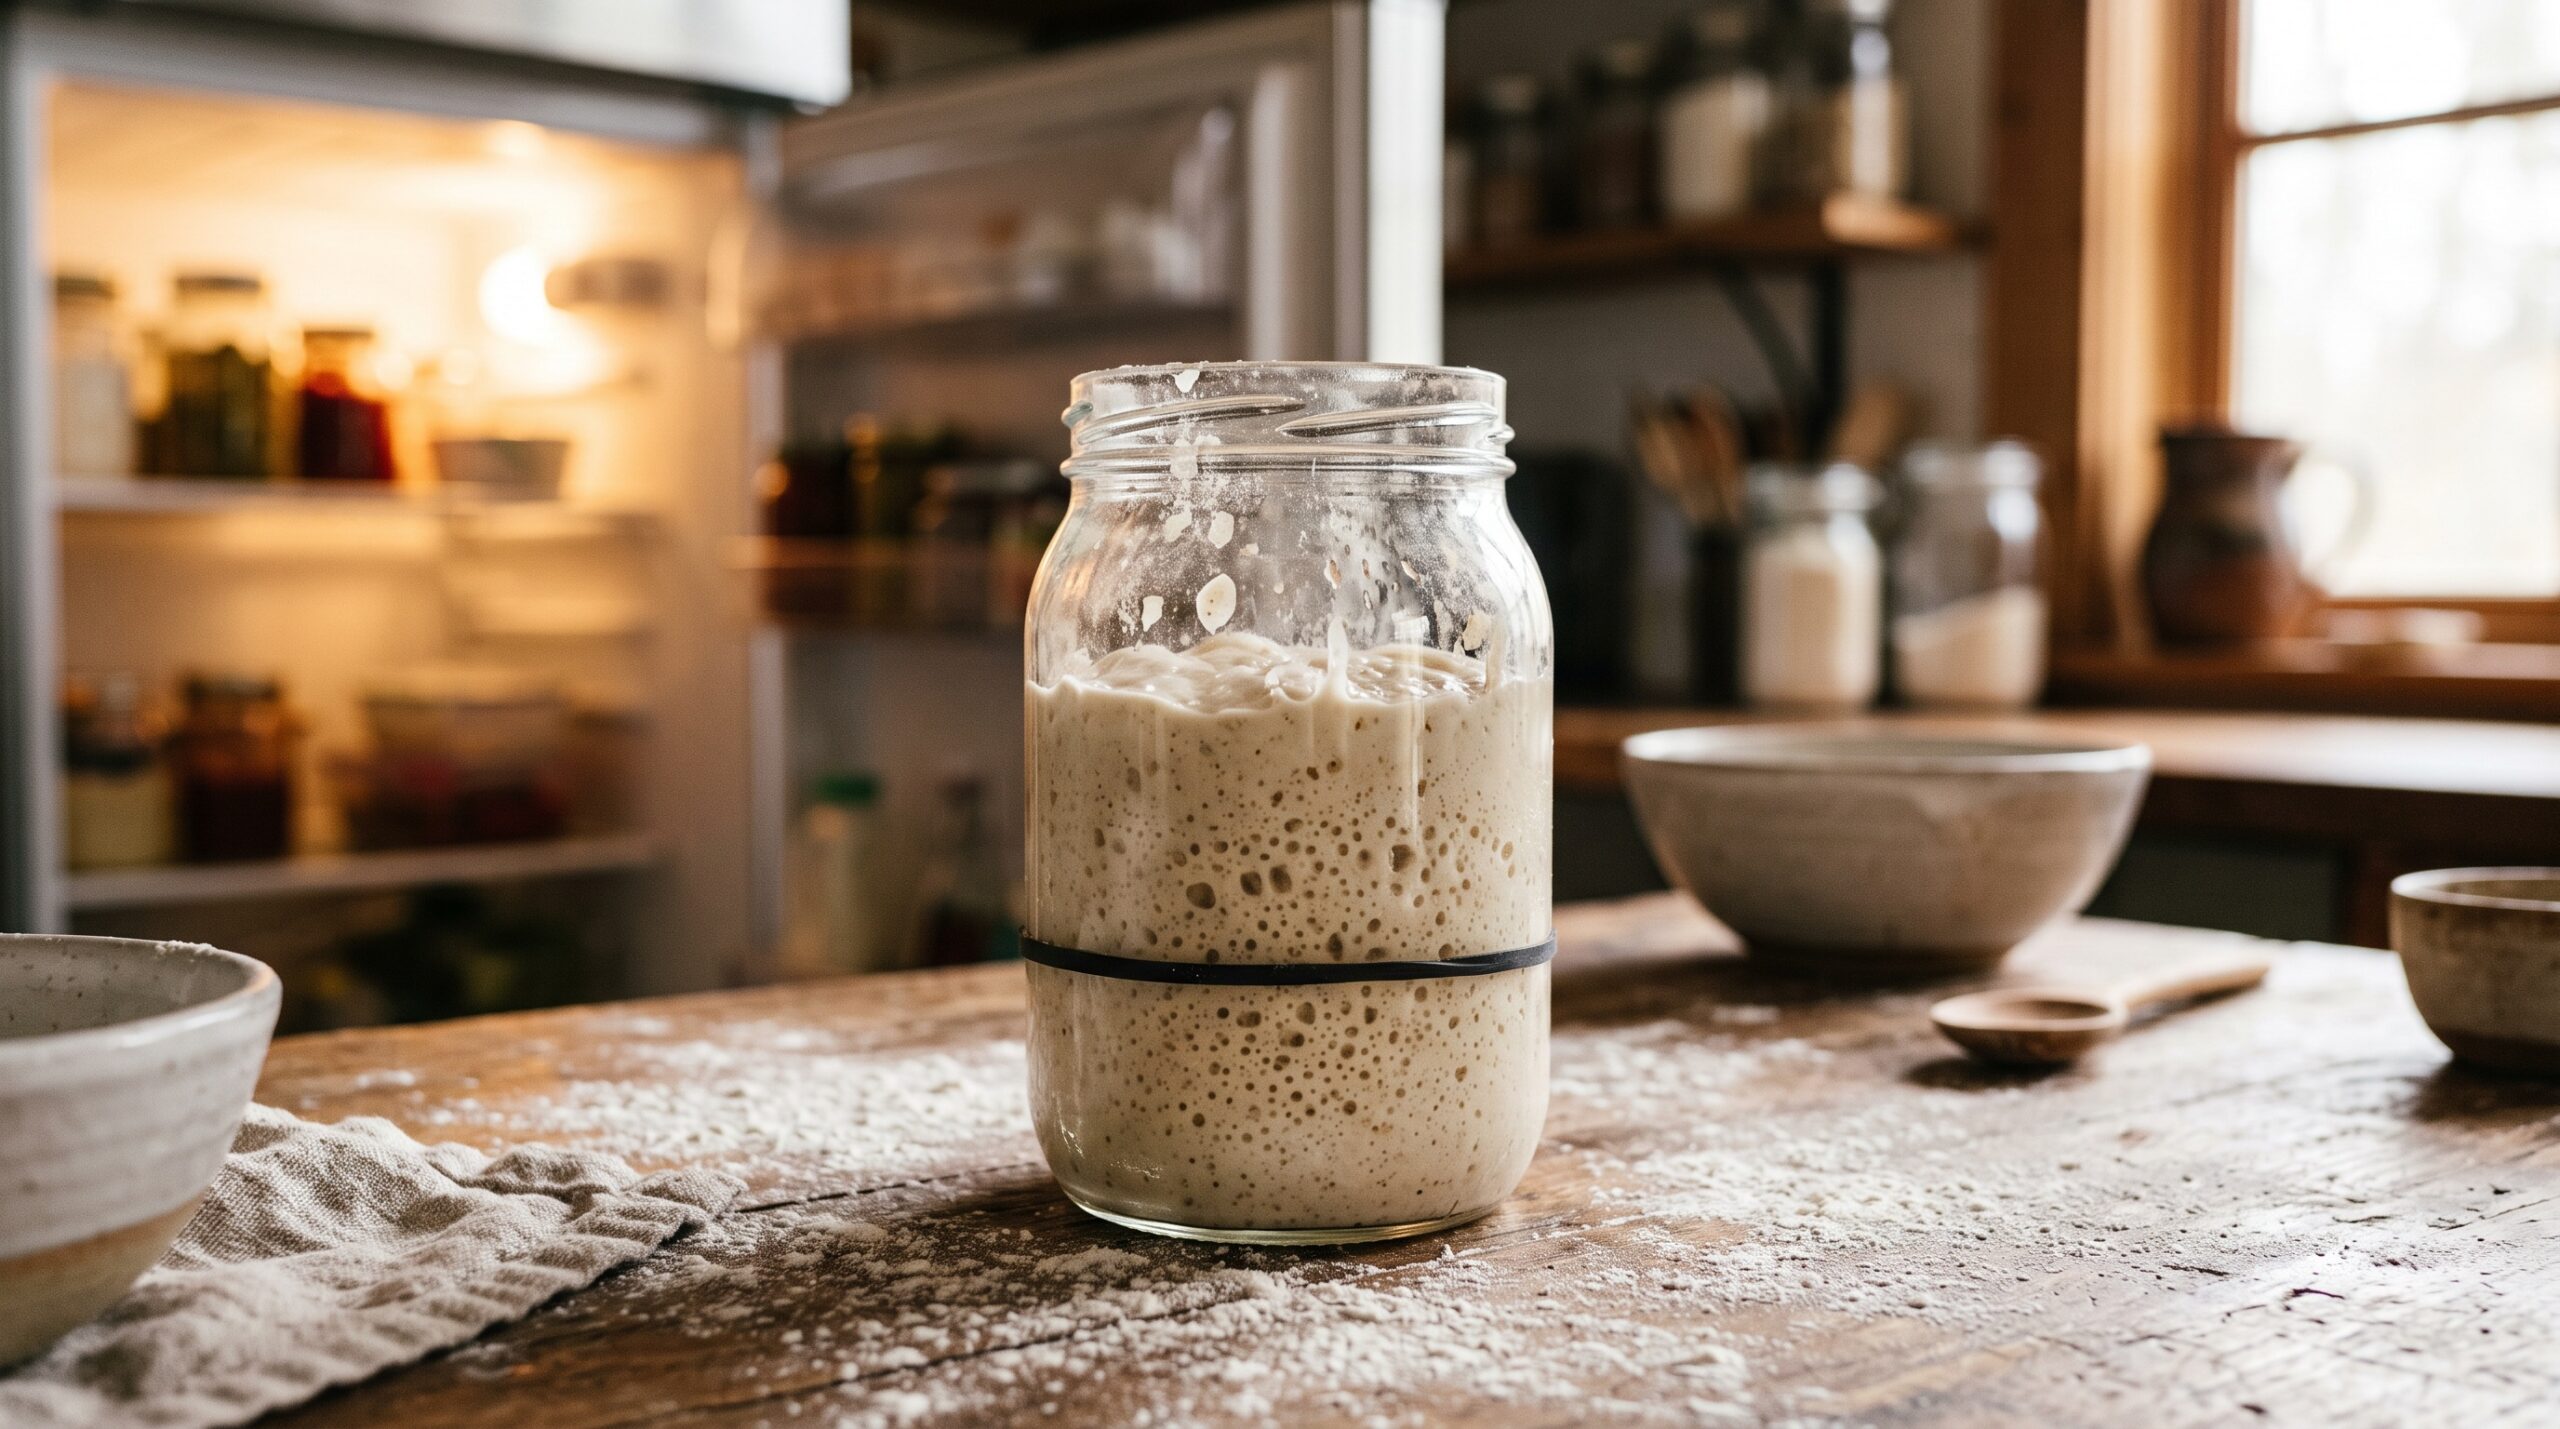
First, know this: your starter is tougher than it looks
Before the how-to, the mindset. An established starter (say, a few weeks old or more) has built up a large, competitive population of yeast and bacteria that fend off spoilage organisms. That acidity is a shield. Left alone, it will get hungry, throw off a layer of liquid, smell sharp, and look sad — but “hungry and neglected” is a totally different state from “dead.” Genuinely dead is rare, and usually means fuzzy mold or a pink/orange streak, not just a funky smell or dark liquid.
So as you read the storage methods below, don’t treat them as life support. Think of them as a pause button. The worst that usually happens after a break is that your starter needs a feed or two to get its strength back before it’s ready to raise a loaf — and that’s a routine wake-up, not a resurrection.
Everyday storage: the fridge method
If you bake roughly once a week or every couple of weeks, the fridge is your home base, not the counter. Cold drops the metabolism of the yeast and bacteria to a crawl, which means instead of feeding daily you feed weekly — or even stretch a bit longer.
The routine is simple. Keep your starter in a jar with a lid that’s on but not airtight (a screw-top rested on, or a jar with a little vent, so gas can escape). Once a week or so, take it out, discard most of it, feed what’s left with fresh flour and water, let it sit out for an hour or two to start waking up, then return it to the fridge. That’s it. Many bakers happily go 10–14 days between feeds this way. The starter will separate and develop hooch between feedings — that’s expected and fine.
How much to keep is up to you. A small starter (a tablespoon or two fed up to maybe half a cup) wastes less flour and is easy to store; you just build it up to the amount your recipe needs a day or two before you bake.
The timing that actually matters: feed, then chill
Here’s the single most useful detail, and the one people get wrong: don’t refrigerate a hungry starter. If you feed your starter and immediately shove it into the cold, the yeast never really gets going and it can come out of the fridge weak. If you let it sit out too long and go completely flat and starving before chilling, you’re storing it on empty.
The sweet spot is to feed it, let it sit at room temperature until it’s clearly active and beginning to rise — bubbly and on its way up, not yet collapsed — and then put it in the fridge. You’re banking it with a full tank and live, active organisms. This one habit is the difference between a starter that bounces back from the fridge in a single feed and one that sputters for days. If yours tends to come out of the cold sluggish and slow to rise, this timing fix — plus the warm wake-up below — is usually the cure, and our guide to a starter that won’t rise covers the other culprits.

Coming back from a week or two: the wake-up routine
You’ve had it in the fridge and now you want to bake. Don’t try to use it straight from the cold — a fridge starter is dormant and won’t have the lift to raise a loaf yet. It needs waking up.
Pull it out the day before you plan to bake. You’ll often find a layer of liquid on top and a boozy, sharp smell. Stir the liquid back in or pour it off, discard most of the starter, and give it a fresh feed at room temperature. Within 4–8 hours it should be bubbly and rising; give it a second feed if it’s still slow. The classic readiness check is the float test — drop a small spoonful in water, and if it floats, the yeast has produced enough gas to leaven bread. Once it’s passing that and roughly doubling in a few hours, it’s back to full strength and ready to build into a levain.
If it comes out looking rough, that’s normal for a couple of weeks in the cold. One or two warm feeds fixes almost everything.
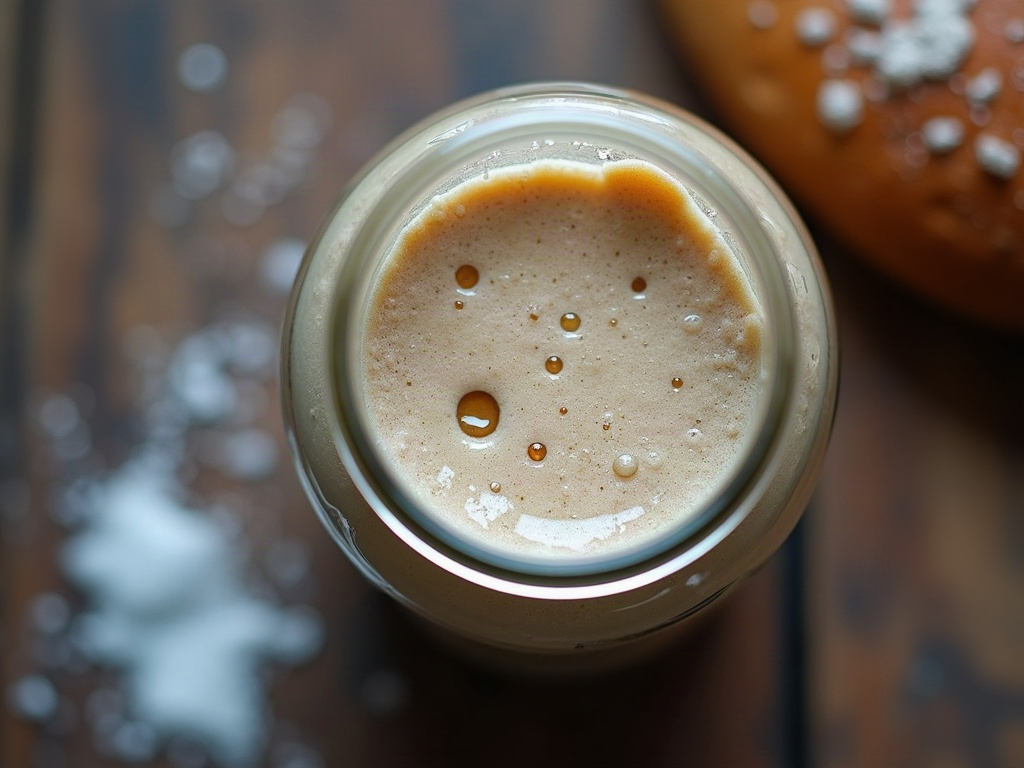
What hooch and smells mean while it’s stored
Storage always comes with some drama on the surface of the jar, and it’s worth knowing what’s harmless. That thin layer of gray-to-brown liquid is hooch — alcohol and water the starter releases when it’s hungry. It’s a message that says “feed me,” not a death notice. You can stir it in for a slightly tangier starter or pour it off for a milder one, then feed as normal. We break down exactly what the liquid on your starter is telling you if you want the full picture.
Smell follows the same logic. A stored starter that goes sharp, vinegary, or acetone-like (think nail-polish remover) is simply very hungry and heavy on acid and alcohol — a few feeds will mellow it right back to a pleasant yogurty tang. What you’re watching for instead is real spoilage: fuzzy mold in any color, or pink/orange streaks. Those mean discard and start over. A funky smell and dark liquid do not.
Long breaks: a month or more (and a vacation backup)
Going away for several weeks, or want a safety net in case life gets busy? You have a couple of reliable options beyond the fridge.
Just leave it in the fridge. A well-established starter can survive a surprisingly long stretch cold and unfed — several weeks, sometimes more — and revive with patience. It’ll build up a lot of hooch and get sharp, but it’s usually recoverable with two or three days of feeding. This is the no-effort choice for a long vacation: feed it, chill it, walk away.
Dry it for shelf-stable insurance. The safest long-term move is to dry some starter. Smear a thin layer of active starter on parchment, let it dry completely into brittle flakes, then crack it into pieces and store them sealed in a cool, dark spot — they keep for months, even years. To bring it back, rehydrate the flakes with water and flour and feed over a few days. Because these flakes are a dormant backup, drying a little starter whenever yours is thriving is smart insurance against ever losing your culture. You can also freeze a portion of starter; it survives freezing well and thaws back into service with feeding.

When it’s truly neglected — and when to start over
Sometimes a break turns into months you didn’t plan, and you open the fridge to a jar of dark liquid over a gray, lifeless paste that smells aggressively of solvent. Don’t panic and don’t bin it on sight. Pour off the hooch, scoop out a spoonful of the least-sad starter from the middle, and start a rescue: feed it small amounts once or twice a day in a warm spot and give it several days. Most neglected starters claw their way back — our full walkthrough on reviving a neglected starter takes it step by step.
The genuine start-over cases are narrow: visible fuzzy mold, pink or orange discoloration, or a starter that shows zero activity after a solid week of consistent warm feeding. Short of those, storage problems are almost always fixable with time and flour. And if you did keep a jar of dried flakes as backup, this is exactly the moment they earn their keep.
The quick starter-storage cheat-sheet
- Baking weekly? Keep it in the fridge, feed roughly once a week, no daily feeding needed.
- Always feed then chill — refrigerate an active, rising starter, never a hungry, collapsed one.
- Back from 1–2 weeks off? Discard, feed warm, wait for bubbles and a float test before baking; feed twice if slow.
- Hooch or a sharp smell? Harmless hunger — stir in or pour off, then feed.
- Away a month or more? Leave it chilled, or dry a thin layer into flakes (or freeze some) for shelf-stable backup.
- Mold or pink/orange streaks? That’s the one time to discard and start fresh.
Once you’ve got these three modes in hand, a starter stops being a daily obligation and becomes what it should be: a tool that waits patiently for you. Store it right and you can bake on your schedule, take a vacation without guilt, and always have a lively culture ready when the mood strikes.
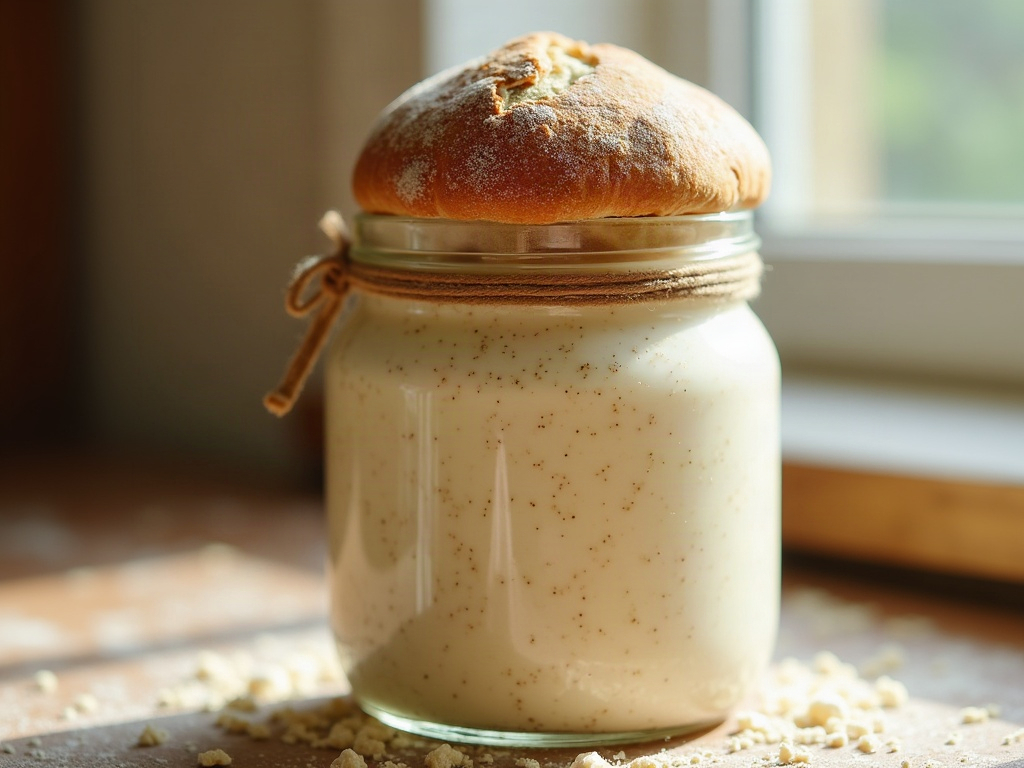
Want to see the feed-then-chill timing and the wake-up feed in real time — including exactly what an active, ready-to-store starter looks like versus a hungry one? The full walkthrough lives on the LoafLovers YouTube channel, and our free sourdough troubleshooting guide lays out the storage and revival routines side by side. Grab it, park your starter with confidence, and come back to bake whenever you’re ready.
Sources & further reading:
- King Arthur Baking — Maintaining and storing your sourdough starter
- The Perfect Loaf — Sourdough starter maintenance guides