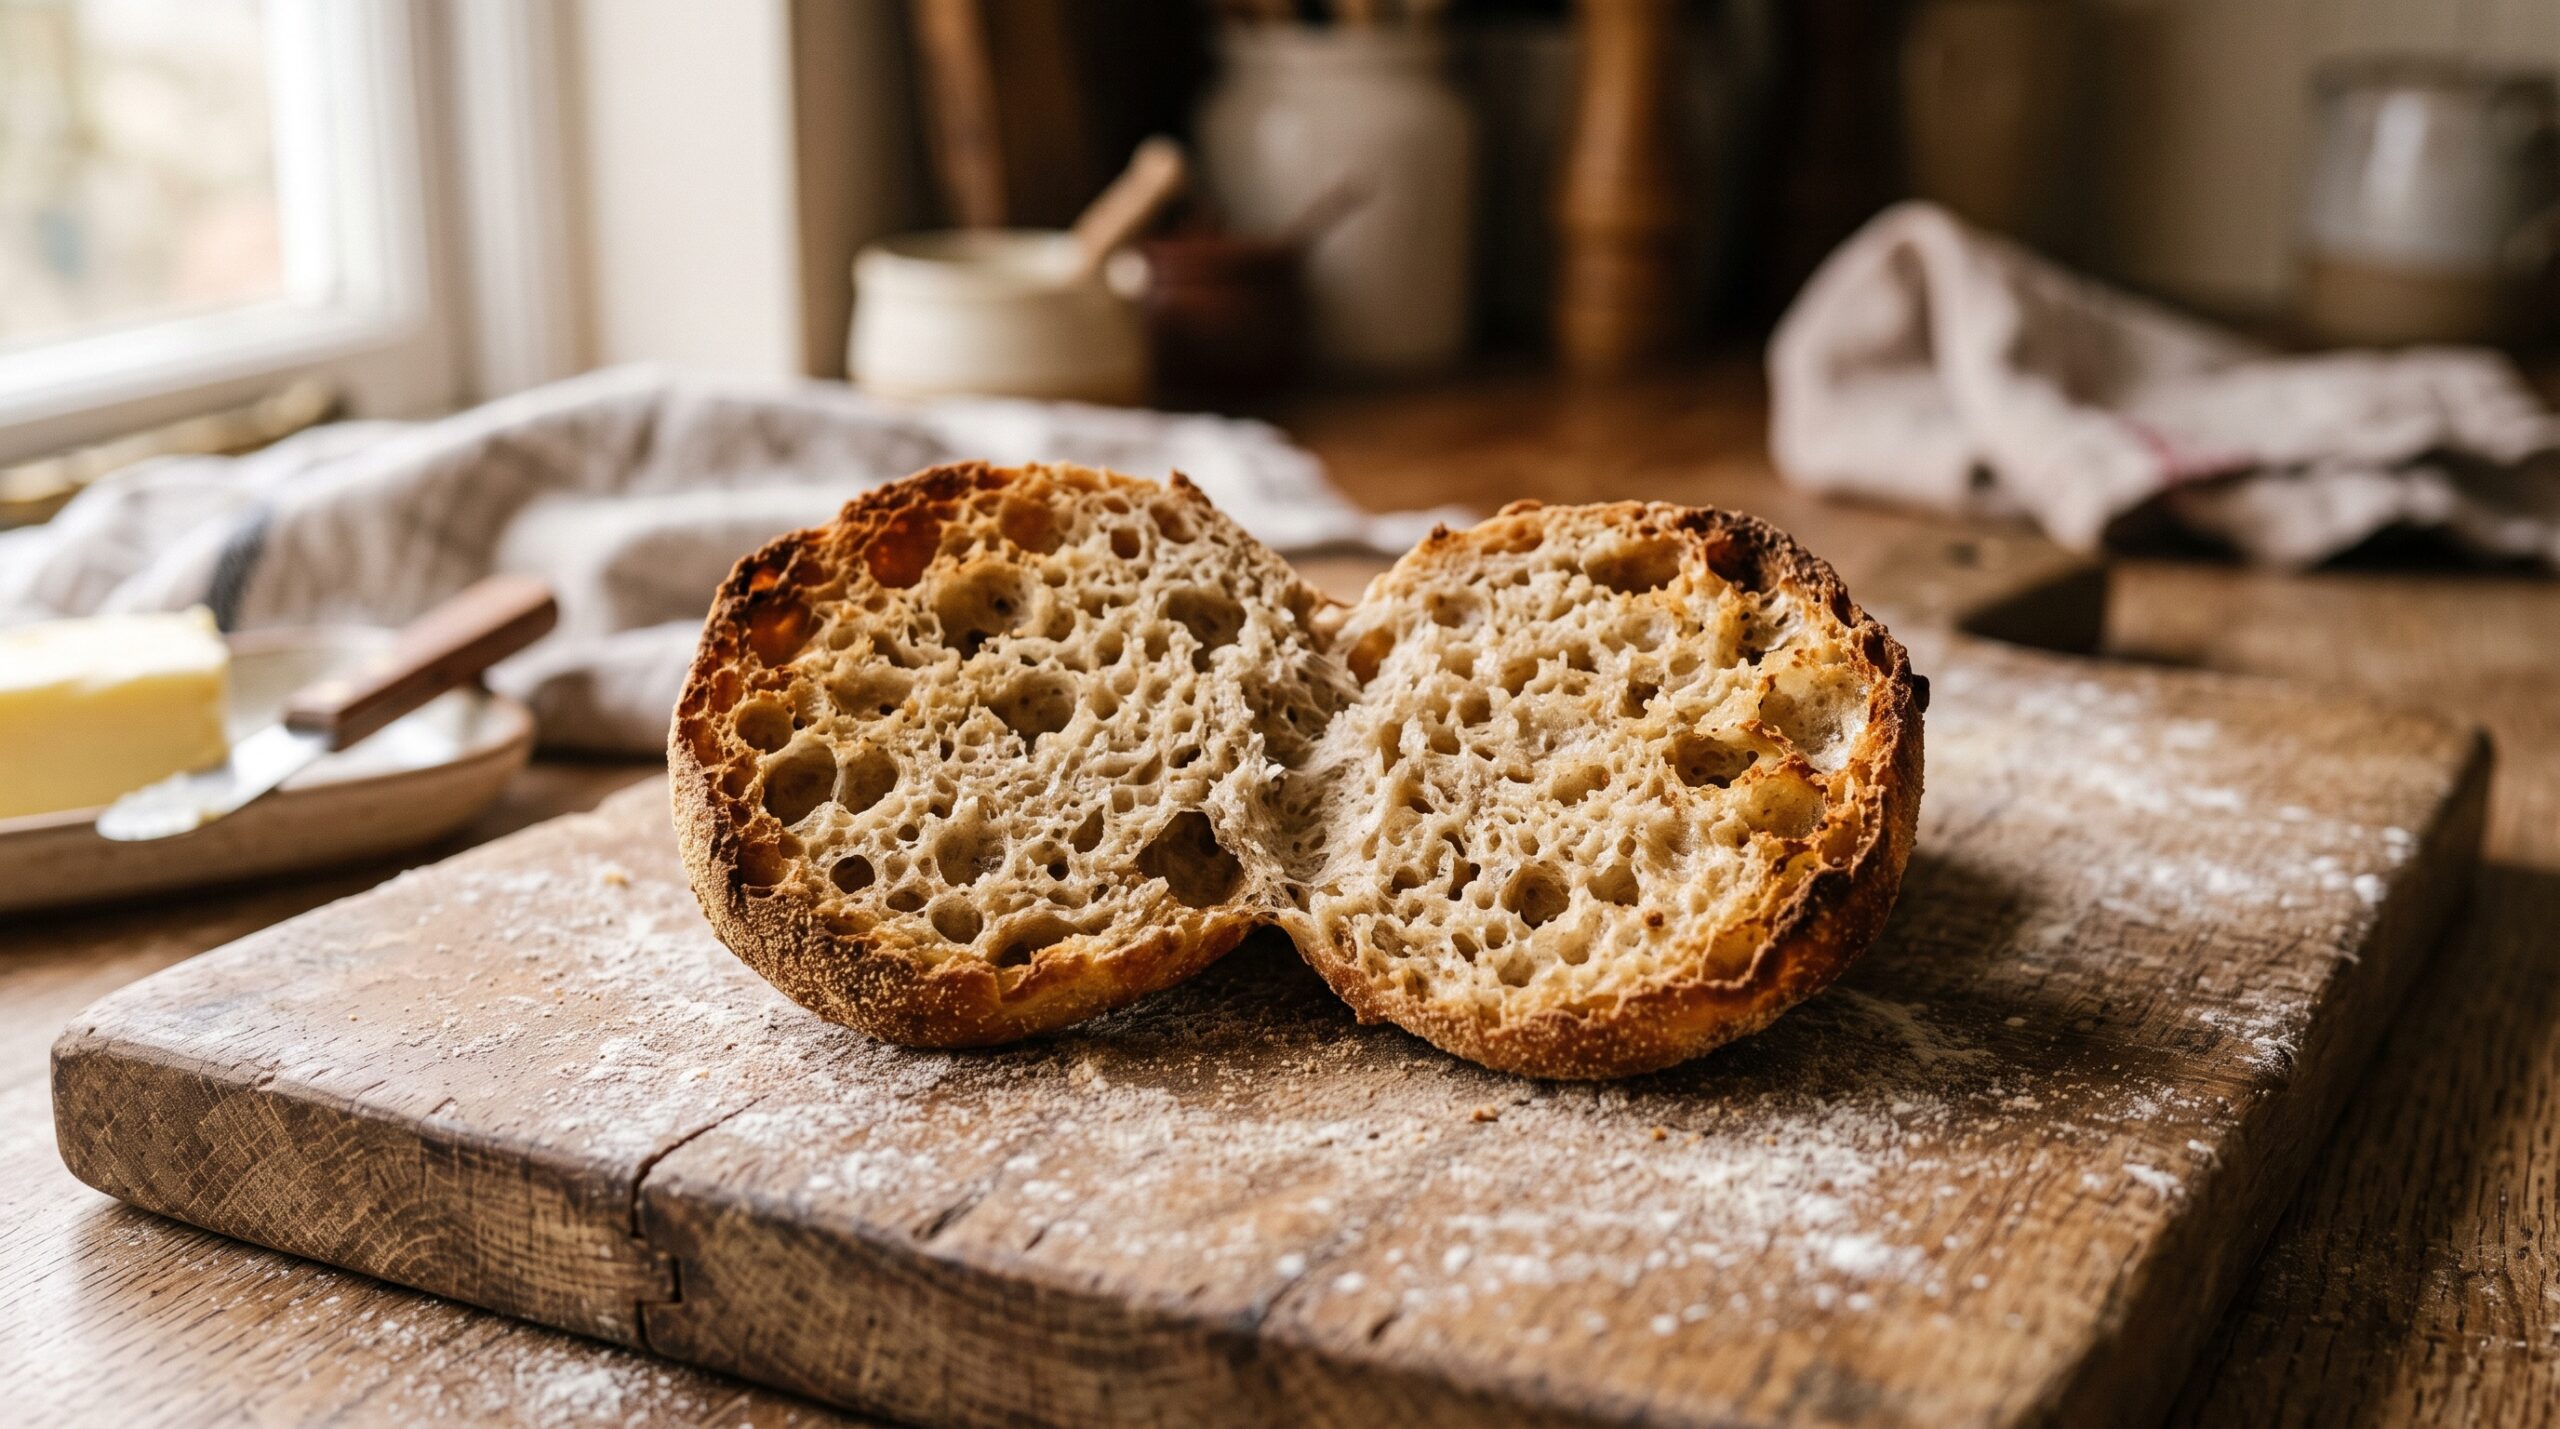
You want the English muffin thing – that craggy, holey interior that catches melting butter and traps jam in its little caves. But the recipe scares you off, because somewhere along the line you decided this was advanced baking. It isn’t. Sourdough English muffins might be the most forgiving thing you can make with a jar of starter, and you cook them in a skillet on the stove. No oven, no banneton, no scoring, no Dutch oven to preheat and burn yourself on.
If your loaves keep letting you down, this is the bake that rebuilds your confidence. Let’s walk through exactly how to get the nooks and crannies – and what to do when they don’t show up.
Why English muffins are the easy win
Everything that makes a boule stressful is absent here. There’s no tall structure to hold up, so a weak gluten network won’t collapse into a flat disc on you. There’s no crust to brown just right. There’s no scoring, so no deflated loaf from a clumsy slash. You’re cooking small, flat rounds slowly on a griddle, which is about as low-stakes as sourdough gets.
Better still, this is a brilliant way to use discard or a starter that isn’t at peak. You’re not relying on a dramatic oven spring, so a starter that’s merely active – not perfectly bubbly and doubled – still does the job. The guilt jar in your fridge has a purpose now.
The dough: wetter than you think
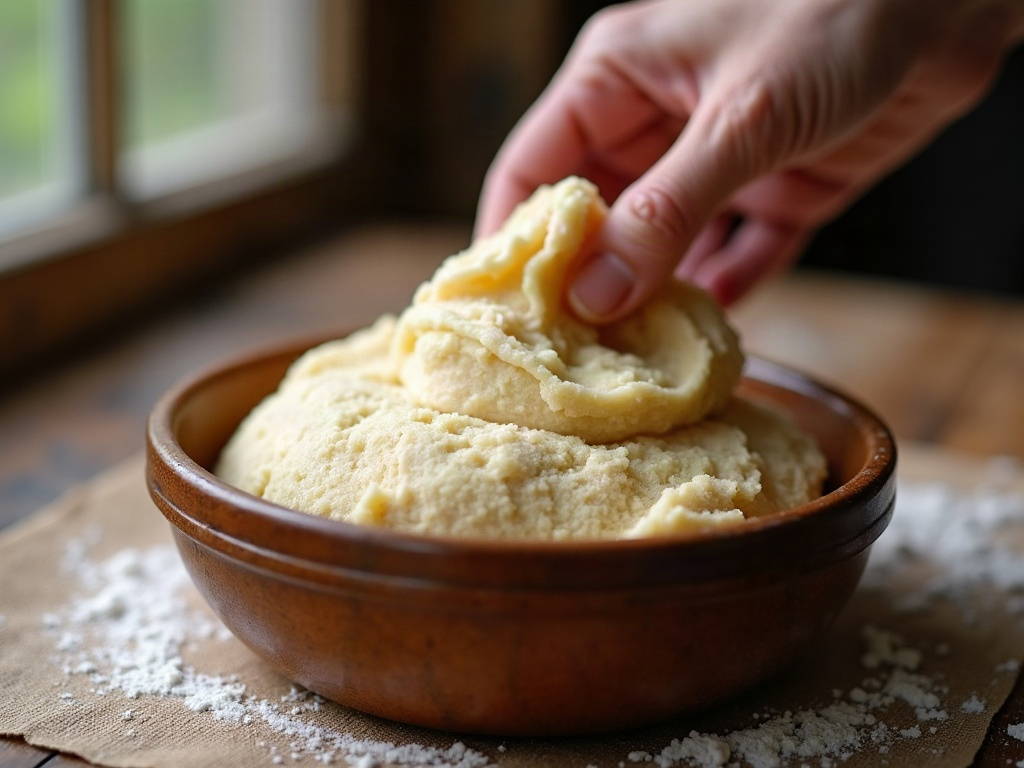
Here’s the single most important thing to understand, because it’s where almost everyone goes wrong. The nooks and crannies come from a wet, slack dough. Those craggy holes are big, irregular air pockets, and you only get them from a batter that’s loose enough to let gas expand freely.
So resist the urge to add flour until it feels like a tidy, kneadable loaf dough. English muffin dough should be sticky, slack, almost batter-like – closer to a thick pancake batter than a bread dough you’d shape into a ball. If you can roll it into a neat smooth round with no stickiness, it’s too dry, and you’ll get a tight, bready, cakey crumb with no character. Wetter dough, bigger holes. Full stop.
A simple overnight method
You don’t need precise numbers to get this right, but a reliable starting point looks like this. The night before, mix roughly half a cup of active starter (or discard) with about a cup of warm water, a tablespoon of honey or sugar, and enough bread flour – around two and a half cups – to make a thick, sticky, shaggy dough. Add a teaspoon of salt. Don’t knead it into submission; just mix until it comes together, then do two or three sets of stretch-and-folds in the bowl over the first hour if you have time.
Cover it and let it ferment overnight at room temperature, or in the fridge if your kitchen is warm. By morning it should be puffy, bubbly, and jiggly. If your house is cold and it hasn’t moved much, give it a few more hours somewhere warm before you cook.
Shaping without really shaping
Because the dough is so wet, you don’t shape it the way you would a loaf. Two easy options:
- Scoop and drop. Dust a tray generously with cornmeal or semolina, then use a wet spoon or scoop to drop portions straight onto it. They’ll spread a little and look rustic. Perfectly fine.
- Use rings. If you want tidy, uniform discs, set greased metal rings (or clean tuna cans with both ends removed) on the cornmeal and spoon the batter in, filling them about halfway.
Dust the tops with cornmeal too. That gritty coating is the classic English-muffin signature and it stops anything sticking. Let the portioned dough rest for 20 to 30 minutes while your pan warms – a short final proof keeps them light.

Cooking them: low and slow is everything
This is where the second big mistake happens: too much heat. These muffins are thick, and they need time for the center to cook through. Crank the burner and you’ll get a scorched, almost-burnt outside wrapped around a gummy, raw middle.
Use a dry (ungreased) cast-iron skillet or griddle over low heat – lower than feels right. Lay the muffins on, cornmeal side down, and let them cook slowly, 6 to 8 minutes per side, until deeply golden and cooked through. They should dome up as they go. If the outsides are coloring before the insides set, your heat is too high; pull back and be patient. For extra insurance, you can finish stubbornly thick ones in a low oven if you have one – but you truly don’t need it.

Split with a fork, not a knife
Last detail, and it matters. Never cut an English muffin with a knife – a blade compresses and smears those beautiful air pockets into a smooth wall. Instead, push the tines of a fork in all the way around the equator, then gently pull the two halves apart. The muffin tears along its natural holes, and that’s what gives you the ragged, cratered surface that toasts into crispy peaks and butter-flooded valleys.
Toast, butter, done.

Quick troubleshooting
- Dense, no holes? Your dough was too dry, or it was underfermented. Go wetter next time and make sure it’s genuinely puffy before cooking.
- Raw in the middle? Heat too high. Lower the burner and cook them longer – thickness needs time.
- Flat and sad? Overproofed and gassed-out, or starter too weak. Catch the dough while it’s still jiggly and domed, not collapsed.
- Gummy crumb? Underbaked, or you split them hot – let them cool before you tear in, like any sourdough.
That’s genuinely it. A wet dough, an overnight rise, a low skillet, and a fork. It’s the kind of bake that reminds you sourdough is supposed to be a pleasure, not a battle.
Want to see the dough consistency, the scoop-and-drop, and that fork-split in real time? The full step-by-step is on the LoafLovers YouTube channel, and our free sourdough troubleshooting guide walks you through fixing the usual suspects – flat loaves, dead starters, gummy crumb – one symptom at a time.