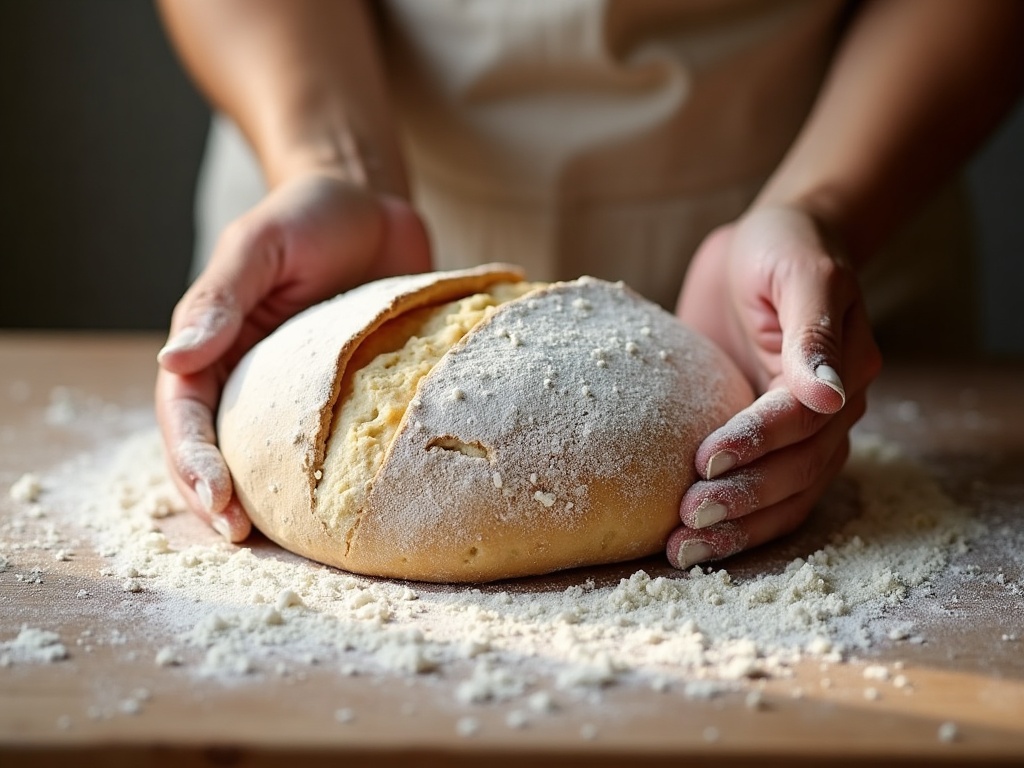
Tag: underproofed

  • The Poke Test: How to Tell When Sourdough Is Ready to Bake

    The Poke Test: How to Tell When Sourdough Is Ready to Bake

    You are standing over the banneton with an oven that hit temperature ten minutes ago, and you have no idea whether to bake. Pull the loaf too soon and it bakes up tight, pale, and dense with a splitting side. Leave it too long and it slumps into a flat, gummy pancake the second you turn it out. The final proof is where a lot of good dough quietly goes wrong – not because the recipe failed, but because the timing was a guess.

    The fix is not a better clock. It is a ten-second read you do with one floured finger. Here is how to run the poke test properly, how to read every result, and what to do when it tells you something you did not want to hear.
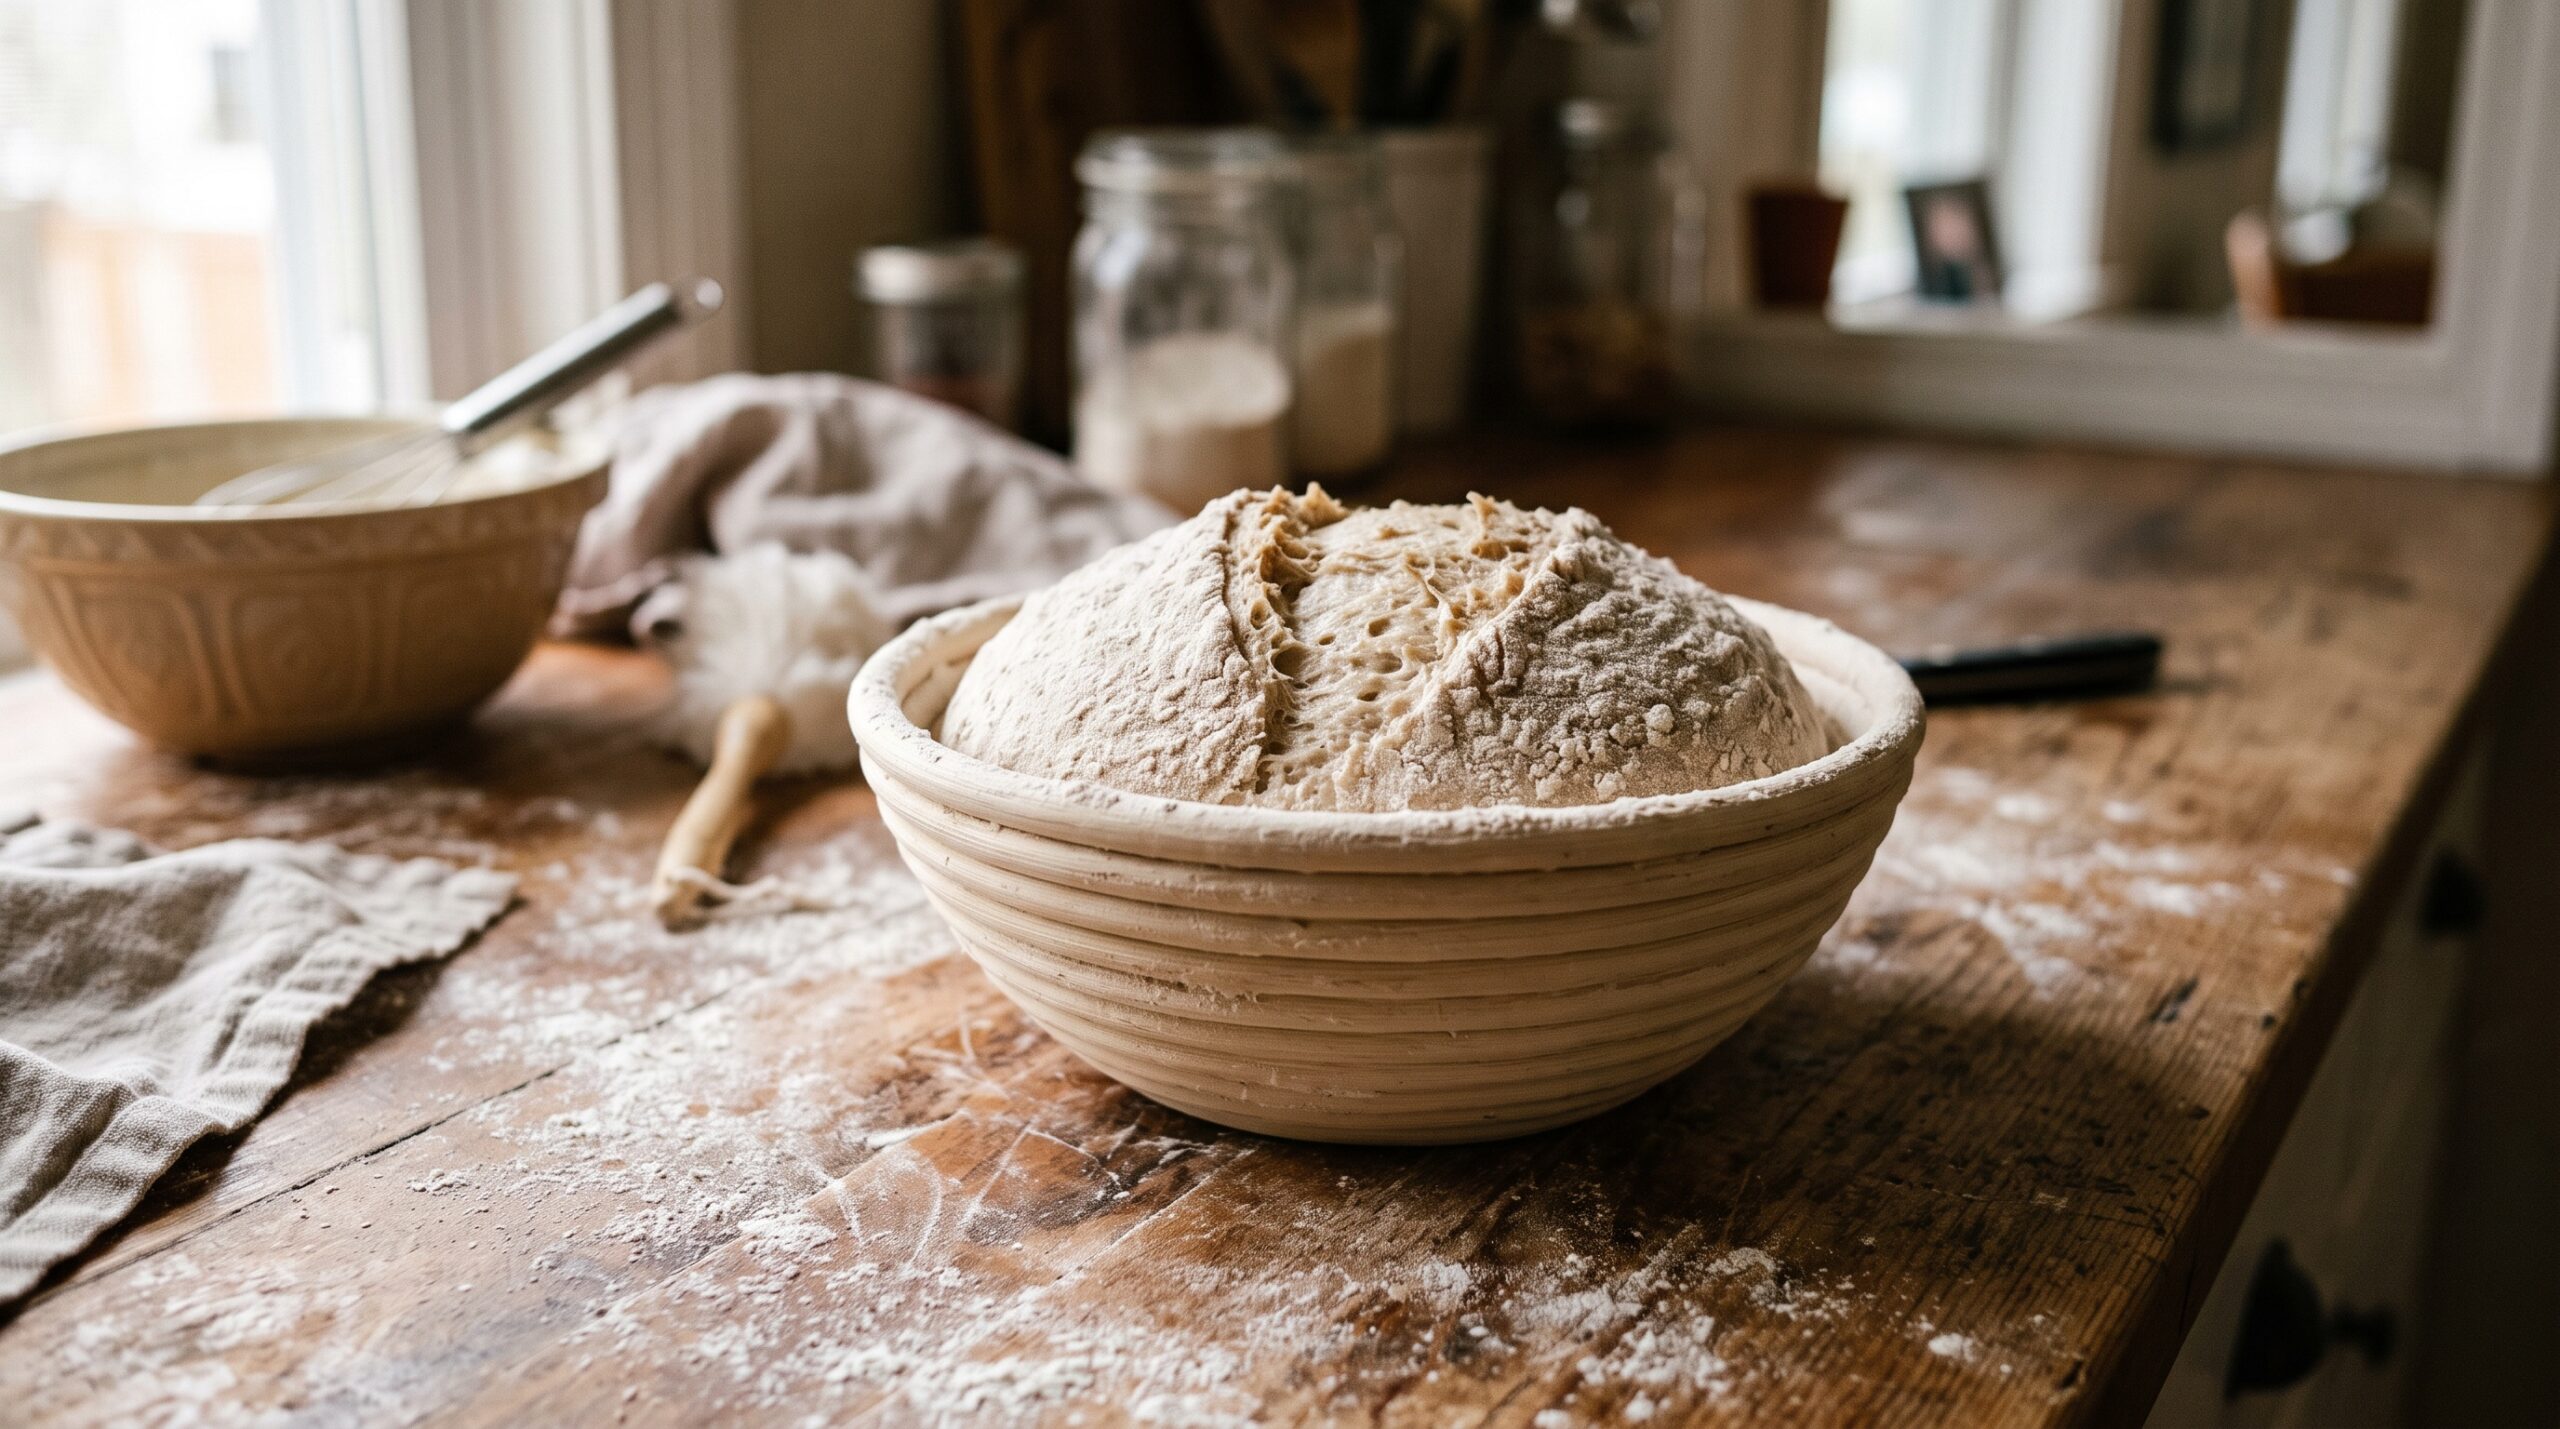
    A shaped sourdough loaf proofing in a floured banneton on a wooden counter
    The moment every baker second-guesses: is it ready, or not?

    Why the clock lies to you

    Most recipes give a final proof as a range – “1 to 3 hours at room temperature” or “overnight in the fridge.” Those numbers are a starting point, not a verdict. Fermentation speed depends on things that change from bake to bake: dough temperature, how strong and recently fed your starter was, hydration, the type of flour, and how warm your kitchen happens to be that day. A dough at 78F can be ready in half the time of the same dough at 68F.

    So when you bake by the clock alone, you are really betting that today’s conditions match the day the recipe was written. They rarely do. The dough itself is the only reliable timer, and the poke test is how you ask it directly.

    How to do the poke test correctly

    The test is simple, but small mistakes make it lie. Do it like this:

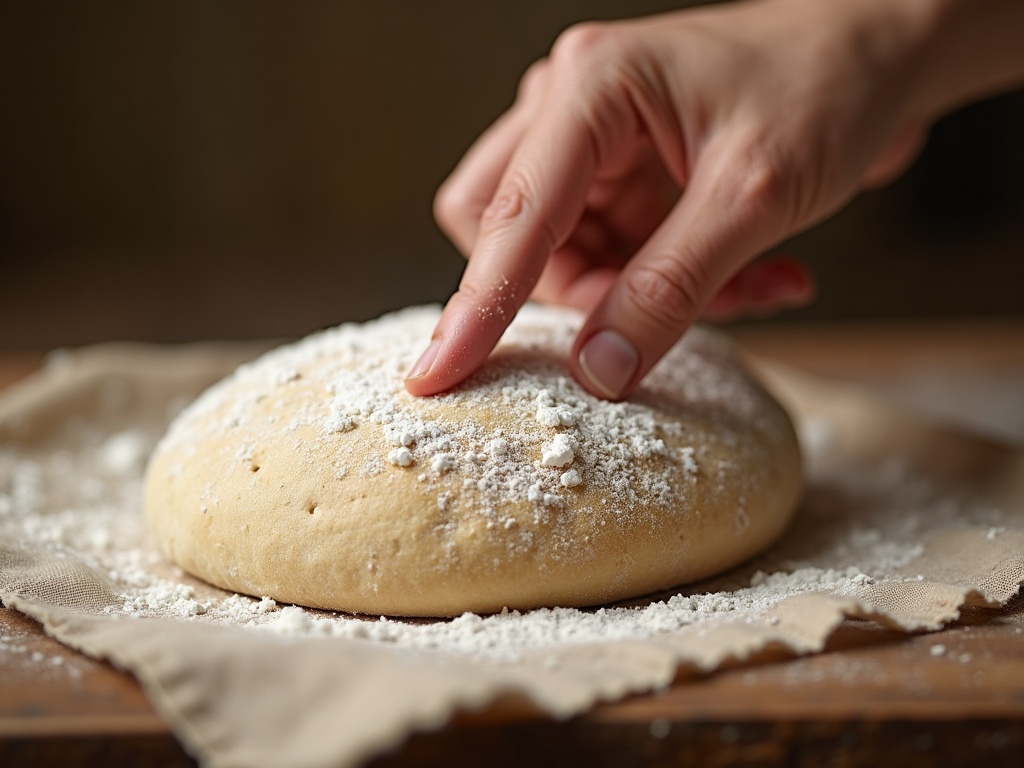
    • Flour your fingertip. Dip your index finger in flour so it does not stick and drag the surface. A sticky finger tears the skin of the dough and gives you a false read.
    • Press about half an inch deep. Aim for the side of the dough or a spot near the edge, not dead center, so a small dent will not ruin your final loaf. Press gently and steadily – you are making a shallow well, not punching through.
    • Pull your finger straight out and watch. The whole answer is in how the dent recovers over the next two or three seconds. Do not poke and immediately walk away; the recovery speed is the data.

    That is the entire technique. The skill is in reading what happens next.
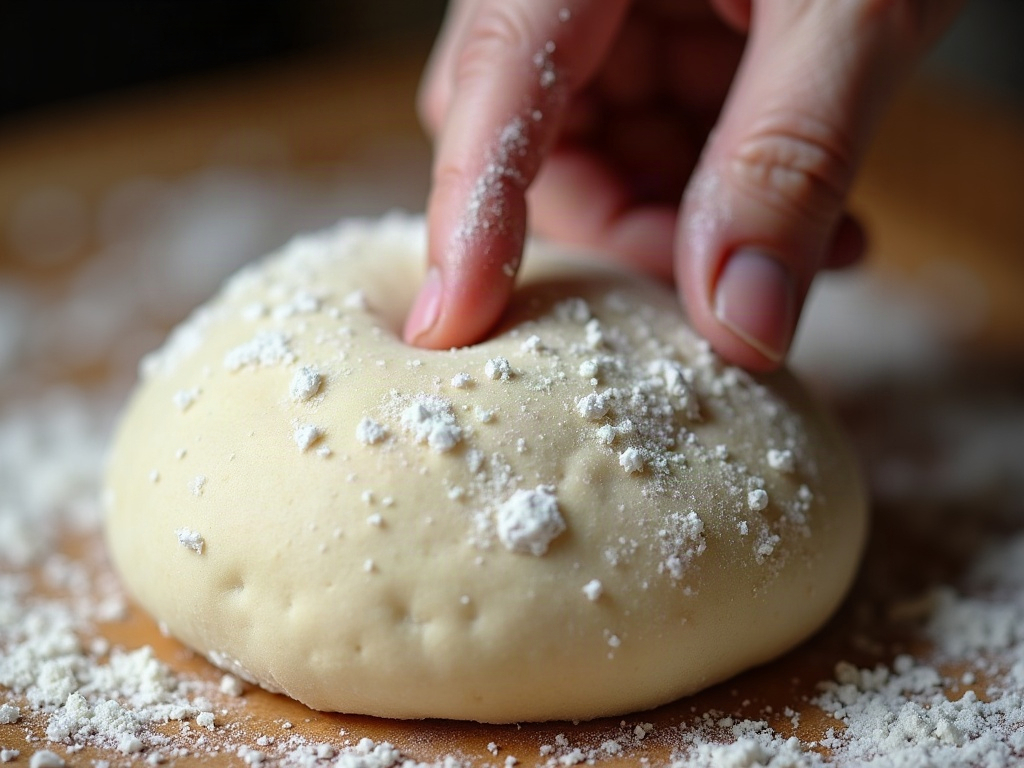
    A floured finger pressing a shallow dent into proofed sourdough dough
    Flour the finger, press about half an inch deep, then watch the dent recover.

    Reading the three results

    There are three things the dent can do, and each one is a clear message.

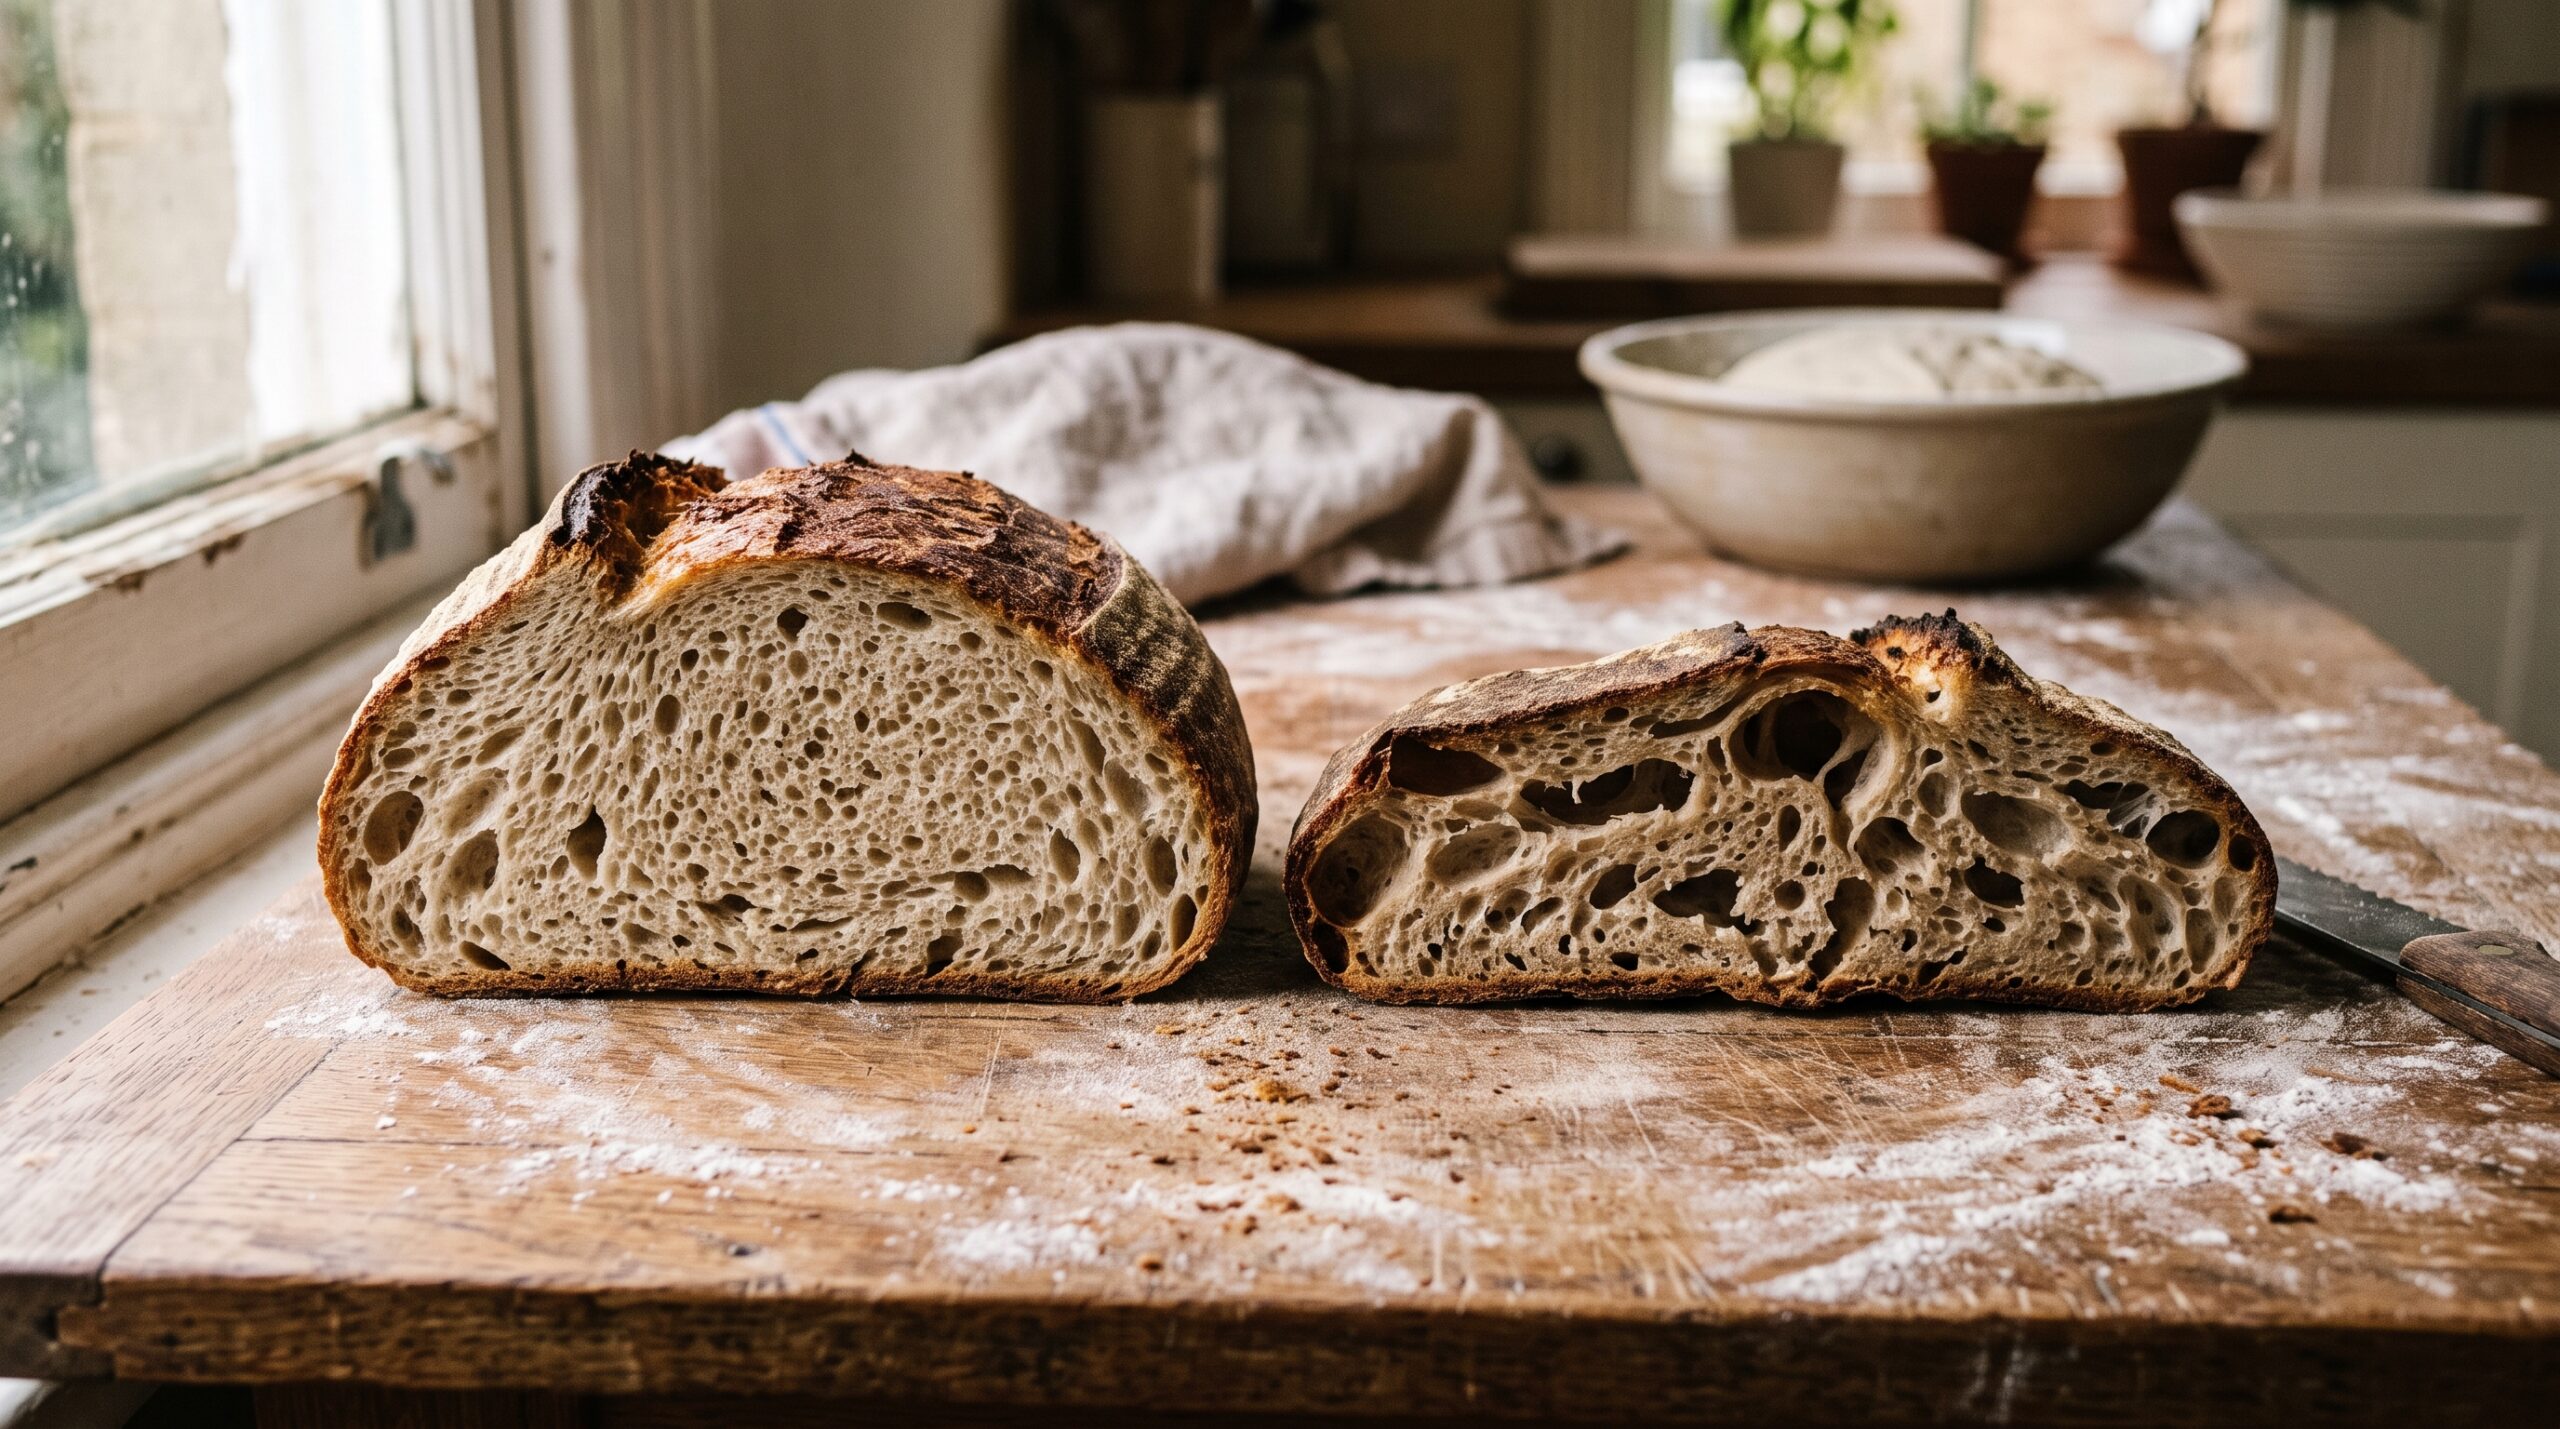
    Springs back quickly and fully – underproofed. If the indent bounces right back and nearly disappears, the dough still has fermentation left in it. The gluten is tight and the gas has not built up enough. Bake now and you will get a heavy, close crumb and often a dramatic burst up one side where the trapped pressure forces its way out.

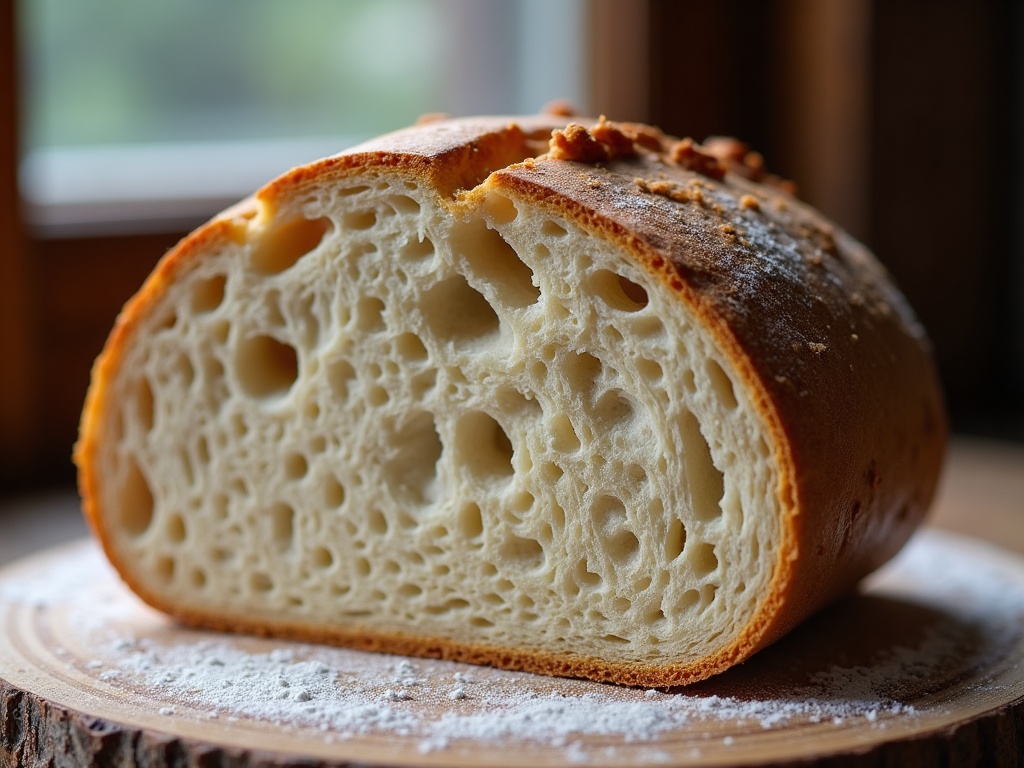
    Springs back slowly and leaves a slight dent – ready. This is your window. The dent fills in gradually over a couple of seconds but does not vanish completely, leaving a soft, shallow depression. The dough feels aerated and a little jiggly but still holds its shape. That slow, partial recovery means the gluten is relaxed and well aerated but still has structure to spring in the oven. Bake it.

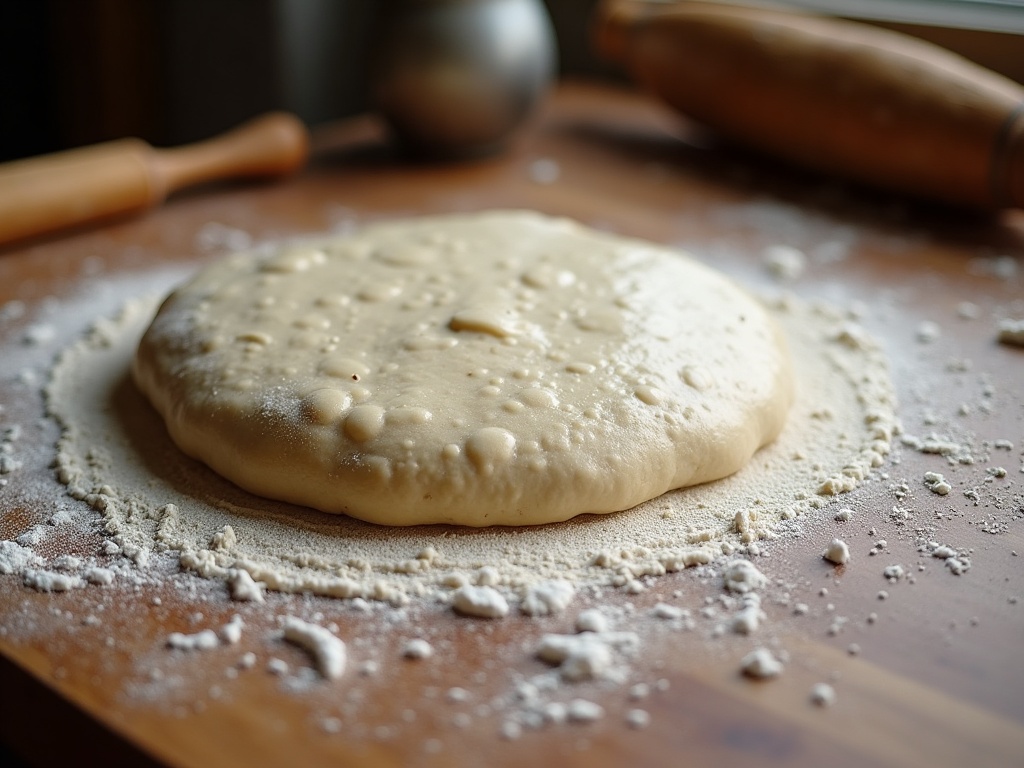
    Does not spring back at all – overproofed. If the dent just stays there, or the surface sighs and deflates around your finger, the dough has gone too far. The gluten has weakened and can no longer trap gas or hold a tall shape. It will spread flat and bake gummy. This is the result you most want to catch early.
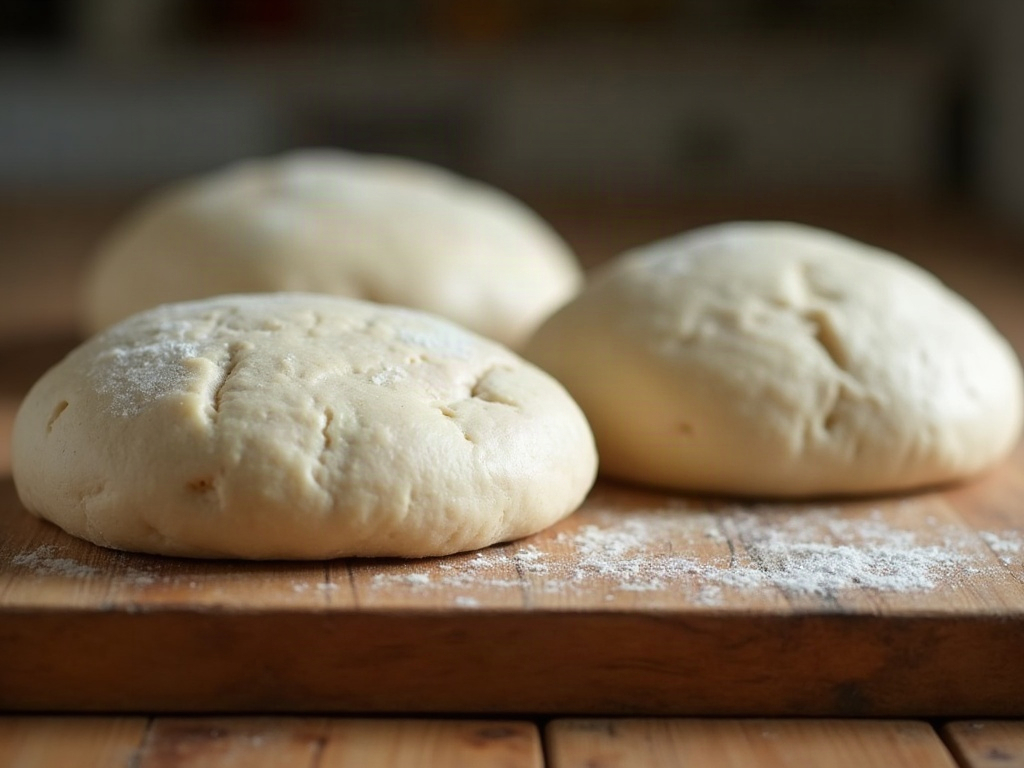
    Three proofed dough rounds showing under, ready, and over proofed surfaces
    Underproofed springs back fast, ready recovers slowly, overproofed stays dented.

    Cold dough plays by different rules

    If you retard your shaped loaf in the fridge, do not expect the same lively spring. Cold dough is firm and slow, and a straight-from-the-fridge poke will always recover more sluggishly than room-temperature dough simply because it is stiff, not because it is overproofed.

    The practical move is to judge the proof before the dough goes cold. Get the loaf to a good ready-or-nearly-ready point at room temperature, then move it to the fridge, where the cold slows fermentation to a crawl and buys you a wide baking window – often 8 to 16 hours. When you pull it out, you are baking cold dough that was already at the right stage, which also scores far more cleanly. If you must judge a cold loaf, look more at overall volume and doming than at spring speed.

    Back it up with two more signs

    The poke test is reliable, but the best bakers never lean on a single signal. Cross-check it with two others:

    • Volume. A well-proofed shaped loaf has grown noticeably – roughly 30 to 50 percent larger, not doubled. Doubling at the shaped stage usually means it has gone too far.
    • Shape and jiggle. A ready loaf looks softly domed and relaxed, with a smooth, slightly bubbly surface, and it jiggles gently when you nudge the banneton. A dough that has spread wide and flat, with bubbles breaking the surface, has overproofed.

    When the poke, the volume, and the jiggle all agree, you can bake with confidence. When they disagree, trust the poke and the shape over the clock every time.
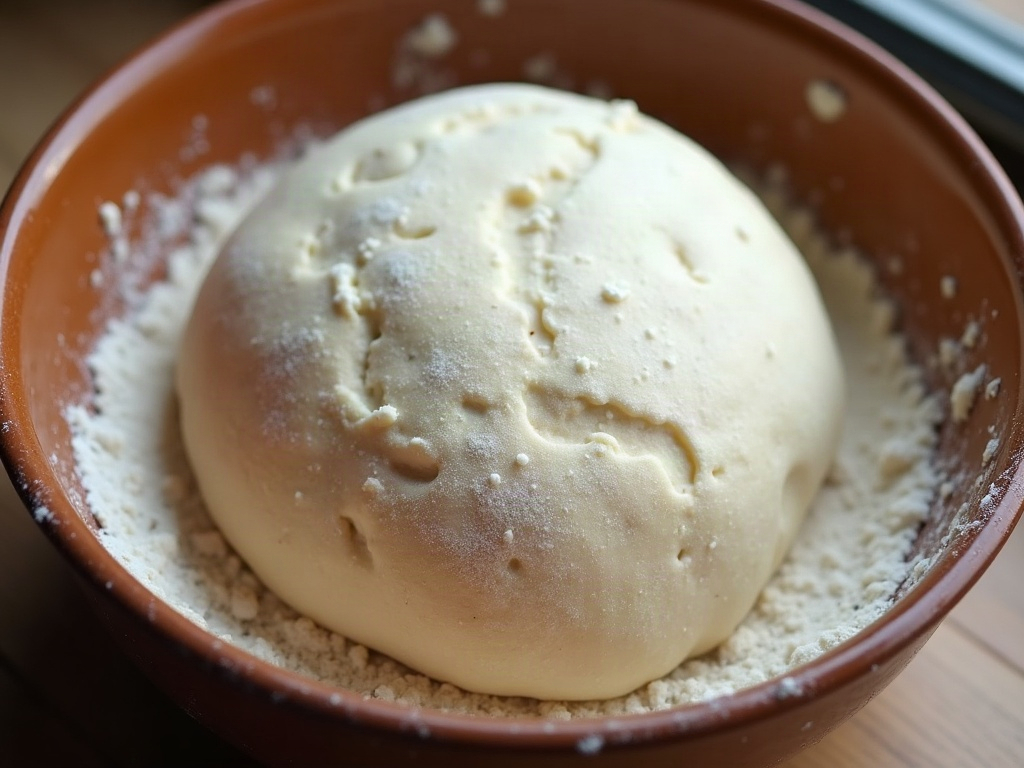
    Risen sourdough dough with a smooth domed jiggly surface in a bowl
    Back up the poke with volume and jiggle – three signals beat one.

    If you catch it wrong, do this

    The test only helps if you act on it.

    Underproofed? Give it more time. Leave the loaf somewhere warmer – the top of the fridge or near the oven – and re-poke every 20 to 30 minutes. There is no rush and no harm; you are just waiting for that slow, partial recovery to show up.

    Overproofed? Do not wait – baking now beats waiting for it to get worse. For a loaf that is only slightly past, bake it a touch cooler and accept a flatter, more open result. For dough that is truly slack and lifeless, stop fighting it: gently press it into an oiled pan for a rustic sandwich loaf, or stretch it into a tray for focaccia, where a low, airy structure is a feature rather than a flaw.

    Stop guessing for good

    The poke test cures the panic in the moment. To stop the guessing entirely, take the judgment out of your fingertips and put it into a number. Pinch off a small piece of dough at the start of the final rise, drop it into a clean, straight-sided jar, mark the starting level, and watch it climb. When that sample has risen the amount your recipe wants, the main loaf has too. This aliquot-jar trick, plus keeping a rough log of your dough temperature and proof times, turns an intuition you have to relearn every day into a repeatable target.

    A small glass jar with a rising dough sample beside a mixing bowl
    An aliquot jar turns proofing from a guess into a number you can trust.

    None of this requires a thermometer-precise kitchen or years of practice – just the habit of asking the dough instead of the clock. Flour a finger, press half an inch, and watch how the dent comes back. Once you can read that slow, gentle spring, the anxiety over when to bake mostly disappears, and your loaves start showing up tall, open, and evenly baked. The dough always knows. The poke test is just how you listen.


    Sources & further reading:

    Related Reading

  • Overproofed vs Underproofed Sourdough: How to Tell – and How to Save the Loaf

    Overproofed vs Underproofed Sourdough: How to Tell – and How to Save the Loaf

    Your loaf came out wrong, and you’re staring at the crumb trying to work out what happened. Was it in the fridge too long? Not long enough? Almost every proofing failure comes down to one of two culprits – overproofing or underproofing – and here’s the frustrating part: they can produce loaves that look surprisingly similar. Both can bake up dense. Both can disappoint.

    The good news is that once you learn to read the dough instead of the clock, the two become easy to tell apart. And in most cases, the loaf in front of you can still be saved. Let’s diagnose it.

    Two sourdough cross-sections side by side, one dense, one collapsed
    Two failures, two opposite causes: underproofed and dense on the left, overproofed and collapsed on the right.

    First, What “Proof” Actually Means

    Proofing is fermentation. As wild yeast eats the sugars in your flour, it produces gas, and that gas inflates the network of gluten you built during mixing and folding. Get it right and the dough is light, airy, and full of tension – ready to spring in the oven. Proofing happens in two stages: bulk fermentation (the long rise after mixing) and the final proof (after shaping, often overnight in the fridge).

    Underproofed means you baked before the yeast finished its work – not enough gas, not enough airy structure. Overproofed means fermentation ran too long, the gluten broke down, and the dough can no longer hold the gas it made. Two opposite problems, and knowing which one you have decides everything about how you fix it.

    The Poke Test, Done Right

    Before you bake, this is your single best diagnostic. Flour a fingertip and press gently about a centimetre into the dough, then watch how it responds.

    • Springs back quickly and fully – it’s underproofed. The dough still has plenty of tension and needs more time.
    • Springs back slowly, leaving a slight dimple – it’s ready. This is the window you want.
    • Doesn’t spring back at all, and the dent stays or the dough sighs and deflates – it’s overproofed. Fermentation has gone past its peak.
    A floured finger pressing into proofing sourdough dough to test it
    The poke test: press a floured finger in and watch how the dough answers.

    The poke test beats any timer because your kitchen temperature, starter strength, and flour all change the pace. A recipe’s “proof for 4 hours” is a guess. The dough is the truth.

    Signs Your Dough Is Underproofed

    Underproofing usually announces itself after the bake:

    • A tight, dense crumb with small, even holes and not much lift.
    • The loaf burst or tore along the side or bottom rather than opening cleanly at your score – the trapped gas found the weakest exit.
    • An aggressive, uncontrolled oven spring that split the loaf awkwardly.
    • A gummy band near the base, because the crumb was too compact to bake through.
    Cut underproofed sourdough with a tight dense crumb
    Underproofed: a tight, heavy crumb that never got the air it needed.

    If your crumb is dense and gummy specifically from underbaking, that’s its own rabbit hole – we cover the full set of causes in our guide to why sourdough turns out gummy. But when the whole loaf is tight and heavy with a clean, pale, underdeveloped look, underproofing is usually the root.

    Signs Your Dough Is Overproofed

    Overproofing looks and feels different:

    • The shaped dough is slack, sticky, and hard to handle, spreading out rather than holding a taut ball.
    • It spreads flat when you turn it out of the banneton instead of holding its dome.
    • Little to no oven spring – the loaf bakes wide and low, like a pancake with ambitions.
    • A very open but irregular crumb, sometimes with large ragged tunnels and thin, fragile walls.
    • A sharp, boozy or vinegary smell – the sign of fermentation gone long.
    Slack overproofed sourdough dough spreading flat on a floured surface
    Overproofed: slack, sticky, and spreading – the gluten has given up its structure.

    The Confusing Part: They Can Look Alike

    Here’s why bakers mix these up. A badly overproofed loaf and a badly underproofed loaf can both come out flat and dense. The tell is in the texture and the journey. Underproofed dough was firm and springy going into the oven and burst upward; overproofed dough was slack and sticky and never rose. If you remember how the dough behaved before baking – tense and lively, or loose and tired – you’ll almost always know which one you had.

    How to Save an Underproofed Loaf

    This one is the easier rescue, because underproofing is a timing problem you can still correct – if you catch it before baking. Simply give it more time: let the dough continue proofing in a warm spot (around 24-26 C / 75-78 F) and re-run the poke test every 30-45 minutes until it springs back slowly and holds a slight dimple.

    Already baked it? You can’t un-bake, but you can rescue the slices. Toast them – toasting drives off moisture and transforms a dense, slightly gummy crumb into something genuinely good. Underproofed sourdough also makes excellent croutons, grilled cheese, and bread pudding. Nothing is wasted.

    How to Save an Overproofed Loaf

    Overproofing is trickier because the gluten structure is already degraded – you can’t rebuild it. But you can still get an edible, even enjoyable, loaf:

    • Reshape gently and bake soon. If you catch it just past peak, degas lightly, re-shape with as much surface tension as you can coax, and bake right away before it slackens further.
    • Bake it flat, on purpose. Lean into it – an overproofed dough makes a fine focaccia, ciabatta-style slab, or flatbread where a low, open crumb is the point.
    • Repurpose the bake. A flat, dense overproofed loaf shines as pizza base, sourdough croutons, breadcrumbs, or the foundation of a savoury strata.

    What you can’t do is proof it longer or expect big oven spring. Once the structure is gone, it’s gone – so the win is redirecting it, not resurrecting it.

    Dial It In Next Time

    Most proofing failures trace back to temperature and attention, not luck. A few habits that end the guesswork:

    • Track temperature, not just time. Dough ferments roughly twice as fast for every 8-10 C warmer. A cold kitchen needs hours longer than the recipe says; a hot one, far less.
    • Use an aliquot jar. Pinch off a small sample of dough at the start of bulk, drop it in a straight-sided jar, and mark the level. When it’s risen by a set percentage (50-75% for most doughs), bulk is done – no more staring at the mixing bowl.
    • Do the poke test every single bake. It’s five seconds and it’s the difference between a hopeful guess and a real read.
    Floured hands shaping a tensioned round of sourdough dough
    A confident, tensioned shape is your best insurance against both failures.

    Once you can spot overproofed and underproofed on sight, you stop baking by faith and start baking by evidence. That’s the whole game – reading the dough, catching the window, and knowing exactly what to do when it drifts.

    Want to see the poke test, the aliquot jar, and both rescue methods in action? The full walkthrough lives on the LoafLovers YouTube channel, and you can grab our free sourdough troubleshooting guide – a one-page cheat sheet for diagnosing your next loaf – when you join the email list. No hard sell, just the fixes.

    Related Reading