You did everything right. The dough was alive, the shaping felt tight and proud, and you slid the banneton into the fridge feeling good about tomorrow’s bake. Twelve hours later you peel back the cover and… it looks almost exactly the same. Maybe a little puffier. Maybe not. Your overnight cold proof seems to have gone nowhere.
Here’s the reassuring part: a cold proof that looks like it did nothing is not automatically a failed loaf. The fridge changes the rules of what rising should look like, and most of the time the real problem happened before the dough ever got cold. Let’s walk through what’s actually going on, symptom by symptom, and exactly how to fix it.
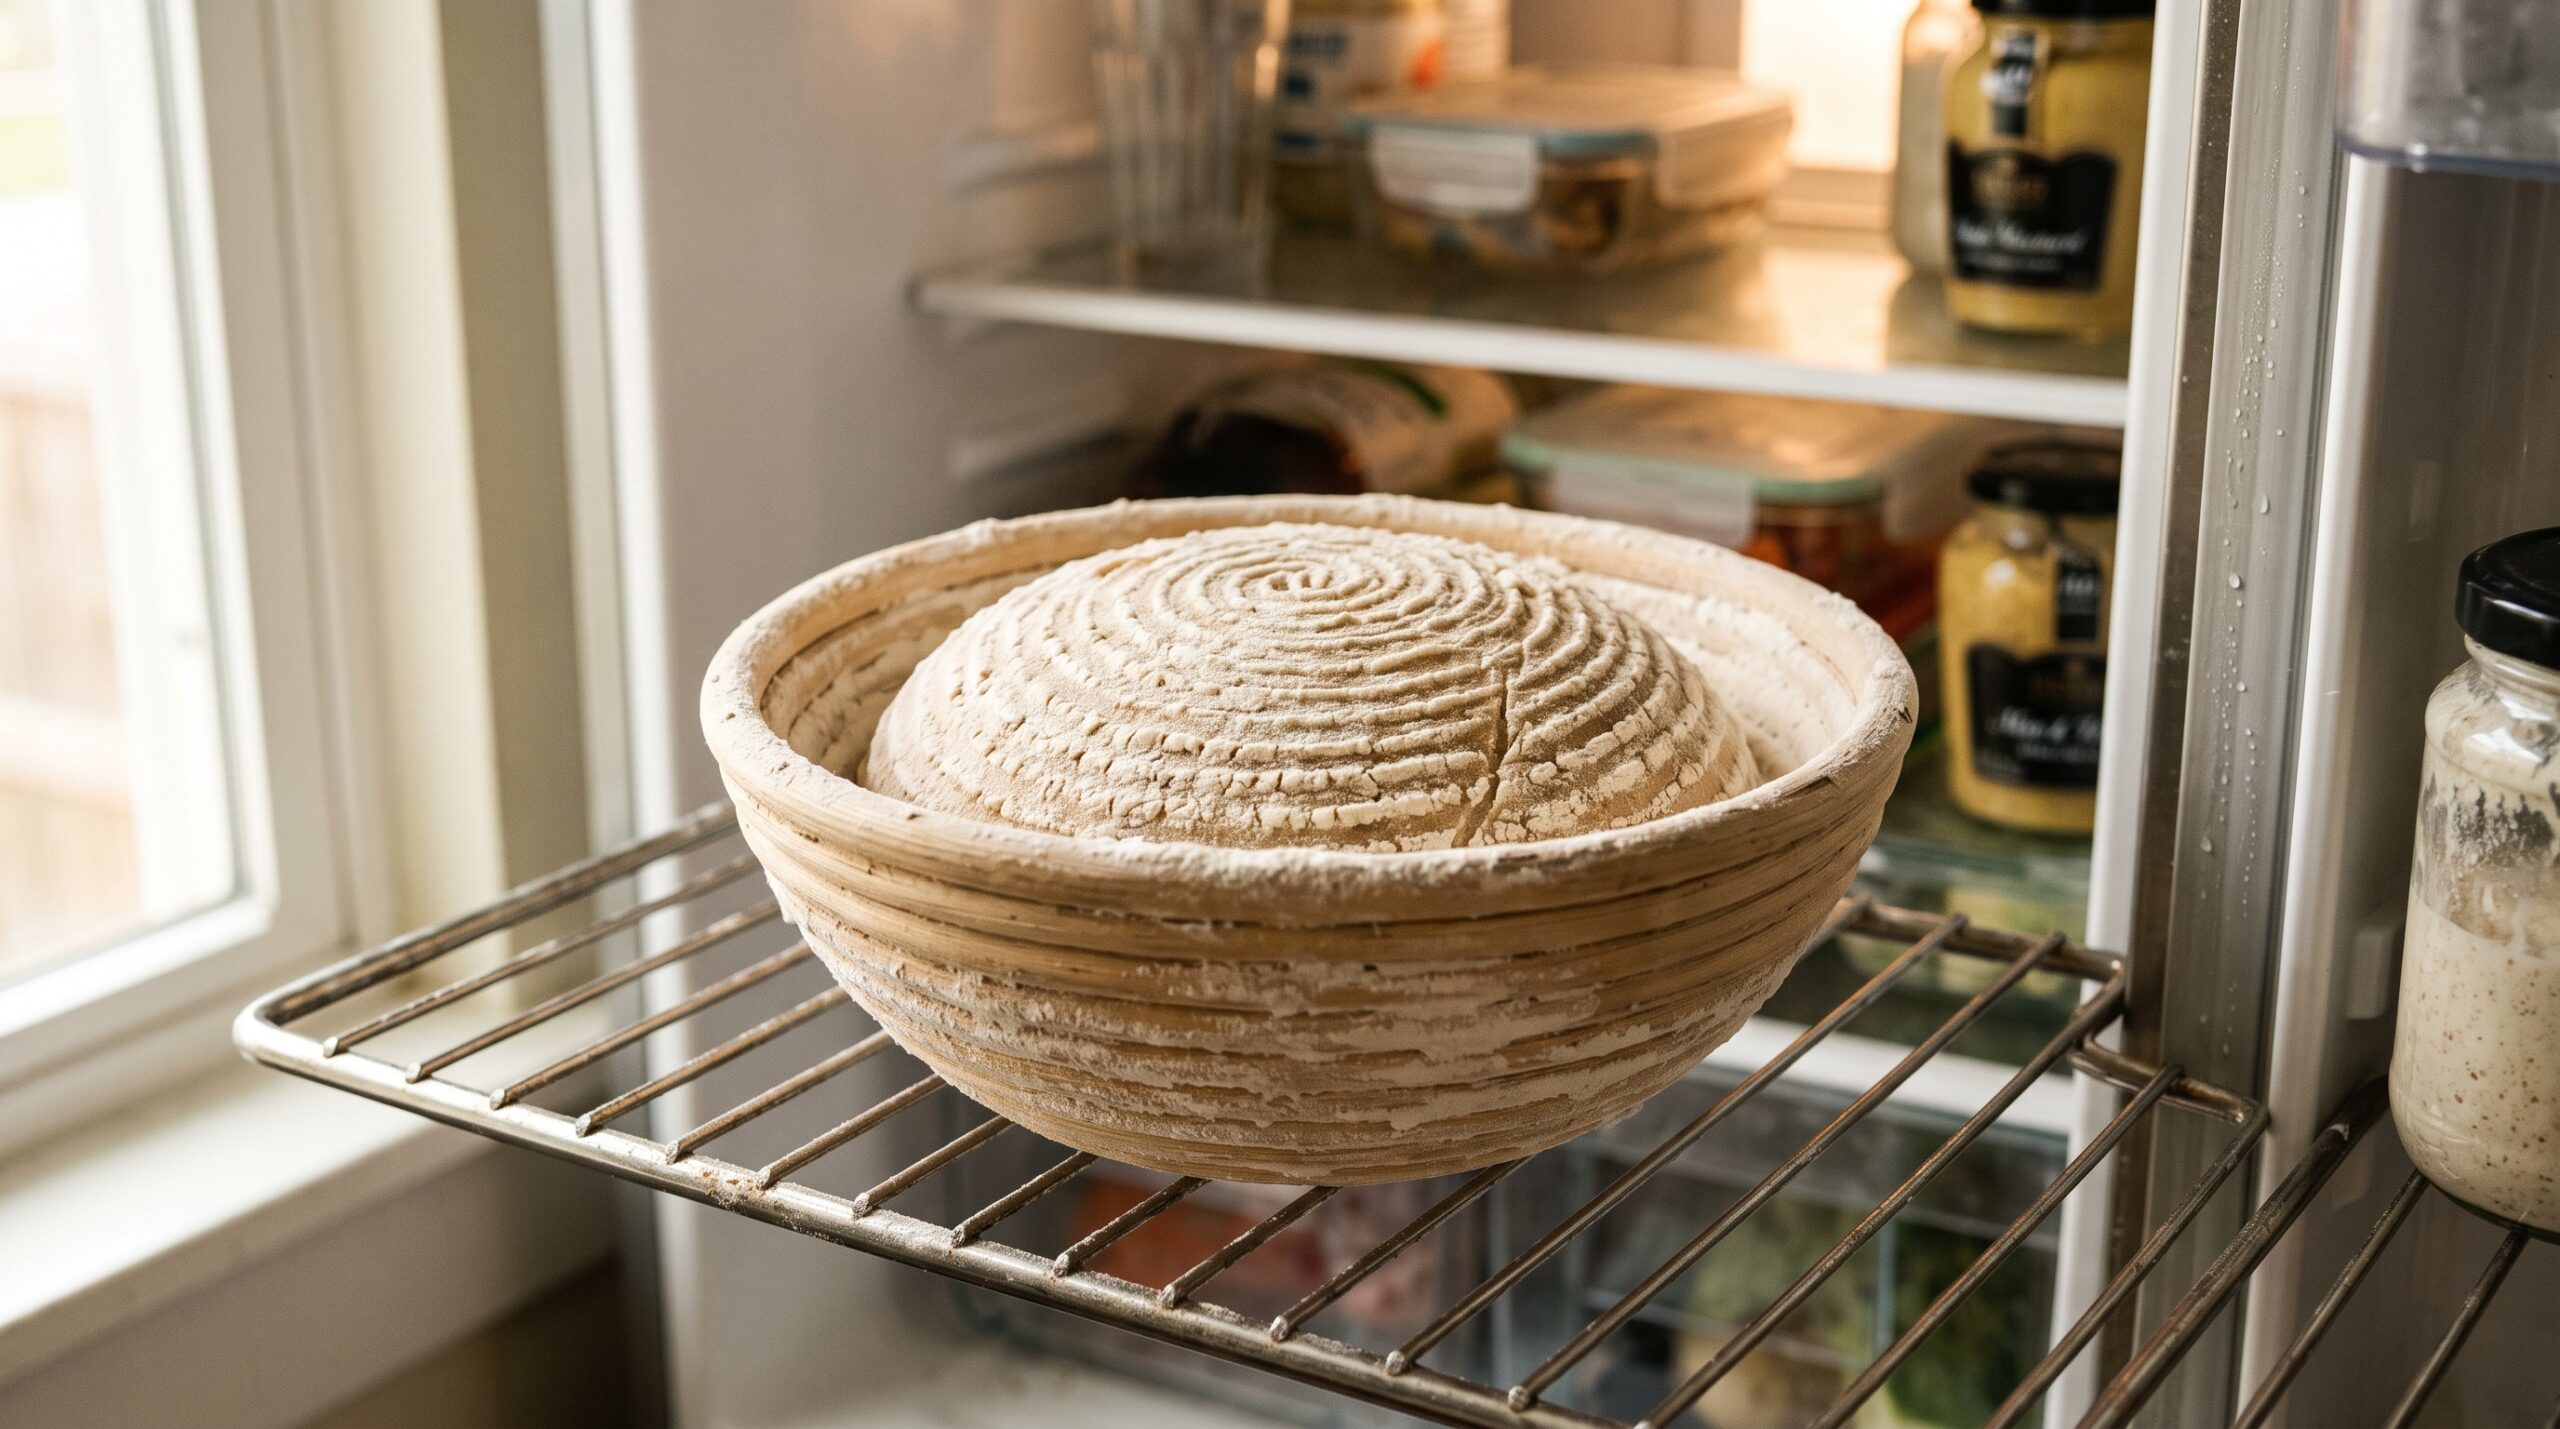
First, Reset Your Expectations: The Fridge Preserves, It Doesn’t Rush
The single biggest reason bakers panic over a stalled cold proof is that they expect the fridge to behave like the counter. It doesn’t. Yeast and bacteria slow dramatically as the dough drops toward 38–40°F (3–4°C). Fermentation doesn’t stop, but it crawls.
So if you shape a loaf and put slightly-under-fermented dough into the cold, it will inch forward over the next 12–16 hours — a little gas, a little flavor — but you will not see it balloon the way it does on a warm counter. That’s expected, not broken. The cold proof’s job is to develop flavor and firm up the dough for easier scoring, not to do the heavy lifting of the rise.
The heavy lifting belongs to bulk fermentation. Which brings us to the real culprit.
Cause #1: Not Enough Bulk Fermentation Before the Fridge
This is the number-one reason an overnight proof looks dead. If your dough went into the fridge underproofed, the cold locks it in that underproofed state. It can’t catch up overnight because the yeast is too cold to work fast.
The fix is upstream: let bulk fermentation finish before you shape and chill. Depending on your kitchen temperature and starter strength, bulk often needs the dough to grow by 50–75% and feel domed, jiggly, and bubbly at the edges. If you’re shaping dough that’s still dense and tight, the fridge will only freeze that problem in place.
Cause #2: You’re Reading a Cold Dough With Warm-Dough Eyes
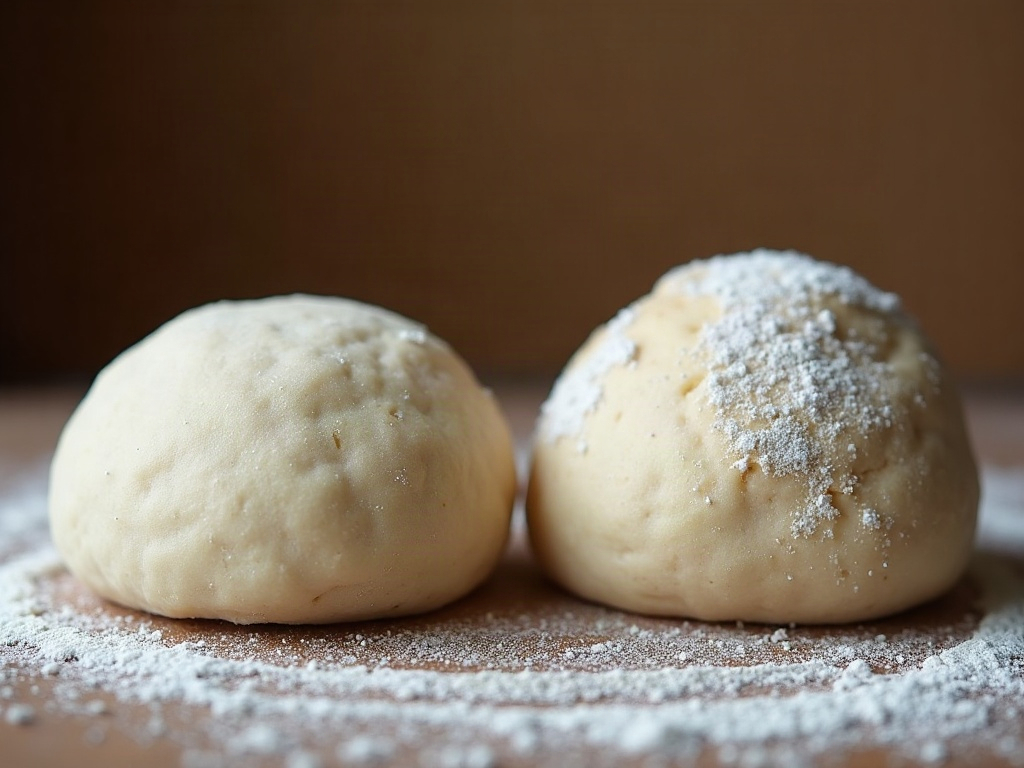
A loaf that spent the night at 39°F is firm, cool, and compact to the touch. Pressed straight from the fridge, it barely yields — and panicking bakers conclude it’s underproofed and leave it out for hours, over-proofing it instead.
Here’s the honest truth: you often can’t fairly judge a cold loaf until it’s partway back to room temperature. Cold dough feels under-risen even when it’s perfect. The better test is the one you do before the fridge, not after.
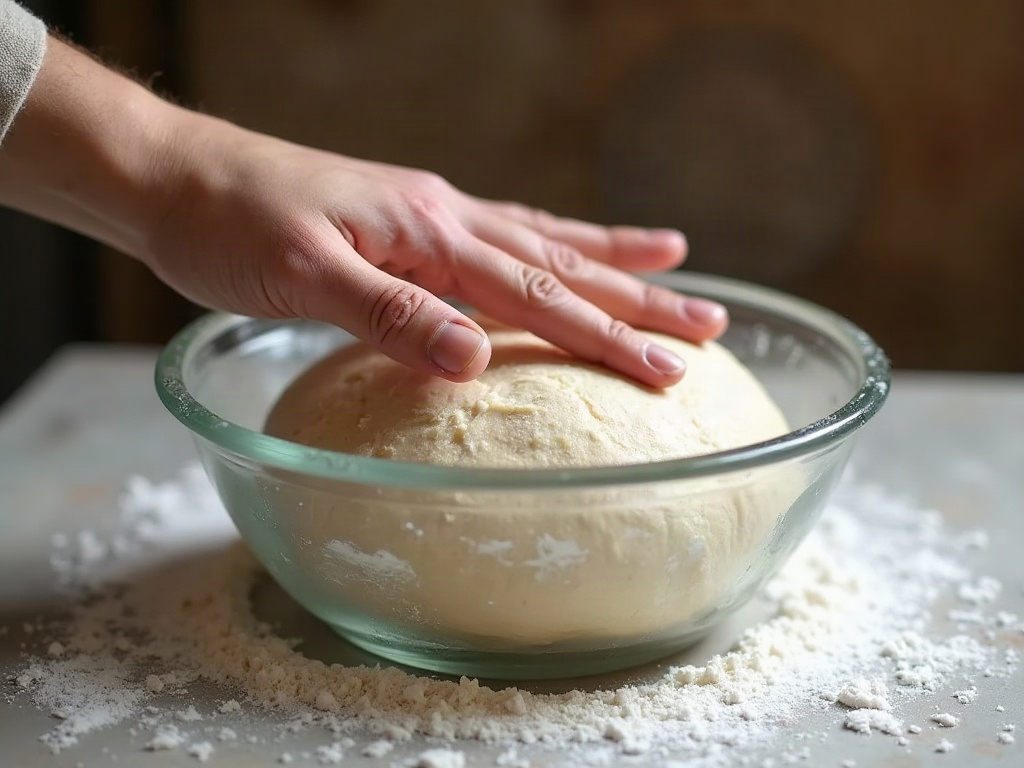
Try the poke test at the end of bulk: wet a finger and press about half an inch into the dough. If it springs back slowly and only fills halfway, you’re in good shape to shape and chill. If it springs back instantly and completely, give bulk more time. If it doesn’t spring back at all and stays dented, it’s already over-fermented.
Cause #3: Your Fridge Is Too Cold or Too Crowded
Not all fridges retard equally. A fridge packed tight with groceries, or one set near freezing, can push the dough so cold that fermentation nearly flatlines — and the air can’t circulate to even out the temperature. A loaf tucked against the back wall near the cooling coils gets the worst of it.
Fixes that help:
- Give the loaf breathing room. Set the banneton on a shelf with space around it, not buried behind the leftovers.
- Avoid the coldest spots — usually the back and the bottom. A middle shelf is often more forgiving.
- Check your fridge’s actual temperature. A cheap fridge thermometer is worth it. If yours runs at 34–35°F, your dough will barely move; nudging it toward 38–40°F makes a real difference.
- If your fridge is very cold, build in a head start: let the shaped loaf sit on the counter for 20–45 minutes before chilling so fermentation has momentum before the cold hits.
Cause #4: A Sluggish or Under-Fed Starter Set You Up to Fail
If your starter wasn’t at its peak when you mixed the dough, every stage afterward runs slow — bulk takes longer than you think, you shape too early to stay on schedule, and the cold proof inherits a dough that never got its rise. A weak starter is often the hidden reason the whole timeline feels off.
Signs your starter is dragging: it takes more than 6–8 hours to double after feeding, it smells sharply of acetone or looks watery, or it never quite domes. The fix is to rebuild its vigor — feed it on a consistent schedule, use a warmer spot (75–80°F is ideal), and give it a few days of regular feeding before you bake with it again. A starter that doubles predictably is the foundation a reliable cold proof is built on.
Cause #5: You Guessed at Bulk Instead of Measuring It
"It looked about right" is where most overnight stalls are born. Eyeballing dough in a mixing bowl is genuinely hard, especially as kitchen temperatures swing week to week. The single most reliable upgrade you can make is to stop guessing.
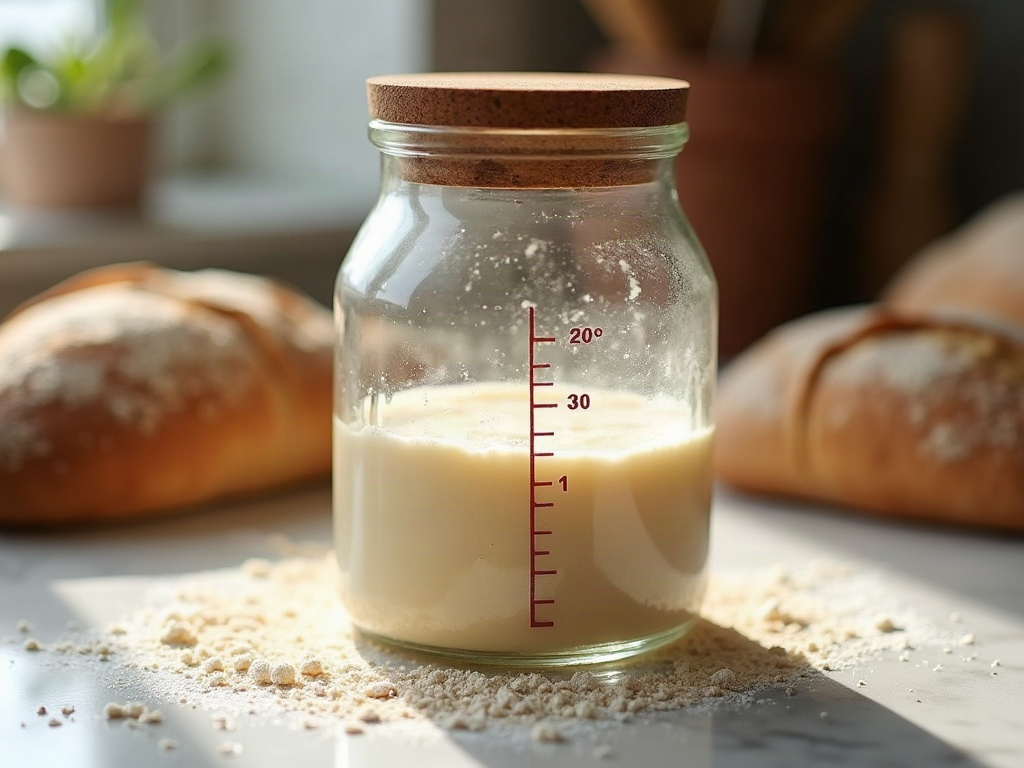
Use an aliquot jar: pinch off a small, representative piece of dough at the start of bulk, drop it into a straight-sided jar, mark the starting level with a rubber band, and watch that instead of the whole batch. When the sample has risen the target amount (often 50–75%), bulk is done — regardless of the clock. Because the jar sample sits at the same temperature as your dough, it tracks real fermentation, not the time on a recipe written for someone else’s kitchen.
Cause #6: Your Dough Finished Bulk in the Fridge (and That’s Okay)
Sometimes the overnight proof genuinely is doing its job — you just can’t see it. If you shaped at the right moment, the cold proof is slowly finishing the rise and, crucially, relaxing the gluten and building that tangy, complex flavor cold fermentation is prized for.
Don’t judge the loaf by how much it domed in the basket. Judge it by how it bakes. Score a cold loaf straight from the fridge (it’s firmer and easier to score), then bake it hot with steam. A good cold-proofed dough often does its most dramatic expansion as oven spring — the rise you couldn’t see overnight shows up in the first 15 minutes of the bake.
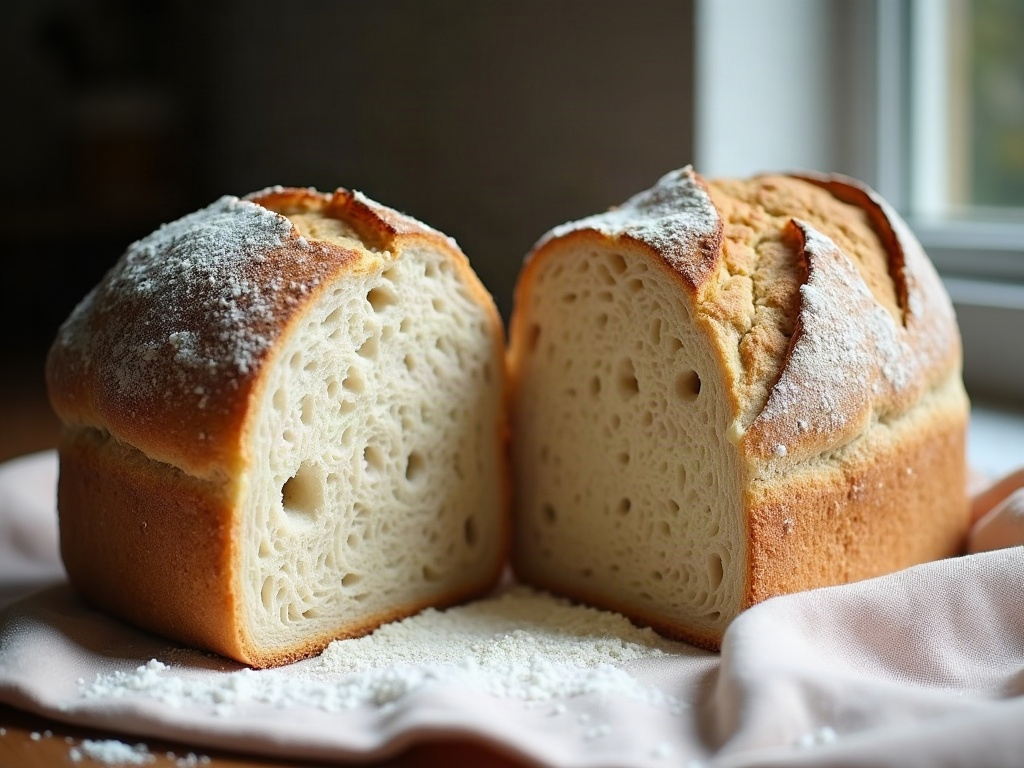
If it comes out tall with an open crumb and a blistered crust, there was never a problem. If it comes out dense and tight, loop back to Causes #1 and #4: the rise was short before it ever got cold.
The Short Version: Fix the Rise Before the Cold
An overnight proof that "does nothing" is almost always a bulk-fermentation story, not a fridge story. Let bulk finish fully, lean on the poke test and an aliquot jar instead of the clock, give a strong starter time to earn its place, and keep your fridge in the 38–40°F range with room to breathe. Do that, and the cold proof quietly rewards you — deeper flavor, easier scoring, and a taller, more open crumb than a rushed same-day loaf ever delivers.
If you want to see exactly what a ready-to-retard dough looks and feels like — the jiggle, the dome, the poke — we walk through it step by step on the LoafLovers YouTube channel, where real doughs (and real misfires) get diagnosed side by side. And if you’d like our free sourdough troubleshooting guide, with the proofing checklist and timing cheat sheet, drop your email and we’ll send it over. No pressure, no hard sell — just fewer flat loaves and more good bread.
Sources & further reading:
- The Perfect Loaf — Cold Retard and the Overnight Proof
- King Arthur Baking — Sourdough Baking 101: Proofing
- Serious Eats — The Science of Sourdough Fermentation
Leave a Reply