Let us be honest about the discard jar. It sits in the back of the fridge, slowly filling, quietly making you feel wasteful every time you reach past it for the milk. You know you are supposed to do something with it. You rarely do.
Discard crackers are the answer, and they are almost embarrassingly easy. About ten minutes of real work, one rolling pin, and a hot oven turn that neglected jar into a tray of thin, snappy, herb-flecked crackers that vanish faster than you can bake them. No fancy technique, no second rise, no guilt. Here is exactly how.
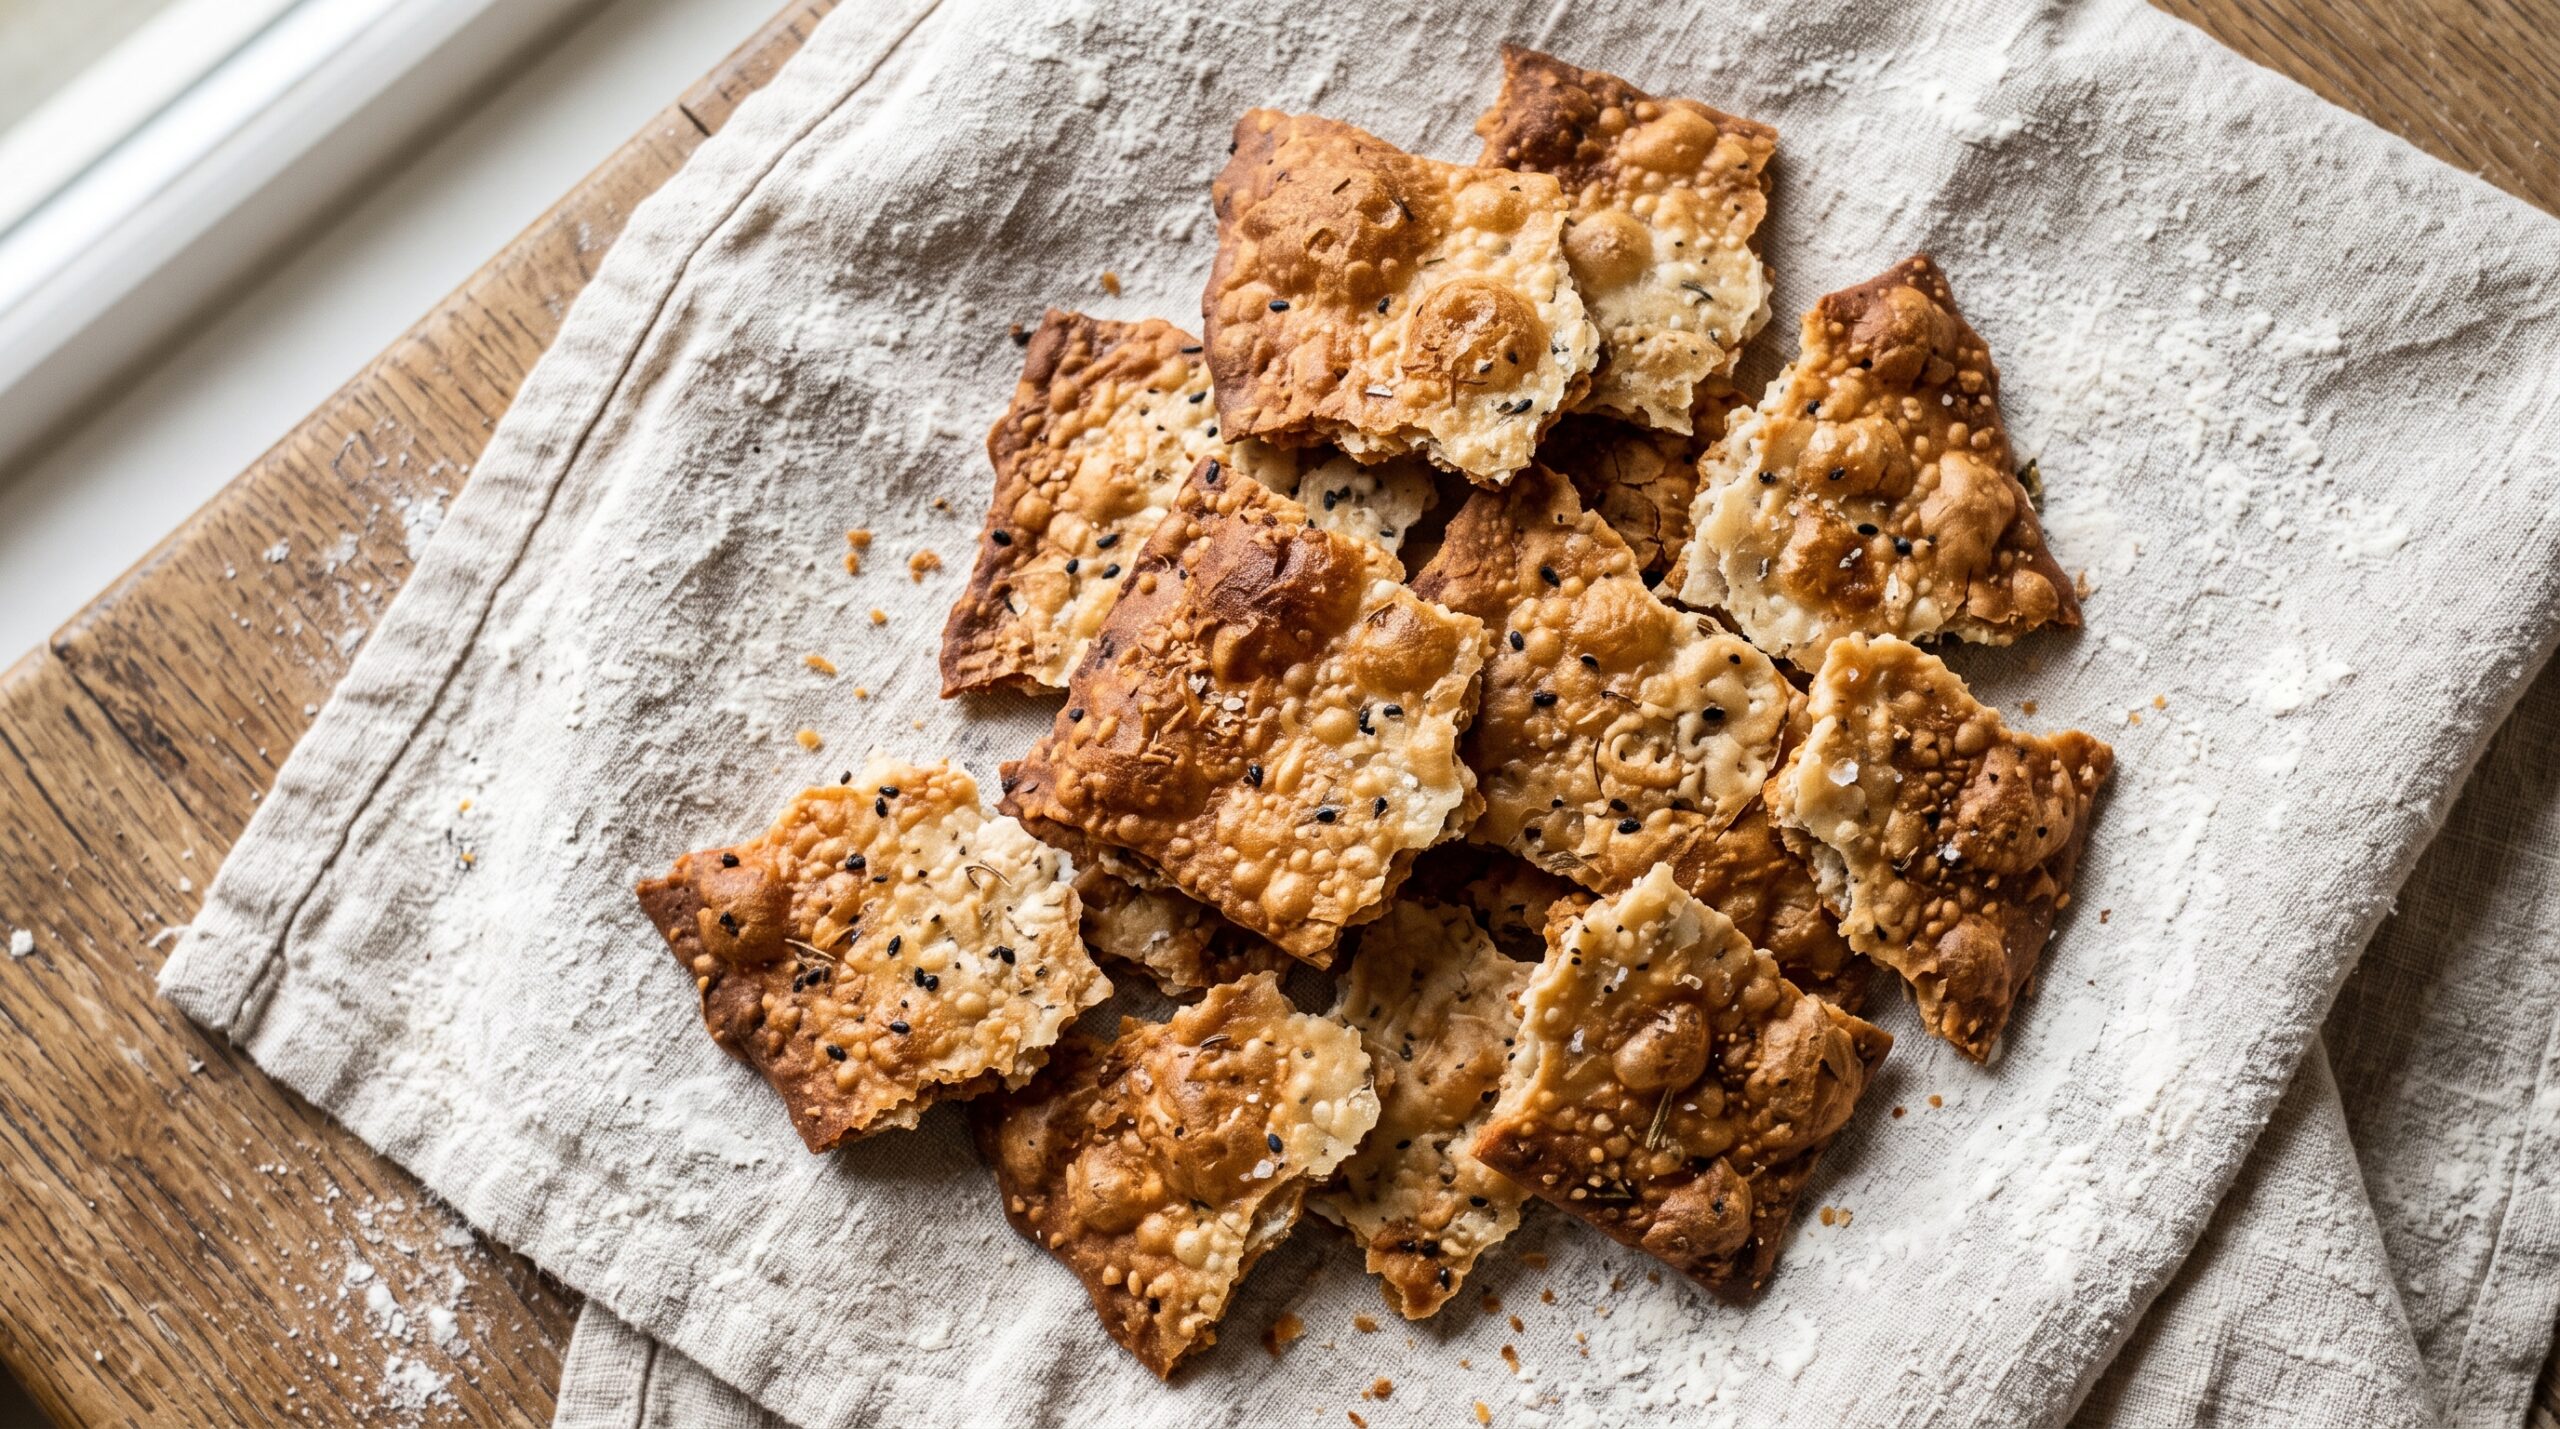
Why Discard Makes Such Good Crackers
Sourdough discard is just flour and water that has been fermented, which means two things. First, the flour and water are already combined and hydrated, so half the work of a dough is done for you. Second, fermentation has built up a gentle tang that gives these crackers a flavor plain flour-and-water crackers simply cannot match.
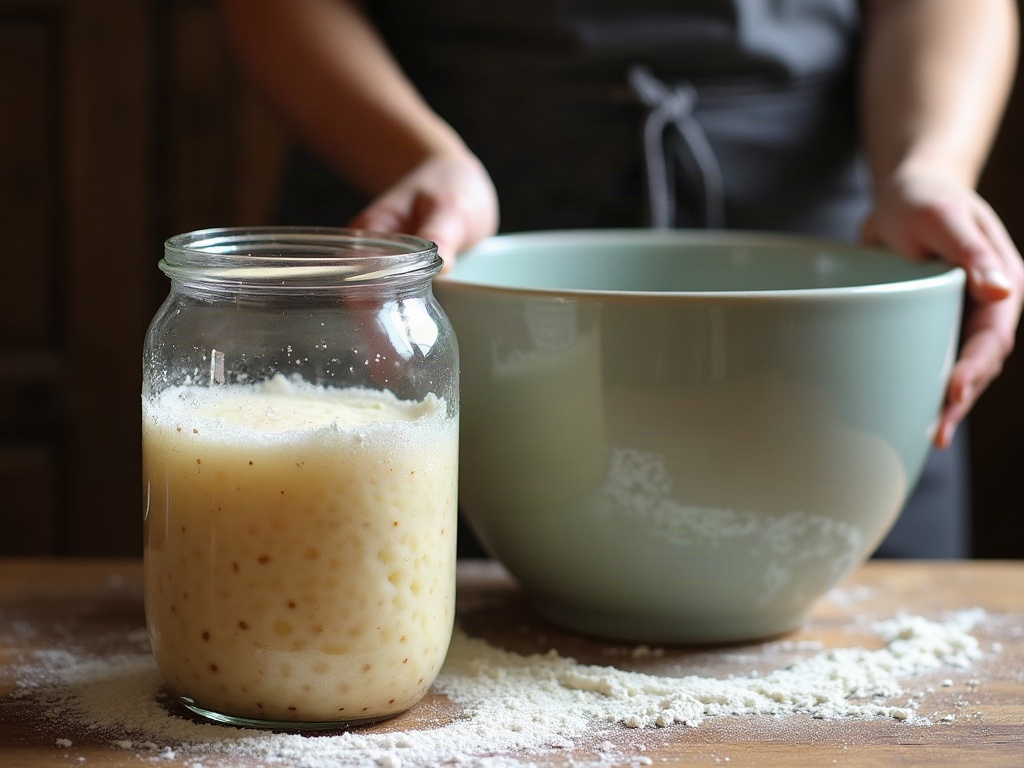
Even better, crackers do not care how healthy your discard is. You do not need a bubbly, freshly-fed starter here. Sluggish discard, hooch-topped discard, discard that has been sitting for a week, it all works. You are not asking it to leaven anything. You are only borrowing its flavor. This is the one recipe where truly tired discard shines, so stop throwing it away.
What You Need
This recipe scales beautifully, but here is a reliable batch that fits one standard baking sheet.
- 1 cup (about 227 g) sourdough discard, straight from the fridge, any hydration
- 1 cup (120 g) all-purpose flour, plus a little for rolling
- 3 tablespoons olive oil or melted butter, plus more for brushing
- 1/2 teaspoon fine salt for the dough
- Flaky salt and toppings for the top: herbs, sesame, everything-bagel blend, cracked pepper, grated parmesan, whatever you like
That is the whole shopping list, and most of it is already in your kitchen. If your discard is very stiff, add a splash of water; if it is very wet, add a spoonful more flour. You are aiming for a dough that comes together into a smooth, slightly firm ball.
The Method, Start to Finish
The arc here is simple: mix, roll thin, score, bake, snap. The only step that truly matters is rolling thin, so we will slow down on that one.
1. Mix the dough
In a bowl, stir together the discard, flour, oil, and fine salt until it forms a shaggy mass, then knead it in the bowl for a minute until smooth. It should feel like a soft playdough. If it is sticky, add flour a spoonful at a time. If it cracks and crumbles, add water a teaspoon at a time. You want it pliable, not tacky.
You can bake immediately, but if you have twenty minutes, let the dough rest covered on the counter. Resting relaxes the gluten and makes rolling far easier, which brings us to the part that decides whether your crackers are crisp or chewy.
2. Roll it thin, then thinner
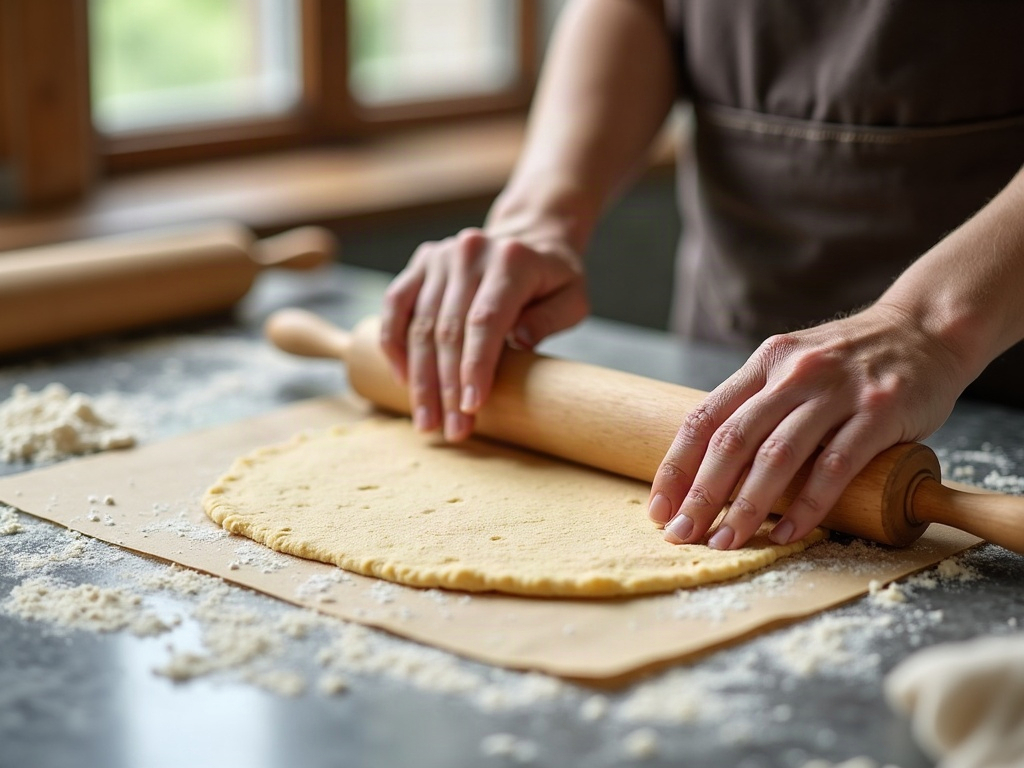
Divide the dough in half so it is manageable. Lay a piece on a sheet of parchment, dust with flour, and roll it out. Keep going past the point where you think it is thin enough. You want it close to the thickness of a coin, thin enough that you can almost see the parchment through it.
This is the single biggest reason home crackers come out chewy instead of crisp: the dough was too thick. Thick dough steams on the inside before it can dry out. Thin dough bakes through completely and shatters when you bite it. Roll it thin. Then roll it a little thinner.
3. Top and score
Slide the parchment onto a baking sheet. Brush the surface with a thin coat of olive oil or butter, then scatter your toppings and a pinch of flaky salt. Press the toppings in gently with your hand or a light pass of the rolling pin so they stick.
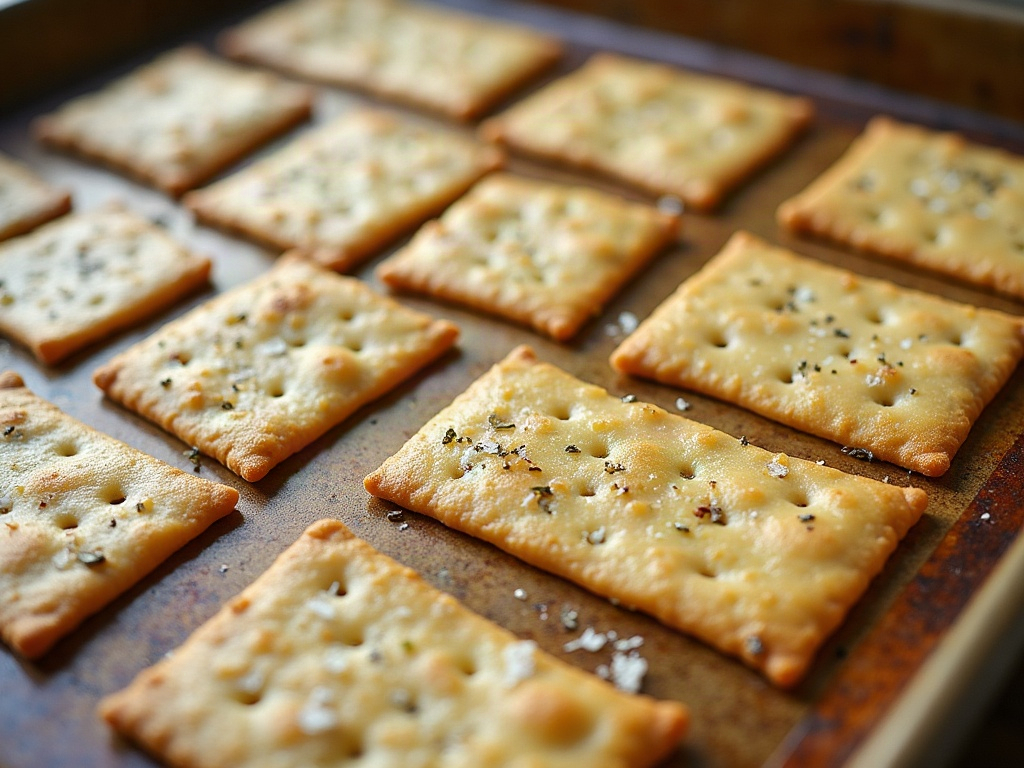
Now score the dough into squares or rectangles with a knife or pizza cutter. Do not cut all the way through if you want a rustic slab you can snap by hand; a firm score is enough. Scoring first means the baked crackers break along clean lines instead of shattering into random splinters.
4. Bake until deeply golden
Bake at 350 F (175 C) for 20 to 30 minutes, until the crackers are evenly golden brown. The color is your doneness cue. Pale crackers are underbaked and will be soft; you want a real, honest golden brown across the whole sheet.
Because home ovens have hot spots, the edges will often color first. If that happens, pull the sheet, break off the finished edge pieces, and return the paler center to the oven for a few more minutes. It is worth the extra step, because a fully dried cracker is the difference between snap and chew.
5. Cool completely
This is the step everyone skips and everyone regrets. Crackers crisp up as they cool. Straight out of the oven they can feel slightly bendy; give them ten minutes on the tray and they firm into that clean snap. If a batch still feels soft after cooling, it either needed to be rolled thinner or baked a few minutes longer. Both are easy fixes next time.
Flavor Combinations Worth Trying
Once you have the base method down, the toppings are where these get addictive. A few reliable directions:
- Rosemary and sea salt: the classic. Finely chopped fresh rosemary pressed into the dough with flaky salt.
- Everything bagel: brush with oil and shower with everything seasoning. Tastes like a bagel, snaps like a chip.
- Parmesan and black pepper: grated hard cheese and cracked pepper turn these into a savory, cheesy snack that needs no dip.
- Seedy and nutty: a mix of sesame, poppy, and flax for crunch and a wholemeal feel.
- Sweet-ish: a light brush of butter, a dusting of cinnamon and sugar, and you have a crisp graham-adjacent treat.
Mix and match across a single tray by scoring the dough into sections and topping each differently. One bake, several snacks.
Storing Them (If They Last)
Cooled crackers keep in an airtight container at room temperature for about a week, though in practice they rarely survive a day. If they soften over time, a five-minute pass in a 300 F oven crisps them right back up. Do not refrigerate them; the fridge is humid and will turn them chewy.
The Real Payoff
The point of discard crackers is not really the crackers, lovely as they are. It is that the discard jar stops being a source of guilt and starts being a source of something good. You feed your starter, you set the discard aside, and instead of pouring flavor down the drain you turn it into the first thing that disappears off the snack board.
That is the whole sourdough loop working the way it should: nothing wasted, everything used. Roll a batch thin this week and see how fast they go.
Want to watch the rolling and scoring in real time? The full step-by-step is on the LoafLovers YouTube channel, along with our free sourdough troubleshooting guide for when your loaf, and not just your discard, needs rescuing. Grab it and never stare at a failed bake alone again.
Leave a Reply