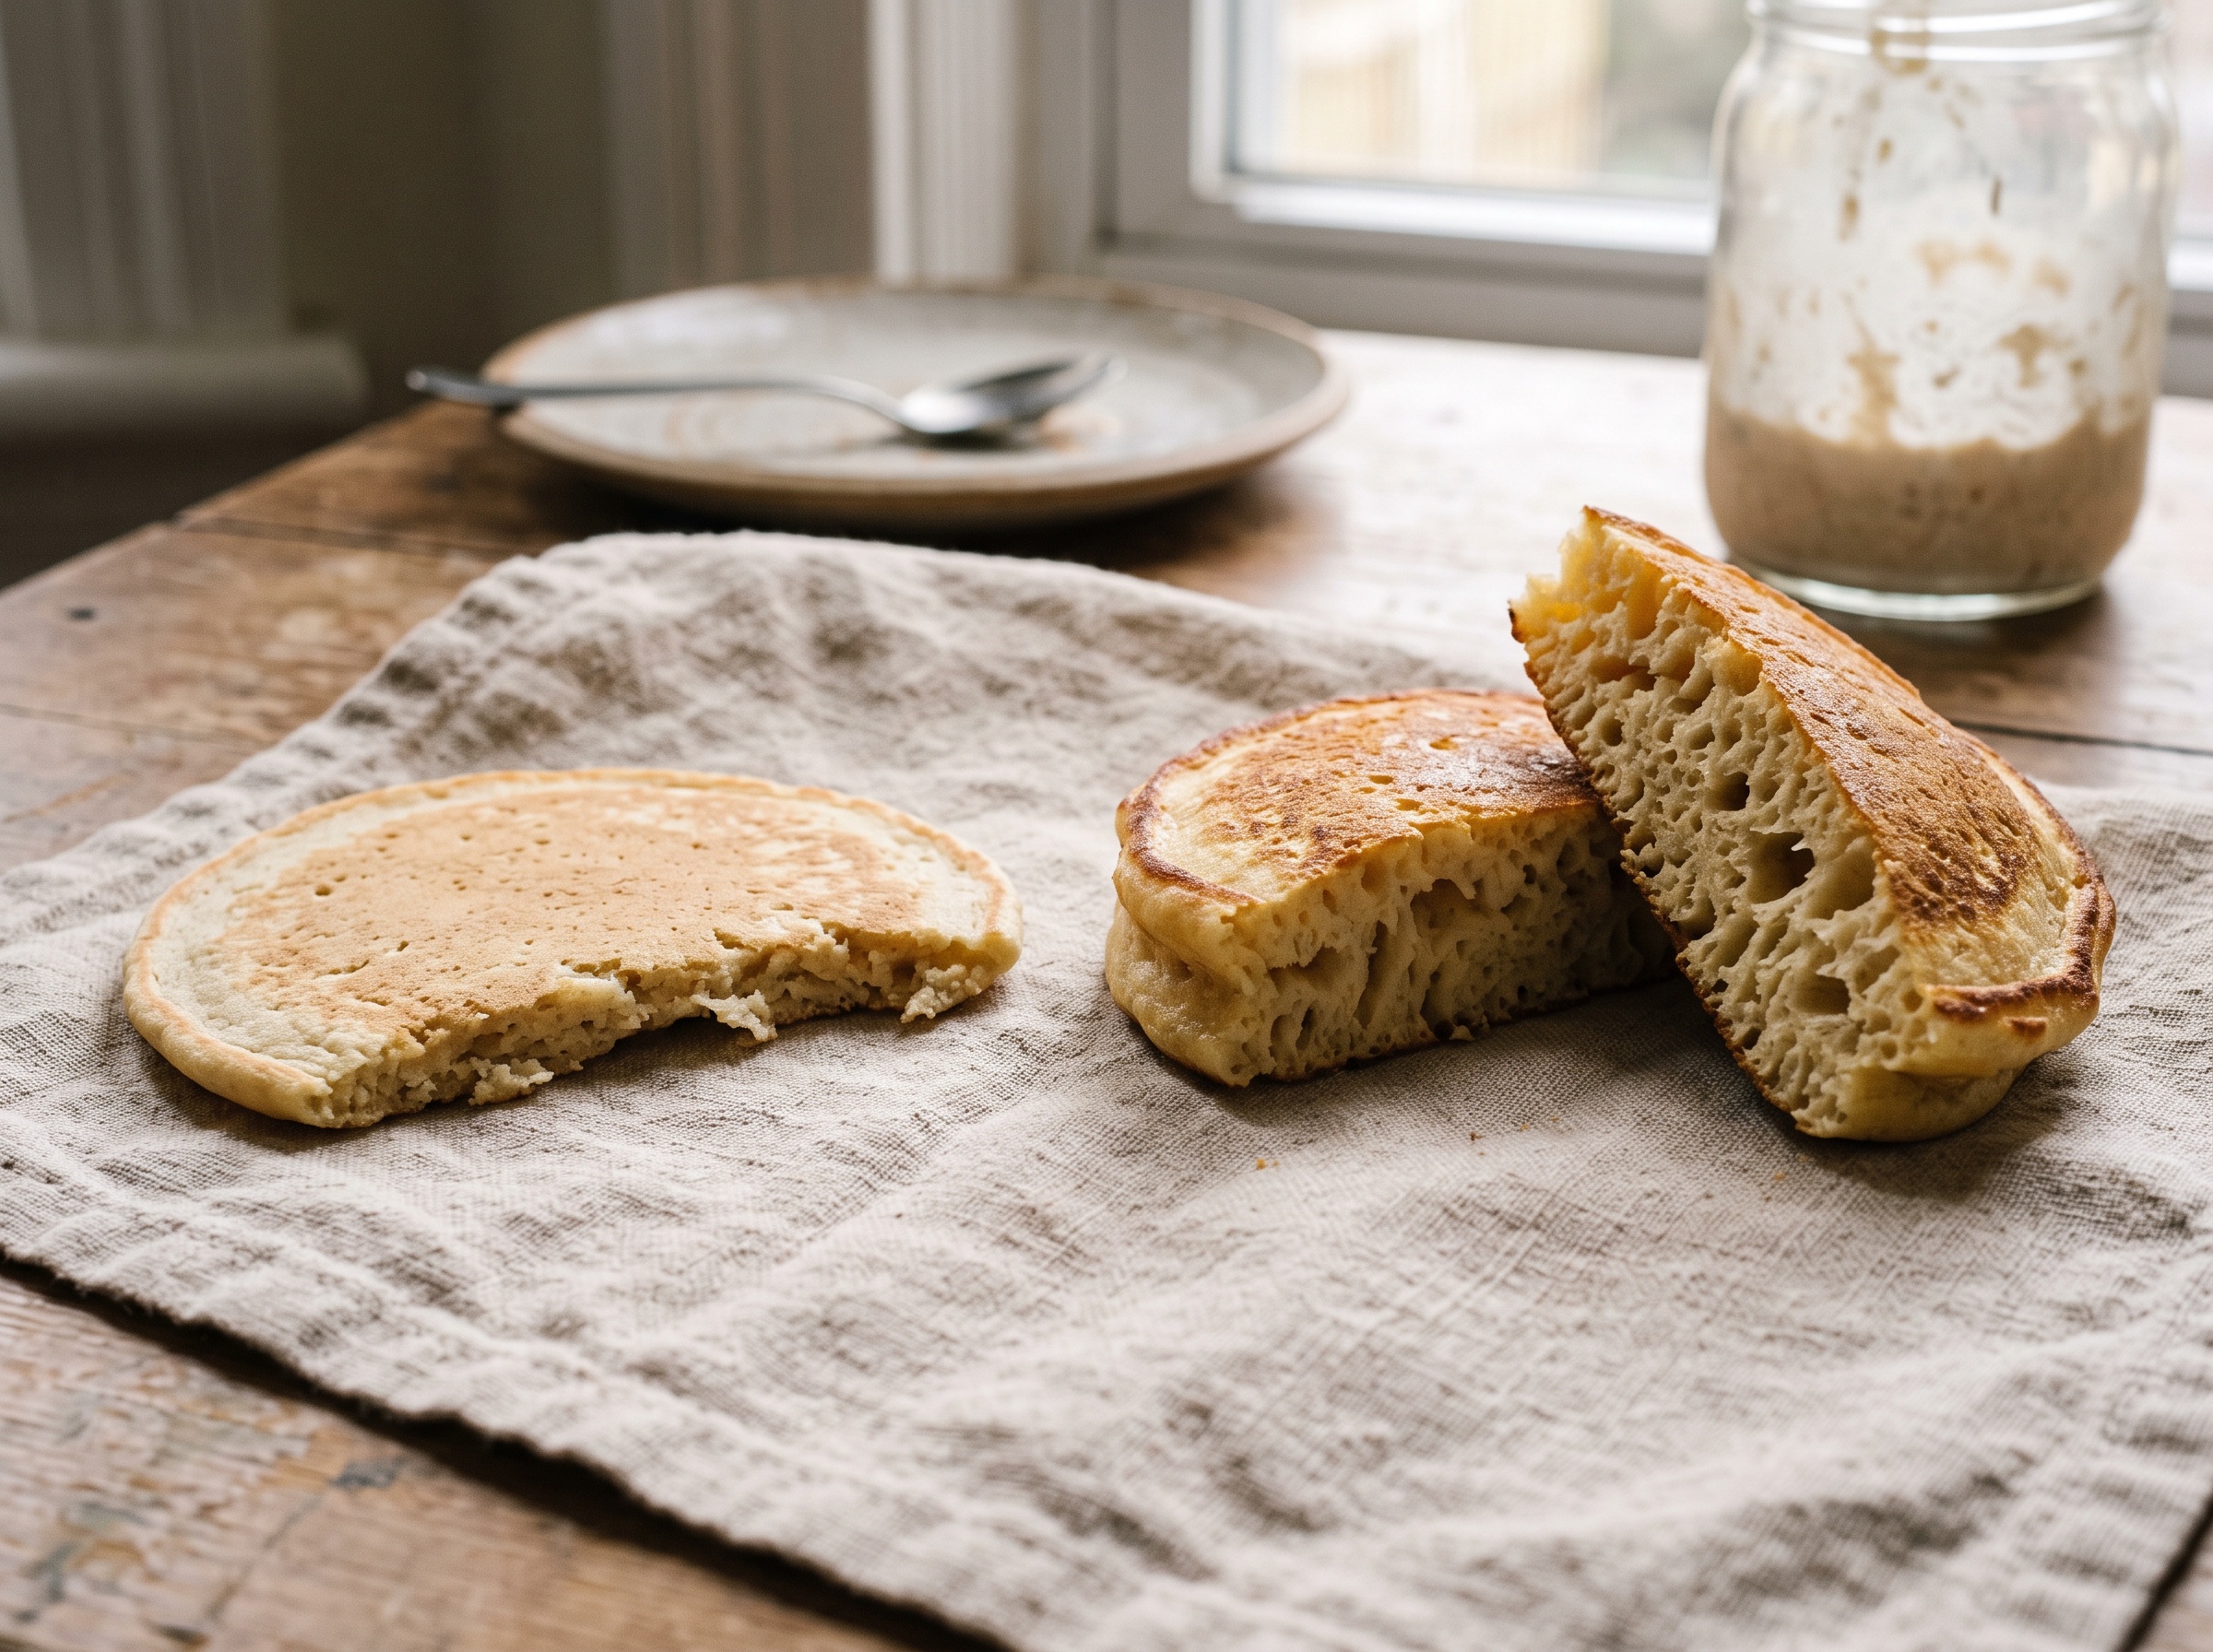
Category: Discard

  • Sourdough Discard Chocolate Brownies: Fudgy, Rich, and the Best Way to Empty the Jar

    Sourdough Discard Chocolate Brownies: Fudgy, Rich, and the Best Way to Empty the Jar

    If you keep a sourdough starter, you know the jar. The one filling up with discard that you feel too guilty to pour down the drain and too unsure to actually use. Crackers and pancakes are fine, but there’s a reason this recipe gets made on repeat: discard turns out to be a near-perfect brownie ingredient. It adds moisture, a faint tang that makes chocolate taste deeper, and it means you’re clearing the jar with dessert instead of another batch of savory snacks.

    These are proper fudgy brownies — dense, glossy-topped, and rich — not the cakey kind. They come together in one bowl, there’s no proofing or fermentation to wait on, and you can use discard straight from the fridge. Here’s exactly how to make them, plus the few places people go wrong.
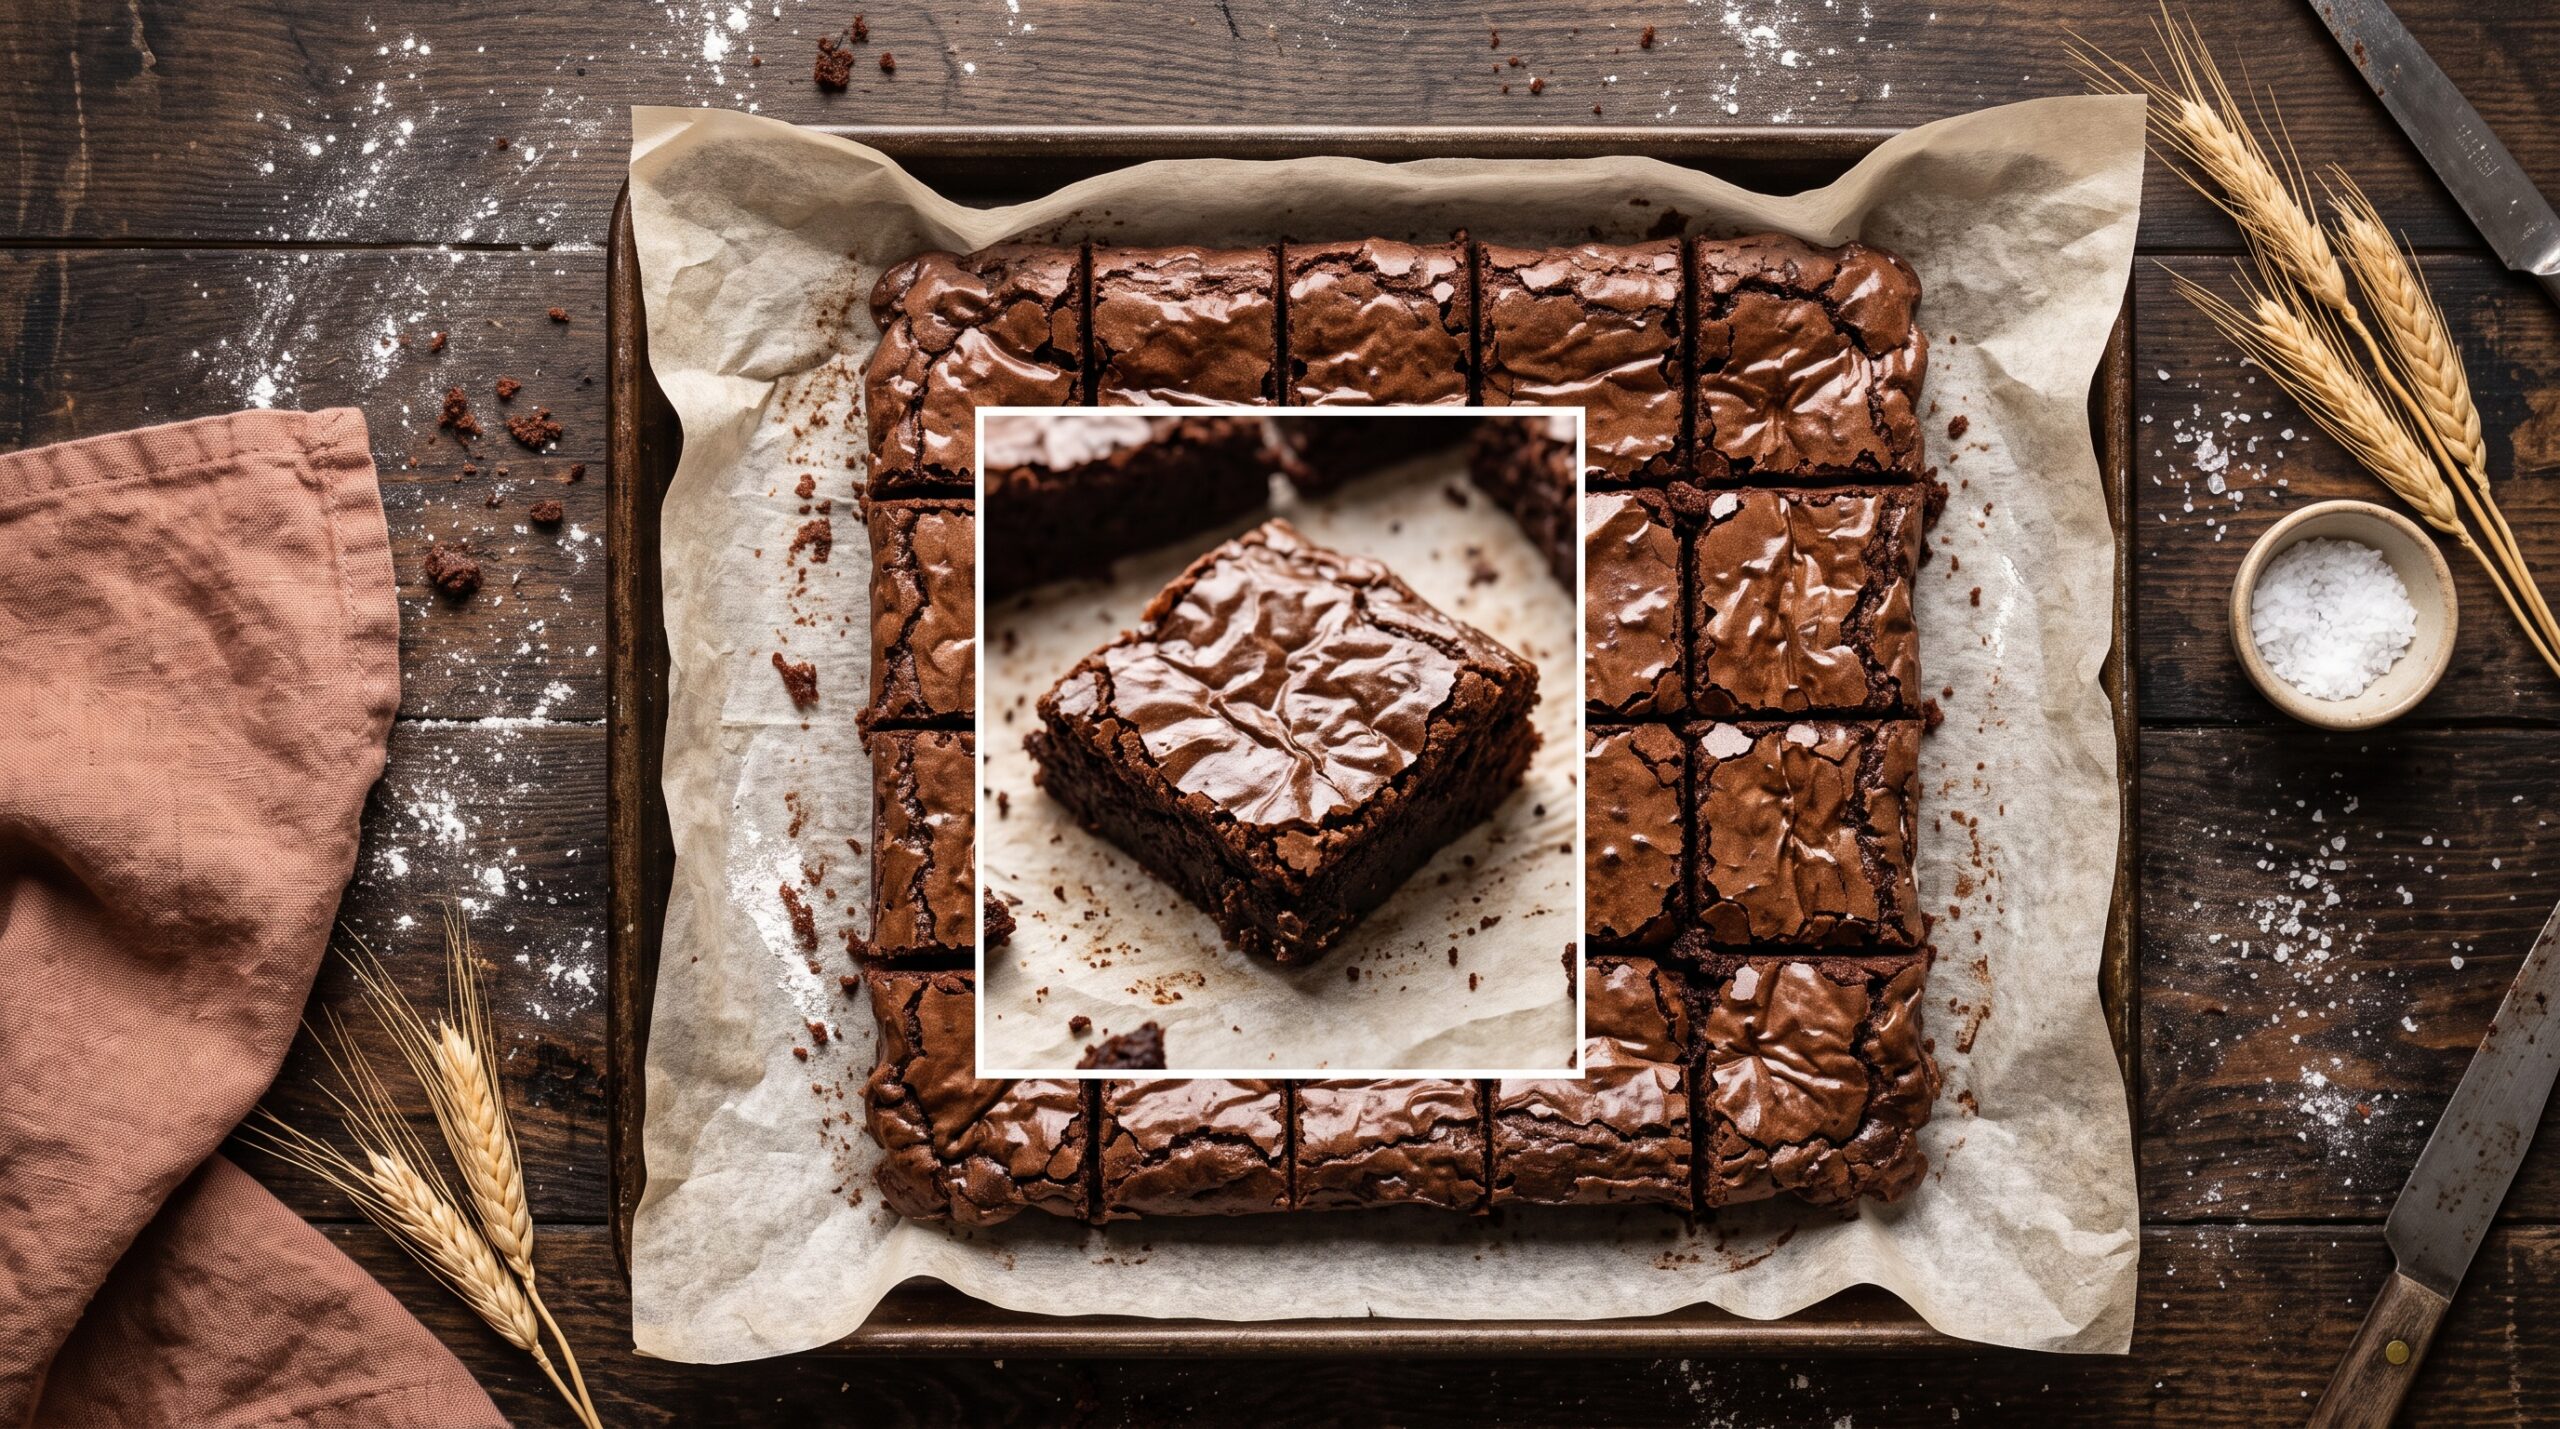
    A tray of fudgy sourdough discard brownies cut into squares with crackly shiny tops
    Fudgy, crackly-topped brownies from a jar of discard that would otherwise hit the bin.

    Why discard belongs in brownies

    Discard is just flour and water that’s been colonized by the wild yeast and bacteria in your starter. For bread, that activity matters. For brownies, you’re not relying on it to rise — you’re using it as a flour-and-liquid stand-in that happens to carry flavor. The mild acidity does two useful things: it sharpens the perception of chocolate (the same reason a pinch of salt or a splash of coffee makes cocoa taste richer), and it keeps the crumb tender and moist for days.

    Any discard works: stiff or liquid, white flour or whole wheat, fresh or a week-old jar from the back of the fridge. As long as it smells sour and yeasty — not like nail polish gone truly rancid or showing fuzzy mold — it’s fine to bake with. The stronger the smell, the more tang comes through, which many people actually prefer in a dark brownie.

    What you’ll need

    This makes one 8×8 inch (20cm) pan, about 16 small squares. No mixer required.

    • 150g (about 2/3 cup) sourdough discard — any hydration, straight from the fridge is fine
    • 115g (1/2 cup) unsalted butter
    • 170g (6 oz) dark chocolate, chopped (or good chocolate chips) — 60–70% is ideal
    • 150g (3/4 cup) granulated sugar
    • 50g (1/4 cup) brown sugar — adds chew and keeps them moist
    • 2 large eggs, room temperature
    • 1 tsp vanilla extract
    • 40g (1/3 cup) cocoa powder
    • 50g (about 1/3 cup) all-purpose flour
    • 1/2 tsp salt
    • Optional: a handful of chocolate chunks or chopped nuts to fold in
    Sourdough discard being stirred into a bowl of melted dark chocolate and butter
    Discard stirs straight into the melted-chocolate base — no proofing, no waiting.

    The method, step by step

    Heat your oven to 350°F (175°C) and line the pan with parchment, leaving an overhang so you can lift the slab out later.

    1. Melt the butter and chocolate together. Use a bowl over a pan of barely simmering water, or short bursts in the microwave, stirring between each. Melt until smooth, then let it cool for a couple of minutes so it doesn’t scramble the eggs.
    2. Whisk in both sugars. Stir vigorously for a minute — this is what gives you that shiny, crackly top. The sugar needs to dissolve into the warm chocolate.
    3. Add the eggs and vanilla. Beat them in one at a time until the batter looks glossy and slightly thickened.
    4. Stir in the discard. It will look loose and a little odd going in — that’s normal. Mix just until combined.
    5. Fold in the dry ingredients. Add cocoa, flour, and salt. Fold gently with a spatula and stop the moment you no longer see dry streaks. Overmixing here is the single most common way to end up with tough, cakey brownies.
    6. Pour, scrape, and bake. Spread the batter into the pan, scatter any chunks or nuts on top, and bake for 22–28 minutes.

    How to know when they’re done (this is where people slip)

    Fudgy brownies are easy to overbake because they look underdone right when they’re perfect. Don’t wait for a clean toothpick — that’s the test for cake, not brownies. You want the edges set and slightly pulled from the pan, the top dry and crackly, and a toothpick in the center coming out with a few moist crumbs clinging to it. If it comes out wet with batter, give it another 2–3 minutes. If it comes out totally clean, you’ve just baked them a touch too long — note it for next time.

    The hardest part comes next: let them cool completely in the pan before cutting. Warm brownies fall apart and taste greasy; cooled brownies firm up into clean, dense squares. If you can, chill them for 30 minutes before slicing for bakery-sharp edges.
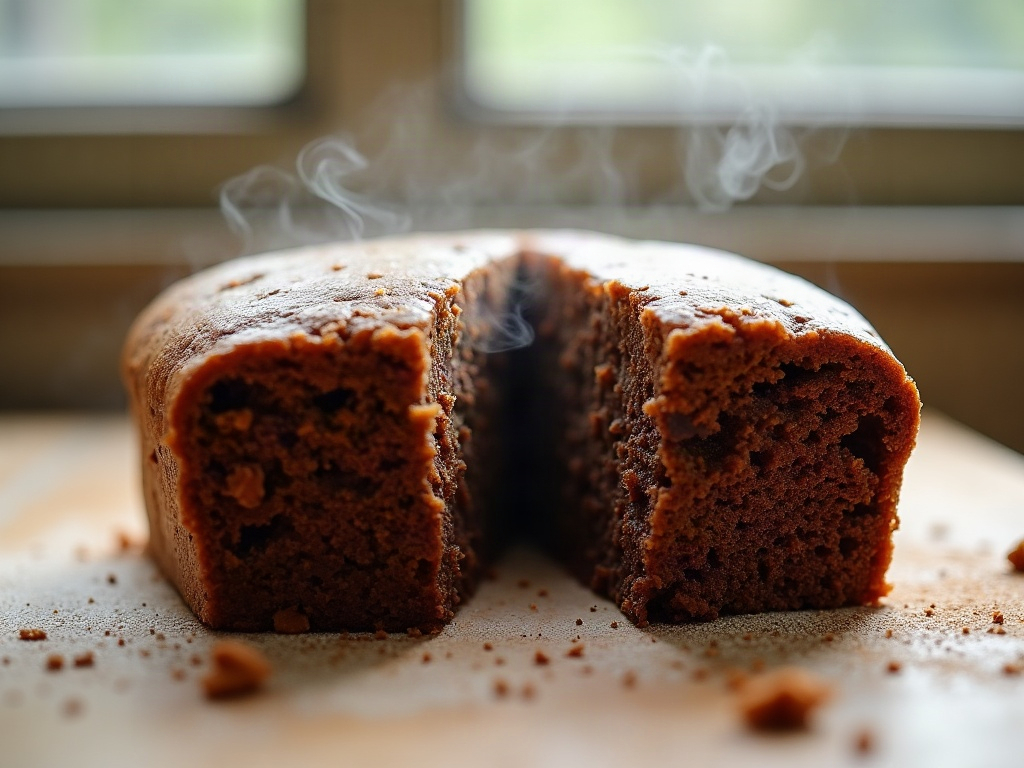
    A sourdough discard brownie broken in half showing a dense fudgy interior
    The inside you want: dense and fudgy, not cakey or dry.

    Troubleshooting your discard brownies

    A few things can go sideways. Here’s the quick diagnosis for each.

    • Cakey instead of fudgy? You either overmixed after adding the flour, added too much flour, or overbaked. Measure flour by weight, fold minimally, and pull them earlier.
    • Greasy or oily on top? The butter and chocolate separated — usually from a batter that was too hot when the eggs went in, or from stirring too little after adding sugar. Let the melt cool slightly and whisk the sugar in properly next time.
    • No shiny, crackly crust? That signature top comes from dissolving the sugar fully into warm chocolate. Rushing that step, or using very cold discard that cools the batter too fast, flattens the crust. It still tastes great — it’s cosmetic.
    • Too sour? If your discard was very old and sharp, cut it to 100g and make up the difference with an extra tablespoon of flour and a splash of milk. For most jars, the tang is subtle and pleasant.

    Make them your own

    Once the base works, it’s endlessly adaptable. Swirl in peanut butter or tahini before baking. Add espresso powder to the dry mix to amplify the chocolate. Fold in dried cherries or flaky salt on top. Because the discard carries the moisture, these brownies stay soft at room temperature in a sealed container for up to four days — if they last that long — and they freeze beautifully for a month.
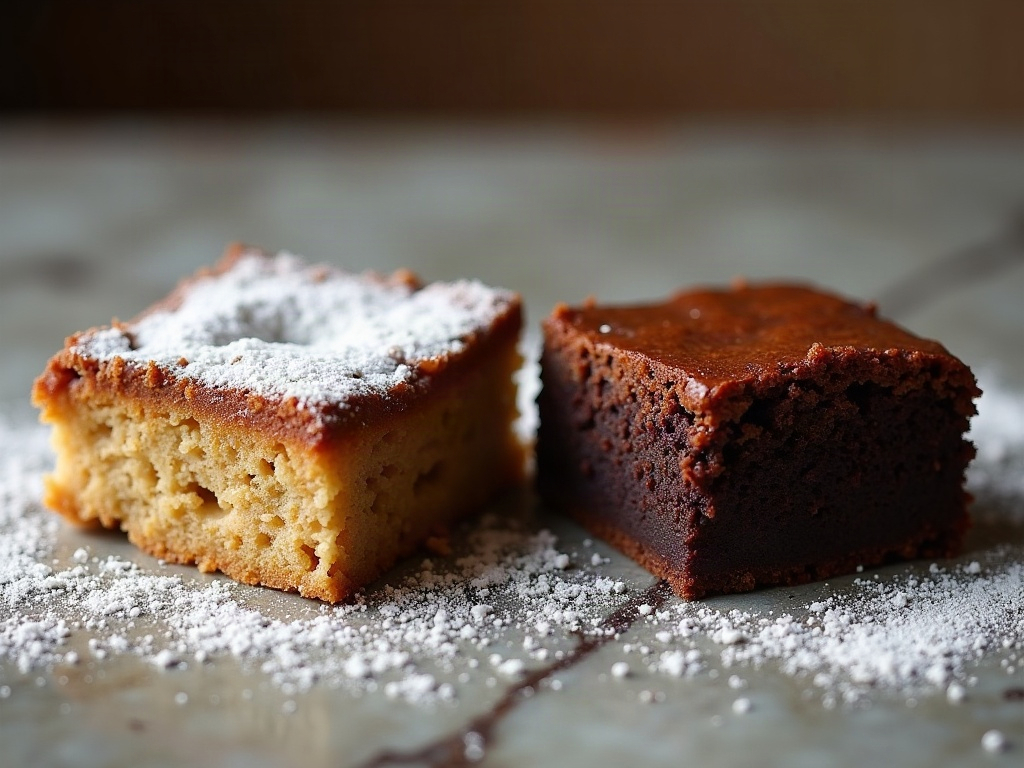
    A cakey dry brownie next to a glossy fudgy brownie for comparison
    Cakey and dry (left) versus fudgy and glossy (right) — the difference is mostly about not overbaking.

    The bottom line

    Discard brownies are the recipe that finally makes the jar feel like a feature instead of a chore. You get a genuinely excellent dessert, you waste nothing, and the faint sourdough tang does real work behind the scenes. Keep the butter-and-chocolate melt warm enough to dissolve the sugar, fold the flour in with a light hand, and pull them while the center still looks a little soft. That’s the whole trick.

    Want to see the fudgy-vs-cakey test and the proper cooling trick in action? The full walkthrough lives on the LoafLovers YouTube channel, and you can grab our free sourdough troubleshooting guide — including the rest of our discard recipes — on the way out.

    Related Reading

  • Sourdough Discard Banana Bread: Moist, Tangy, and No-Waste

    Sourdough Discard Banana Bread: Moist, Tangy, and No-Waste

    If you keep a sourdough starter, you know the guilt: a jar of discard slowly filling the fridge door, too good to pour down the drain but never quite finding a use. Banana bread is the fix. It is the single most forgiving thing you can make with discard – no active starter, no float test, no timing a rise around your day. You mash a few sad bananas, stir in whatever discard you have, and bake. The payoff is a loaf that is moister than the standard recipe and carries a faint, pleasant tang that makes people ask what your secret is.

    This is low-friction sourdough at its best. Let’s walk through why discard works so well here, then a reliable one-bowl recipe, and the two or three things that separate a great loaf from a gummy one.

    Sliced sourdough discard banana bread showing a moist tender crumb on a wooden board
    Discard makes banana bread noticeably moister – and adds a gentle background tang.

    Why sourdough discard belongs in banana bread

    Discard intimidates people because “sourdough” implies fermentation, rising, and precision. In a quick bread, none of that applies. Discard is simply flour and water that has been sitting with wild yeast and bacteria – so it is a soft, slightly acidic batter. You are not relying on it to leaven anything. The lift in banana bread comes from baking soda and baking powder, which react fast in the oven. That is the whole reason discard works even when it is flat, unfed, and days old: you only want its flavor and moisture, not its rising power.

    What discard actually contributes is threefold. First, moisture and a tender crumb, because that extra hydrated flour keeps the loaf soft for days. Second, a mild acidity that reacts with the baking soda for a little extra rise and a finer texture. Third, and best of all, a gentle background tang that cuts the sweetness of ripe banana so the loaf tastes complex instead of one-note sweet. You do not get sour bread – you get banana bread with depth.

    Sourdough discard being scraped from a jar, showing its smooth slack texture
    Discard is just flour and water with mild acidity – perfect for quick breads.

    The one-bowl recipe

    This makes one standard loaf (roughly a 9×5-inch pan). It is deliberately a stir-together recipe – no mixer needed.

    Wet:

    • 3 very ripe bananas (about 1 to 1.25 cups mashed) – the blacker, the better
    • 1/2 cup (about 120 g) sourdough discard, unfed, straight from the fridge
    • 1/2 cup (100 g) brown sugar (or half white, half brown)
    • 1/3 cup (75 g) melted butter or neutral oil
    • 2 eggs
    • 1 tsp vanilla

    Dry:

    • 1.5 cups (190 g) all-purpose flour
    • 1 tsp baking soda
    • 1/2 tsp baking powder
    • 1/2 tsp salt
    • 1 tsp cinnamon (optional)

    Method: Heat the oven to 350 degrees F (175 C) and line a loaf pan with parchment. In one bowl, mash the bananas well, then whisk in the discard, sugar, melted butter, eggs, and vanilla until smooth. Add the flour, baking soda, baking powder, salt, and cinnamon right on top. Fold gently with a spatula just until no dry streaks remain – stop there. Overmixing builds gluten and gives you a tough, tunneled loaf. Scrape into the pan and bake 50 to 60 minutes.

    Mashed bananas and sourdough discard being combined in a single mixing bowl
    One bowl, no mixer: discard folds straight into the wet ingredients.

    How much discard is too much

    Discard is roughly 100% hydration – equal parts flour and water by weight – so it is essentially half liquid. That matters because every half cup of discard you add is adding meaningful moisture to the batter. Half a cup is the sweet spot for one loaf: enough to taste and to keep the crumb moist, without throwing off the balance.

    If you want to use more discard to clear a big jar, you can – but compensate. For each extra half cup of discard, hold back about 2 tablespoons of flour and a splash of the fat, or the batter turns soupy and the center bakes gummy. Do not go past about 1 cup of discard in a single loaf without adjusting; beyond that the structure struggles to set. When in doubt, keep discard at half a cup and just bake more often. It is a quick bread, not a commitment.

    Getting the bake right: the gummy-center fix

    The most common discard banana bread complaint is a dense, gummy line through the middle. It is almost always underbaking, made worse by the extra moisture discard adds. Bananas and discard both hold a lot of water, and a toothpick can come out “clean” while the center is still wet paste.

    Two habits fix this for good. First, bake to temperature, not time – the center should read 205 to 210 degrees F on an instant-read thermometer. That single check ends the guesswork. Second, resist slicing it warm. Quick breads finish setting as they cool; cutting in at 20 minutes releases steam and leaves the crumb sticky and heavy. Let it cool in the pan 15 minutes, then on a rack for at least an hour. If your loaf still sinks in the middle, your leavener may be old, or you opened the oven early – keep the door shut for the first 40 minutes so the dome sets.

    Freshly baked sourdough discard banana bread with a cracked golden dome in a loaf pan
    A high oven start sets the dome; the center finishes at 205-210 degrees F.

    Easy variations and add-ins

    The base recipe is a canvas. Fold in 3/4 cup of dark chocolate chips, chopped walnuts or pecans, or both, tossing them in a spoonful of the flour first so they do not sink. A handful of shredded coconut or a swirl of peanut butter dropped in and dragged with a knife both work beautifully. For a bakery-style top, sprinkle turbinado sugar or a few oats before baking for crunch.

    For a make-ahead version that leans into the sourdough side, mix the wet ingredients (including discard) with the flour only – no leavener or salt – cover, and rest it in the fridge overnight. The next morning, fold in the baking soda, baking powder, and salt and bake. The overnight rest deepens the tang and softens the crumb further. It is the closest this gets to true fermentation, and it costs you nothing but a bowl in the fridge.

    Two slices of sourdough discard banana bread, one plain and one with chocolate chips and walnuts
    Chocolate chips, walnuts, or both – the base recipe takes add-ins happily.

    Storing and using it up

    Thanks to the discard, this loaf stays moist longer than most banana bread – a good three to four days wrapped at room temperature. It also freezes exceptionally well: slice it first, freeze the slices on a tray, then bag them, and you can toast one straight from frozen. That makes it a genuinely useful way to bank your discard rather than just dispose of it – every jar becomes breakfast for next week.

    Once you have made discard banana bread a couple of times, the guilt jar stops being a problem and starts being an ingredient. That is the whole point of discard baking: the lowest-effort, highest-reward corner of sourdough, where there is nothing to time, nothing to prove, and nothing to waste.

    Want to see the mash-to-crumb steps and the temperature check in action? The full walkthrough lives on the LoafLovers YouTube channel, and you can grab our free sourdough troubleshooting guide – including a discard-uses cheat sheet – when you join the email list. No hard sell, just the fixes that work.

    Related Reading

  • Sourdough Discard Pizza Crust: Same-Day, No-Waste, and Better Than Delivery

    Sourdough Discard Pizza Crust: Same-Day, No-Waste, and Better Than Delivery

    You open the fridge and there it is again: the discard jar, half full, faintly accusing. You feel bad pouring it down the drain, but you are not about to bake another loaf tonight. Here is the good news — that jar is dinner. Sourdough discard makes a genuinely excellent pizza crust: tangy, chewy, crisp-bottomed, and fast. No perfectly active starter required, no two-day wait. Let us turn the thing you feel guilty about into the best pizza night you have had in a while.

    A rustic sourdough discard pizza with a blistered, chewy crust fresh out of the oven on a wooden peel
    Last week’s discard, tonight’s dinner: a crisp, chewy crust with real sourdough character.

    Discard for Flavor, Yeast for Lift

    First, the one distinction that makes this foolproof. Unfed discard — the cast-off starter you scoop out before feeding — is not reliably alive enough to raise a dough on its own. What it is full of is flavor: that lovely lactic tang and fermented depth. So for a discard pizza crust you split the job. The discard delivers the taste and a tender crumb, and a small amount of commercial yeast (or, in a pinch, baking powder) delivers the rise. This is the opposite of a levain build with active starter, where the culture does all the lifting. For same-day pizza, letting yeast handle the lift is exactly the right shortcut.

    The Same-Day Method

    This is the one for a weeknight. In a bowl, combine roughly 200 grams of sourdough discard, about 250 grams of flour (bread flour for chew, all-purpose is fine), 110 to 130 grams of warm water, a scant teaspoon of instant yeast, 1 teaspoon of salt, and a glug of olive oil. Mix to a shaggy dough, then knead a few minutes until smooth, or do a couple of stretch and folds in the bowl. Cover and let it rise somewhere warm for 1 to 2 hours, until puffy and roughly doubled. That is it — from jar to ready-to-stretch in about the time it takes to prep your toppings.

    Unfed sourdough discard being spooned from a jar into a bowl with flour for pizza dough
    Straight from the fridge, no feeding required: discard brings the flavor, a pinch of yeast brings the lift.

    The Overnight Method (More Flavor)

    If you can plan a few hours ahead, this version is better. Use the same ingredients but cut the yeast to a pinch (about a quarter teaspoon), mix, and let the dough ferment slowly in the fridge for 8 to 24 hours. The long, cold rise gives the discard time to develop deeper, more complex sourdough flavor and a more extensible, easy-to-stretch dough — the same principle behind a cold retard on a normal loaf. Pull it out an hour before baking so it warms up and relaxes. You get most of the character of a true sourdough pizza with a fraction of the fuss.

    How Much Discard, and What It Does

    Around 150 to 250 grams of discard per crust is the sweet spot. More discard means more tang and a softer dough; less means a milder, sturdier one. Because discard is roughly equal parts flour and water, it also counts toward your dough’s hydration — so if your discard is on the loose, liquid side, hold back a little of the added water, and if it is stiff, you may need a splash more. Do not overthink it. Mix to a soft, slightly tacky dough that clears the sides of the bowl; adjust with a sprinkle of flour or a teaspoon of water until it feels right.

    Hands stretching a round of sourdough discard pizza dough with a puffy rim on a floured counter
    Stretch by hand, not by rolling pin. Leave a thicker rim and let the center go thin.

    Stretch and Bake It Hot

    Heat matters more than almost anything else for pizza. Get your oven as hot as it goes — 250°C / 480°F or higher — and preheat a baking steel, stone, or even an inverted heavy tray for at least 30 to 45 minutes. Divide the dough, then stretch it by hand, never a rolling pin, which crushes out the air you want in the rim. Push from the center outward, leaving a thicker edge. Top it lightly — overloaded pizzas steam and go soggy — and bake directly on the hot surface for 7 to 12 minutes, until the rim is puffed and charred in spots and the bottom is crisp and browned. A hot surface under the dough is what gives you a base with real snap instead of a pale, floppy middle.

    Cross-section of a baked sourdough discard pizza crust edge showing airy chew and a crisp browned base
    The goal: a crisp, browned bottom and an airy, chewy edge, not a pale cracker or a soggy middle.

    When It Goes Wrong

    A few quick fixes for the usual troubles. Dough that snaps back and will not stretch is tight gluten — let it rest 10 to 15 minutes on the counter and try again; relaxed dough stretches willingly. A soggy or pale bottom almost always means the baking surface was not hot enough or the pizza was too wet — preheat longer, go hotter, and lighten the toppings. If the crust bakes up dense and flat, your yeast was old or the dough was cold and underproofed — check your yeast is alive and give same-day dough a proper warm rise. And if the flavor is too sour for your taste, use less discard or a fresher jar; the older and more neglected the discard, the sharper the tang.

    The Honest Payoff

    Discard pizza is the recipe that quietly changes your relationship with the jar in the fridge. Instead of a source of low-grade guilt, that discard becomes the reason Friday night smells like a pizzeria — and it slots neatly beside the other ways to use it up, from crispy crackers to fluffy pancakes. Keep the discard, keep this method handy, and you have a fast, low-waste dinner that beats delivery and puts your starter’s leftovers to genuinely delicious work. The full walk-through, including a hands-on stretch-and-bake video, lives on the LoafLovers YouTube channel — and if you want the whole low-waste routine in one place, grab our free sourdough troubleshooting guide. No hard sell, just fewer wasted spoonfuls and better pizza.

    A sliced sourdough discard pizza on a wooden board with a slice being lifted
    From guilt-jar to genuine dinner. This is the discard recipe that earns a permanent spot in the rotation.

    Related Reading

  • Sourdough Discard Pancakes: Fluffy, Tangy, and Ready in Minutes

    Sourdough Discard Pancakes: Fluffy, Tangy, and Ready in Minutes

    There is a specific kind of guilt that lives in the sourdough baker’s fridge, and it looks like a jar of discard slowly filling up week after week. You know you should use it. You also know it feels like a chore. So here is the recipe that quietly solves both problems at once: sourdough discard pancakes — fluffy, faintly tangy, genuinely better than the pancakes you would make from scratch, and ready in about the time it takes the griddle to heat.

    This is the recipe that turns discard from a guilt trip into the reason you keep a starter at all. No special technique, no perfect timing, no wasted flour. Just breakfast, and one fewer thing in the fridge to feel bad about.

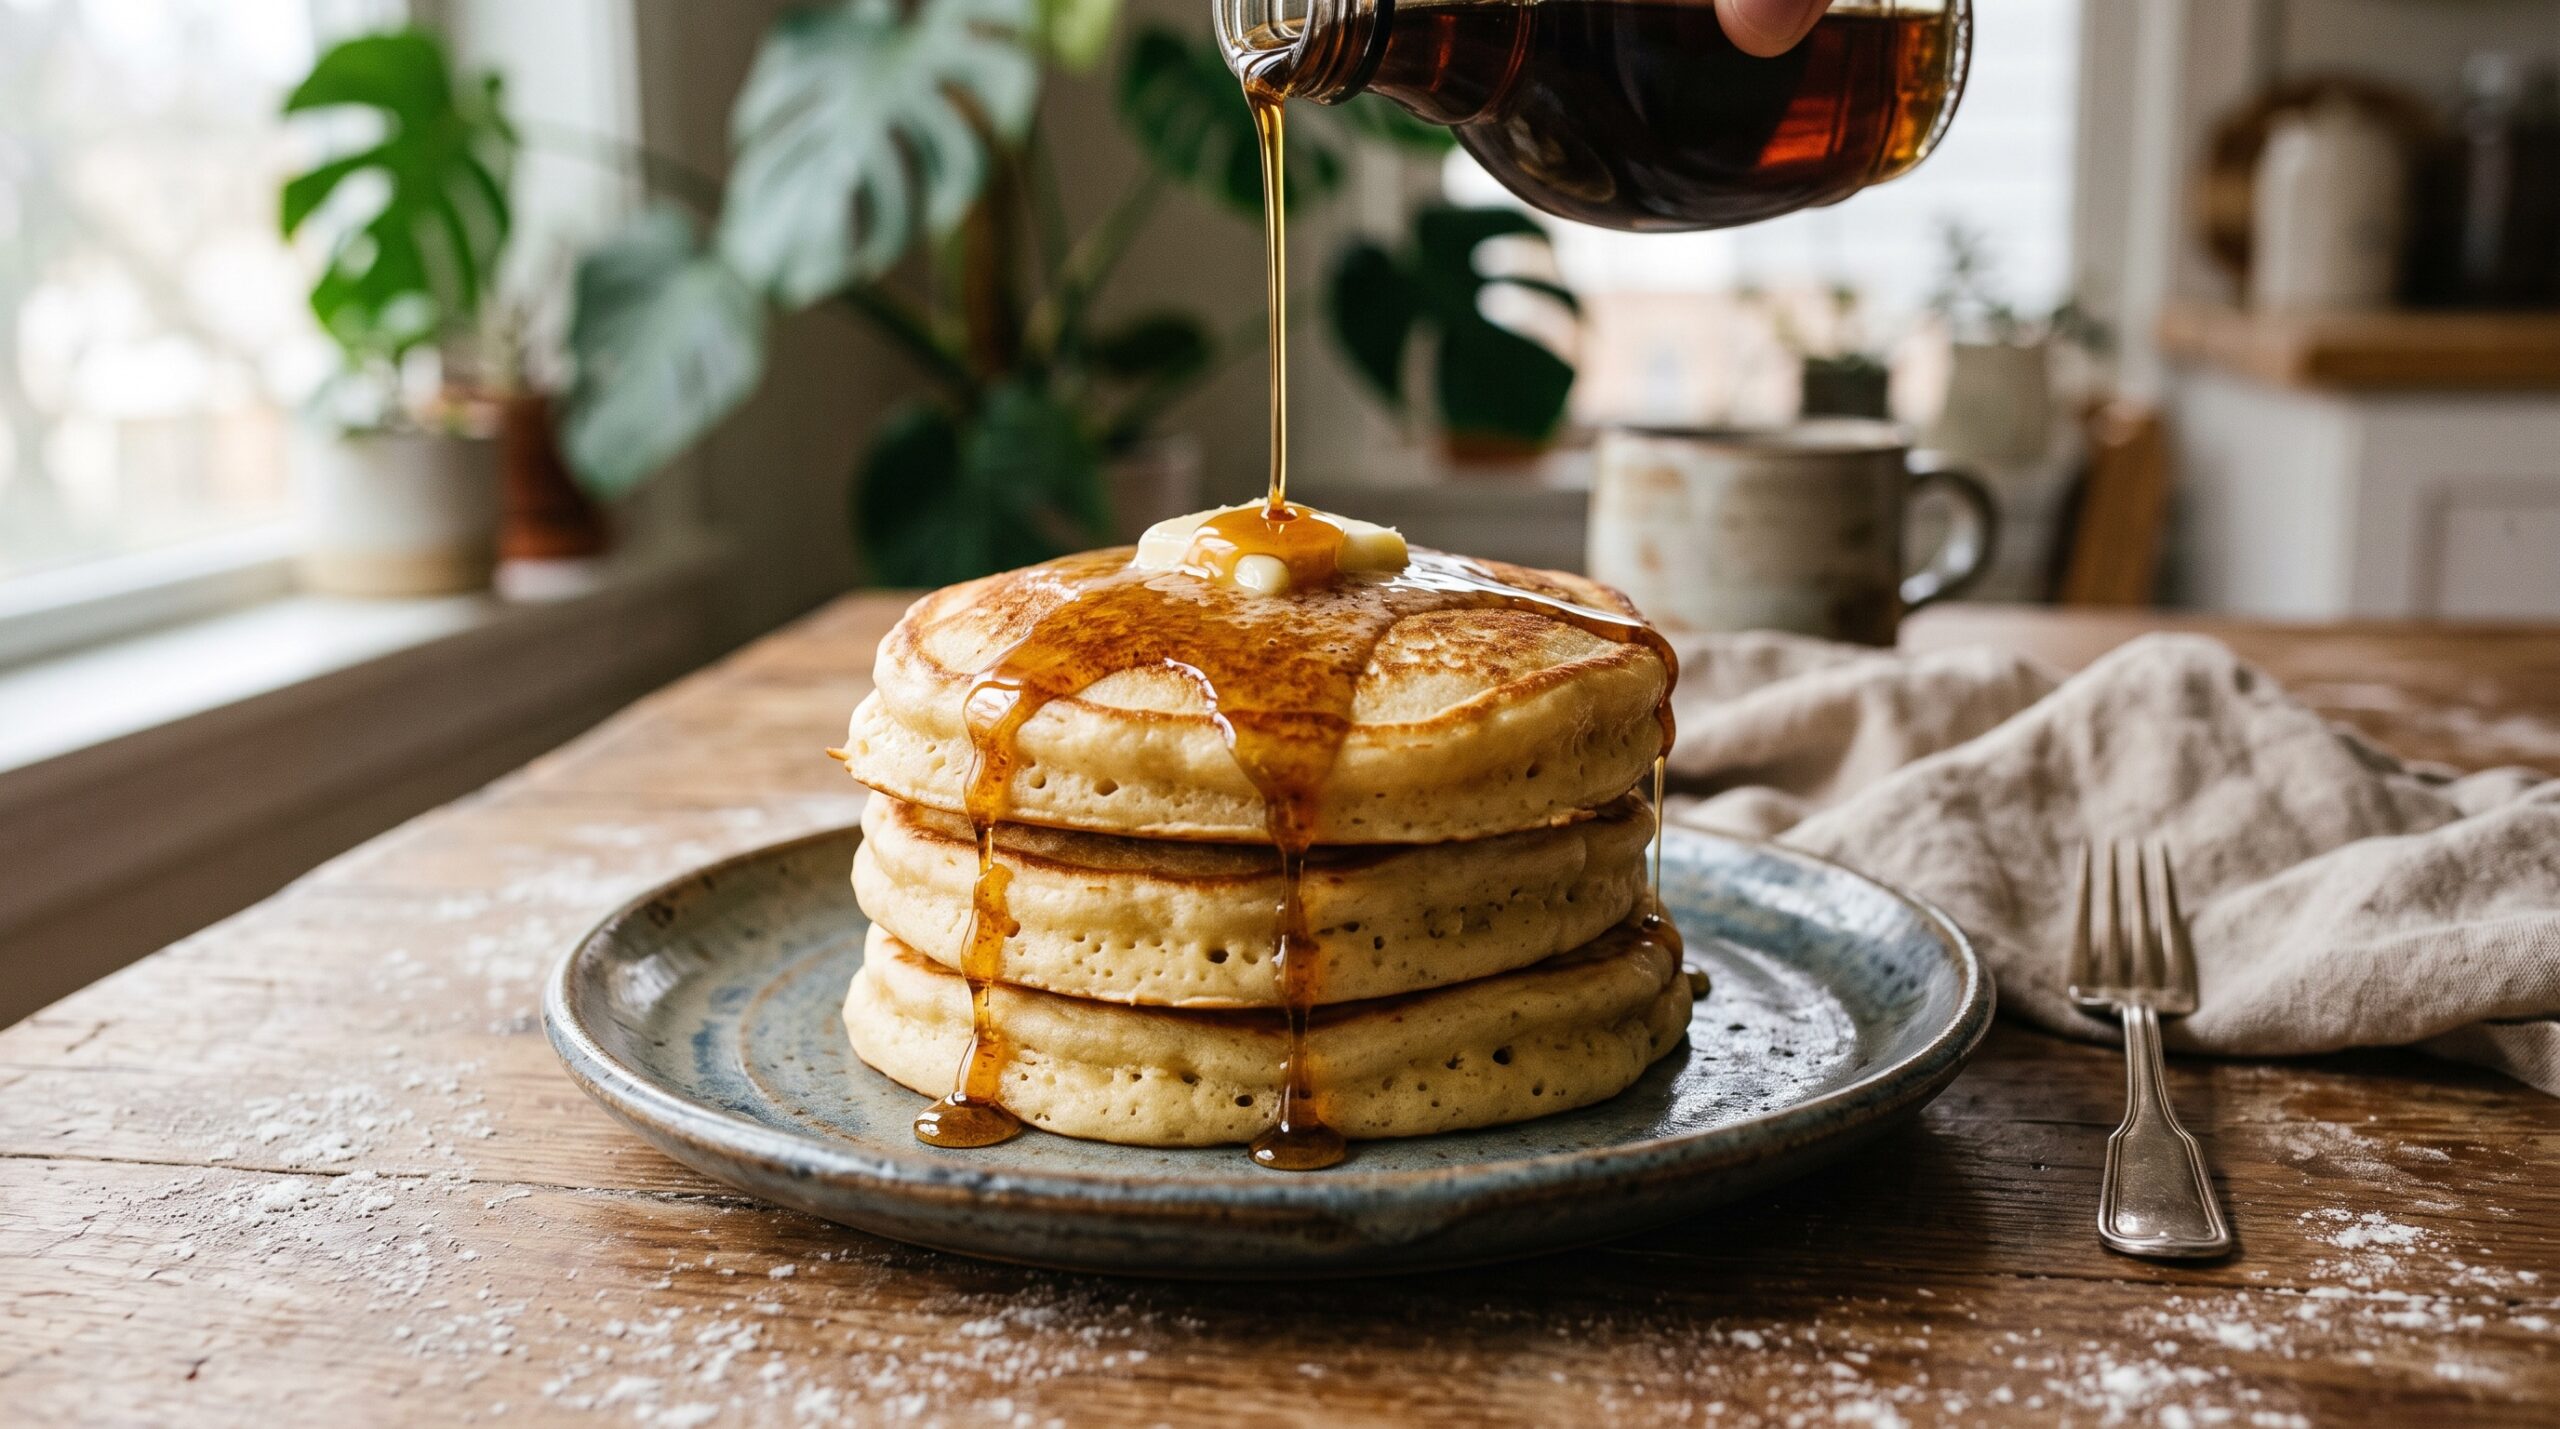
    A short stack of fluffy golden sourdough discard pancakes with butter and maple syrup
    Sourdough discard turns into the tenderest, tangiest pancakes — no waste required.

    Why discard makes better pancakes, not just less waste

    It would be enough if discard pancakes were simply a way to avoid throwing food away. But they genuinely taste better than a standard from-scratch batter, and there are real reasons why.

    The first is flavor. All those days of fermentation leave the discard mildly acidic and complex — that gentle sourdough tang cuts the sweetness of syrup beautifully and gives an ordinary pancake a bakery-like depth. The second is texture. The acidity in the discard reacts with baking soda to create a burst of lift, and the flour that has been sitting hydrated in your starter is fully softened, which makes the finished pancake unusually tender. You are not fighting your discard’s sourness — you are putting it to work. (If your starter runs sharp enough that even the pancakes taste too sour, our guide to taming an overly sour sourdough explains where that acidity comes from.)

    Know your discard before you start

    Discard is not a fixed ingredient the way flour is. It changes depending on how you keep your starter, and thirty seconds of paying attention will save you a flat batch.

    Stir it first. If a layer of thin, dark liquid has gathered on top — that is hooch, and it is harmless — just mix it back in; it carries flavor. Then notice the consistency. A discard fed with equal weights of flour and water pours like thick cream, and this recipe is built around that. If yours is stiff and paste-like, plan to loosen the batter with an extra splash of milk. If it is very thin and watery, you will need a touch more flour. There is no single correct discard, only the one in your jar, so read it before you commit.

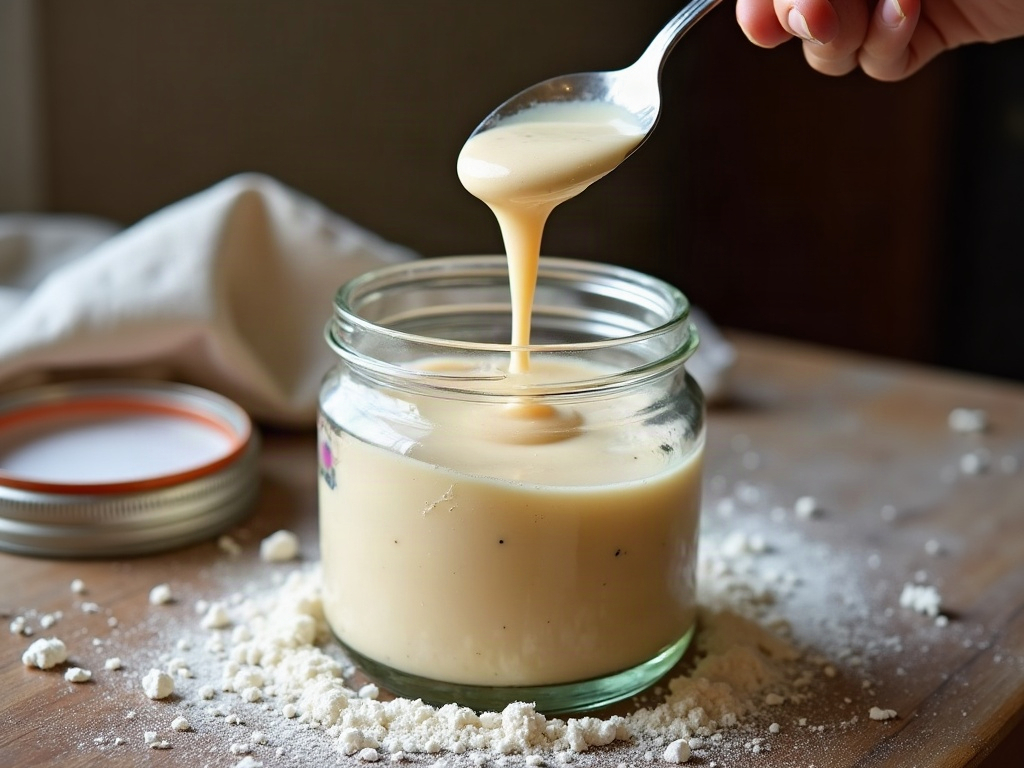
    A jar of sourdough discard being stirred with a spoon showing its loose bubbly texture
    Know your discard first: stir any hooch back in and notice whether it is thick or thin.

    One more thing: cold discard straight from the fridge is fine here. Unlike baking a loaf, you do not need it active or bubbling. Discard that has been ignored for a week or two will still make excellent pancakes — and if you want to bank a bigger jar for a weekend batch, see how to store your starter and its discard without it going off.

    The recipe: fluffy sourdough discard pancakes

    This makes about eight to ten pancakes and scales up cleanly. The quantities are forgiving, so treat them as a starting point rather than a law.

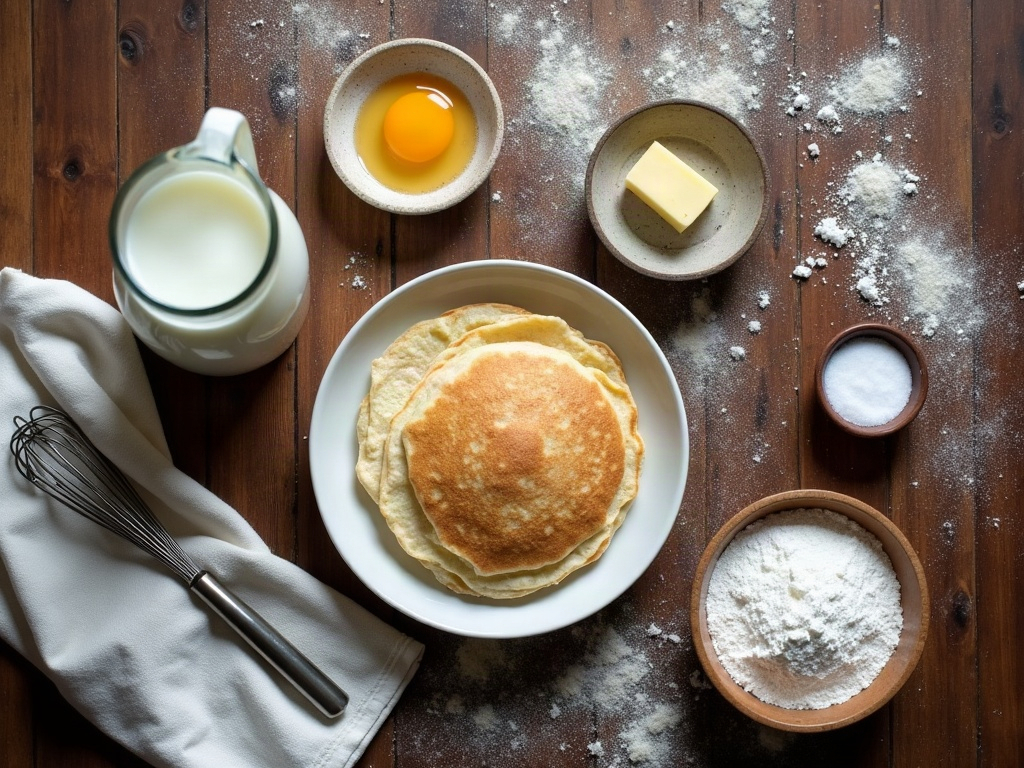
    Overhead flat-lay of sourdough discard pancake ingredients on a floured wooden table
    Everything you need is likely already in your kitchen — the discard does the heavy lifting.

    You will need:

    • 1 cup (about 240g) sourdough discard, stirred
    • 1 large egg
    • 2 tablespoons (30g) melted butter, plus more for the pan
    • 1/2 cup (120ml) milk, plus more to adjust
    • 1 tablespoon sugar (or honey)
    • 1/2 cup (60g) all-purpose flour
    • 1/2 teaspoon salt
    • 1 teaspoon baking soda

    Method:

    1. In a bowl, whisk together the discard, egg, melted butter, milk and sugar until smooth.
    2. Add the flour and salt and stir just until combined. A few lumps are good — do not beat it smooth.
    3. Add the baking soda last and fold it in gently. The batter will foam and puff almost immediately. This is the moment the magic happens, so do not skip ahead and add it early.
    4. Let the batter rest for 5 to 10 minutes while a griddle or heavy pan heats over medium. Butter it lightly.
    5. Pour about a quarter cup per pancake. Cook until the surface is covered in bubbles and the edges look set, 2 to 3 minutes, then flip once and cook another 1 to 2 minutes until golden.

    Resist pressing them flat with the spatula — that squeezes out exactly the air you just created.

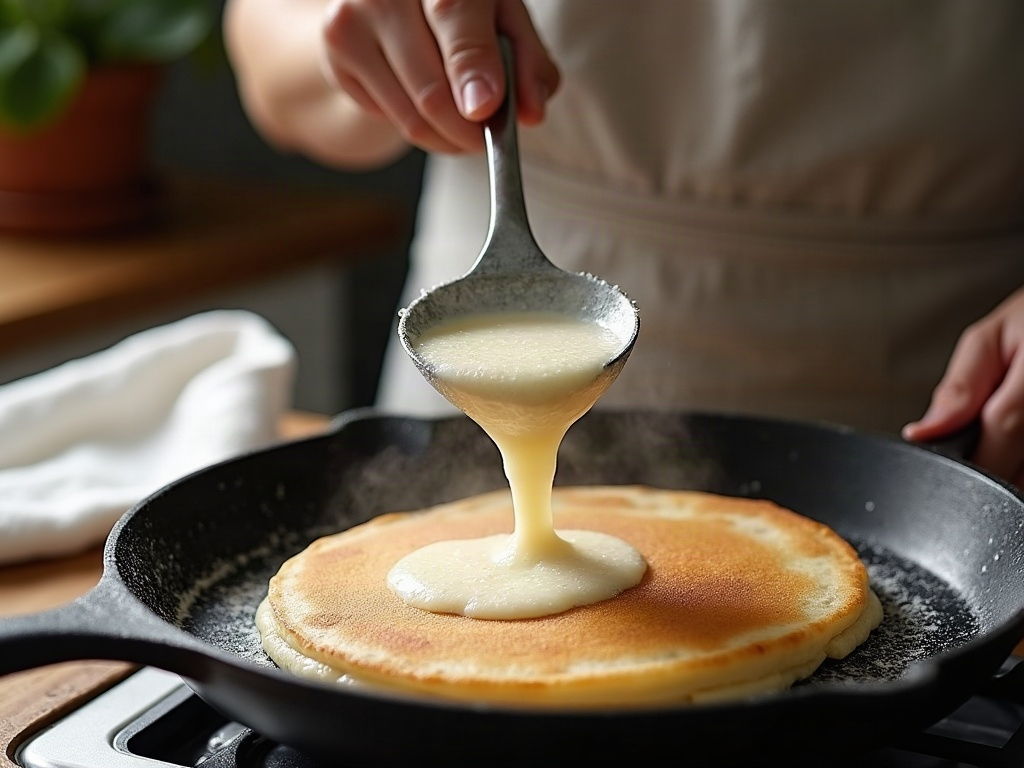
    Sourdough pancake batter being poured onto a cast-iron griddle with bubbles forming on a cooking pancake
    Wait for a rash of bubbles across the top before you flip — that is your cue.

    The overnight version (barely any morning effort)

    If mornings are chaos, do almost everything the night before. Whisk together the discard, egg, butter, milk, sugar and flour, cover the bowl, and leave it on the counter overnight. By morning it will be looser, bubblier, and even tangier from the extra fermentation.

    The only rule: add the baking soda in the morning, right before you cook. Baking soda reacts on contact with the acidic batter, so if you add it the night before it will spend its lift overnight and leave you with flat, dense pancakes. Stir it in fresh, watch the batter foam, and cook straight away. That single habit is the difference between overnight pancakes that soar and ones that sit there.

    Why yours came out flat or rubbery (and how to fix it)

    Discard pancakes are simple, but two disappointments come up again and again. Both have clear causes.

    Flat and dense. The symptom is a thin, heavy pancake with no rise. The cause is almost always the baking soda — either it was old and had lost its punch, or it was added too early and fizzled out before the batter hit the pan. The fix: use fresh baking soda, add it last, and cook within a few minutes of stirring it in. A too-thin batter from watery discard will also spread and flatten, so thicken it with a spoonful of flour.

    Tough and rubbery. The symptom is a chewy, dense pancake that fights back. The cause is overmixing, which develops the gluten in the flour — great for a chewy loaf, wrong for a tender pancake. The fix: stir only until the flour disappears, lumps and all, and let the batter rest so the flour hydrates and the gluten relaxes. Gentle hands make soft pancakes.

    Two sourdough discard pancakes compared, one flat and dense, one tall and fluffy
    Same discard, different result: flat and rubbery on the left, fluffy on the right.

    Make it yours: variations and storing the batter

    Once the base works, it becomes a canvas. Fold blueberries or chocolate chips onto the pancakes just after you ladle the batter (rather than into the bowl, so they distribute evenly). Add a little cinnamon and vanilla for a warmer breakfast, or pour the same batter into a waffle iron — the higher heat makes the tang and the crisp edges even better.

    Leftover batter without the baking soda keeps in the fridge for a day or two; stir in fresh soda when you are ready to cook. Cooked pancakes freeze beautifully in a stack with parchment between them — reheat straight from frozen in a toaster. And if the discard-recipe habit takes hold, your next easy win is a batch of crispy sourdough discard crackers, or a look at all the other ways to use sourdough discard so that jar never guilt-trips you again.

    The takeaway

    Sourdough discard pancakes are the rare recipe that is faster, cheaper, and tastier than the alternative while also solving a problem you already had. Stir your discard, keep the mixing gentle, add the baking soda last, and cook them fluffy. Do that and the jar in your fridge stops being a source of guilt and becomes the best reason to make breakfast.

    Want to see the batter foam and the perfect flip in real time? The full walkthrough lives on the LoafLovers YouTube channel, and you can grab our free sourdough troubleshooting guide — quick fixes for the loaf, starter, and discard problems that come up most — when you join the email list. No hard sell, just the answers waiting for the next time your jar fills up.

    Related Reading

  • Sourdough Discard Crackers: Crispy, Snappy, and Ready in Under an Hour

    Sourdough Discard Crackers: Crispy, Snappy, and Ready in Under an Hour

    Let us be honest about the discard jar. It sits in the back of the fridge, slowly filling, quietly making you feel wasteful every time you reach past it for the milk. You know you are supposed to do something with it. You rarely do.

    Discard crackers are the answer, and they are almost embarrassingly easy. About ten minutes of real work, one rolling pin, and a hot oven turn that neglected jar into a tray of thin, snappy, herb-flecked crackers that vanish faster than you can bake them. No fancy technique, no second rise, no guilt. Here is exactly how.

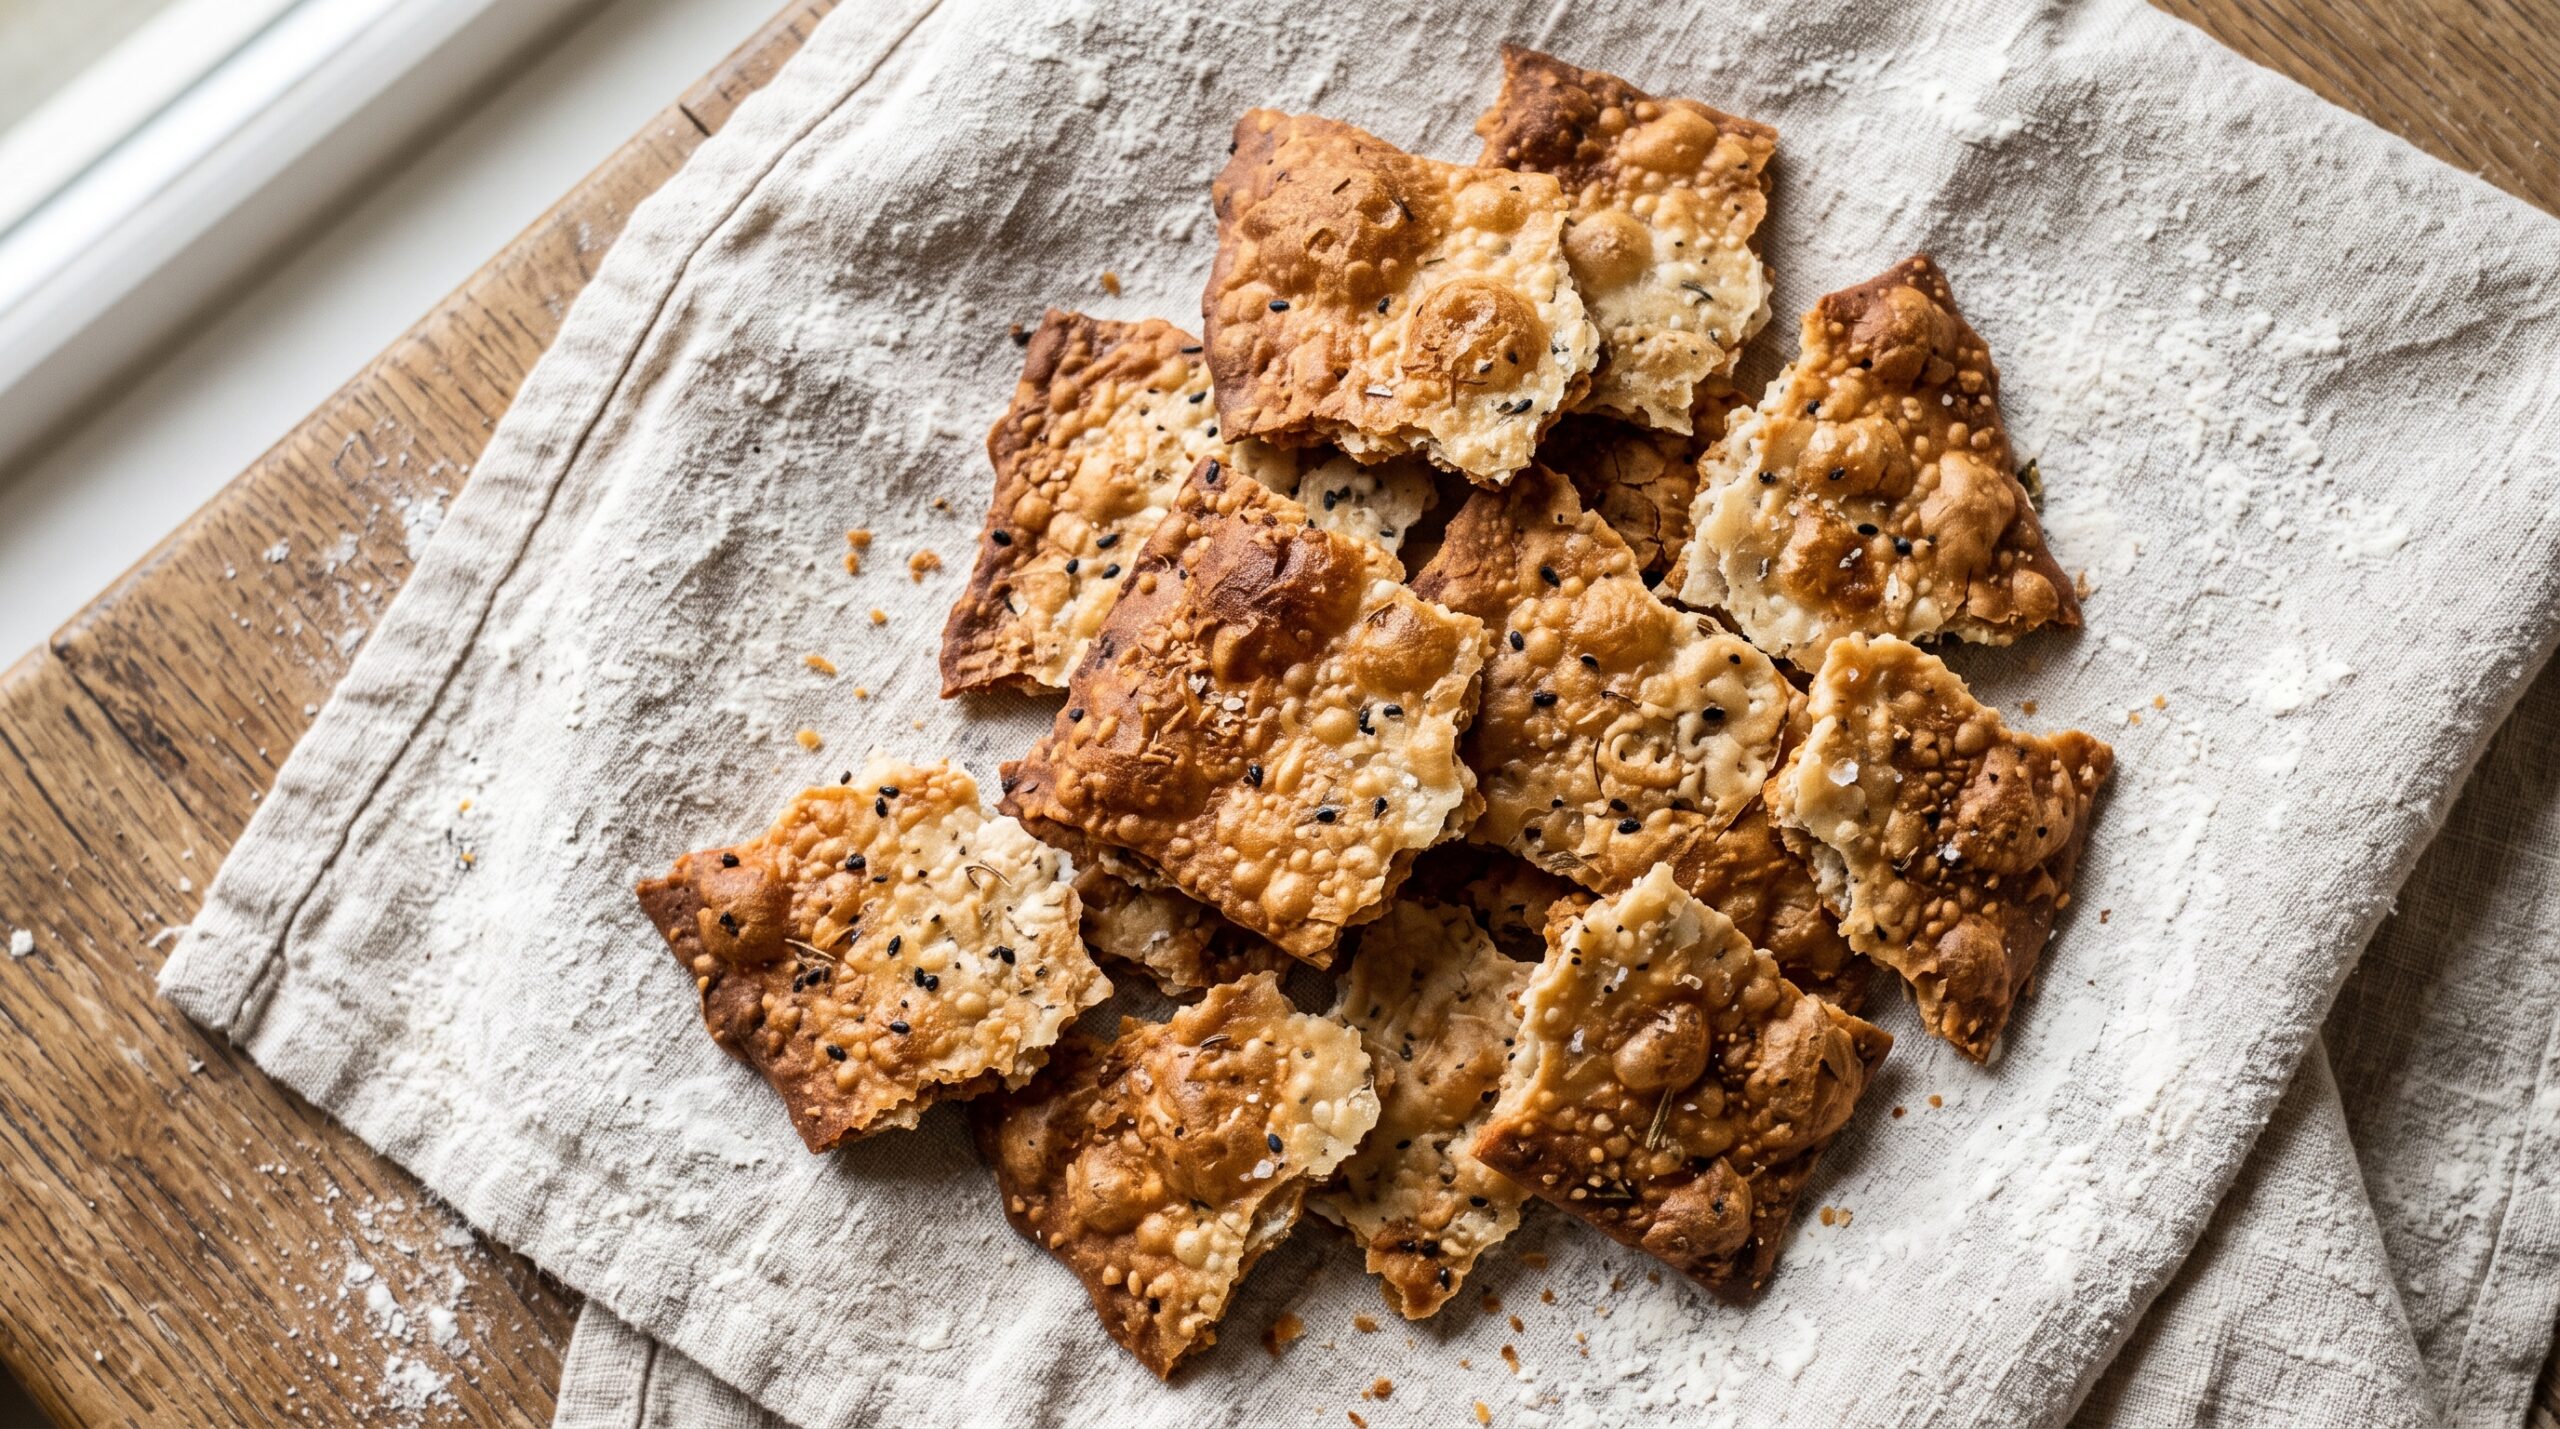
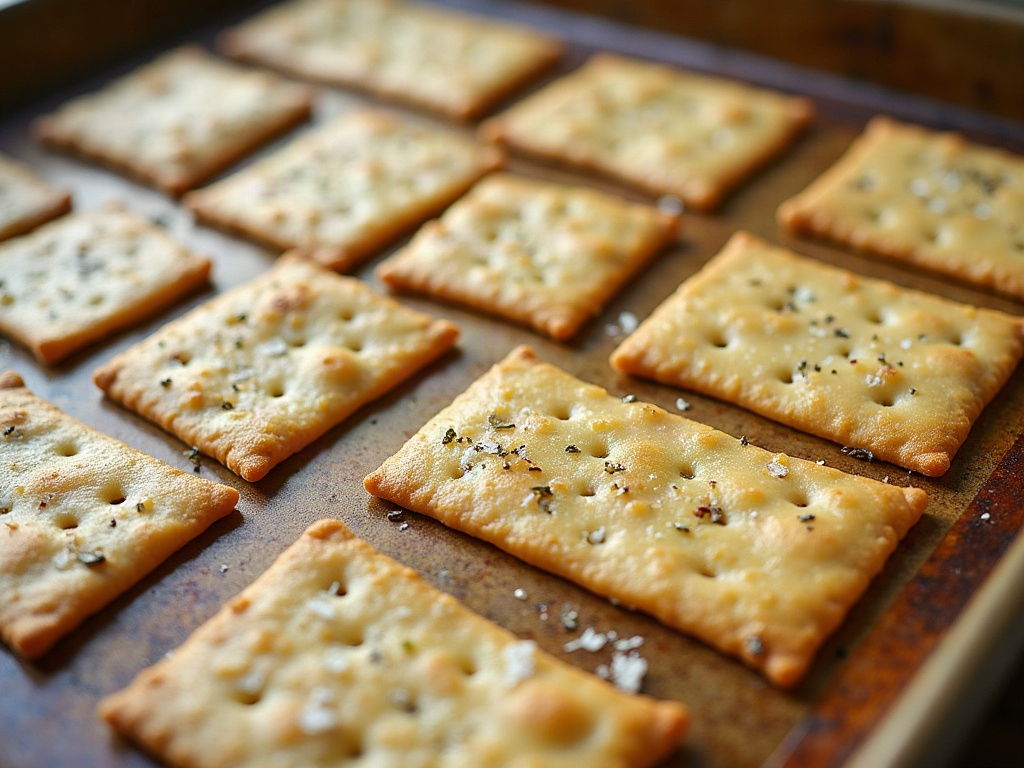
    Golden blistered sourdough discard crackers broken into shards on linen
    Thin, snappy, and flecked with herbs and salt. This is where the discard jar goes to be redeemed.

    Why Discard Makes Such Good Crackers

    Sourdough discard is just flour and water that has been fermented, which means two things. First, the flour and water are already combined and hydrated, so half the work of a dough is done for you. Second, fermentation has built up a gentle tang that gives these crackers a flavor plain flour-and-water crackers simply cannot match.

    Even better, crackers do not care how healthy your discard is. You do not need a bubbly, freshly-fed starter here. Sluggish discard, hooch-topped discard, discard that has been sitting for a week, it all works. You are not asking it to leaven anything. You are only borrowing its flavor. This is the one recipe where truly tired discard shines, so stop throwing it away.

    What You Need

    This recipe scales beautifully, but here is a reliable batch that fits one standard baking sheet.

    • 1 cup (about 227 g) sourdough discard, straight from the fridge, any hydration
    • 1 cup (120 g) all-purpose flour, plus a little for rolling
    • 3 tablespoons olive oil or melted butter, plus more for brushing
    • 1/2 teaspoon fine salt for the dough
    • Flaky salt and toppings for the top: herbs, sesame, everything-bagel blend, cracked pepper, grated parmesan, whatever you like

    That is the whole shopping list, and most of it is already in your kitchen. If your discard is very stiff, add a splash of water; if it is very wet, add a spoonful more flour. You are aiming for a dough that comes together into a smooth, slightly firm ball.

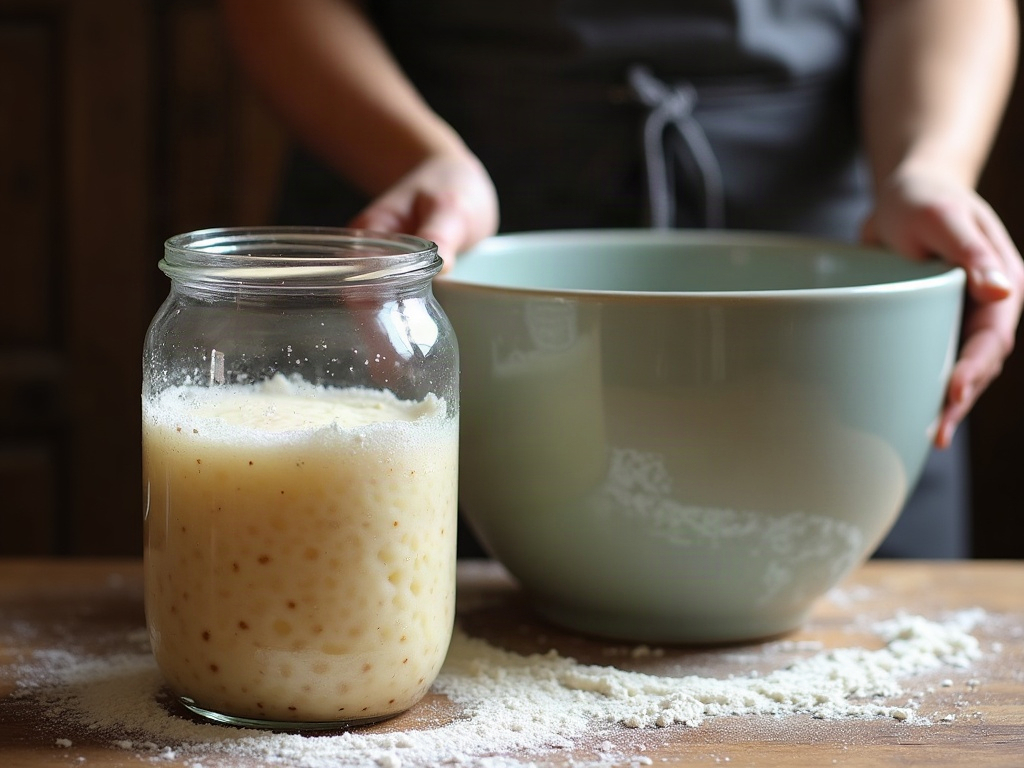
    Bubbly sourdough discard in a jar next to a mixing bowl on a wooden counter
    Even sluggish, past-its-prime discard works here. Flavor is the only thing you need from it.

    The Method, Start to Finish

    The arc here is simple: mix, roll thin, score, bake, snap. The only step that truly matters is rolling thin, so we will slow down on that one.

    1. Mix the dough

    In a bowl, stir together the discard, flour, oil, and fine salt until it forms a shaggy mass, then knead it in the bowl for a minute until smooth. It should feel like a soft playdough. If it is sticky, add flour a spoonful at a time. If it cracks and crumbles, add water a teaspoon at a time. You want it pliable, not tacky.

    You can bake immediately, but if you have twenty minutes, let the dough rest covered on the counter. Resting relaxes the gluten and makes rolling far easier, which brings us to the part that decides whether your crackers are crisp or chewy.

    2. Roll it thin, then thinner

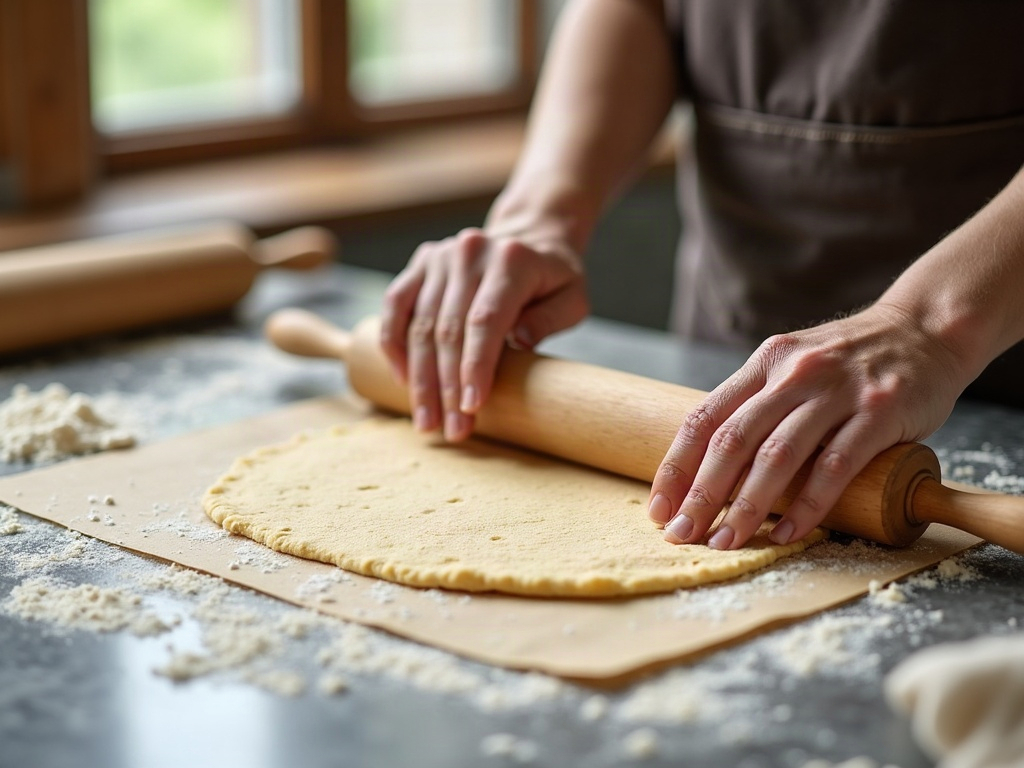
    Divide the dough in half so it is manageable. Lay a piece on a sheet of parchment, dust with flour, and roll it out. Keep going past the point where you think it is thin enough. You want it close to the thickness of a coin, thin enough that you can almost see the parchment through it.

    This is the single biggest reason home crackers come out chewy instead of crisp: the dough was too thick. Thick dough steams on the inside before it can dry out. Thin dough bakes through completely and shatters when you bite it. Roll it thin. Then roll it a little thinner.

    3. Top and score

    Slide the parchment onto a baking sheet. Brush the surface with a thin coat of olive oil or butter, then scatter your toppings and a pinch of flaky salt. Press the toppings in gently with your hand or a light pass of the rolling pin so they stick.

    Now score the dough into squares or rectangles with a knife or pizza cutter. Do not cut all the way through if you want a rustic slab you can snap by hand; a firm score is enough. Scoring first means the baked crackers break along clean lines instead of shattering into random splinters.

    Hands rolling cracker dough thin on parchment paper
    Thin is the whole game. Roll until you can almost see the parchment through the dough.

    4. Bake until deeply golden

    Bake at 350 F (175 C) for 20 to 30 minutes, until the crackers are evenly golden brown. The color is your doneness cue. Pale crackers are underbaked and will be soft; you want a real, honest golden brown across the whole sheet.

    Because home ovens have hot spots, the edges will often color first. If that happens, pull the sheet, break off the finished edge pieces, and return the paler center to the oven for a few more minutes. It is worth the extra step, because a fully dried cracker is the difference between snap and chew.

    5. Cool completely

    This is the step everyone skips and everyone regrets. Crackers crisp up as they cool. Straight out of the oven they can feel slightly bendy; give them ten minutes on the tray and they firm into that clean snap. If a batch still feels soft after cooling, it either needed to be rolled thinner or baked a few minutes longer. Both are easy fixes next time.

    Scored cracker dough brushed with oil and topped with salt and herbs
    Score before baking so they snap into clean pieces instead of shattering at random.

    Flavor Combinations Worth Trying

    Once you have the base method down, the toppings are where these get addictive. A few reliable directions:

    • Rosemary and sea salt: the classic. Finely chopped fresh rosemary pressed into the dough with flaky salt.
    • Everything bagel: brush with oil and shower with everything seasoning. Tastes like a bagel, snaps like a chip.
    • Parmesan and black pepper: grated hard cheese and cracked pepper turn these into a savory, cheesy snack that needs no dip.
    • Seedy and nutty: a mix of sesame, poppy, and flax for crunch and a wholemeal feel.
    • Sweet-ish: a light brush of butter, a dusting of cinnamon and sugar, and you have a crisp graham-adjacent treat.

    Mix and match across a single tray by scoring the dough into sections and topping each differently. One bake, several snacks.

    Storing Them (If They Last)

    Cooled crackers keep in an airtight container at room temperature for about a week, though in practice they rarely survive a day. If they soften over time, a five-minute pass in a 300 F oven crisps them right back up. Do not refrigerate them; the fridge is humid and will turn them chewy.

    The Real Payoff

    The point of discard crackers is not really the crackers, lovely as they are. It is that the discard jar stops being a source of guilt and starts being a source of something good. You feed your starter, you set the discard aside, and instead of pouring flavor down the drain you turn it into the first thing that disappears off the snack board.

    That is the whole sourdough loop working the way it should: nothing wasted, everything used. Roll a batch thin this week and see how fast they go.

    Want to watch the rolling and scoring in real time? The full step-by-step is on the LoafLovers YouTube channel, along with our free sourdough troubleshooting guide for when your loaf, and not just your discard, needs rescuing. Grab it and never stare at a failed bake alone again.

    Related Reading

  • What to Do With Sourdough Discard: How to Use It Up Instead of Throwing It Away

    What to Do With Sourdough Discard: How to Use It Up Instead of Throwing It Away

    There’s a jar in your fridge you feel a little guilty about. Every time you feed your starter, you scoop out a portion and, if you’re like most home bakers, you either dump it down the drain or add it to a growing pot of pale, tangy sludge you keep meaning to “do something with.” That something rarely happens, and eventually the jar gets tipped into the bin anyway.

    Here’s the reframe that fixes it: sourdough discard isn’t waste. It’s fermented flour and water – an ingredient with real flavor – that just isn’t lively enough to raise a loaf on its own. Once you stop treating it as garbage and start treating it as a pantry staple, that guilt jar becomes one of the most useful things in your kitchen. Let’s clear up what discard actually is, whether it’s safe, how long it keeps, and the easiest ways to turn it into something worth eating.

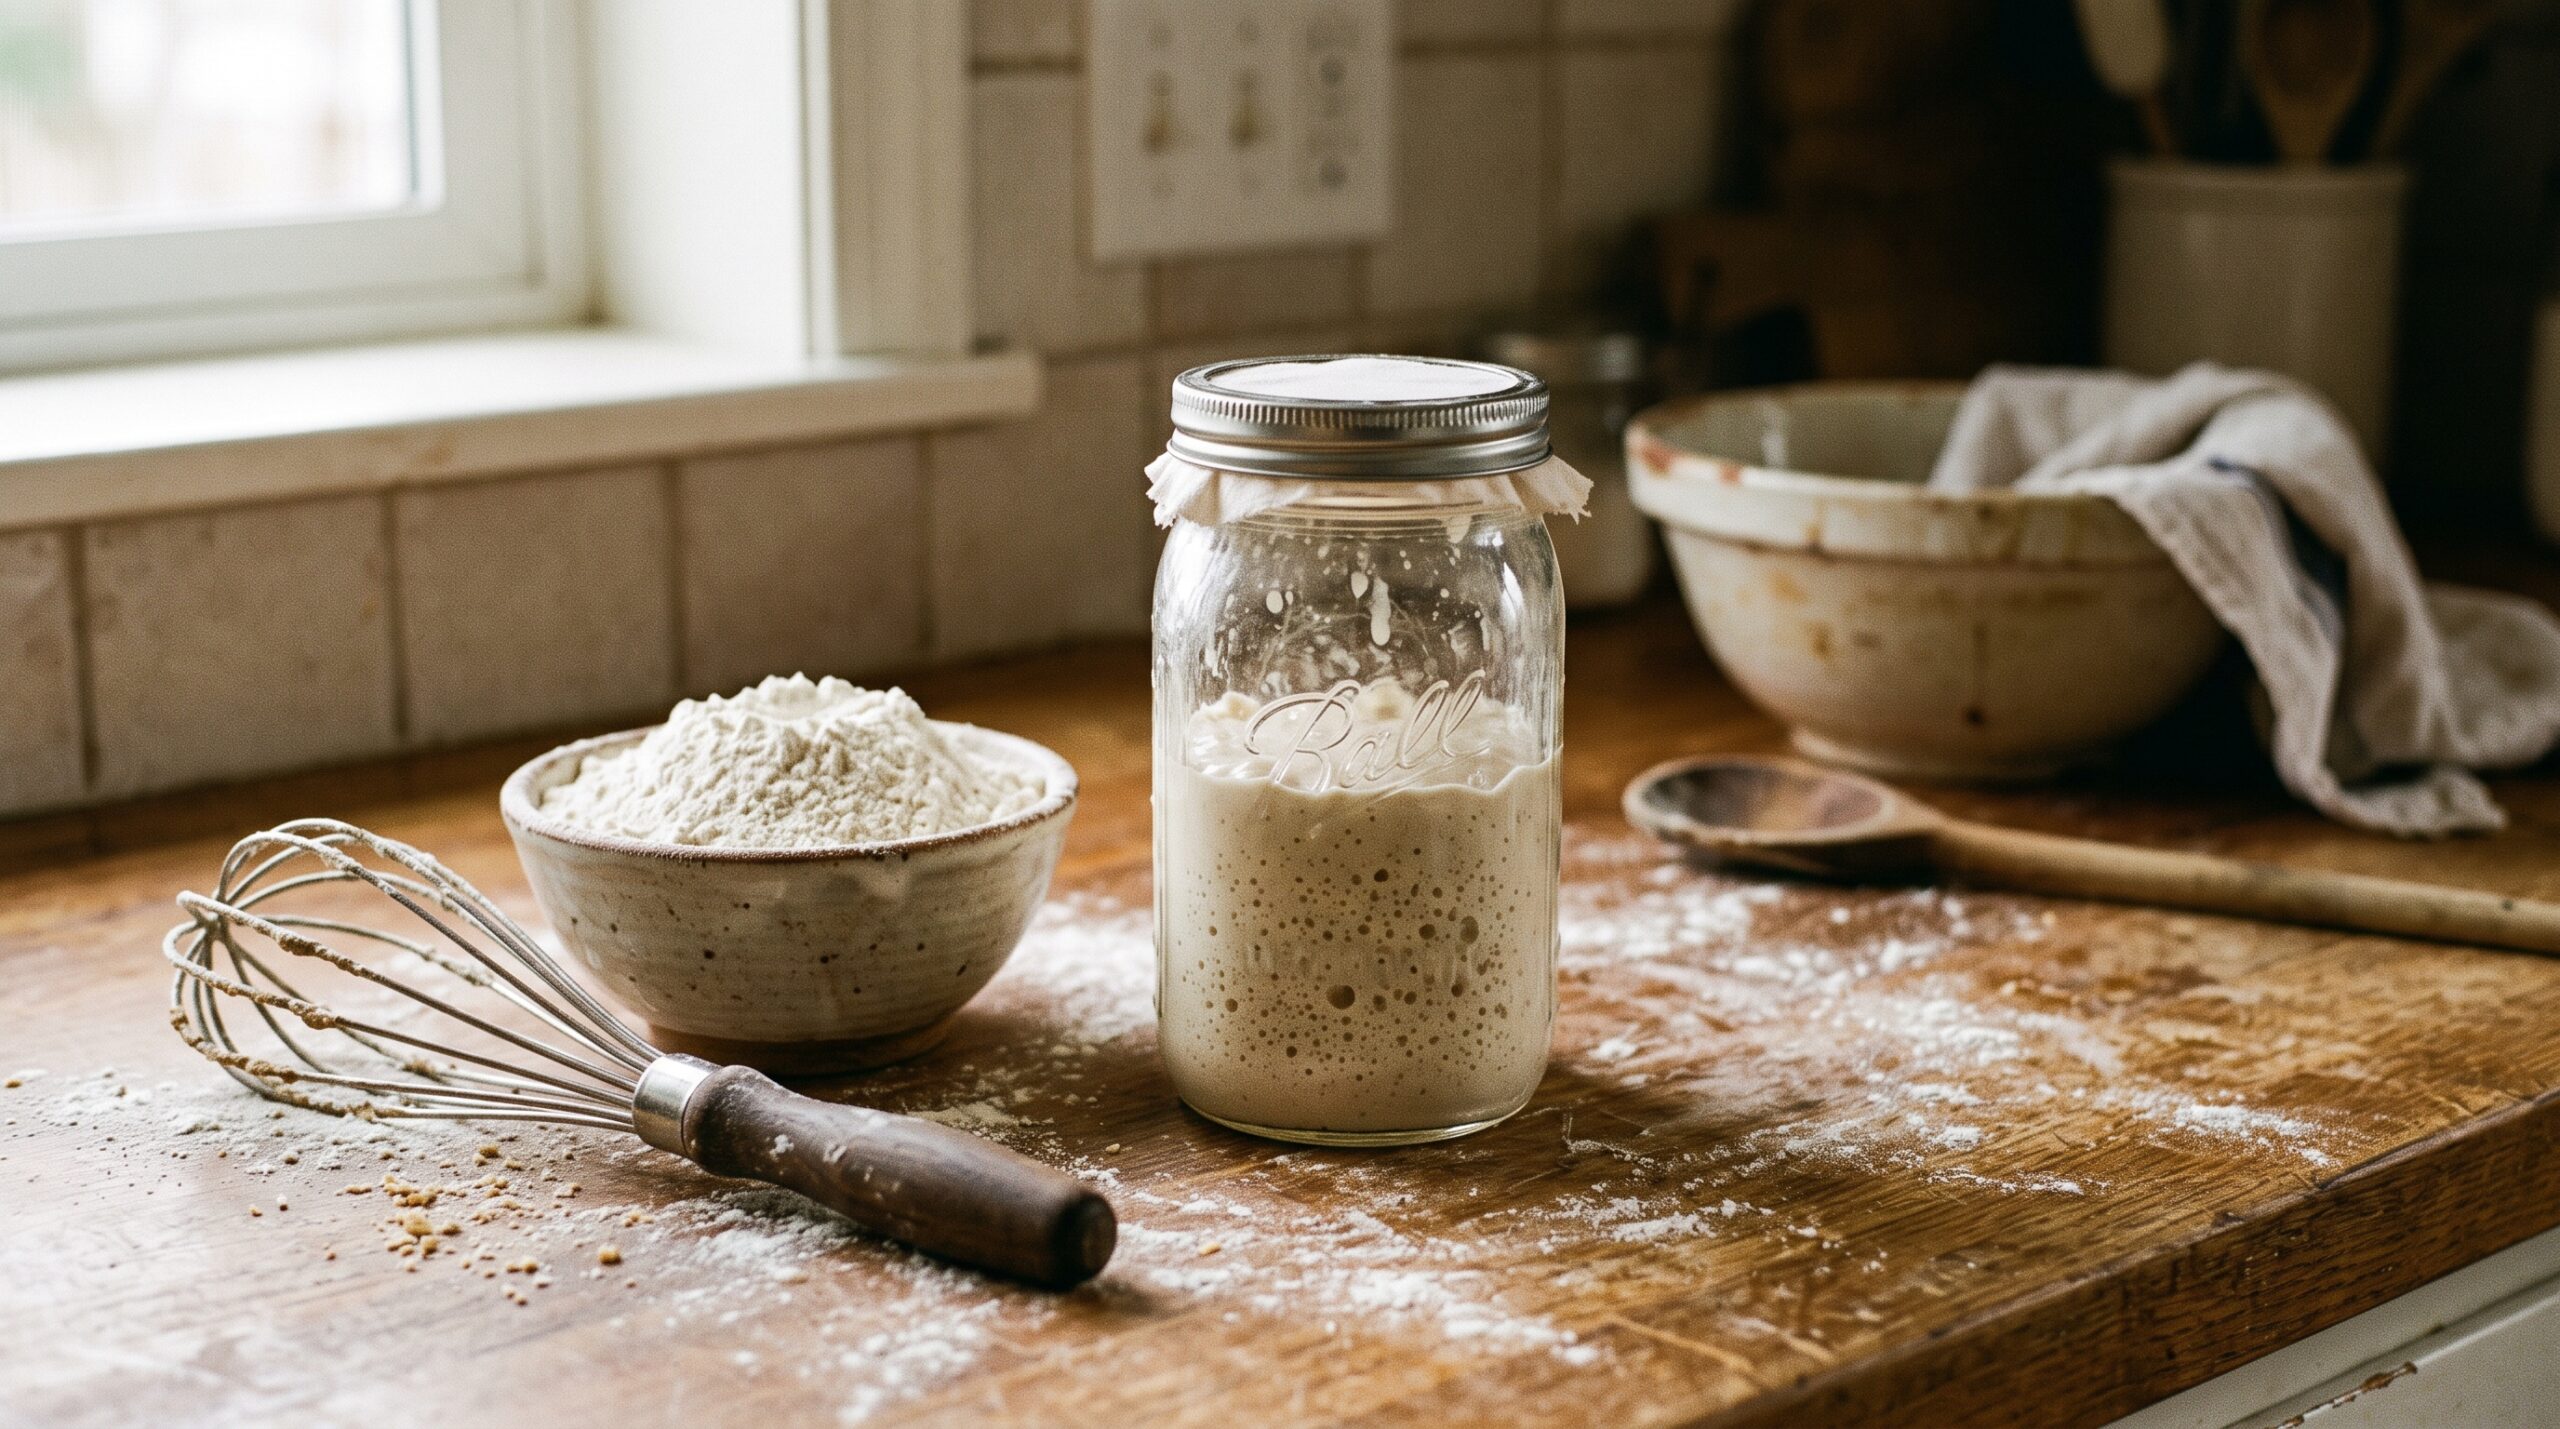
    A glass jar of sourdough discard on a floured wooden counter beside a whisk and flour
    The discard jar most bakers feel guilty about – and the ingredient hiding inside it.

    What Sourdough Discard Actually Is

    Discard is simply the portion of starter you remove before a feeding. When you feed a starter, you keep a small amount and add fresh flour and water so the yeast and bacteria have something new to eat. If you never removed any, your starter would grow to an absurd volume and, worse, the ratio of old acidic culture to fresh food would stay so high that the starter would struggle to get strong. Discarding keeps the culture healthy and manageable – the cast-off portion is the discard.

    Crucially, discard is the same stuff as your active starter, just hungry. It’s flour and water that’s been fermented by wild yeast and lactic-acid bacteria. That fermentation gives it a pleasant sour tang and a bit of pre-digested, easy-to-work flour. What it has lost is oomph: an unfed discard doesn’t have enough active, well-fed yeast to reliably lift a loaf. That’s why we bake bread with active starter and cook other things with discard – the flavor is welcome, but we don’t rely on it for rise.

    Is Discard Safe to Use? How to Read the Jar

    For a healthy, established starter, discard is safe to use – and the acidity that builds up in it actually makes it inhospitable to most things you’d worry about. But you should still give the jar a quick, honest look before you bake with it. The good signs: it smells sour, tangy, yeasty, maybe sharply boozy or a little like nail-polish remover when it’s very hungry. A thin layer of grey or brown liquid on top, called hooch, is completely normal – it’s just alcohol and water the culture produced, and you can stir it back in or pour it off. None of that means the discard has gone bad.

    What does mean throw it out: any sign of actual mold – fuzzy spots in white, black, green, pink, or orange, whether on the surface or creeping up the sides of the jar – or a smell that’s genuinely rotten or foul rather than sharply sour. Streaks of pink or orange are a hard stop. When you see any of that, discard the whole jar, wash it well, and if it was your active starter that molded, it’s safer to start fresh. When in doubt, throw it out; a jar of discard isn’t worth a gamble.

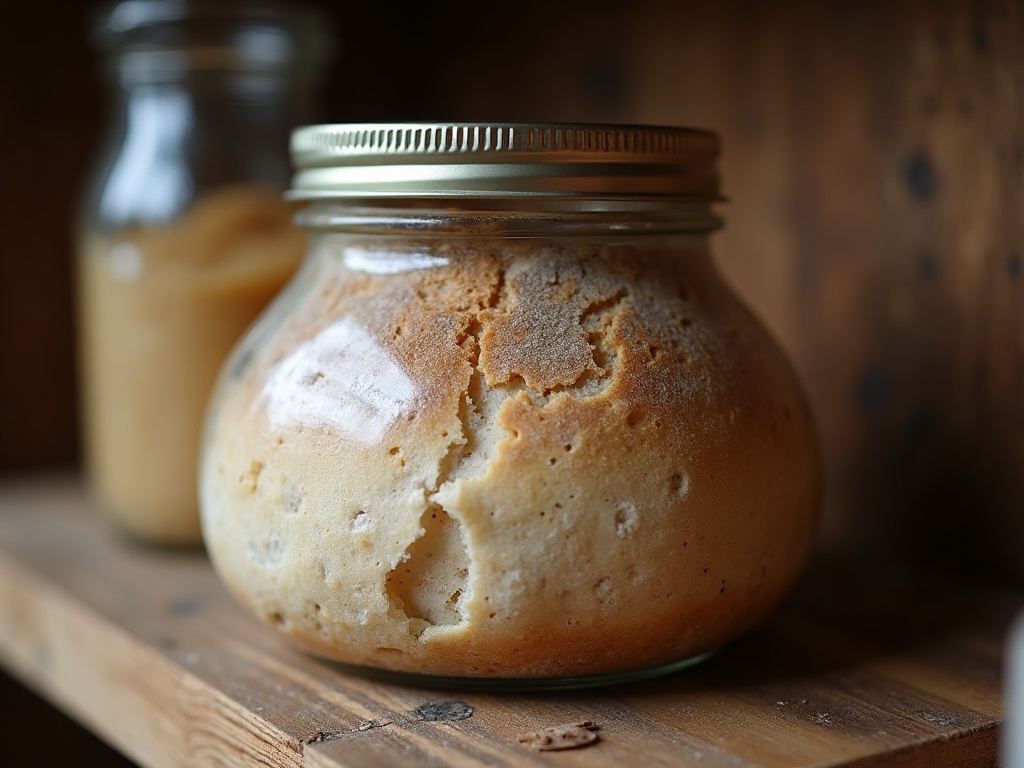
    A jar of unfed sourdough discard with a thin grey layer of hooch on top
    Unfed and a little flat, sometimes with hooch on top – discard is just hungry starter, not spoiled food.

    The Lowest-Effort Way to Use It: Crackers

    If you only ever make one discard recipe, make crackers. They’re forgiving, they don’t care how old or flat your discard is, and they turn a jar of “I should really use this” into a snack in about half an hour. The formula is barely a recipe: stir discard together with roughly equal weights of flour, a good glug of olive oil, and a pinch of salt until you have a stiff paste, then spread it as thin as you possibly can on parchment, sprinkle with flaky salt, herbs, or seeds, and bake at around 175 C / 350 F until deeply golden and crisp. Score it into squares before baking so it snaps into neat pieces, or just crack the whole sheet into rustic shards.

    The thinner you spread the batter, the crispier and better the crackers – a slightly uneven, blistered sheet is the goal, not a perfect uniform one. This is the recipe to reach for when your discard has been sitting a while, because the long bake and the added flour completely mask any extreme sourness.

    The Best Breakfast You’ll Cook: Pancakes and Waffles

    Discard pancakes and waffles are, for a lot of bakers, the recipe that converts them from dumping discard to hoarding it. The tang plays beautifully against maple syrup, and the fermented flour gives a tenderness and depth that a straight batter can’t match. You can make a same-morning version by whisking discard into a normal pancake batter, but the standout method is an overnight one: the night before, mix your discard with flour, milk, and a little sugar and let it sit on the counter. By morning it’s bubbly and even more flavorful; you just whisk in egg, melted butter, a pinch of salt, and the leaveners – baking soda and a touch of baking powder – right before cooking.

    The baking soda is doing something clever here: it reacts with the acid in the discard to give you lift and, as a bonus, neutralizes some of the sourness so the pancakes taste balanced rather than aggressively tangy. Waffles work identically and get shatteringly crisp. This is genuinely one of the best uses for discard, not a consolation prize.

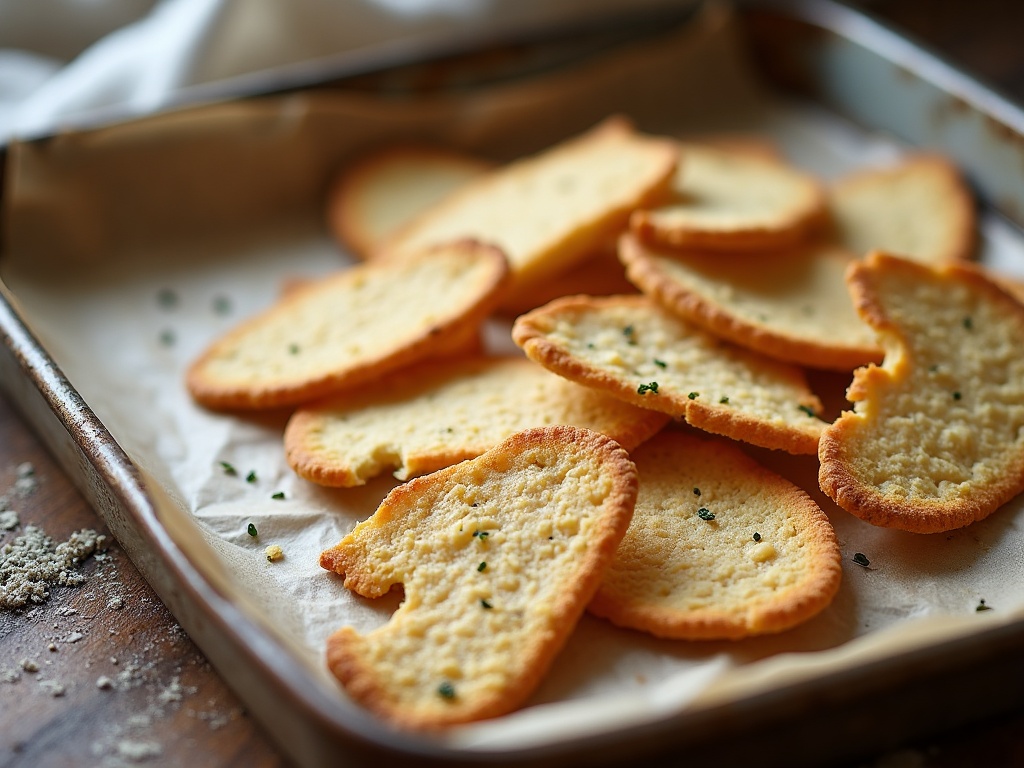
    A tray of thin crisp sourdough discard crackers broken into shards on parchment
    Discard crackers: flour, discard, oil, salt – the lowest-effort way to use up a jar.

    Beyond Crackers and Pancakes: Savory and Sweet

    Once you’re comfortable, discard slots into a surprising range of everyday cooking. On the savory side, it makes excellent quick flatbreads and a fast, tangy pizza-style crust when you’re not in the mood for a full dough – stir it with flour, a little oil, and salt, rest it briefly, and stretch it out. It thickens and adds flavor to savory batters, too: think discard-battered fritters, crumpets, or a splash stirred into a cheese-cracker dough. Because discard is essentially thin flour paste, it can stand in for some of the flour and liquid in many batter recipes.

    On the sweet side, it disappears beautifully into banana bread, muffins, quick cakes, and brownies, where it adds moisture and a subtle background tang without anyone knowing there’s “leftover starter” in their dessert. A good rule of thumb: discard works best where you already have chemical leavening (baking soda or powder) doing the lifting and a batter or dough that welcomes a little extra flour and moisture. It’s not going to raise a boule, but it makes almost everything else taste a little more interesting. If you’ve ever ended up with a dense, gummy crumb in your actual loaf, discard bakes are a low-stakes place to keep your hands busy while you troubleshoot the bigger bake.

    How Long Discard Keeps – and How to Store It

    Kept in a lidded jar in the fridge, discard stays good for about one to two weeks, and honestly often longer if it still smells sharply sour rather than off. It will get more acidic and more alcoholic (more hooch) the longer it sits, which is fine for crackers and other robust bakes but a bit much for delicate ones – so use older discard in the strongly flavored recipes and fresher discard where you want a milder tang.

    The smartest move if you feed your starter often is to build up a stash: keep a dedicated “discard jar” in the fridge and add each day’s cast-off to it, stirring it in, until you have enough for a proper batch of crackers or a double batch of pancakes. Label the jar with the date so you’re not guessing. And if it’s piling up faster than you can bake, freeze it – portion discard into a lidded container or even ice-cube trays, and it keeps for months. Thaw it in the fridge overnight before using; it works perfectly well in any cooked or baked discard recipe once thawed.

    One habit that quietly reduces discard in the first place: if you’re not baking for a while, keep a smaller starter and store it in the fridge, feeding it less often. You’ll generate far less discard, and the discard you do get will be exactly the ingredient you now know how to use. If your starter has been sluggish and you’ve been feeding it hard to revive it, that’s a season of extra discard – our guide to reviving a starter that won’t rise pairs well with a few batches of crackers to soak up the surplus.

    From Guilt Jar to Pantry Staple

    Discard only feels like waste when you don’t have a plan for it. Give it one – a default recipe you reach for without thinking, a labeled jar you top up through the week, and a bag of frozen portions for later – and the guilt disappears entirely. Start with crackers this week because they’re impossible to get wrong, graduate to the overnight pancakes when you want to be genuinely impressed, and you’ll never tip a jar down the drain again.

    Want to see the cracker spread, the overnight pancake batter, and how to read a discard jar in real time? The full walkthrough – with close-ups of every step – lives on the LoafLovers YouTube channel. And if you’d like our one-page discard cheat sheet with the base ratios to keep on the fridge, grab it free when you join the email list. No hard sell, just something useful for your next jar. While you’re troubleshooting your bakes, our guide to telling overproofed from underproofed dough is a good next read.


    Sources & further reading:

    Related Reading