You did everything right. The starter was lively, the dough rose, the crumb looks fine when you cut it — but the loaf came out of the oven looking, well, undressed. Pale, matte, blonde, faintly gray in places, and nowhere near the deep golden-brown bakery crust you were picturing. It almost looks underbaked even when it isn’t. What happened?
The good news: a pale crust is usually about the final act of baking, not a failure of your starter or your fermentation. Color on a sourdough crust comes from two chemical reactions — the Maillard reaction (browning between sugars and proteins) and caramelization (sugars themselves darkening under heat). Both need three things: enough heat, a surface that’s had a chance to dry, and some sugar left in the dough to burn. Take any one of those away and you get a blonde loaf. Let’s find which one is missing for you.
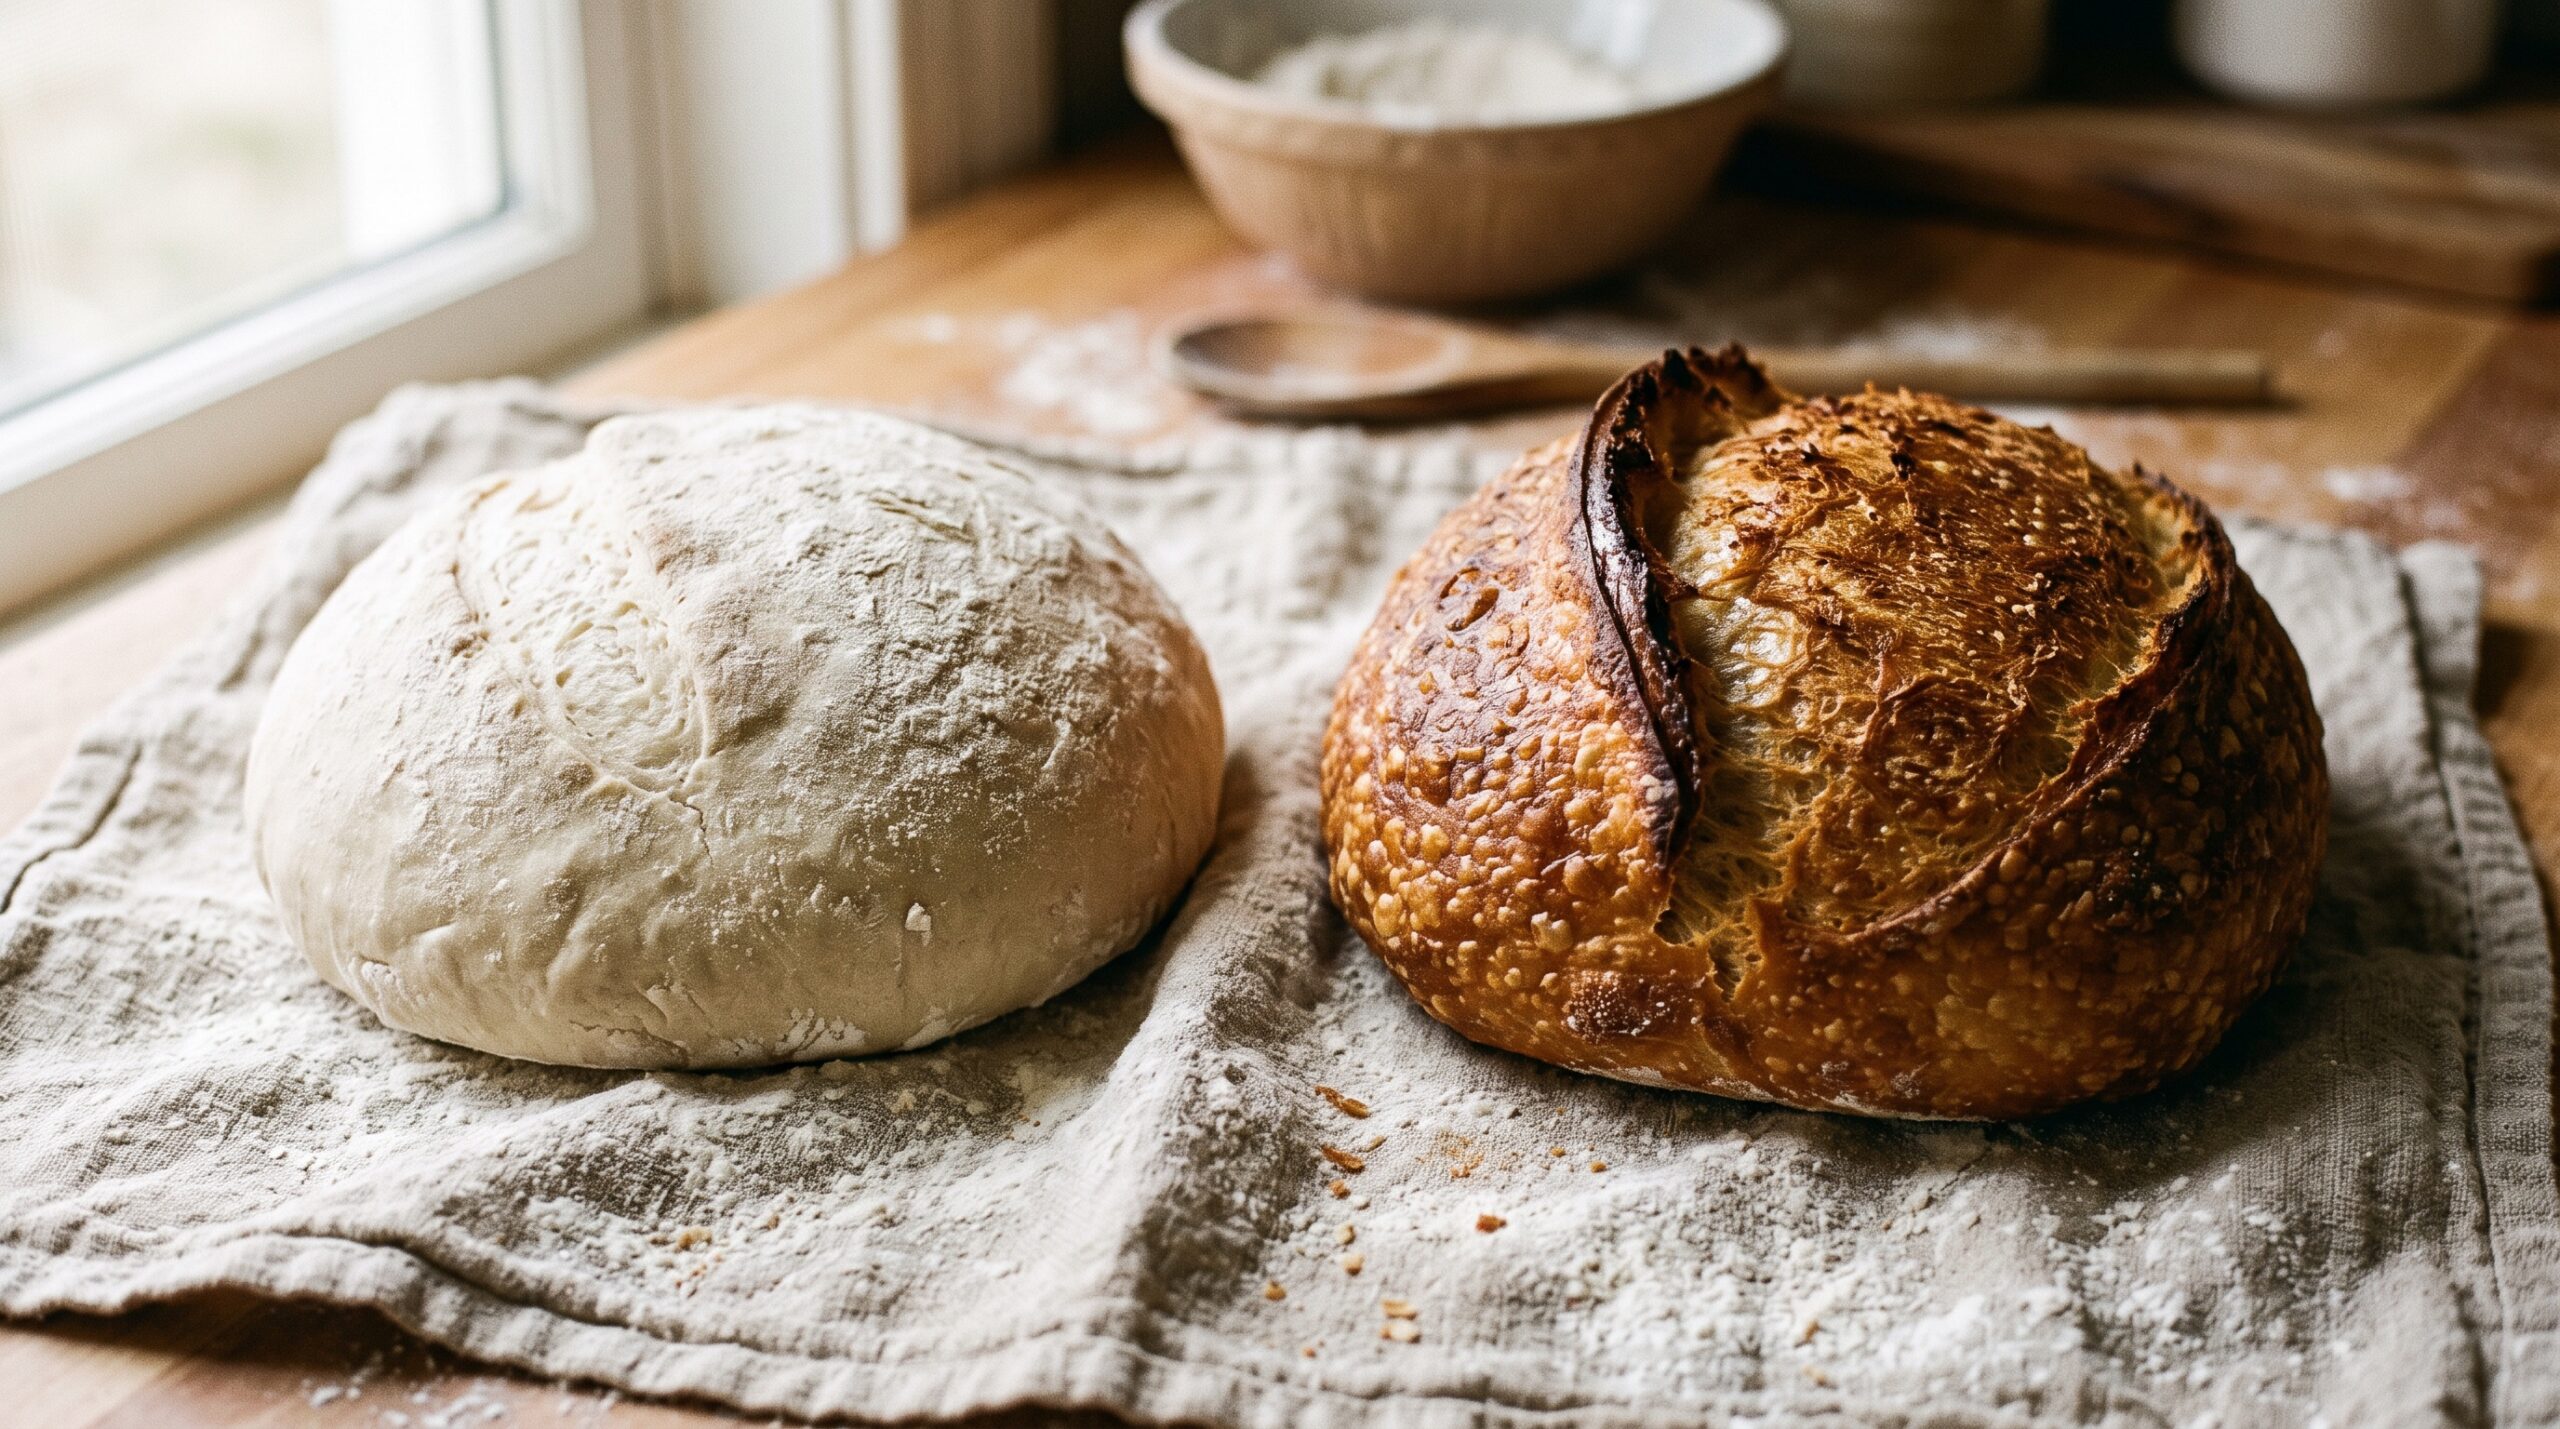
First, rule out “it just needs more color”
Before you change anything structural, ask whether the loaf simply came out too early. A lot of pale loaves are just under-baked in the browning phase — pulled the moment they hit temperature but before the crust had time to color. A fully baked sourdough reads around 205–210°F / 96–99°C in the center, but you can absolutely leave it in longer to build color once it’s cooked through; the inside won’t overbake in a few extra minutes nearly as fast as a pale crust suggests.
So the first, cheapest experiment: next bake, once the loaf is uncovered and at temperature, give it another 5–10 minutes and watch the color, not the clock. If that alone gets you there, you were just stopping short. If the crust still refuses to darken no matter how long it sits, one of the causes below is the real culprit.
Cause #1: Your oven is running cold
This is the number-one reason for a pale crust, and it’s invisible unless you measure it. Home ovens are notoriously inaccurate — being off by 25°F is common, and 50°F is not rare. If you set 450°F and the oven is really delivering 410°F, the crust simply never gets hot enough to brown properly, even though the inside cooks fine.
Two fixes. First, buy a cheap oven thermometer and find out what your oven actually does; adjust the dial to hit your real target. Second, preheat long and hard — at least 45 minutes to an hour with your Dutch oven or baking stone inside. A stored-up mass of hot cast iron or stone is what sears color onto the crust in the first minutes. A rushed 15-minute preheat leaves everything lukewarm and your loaf pale. If your loaves also bake dense or short, weak heat can be part of that too — the same oven spring and browning both depend on hitting the dough with real, stored heat.
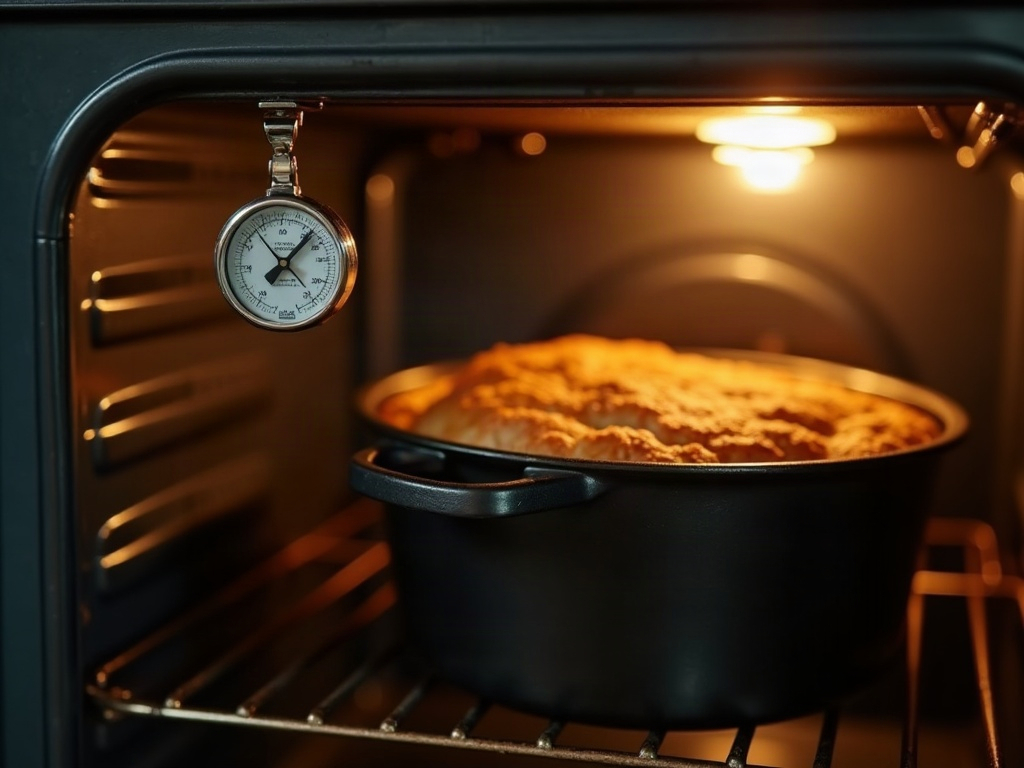
Cause #2: Too much steam, left in too long
Steam is essential early in the bake, but it’s also the sneakiest cause of a pale crust. While the surface of the loaf is wet with steam, it physically cannot brown — browning needs a dry surface and higher surface temperatures than wet dough can reach. Steam’s whole job is the first phase: keep the crust soft and elastic so the loaf can expand. After that, the oven needs to dry out so the crust can set, crisp, and color.
If you bake in a Dutch oven and your crust is pale, you’re very likely leaving the lid on too long. Try removing it earlier — around the 20-minute mark — and giving the loaf a good 20–25 minutes uncovered in dry heat to develop color. If you steam a regular oven with a pan of water or ice, take the steam source out (or just open the door to vent it) partway through so the second half of the bake runs dry. The same steam-then-dry rhythm that gives you a strong ear and good oven spring is exactly what lets the crust brown once the expanding is done.
Cause #3: Your dough is overproofed and out of sugar
Here’s the one bakers miss most, because it feels backwards. Browning needs residual sugars in the dough — and fermentation eats sugar. The yeast and bacteria in your starter consume the flour’s available sugars as they work. If you overproof, or run a very long cold retard, the fermentation can strip the dough of nearly all its free sugar, leaving little for the crust to caramelize. The result is a loaf that’s beautifully sour and open but stubbornly pale, no matter how hot your oven is.
The tell is that a pale crust often travels with other overproofing signs — a slack dough, poor oven spring, a slightly gummy or dense crumb. If that’s your picture, the fix isn’t in the oven at all; it’s earlier. Shorten your bulk ferment or final proof, or trim a very long fridge retard back a few hours, so the dough goes into the oven with sugar still in the tank. Our guides on telling when a loaf is underbaked versus overproofed can help you confirm whether over-fermentation is the shared root cause.
Cause #4: Lean, very white flour with little to burn
Ingredients matter too. A very white, refined bread flour is relatively low in the enzyme activity and residual sugars that drive browning, so an all-white lean dough (just flour, water, salt, starter) can bake paler by nature. Whole grains behave differently: whole wheat, rye, and spelt brown more readily and deepen color, which is why a mostly-white loaf looks blonde next to a whole-grain one.
You have a few gentle levers. Swap 10–20% of your white flour for whole wheat or rye for more color and flavor. Or add a small amount of diastatic malt powder — about half a teaspoon per loaf — which supplies enzymes that free up sugars for browning; it’s the classic bakery trick for a deeper crust, but use a light hand, as too much makes the crumb gummy. Even a whisper of honey or sugar in the dough will push color, at the cost of moving slightly away from a pure lean sourdough.
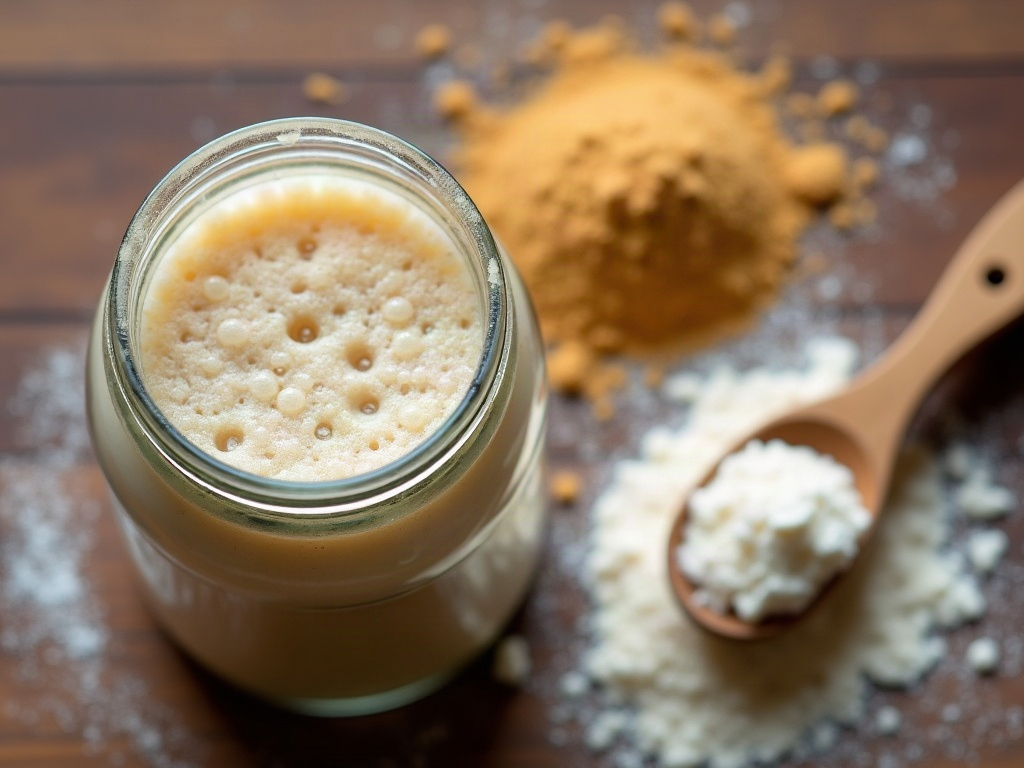
Cause #5: A bone-dry, over-floured surface
Sometimes the dough is fine and it’s the surface that’s the problem. A crust caked in dry flour from the banneton bakes matte and dusty rather than glossy and brown — that flour just scorches or stays pale instead of caramelizing. Likewise, a surface with no moisture at all in the early bake browns unevenly and dully.
Two easy tweaks. Brush or wipe off excess bench flour before the loaf goes in, so you’re browning dough, not a flour coating. And make sure there’s a little surface moisture at the start — the steam phase normally handles this, but if you bake very dry you can lightly mist the top of the loaf with water just before it goes in the oven. A faintly moist surface at the start, then a good dry finish, is the combination that gives you sheen and color instead of a chalky matte crust.
The quick pale-crust checklist
- Cooked through but pale? Just bake it longer for color — watch the crust, not the timer.
- Everything pale no matter what? Check your real oven temp and preheat harder and longer.
- Wet-looking, soft, pale crust? Too much steam — uncover earlier and finish in dry heat.
- Pale and gummy, slack, or flat? Overproofed and out of sugar — shorten the ferment or retard.
- All-white lean loaf? Add some whole grain, a pinch of diastatic malt, or a touch of sweetener.
- Dusty, matte surface? Brush off excess flour and lightly mist before baking.
Change one thing per bake
As always, don’t fix everything at once or you’ll never learn what worked. For most home bakers, a pale crust comes down to two things: an oven that’s cooler than it claims, and steam that stayed too long. Sort those first — verify your temperature, preheat properly, and give the loaf a genuine dry, uncovered finish — and most blonde loaves come back with real color. If those don’t move the needle, look upstream at fermentation and flour. And if you’re chasing crust texture as well as color, our walkthrough on getting a crisp, bite-through crust covers the flip side of the same bake.
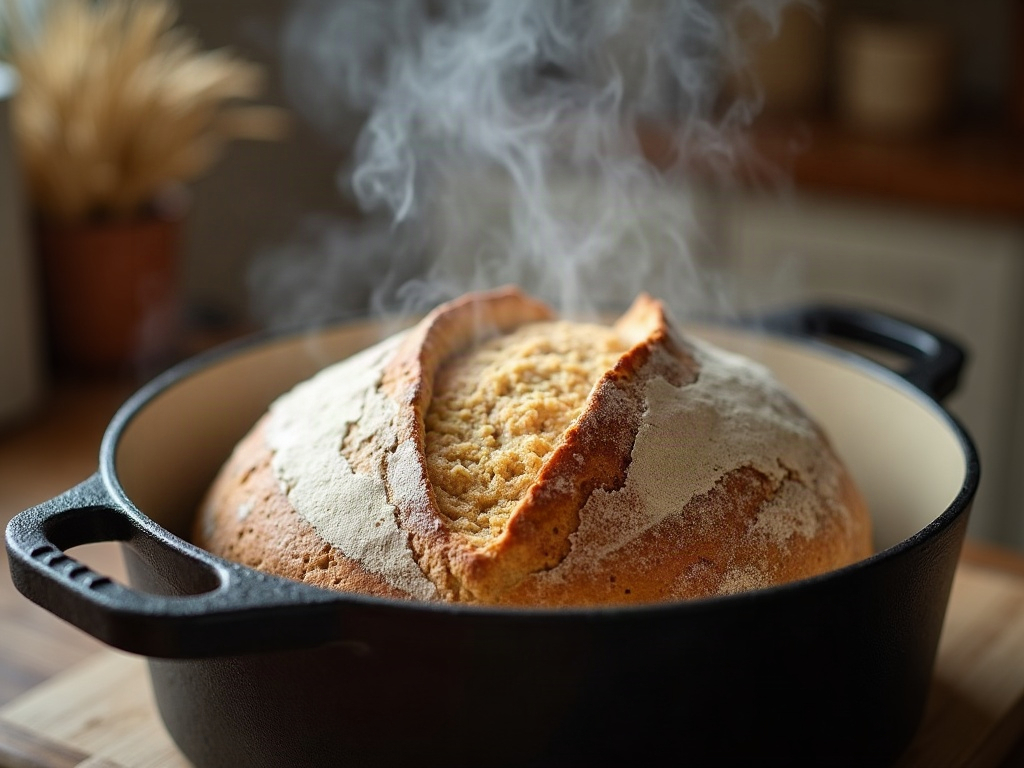
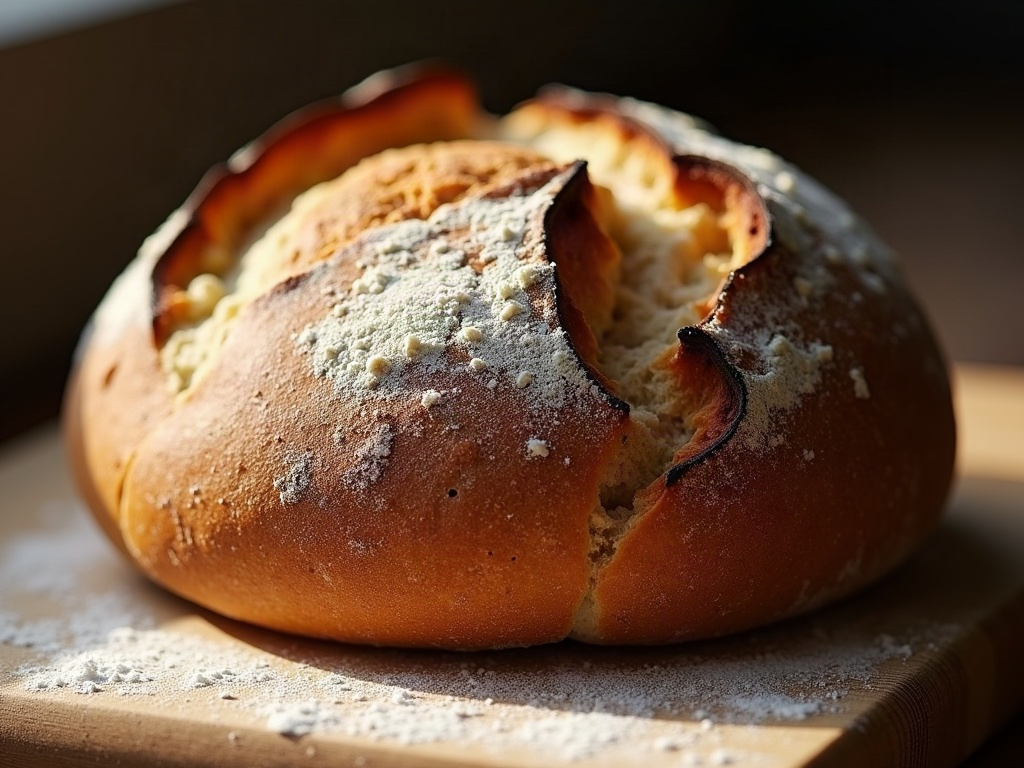
A pale crust isn’t a sign the loaf is bad — it usually just means the browning stage didn’t get enough heat, enough dry time, or enough sugar to work with. Give it all three and that anemic blonde loaf turns into the deep, glossy, blistered crust you were after.
Want to see the covered-then-uncovered bake and what a properly browning crust looks like minute by minute? The full method lives on the LoafLovers YouTube channel, and our free sourdough troubleshooting guide lines up the oven, steam, and fermentation fixes side by side — grab it and bake a loaf with a crust worth photographing.
Sources & further reading:
- King Arthur Baking — Getting a darker, crispier crust
- The Perfect Loaf — Baking, steam, and crust guides
Leave a Reply