Tag: steam

  • Why Won’t My Sourdough Brown? Fixing a Pale, Anemic Crust

    Why Won’t My Sourdough Brown? Fixing a Pale, Anemic Crust

    You did everything right. The starter was lively, the dough rose, the crumb looks fine when you cut it — but the loaf came out of the oven looking, well, undressed. Pale, matte, blonde, faintly gray in places, and nowhere near the deep golden-brown bakery crust you were picturing. It almost looks underbaked even when it isn’t. What happened?

    The good news: a pale crust is usually about the final act of baking, not a failure of your starter or your fermentation. Color on a sourdough crust comes from two chemical reactions — the Maillard reaction (browning between sugars and proteins) and caramelization (sugars themselves darkening under heat). Both need three things: enough heat, a surface that’s had a chance to dry, and some sugar left in the dough to burn. Take any one of those away and you get a blonde loaf. Let’s find which one is missing for you.

    Two sourdough boules compared, pale and blonde on the left, deep golden-brown on the right
    Same recipe, two very different bakes. Pale and matte (left) versus deep, glossy, blistered brown (right) — the difference is almost always heat, steam, and how much sugar was left in the dough.

    First, rule out “it just needs more color”

    Before you change anything structural, ask whether the loaf simply came out too early. A lot of pale loaves are just under-baked in the browning phase — pulled the moment they hit temperature but before the crust had time to color. A fully baked sourdough reads around 205–210°F / 96–99°C in the center, but you can absolutely leave it in longer to build color once it’s cooked through; the inside won’t overbake in a few extra minutes nearly as fast as a pale crust suggests.

    So the first, cheapest experiment: next bake, once the loaf is uncovered and at temperature, give it another 5–10 minutes and watch the color, not the clock. If that alone gets you there, you were just stopping short. If the crust still refuses to darken no matter how long it sits, one of the causes below is the real culprit.

    Cause #1: Your oven is running cold

    This is the number-one reason for a pale crust, and it’s invisible unless you measure it. Home ovens are notoriously inaccurate — being off by 25°F is common, and 50°F is not rare. If you set 450°F and the oven is really delivering 410°F, the crust simply never gets hot enough to brown properly, even though the inside cooks fine.

    Two fixes. First, buy a cheap oven thermometer and find out what your oven actually does; adjust the dial to hit your real target. Second, preheat long and hard — at least 45 minutes to an hour with your Dutch oven or baking stone inside. A stored-up mass of hot cast iron or stone is what sears color onto the crust in the first minutes. A rushed 15-minute preheat leaves everything lukewarm and your loaf pale. If your loaves also bake dense or short, weak heat can be part of that too — the same oven spring and browning both depend on hitting the dough with real, stored heat.

    An oven thermometer hanging on the rack next to a preheating Dutch oven in a home oven
    Most home ovens run cooler than the dial claims. A cheap oven thermometer tells you the real temperature the crust is actually seeing.

    Cause #2: Too much steam, left in too long

    Steam is essential early in the bake, but it’s also the sneakiest cause of a pale crust. While the surface of the loaf is wet with steam, it physically cannot brown — browning needs a dry surface and higher surface temperatures than wet dough can reach. Steam’s whole job is the first phase: keep the crust soft and elastic so the loaf can expand. After that, the oven needs to dry out so the crust can set, crisp, and color.

    If you bake in a Dutch oven and your crust is pale, you’re very likely leaving the lid on too long. Try removing it earlier — around the 20-minute mark — and giving the loaf a good 20–25 minutes uncovered in dry heat to develop color. If you steam a regular oven with a pan of water or ice, take the steam source out (or just open the door to vent it) partway through so the second half of the bake runs dry. The same steam-then-dry rhythm that gives you a strong ear and good oven spring is exactly what lets the crust brown once the expanding is done.

    Cause #3: Your dough is overproofed and out of sugar

    Here’s the one bakers miss most, because it feels backwards. Browning needs residual sugars in the dough — and fermentation eats sugar. The yeast and bacteria in your starter consume the flour’s available sugars as they work. If you overproof, or run a very long cold retard, the fermentation can strip the dough of nearly all its free sugar, leaving little for the crust to caramelize. The result is a loaf that’s beautifully sour and open but stubbornly pale, no matter how hot your oven is.

    The tell is that a pale crust often travels with other overproofing signs — a slack dough, poor oven spring, a slightly gummy or dense crumb. If that’s your picture, the fix isn’t in the oven at all; it’s earlier. Shorten your bulk ferment or final proof, or trim a very long fridge retard back a few hours, so the dough goes into the oven with sugar still in the tank. Our guides on telling when a loaf is underbaked versus overproofed can help you confirm whether over-fermentation is the shared root cause.

    Cause #4: Lean, very white flour with little to burn

    Ingredients matter too. A very white, refined bread flour is relatively low in the enzyme activity and residual sugars that drive browning, so an all-white lean dough (just flour, water, salt, starter) can bake paler by nature. Whole grains behave differently: whole wheat, rye, and spelt brown more readily and deepen color, which is why a mostly-white loaf looks blonde next to a whole-grain one.

    You have a few gentle levers. Swap 10–20% of your white flour for whole wheat or rye for more color and flavor. Or add a small amount of diastatic malt powder — about half a teaspoon per loaf — which supplies enzymes that free up sugars for browning; it’s the classic bakery trick for a deeper crust, but use a light hand, as too much makes the crumb gummy. Even a whisper of honey or sugar in the dough will push color, at the cost of moving slightly away from a pure lean sourdough.

    Bubbly sourdough starter beside a small pile of diastatic malt powder and whole wheat flour
    Browning needs sugar to burn. A less-exhausted dough, a touch of whole grain, or a pinch of diastatic malt all give the crust more to caramelize.

    Cause #5: A bone-dry, over-floured surface

    Sometimes the dough is fine and it’s the surface that’s the problem. A crust caked in dry flour from the banneton bakes matte and dusty rather than glossy and brown — that flour just scorches or stays pale instead of caramelizing. Likewise, a surface with no moisture at all in the early bake browns unevenly and dully.

    Two easy tweaks. Brush or wipe off excess bench flour before the loaf goes in, so you’re browning dough, not a flour coating. And make sure there’s a little surface moisture at the start — the steam phase normally handles this, but if you bake very dry you can lightly mist the top of the loaf with water just before it goes in the oven. A faintly moist surface at the start, then a good dry finish, is the combination that gives you sheen and color instead of a chalky matte crust.

    The quick pale-crust checklist

    • Cooked through but pale? Just bake it longer for color — watch the crust, not the timer.
    • Everything pale no matter what? Check your real oven temp and preheat harder and longer.
    • Wet-looking, soft, pale crust? Too much steam — uncover earlier and finish in dry heat.
    • Pale and gummy, slack, or flat? Overproofed and out of sugar — shorten the ferment or retard.
    • All-white lean loaf? Add some whole grain, a pinch of diastatic malt, or a touch of sweetener.
    • Dusty, matte surface? Brush off excess flour and lightly mist before baking.

    Change one thing per bake

    As always, don’t fix everything at once or you’ll never learn what worked. For most home bakers, a pale crust comes down to two things: an oven that’s cooler than it claims, and steam that stayed too long. Sort those first — verify your temperature, preheat properly, and give the loaf a genuine dry, uncovered finish — and most blonde loaves come back with real color. If those don’t move the needle, look upstream at fermentation and flour. And if you’re chasing crust texture as well as color, our walkthrough on getting a crisp, bite-through crust covers the flip side of the same bake.

    Lid lifted off a Dutch oven revealing a pale, steaming sourdough loaf mid-bake
    Steam early lets the loaf expand — but leave it too long and the surface stays wet and can’t brown. The uncovered, dry phase is where color happens.

    A pale crust isn’t a sign the loaf is bad — it usually just means the browning stage didn’t get enough heat, enough dry time, or enough sugar to work with. Give it all three and that anemic blonde loaf turns into the deep, glossy, blistered crust you were after.

    Close-up of a sourdough boule with a deep mahogany, glossy, blistered crust
    The goal: a deep, glossy, blistered crust with real color and flavor — not a blonde loaf that looks half-baked.

    Want to see the covered-then-uncovered bake and what a properly browning crust looks like minute by minute? The full method lives on the LoafLovers YouTube channel, and our free sourdough troubleshooting guide lines up the oven, steam, and fermentation fixes side by side — grab it and bake a loaf with a crust worth photographing.


    Sources & further reading:

    Related Reading

  • Why Is My Sourdough Crust So Hard? How to Get a Crisp Crust You Can Actually Bite Through

    Why Is My Sourdough Crust So Hard? How to Get a Crisp Crust You Can Actually Bite Through

    You pull a gorgeous, deeply browned loaf out of the oven. It smells incredible, the crust crackles as it cools — and then you try to slice it and nearly bend the knife. Worse, biting a piece feels like a dental risk, and shards of crust scatter across the counter. Great flavor, punishing crust. What went wrong?

    Here’s the reassuring part: a hard crust is one of the more fixable sourdough problems, because it’s almost always about the bake and the cool-down, not the days of fermentation before it. A crisp, thin, bite-through crust and a tooth-chipping one can come from the exact same dough — the difference is time, heat, steam, and how you treat the loaf after it comes out. Let’s find your culprit.
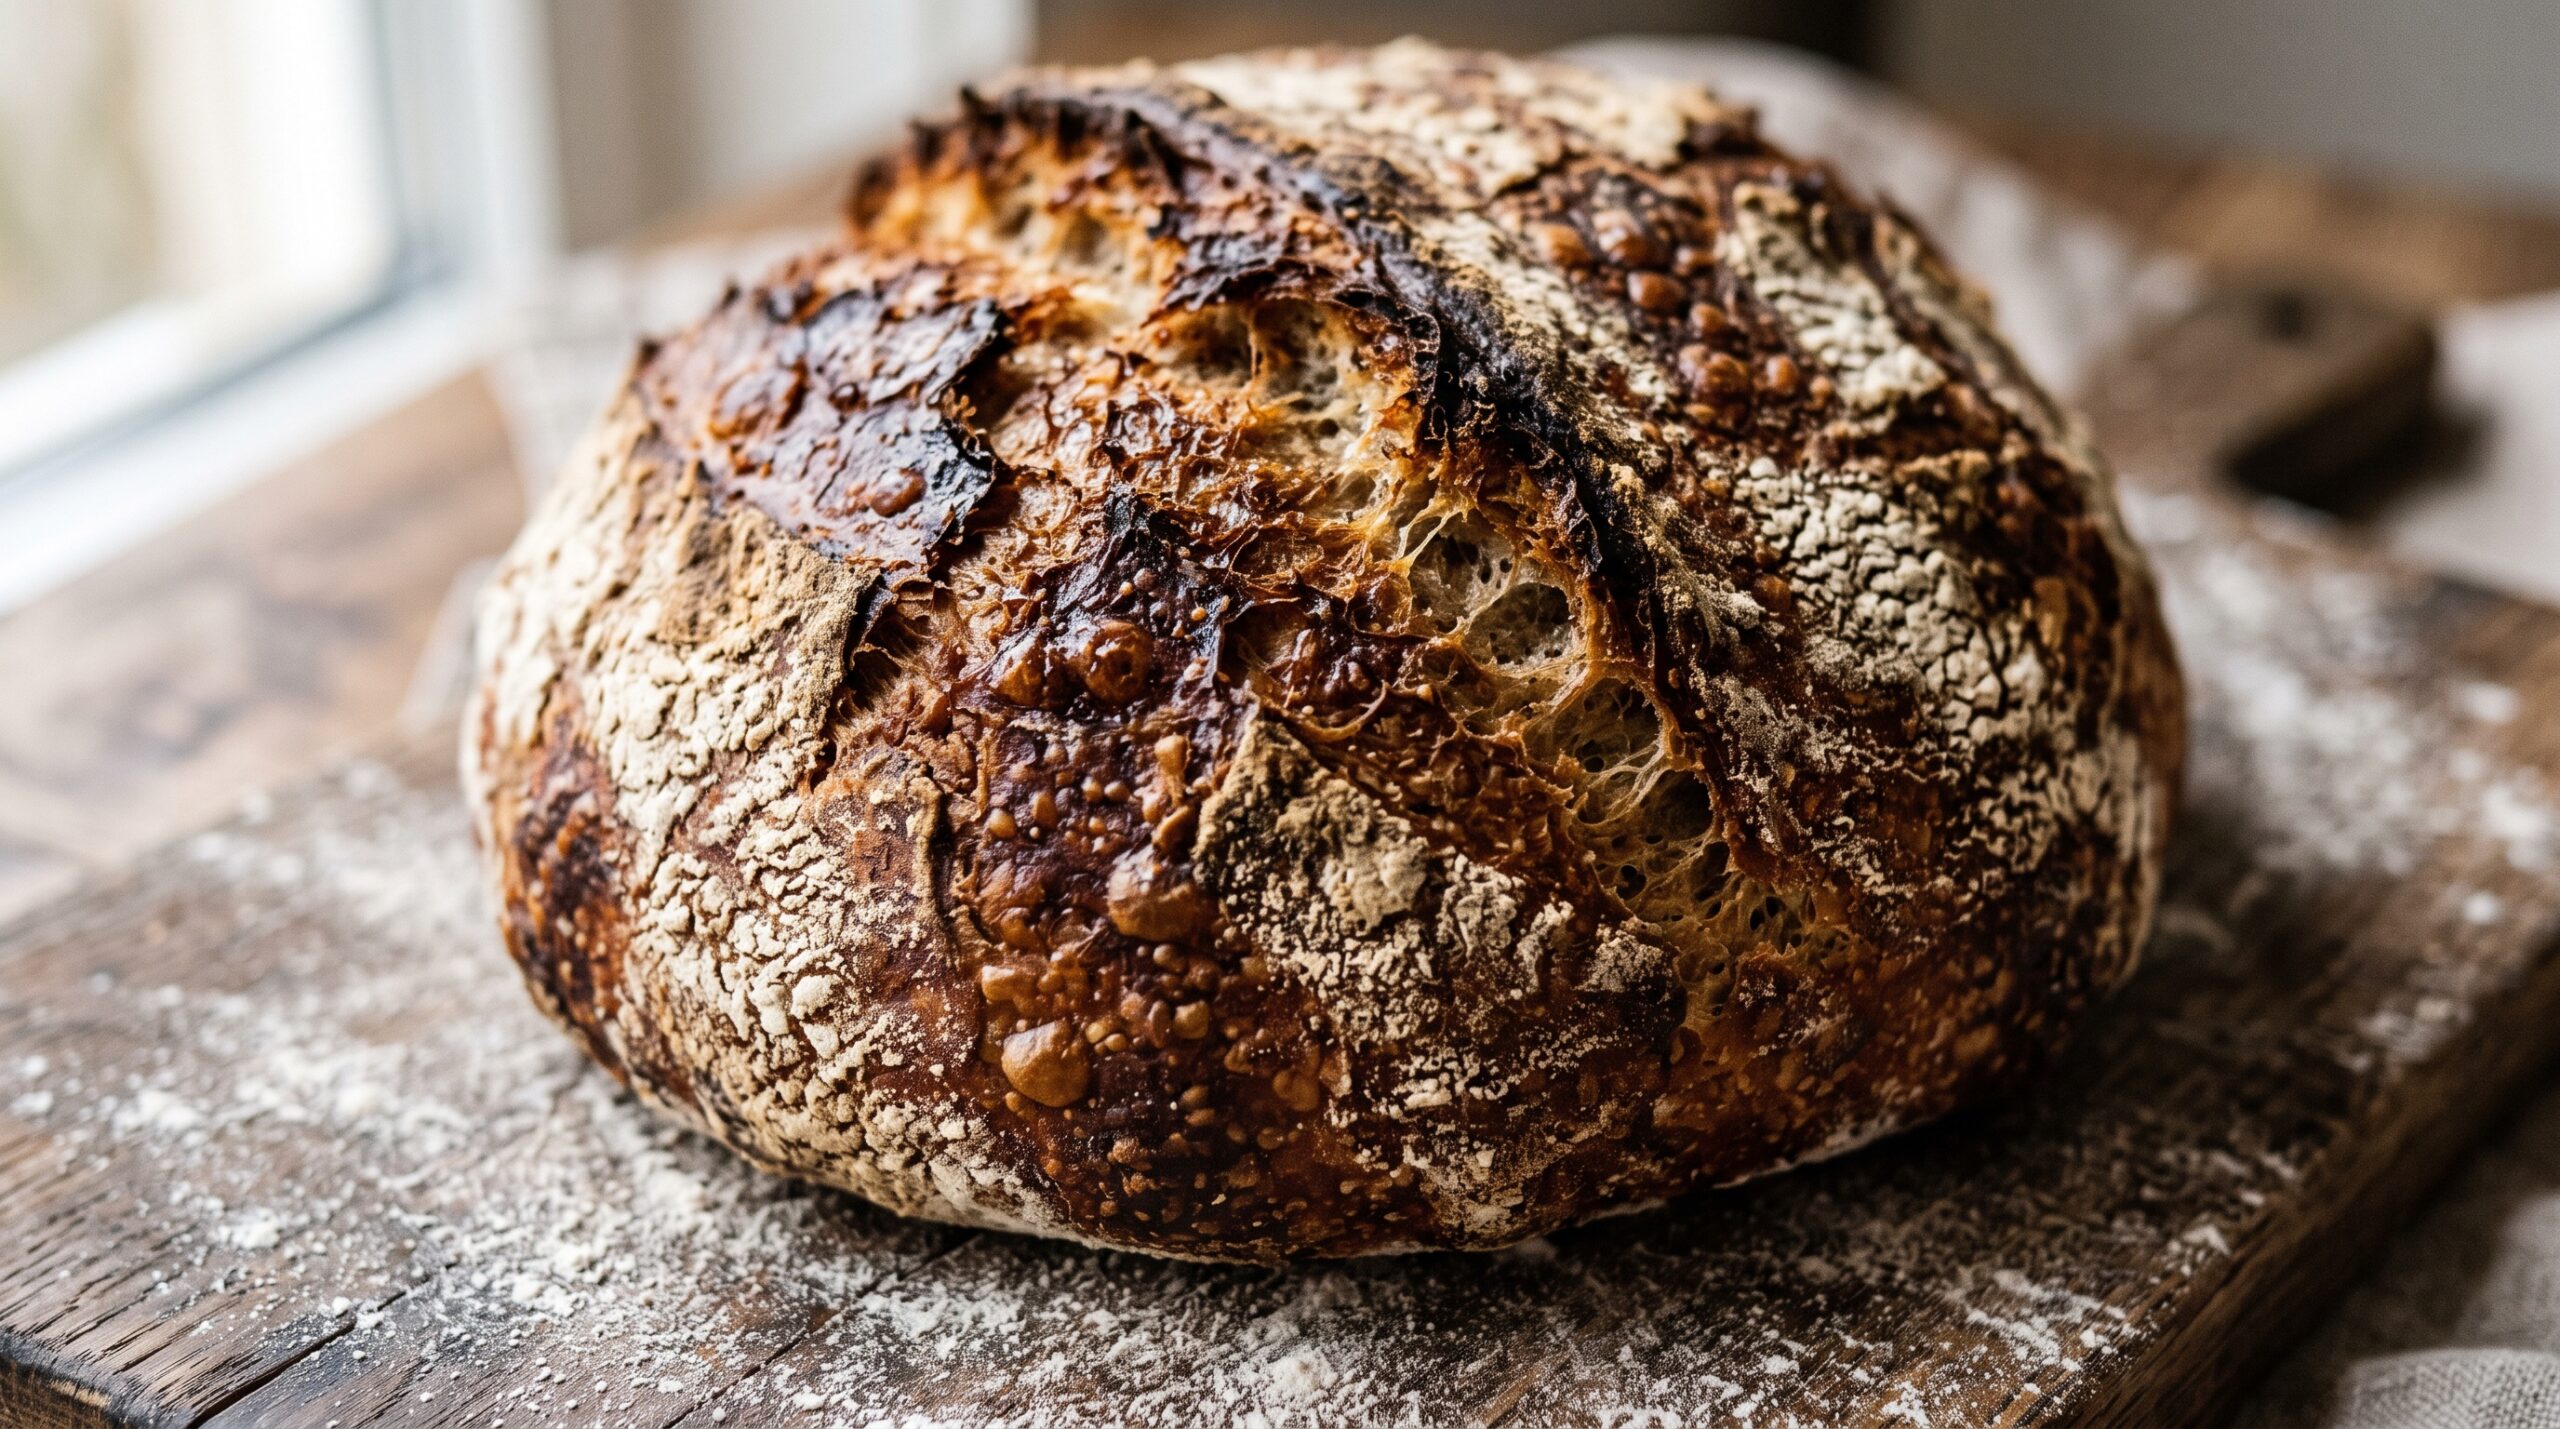
    Close-up of a sourdough boule with a deeply browned, blistered, crackled crust
    A great crust is deep and crackly — but it should shatter and yield, not fight back. When it goes rock-hard, a few specific things are usually off.

    First: crisp is good, concrete is not

    Don’t over-correct into a pale, soft loaf. A proper sourdough crust should be firm, crackly, and deeply colored — that’s where a huge amount of the flavor lives. The goal isn’t to eliminate the crust; it’s a crust that shatters and yields when you bite, with a tender crumb right beneath it. “Hard” becomes a problem when it’s thick and armored, leathery and chewy, or so brittle-tough that slicing crushes the loaf. Keep that target in mind as you adjust, so you don’t trade a great crust for a sad one.

    Cause #1: You baked it too long or too hot

    This is the most common reason, and the easiest to fix. Every extra minute in a hot, dry oven drives more moisture out of the crust and thickens it. Bake long enough and even a well-made loaf turns into a helmet.

    Two levers: total time and the uncovered phase. Most home Dutch-oven bakes run around 20 minutes covered, then 20–25 minutes uncovered — if yours is going 30+ minutes uncovered or your loaf is very dark and heavy, pull it sooner next time. Trust internal temperature over color: a fully baked sourdough reads about 205–210°F / 96–99°C in the center. If you’re checking doneness by feel and often overshoot, our guide on a gummy, underbaked crumb covers the other end of the same dial — you want to land between gummy and armored. And if your oven runs hot, an oven thermometer is worth its few dollars; many home ovens are off by 25°F or more.

    Cause #2: Your steam is out of balance

    Steam is the single biggest crust-texture lever, and it works in two phases. Early in the bake you want plenty of steam: it keeps the surface moist and elastic so the loaf can expand, and it delays the crust from setting — a crust that sets too early bakes thick and hard. Late in the bake you want a dry oven so the crust can crisp and color without becoming leathery.

    A preheated Dutch oven does this almost automatically: the lid traps the dough’s own steam for the first phase, then you remove it to dry out and crisp. If you bake this way and still get a brutal crust, you’re likely leaving the lid off too long or baking too hot after uncovering. If you bake on a stone or sheet without enough early steam, the crust sets fast and thick — add steam with a pan of boiling water or ice cubes for the first 15–20 minutes. The same steam mechanics that give you a good ear and strong oven spring also govern how thick and hard the crust turns out.
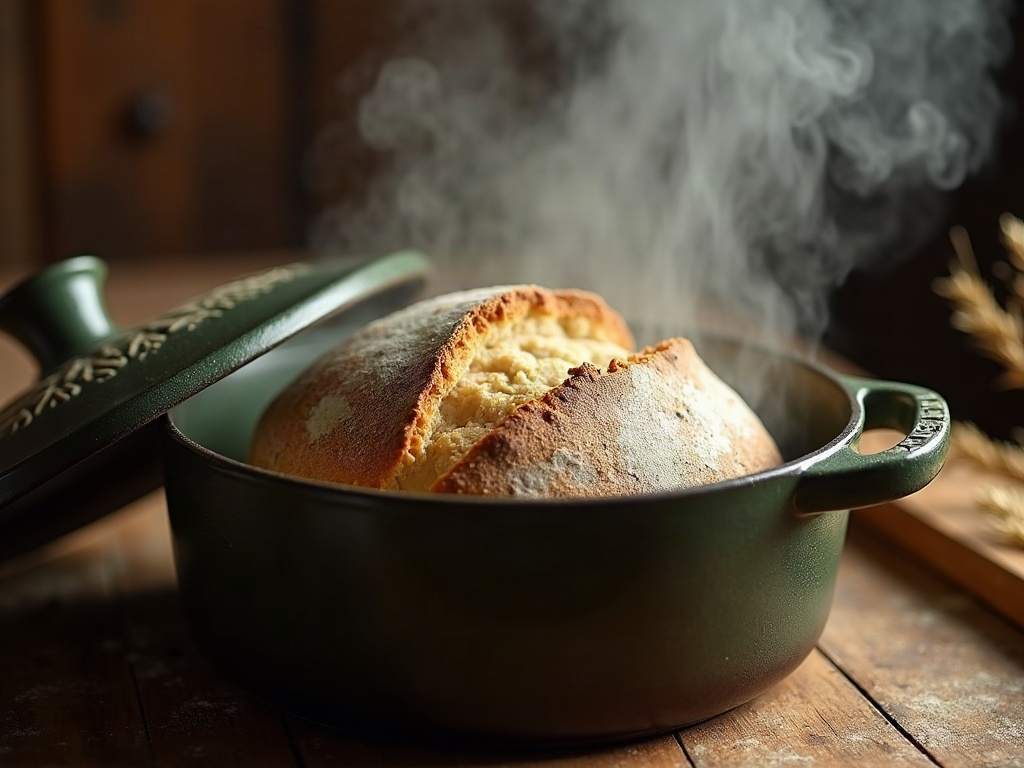
    Sourdough loaf springing inside a Dutch oven with steam rising as the lid is lifted
    Steam in the first phase keeps the surface soft so it can expand, then delays the crust from setting into armor plating.

    Cause #3: Lean, high-protein flour and low hydration

    Ingredients matter here too. A very high-protein bread flour and a low-hydration dough both push toward a thicker, chewier, harder crust. Whole grains and a leaner dough (no fat, no milk, no sugar) crisp up hard by nature — that’s classic rustic sourdough, and some people love it. If you want it gentler, nudge your hydration up a few percent; a wetter dough tends to bake a thinner, crisper crust rather than a thick one.

    If you specifically want a softer, more sandwich-friendly crust, that’s a recipe choice, not a fault: a little olive oil, butter, milk, or honey in the dough, or brushing the loaf with butter right out of the oven, all soften the crust considerably. Just know you’re moving away from the bakery-style rustic crust toward a softer everyday loaf — both are valid, they’re just different breads.

    Cause #4: You cut into it too soon

    This one quietly ruins good loaves. A sourdough is still finishing inside as it cools; the crumb is setting and moisture is redistributing outward. Slice it hot and you release steam that would have softened the crust from within — and the exposed crust hardens fast as it cools. Cutting early also gives you a gummy center and a crust that seems to toughen by the minute.

    Let the loaf cool completely on a wire rack — ideally a couple of hours for a standard boule — before you cut. A rack matters: resting on a solid surface traps steam underneath and can make the bottom crust soggy-then-tough. I know the warm-bread temptation is real. Fight it; the crust you get after a full cool is a different, friendlier thing.
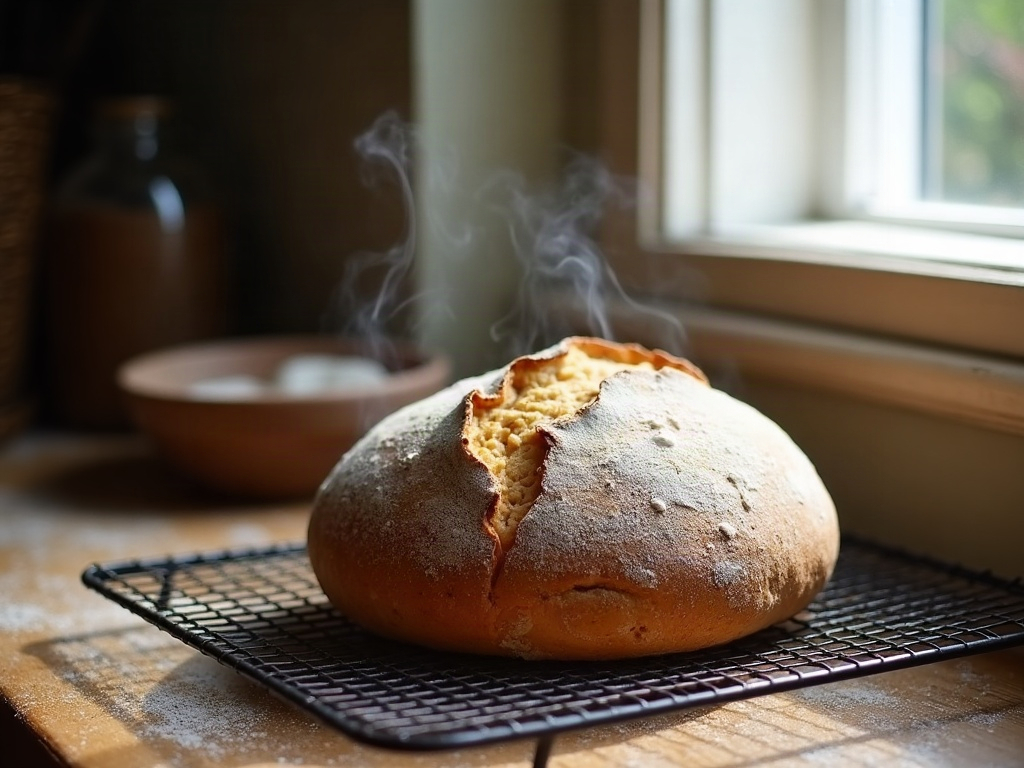
    Freshly baked sourdough cooling on a wire rack with faint steam escaping the crust
    Cutting in too early traps steam and hardens the crust as it cools. Let it rest fully on a rack first.

    Cause #5: Storage is turning it to concrete overnight

    Sometimes the fresh crust is fine and it’s day two that’s the problem — the loaf has gone rock-hard sitting out. That’s staling plus a crust that keeps drying. Never refrigerate bread (the fridge stales it fastest), and don’t leave a cut loaf open to the air.

    Store a cut sourdough cut-side-down on a board or in a linen/paper bag for a crackly crust that lasts a day or two; a sealed bag or beeswax wrap softens the crust but keeps the crumb moist longer — pick based on which you care about. For anything beyond two or three days, slice and freeze it, then toast from frozen. A stale, hard loaf can also be revived: mist the crust with water and warm it in a 350°F / 175°C oven for 8–10 minutes to bring back much of the crackle.

    Cause #6: A too-thick or too-dark bake from scoring and shaping

    Minor, but real: a loaf that didn’t spring well bakes denser and can read as “hard” all over, crust included. Weak, timid scoring seals the loaf so it can’t open, forcing a thick, tight crust; a confident score gives the loaf a place to bloom and keeps the crust thinner where it opens. If your loaves consistently bake dense and heavy with a thick shell, weak oven spring may be the upstream cause — and steam, heat, and a good score all feed into it.
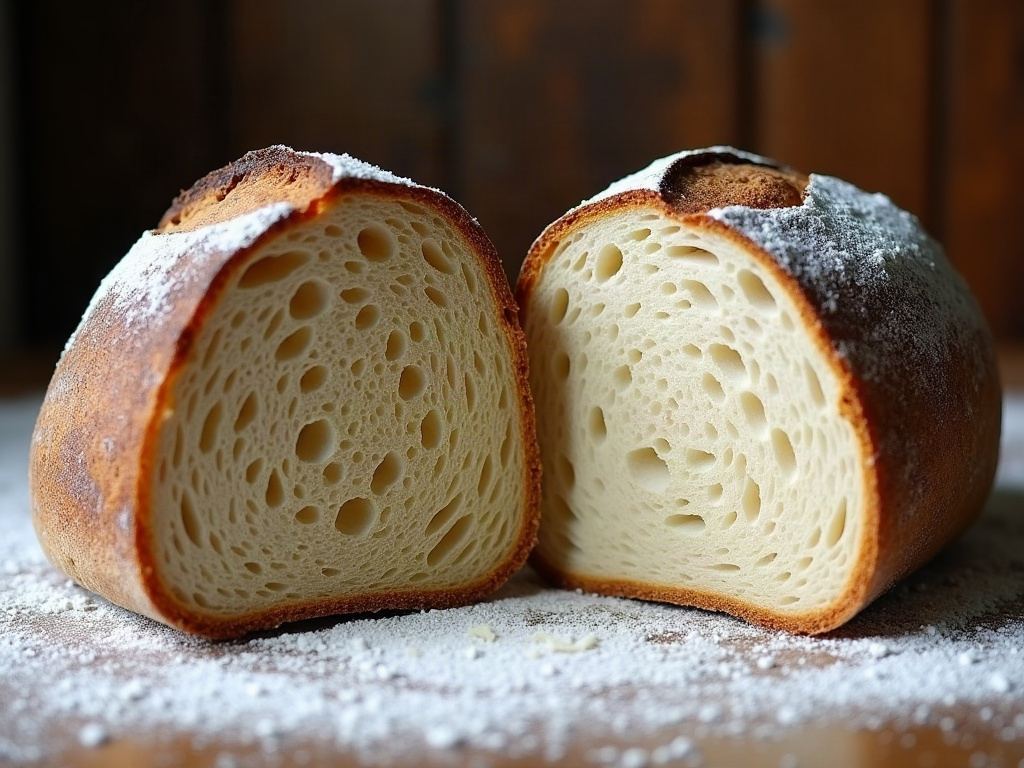
    Two sourdough crusts compared, thick and armored on the left, thin and crisp on the right
    Thick and armored (left) versus thin and crisp (right). Same bread, different bake — mostly time, temperature, and steam.

    The quick hard-crust checklist

    • Very dark, heavy, thick shell? Shorten the bake and check internal temp (205–210°F); your oven may run hot.
    • Crust sets thick and armored? More steam early, dry heat late — a lidded Dutch oven does both.
    • Chewy, leathery crust? Too long uncovered or too hot at the end; pull sooner.
    • Want a softer everyday crust? Raise hydration, add a little fat, or butter the top out of the oven.
    • Hardens as it cools / gummy center? You cut it too early — cool fully on a rack.
    • Fine fresh, brutal next day? Store cut-side-down or bagged; revive with a water mist and a short warm oven.

    Change one thing per bake

    As with most sourdough fixes, resist the urge to overhaul everything at once. Nine times out of ten a hard crust is simply baked a little too long and cut a little too soon — fix those two and most loaves land right in the crisp-but-bite-through zone. If you’re baking without a Dutch oven and fighting crust texture, our walkthrough on getting a crackly crust without a Dutch oven lines up the steam tricks that make the biggest difference.
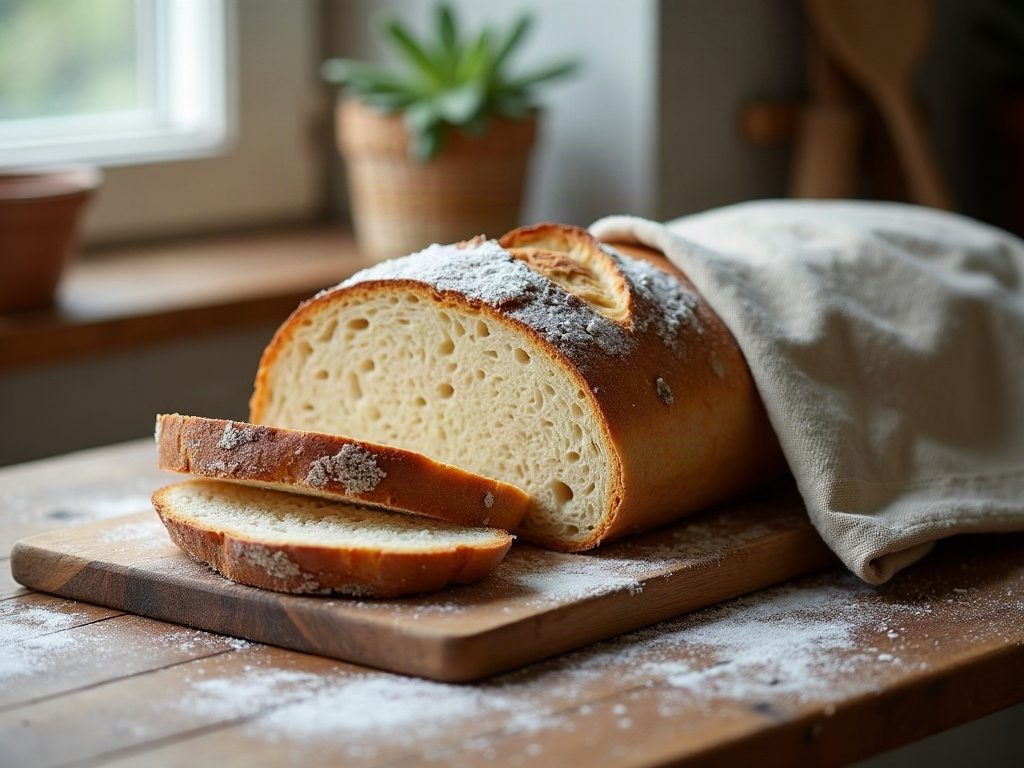
    Cut sourdough loaf stored cut-side-down on a board beside a linen bread bag
    How you store it decides whether tomorrow’s crust stays pleasant or turns to concrete.

    A hard crust isn’t a sign you’ve failed — it usually means you’ve nailed the browning and just need to ease off the bake or the wait. Dial back the time, balance your steam, cool it fully, and store it kindly, and that beautiful deep crust turns into one you can actually enjoy.

    Want to see the covered-then-uncovered bake and a proper cool-down in real time? The full method lives on the LoafLovers YouTube channel, and our free sourdough troubleshooting guide puts the bake, steam, and crust fixes side by side — grab it and bake a loaf with a crust you’ll want to bite into.


    Sources & further reading:

    Related Reading