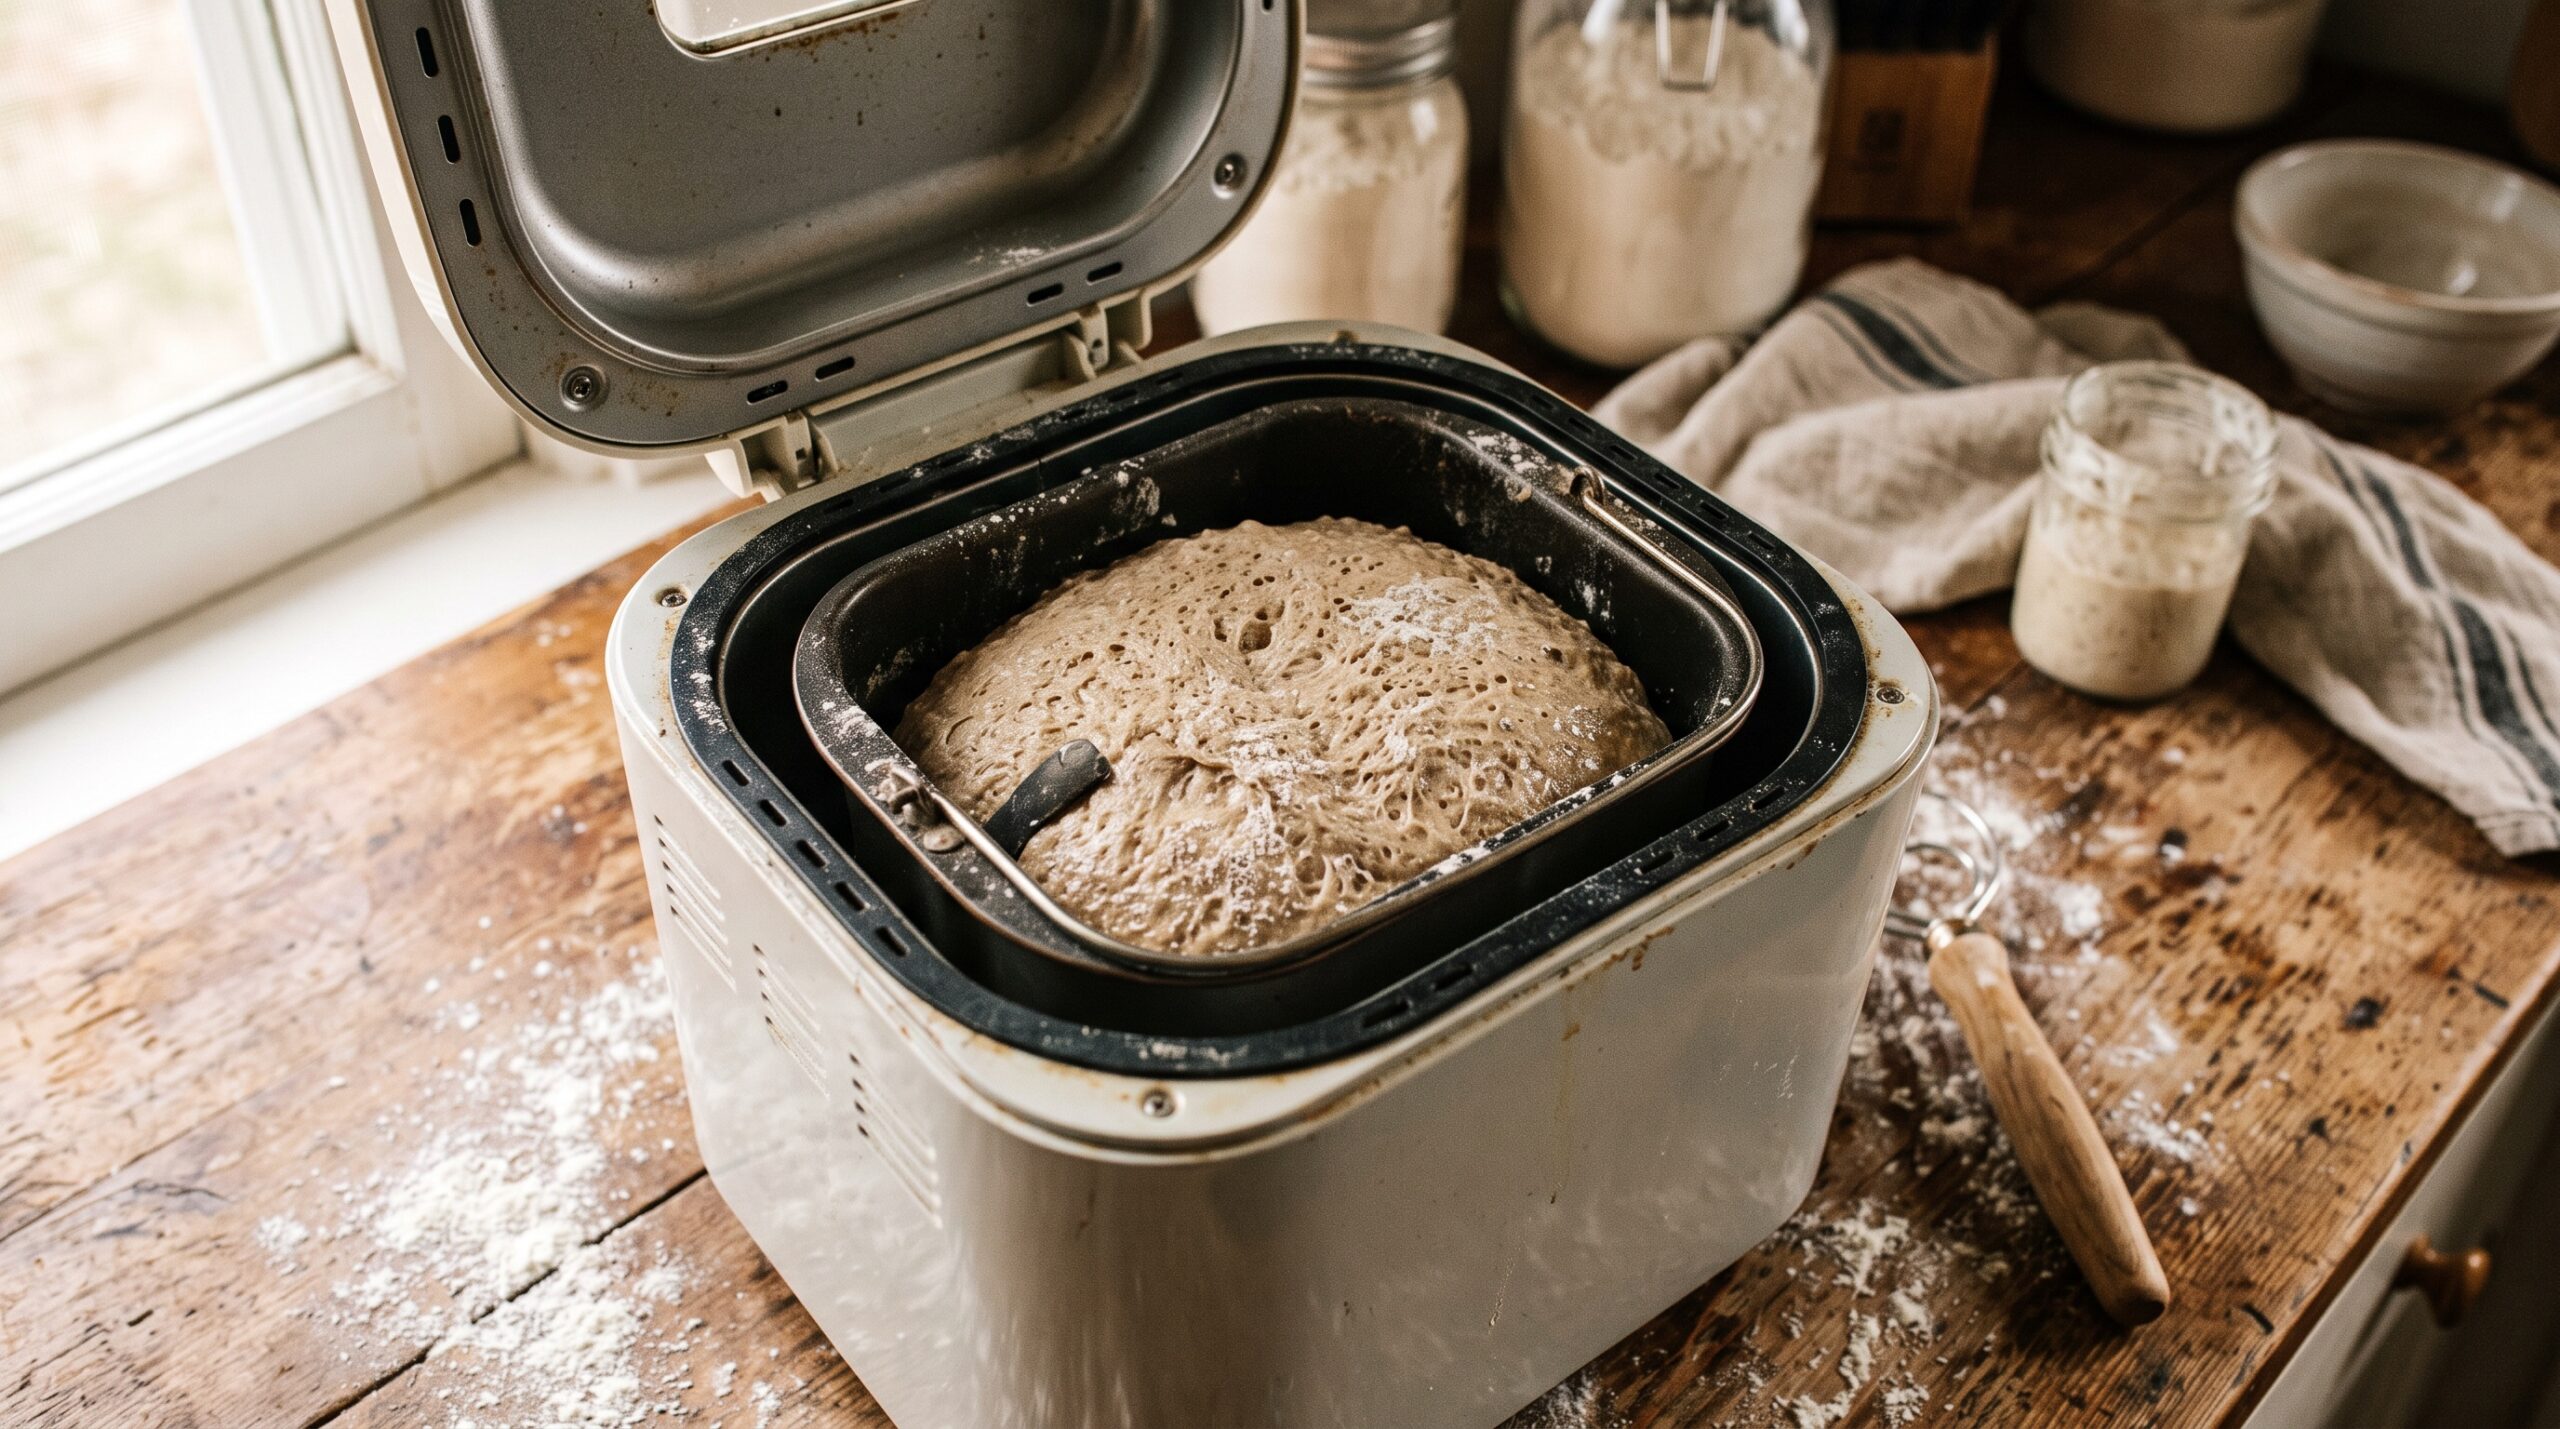
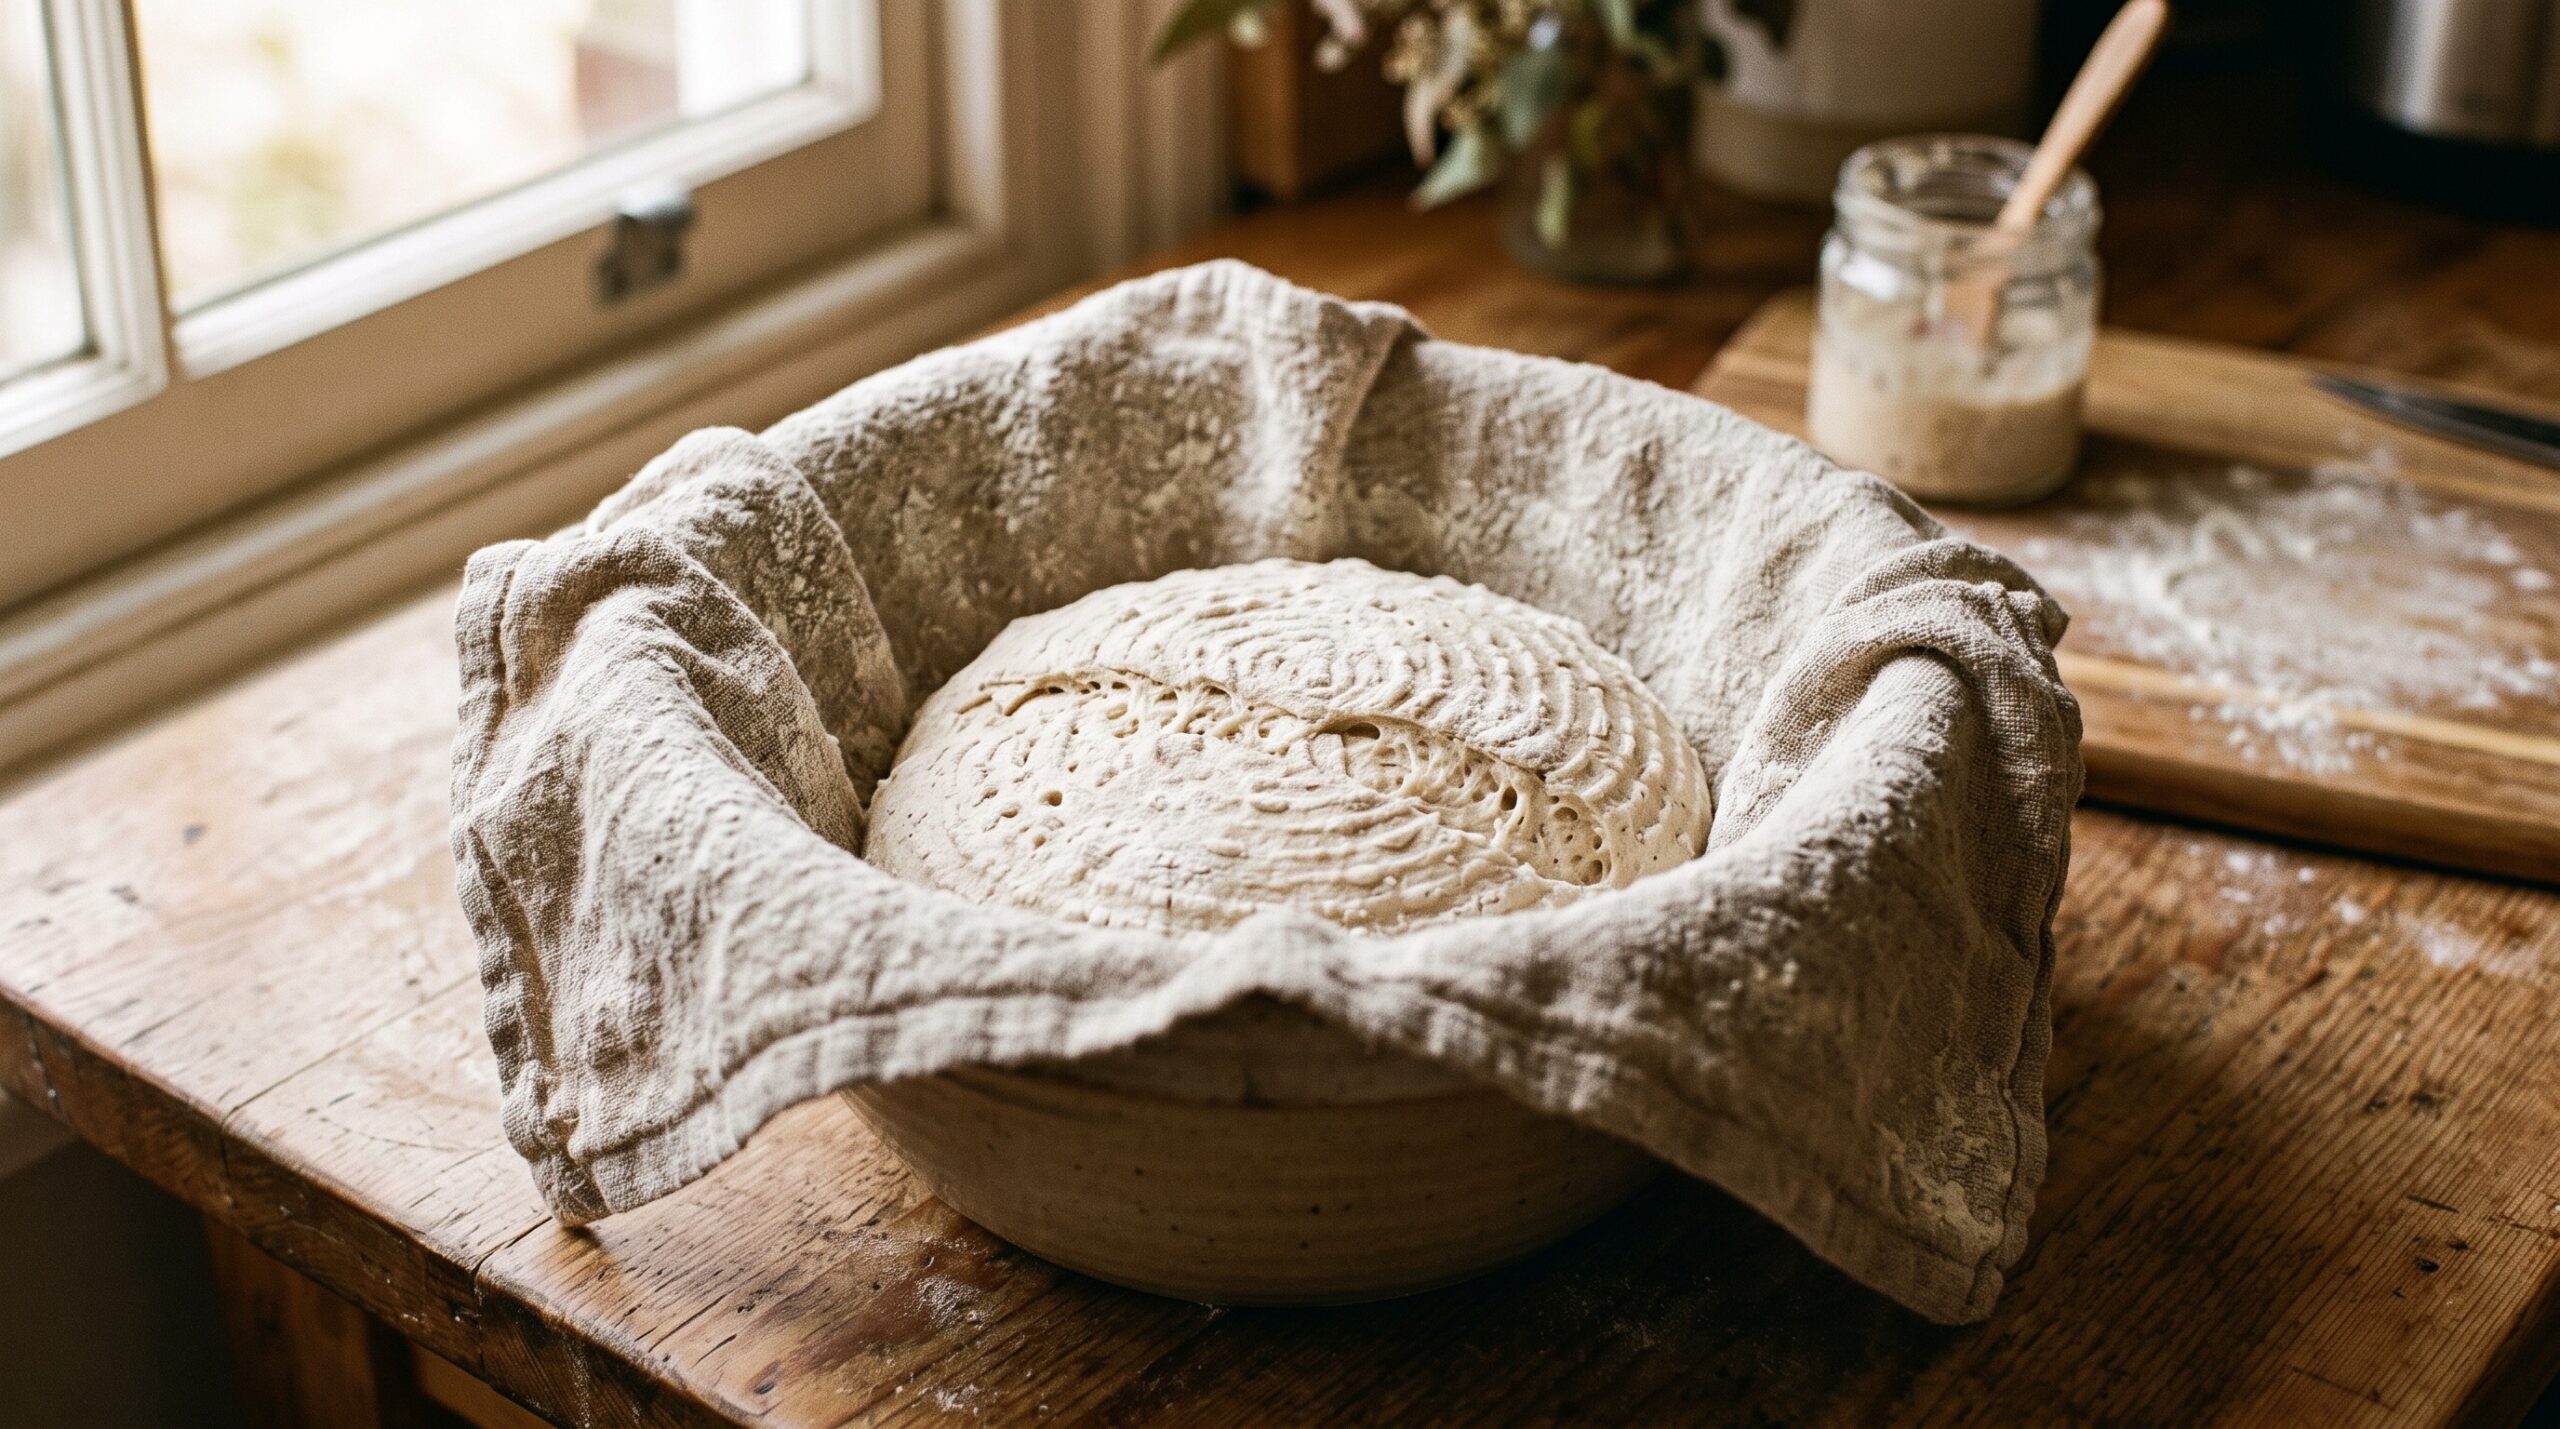
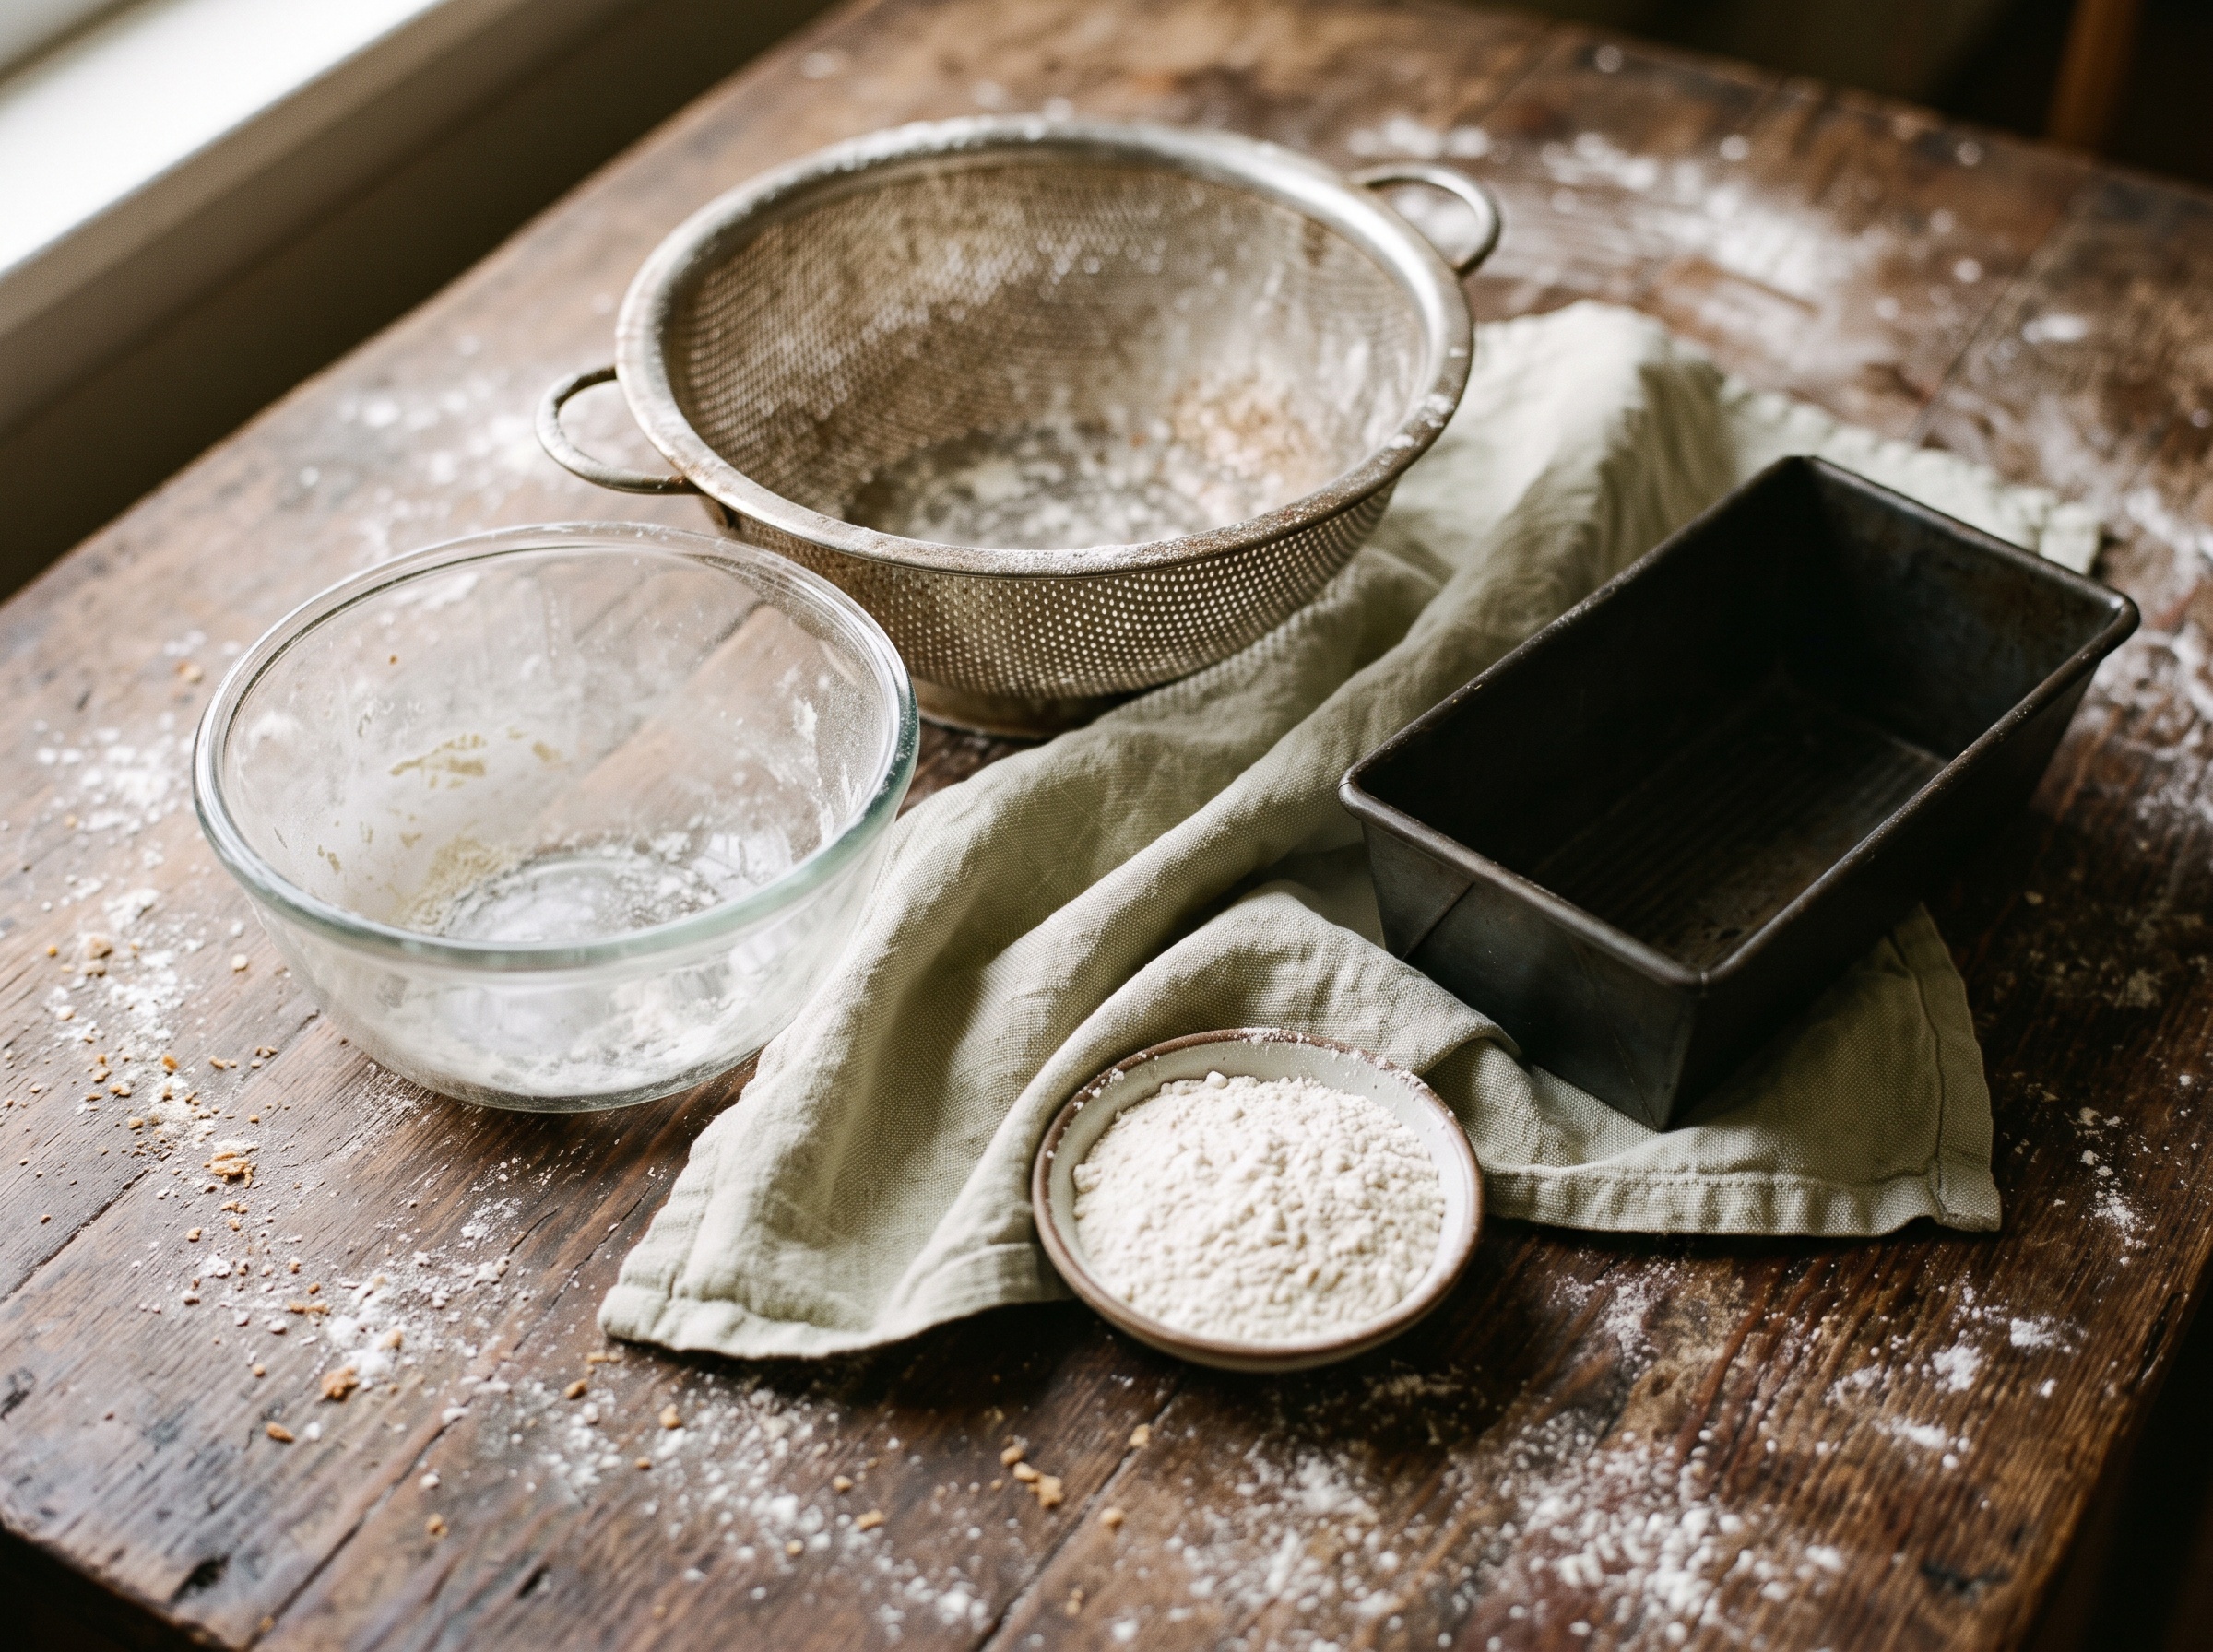
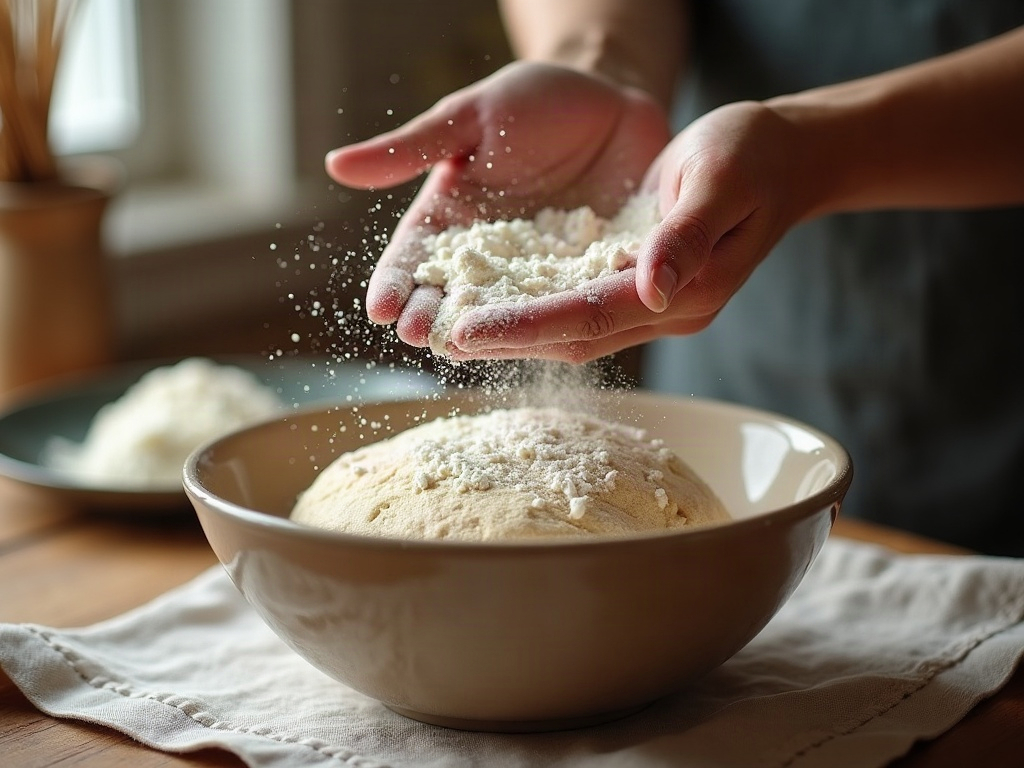
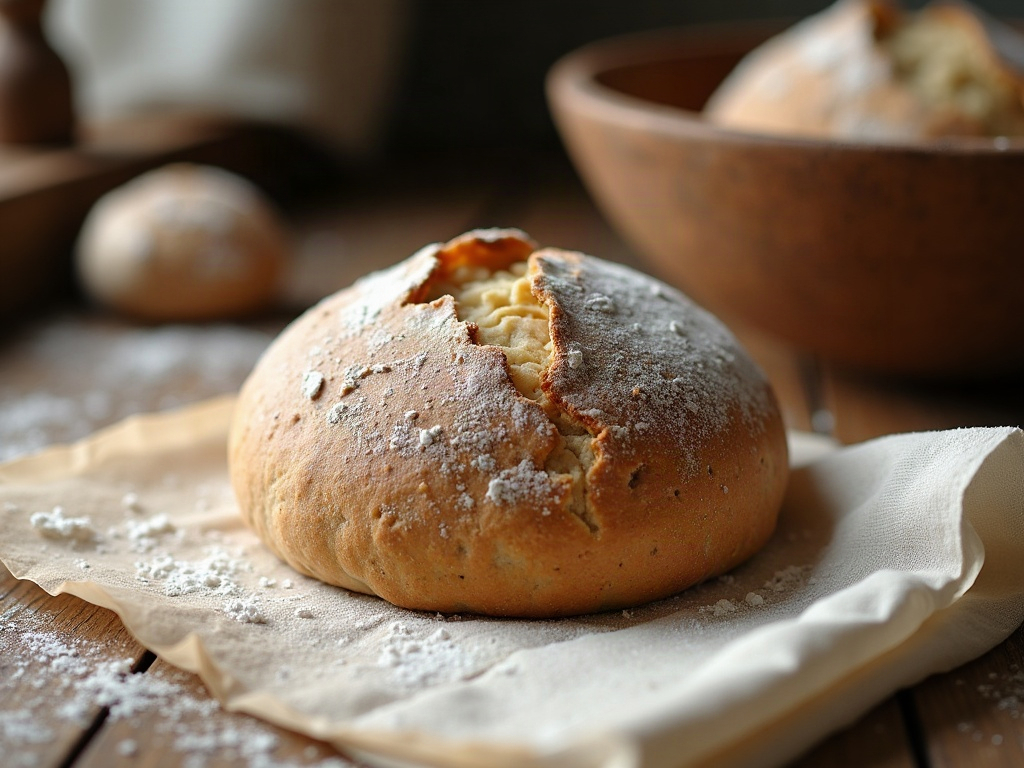
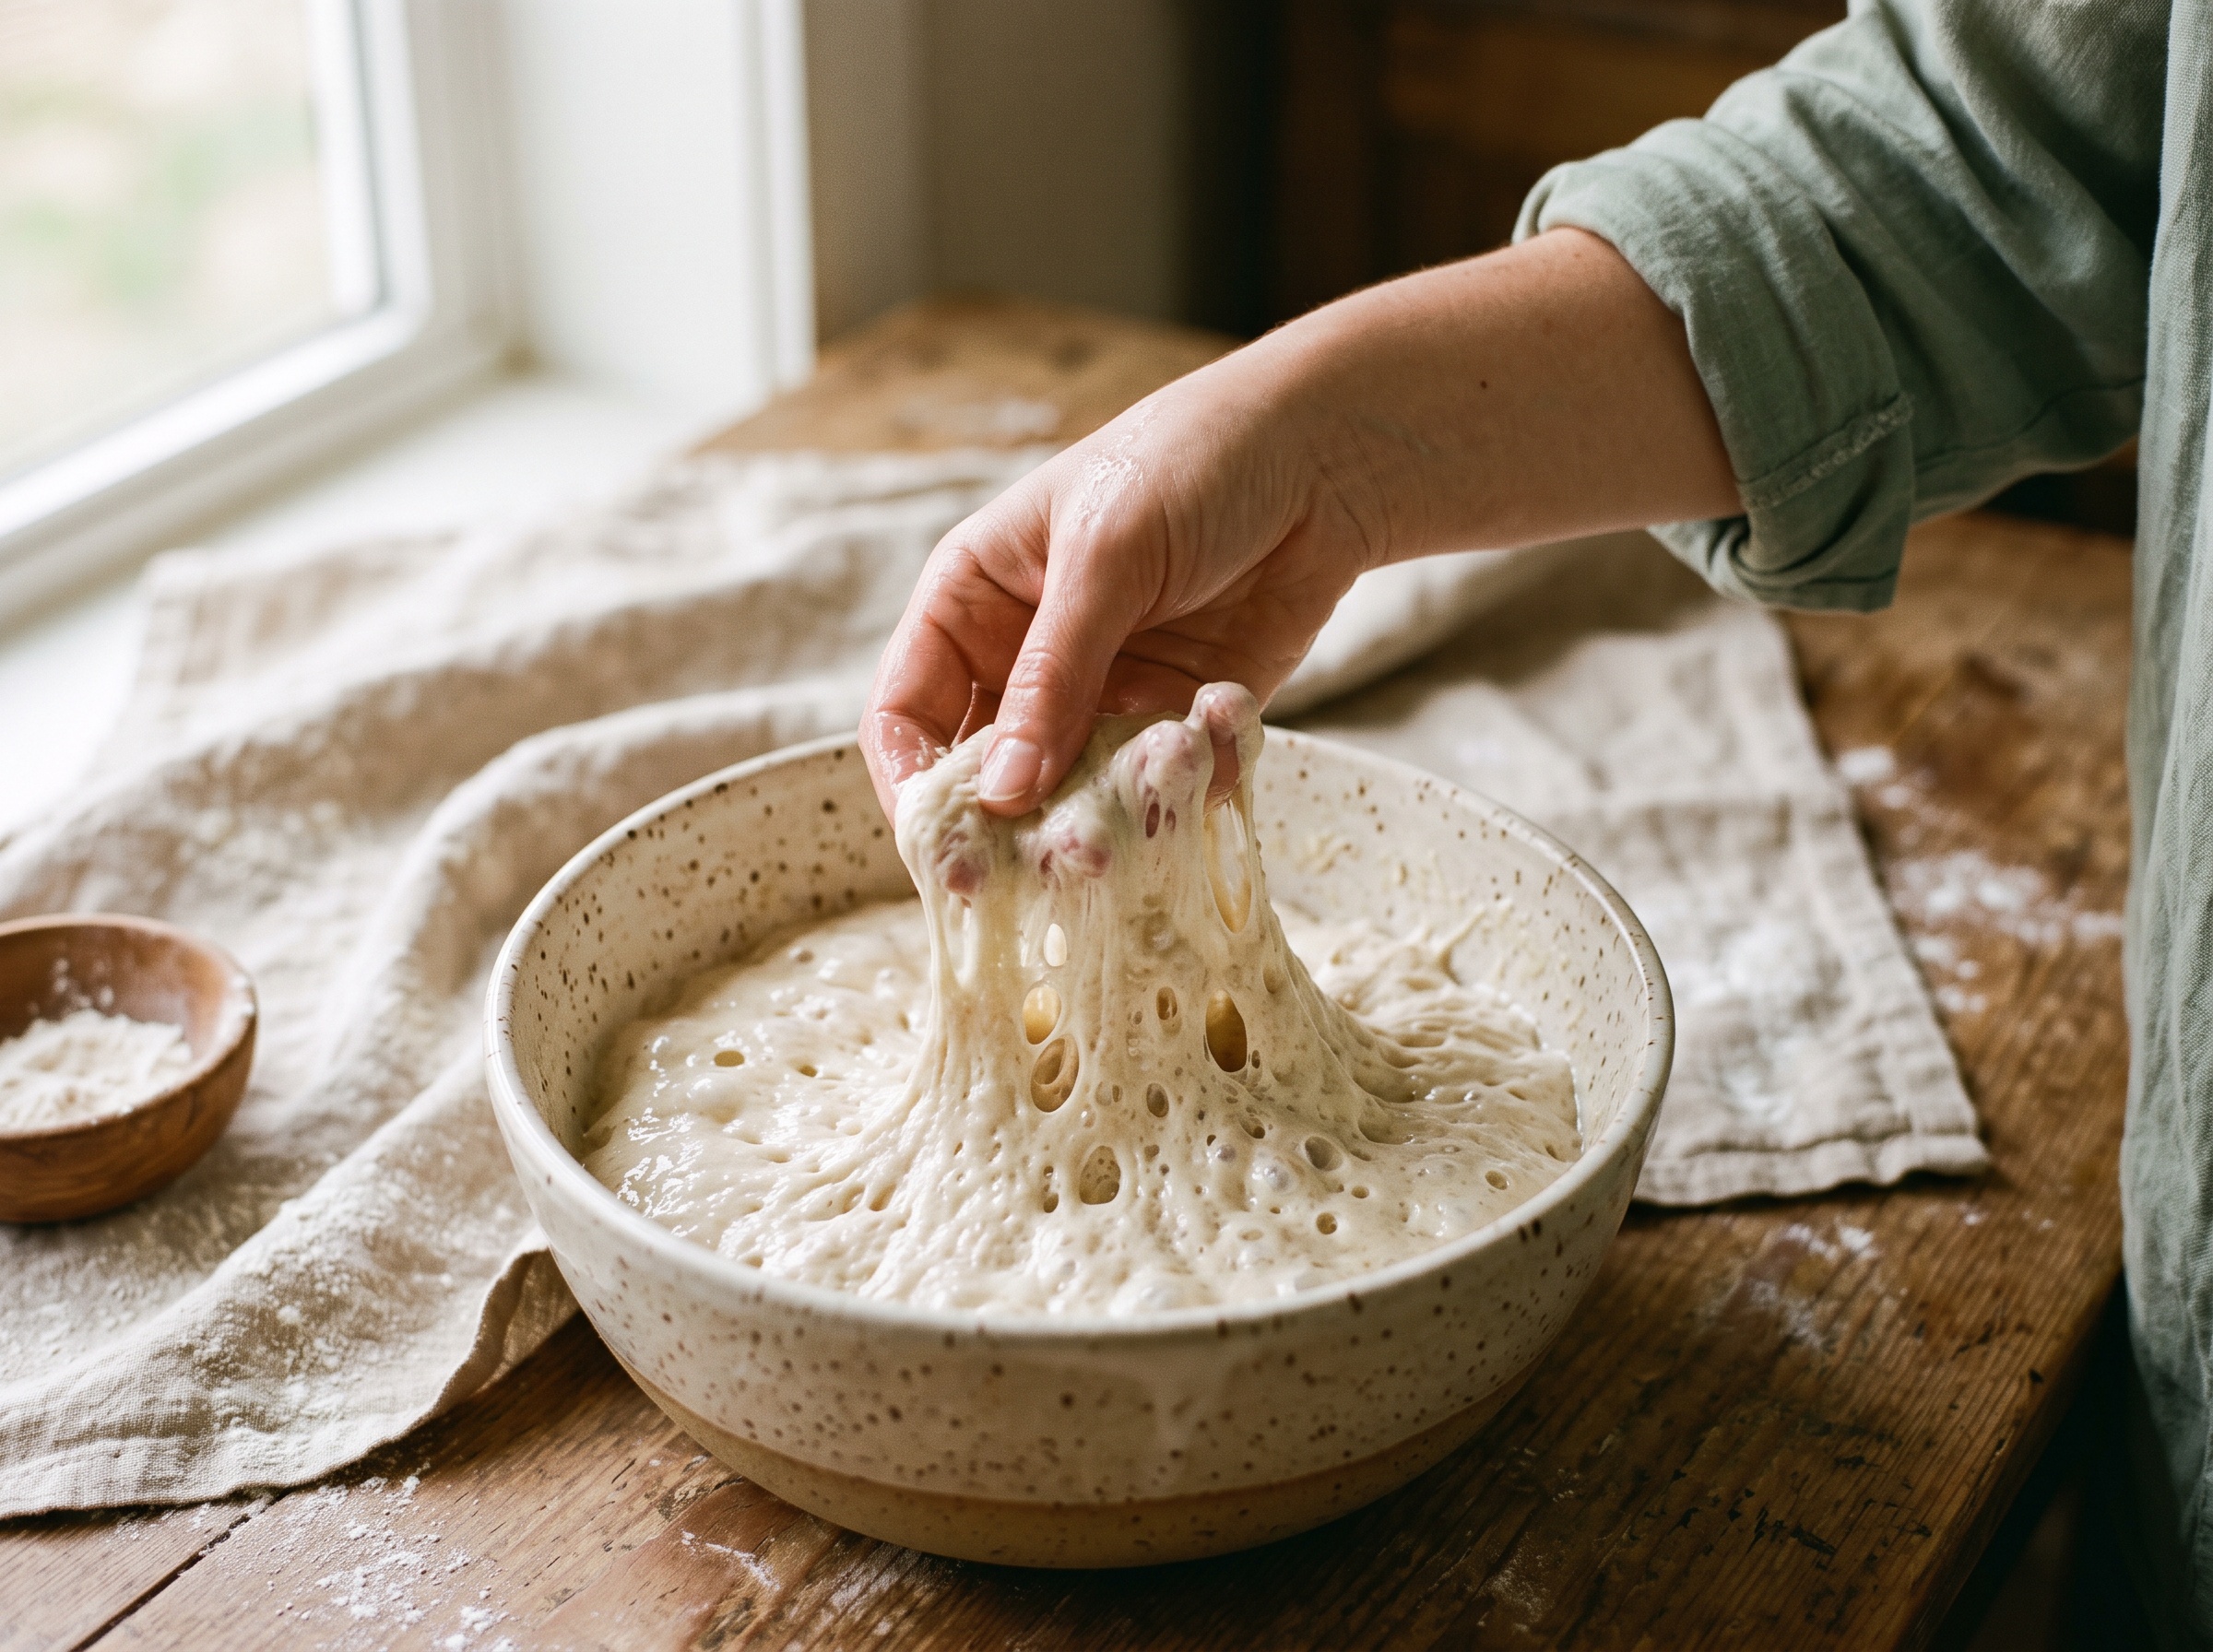
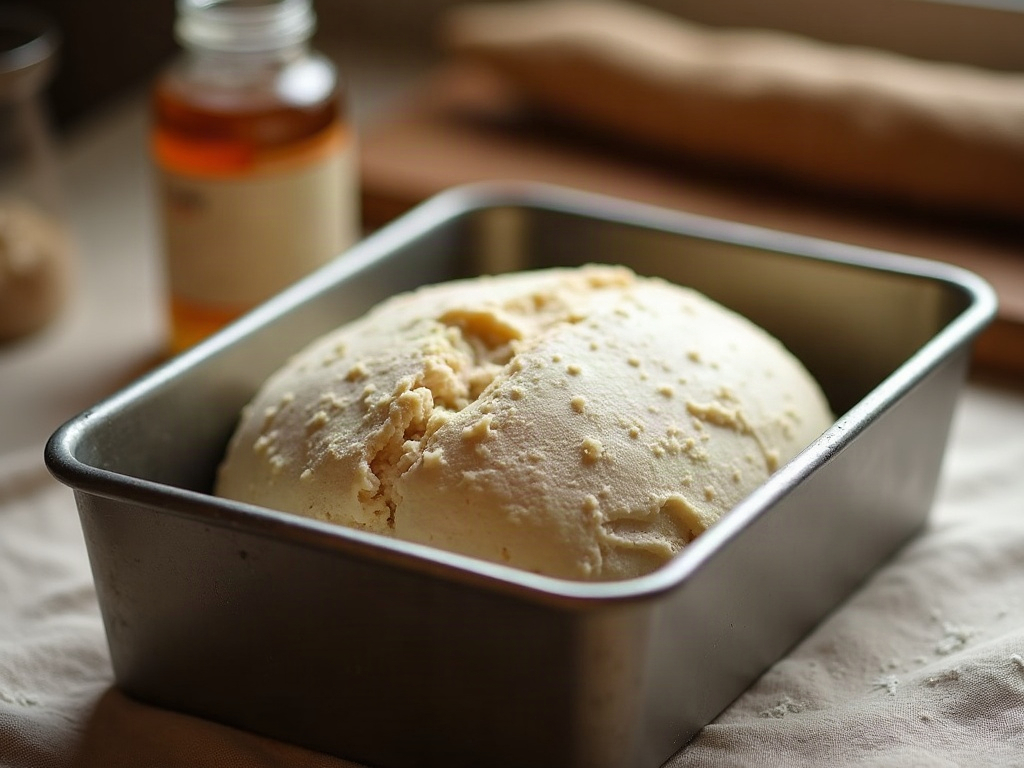
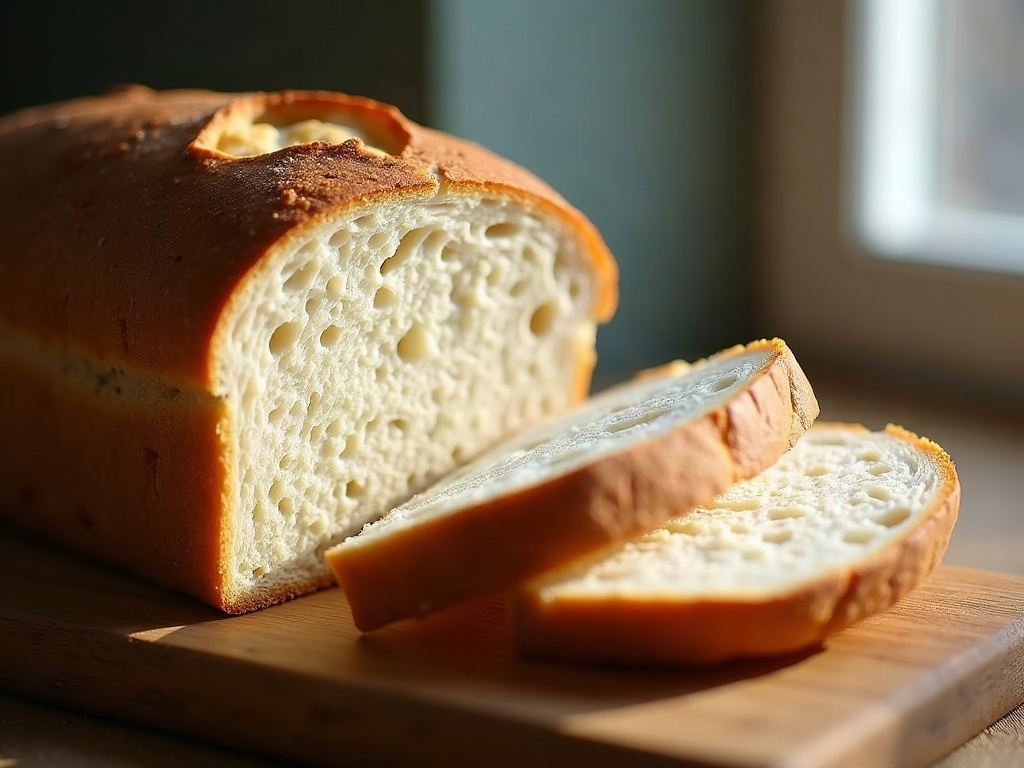
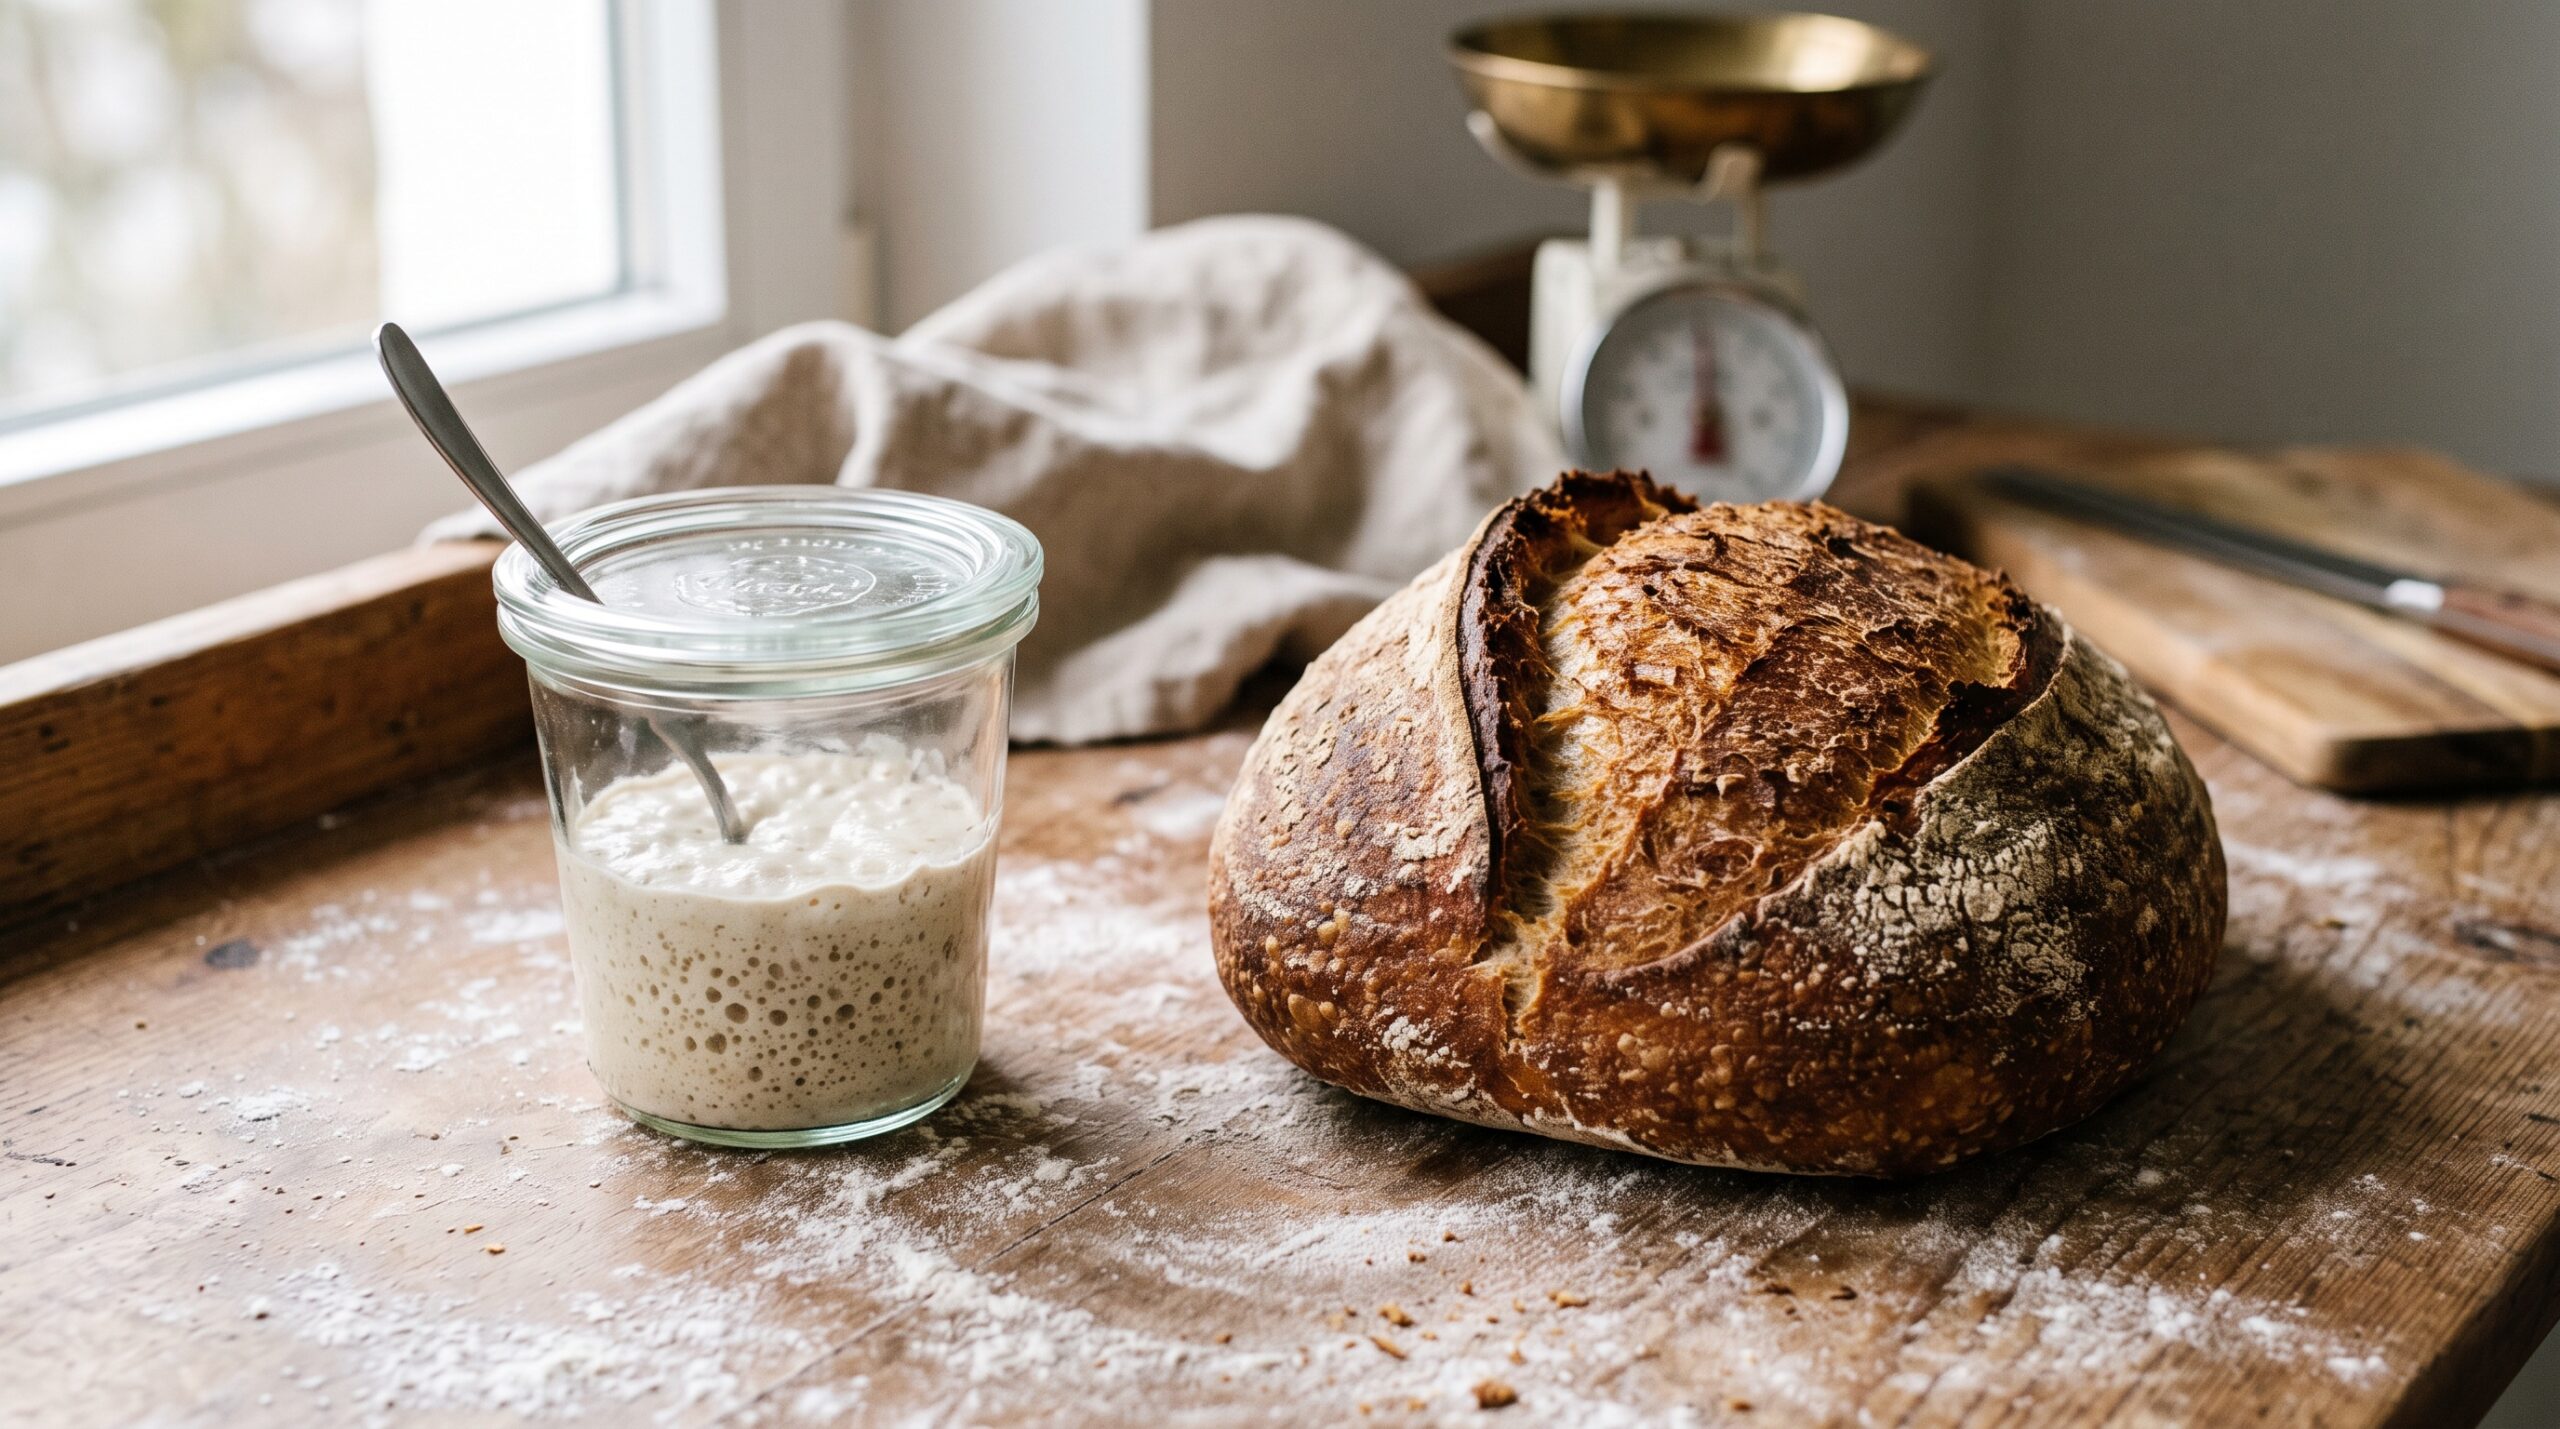
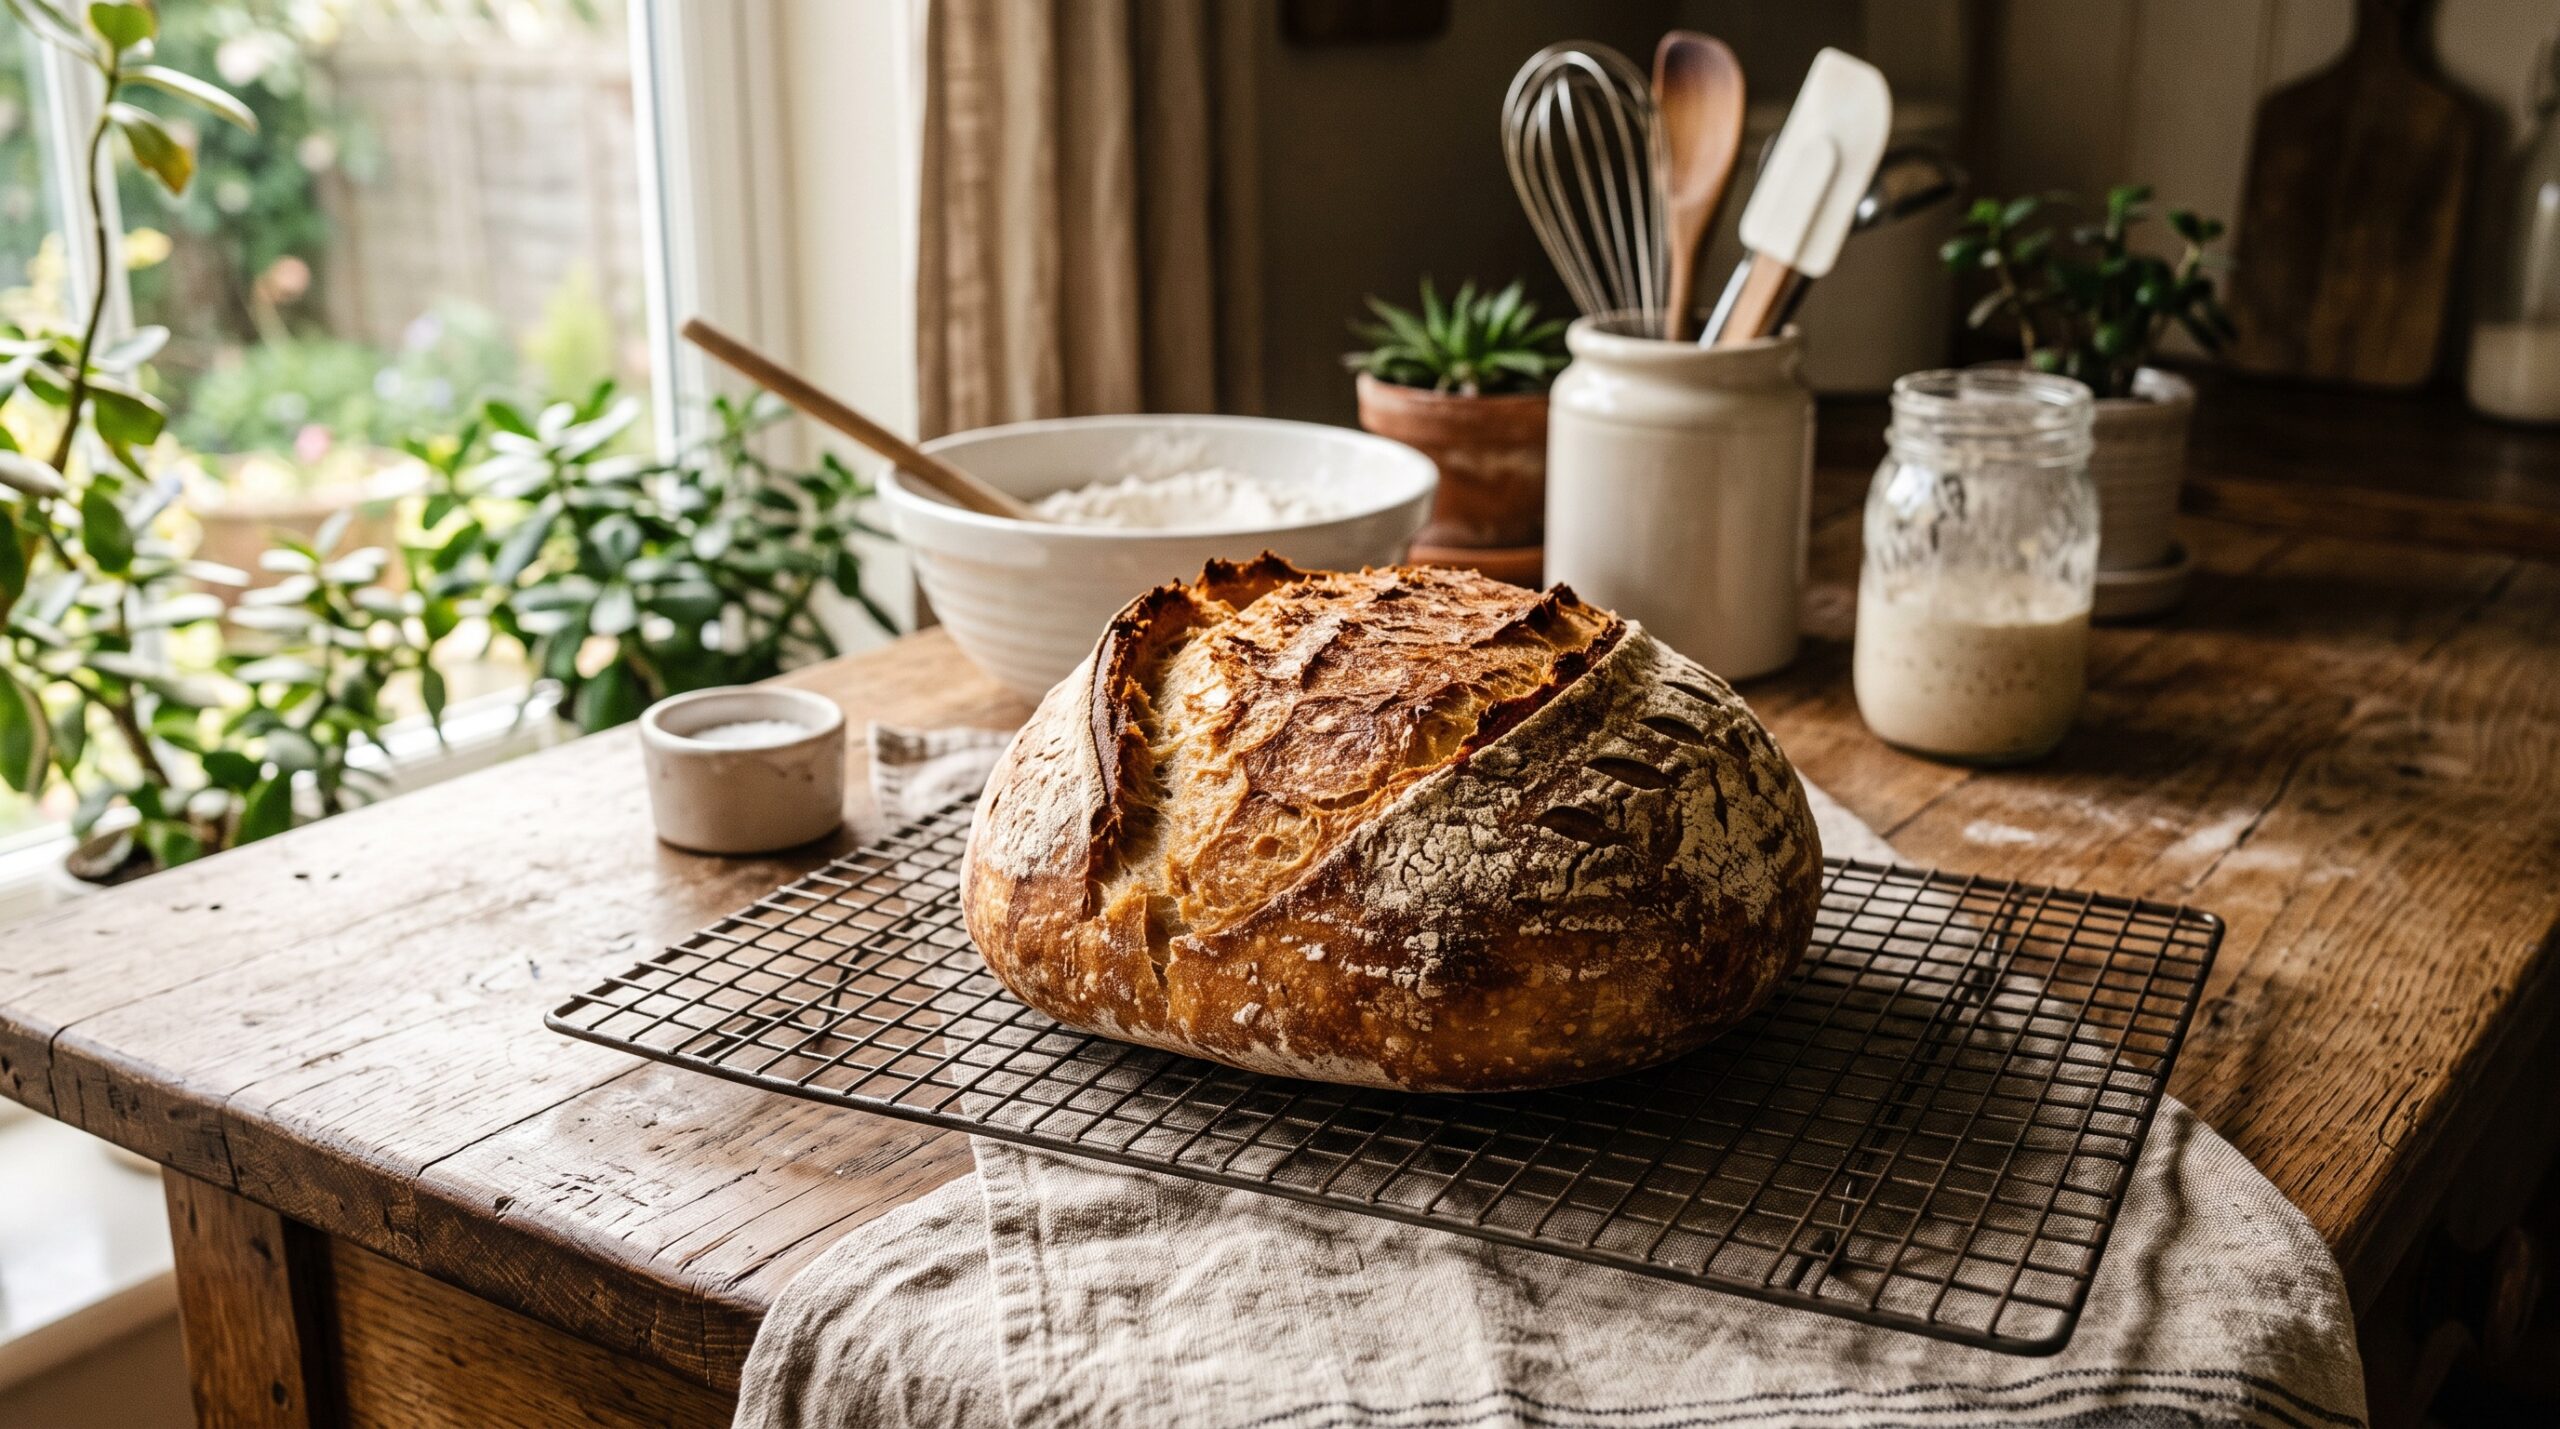
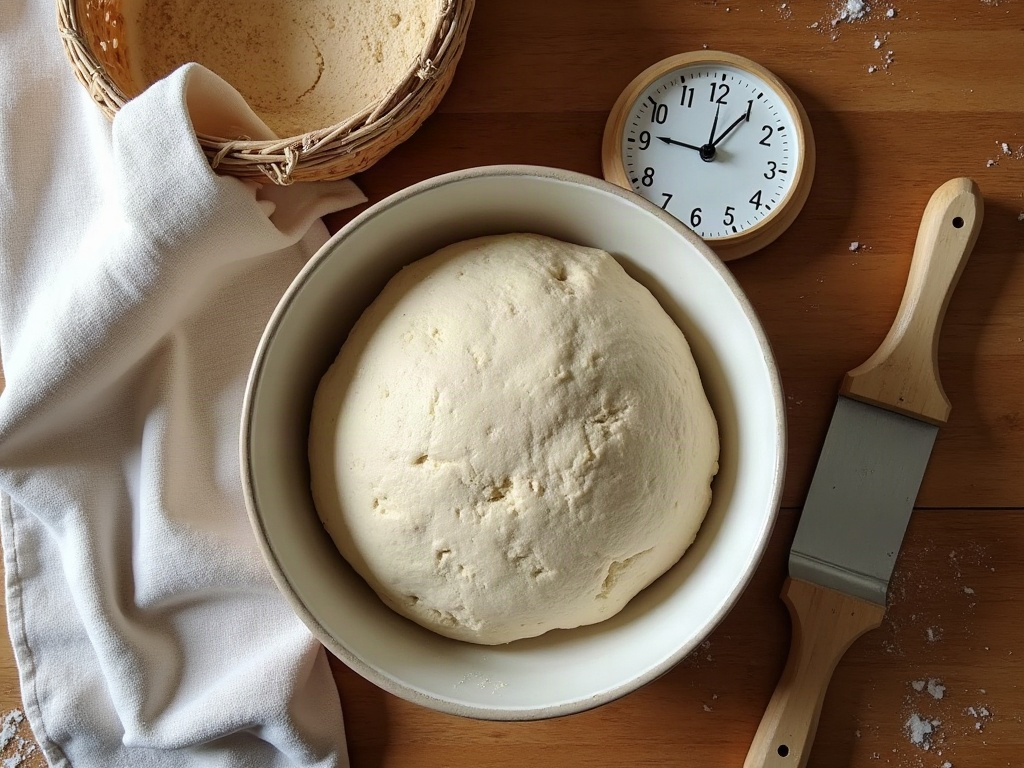
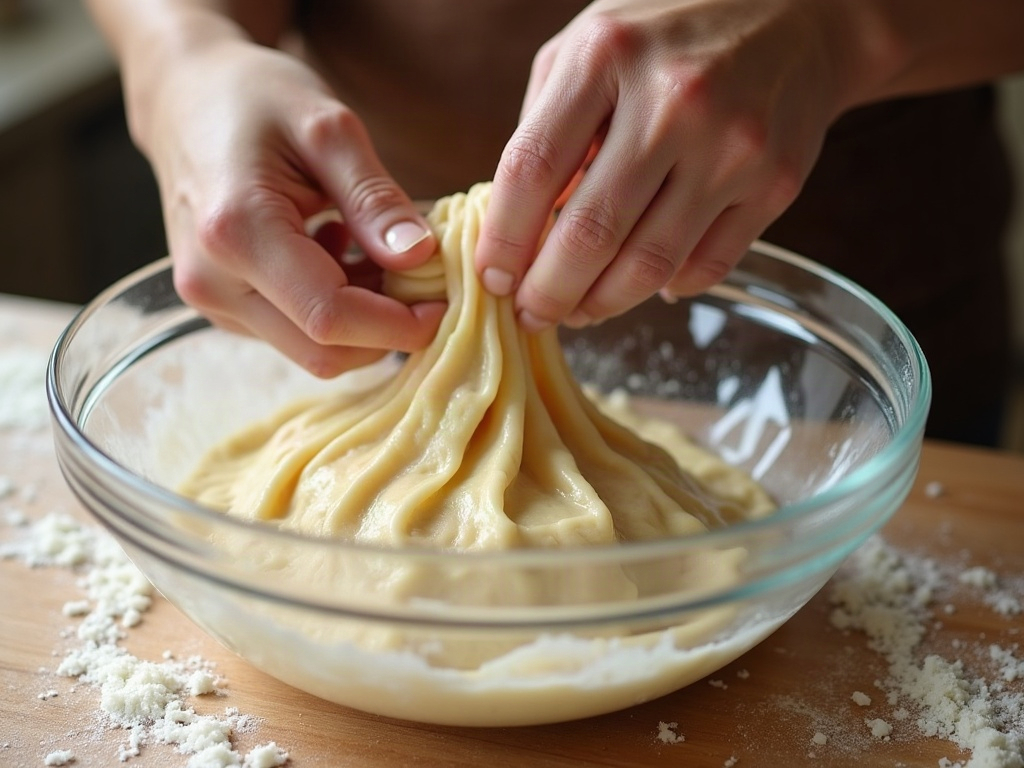
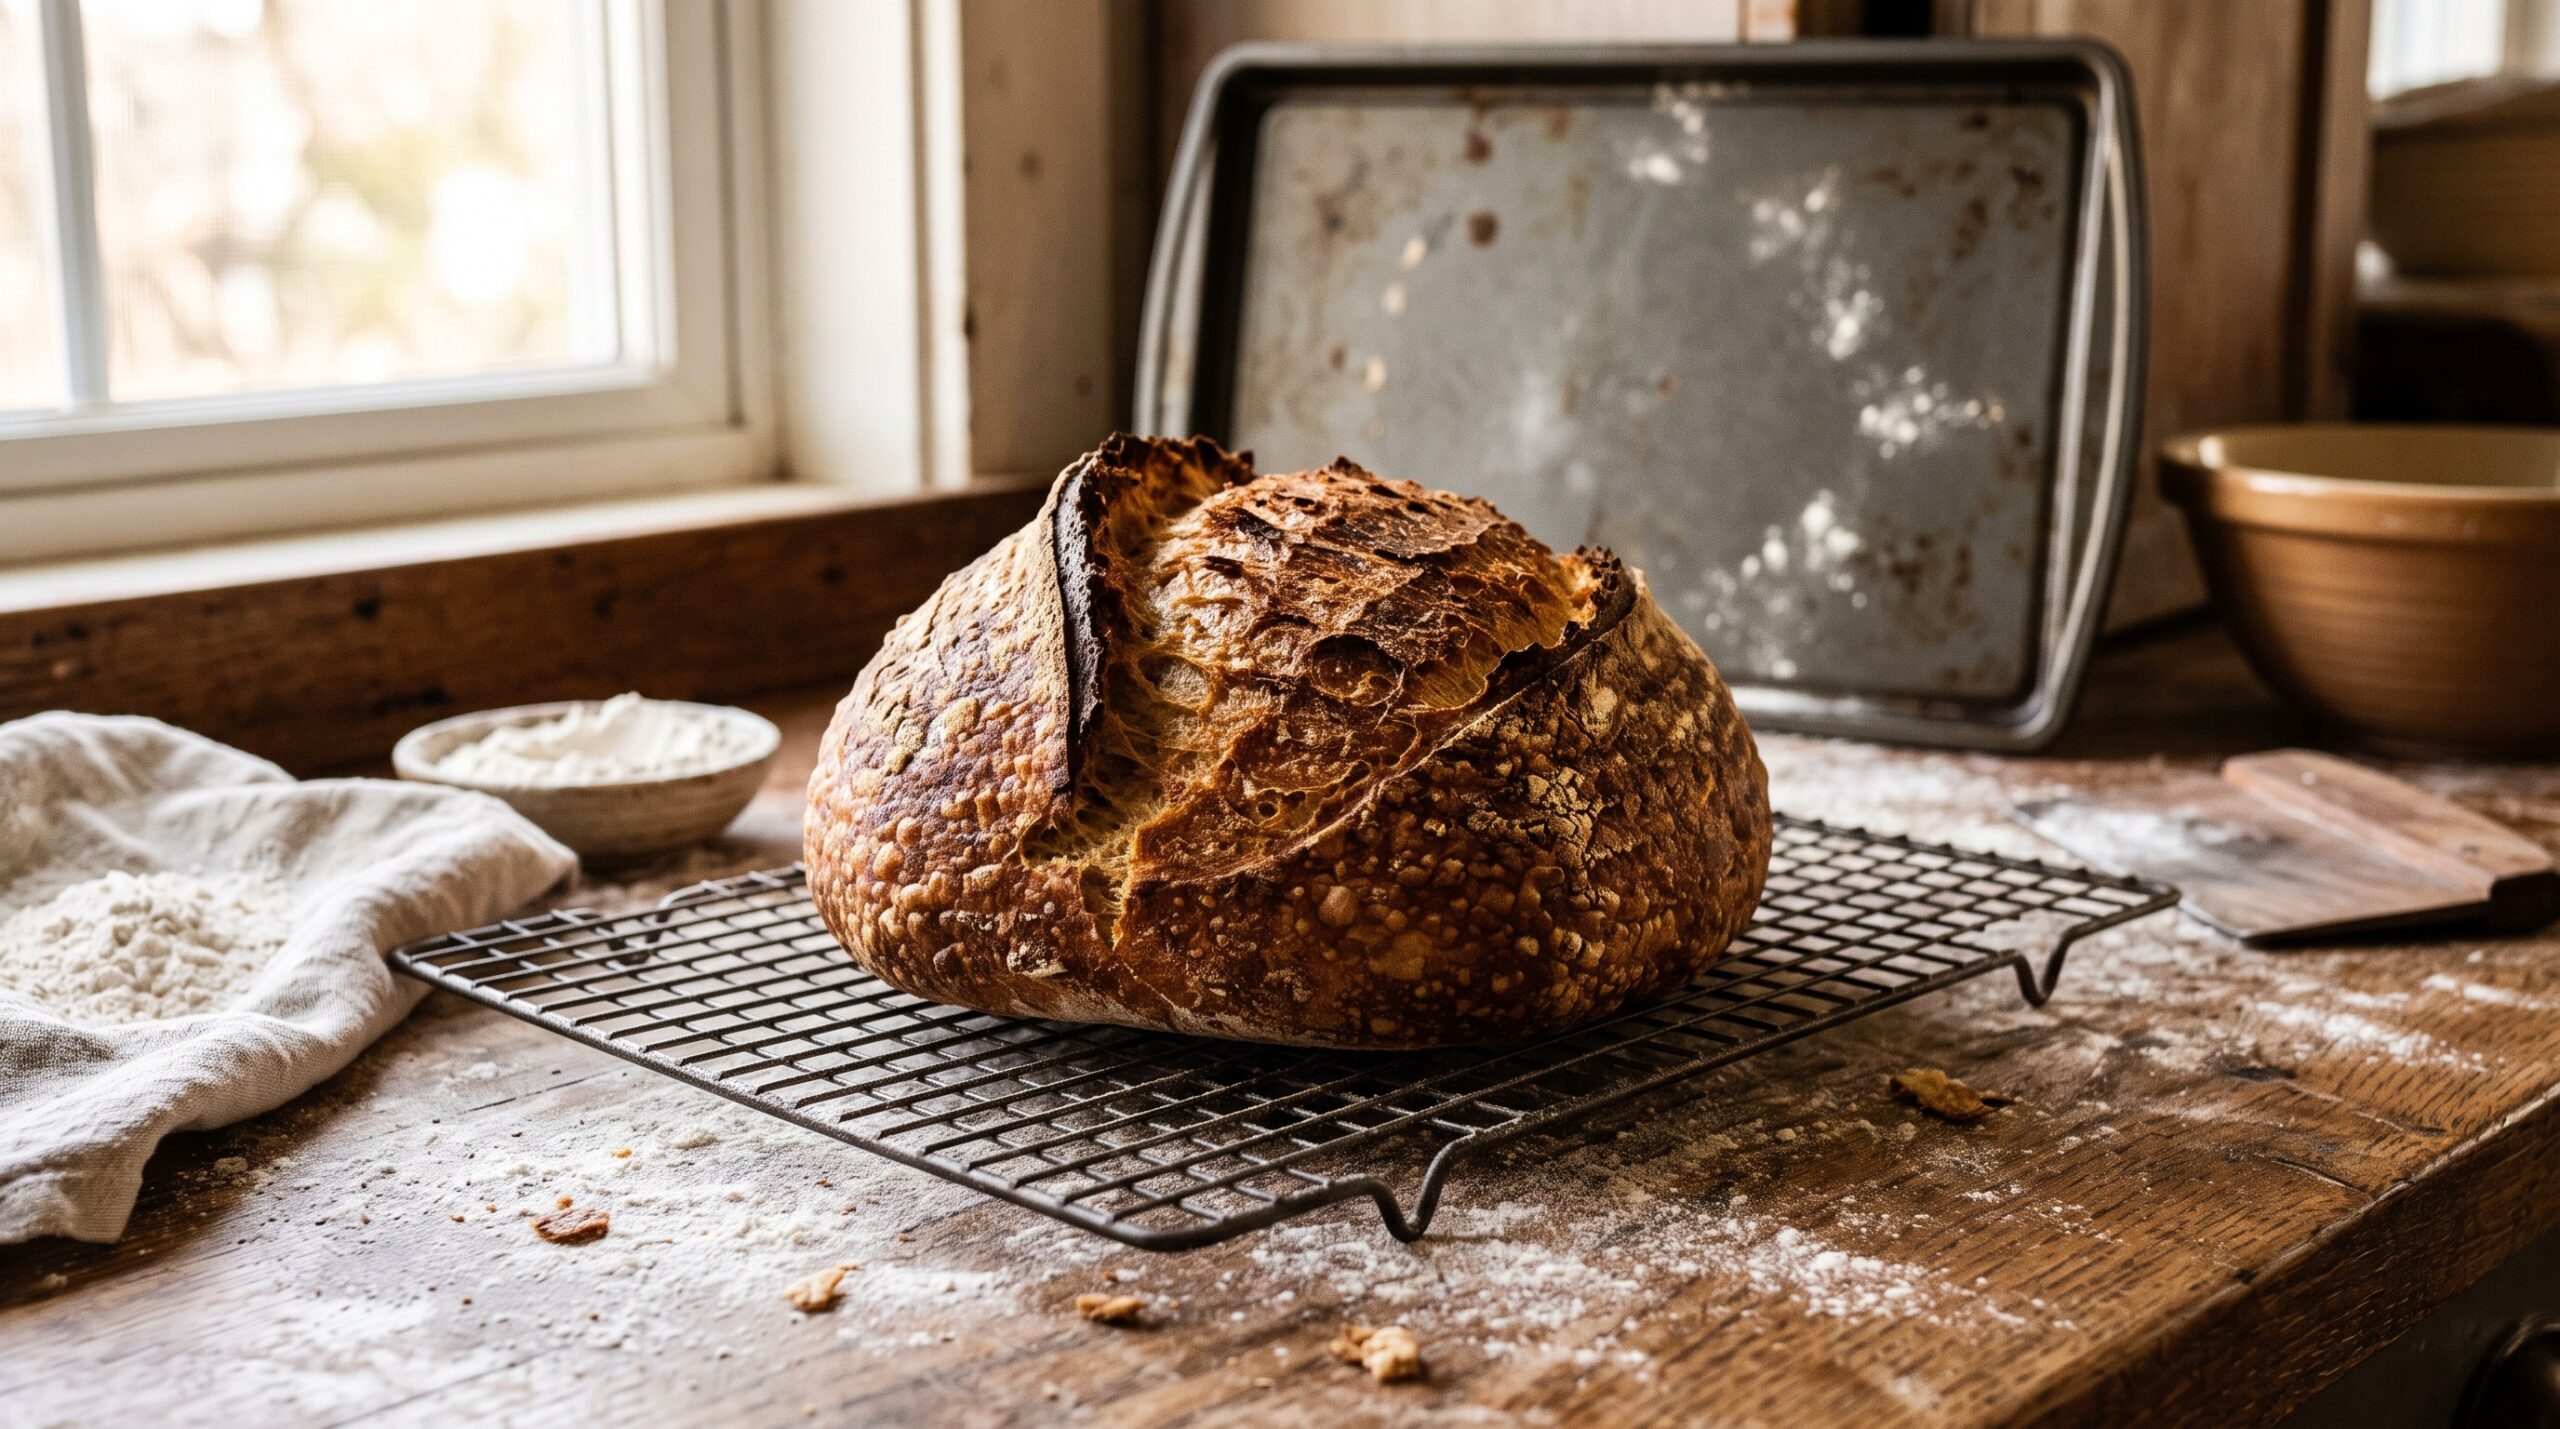
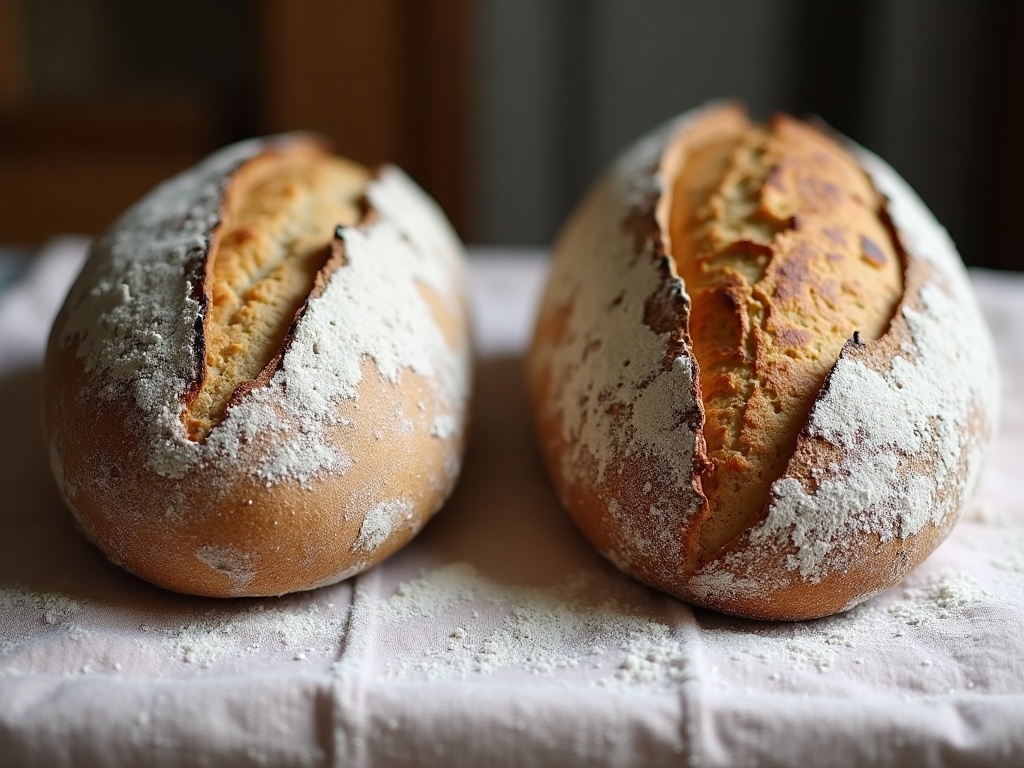
You followed the recipe to the letter. Four hours of bulk fermentation, it said, until the dough is puffy and jiggly and risen by half. But four hours in, your dough is sitting there looking almost exactly as it did when you mixed it — sullen, flat, barely alive. You did nothing wrong. Your kitchen is just colder than the kitchen the recipe was written in, and sourdough cares about temperature more than almost anything else.
Here is the quiet truth behind a huge share of frustrating bakes: nearly every recipe assumes a warm room, somewhere around 75 to 78°F, and most real kitchens drift well below that — especially in the morning, in winter, or in an air-conditioned house. The professional fix is a temperature-controlled proofing box, but you do not need to buy one. With things you almost certainly already own, you can build a DIY proofing box that holds a steady, dough-friendly temperature for a few dollars or nothing at all. Let’s walk through the options, from free to fancy.
Why a proofing box is the cheapest upgrade you can make
Temperature is the throttle on your entire ferment. Warmer dough ferments faster; cooler dough ferments slower. That is not a minor detail — it is the difference between a recipe’s timings meaning something and being pure fiction for your kitchen. A dough at 70°F can take nearly twice as long to bulk as the same dough at 78°F, and if you are following the clock instead of the dough, that gap is exactly how loaves end up underproofed, dense, and gummy.
A proofing box solves two problems at once. It gives you a warm enough environment to hit a recipe’s times, and — just as important — it gives you a stable one, so your results stop lurching around with the weather. Once your dough proofs at a consistent temperature, every other variable you tune actually stays tuned. The whole reason dough temperature matters so much is worth understanding in its own right; if you want the deeper version, our breakdown of the single number that secretly controls your whole bake explains why bakers obsess over it.
First, know your target (and measure the dough, not the air)
Before you build anything, know what you are aiming for. For most sourdough, you want the dough sitting somewhere around 76 to 78°F during bulk fermentation. Notice the emphasis: it is the dough temperature that drives fermentation, not the air temperature around it, and the two are not always the same. Cold dough dropped into a warm box takes a surprisingly long time to warm through.
This is why a cheap instant-read probe thermometer is the best few dollars a struggling baker can spend. Stick it into the dough, not the air, and you will finally be measuring the thing that matters. An inexpensive room thermometer or a fridge thermometer sitting inside your proofing box is a useful second check on the environment, but the probe in the dough is the real answer. You cannot hold a temperature you are not measuring, and guessing by feel is how good bakers still get caught out on a cold day.

The oven-light method: free, common, and quietly unreliable
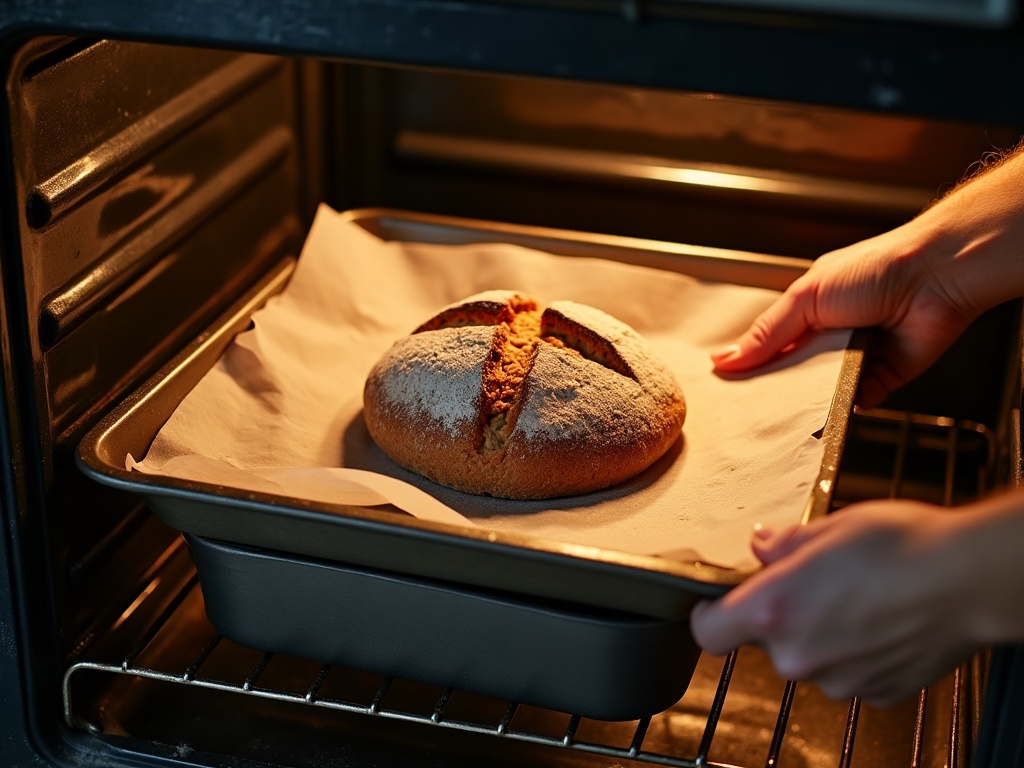
The classic trick is to put your dough in the (switched-off) oven with only the interior light on. The bulb throws off a gentle heat that, in many ovens, nudges the enclosed space into the mid-to-high 70s. It costs nothing, it is roomy, and for a lot of bakers it just works.
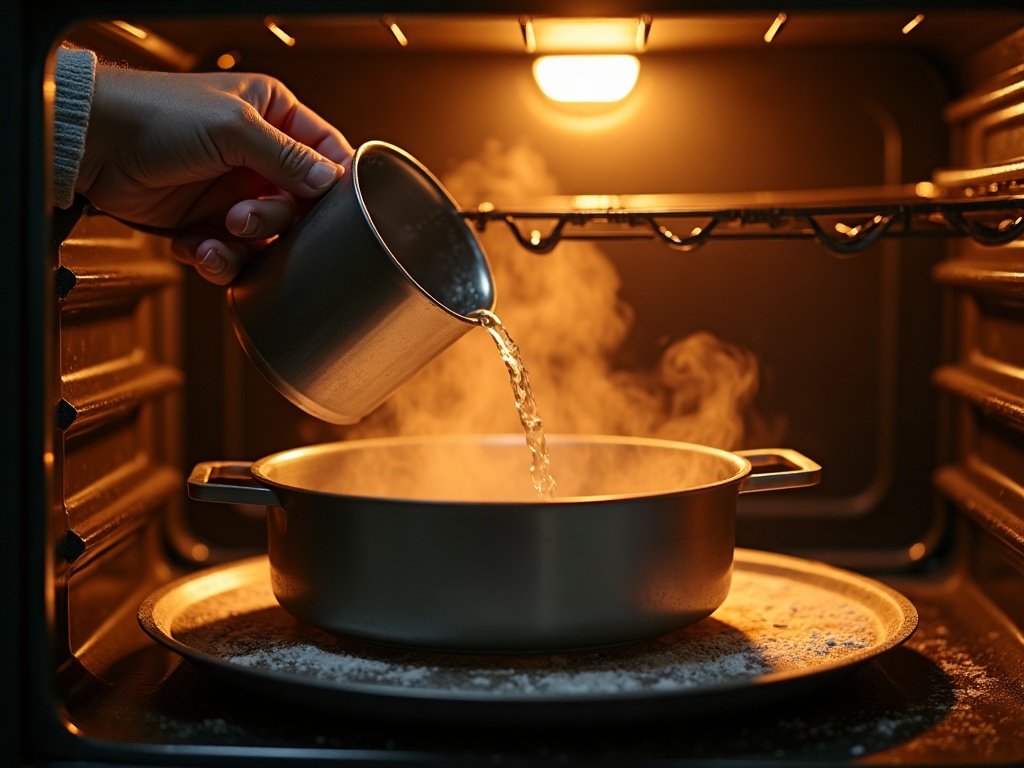
But there are two catches worth knowing before you trust it. First, modern ovens increasingly use LED bulbs, which barely give off any heat at all — so the old advice can do almost nothing in a newer oven. Second, some ovens with a strong incandescent bulb overshoot into the 80s or higher, which is too warm and will race your dough toward overproofing. The fix for both is the same: measure. Put a thermometer in there, close the door for 30 minutes, and see where it actually settles. If it runs cool, add a mug or shallow pan of just-boiled water alongside the dough for a boost of warmth and humidity. If it runs hot, crack the door open a little. And tape a note to the oven — a dough quietly proofing in an oven someone later preheats is a heartbreak you only need once.

The cooler-box method: the most reliable DIY proofer there is
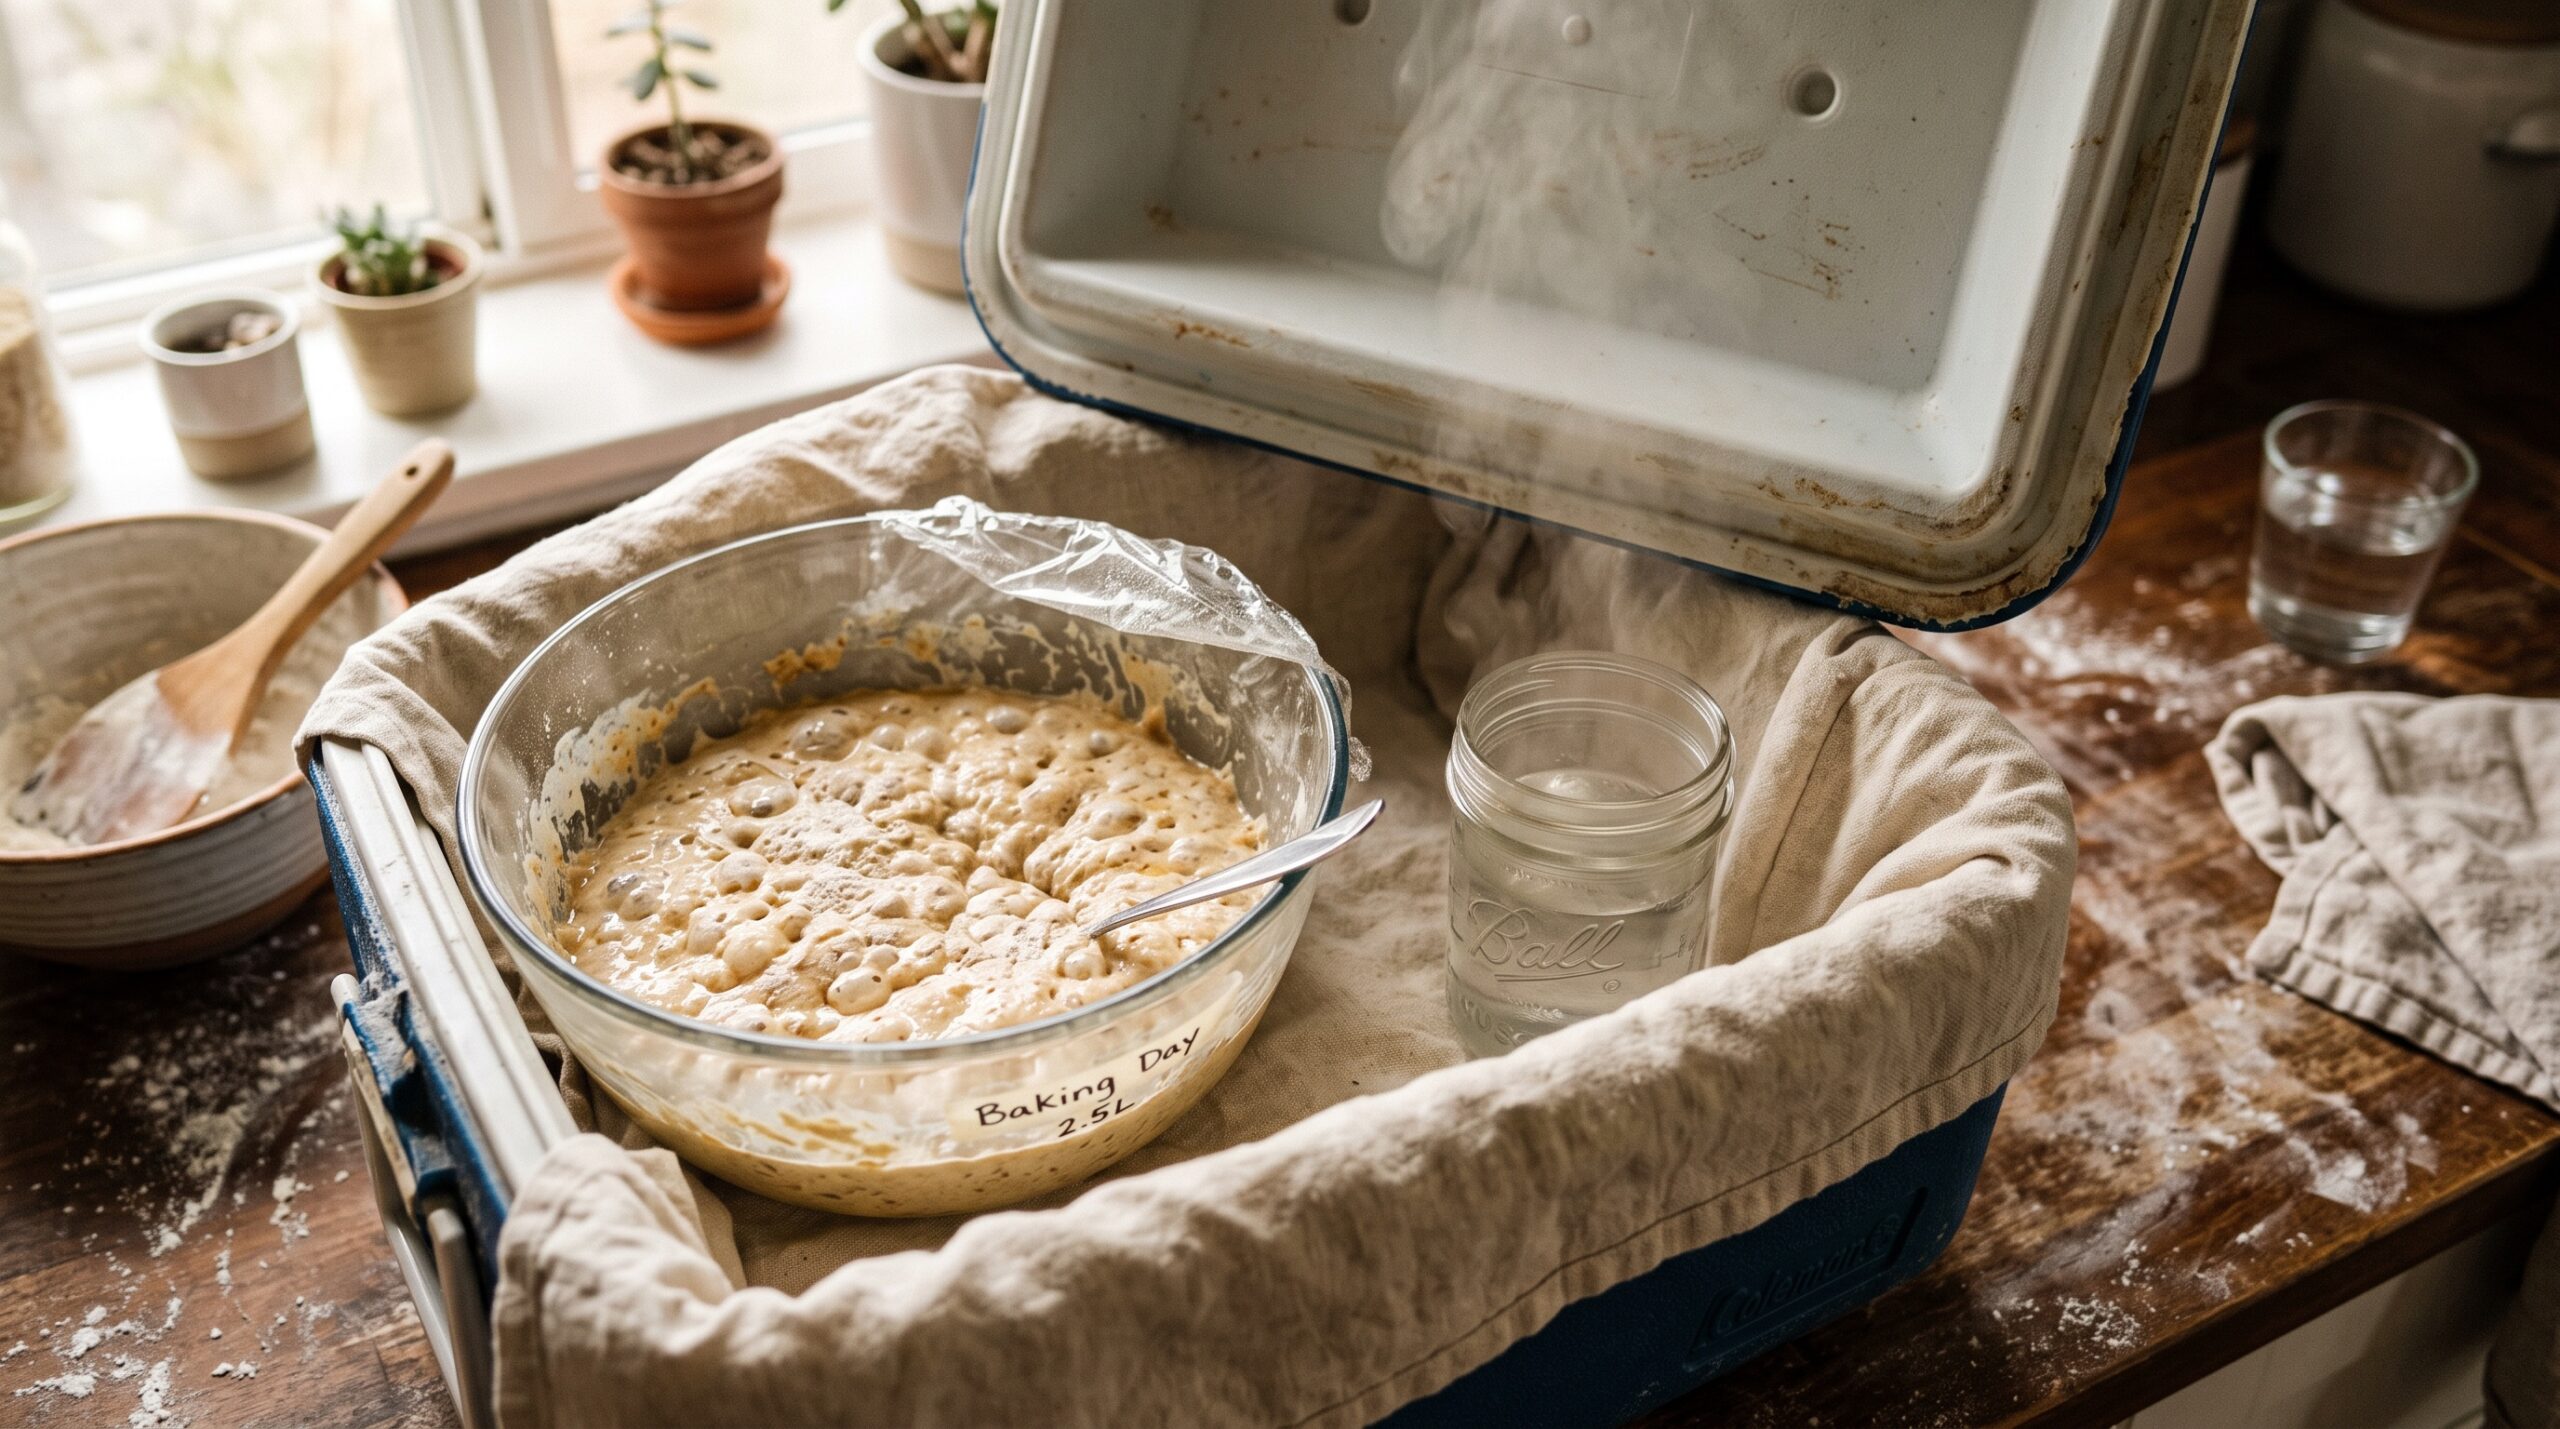
If you want the sweet spot of cheap and dependable, reach for an insulated cooler — the kind you take on a picnic. Its whole job is to resist temperature change, which is exactly what you want from a proofing box. Set your covered dough inside, add a jar or mug of warm (not boiling) water, close the lid, and the insulation traps that gentle warmth and humidity for hours.
Because a cooler holds temperature so well, it needs very little input to stay stable, and it rides out drafts and cold kitchen corners that would sabotage an open counter. Check it with your thermometer after 20 or 30 minutes; if it has drifted down, swap in a fresh jar of warm water. A small soft-sided cooler is perfect for a single banneton or bowl, and a larger hard cooler can hold a whole batch. Of all the no-cost and low-cost options, this is the one that behaves most like a real proofer, and it is the method worth reaching for when you genuinely need to keep your dough and starter warm through a cold kitchen.
Appliance methods: microwave, Instant Pot, and a seedling mat
A few appliances you already own double neatly as proofing boxes. The microwave works like a mini cooler: boil a mug of water in it, then leave the mug inside with your covered dough and the door shut. The enclosed box stays warm and humid, and — like the oven — it is a safe, draft-free space (just, again, leave a note so no one nukes your levain).
An Instant Pot or multicooker with a yogurt setting is the closest thing to a purpose-built proofer hiding in your cupboard. The yogurt function holds a low, steady warmth; set your dough inside on the lowest yogurt setting (lid off or vented, and a trivet or cloth under the bowl so it is not on the metal), and verify the temperature with your probe the first time, because some models run warmer than ideal.
For bakers who proof often, a seedling heat mat — the gentle warming pad sold for starting garden seeds — is a small investment that pays off. Set your bowl on the mat inside a box, cooler, or even a cardboard carton to trap the heat, and you get steady bottom warmth. Pair it with an inexpensive plug-in thermostat if you want true set-and-forget control. Whatever the appliance, the rule never changes: measure it once with a thermometer so you know what it actually does, rather than what you hope it does.

When the problem is the opposite: cooling a kitchen that runs hot
Not every kitchen is too cold. In summer, or in a warm climate, the challenge flips — your dough races ahead, overshoots, and turns slack and overproofed before you are ready. A proofing box can help here too, just in reverse: a cooler with a jar of cool water, or simply tucking the dough somewhere shaded and still, buys you a slower, more controllable ferment. And the fridge is the ultimate cooling proofer, letting you slow things to a crawl on your schedule.
The point is that a DIY proofing box is really a temperature-control box, not just a warming one. If your bakes keep running away from you in the heat, the companion to everything here is our guide to taming sourdough in a hot kitchen, which covers cooling the dough rather than warming it.
Dialing it in: measure, adjust, and trust the dough
Whichever box you build, the workflow is the same and it is simple. Set it up, measure the real temperature with a thermometer, adjust until it holds in that 76-to-78°F range, and then — this is the part that matters most — keep watching the dough rather than only the clock. A proofing box makes your timings far more trustworthy, but dough is the final authority: it is ready when it is puffy, domed, and jiggly and has risen by roughly half, whatever the recipe’s stated hours say.
When temperature stops being a random variable, a cascade of other frustrations quietly resolves. A steady, warm-enough ferment is one of the biggest levers on a loaf’s interior, and getting it right is often the hidden fix when you are chasing an open crumb but getting a gummy center instead. Build the box, measure it, and your dough finally gets to ferment at the temperature the recipe always assumed you had.
If you would like to see these setups in action — what a cooler proofer looks like mid-rise, how to read the dough instead of the timer — we walk through them on the LoafLovers YouTube channel, and our free sourdough troubleshooting guide keeps the target temperatures and fixes in one place for the next time a loaf stalls. Drop your email and we will send it over, so the next cold morning does not cost you a bake.