Tag: bulk fermentation

  • Stretch and Folds: How and When to Strengthen Your Sourdough Without Kneading

    Stretch and Folds: How and When to Strengthen Your Sourdough Without Kneading

    You did everything right. Fed the starter, mixed the dough, waited the hours the recipe promised, and still your loaf turned the banneton out into a sad, spreading disc. Before you blame your starter or your flour, look at your handling. Nine times out of ten, a flat loaf and a collapsing crumb come down to one thing: weak dough that never built enough structure to hold its own gas. The good news is that fixing it doesn’t mean ten minutes of white-knuckle kneading. It means stretch and folds, and they take about ten seconds each.

    Stretch and folds are the quiet workhorse of modern sourdough. They’re how you turn a slack, sticky, shapeless mass into a smooth, elastic dough that rises up instead of out, all without a stand mixer and without wearing yourself out. Here’s exactly what they do, how to perform them, how many you actually need, and, just as importantly, when to stop.

    What a stretch and fold actually does

    When you mix flour and water, you create gluten, the protein network that traps the carbon dioxide your starter produces. Straight out of the mix, that network is disorganized and floppy. Kneading is one way to organize it. Stretching and folding is another, and it’s gentler and better suited to the wet doughs sourdough thrives on.

    Each fold aligns the gluten strands and stacks tension into the dough, the same way folding a sheet of paper over and over makes it stiffer and springier. Do a set every 30 to 45 minutes during the first part of bulk fermentation and you steadily transform a dough that pools into one that domes. You’ll feel it happen: the first fold fights you and tears, and by the third the dough stretches thin and pulls back like elastic. That change is the whole point.

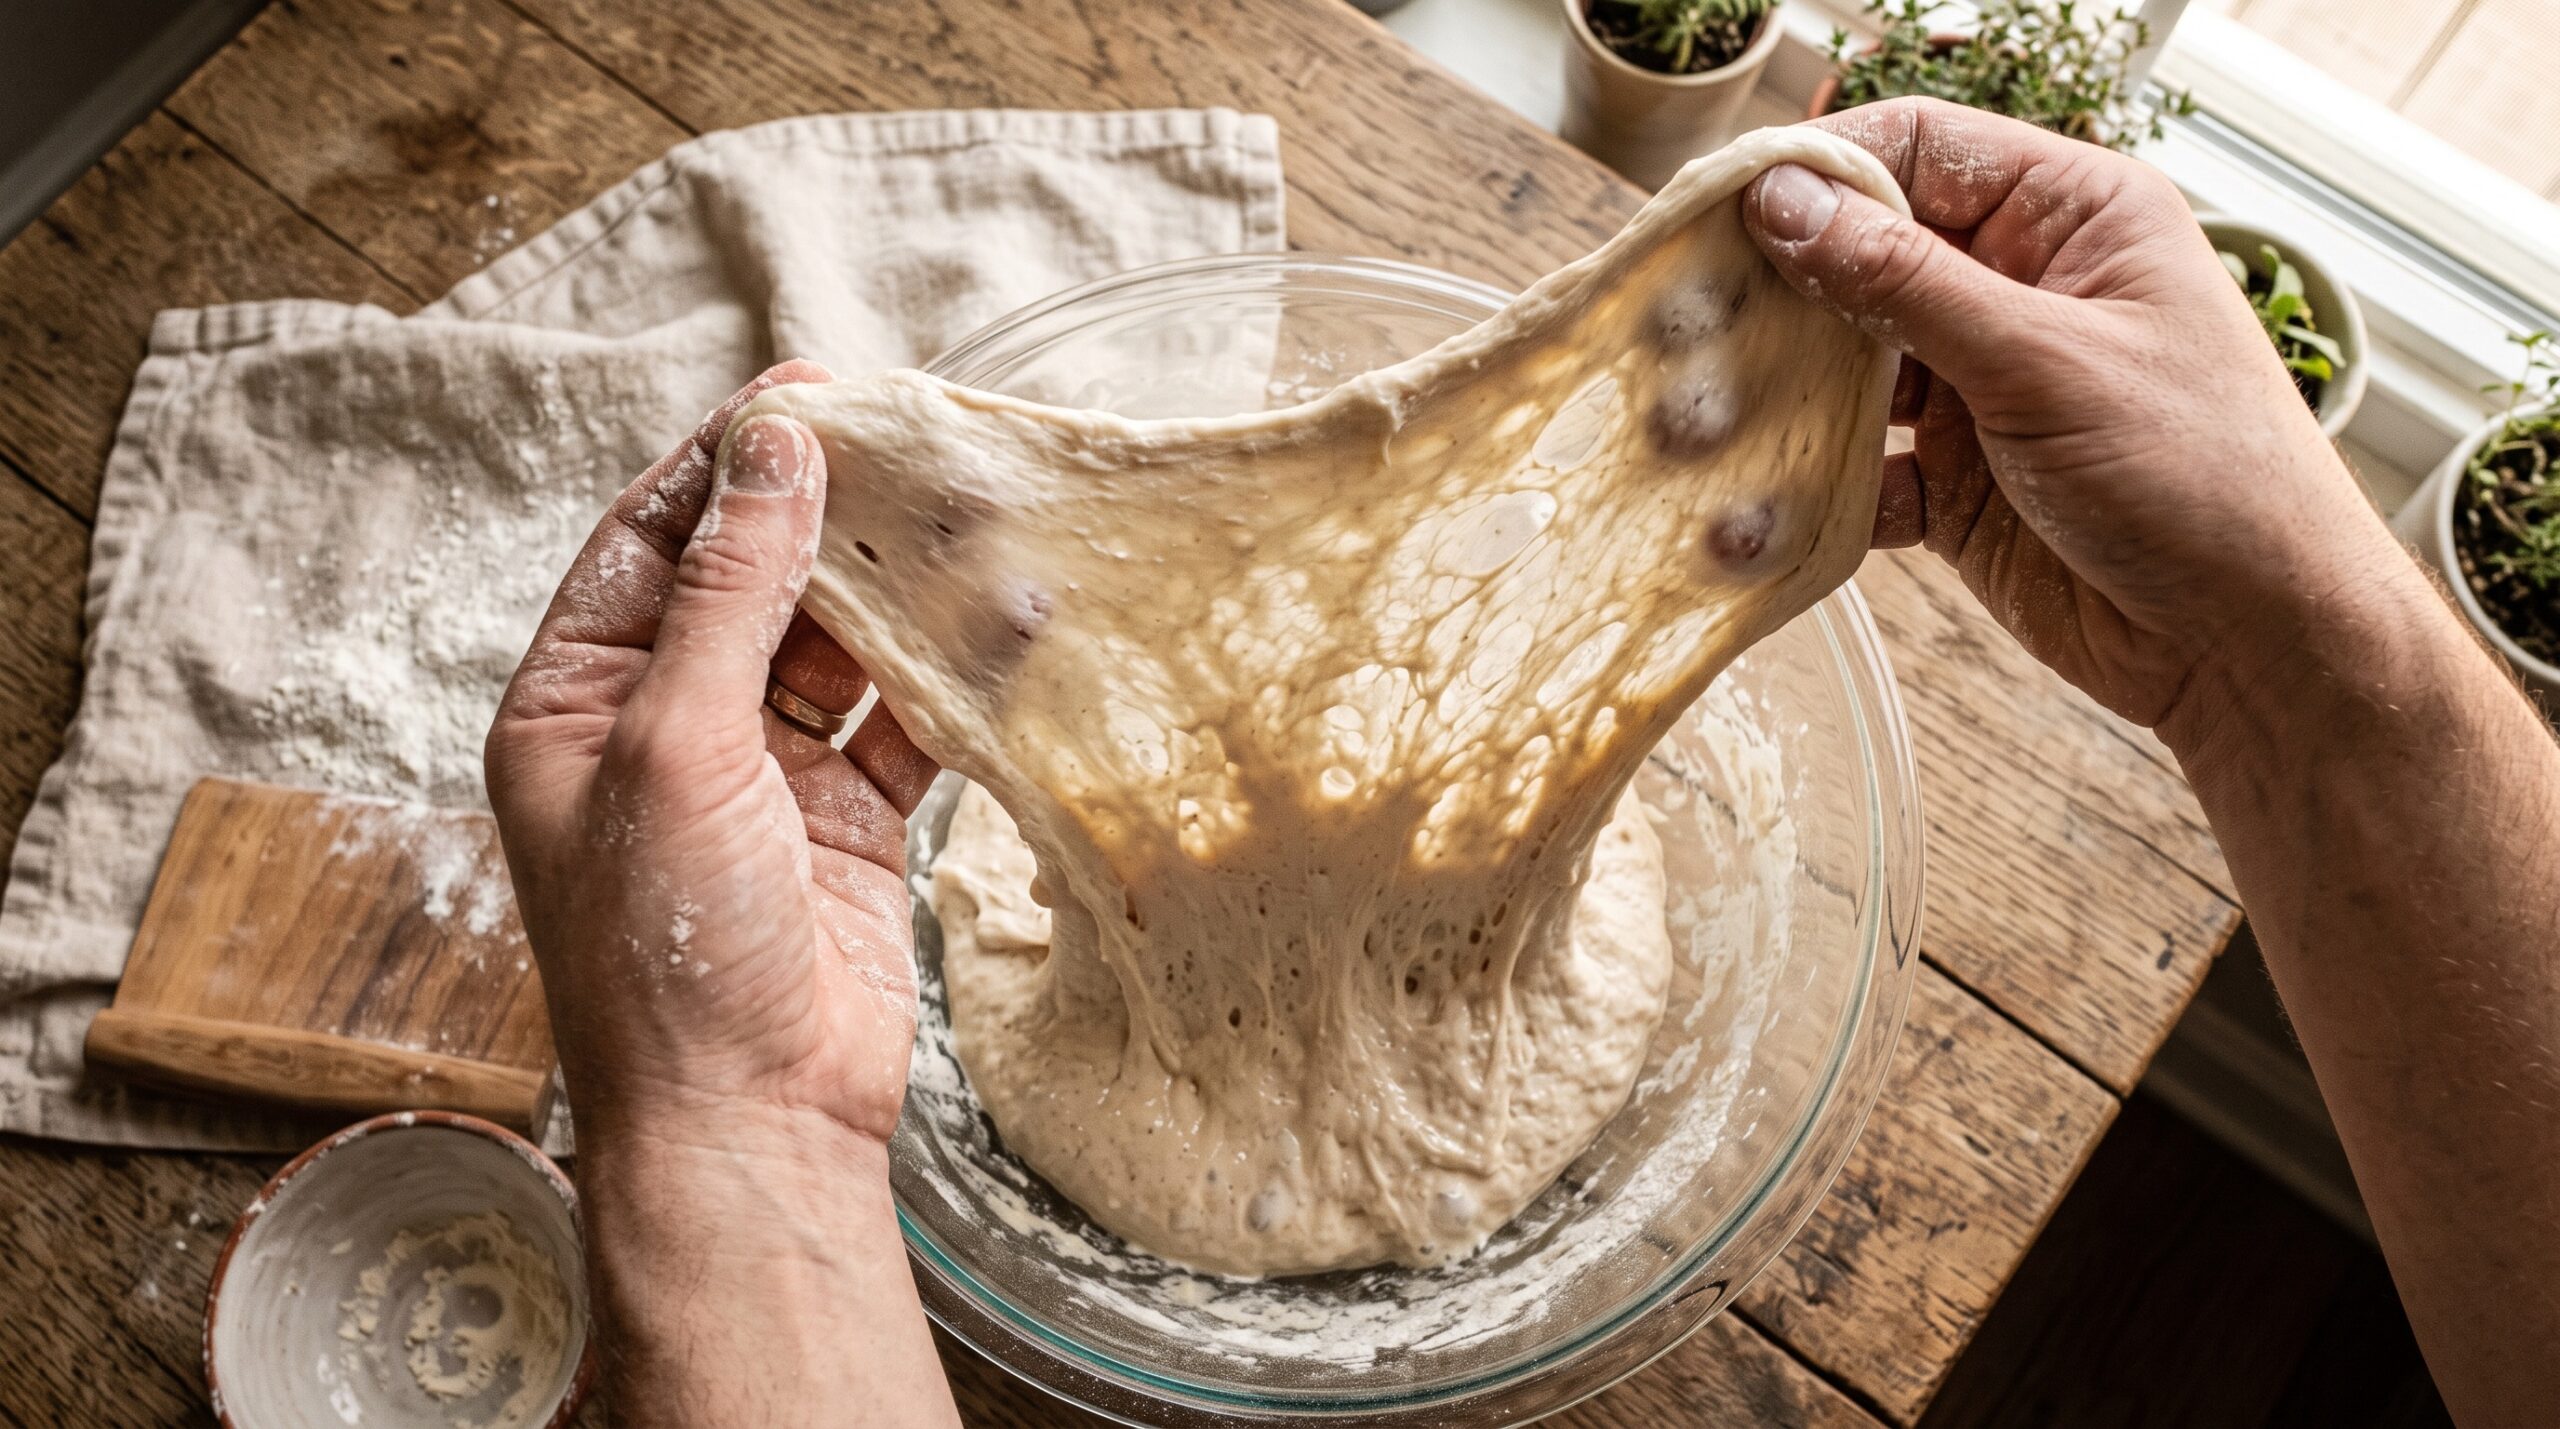
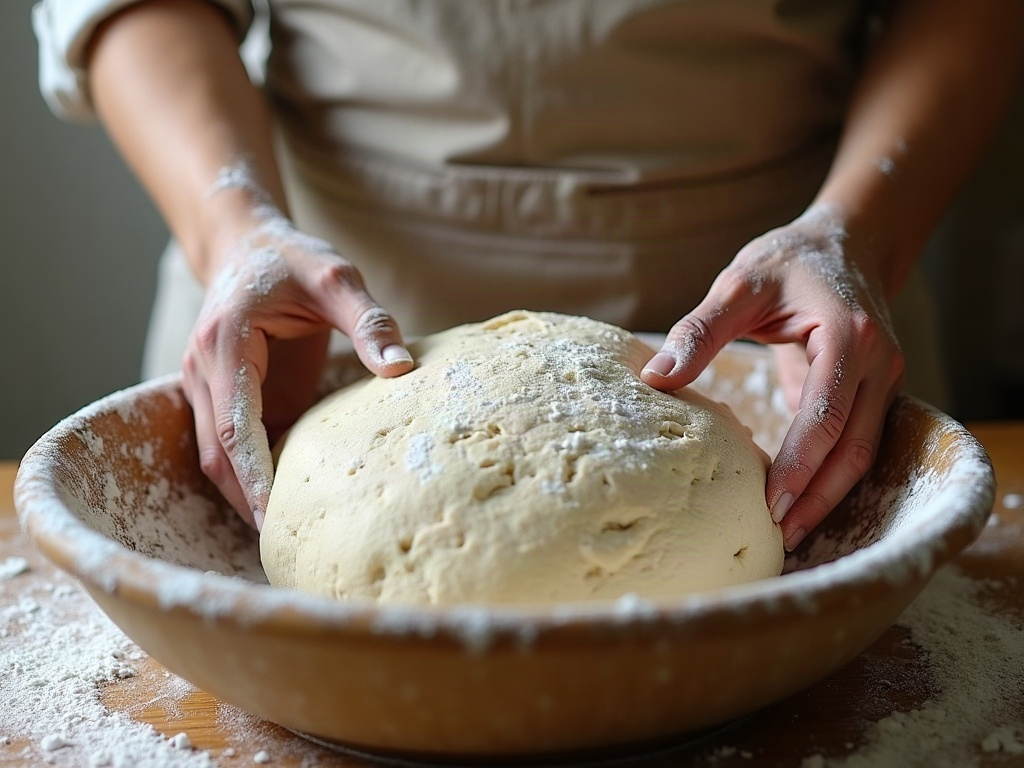
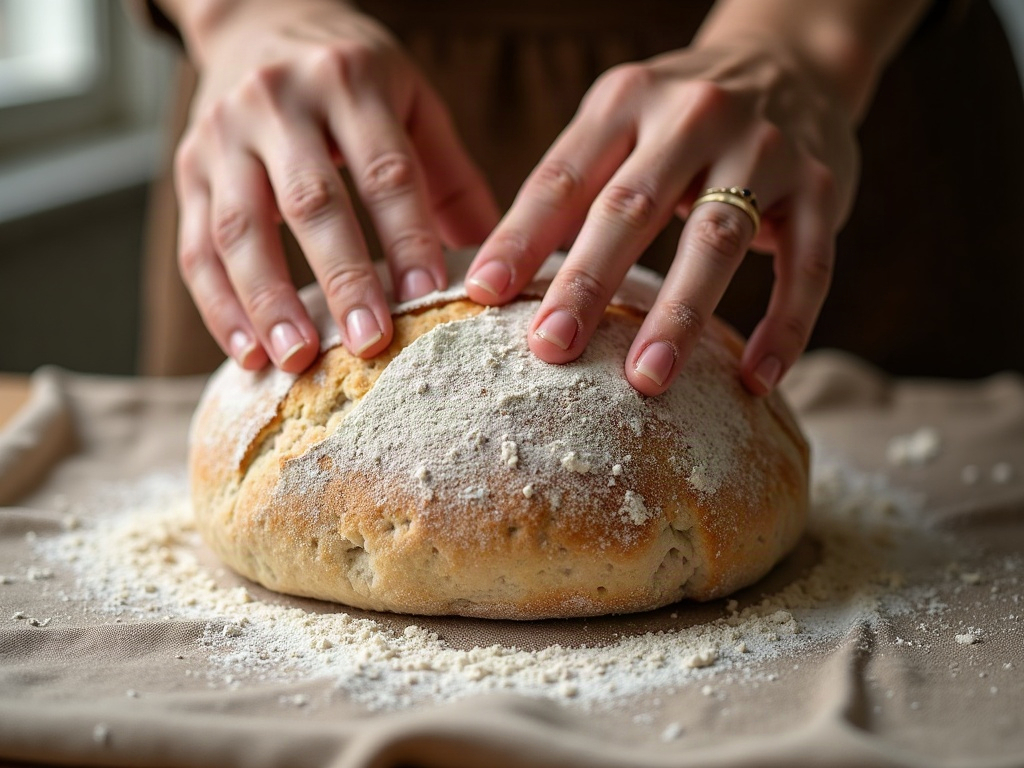
    Floured hands stretching a wet sourdough up out of a bowl and folding it back over itself
    One stretch and fold: lift high, let the dough stretch, then lay it back over the top.

    How to do a basic stretch and fold

    You don’t need any tools, just a bowl of dough and a small dish of water to keep your hands from sticking. Here’s the move, step by step:

    1. Wet one hand lightly. 2. Slide it under one side of the dough, grab it, and lift it up until it stretches, without ripping. 3. Fold that flap over to the opposite side. 4. Rotate the bowl a quarter turn and repeat. Four lifts, one from each side, is a complete set. The dough should end up as a tidier, tighter package than when you started.

    Cover it and walk away for 30 to 45 minutes, then come back and do another set. Keep your touch light. You’re not punching or squeezing, you’re lifting and laying. If the dough tears every time on an early set, it just isn’t developed yet, so ease off and let time do some of the work between folds.

    Coil folds: the gentler cousin

    Once your dough is airy and full of gas, aggressive stretching can deflate it. That’s when coil folds take over. Instead of pulling the dough sideways, you lift it from the middle with both hands until the two ends release from the container and tuck underneath, forming a coil. Set it down, rotate 90 degrees, and lift again.

    Coil folds add tension without degassing the dough, which makes them ideal for the back half of bulk fermentation and for high-hydration doughs that have gone pillowy. Many bakers start a batch with two sets of classic stretch and folds, then switch to two coil folds as the dough gets lively. Use whichever keeps the dough strong without knocking the air out.

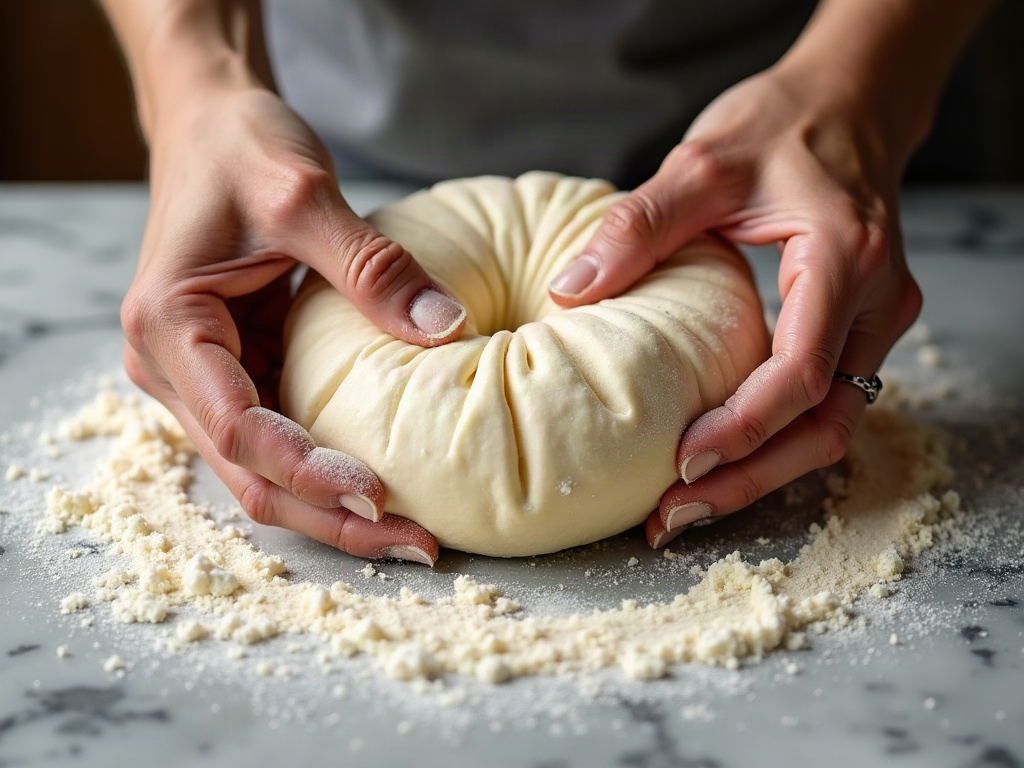
    Hands lifting the middle of a bubbly dough in a coil fold so the ends tuck underneath
    A coil fold: lift from the middle and let gravity tuck the ends under, gentler on a gassy dough.

    How many folds do you actually need?

    There’s no magic number, but a useful default is three to four sets, spaced 30 to 45 minutes apart, all within the first couple of hours of bulk fermentation. That’s when the dough is most receptive and gluten development pays off the most. After that, folding does little except risk tearing a gassy dough.

    Read the dough, not the clock. A strong bread flour needs fewer folds than a weak all-purpose or a whole-grain blend that fights to hold structure. Higher-hydration doughs generally want more sets to firm up; stiffer doughs want fewer. If your dough is already smooth, elastic, and holding a dome after two sets, you’re done. Piling on more folds won’t make it stronger, it’ll just start deflating the gas you worked to build.

    When to stop folding

    This is where most flat loaves are actually lost, not from too few folds but from folding too long into fermentation. Every fold you do near the end of bulk knocks out gas the dough won’t have time to replace before shaping. Stop while the dough still has work left to rise.

    Your signals to quit: the dough has grown noticeably (roughly 30 to 50 percent, depending on your process), the surface has gone smooth and slightly domed, you can see bubbles forming under the surface and around the edges, and it jiggles like a set custard when you shake the container. Once you see those, hands off. Let it finish bulk undisturbed, then move to shaping.

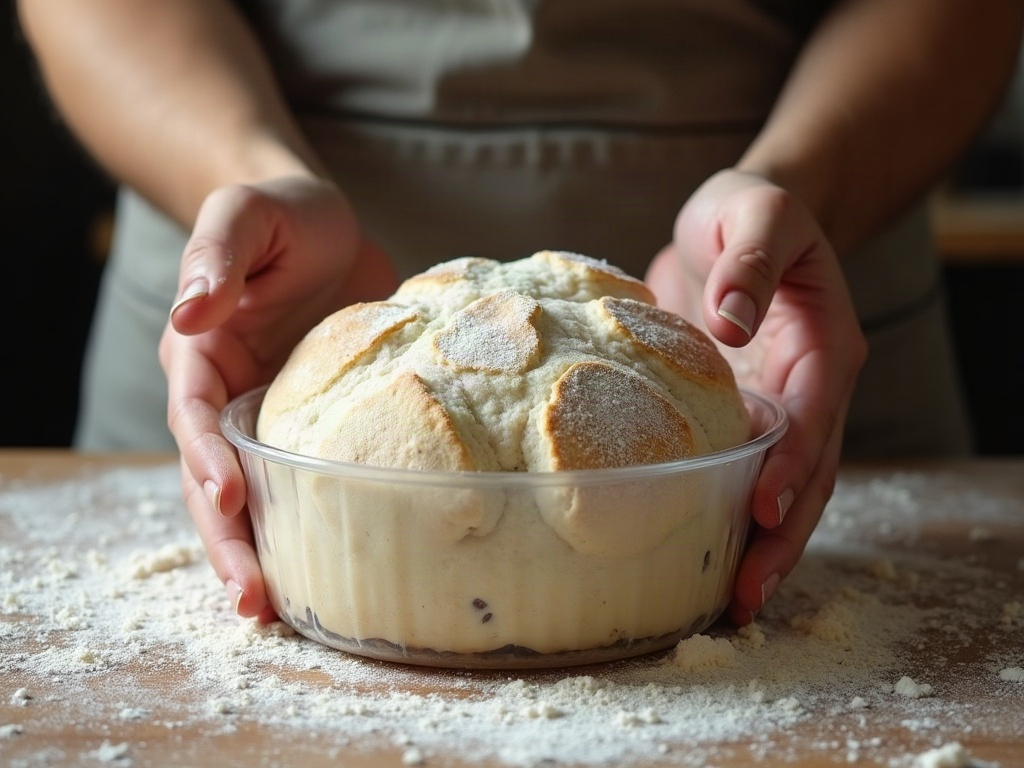
    A finger pressing a jiggly, domed, bubbly dough to judge when folding should stop
    Stop folding once the dough turns jiggly, domed, and full of bubbles, that’s your cue to shape.

    Fitting folds into a real schedule

    The 30-to-45-minute rhythm sounds demanding, but it’s forgiving in practice. You don’t have to hover. Set a phone timer, do a 10-second fold, and go back to your day. If life gets in the way and you miss a fold by 20 minutes, the dough won’t care. If you have to leave the house, do your folds a little closer together up front and let the dough bulk on its own after.

    Kitchen temperature changes the timing too. In a warm room, fermentation moves fast, so get your folds done early and expect the whole bulk to finish sooner. In a cold kitchen, everything stretches out and you have more slack to work with. When in doubt, watch the dough’s strength and rise rather than counting minutes.

    Common stretch-and-fold mistakes

    Folding a dough that’s already strong. More is not better. Once it’s elastic and domed, extra folds just degas it.

    Being too rough. Ripping the dough tears the very gluten you’re trying to build. Lift slowly and let it stretch on its own.

    Dry hands. Sticky dough tears and frustrates you into overworking it. A quick dip in water fixes it instantly, without adding flour that would stiffen the dough.

    Folding too late. Doing a hard stretch-and-fold set an hour before shaping undoes your rise. Front-load the folds and finish bulk hands-off.

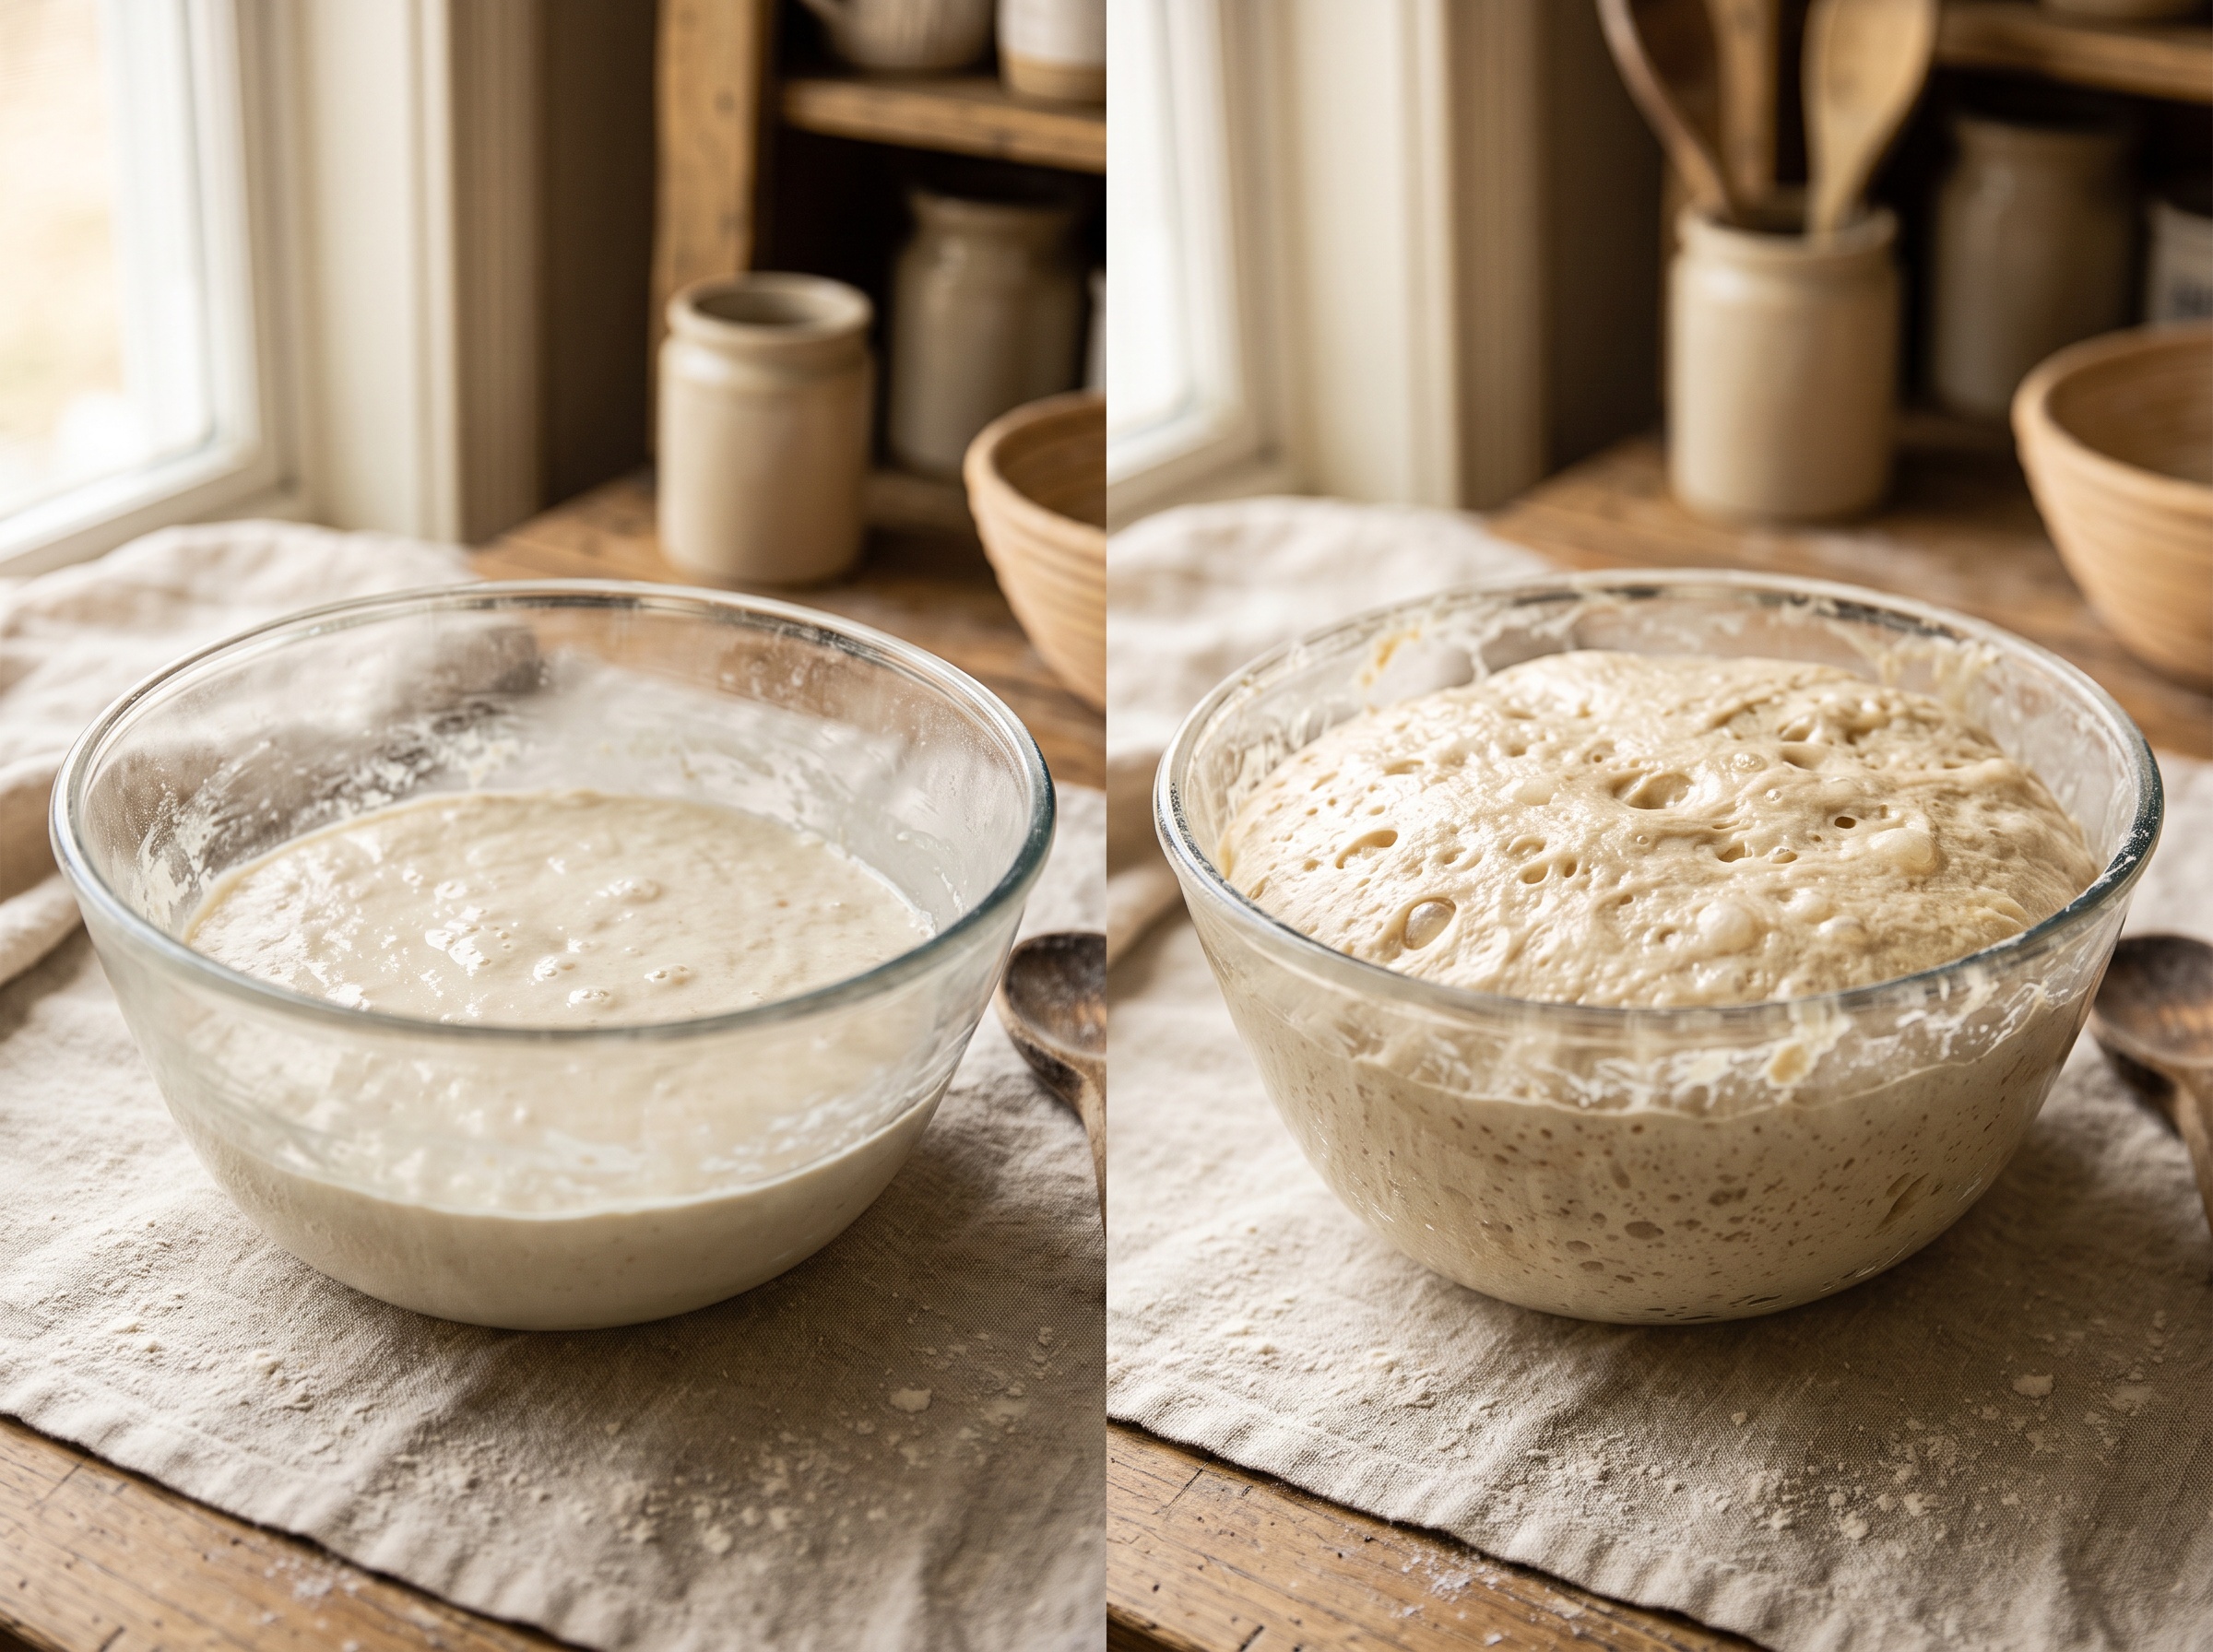
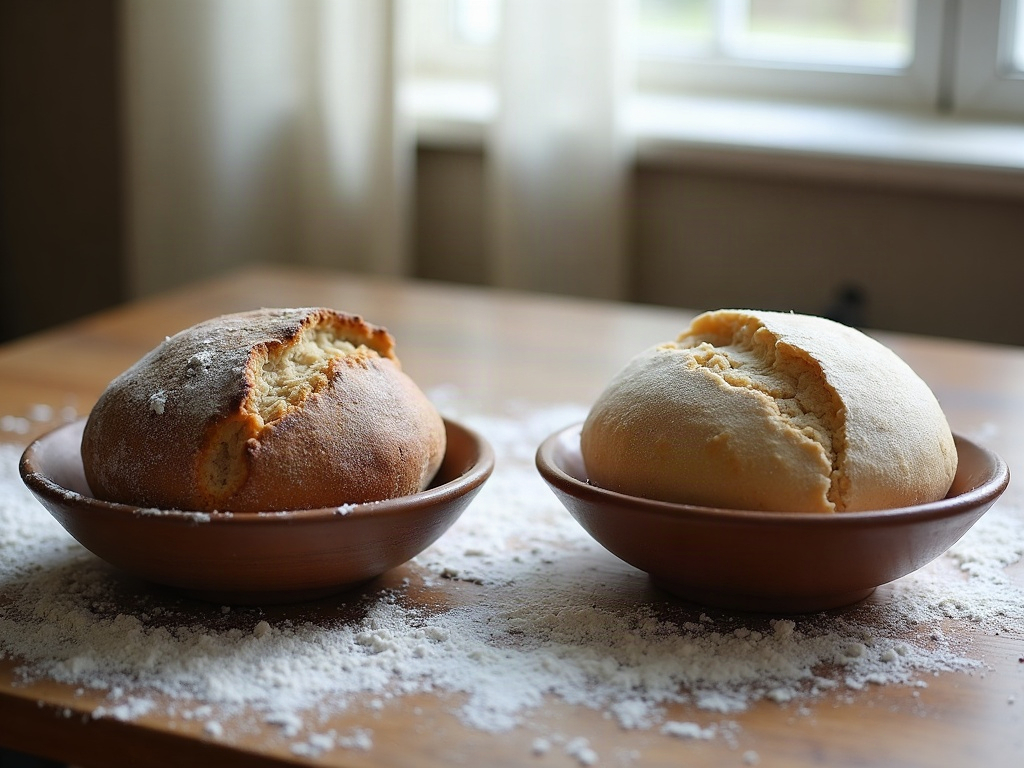
    A slack pooling dough on the left next to a smooth domed dough that holds its shape after folding
    Same dough, 40 minutes apart: slack and shapeless on the left, strong and domed after a couple of folds.

    Why this fixes flat, collapsing loaves

    Come back to that spreading disc from the beginning. A dough with a weak gluten network can’t cage the gas from fermentation, so instead of pushing the loaf upward it leaks out sideways the moment you turn it out to bake. Stretch and folds build the strength that holds that gas in place, so the loaf rises tall, springs in the oven, and sets with an even, open crumb instead of a dense, gummy pancake.

    If you’ve been chasing better bread through fancier flour or a more elaborate starter routine, try fixing your handling first. A few well-timed folds are usually the difference between a loaf that slumps and one that stands up proud.

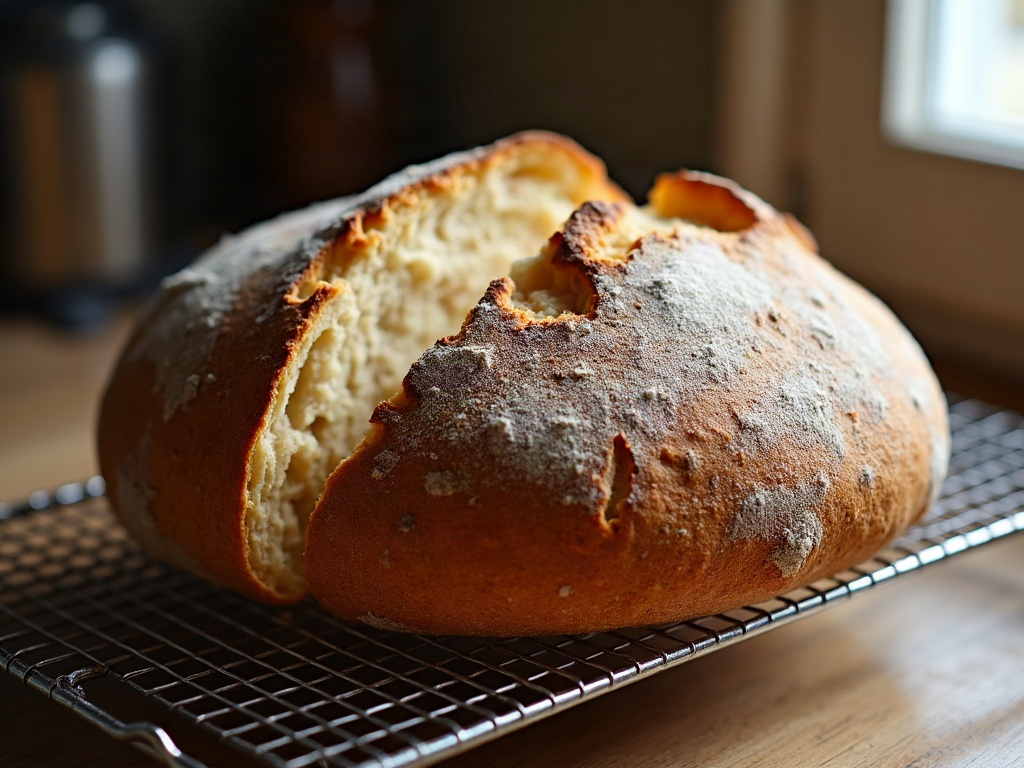
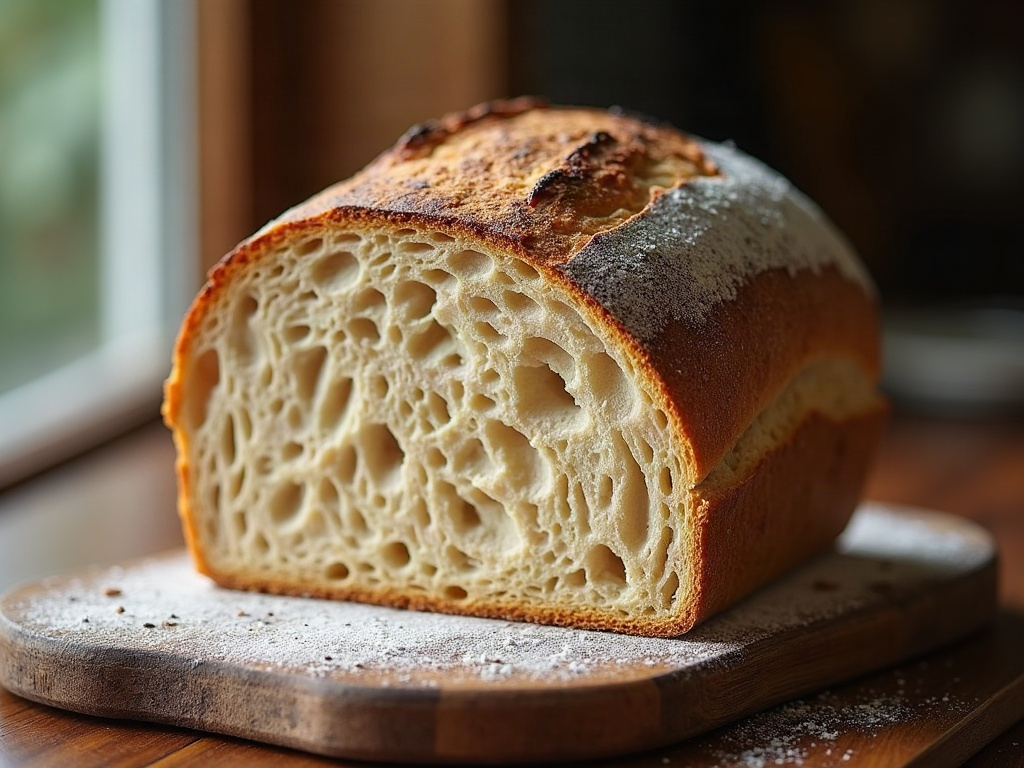
    Cross-section of a well-risen sourdough loaf with an even open crumb
    The payoff: strong dough holds its gas and rises tall instead of spreading into a puddle.

    Want to see exactly what a strong dough looks and jiggles like at each stage? The full stretch-and-fold walkthrough, including the coil-fold hand motion and the poke test for when to stop, lives on the LoafLovers YouTube channel, and our free sourdough troubleshooting guide breaks down the rest of the flat-loaf fixes. No hard sell, just the answers you need mid-bake.

    Related Reading

  • How to Get an Open Crumb in Sourdough: Why Your Holes Are Small and How to Fix It

    How to Get an Open Crumb in Sourdough: Why Your Holes Are Small and How to Fix It

    The loaf tastes wonderful. The crust is crackly, the flavor is tangy and deep — and then you slice it and the inside is tight, even, and slightly cakey. Not bad, exactly, but nothing like the wild, glossy, hole-riddled crumb you keep scrolling past online. It feels like there’s a secret you’re not being told.

    Here’s the honest version: an open crumb isn’t one trick. It’s the sum of a few things going right together — enough fermentation, the right amount of strength, adequate hydration, and gentle handling that keeps the air in. Get most of them right and the holes open up. Miss one and the dough quietly closes back into a tight little brick. Let’s walk through what actually moves the needle, and which lever is probably holding you back.

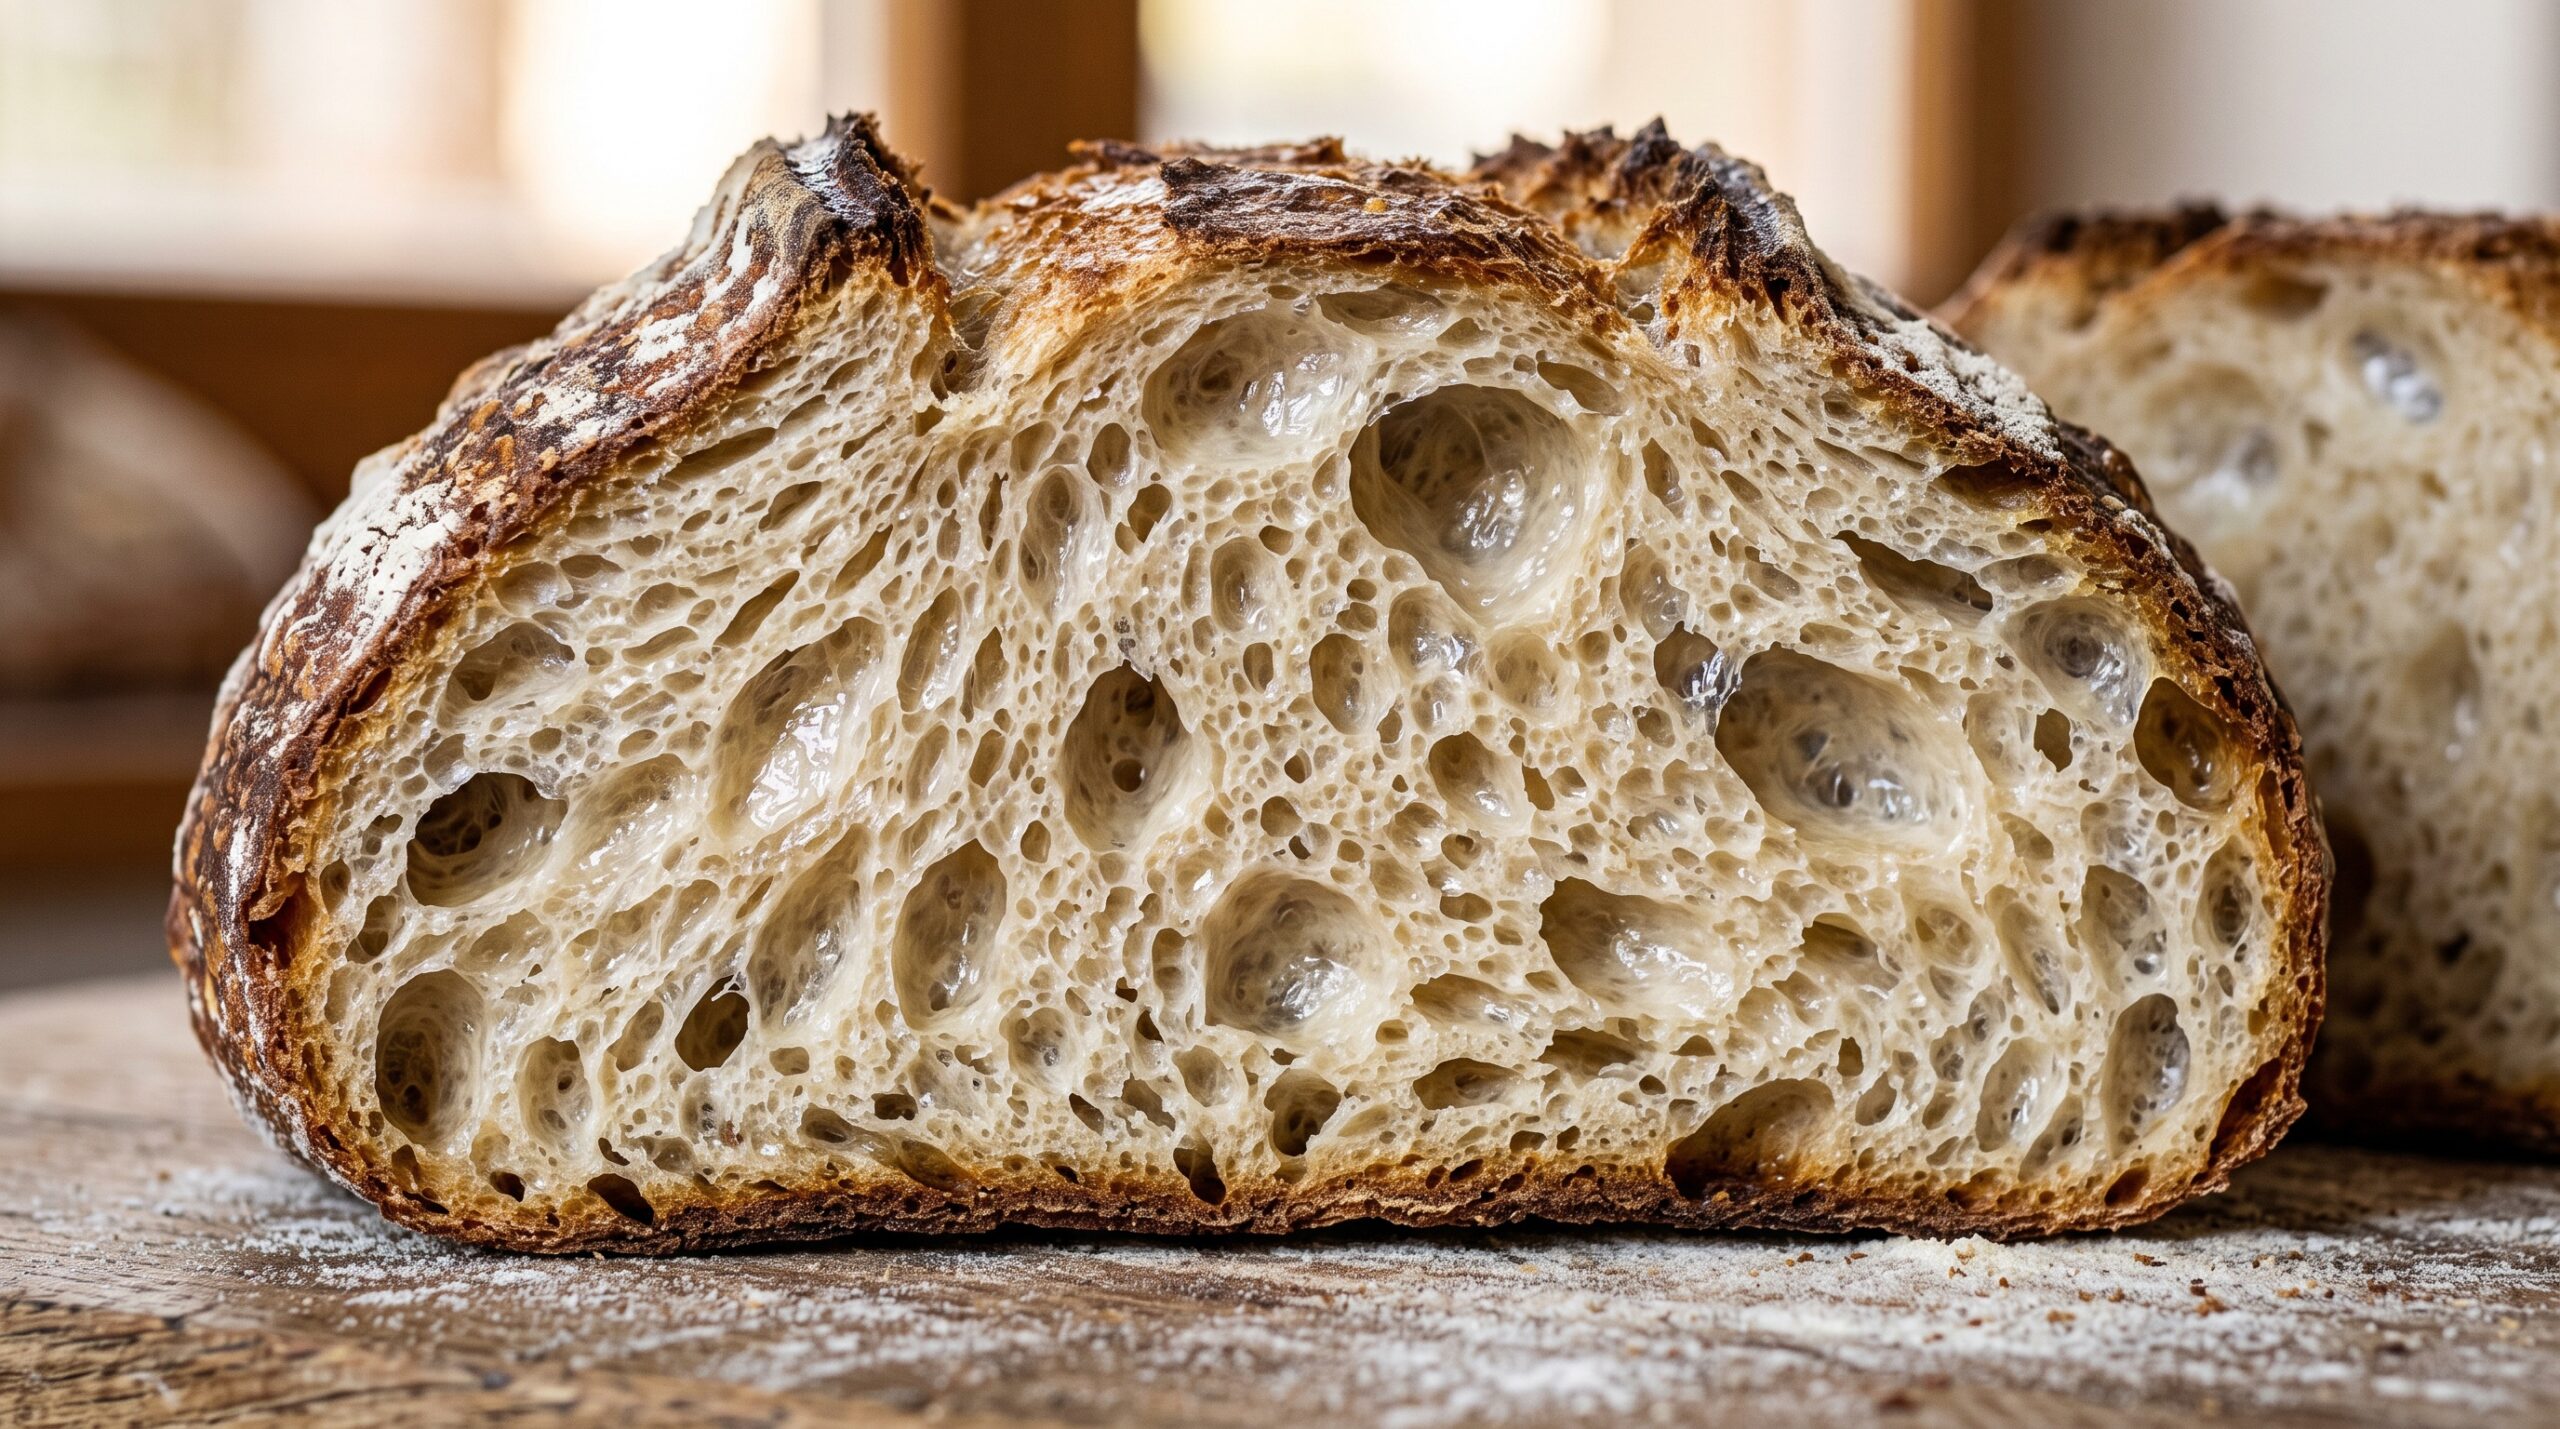
    Cross-section of a sourdough loaf showing an open, airy crumb with large irregular holes
    The look everyone chases: an open, irregular crumb with a glossy, translucent web. It comes from fermentation and handling — not luck.

    First: what an “open crumb” really is (and isn’t)

    An open crumb means an interior with irregular holes of varying sizes and thin, glossy, translucent walls between them. It is not a loaf full of giant caverns — those are usually a shaping fault or trapped gas, and they make for lousy toast and butter that falls through. What you actually want is an airy, well-aerated crumb that’s even in lightness, if not in hole size.

    Keep that in mind, because chasing enormous holes will push you toward wetter, harder-to-handle dough and more fragile loaves. For most home bakers, “noticeably more open and airy than what I’m getting now” is the real, useful goal.

    Cause #1: The dough is under-fermented (the #1 culprit)

    If your crumb is tight, dense, and gummy near the center, you almost certainly didn’t ferment long enough. This is the most common reason home loaves come out closed. The gas that inflates the crumb is produced by your starter over the course of bulk fermentation — cut it short and there simply isn’t enough of it, no matter how well you shape.

    Under-fermented dough feels dense and doesn’t jiggle; it hasn’t grown much and shows few bubbles at the edges of the bowl. The fix is patience and reading the dough, not the clock: bulk should run until the dough is puffy, domed, jiggly, and grown by roughly 50% or more, with visible bubbles. If you’re not sure what “done” looks like, our guide on how to tell when bulk fermentation is done walks through the exact signs home bakers miss. A tight crumb is very often just a bulk that ended an hour too early.

    Cause #2: Not enough gluten strength — or too much

    Strength is what lets the dough trap the gas instead of letting it leak out. A slack, under-developed dough can’t hold a bubble, so it spreads and bakes tight and flat. But there’s a catch on the other end: overworking the dough (especially by machine) can make it so tight and elastic that it resists expanding at all, giving you a dense, rubbery crumb.

    For sourdough, the sweet spot is usually built gently with stretch-and-folds or coil folds during bulk — three or four sets in the first couple of hours. The dough should go from shaggy to smooth, elastic, and able to hold a shape, passing a gentle windowpane-ish stretch without tearing immediately. Aim for supple and strong, not tight as a drum.

    Baker performing a stretch-and-fold on bubbly, elastic sourdough during bulk fermentation
    Strength built with folds — not overworking — lets the dough hold the gas that makes the holes.

    Cause #3: Hydration that’s too low for an open crumb

    Water is what makes the crumb open. A stiff, low-hydration dough (say 65% and below) will almost always bake tighter than a wetter one, because there’s less water to create steam and thin those cell walls. If you want a more open crumb, you generally need more water — many bakers find the magic starts around 72–78% hydration.

    The honest trade-off: wetter dough is stickier and harder to handle, and pushing hydration before your handling is ready just gives you a flat, sticky mess. Climb gradually. Add 2–3% water at a time across bakes, get comfortable, then add more. If your loaves are already spreading or sticking, don’t chase hydration yet — fix handling first (see our piece on flat, spreading loaves) and raise water once you have control.

    Cause #4: You’re degassing during shaping

    This one breaks a lot of hearts. You do everything right — great bulk, good strength — then flatten and press all the air out during a heavy-handed pre-shape and shape. Every firm pat is popping the bubbles you spent all day growing.

    Shape gently. Handle the dough like it’s full of air you want to keep, because it is. Use a light pre-shape to build just enough tension, give it a proper bench rest so the gluten relaxes, then a final shape that creates a taut skin without squashing the body flat. The goal is surface tension on the outside and preserved bubbles on the inside — tension and gentleness at the same time.

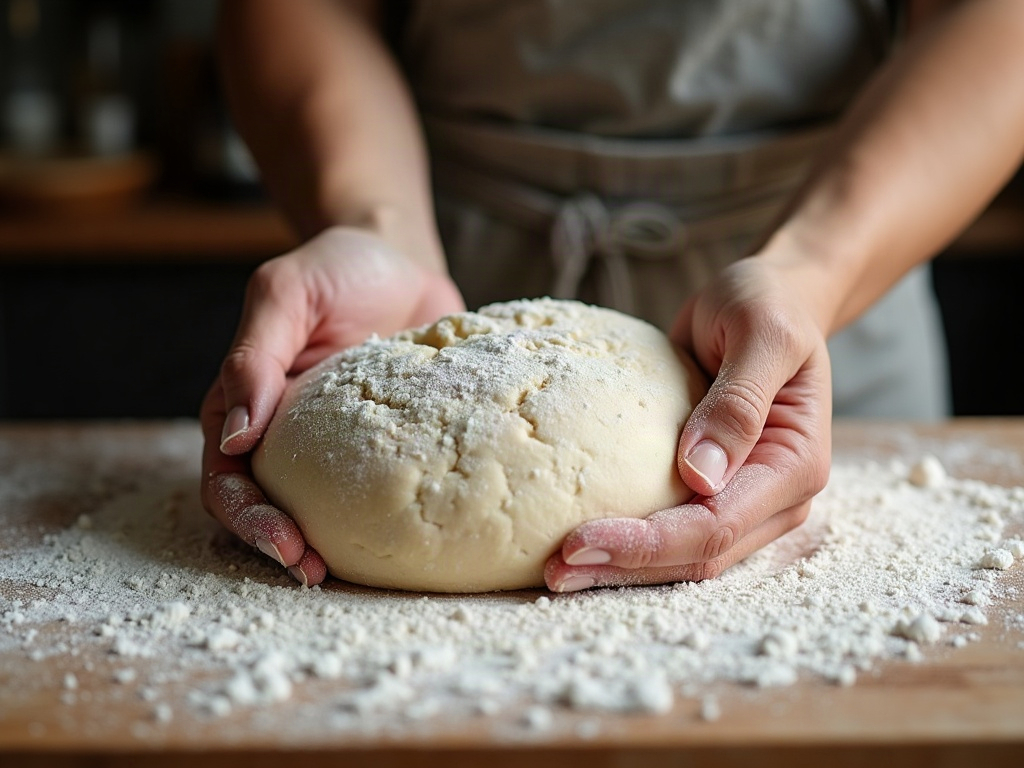
    Gentle sourdough shaping that preserves internal air bubbles while building surface tension
    Shape gently. A firm, deflating pre-shape crushes the very bubbles you spent all day growing.

    Cause #5: Proof problems — cold, rushed, or overproofed

    Two more traps sit at the final proof. Baking straight from the fridge is great for scoring and release, but a very cold, under-relaxed loaf can spring less and read tighter — make sure the dough actually completed enough proof before it went cold. On the flip side, overproofing collapses the structure: the gluten degrades, the loaf goes slack, and it bakes into a dense, flat crumb because it can no longer hold the gas. If you’re unsure which way you’ve gone, the difference between overproofed and underproofed dough is worth learning cold — the fixes are opposite.

    Cause #6: A weak oven spring

    The final expansion happens in the oven, in the first ten minutes, and it needs steam and heat. A dry oven sets the crust before the loaf can bloom, trapping the crumb tight. Bake in a preheated Dutch oven (lid on for the first 20 minutes to trap the dough’s own steam), or add steam another way, and start hot — around 475–500°F / 245–260°C. Score confidently so the loaf has a designed place to burst open. Weak spring almost always shows up as a tighter, shorter crumb.

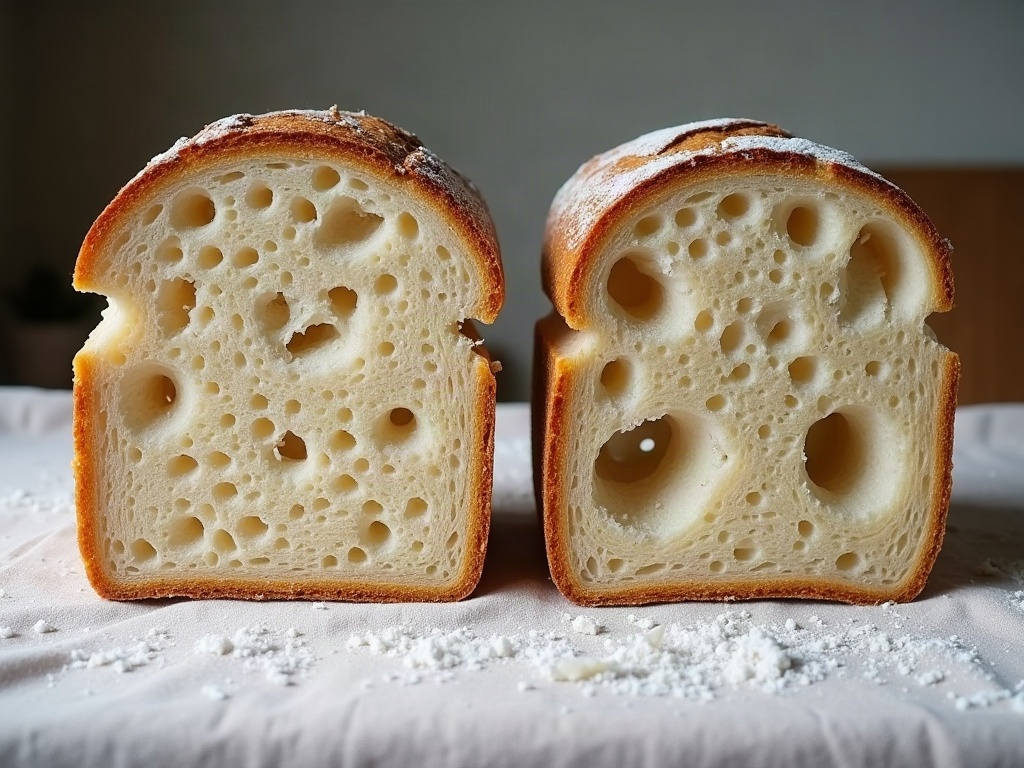
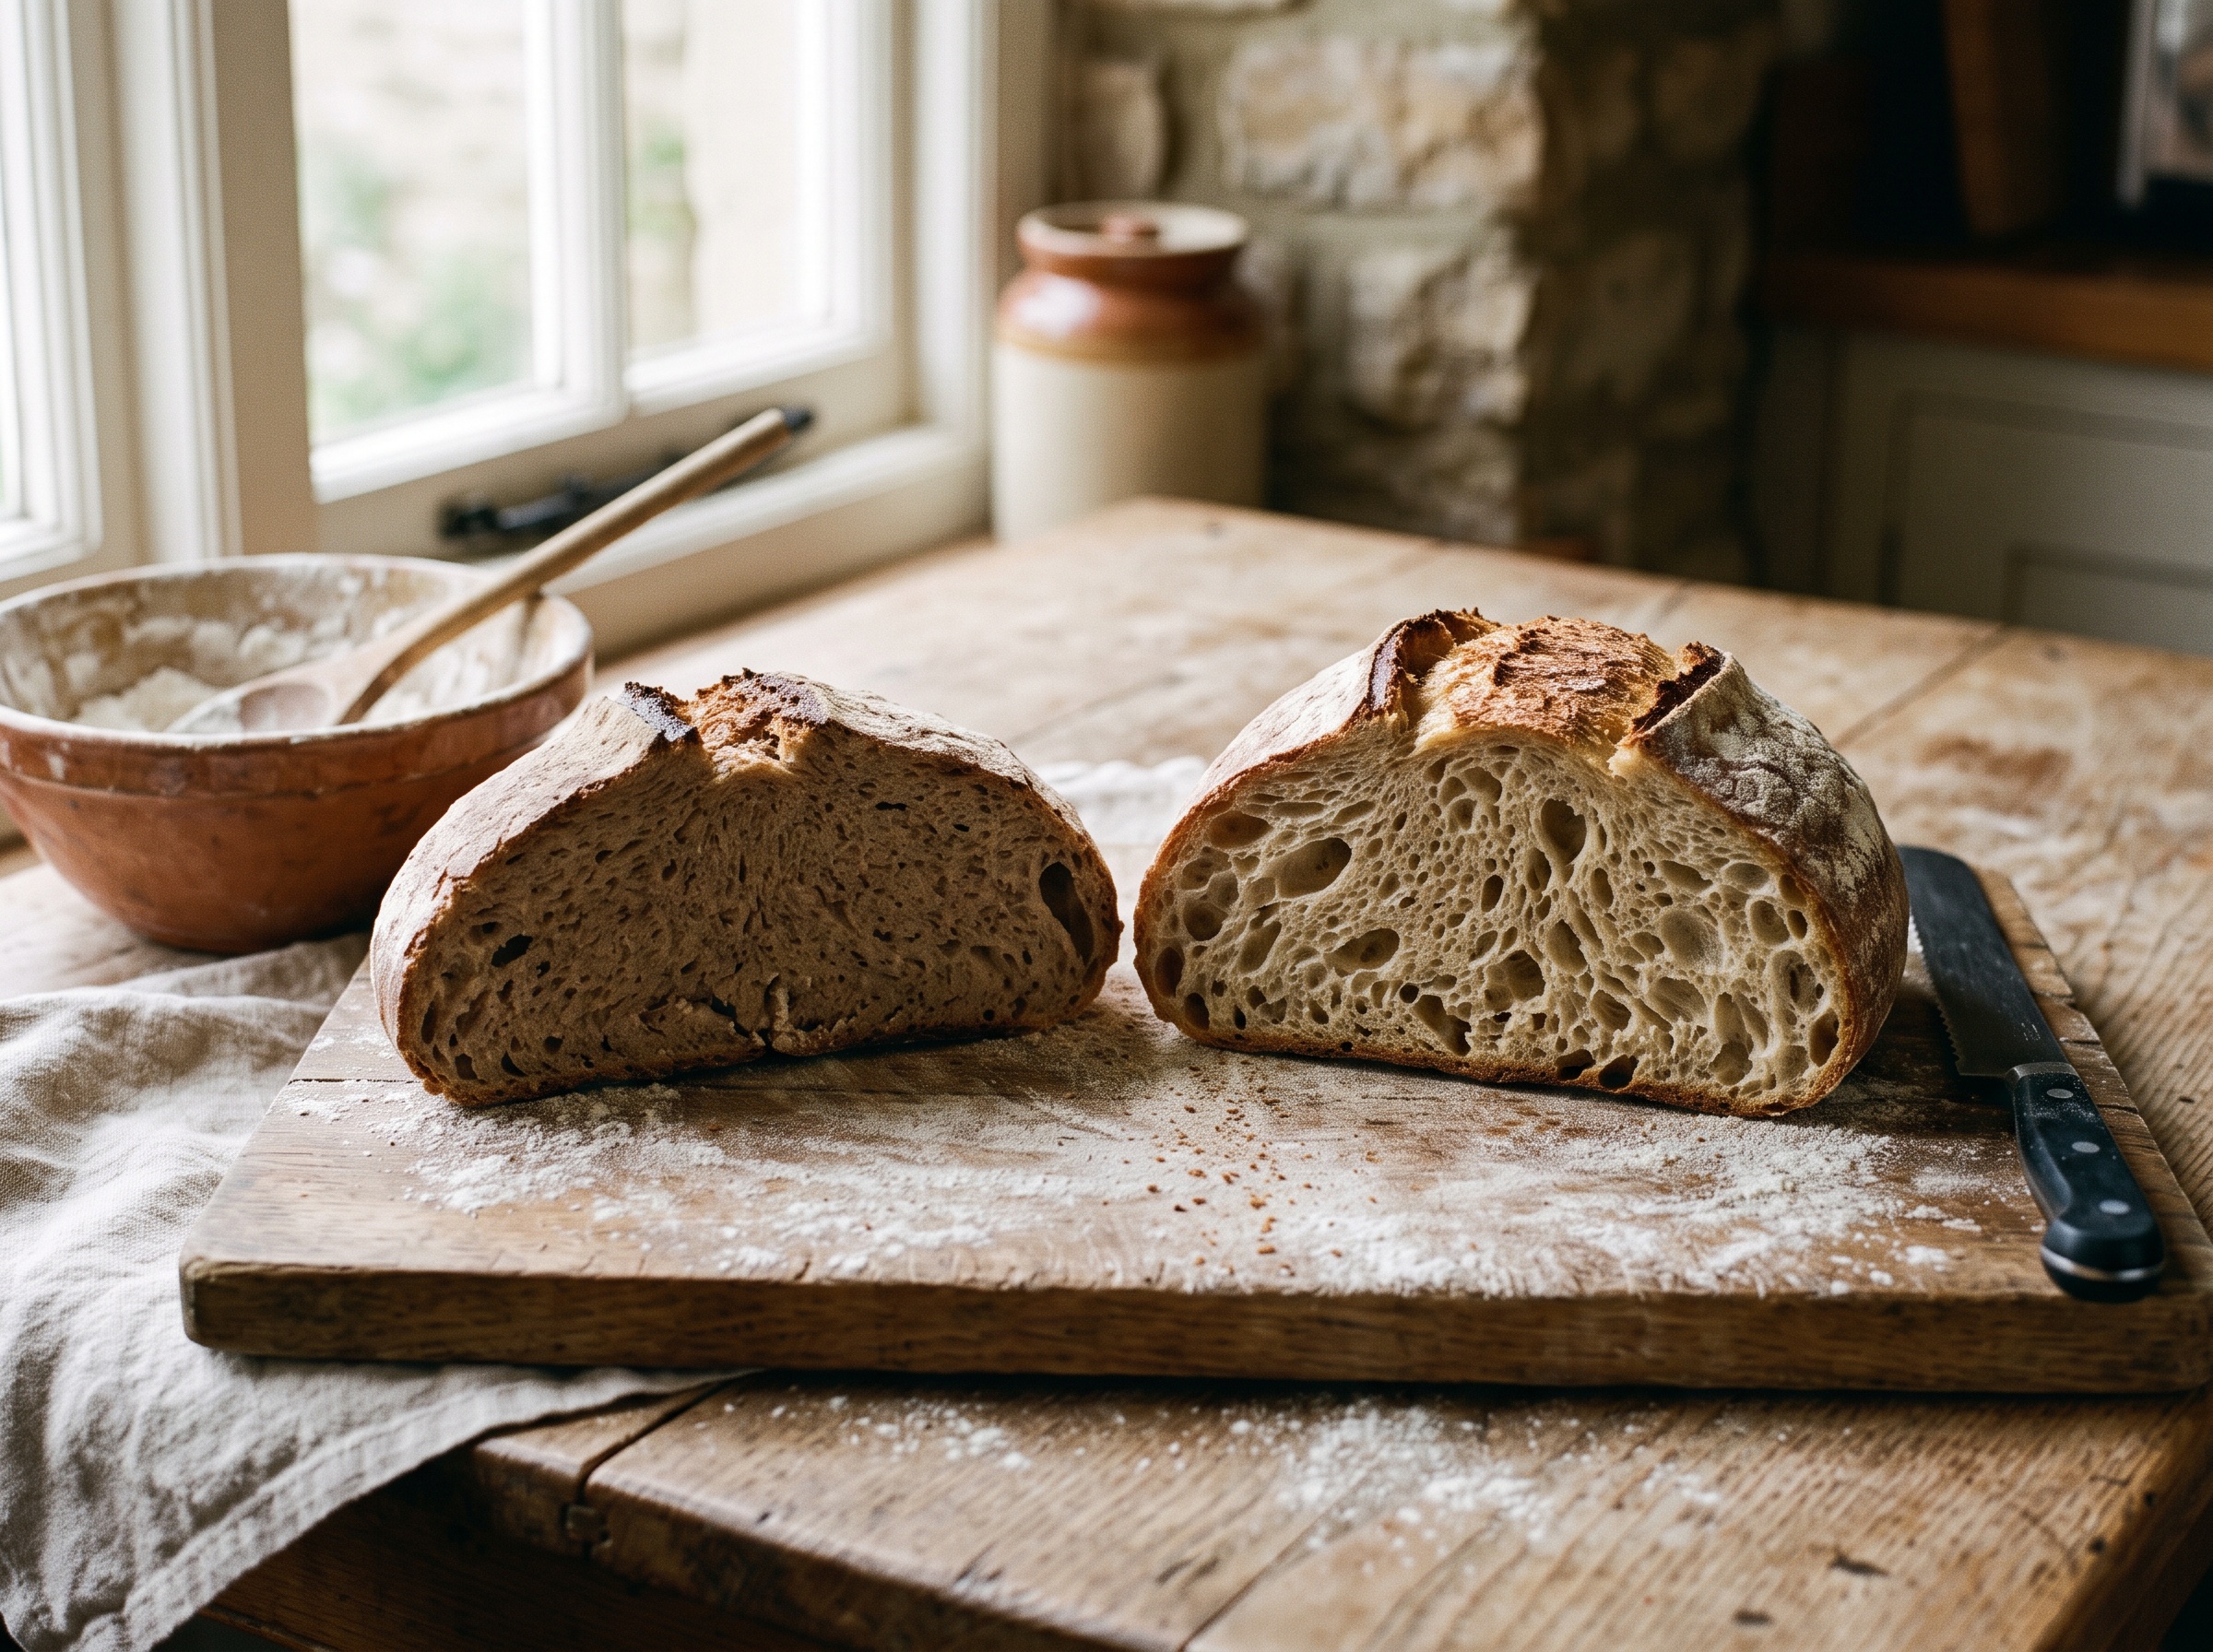
    Two sourdough crumb cross-sections compared, tight and dense on the left, open and airy on the right
    Tight and cakey (left) versus open and airy (right). Same ingredients — the difference is fermentation, strength, and how gently it was shaped.

    The quick open-crumb checklist

    • Tight and gummy in the middle? Ferment longer — this is usually under-fermentation. (More on a gummy, dense crumb.)
    • Slack, won’t hold shape? Build more strength with folds during bulk.
    • Rubbery and stubborn? You may be overworking it — ease off.
    • Consistently tight? Nudge hydration up a few percent once handling is solid.
    • Great dough, closed crumb? You’re likely degassing — shape gently.
    • Short, pale loaf? More steam and a hotter start for oven spring.

    Change one thing at a time

    The temptation is to jack up the hydration, add folds, and extend bulk all in one bake — and then you have no idea what worked. Change a single variable per loaf. Nine times out of ten, the fix is simply more fermentation and gentler shaping, no wetter dough required. Get those two locked in and most tight crumbs open right up.

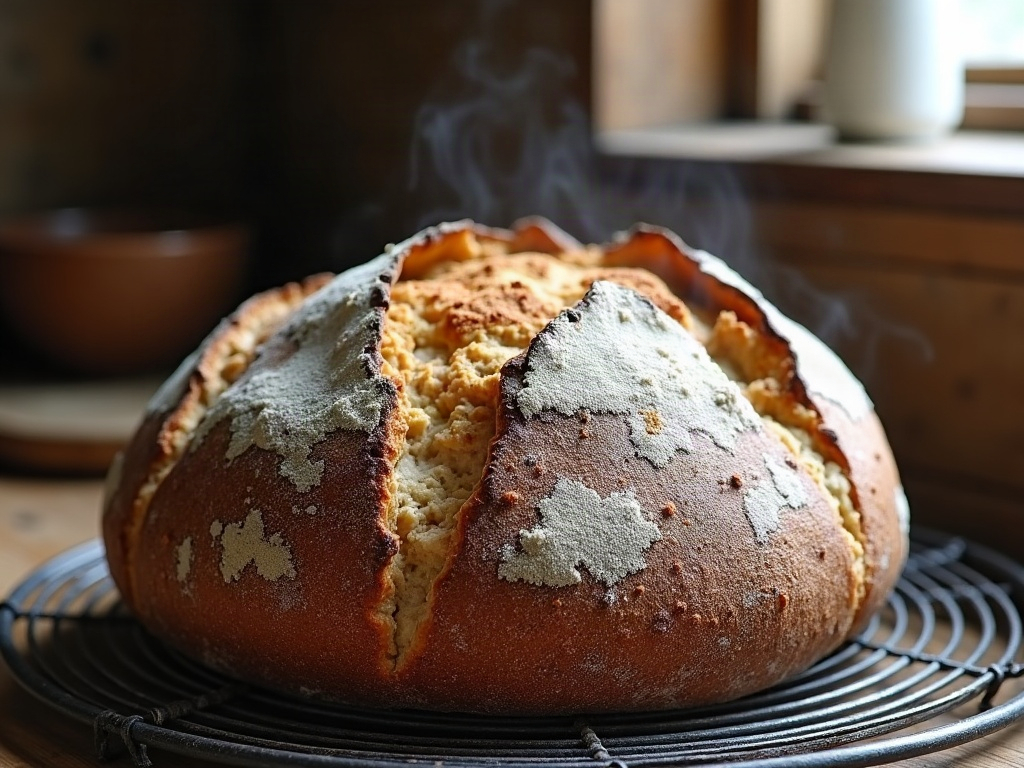
    Freshly baked sourdough boule with a blistered crust and open ear on a cooling rack
    A strong oven spring in a well-steamed oven is the final push that opens the crumb up.

    An open crumb is a byproduct of a well-fermented, well-handled loaf — not a separate skill you’re missing. Nail the bulk, build honest strength, keep the air in, and give it a hot, steamy start, and the holes arrive on their own.

    Want to see the fold technique, a gentle shape, and a proper turnout in real time? The full walkthrough lives on the LoafLovers YouTube channel, and our free sourdough troubleshooting guide lines up the fermentation and shaping fixes side by side — grab it and bake your most open loaf yet.


    Sources & further reading:

    Related Reading

  • How to Tell When Bulk Fermentation Is Done: The Signs Home Bakers Miss

    How to Tell When Bulk Fermentation Is Done: The Signs Home Bakers Miss

    Bulk fermentation is the step that decides whether your sourdough opens up or bakes into a dense brick — and it’s the one step almost every recipe gets wrong by handing you a number of hours instead of a sign to watch for. “Bulk for four hours” is a guess dressed up as an instruction, because your kitchen isn’t the recipe writer’s kitchen and your dough doesn’t own a clock. The good news: your dough will tell you exactly when it’s done, if you know what to look for. Here’s how to read it — the rise, the wobble, the bubbles — so you shape at the right moment instead of hoping.

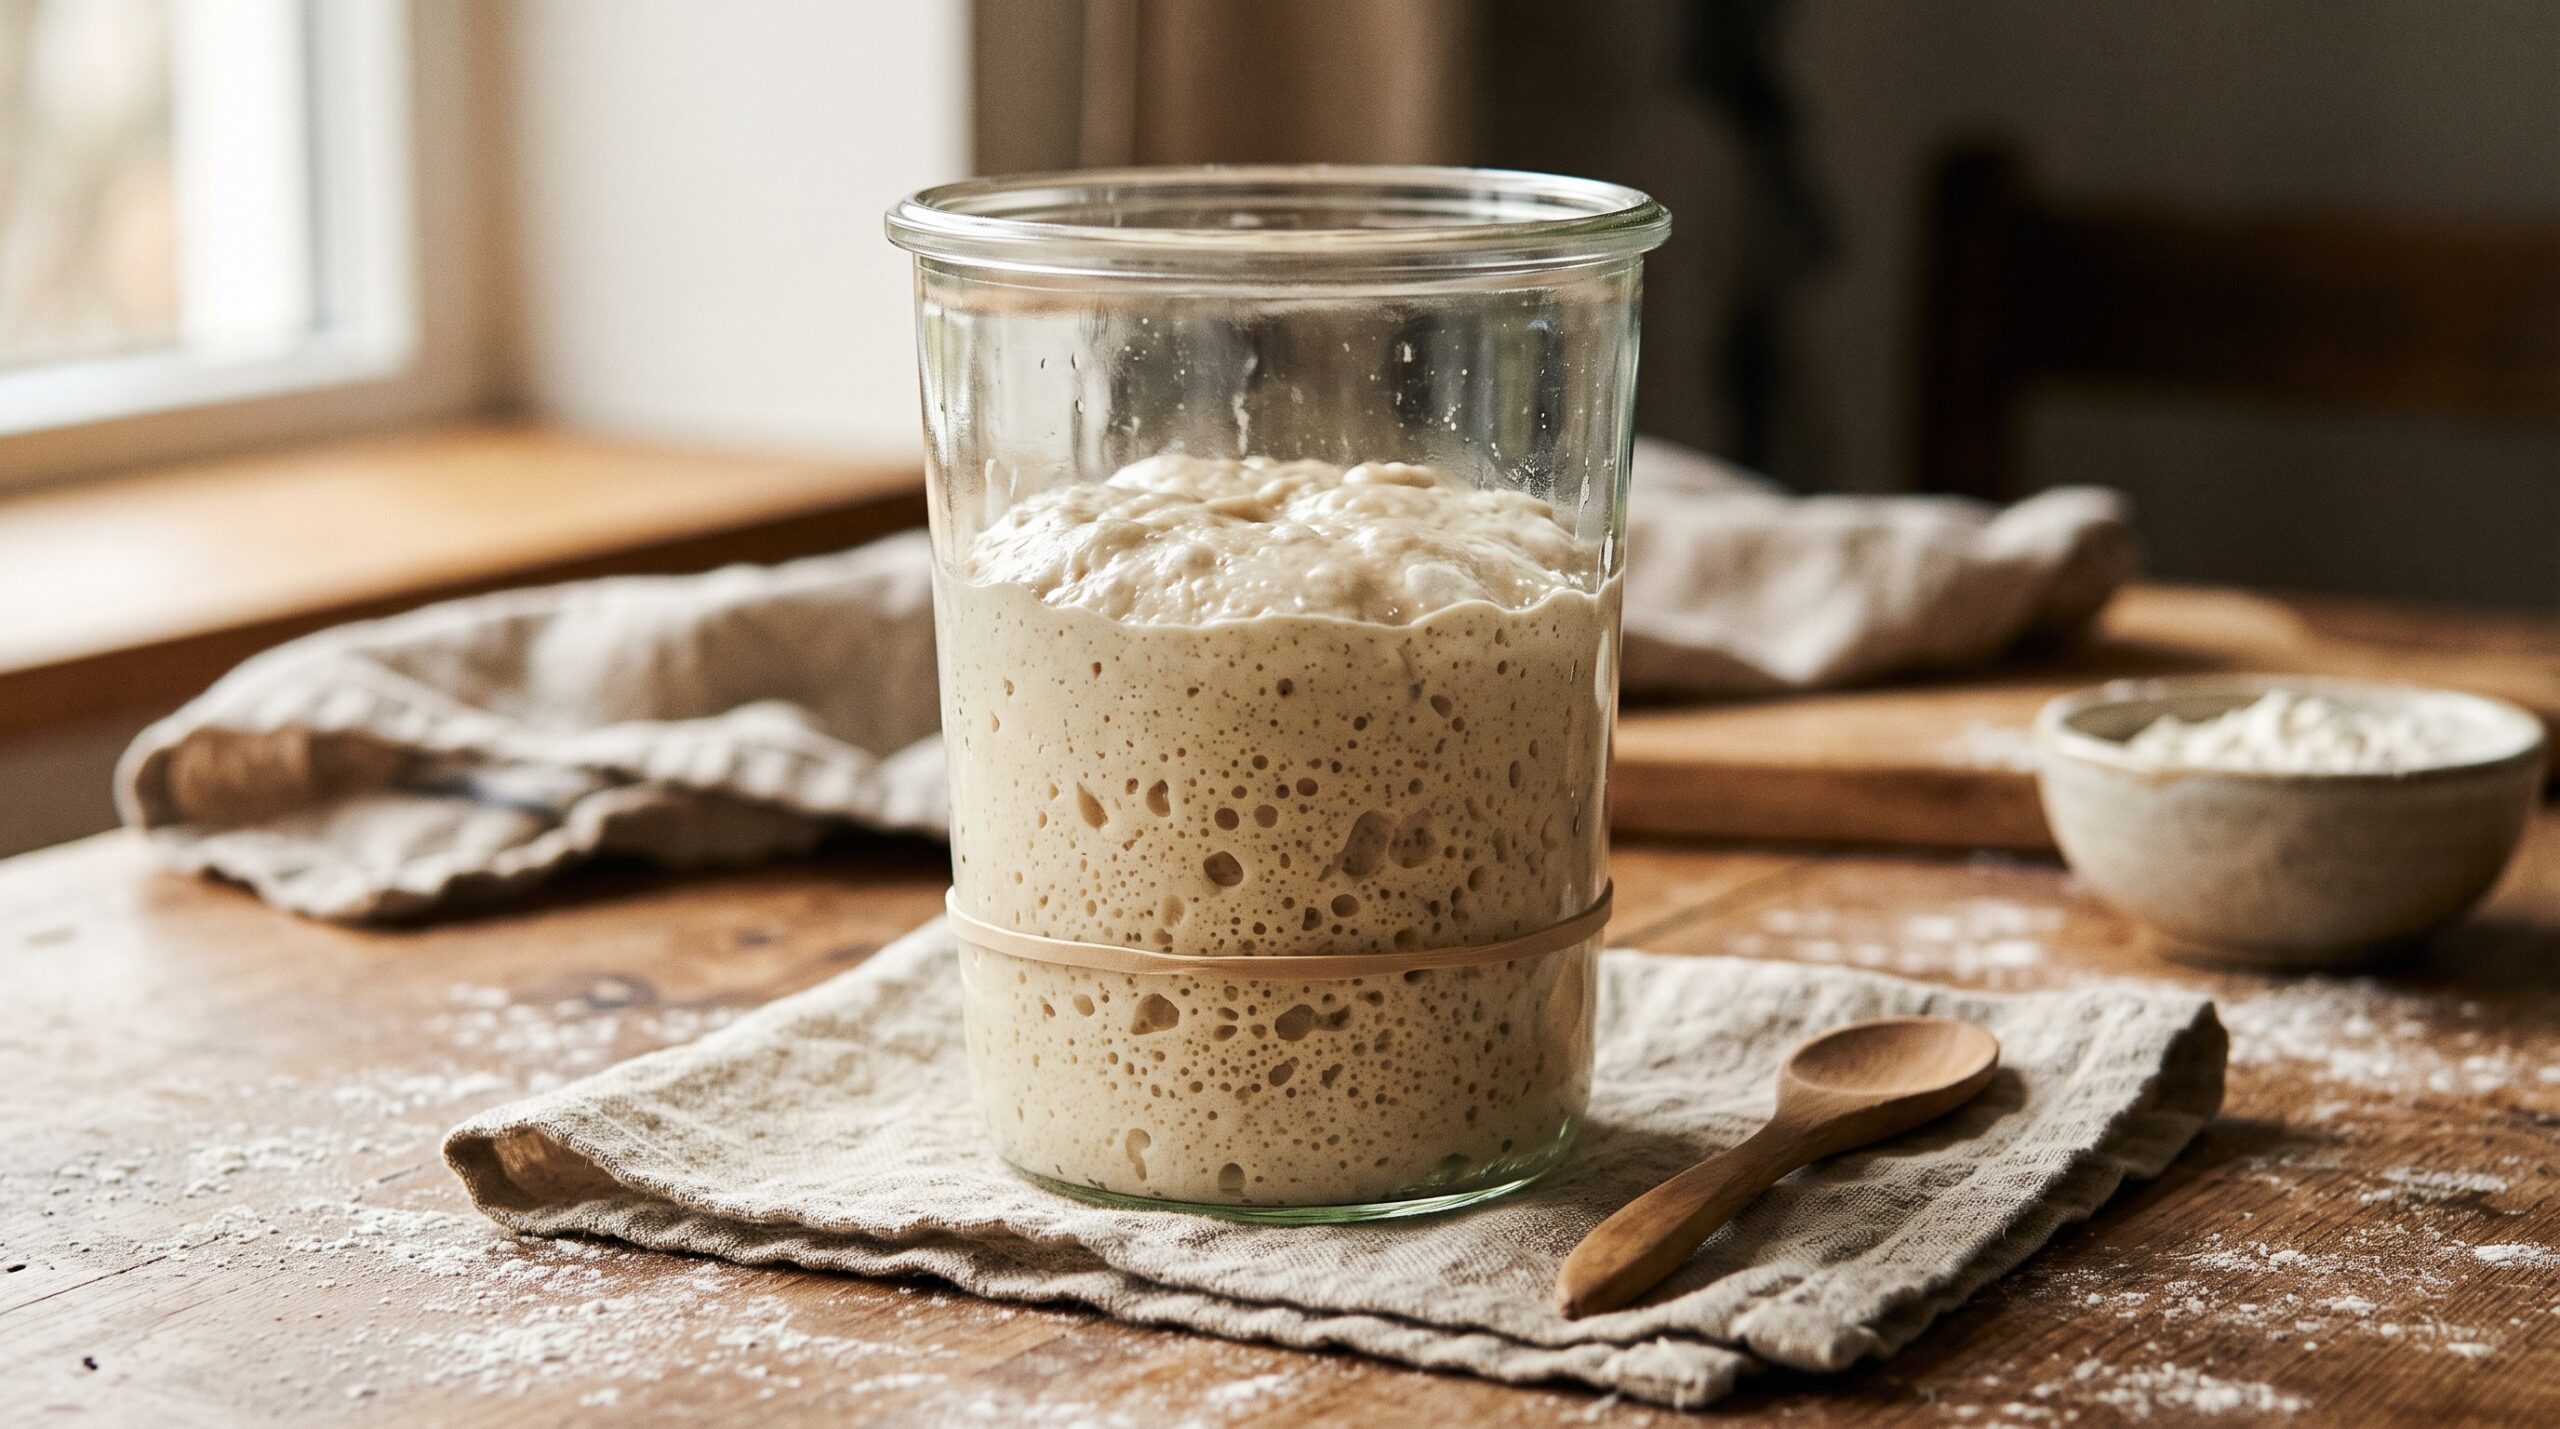
    A clear straight-sided container of sourdough dough risen about seventy percent during bulk fermentation, with a rubber band marking its starting level
    The single most useful setup: a straight-sided container and a band on the glass, so you measure the rise instead of guessing at it.

    What bulk fermentation actually is (and why the clock lies)

    Bulk fermentation — the “first rise” — is the stretch after mixing when your whole batch of dough ferments together, before you divide and shape it. This is where the wild yeast inflates the dough with gas and the bacteria build flavour and structure. Get it right and you’ve done most of the hard work; the final proof and the bake are comparatively forgiving. Get it wrong and nothing downstream can rescue it.

    The reason a set time fails so often is that fermentation runs on temperature, not minutes. The same dough that’s perfectly bulked in four hours at a warm 26°C might need seven or eight hours in a cool 20°C kitchen — and could be racing toward overproofed in under three on a hot summer afternoon. A recipe can only ever give you the time that worked in its conditions. Your job is to stop reading the clock and start reading the dough.

    The signs that actually matter

    Forget “double in size” — that old advice is a big reason people overshoot bulk and end up with slack, spreading loaves. For most everyday sourdough, you’re aiming to end bulk when the dough has risen roughly 50 to 75 percent, not a full 100. Here’s the cluster of signs that, together, tell you it’s time:

    • A meaningful rise. The dough is noticeably puffier and taller — up by about half again, give or take — not doubled.
    • A domed, alive surface. The top has gone from flat and slack to gently domed, smooth, and a little glossy.
    • Bubbles you can see. Small and large bubbles appear on the surface and along the sides of the container, and a few may be just breaking through the top.
    • A jiggle. Nudge the bowl and the dough wobbles like a soft set jelly — it feels aerated and lively rather than dense and dead.
    • It pulls from the sides. The edges begin to release and dome away from the walls of the container.

    No single one of these is proof on its own. Read them together, and when most of them line up, you’re there.

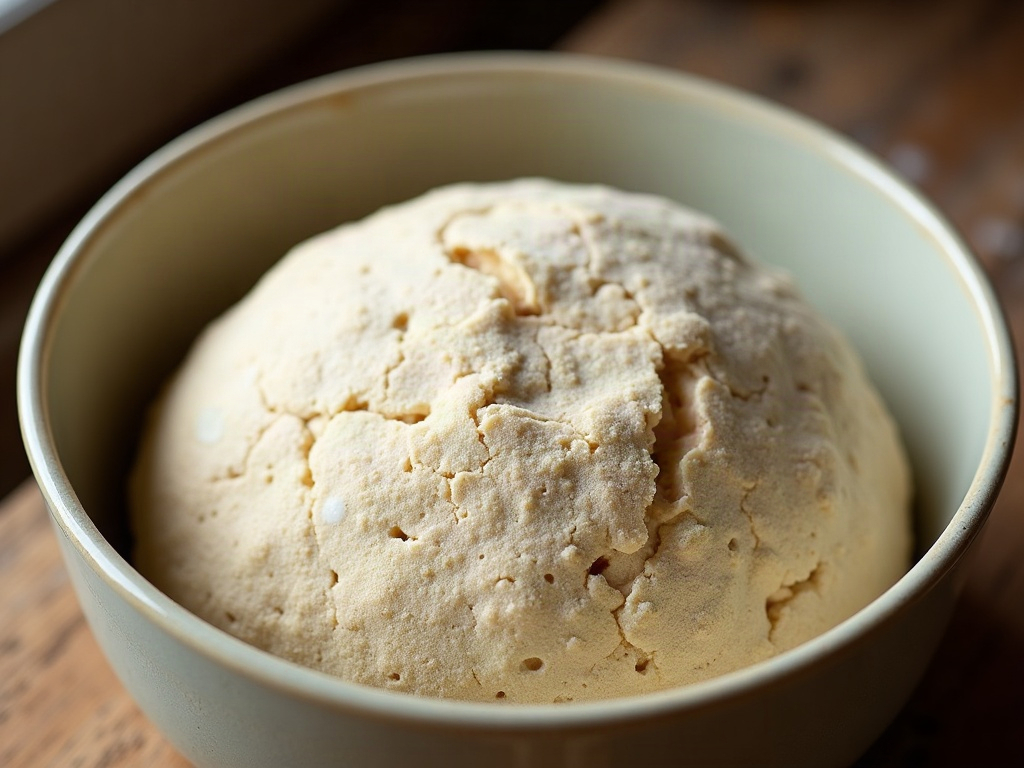
    The domed, bubbly surface of bulk-fermenting sourdough dough pulling gently away from the sides of the bowl
    A dough that’s ready looks alive: domed, jiggly, dotted with bubbles, and starting to release from the bowl’s edges.

    The aliquot jar: the most reliable method

    If you want to take the guesswork out entirely, use an aliquot jar — it’s the single biggest upgrade you can make to your bulk-fermentation accuracy, and it costs nothing. Right after your last set of stretch-and-folds, pinch off a small, walnut-sized piece of the same dough and press it into a small straight-sided jar, flattening the top. Mark the level with a rubber band or a marker.

    Because this little sample sits in the same spot at the same temperature as your main dough, it rises at the same rate — but in a clear, straight-sided container you can measure the rise precisely. When the sample has climbed to about 50 percent above its starting mark (a bit more for an open, airy crumb; a bit less if your kitchen is very warm or your starter very active), bulk is done. No poking your actual dough, no denting the loaf, no guessing. A straight-sided container is the key detail here, for both the jar and your main dough — a curved bowl distorts how much the dough has actually risen and makes percentages impossible to judge.

    The poke test and the wobble

    Without a jar, you read the dough directly, and the poke test is your best tactile check. Flour a finger and press gently into the dough about a centimetre deep. A dough that’s ready gives softly, feels airy, and springs back slowly, leaving a shallow dimple that fills in over a few seconds. If it springs back fast and firmly and the dent vanishes instantly, it’s underfermented — give it more time. If the dent stays put and the dough feels slack, deflated, or sighs out gas, you’ve gone past the ideal window into overproofing.

    Pair the poke with the wobble and the visual signs. A ready dough jiggles, domes, shows bubbles, and holds a slow-filling dimple. When those agree, trust them over any number in the recipe.

    A floured finger pressing a dimple into risen sourdough dough during the poke test, the indent slowly springing back
    The poke test: a ready dough gives softly and springs back slowly, leaving a shallow dimple that fills in over a few seconds.

    Temperature changes everything

    If you only take one thing from this article, make it this: know your dough’s temperature. A cheap instant-read thermometer poked into the dough turns bulk fermentation from a mystery into a decision. Most sourdough behaves beautifully with a dough temperature around 24 to 26°C. Warmer than that and everything accelerates — you’ll need to watch closely and end bulk sooner. Cooler, and you’ll simply need patience; a 19°C kitchen can easily double the time your recipe suggested, and there’s nothing wrong with that.

    This is exactly why bakers working around a job lean on temperature to bend the schedule — a cooler spot to stretch bulk across a workday, a warmer one to speed it up. If that’s you, our guide to baking a real loaf around a full-time work schedule shows how to use temperature deliberately rather than fighting it. The signs of doneness don’t change with temperature — only how long they take to appear.

    What under- and over-fermenting look like in the loaf

    The whole point of reading bulk correctly is what comes out of the oven, so it helps to recognise the two failure modes in the finished loaf and trace them back.

    Underfermented (bulk ended too early) tends to bake up dense and tight, with a pale, gummy, close crumb and often a dramatic but misleading burst at the score, because the dough had too much gas still to give. If your loaves come out heavy and tight-crumbed, short bulk is a prime suspect — it’s one of the leading causes of a gummy, dense crumb.

    Overfermented (bulk ran too long) leaves the dough slack, sticky, and structurally exhausted. It struggles to hold a shape, spreads outward instead of rising, tears easily, and gives you little to no oven spring. If your loaves spread flat instead of rising tall, over-bulking is very often the reason. Because bulk and the final proof work together, it’s also worth understanding how the two stages interact — our breakdown of overproofed versus underproofed dough connects the whole timeline from first rise to bake.

    Two cut sourdough loaves side by side: left a dense tight underfermented crumb, right an open even well-fermented crumb
    The stakes of getting bulk right: an underfermented crumb (left) stays tight and gummy; a properly fermented one (right) opens up.

    A simple, repeatable routine

    Put it all together and bulk fermentation stops being the scary part. Here’s a routine you can lean on every bake:

    • Set up to measure. Bulk in a straight-sided container, and set an aliquot jar with a marked line right after your final fold.
    • Take the dough’s temperature once or twice so you know whether you’re on the fast or slow track, and roughly when to start checking.
    • Watch the signs, not the clock. Check in as the dough approaches a 50 to 75 percent rise; look for the dome, the bubbles, the jiggle, and the pull from the sides.
    • Confirm with a poke. A slow, partial spring-back seals it — shape now.
    • Keep notes. Jot the temperature, the timing, and how the loaf turned out. After a few bakes you’ll know your own kitchen cold, and the whole thing becomes second nature.

    Err slightly toward ending bulk a touch early if you’re unsure. A marginally underfermented dough still shapes and bakes into a decent loaf; an overfermented one is far harder to save.

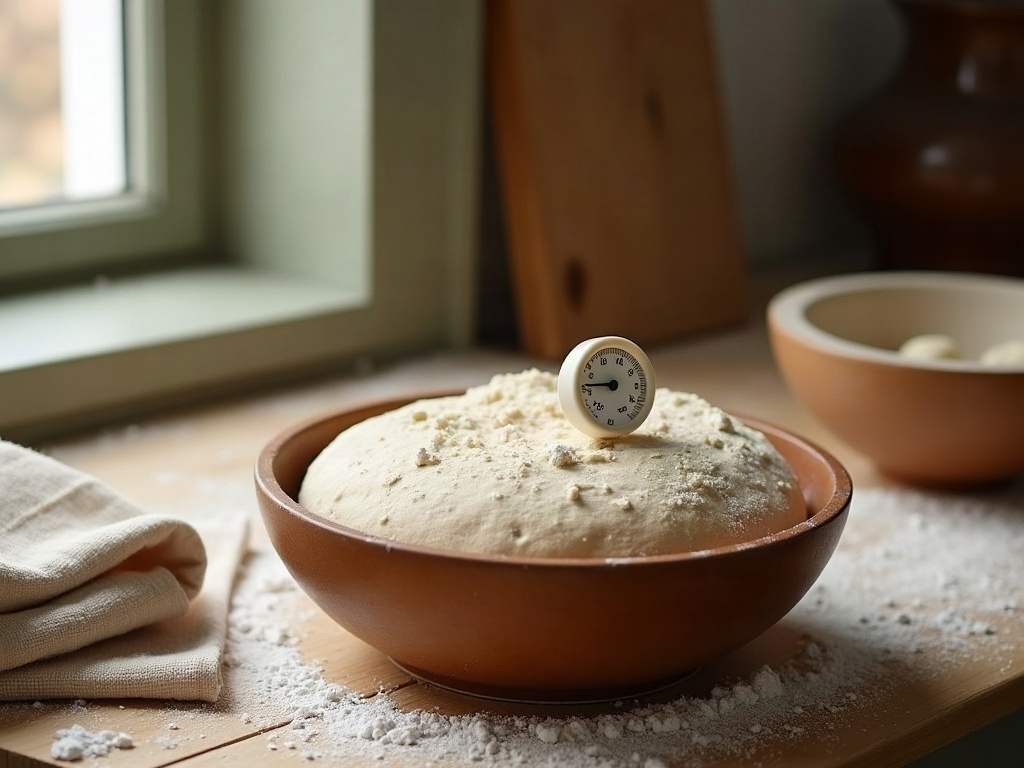
    A kitchen thermometer probe in a bowl of sourdough dough on a floured counter beside a linen towel
    Warmth is the hidden variable. Knowing your dough’s temperature turns bulk fermentation from a guess into a decision.

    Read the dough, and it will tell you

    Bulk fermentation feels intimidating because recipes frame it as a countdown you can fail. It isn’t. It’s a conversation — the dough shows you a rise, a dome, a scatter of bubbles, a slow spring-back, and all you have to do is learn to notice. Set up a straight-sided container and an aliquot jar, take a temperature reading, aim for that 50 to 75 percent rise, and confirm with a gentle poke. Do that a handful of times and you’ll never again wonder whether it’s “ready.”

    If you’d rather see exactly what a properly bulked dough looks like — the wobble, the surface bubbles, the poke springing back — the full step-by-step is on the LoafLovers YouTube channel, where those cues are so much clearer in motion than in words. And if you’d like it all in one place, grab our free sourdough troubleshooting guide and we’ll send the bulk-fermentation checklist straight to your inbox. Watch the dough, not the clock — that’s the whole secret.

    Related Reading