Tag: cold proofing

  • Sourdough Timing for Thanksgiving: A Make-Ahead Schedule So Your Bread Is Ready When Dinner Is

    Sourdough Timing for Thanksgiving: A Make-Ahead Schedule So Your Bread Is Ready When Dinner Is

    The flavour was never the hard part. You can already bake a loaf you’re proud of. What breaks on a holiday is the clock. The turkey owns the oven for hours, every burner is spoken for, the dough is doing its slow, indifferent thing on the counter, and somewhere around two in the afternoon you realise the bread will either be ready far too early or embarrassingly late. The stress of holiday sourdough is almost never a bad recipe. It’s a timing problem.

    So let’s solve it like a timing problem. The trick that calm bakers use isn’t a faster dough or a secret shortcut — it’s a make-ahead schedule built backward from the moment you want bread on the table. Get the plan right and the actual baking becomes the easy, almost boring part of your day.

    Why holiday sourdough timing feels impossible

    Sourdough is slow and, worse, it’s slow on its own schedule rather than yours. A natural-leaven loaf wants roughly a day from mixing to cooling: a few hours of bulk fermentation, shaping, a proof, a bake, and a long cool before you cut it. On an ordinary Tuesday that’s fine — you flex around it. On a holiday you have a fixed, immovable deadline (dinner at four), a shared oven that’s busy exactly when you’d want it, and zero spare attention to babysit a fermenting dough while you’re also making six other things.

    Try to run a normal same-day bake into that and something gives. The dough finishes at the wrong hour, you can’t get oven time, or you rush the proof and pull a flat, gummy loaf. The fix is to stop fighting sourdough’s slowness and start using it — by deciding the finish time first and reverse-engineering every step from there.

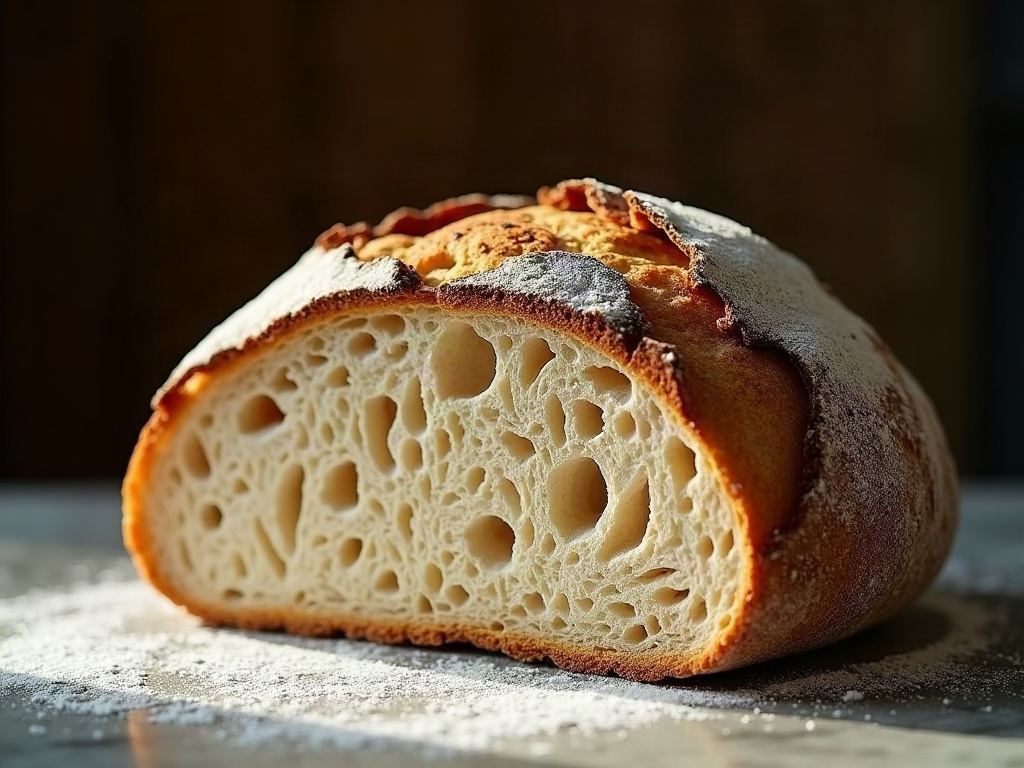
    A fresh sourdough boule on a linen cloth beside a small timing notepad on a flour-dusted table
    Good holiday bread is less about the recipe and more about the timeline — plan it backward from the serving hour.

    Work backward from the serving time, not forward from the starter

    Here’s the mental flip. Most of us start a loaf by asking “when do I feed the starter?” and let the finish time fall wherever it lands. For a holiday, invert it. Write down the serving time and subtract.

    A typical lean loaf, counting backward from the moment you want to serve it:

    • Serve — bread on the table.
    • Minus 1–2 hours — the loaf must be fully cool before you slice it (cutting hot sourdough gives you a gummy, gluey crumb).
    • Minus ~45 minutes — the bake itself.
    • Minus the proof — this is the flexible part, and it’s where the cold fridge earns its keep.
    • Minus 3–5 hours — bulk fermentation and shaping, which depend heavily on your kitchen’s temperature.
    • Minus the morning — feeding your starter so it’s ripe and bubbly when you mix.

    Lay that out and one thing jumps out immediately: there is no comfortable way to squeeze all of it into holiday morning and compete with a turkey for oven space. Which is exactly why the best plan doesn’t try to. It splits the work across two days.

    The overnight cold proof: your scheduling superpower

    The single most useful tool for holiday timing is the refrigerator. After you shape your loaves, instead of proofing them on the counter and baking the same day, you tuck them — shaped, in their bannetons — into the fridge overnight. The cold slows fermentation almost to a standstill, so the dough essentially waits for you, holding at “ready to bake” for anywhere from 8 to 24 hours.

    That one move decouples the slow, fussy part of the process (fermentation) from the fast, controllable part (the bake). You do the mixing, bulk, and shaping the day before, when your kitchen is quiet, and you walk into the holiday with loaves that are already proofed and just need an oven. If your overnight proofs sometimes come out underdone and barely risen, that’s usually a cold-spot or timing issue worth sorting out first — here’s why a fridge cold proof stalls and how to fix it so your make-ahead loaves are genuinely ready to bake.
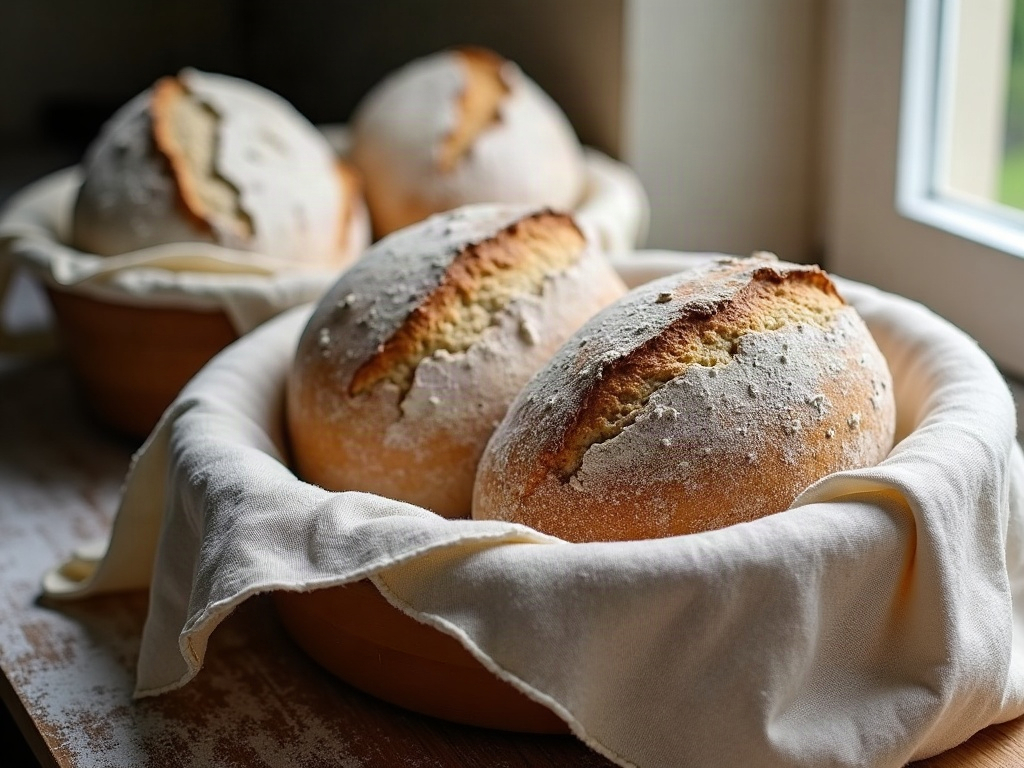
    Shaped sourdough loaves in bannetons going into the fridge for an overnight cold proof
    The overnight cold proof is your scheduling superpower: it parks the dough, ready to bake, until you decide the moment.

    Plan A: bake the day before and refresh (the low-stress champion)

    If you want my honest recommendation for a busy host, this is it: bake your sourdough completely the day before, and simply refresh it before the meal. It sounds like heresy — isn’t sourdough all about that fresh-from-the-oven moment? — but it’s genuinely the move that removes the most stress, and almost no guest can tell.

    Your two-day flow looks like this:

    • Two mornings before: feed your starter so it peaks by midday.
    • The day before, late morning to evening: mix, bulk ferment, shape, and either bake that evening or cold-proof overnight and bake first thing. Either way the loaf is baked and cooling a full day ahead, well off your critical path.
    • Holiday day: nothing. The bread is done. You’re not watching a dough while you make gravy.

    A day-old sourdough is actually easier to slice cleanly than a same-day loaf, and the crumb has settled. The only thing that fades is the crisp crust — and that’s a ten-minute fix. Store the cooled loaf cut-side down or in a paper bag (never plastic, which steams the crust soft), then just before serving, pop the whole loaf into a hot 400 °F / 200 °C oven for 8–12 minutes. The crust crackles back to life and the inside warms through. If your crust tends to go limp after cooling even on a fresh bake, our guide to why sourdough crust softens after cooling explains the refresh in more detail.
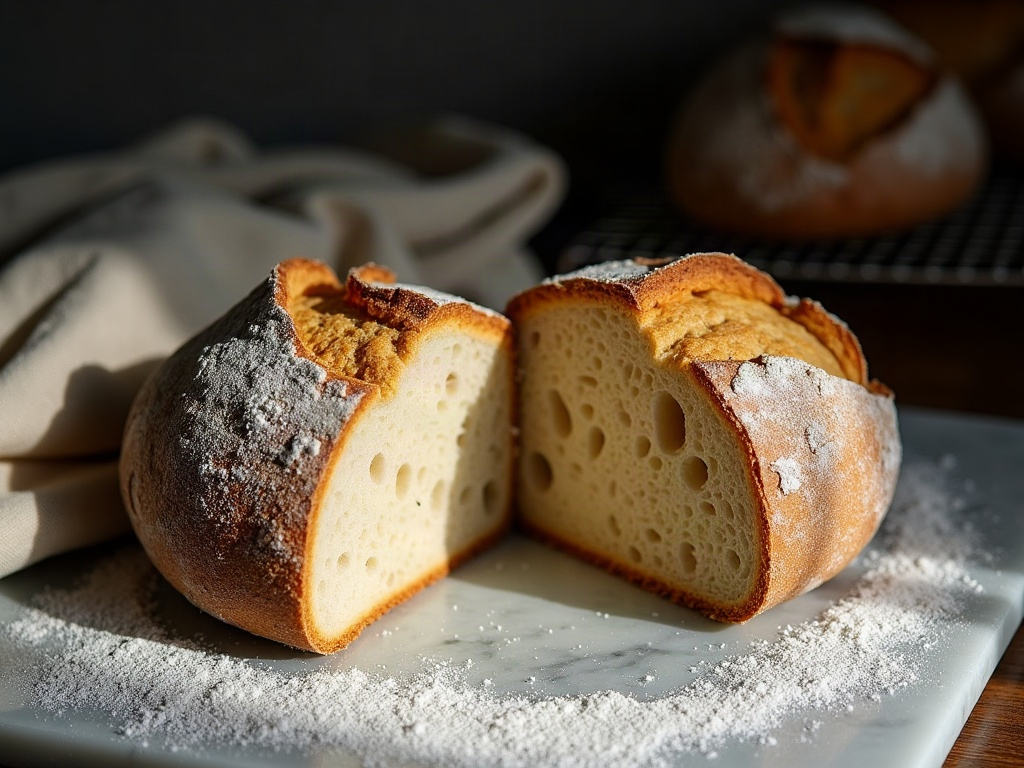
    A cut sourdough loaf with open crumb and golden crust cooling on marble the day before the holiday
    Bake a full day ahead and the loaf is calmer, more sliceable, and completely off your critical path.

    Plan B: the bake-day timeline (for warm-from-the-oven loyalists)

    If you truly want that just-baked loaf steaming on the table, you can — you just have to claim your oven window and respect the cool-down. The overnight cold proof makes this realistic:

    • Day before: mix, bulk ferment, shape, and cold-proof the loaves overnight in the fridge.
    • Holiday day, roughly 3 hours before serving: this is the part people forget — you need an oven window before the turkey takes over, or a gap after it comes out to rest. A resting turkey actually frees the oven for 30–45 minutes, which is the perfect bread slot.
    • Bake straight from the fridge. Cold dough scores cleanly and springs tall, so there’s no warm-up wait — it goes from fridge to hot oven. (If you’ve ever wondered whether to let it warm first, the short answer is usually no; here’s the case for baking straight from the fridge.)
    • Then leave it alone to cool for at least an hour before the meal. Build this into the plan — a loaf pulled at the last second and sliced hot will be gummy and disappointing after all that work.

    The thing that makes Plan B stressful isn’t the baking — it’s pretending the oven is free when it isn’t. Decide your oven window the night before, in writing, and the day runs itself.

    Plan C: freeze ahead, the ultimate insurance

    If you like to be done well before the week even starts, freezing is your friend, and there are two honest ways to do it. You can bake the loaves fully, cool them completely, and freeze them whole — then thaw at room temperature on the day and give them that same 10–15 minute hot-oven refresh to restore the crust. Or you can freeze the shaped dough and bake it closer to the day. Both work, with trade-offs worth knowing before you commit; our walkthrough on freezing sourdough dough and baked loaves covers which to choose. For a host juggling a dozen dishes, a loaf already baked and waiting in the freezer a week out is about as low-stress as holiday bread gets.
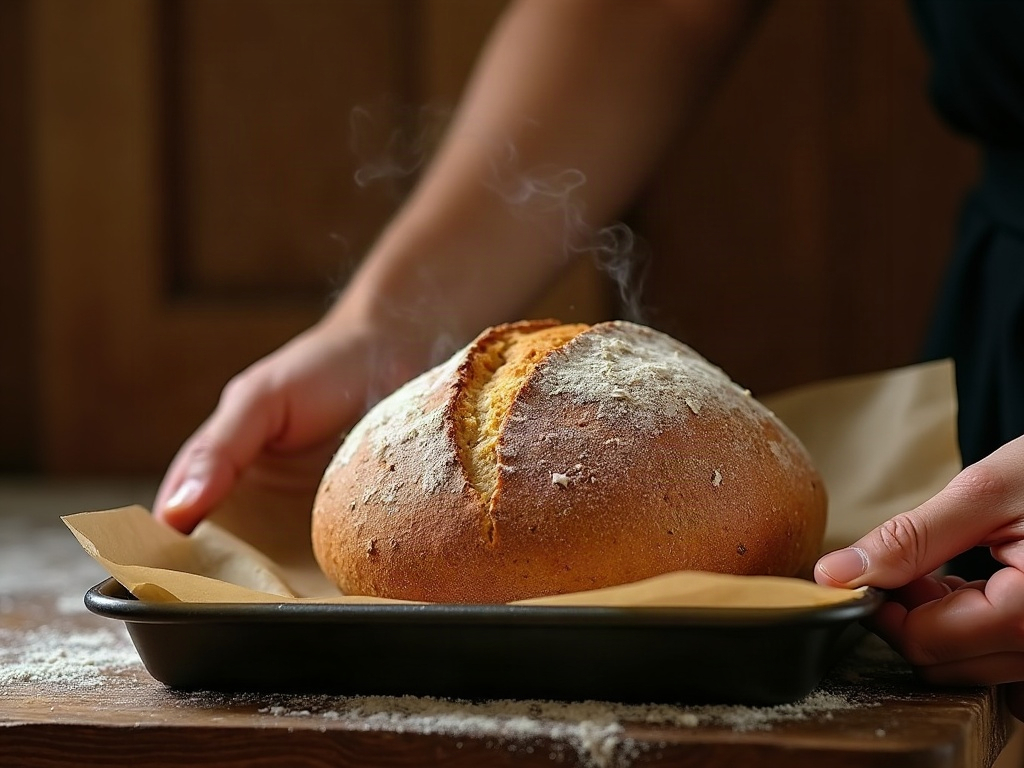
    A day-old sourdough loaf being refreshed in the oven to crisp the crust again
    A ten-minute refresh in a hot oven brings a day-old crust back to crackling, just-baked life.

    Quick troubleshooting: the three timing mistakes that wreck holiday loaves

    If your holiday bread has let you down before, it’s almost always one of these — and every one is a timing error, not a skill gap:

    • Slicing it hot. The most common holiday bread tragedy. A loaf cut before it’s fully cool has a gummy, pasty crumb — the inside is still finishing setting. Build a 1–2 hour cool into the schedule and never shortcut it.
    • No oven plan. “I’ll fit the bread in somewhere” is how loaves end up baked at 6 p.m. for a 4 p.m. dinner. Decide the exact oven window the day before — the turkey’s resting period is often ideal.
    • Trying to do it all on the day. A same-day bake and a holiday feast are competing for the same hours and the same attention. Split the work: ferment and shape the day before, bake (or just refresh) on the day.

    Strip it all down and the whole secret is this: decide when you want bread on the table, then place every step backward from there — and push as much of the slow work as you can into the day before. Sourdough’s slowness stops being the enemy the moment you plan around it instead of racing it.

    If you’d like to see the day-before bake, the overnight cold proof, and the ten-minute refresh happen in real time — so you know exactly what a ready-to-serve holiday loaf looks like at each stage — the full hands-on walkthrough lives on the LoafLovers YouTube channel, and our free sourdough troubleshooting guide has the make-ahead timeline you can print and tape to the fridge. Plan it backward, and enjoy your own dinner.
    Related Reading

  • Bake Sourdough Straight From the Fridge, or Let It Warm Up First?

    Bake Sourdough Straight From the Fridge, or Let It Warm Up First?

    It’s the small decision nobody warns you about. You’ve cold-proofed your shaped loaf overnight in the fridge, the oven is roaring up to temperature, and you’re holding a chilled banneton in your hands. Every instinct says the dough is cold, surely it needs to warm up and “wake up” before it goes in — so you set it on the counter for an hour. An hour later your beautiful taut loaf has gone slack, spreads when you turn it out, tears when you score it, and bakes into something flat and sullen.

    So here’s the answer most new bakers find surprising: in almost every case, you bake sourdough straight from the fridge, cold and firm, with no warm-up at all. Letting cold-proofed dough come to room temperature first is one of the most common, most avoidable ways to turn a good loaf into a flat one. Let’s walk through why, and the handful of real exceptions.

    Why cold dough is the baker’s secret weapon

    A long cold proof in the fridge isn’t just about scheduling convenience. The cold does real work: it slows fermentation to a crawl so the dough can develop flavour without overproofing, and it firms up the whole structure. That firmness is exactly what you want at the oven door. A cold, taut loaf holds its shape when you tip it out of the banneton, keeps its height instead of pancaking across the parchment, and gives you a clean, confident surface to score.

    Warm it up on the counter and you throw all of that away. The dough keeps fermenting — faster now, in the warm kitchen — and softens as it goes. You’re spending the structural advantage you just built overnight, usually for no benefit at all.

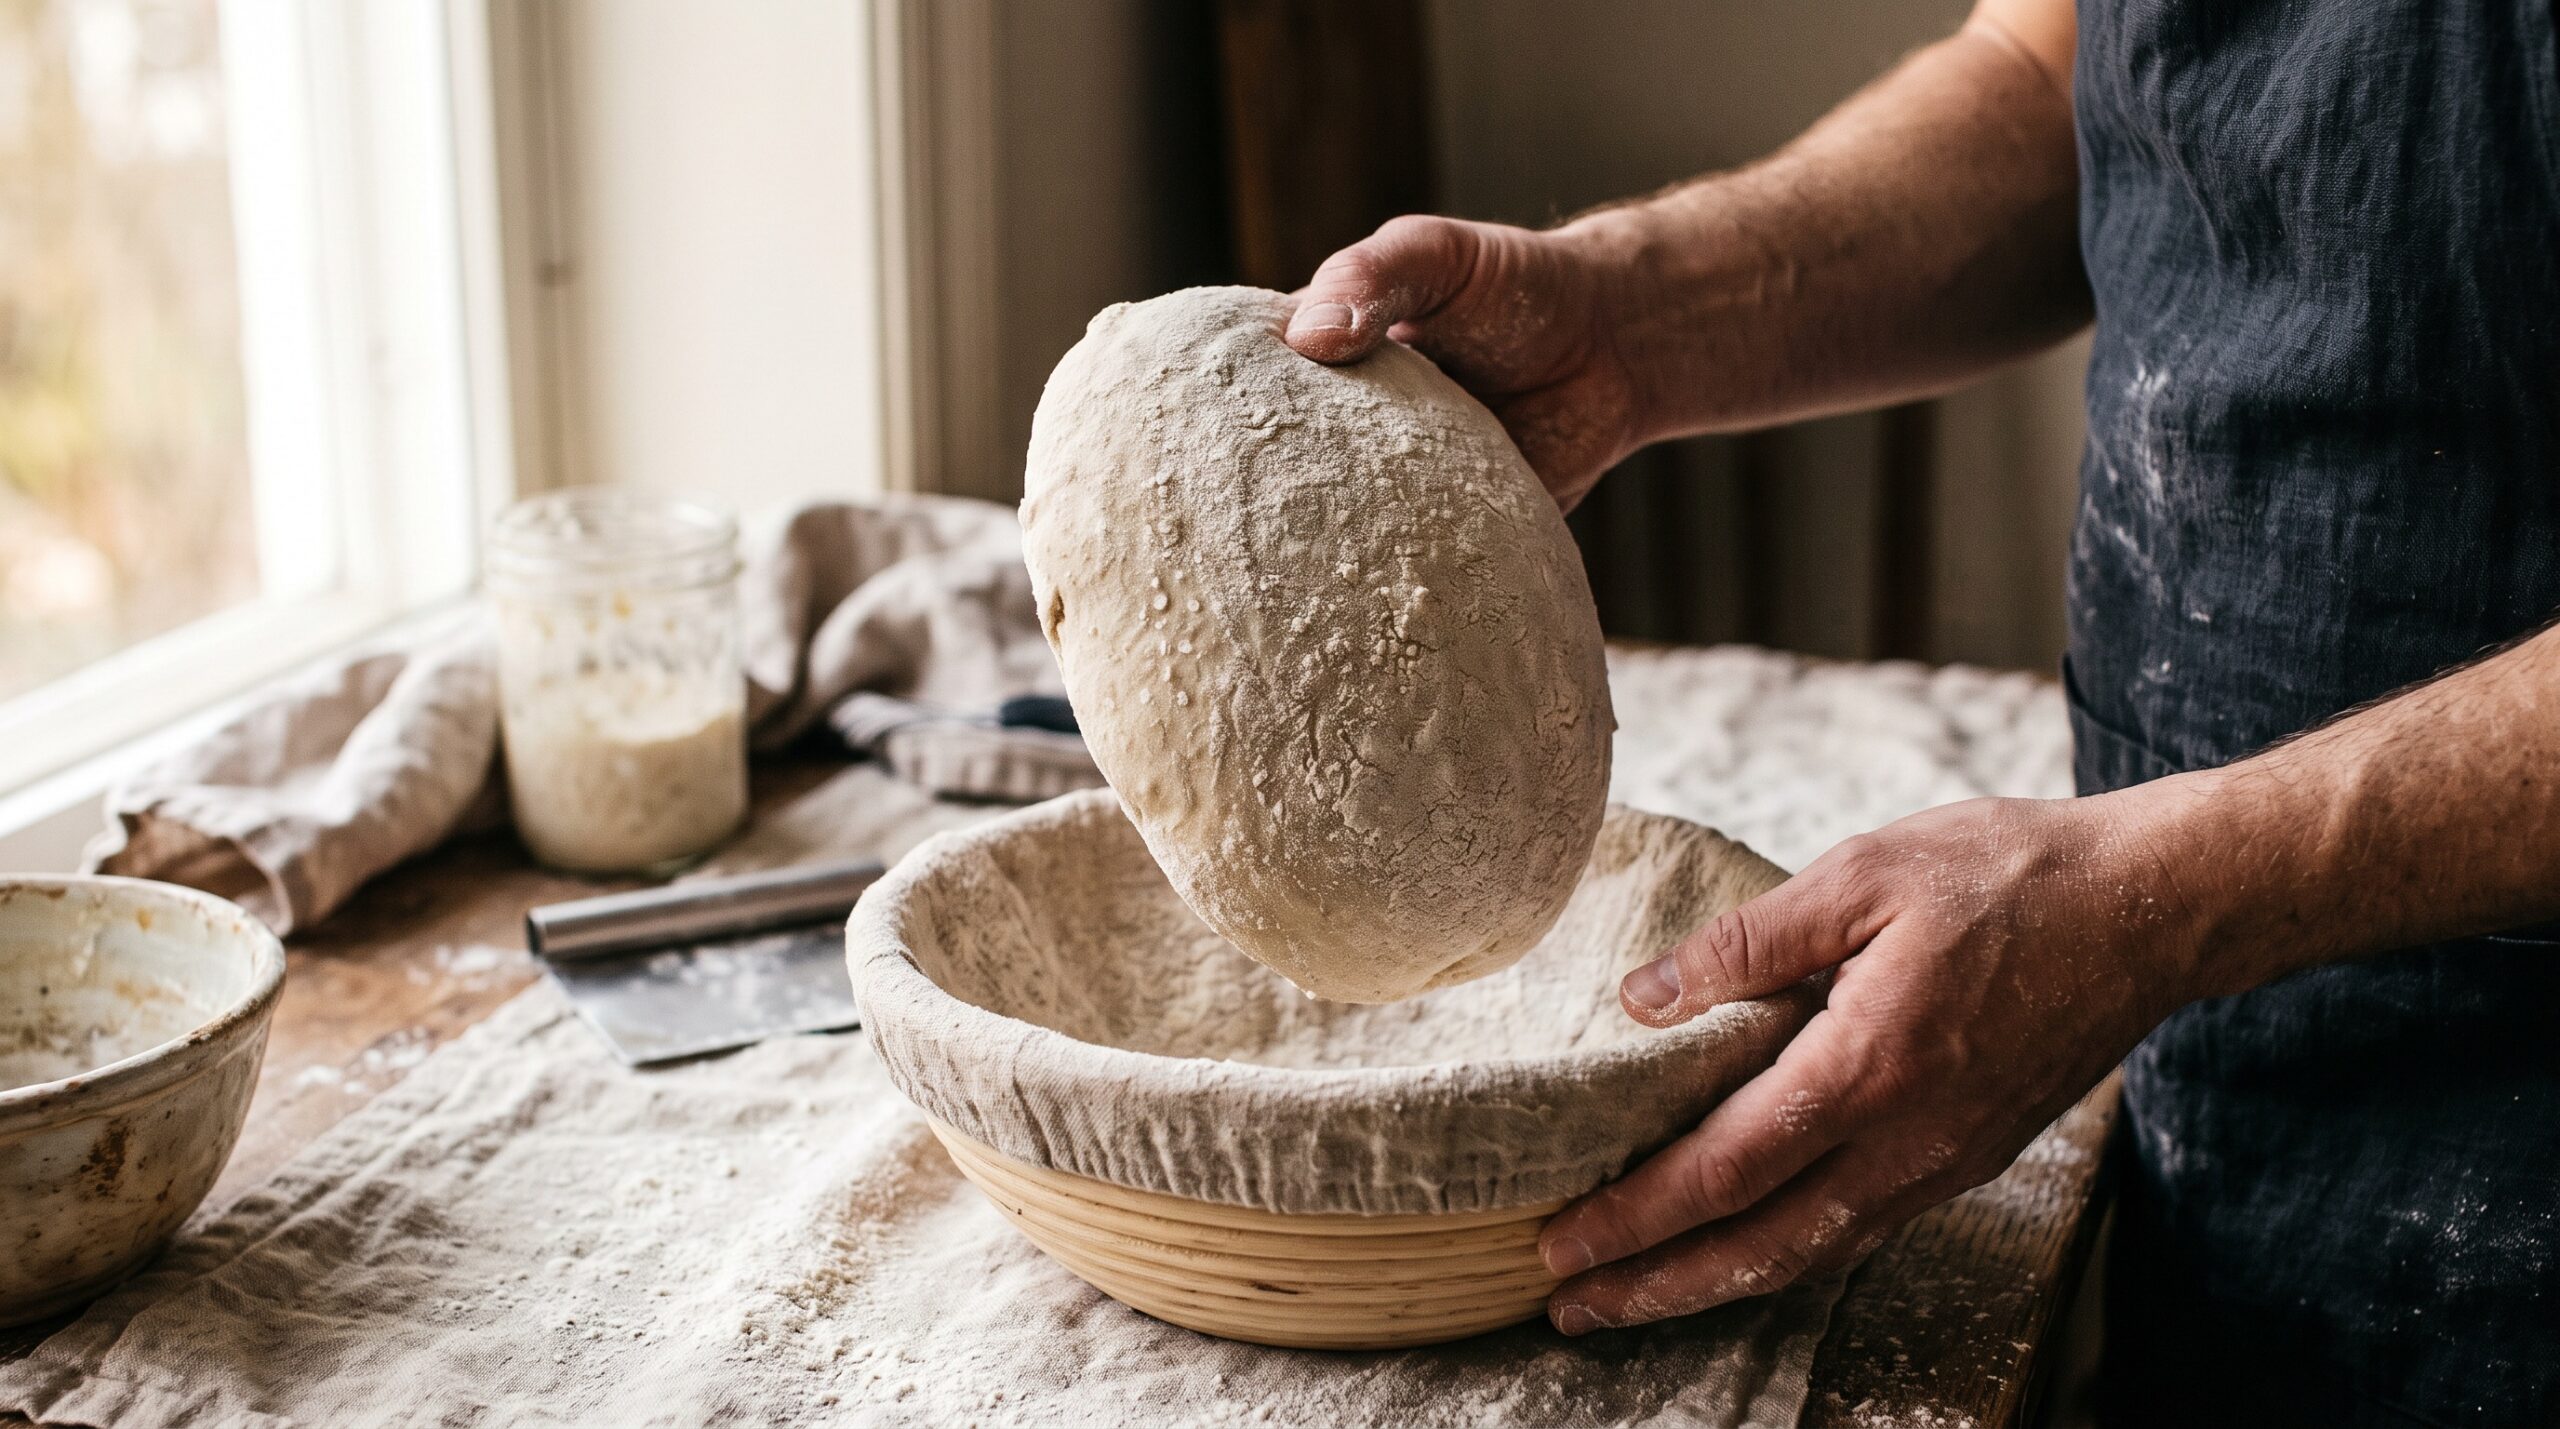
    A cold sourdough boule being turned out of a banneton straight from the fridge
    Straight from the fridge, the dough is firm, taut, and far easier to handle than a warm, slack loaf.

    The oven spring myth that trips everyone up

    The worry behind warming the dough is almost always the same: won’t a cold loaf be sluggish and refuse to rise? It’s an understandable fear, but it has the science backwards. Oven spring — that final dramatic surge of height in the first ten minutes of baking — happens because trapped gas expands and steam flashes inside the dough before the crust sets firm. A cold core actually extends that window. The outside heats and the crust begins to form, while the cool interior takes longer to catch up, so the loaf keeps expanding for longer before it’s locked in place.

    Put a room-temperature loaf in the same oven and the whole thing heats through faster, the crust sets sooner, and you lose some of that spring. The cold dough isn’t the handicap you imagined — it’s part of how you get a tall loaf with a proper ear.

    Scoring is where cold really pays off

    If you’ve ever had your lame drag, snag, and smear across the top of a loaf instead of cutting cleanly, slack dough is usually why. Warm, soft, gassy dough is sticky and wants to deflate the moment the blade touches it. Cold dough is firm and a little tacky at most — the blade glides, the cut opens crisply, and the score stays open through the bake instead of healing shut.

    This single factor is reason enough to bake cold. A clean, decisive score on a firm loaf gives you that textbook ear and controlled expansion. The same cut on a warmed-up loaf fights you the whole way and often tears.

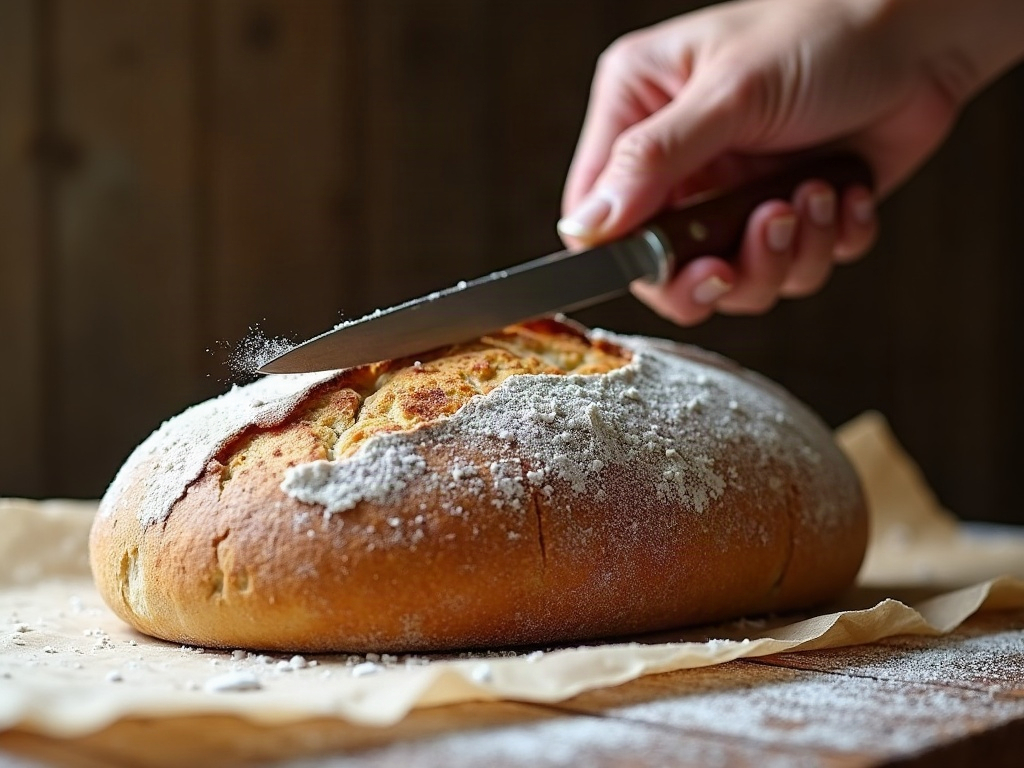
    A lame scoring a clean slash across a cold, firm sourdough loaf
    Cold dough is firm enough to take a clean, decisive score instead of dragging and deflating.

    The overproofing trap of “just warming it up”

    Here’s the real danger. When you pull a dough from the fridge, it’s typically at the end of its proof — that’s the point of the overnight retard. Leaving it on a warm counter for an hour or two doesn’t gently prepare it; it pushes an already-proofed dough past the finish line. The gluten relaxes, the gas structure degrades, and you cross from “ready” into overproofed. The poke test tells the story: poke a cold-proofed loaf and the dent springs back slowly and a little. Leave it to warm and that same poke leaves a dent that doesn’t spring back at all — the loaf has gone slack and will spread and bake flat.

    So the hour you spend “helping” the dough warm up is often the exact hour that ruins it. If your loaves come out flatter when you wait and better when you don’t, this is almost certainly why.

    The genuine exceptions — when a little warming helps

    Baking cold is the default, not an absolute law. There are a few cases where letting the dough sit out briefly is the right call:

    • You underproofed before chilling. If you rushed the bulk ferment and the dough went into the fridge young and tight, it may genuinely need a little more fermentation. Thirty to sixty minutes on the counter can finish the job. The tell is a dense, barely-risen loaf and a poke that springs back instantly even after the cold proof.
    • Enriched doughs. Butter-, milk-, and egg-rich doughs are stiff and sluggish straight from the fridge, and a short warm-up helps them spring. For a lean, classic country loaf, though, cold is king.
    • A very short or very cold retard. If your fridge runs icy or the dough was only chilled an hour or two to firm up for shaping, it may still have proofing left to do and a brief rest makes sense.

    Notice the pattern: you only warm the dough when it’s underproofed. If it finished its proof in the fridge — the usual case — warming it just overproofs it.

    A baked sourdough loaf with a tall ear and good oven spring, cut to show open crumb
    A cold core buys the loaf extra minutes of oven spring before the crust sets — that’s where the ear comes from.

    Your cold-bake workflow, start to finish

    Here’s the whole thing, stripped down, for a standard lean sourdough that’s had a full overnight cold proof:

    • Preheat fully first. Get your oven and Dutch oven (or baking surface and steam setup) screaming hot — this is the step that needs the time, not the dough.
    • Leave the dough in the fridge until the very last moment. Cold = firm = easy.
    • Turn out, score, bake — straight through. Tip the cold loaf onto parchment, score decisively, and get it into the hot oven within a minute or two.
    • Don’t open the door early. Let the spring happen; the cold core is buying you time, so give it the full first stretch of the bake before you peek.

    The whole point is to spend zero minutes letting the dough sit around. Hot oven, cold dough, straight in.

    Quick diagnosis: which camp are you in?

    If your cold-proofed loaves bake tall, score cleanly, and spring well — keep baking straight from the fridge and don’t second-guess it. If they come out flat and the score tears, run through this short check:

    • Did you let it warm on the counter? Stop. Bake it cold next time.
    • Still flat even cold? Then the problem is upstream — likely an underproofed or overproofed bulk ferment, or slack shaping with too little surface tension — not the baking temperature of the dough.
    • Dense and tight even cold? That’s an underproofing signature; give the dough a longer bulk next time, or a short warm-up before this bake as a one-off rescue.

    The headline, though, is simple and it saves a lot of loaves: a cold-proofed dough is ready to bake, not resting before baking. Firm dough scores clean, holds its shape, and springs tall, while a warmed-up loaf quietly overproofs on your counter. When in doubt, bake it cold.

    If you’d like to see the cold turn-out, score, and oven spring happen in real time — and exactly what a ready-to-bake cold loaf looks and feels like — the full hands-on walkthrough lives on the LoafLovers YouTube channel, and our free sourdough troubleshooting guide covers the rest of the flat-loaf culprits. Keep it cold, and let the oven do the warming.

    Related Reading