Tag: enriched dough

  • Sourdough Discard Cinnamon Rolls: Soft, Gooey, and a Great Use for Your Jar

    Sourdough Discard Cinnamon Rolls: Soft, Gooey, and a Great Use for Your Jar

    There’s a jar of sourdough discard in your fridge right now, and this is the week it finally pays you back. Cinnamon rolls are the one holiday-morning bake almost everyone wants and almost nobody plans far enough ahead for — and sourdough discard turns out to be the secret to the softest, most tender ones you’ll make. The tang balances all that sugar, the fermented flour keeps the crumb pillowy, and that guilt-inducing jar gets emptied in the most delicious way possible.

    These are not the week-long, all-natural-leaven cinnamon rolls that ask you to plan your whole weekend around them. This is the fast, forgiving version: discard for flavor and tenderness, a little instant yeast for a reliable lift, and a choice between a same-day bake and an overnight one so warm rolls can be the first thing you do on a holiday morning. Here’s how to get them soft and gooey, and how to fix them if they aren’t.

    Why discard makes better cinnamon rolls

    A cinnamon roll lives or dies on texture. You want soft, tender, slightly stretchy dough that pulls apart in sheets — not a dense bread roll with cinnamon in it. Sourdough discard quietly helps on every front.

    First, flavor. Discard is fermented flour and water, which means it brings a gentle acidity and a faint savory-sour depth. In a cinnamon roll that is pure advantage: the tang cuts through the sweetness so the rolls taste rich instead of cloying, the way a good buttermilk or cream-cheese note does. Second, texture. That same mild acid relaxes the gluten as the dough rests, so the crumb stays tender rather than tightening into something chewy. And because discard is already a soft, hydrated flour paste, it folds moisture right into the dough — part of why these stay soft the next day instead of going stale by lunch.

    The best part is that this is a job for the discard you’d otherwise throw away: cold, unfed, straight from the jar. No feeding, no waiting for it to peak. If you want the bigger picture of everything that jar can do, our guide to using up sourdough discard instead of throwing it away is the companion piece to this one.
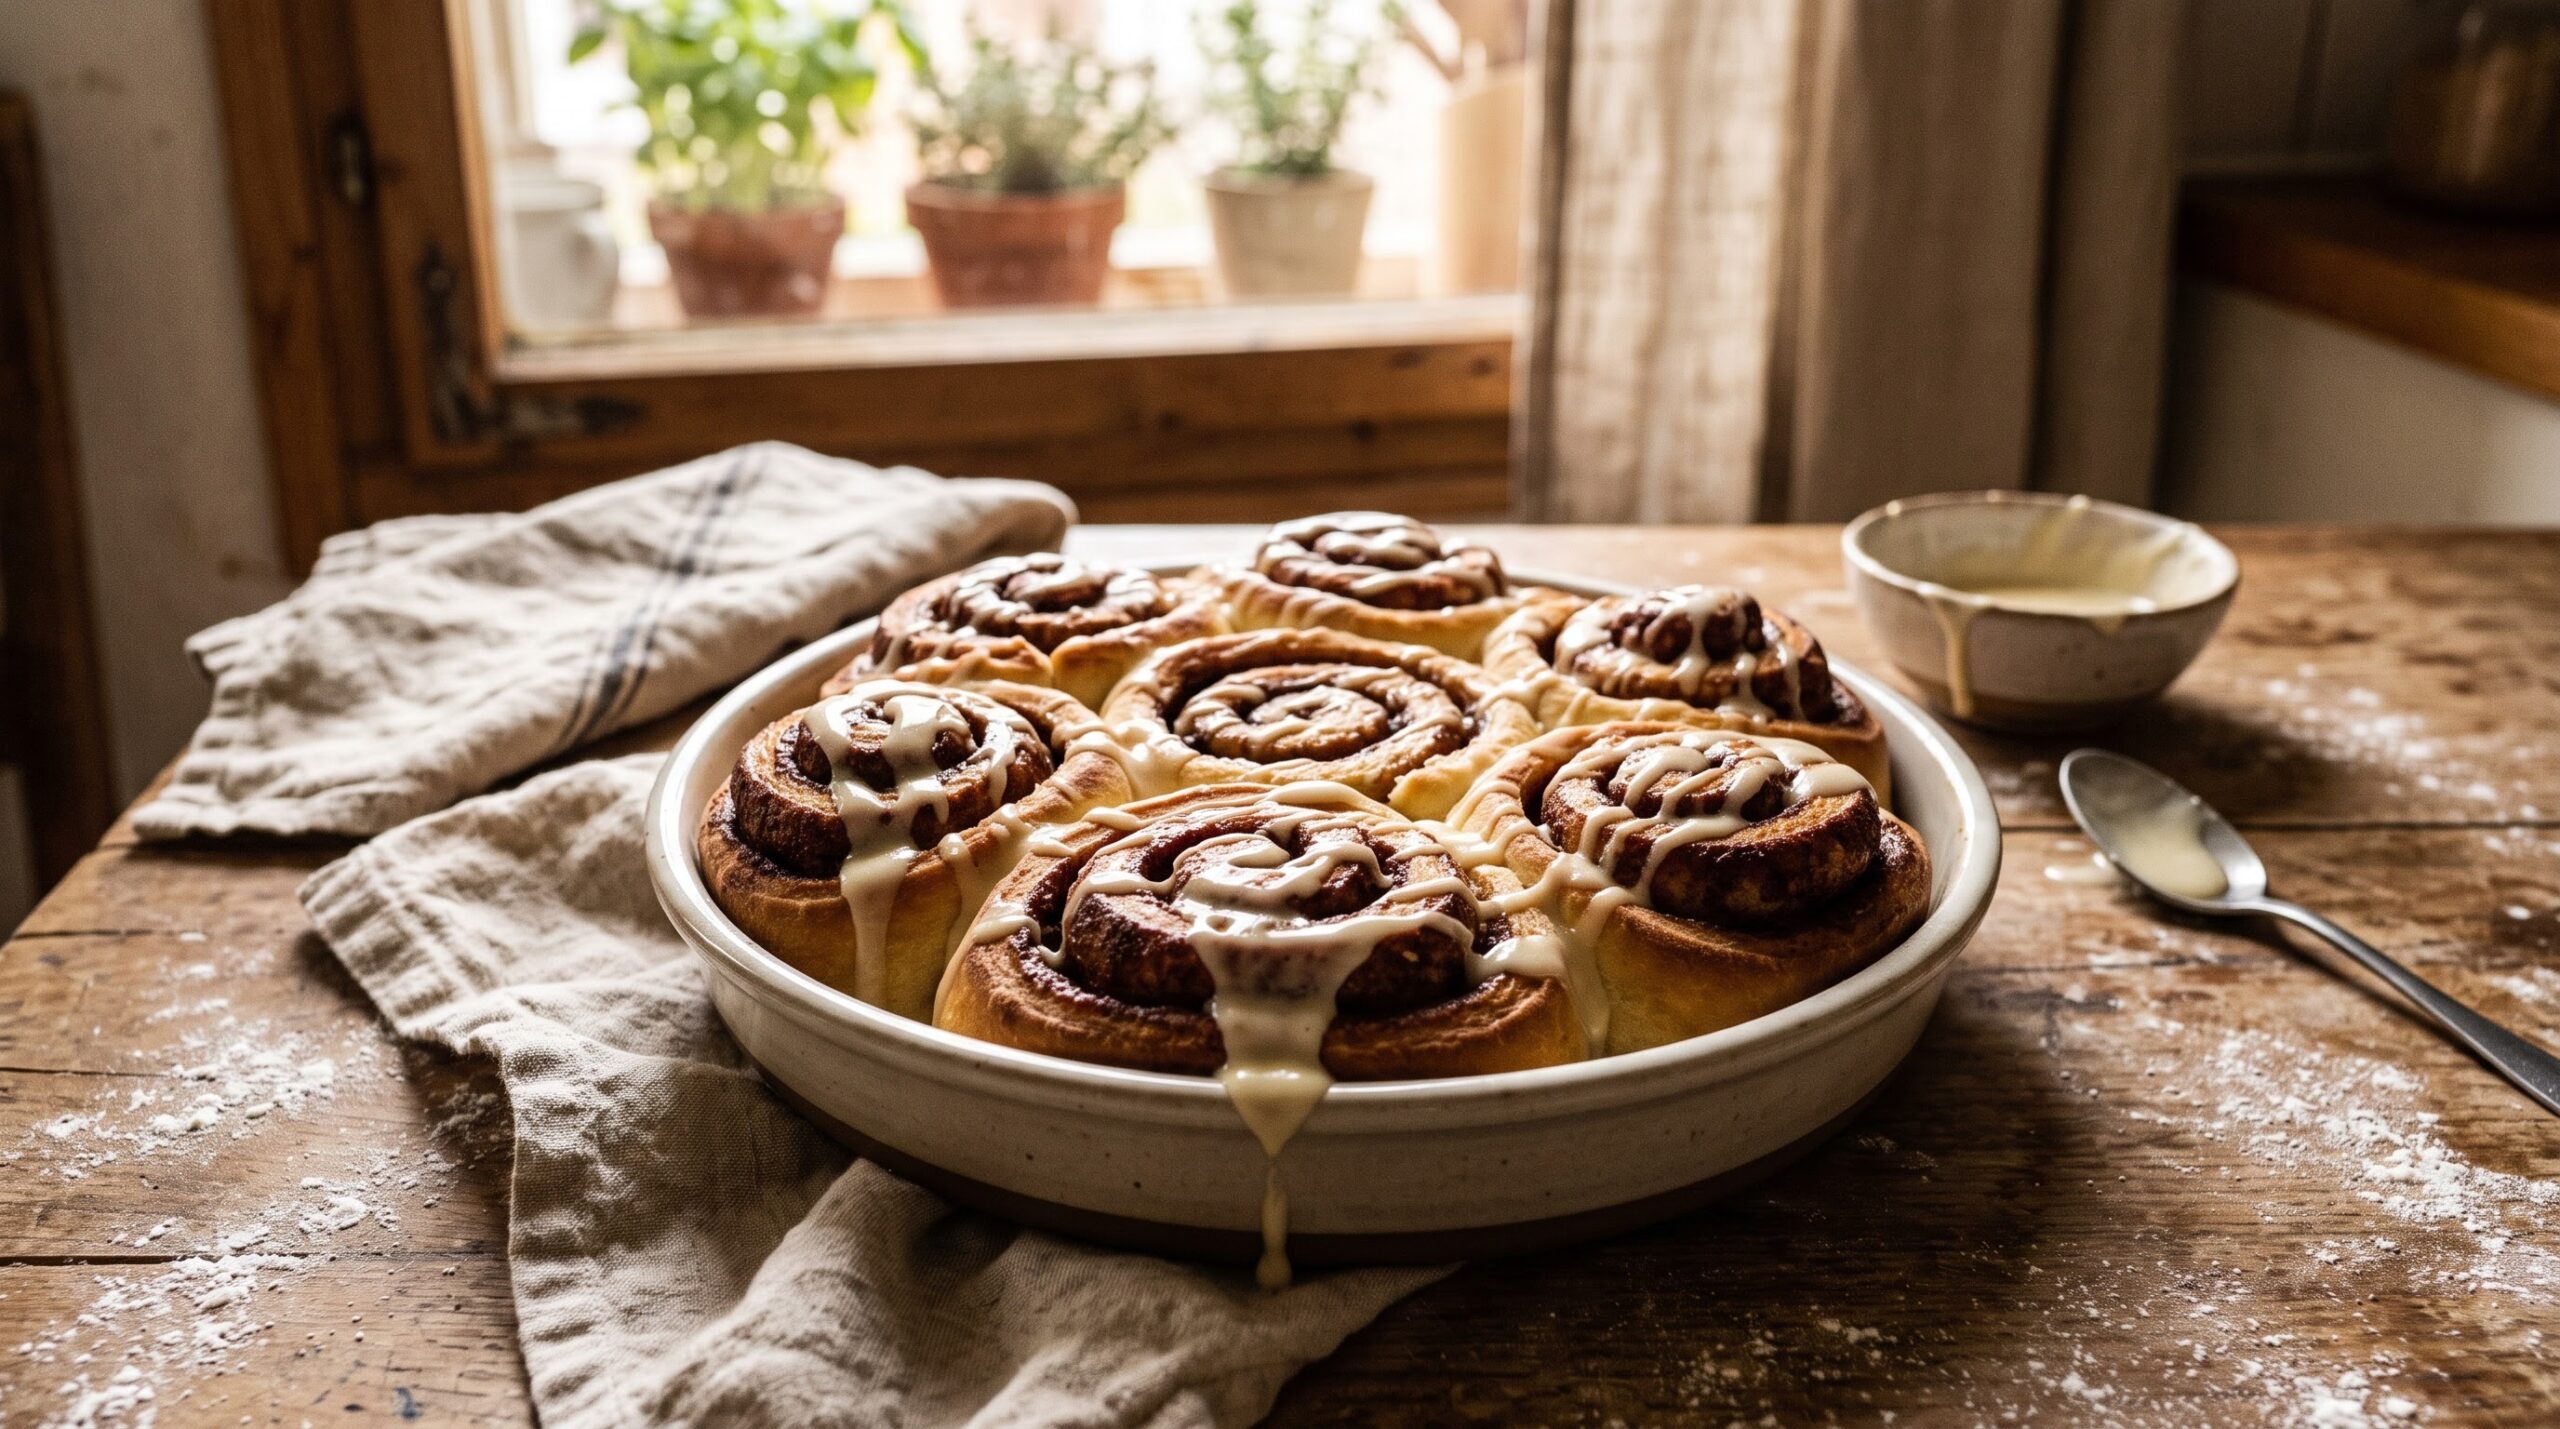
    A baking dish of soft golden sourdough discard cinnamon rolls with cream cheese glaze dripping over the gooey spirals
    Soft, pillowy, and unapologetically gooey — discard gives these rolls a tender crumb and a faint tang that cuts the sweetness.

    Discard plus a little yeast: the honest shortcut

    Let’s be clear about what this recipe is. A pure sourdough cinnamon roll, leavened only by an active starter, is a wonderful but slow project — it needs an energetic starter and the better part of a day of proofing. That’s a different article. Most people reaching for cinnamon rolls during a busy holiday week want them to work, on a schedule, without gambling the whole batch on a sluggish winter starter.

    So this version uses discard for flavor and tenderness and a small amount of instant yeast for a dependable, timely rise. There’s nothing dishonest about it — it’s the same logic behind plenty of enriched sourdough bakes, where the fat, sugar, milk, and egg change the game and a reliable lift matters more than a dramatic one. If you’re curious how richness reshapes a dough, we go deep on that in how butter, milk, and egg change everything about an enriched bake.

    The dough

    This makes about 9 to 12 rolls in a 9×13-inch dish.

    • 1 cup (240g) sourdough discard, cold from the fridge
    • ¾ cup (180g) warm milk
    • 1 large egg, room temperature
    • ¼ cup (50g) sugar
    • 4 tablespoons (55g) butter, melted and slightly cooled
    • 2¼ teaspoons (1 packet) instant yeast
    • 1 teaspoon salt
    • 3½ to 4 cups (420–480g) all-purpose flour

    For the filling: 4 tablespoons (55g) soft butter, ¾ cup (160g) packed brown sugar, 2 tablespoons ground cinnamon.

    For the glaze: 4 oz (115g) softened cream cheese, 2 tablespoons soft butter, 1 cup (120g) powdered sugar, a splash of milk, a pinch of salt.
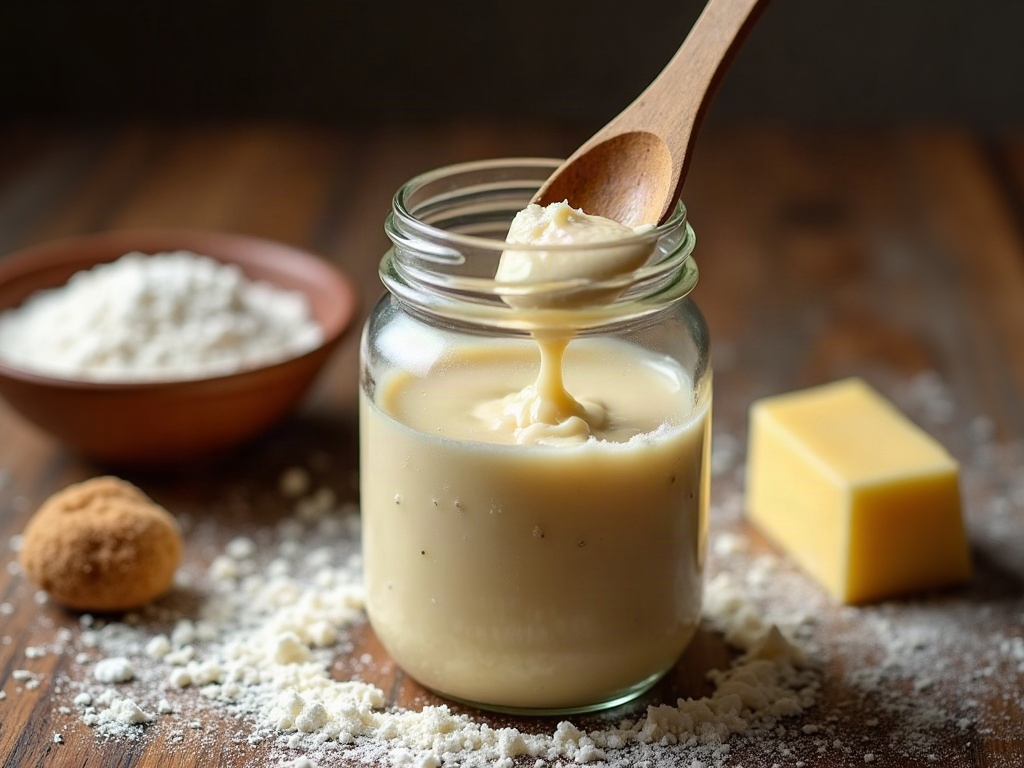
    A jar of bubbly sourdough discard being spooned out beside flour, soft butter, and brown sugar
    Cold, unfed discard is perfect here — its mild acidity tenderizes the dough and adds flavor you can’t fake.

    Making them, step by step

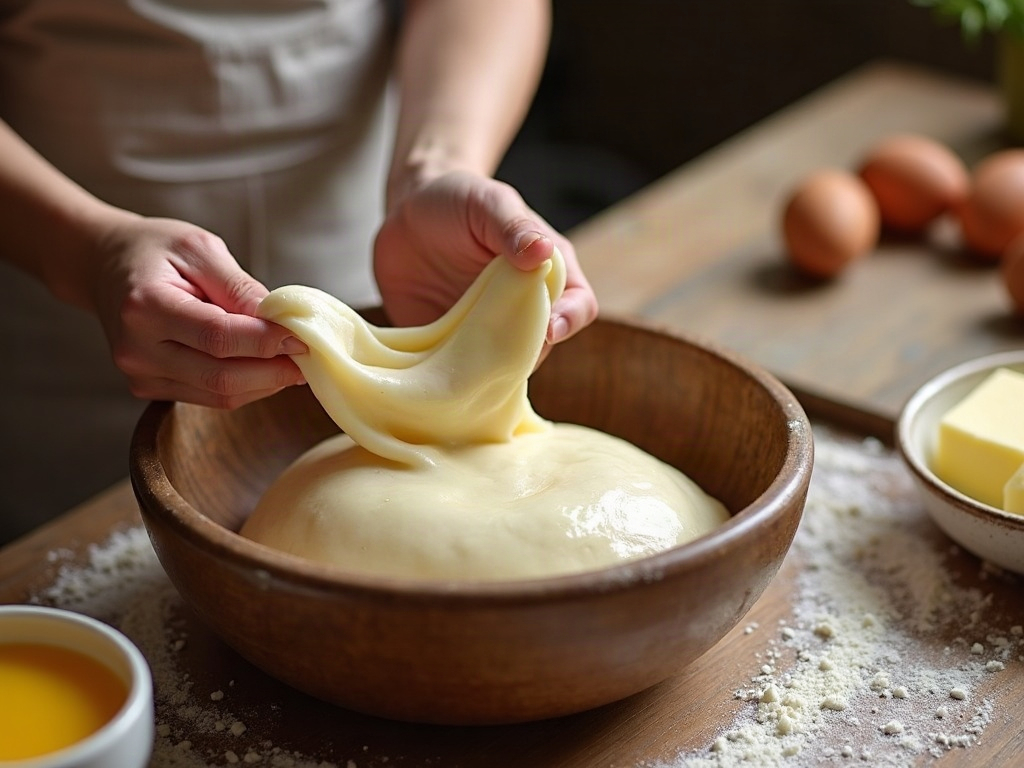
    1. Mix the dough. Whisk the discard, warm milk, egg, sugar, melted butter, and yeast together until smooth. Add the salt and most of the flour, and mix to a shaggy dough. Knead (by hand 8–10 minutes, or in a mixer 5–6) until smooth and elastic, adding flour a little at a time only until it clears the bowl. Enriched dough should feel soft and slightly tacky — resist the urge to dry it out with extra flour, or the rolls bake up tough.

    2. First rise. Cover and let it rise in a warm spot until roughly doubled, about 1 to 2 hours. In a cold winter kitchen this is the step that stalls; an oven with just the light on, or a warm corner, makes all the difference. (The same cold-kitchen slowdown that drags out a loaf applies here — it’s worth knowing how to find a warm spot for enriched dough too.)

    3. Roll and fill. Punch down and roll the dough on a floured surface into a large rectangle, roughly 16×12 inches. Spread the soft butter edge to edge, then sprinkle the brown sugar and cinnamon evenly over the whole surface. Starting from a long edge, roll it up snugly into a tight log — a loose roll makes a loose spiral.

    4. Slice and arrange. Cut the log into 9 to 12 even pieces. A length of plain thread or unflavored dental floss slipped under the log and crossed over the top gives the cleanest cut without squashing the spiral; a very sharp knife works too. Arrange the rolls cut-side up in a buttered baking dish, leaving a little room to expand.
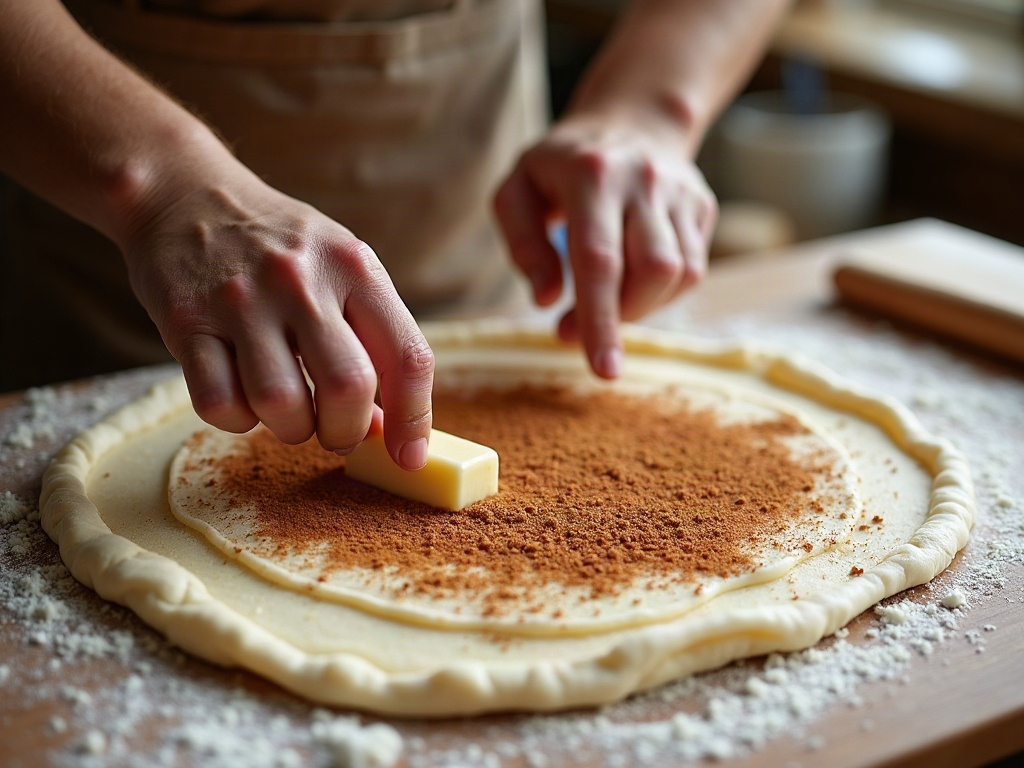
    Hands spreading butter, cinnamon, and brown sugar over a rolled-out rectangle of enriched sourdough dough
    Soft butter, brown sugar, and plenty of cinnamon, spread right to the edges — this is the gooey core of every roll.

    5. Second rise. Cover and let the rolls puff until pressed together and visibly swollen, about 45 minutes to an hour. They should look soft and inflated, not firm. This is the proof that decides whether they’re light or dense, so don’t rush it.

    6. Bake. Bake at 350°F (175°C) for 22 to 28 minutes, until golden and cooked through in the center. If the tops brown before the middles set, tent loosely with foil. Let them cool 10 minutes before glazing.

    7. Glaze. Beat the cream cheese and butter smooth, then beat in the powdered sugar, salt, and enough milk to make it spreadable. Slather it over the warm (not hot) rolls so it melts into every crevice.
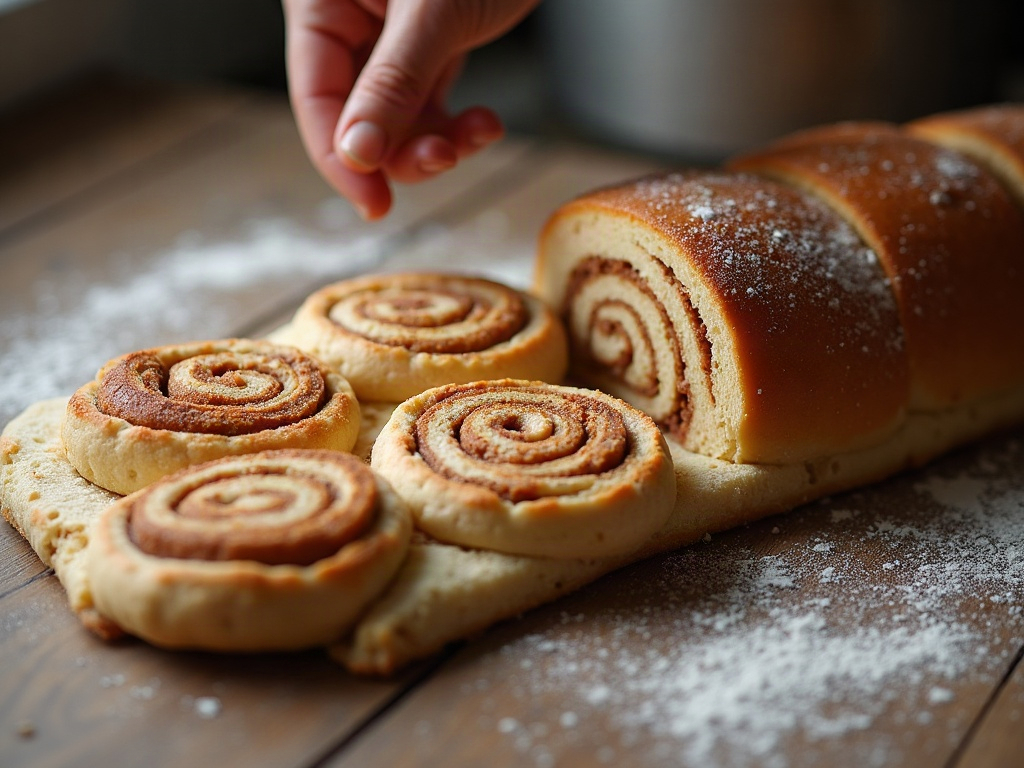
    A cinnamon-filled dough log being sliced into even rolls showing clean spirals, placed into a baking dish
    Slice with thread or a very sharp knife so the spirals stay round, then nestle the rolls just touching to proof.

    The overnight version (for a calm holiday morning)

    This is the whole reason to make cinnamon rolls with a fermented dough: it takes beautifully to the fridge. Assemble the rolls through the slicing step, cover the dish tightly, and refrigerate overnight — up to about 16 hours. The cold slows the yeast to a crawl while the discard keeps developing flavor. In the morning, pull the dish out, let it sit on the counter until the rolls look puffy and come to room temperature (45 minutes to a bit over an hour, longer in a cold kitchen), then bake as above. Warm, gooey cinnamon rolls with no 6 a.m. dough-wrangling — which is exactly the make-ahead thinking behind our make-ahead holiday sourdough schedule. You can also freeze the baked, unglazed rolls and warm them later.

    When they don’t come out right

    • Dense, heavy rolls. Underproofed, almost always. If the rolls weren’t visibly puffy and pressed together before baking, they needed more time — especially in a cold kitchen. Give the second rise longer and find a warmer spot.
    • Dry or bready. Too much flour in the dough, or overbaked. Keep the dough soft and slightly tacky, and pull the rolls the moment the centers are set — an extra five minutes dries them out.
    • Gummy, doughy centers. Underbaked, or the rolls were packed too tightly so the middles couldn’t cook. Give them a little space in the dish and bake until the center roll is done, not just the edges.
    • Filling leaked out into a puddle. Normal and delicious — that’s the gooey caramel bonus. But a too-loose roll or too-wet filling makes it worse; roll snugly and don’t overdo the butter.
    • Flat spirals that unravel. The log was rolled too loosely or the dough was overfloured and wouldn’t stick to itself. Roll tight, and keep the dough tacky enough to grip.

    Empty the jar, feed the table

    Discard cinnamon rolls are the kind of bake that makes the whole discard habit feel worth it: you take something you were about to pour down the drain and turn it into the warm, gooey centerpiece of a holiday morning. They’re soft, they’re tangy-sweet, and they reward a little patience on the proof with a crumb that stays tender into the next day. If the jar isn’t empty yet, a spiced sourdough discard gingerbread loaf is a natural next bake, and soft sourdough dinner rolls round out the table on the savory side.
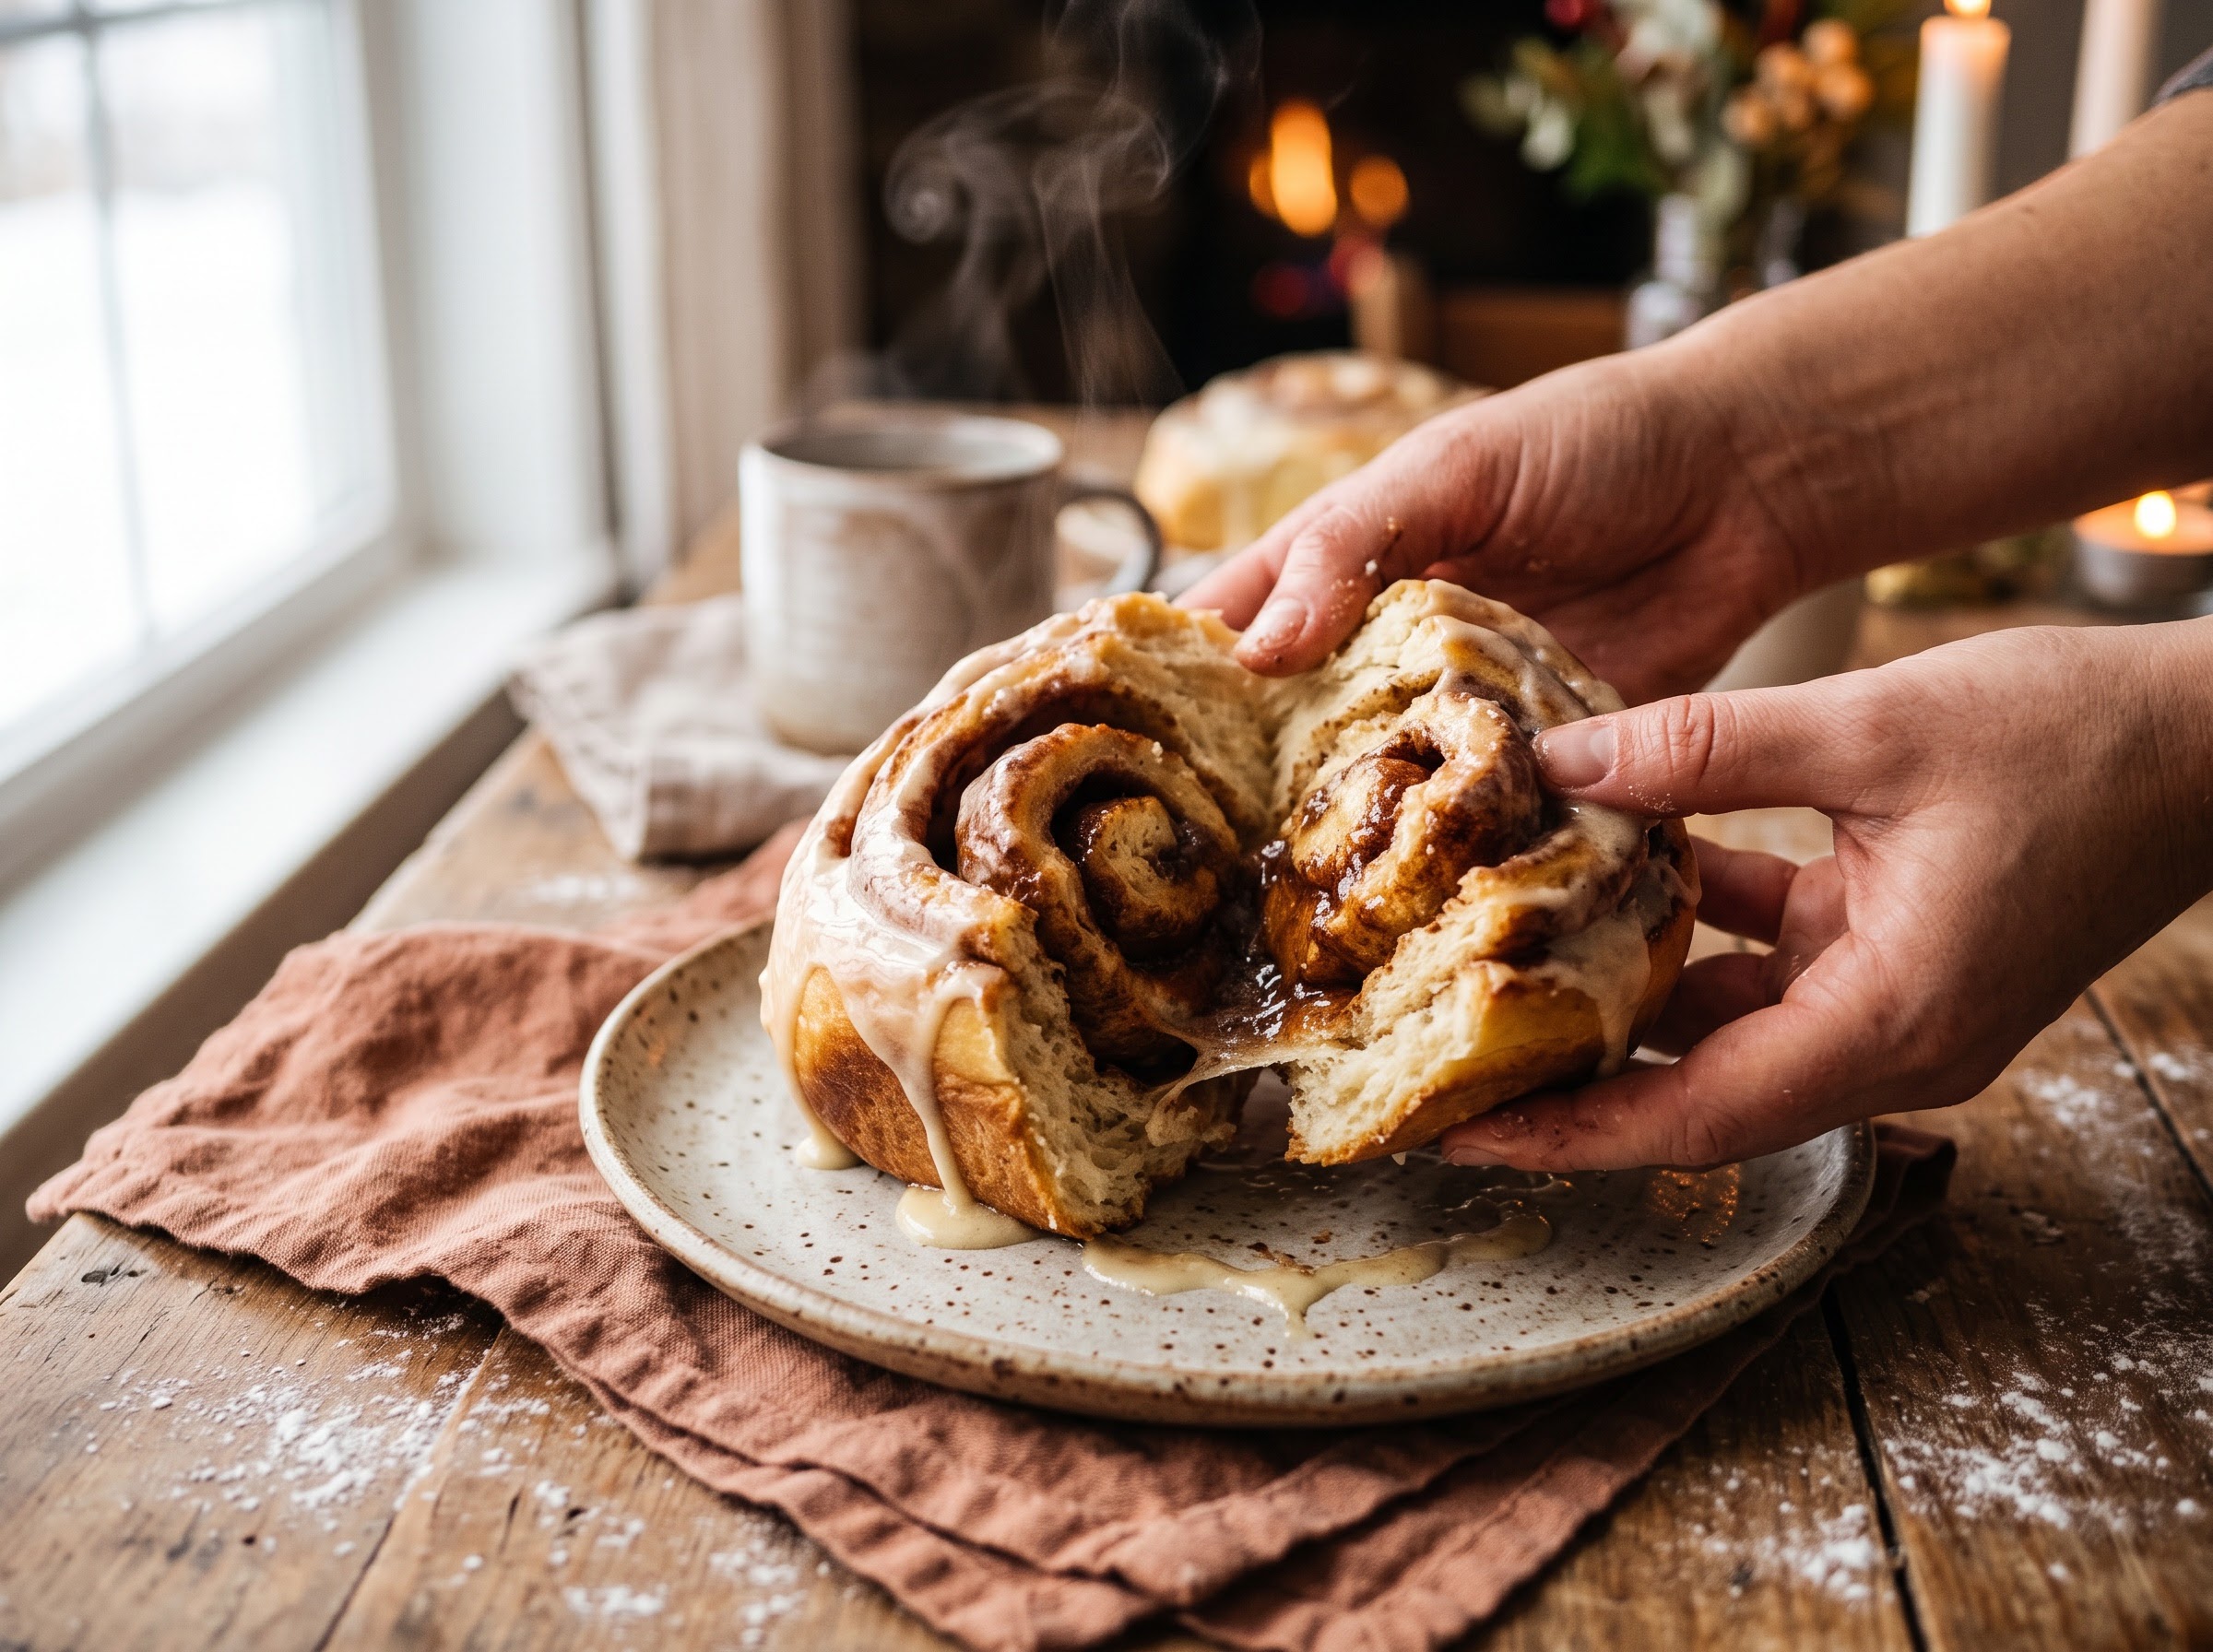
    A single gooey sourdough cinnamon roll pulled apart to show the soft tender spiral and melting cinnamon filling
    The payoff: a soft, tender spiral that pulls apart in sheets, with a gooey cinnamon center and a tangy-sweet glaze.

    Enriched, rolled doughs are one of those things that click the moment you watch one come together — how tacky the dough should feel, how tight to roll the log, how puffy the rolls should look before they go in. The full step-by-step sourdough discard cinnamon rolls, including the overnight method and the cream-cheese glaze, lives on the LoafLovers YouTube channel, and our free sourdough troubleshooting guide has a printable discard-uses cheat sheet so that jar never goes to waste again. Keep the dough soft, let them proof, and go make the softest rolls on the table.
    Related Reading

  • Sourdough Panettone: Start Now for a Tall, Cloud-Soft Christmas Bread

    Sourdough Panettone: Start Now for a Tall, Cloud-Soft Christmas Bread

    If there is one sourdough bake that rewards planning over luck, it is panettone. That tall, golden, cloud-soft Italian Christmas bread — all buttery strands and candied fruit, light enough to pull apart with your fingers — is widely considered the hardest thing a home baker can attempt. And when it is leavened entirely by your own starter, with no commercial yeast at all, it moves from “ambitious weekend project” to “genuine test of everything you know.”

    Here is the honest truth that every panettone guide buries in the footnotes: the single most important ingredient is time, and you have to commit to it weeks before the loaf ever goes in the oven. If you want a sourdough panettone on the table this Christmas, mid-November is not early — it is right on schedule. This isn’t a recipe you can decide to make on December 23rd. Let’s walk through why it takes so long, and how to give yourself a real shot at success.

    Why panettone is the Everest of sourdough

    Ordinary sourdough is water, flour, salt and starter. Panettone throws all the hardest variables at you at once. It is an enriched dough taken to an extreme — loaded with butter, egg yolks, sugar, and candied fruit. Every one of those additions actively fights the rise. Fat coats the gluten strands and weakens them; sugar pulls water away from your yeast and slows fermentation; the sheer weight of all those enrichments has to be lofted sky-high by nothing but wild yeast.

    On top of that, panettone has an almost absurd standard of success. It must rise into a tall dome, develop a crumb so light it is nearly weightless, pull apart into long silky strands rather than crumbling, and stay soft for days. If you have ever wondered why real artisan panettone costs what it does, this is why: it is a slow, delicate, multi-day feat of fermentation engineering. Understanding how much the butter, milk and egg in an enriched dough change the entire bake is the right place to start before you ever attempt one.

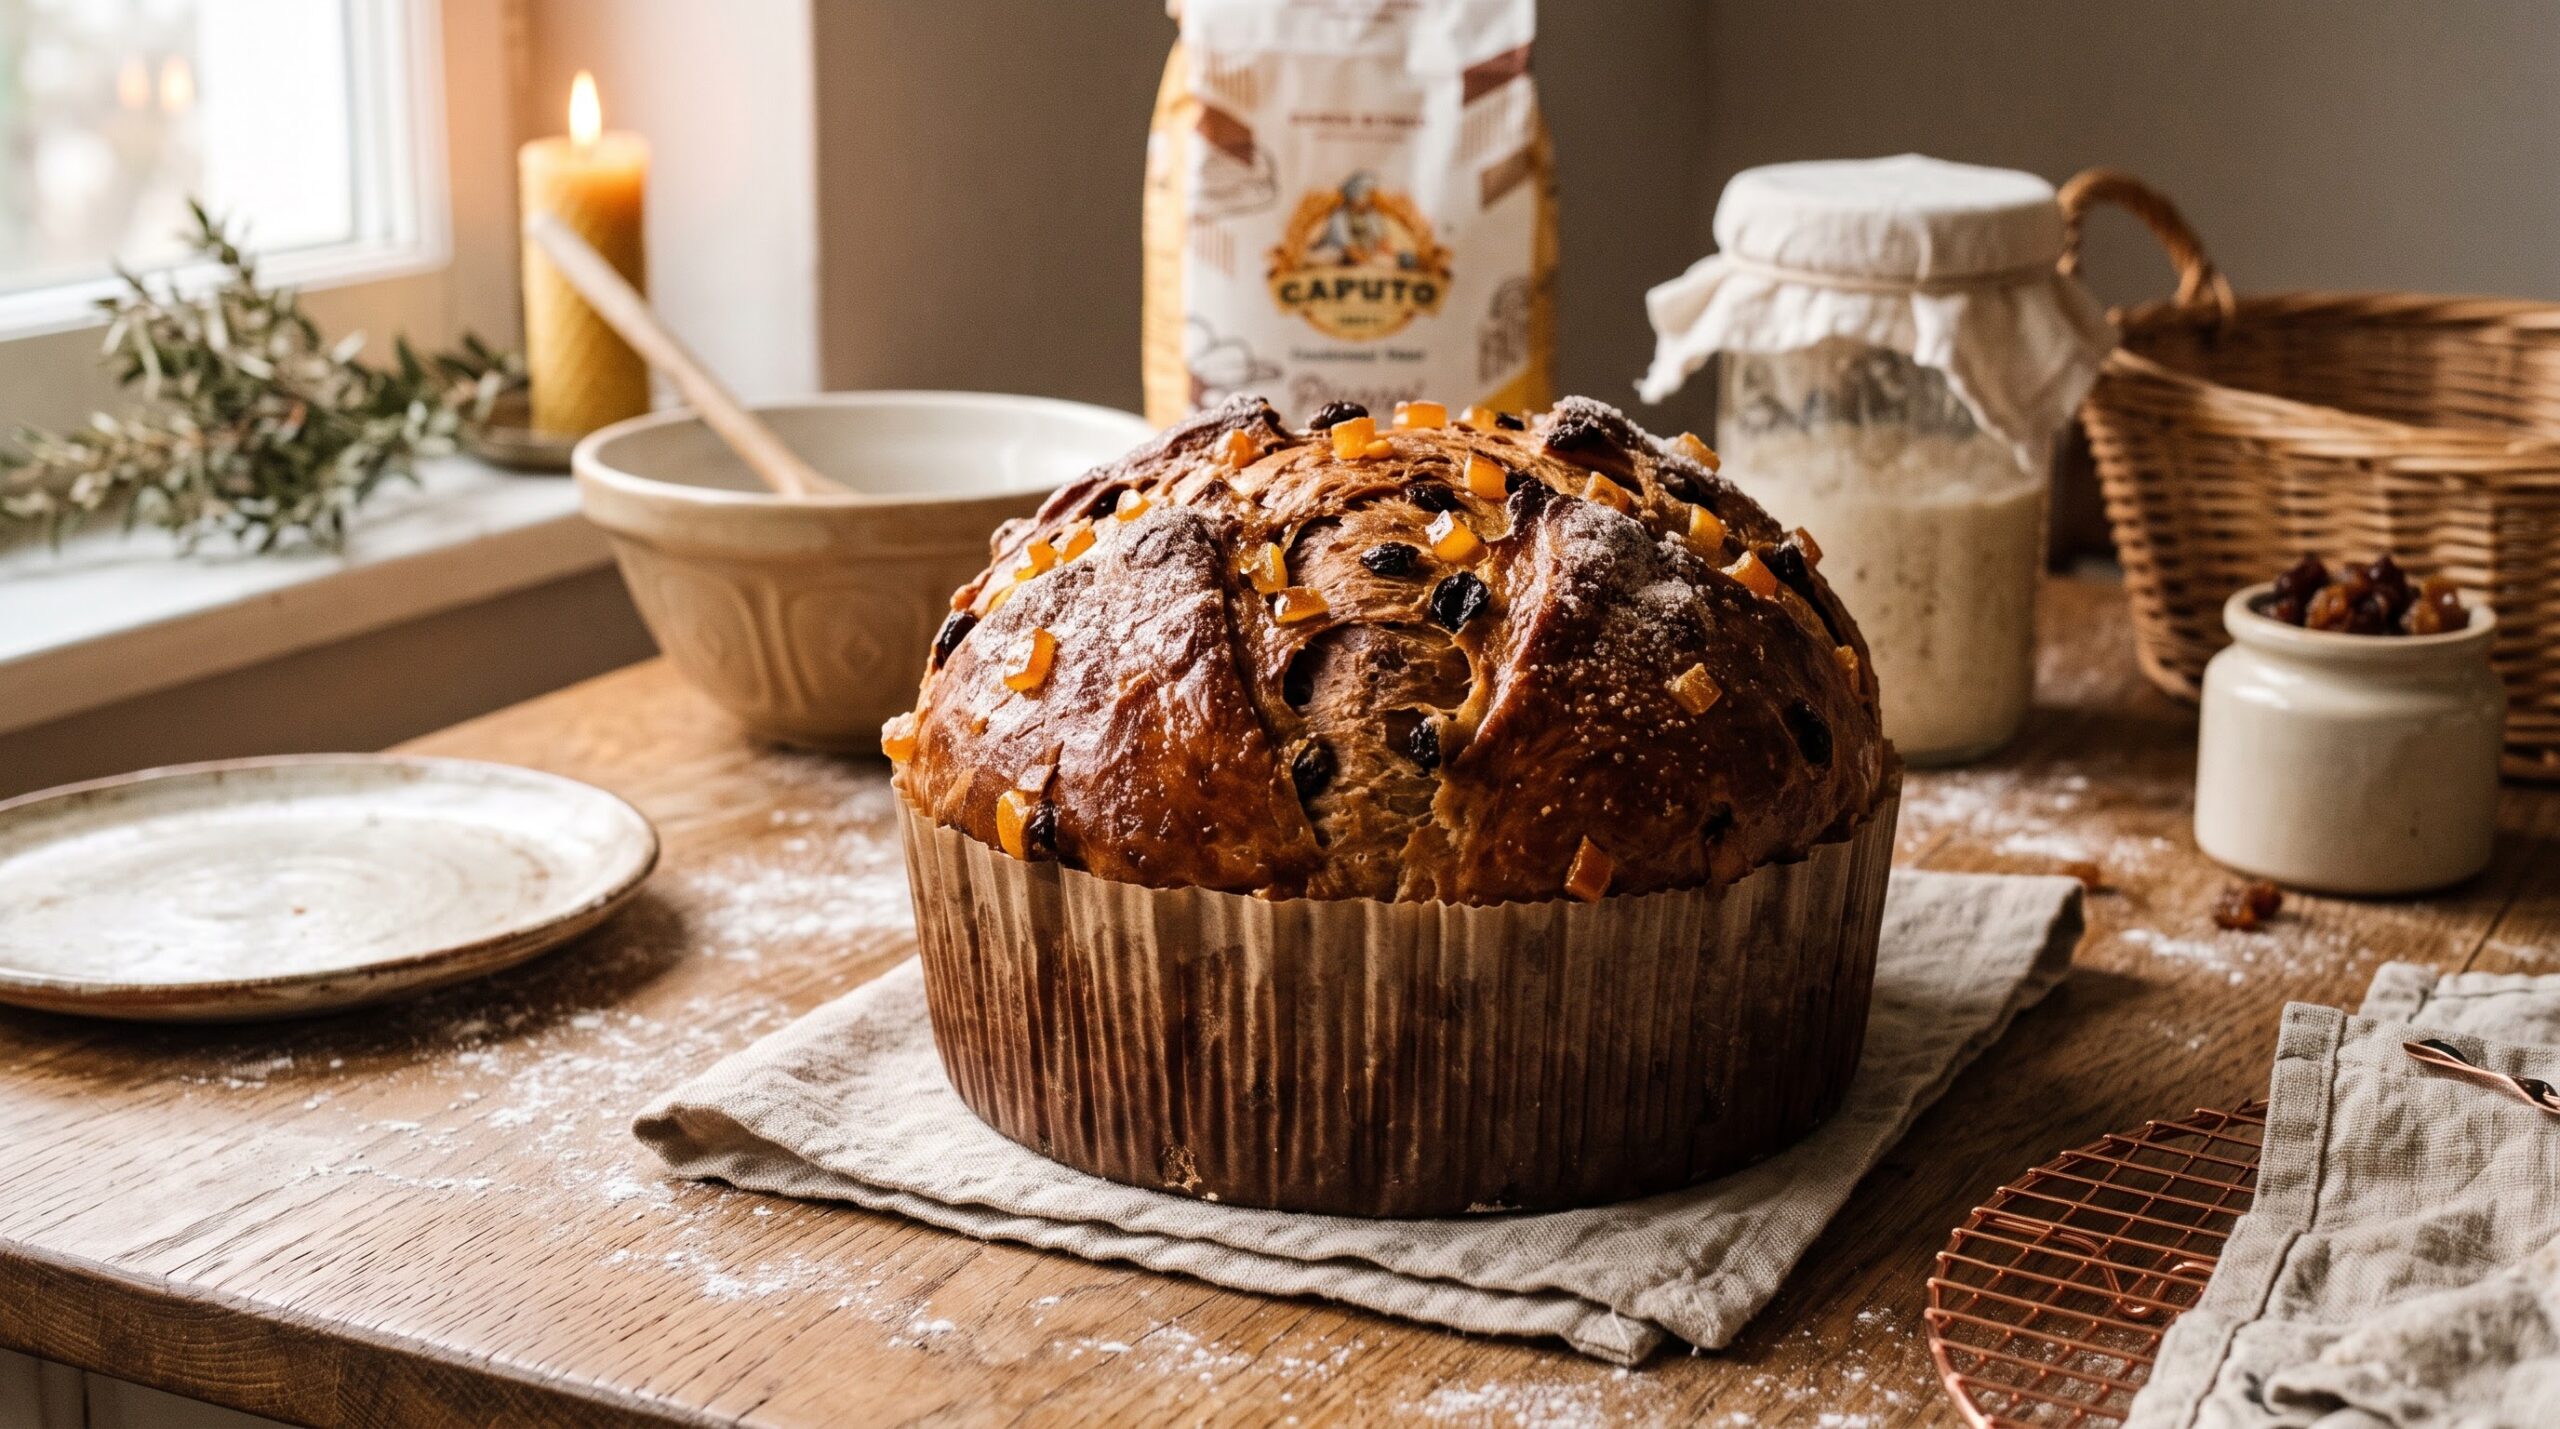
    A tall golden domed sourdough panettone rising above its paper mold, studded with candied fruit
    The goal: a tall, burnished dome that rises proud of its mold — feather-light inside, leavened entirely by a sourdough starter.

    It all rides on your starter — and that is why you start now

    This is the part that catches people out. You cannot leaven a dough this heavy with a tired, sluggish, once-a-week fridge starter. Panettone demands a starter at the absolute peak of its powers: fast, vigorous, mild-tasting, and so strong it can triple in volume in a handful of hours. Most home starters simply aren’t in that condition day to day — and getting one there takes weeks of consistent, frequent feeding. That is the real reason this bake has to begin in mid-November.

    Traditional Italian bakers use a stiff starter — a low-hydration dough-like culture often called lievito madre or pasta madre — rather than the loose, pancake-batter starter most of us keep. A stiff starter ferments more gently, builds more strength, and develops a milder, sweeter flavor that suits a dessert bread far better than the tangy sourness of a wet culture. In the weeks before the bake, it is fed once, twice, even three times a day to build it into a powerhouse. If your starter doubles happily but your loaves still don’t rise the way you expect, that disconnect is worth fixing now, long before panettone day — here is why a starter that doubles can still leave your bread flat.

    Dialing in the feeding is the whole game in these weeks. You are chasing a predictable, fast, reliable rise, which means getting your ratios and timing consistent. Our breakdown of sourdough feeding ratios and when to use each will help you push your culture toward that peak-strength, fast-tripling condition panettone needs.

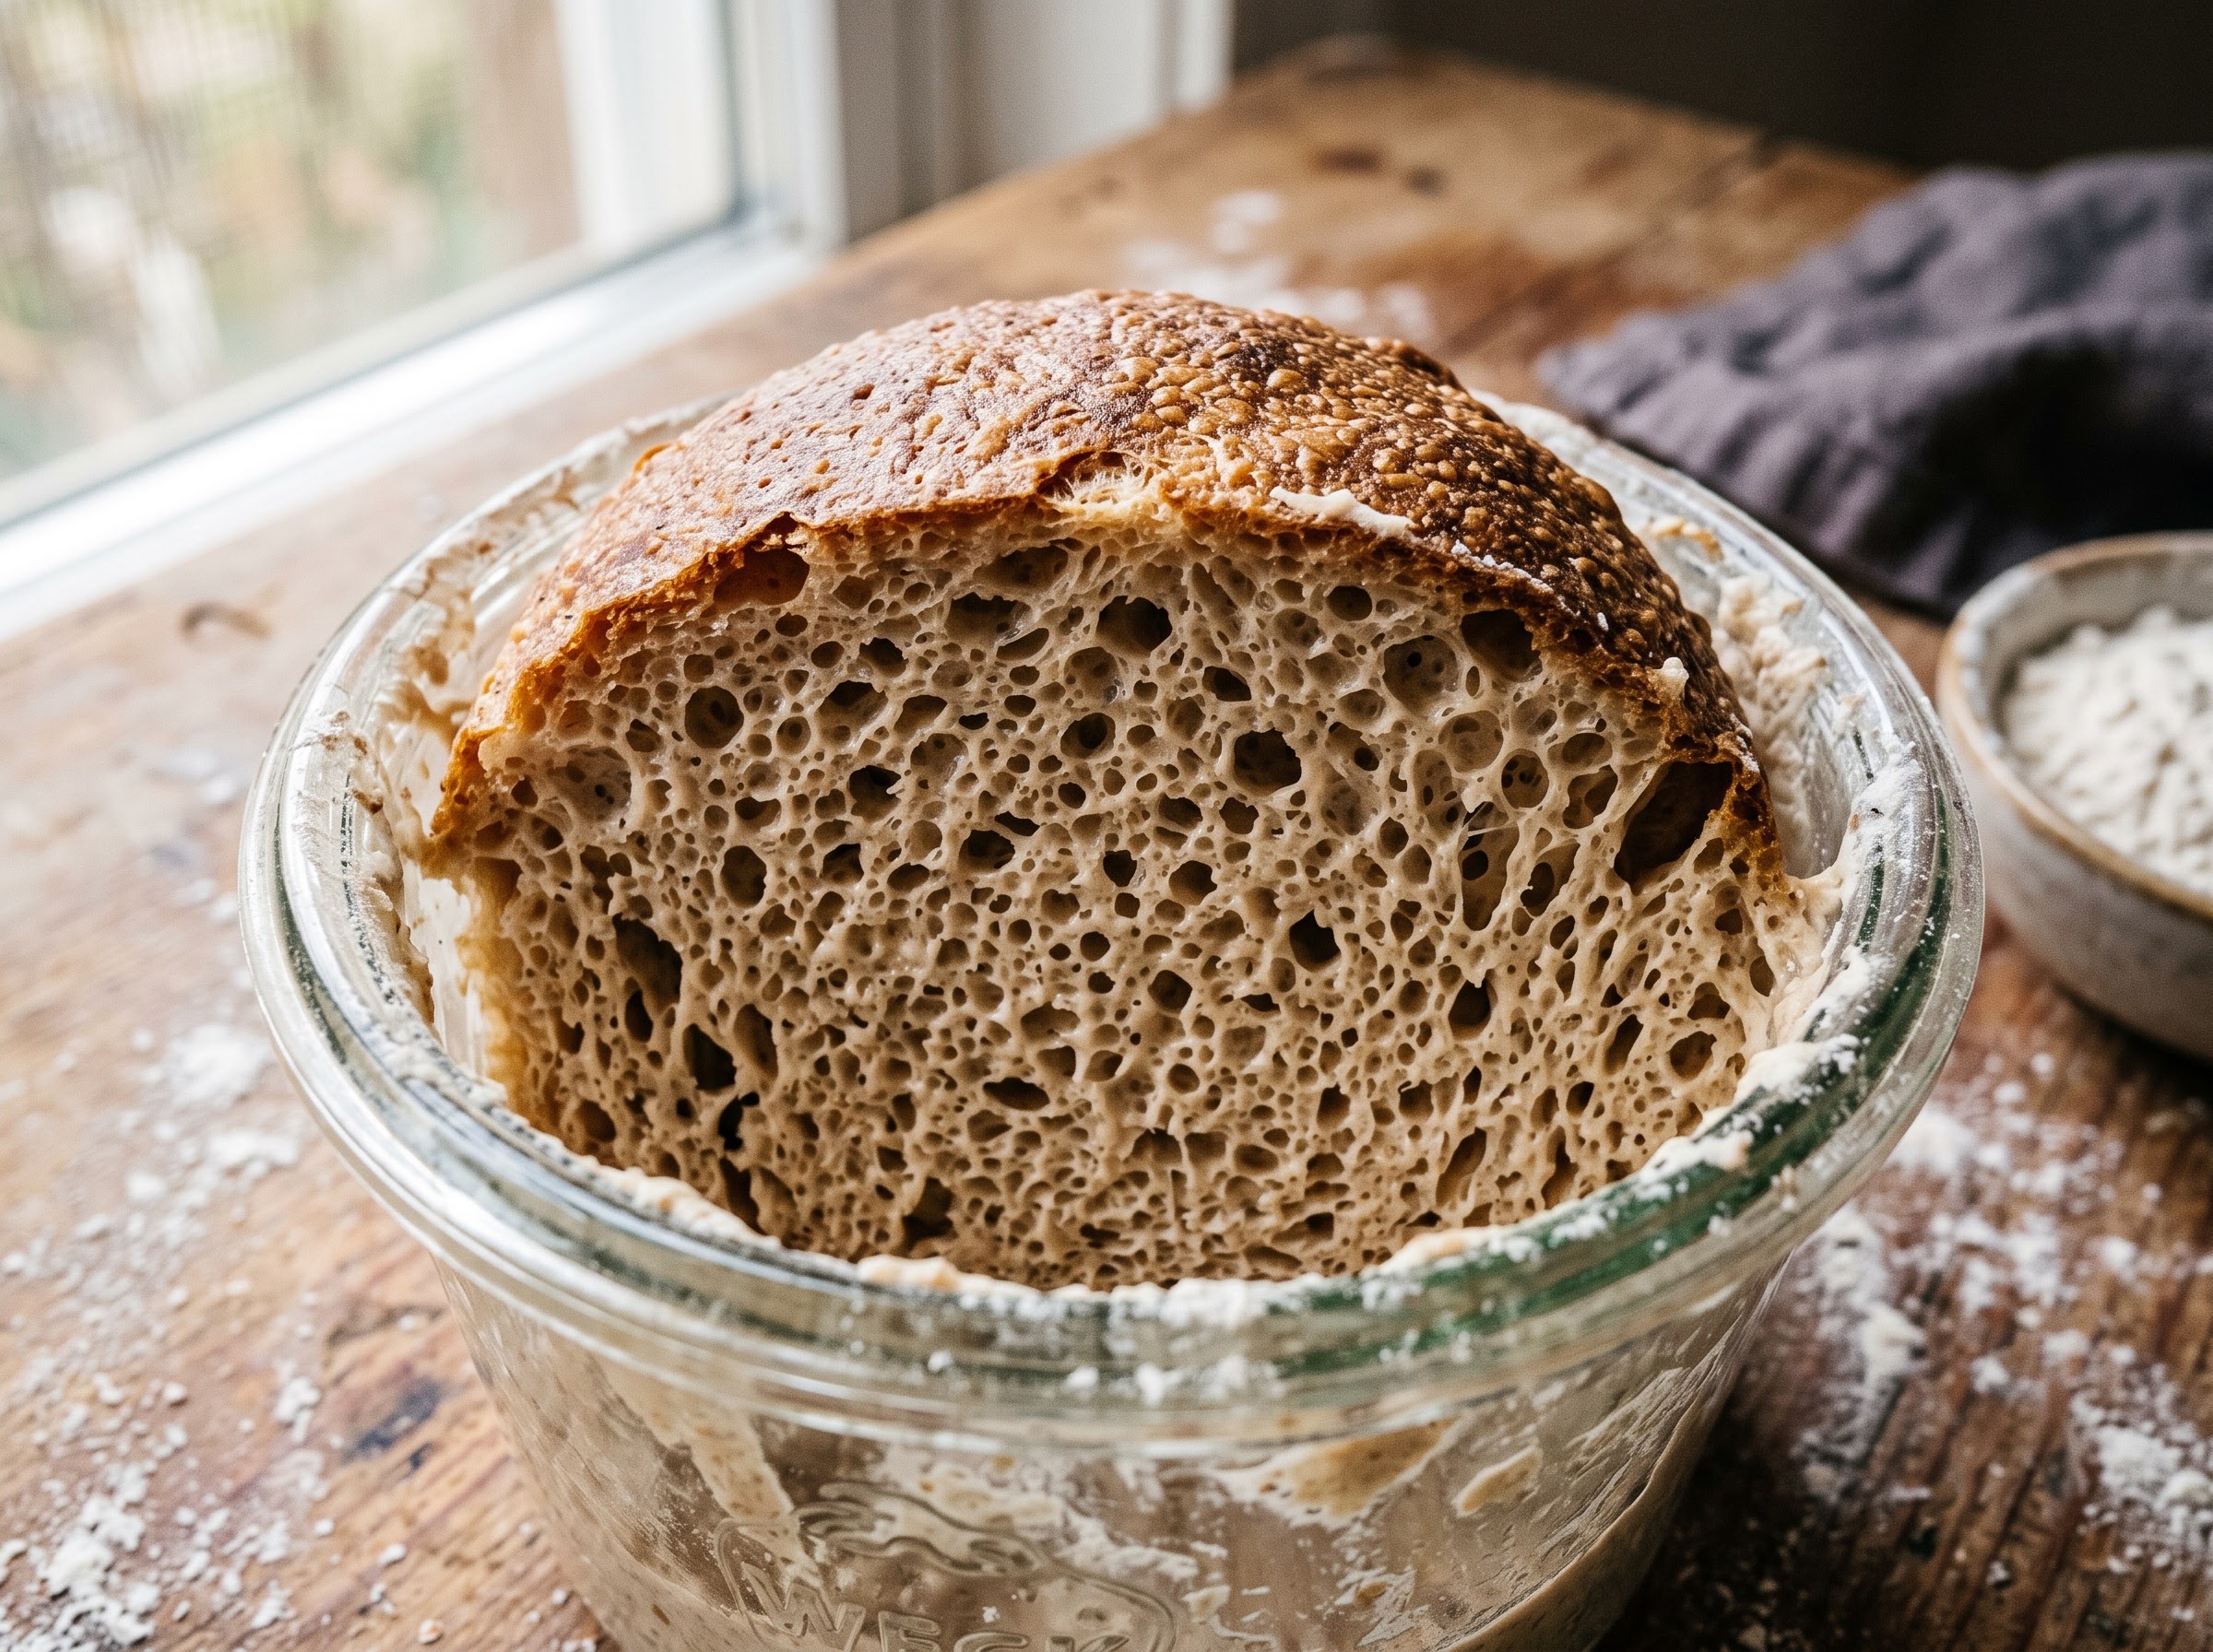
    A stiff sourdough starter at peak, cut open to show a dense even web of bubbles
    A stiff, peak-strength starter — the engine of panettone. Weak, sluggish starter is the number-one reason the bread never rises.

    The two-dough method: why panettone takes two days (at least)

    Even once your starter is ready, you don’t just mix a panettone and bake it. The classic method uses two separate doughs built over two days:

    • The first dough (primo impasto). In the evening, you mix your peak starter with flour, water, sugar, egg yolks and some of the butter into a base dough. Then it ferments slowly overnight — often 10 to 14 hours — until it has tripled. This long, patient first rise is where the lightness is built.
    • The second dough (secondo impasto). The next morning, that risen dough becomes the foundation for the final mix: more flour, more sugar, more yolks, honey or vanilla for aroma, the rest of the butter, and finally the candied fruit and raisins folded in last.

    Between and after those steps come more long proofs. The shaped dough can take many hours to crest its mold. All told, from the final feed of your starter to a cooled loaf, you are looking at the better part of three days of active involvement — sitting on top of those weeks of starter conditioning. Panettone is not hard in the sense of requiring flashy skill; it is hard in the sense of requiring patience and respect for the clock.

    Where home bakers go wrong (and how to dodge it)

    Most failed sourdough panettones fail for one of a few predictable reasons. Knowing them in advance is half the battle:

    • A starter that wasn’t strong enough. By far the most common cause of a dense, squat, or barely-risen panettone. There is no rescuing this mid-bake — the fix happens in the weeks beforehand, which is the entire point of starting now.
    • Adding the butter too fast. The enrichments must go in gradually, a little at a time, letting each addition fully incorporate before the next. Dump it all in at once and the fragile gluten shears apart and the dough turns to a greasy soup that will never hold air.
    • Rushing the proofs. Sourdough panettone will not be hurried. If you bake before the dough has genuinely crested its mold, you get a heavy loaf; if you panic and warm it too aggressively, you risk the butter weeping out. Warm, patient, and unhurried wins.
    • Skipping the upside-down hang. This one surprises first-timers. A fresh panettone is so delicate and airy that it will collapse under its own weight as it cools. The traditional fix is to skewer it through the base and hang it upside down until completely cool, so the tender structure sets without sinking. Don’t skip it.
    Hands working soft butter into a glossy, stretchy enriched panettone dough
    Butter, egg yolks and sugar go in slowly, a little at a time — rush it and the fragile gluten shears and the dough turns to soup.

    Should you even attempt it? An honest answer

    Here is where we’ll be straight with you, because that is what this site is for. If you are a newer baker still fighting flat loaves and a temperamental starter, a full sourdough panettone this year may be a bridge too far — and that is completely fine. It is a genuinely advanced bake, and there is no shame in building up to it.

    But — and this matters — the process of getting your starter panettone-ready is some of the best training you can give yourself. Feeding a starter to peak strength, learning to read it, handling an enriched dough gently: those skills make every loaf you bake better. So even if the panettone itself ends up a little dense this first time, the weeks of practice are never wasted.

    If you’d rather ease into festive sourdough baking with something more forgiving this year, a cranberry walnut sourdough holiday loaf gives you the seasonal flavors and the celebratory feel without the three-day high-wire act. Then make panettone your project for next year, with a starter you’ve spent twelve months getting to know.

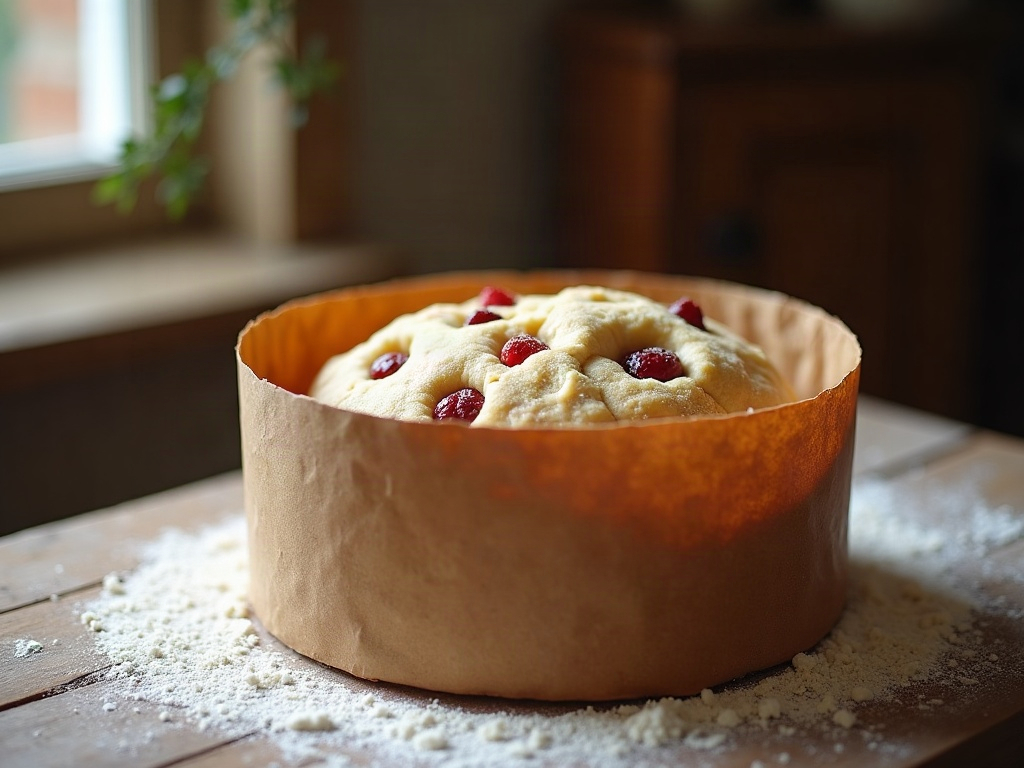
    Panettone dough proofed to the rim of its tall paper mold, gently domed
    Into the tall paper mold to proof slowly until it crests the rim — this final rise alone can take many hours on sourdough.

    Your mid-November starting line

    If you’re in, here is what to do this week to stay on schedule: pull your starter out of its slow fridge rhythm and begin feeding it daily at room temperature, watching for a faster, taller, more reliable rise each day. Consider converting a portion to a stiffer, lower-hydration culture to build strength and mellow the flavor. Source your ingredients early — good candied orange, quality butter, and strong bread flour are worth hunting down before the holiday rush empties the shelves. And read your chosen recipe end to end, twice, so the two-dough timeline holds no surprises on the day.

    Panettone is the bake that humbles experienced sourdough bakers and rewards the patient ones. It cannot be faked, rushed, or pulled off at the last minute — which is exactly what makes a tall, golden, hand-torn homemade one so deeply satisfying to set on the table. Start your starter now, respect the clock, and give yourself the runway to do it properly.

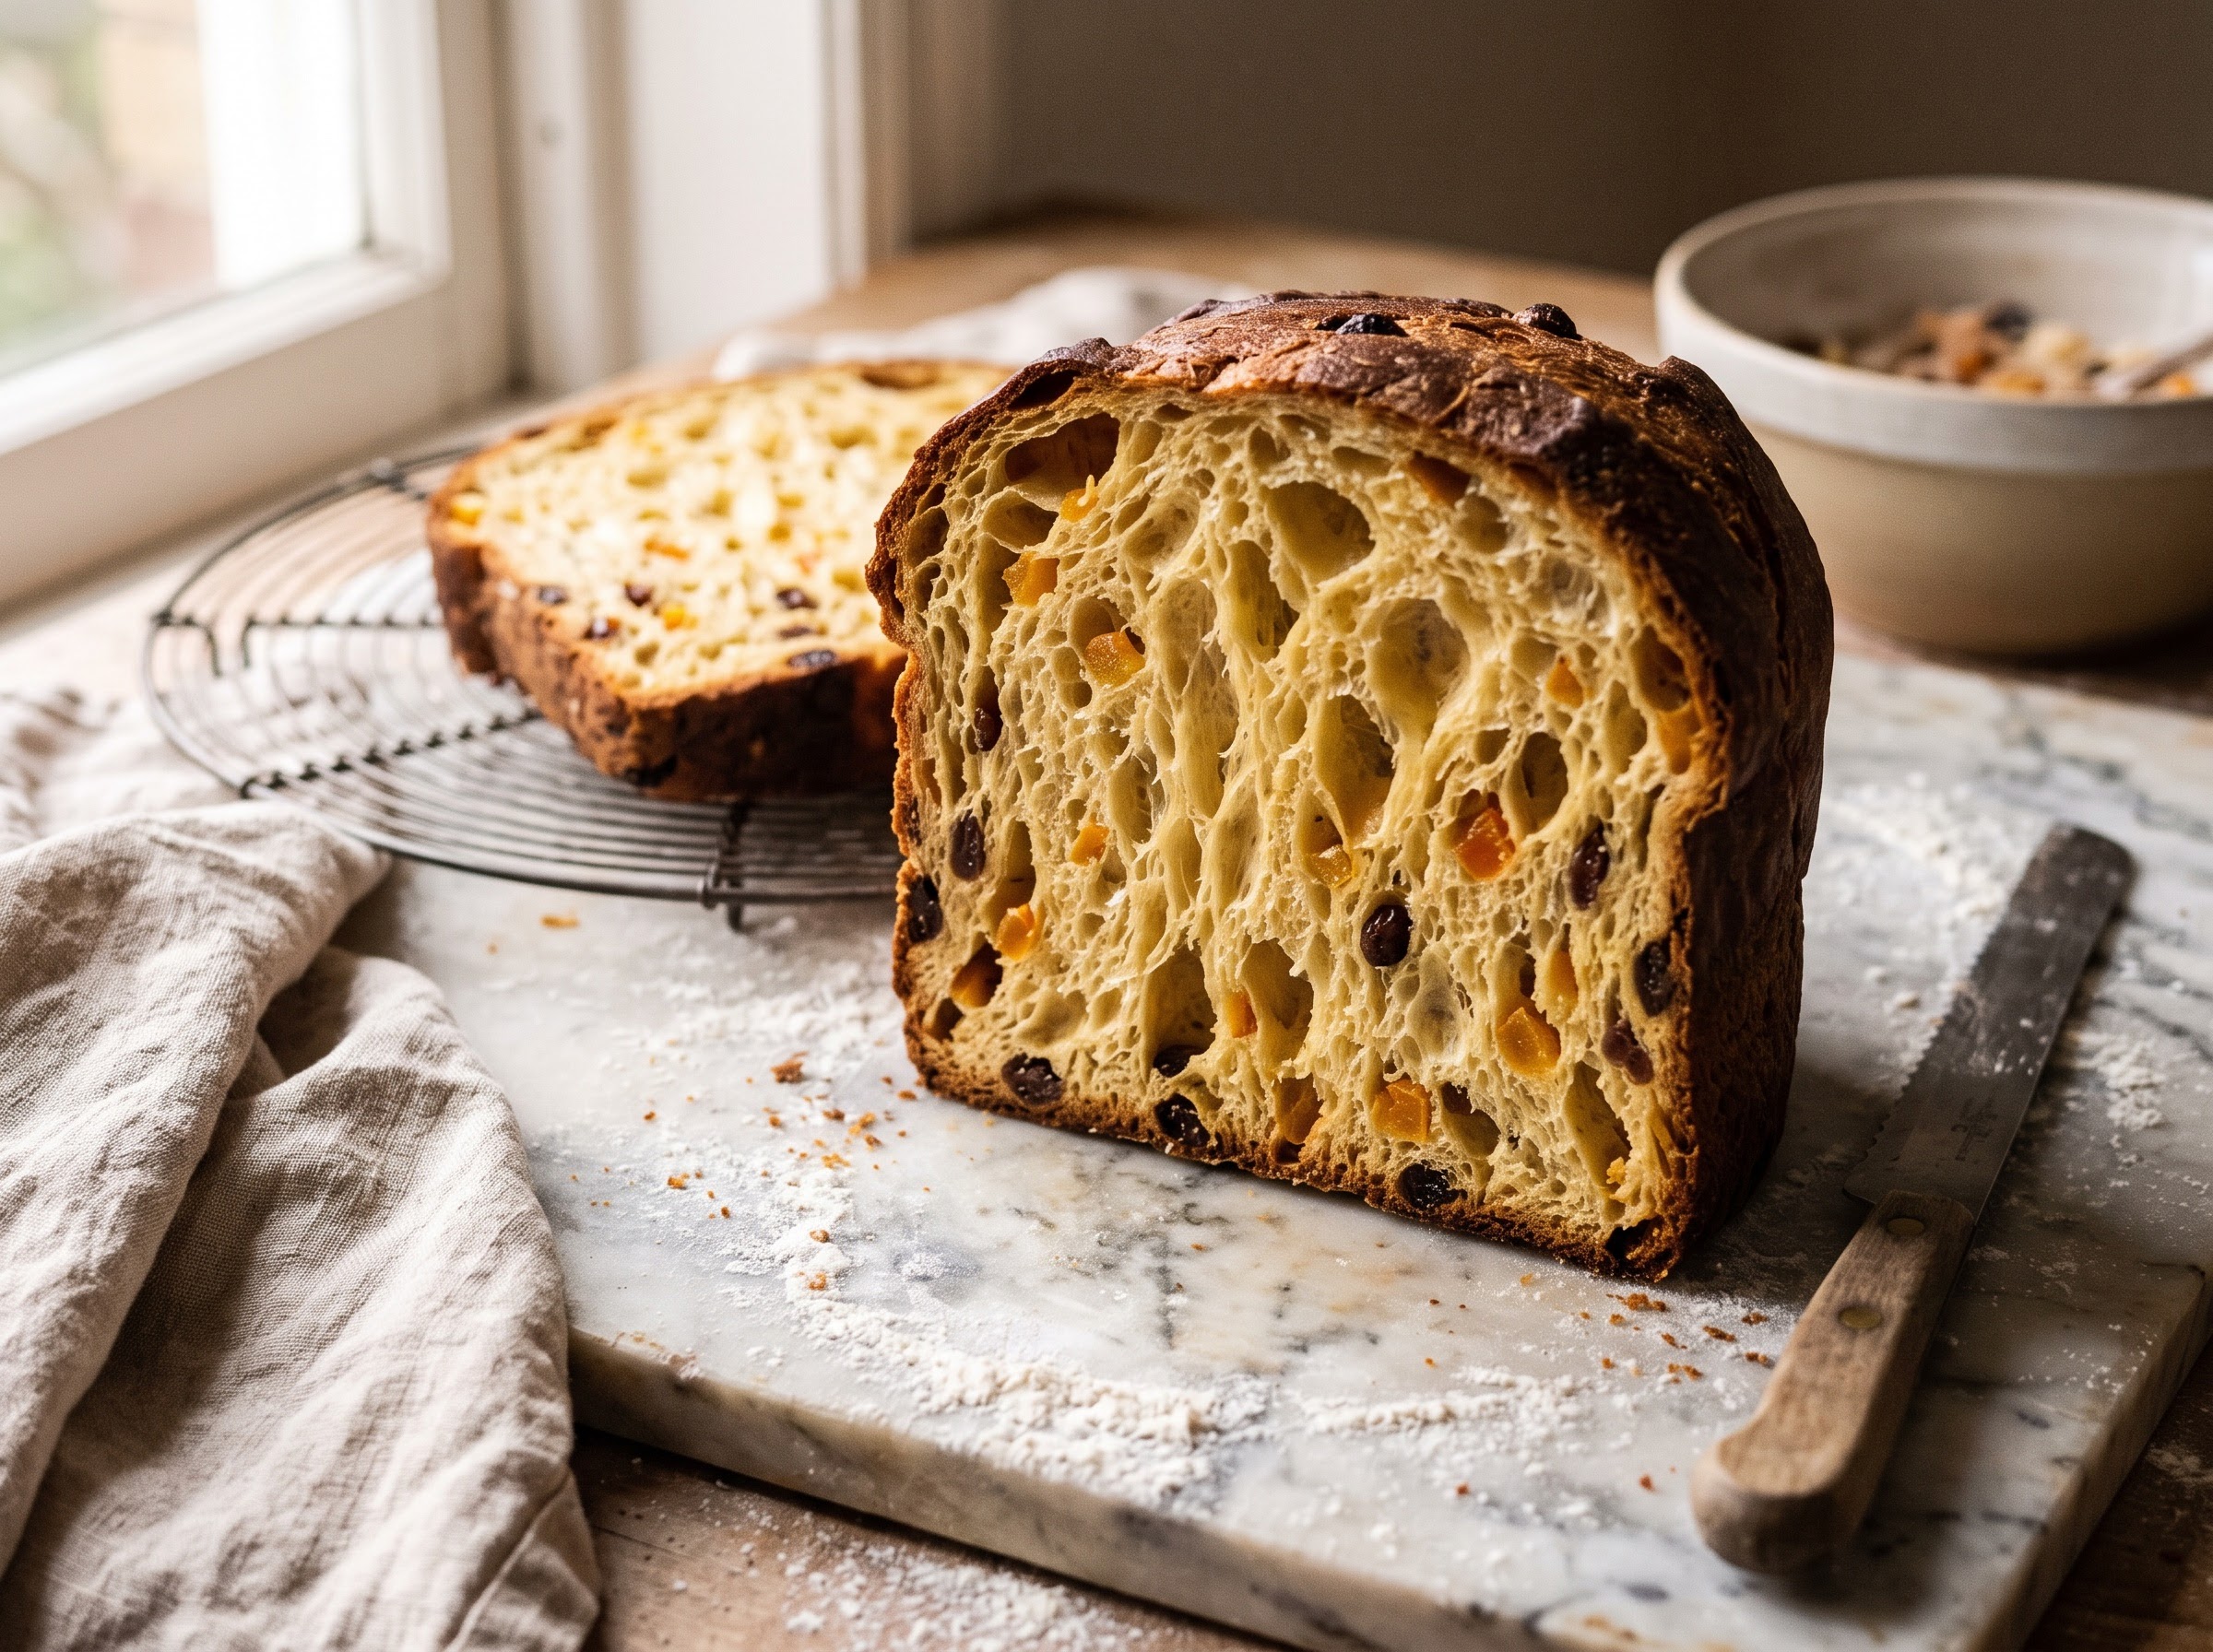
    A cut sourdough panettone showing a tall, airy golden crumb with silky strands and candied fruit
    Done right, the crumb pulls apart into soft, cottony strands — the signature of a well-leavened, well-structured panettone.

    Panettone is a bread you really want to see made before you attempt it — the way the dough climbs the hook, the butter going in, the upside-down hang. The full step-by-step sourdough panettone build, with the starter schedule and the two-dough timeline laid out in real time, lives on the LoafLovers YouTube channel, and our free sourdough troubleshooting guide includes a printable starter-strength checklist to get your culture panettone-ready. Start now, bake slow, and let this be the Christmas you pull a real one out of the oven.

    Related Reading