Tag: gummy crumb

  • Chasing an Open Crumb but Getting a Gummy Center? Here’s the Fix

    Chasing an Open Crumb but Getting a Gummy Center? Here’s the Fix

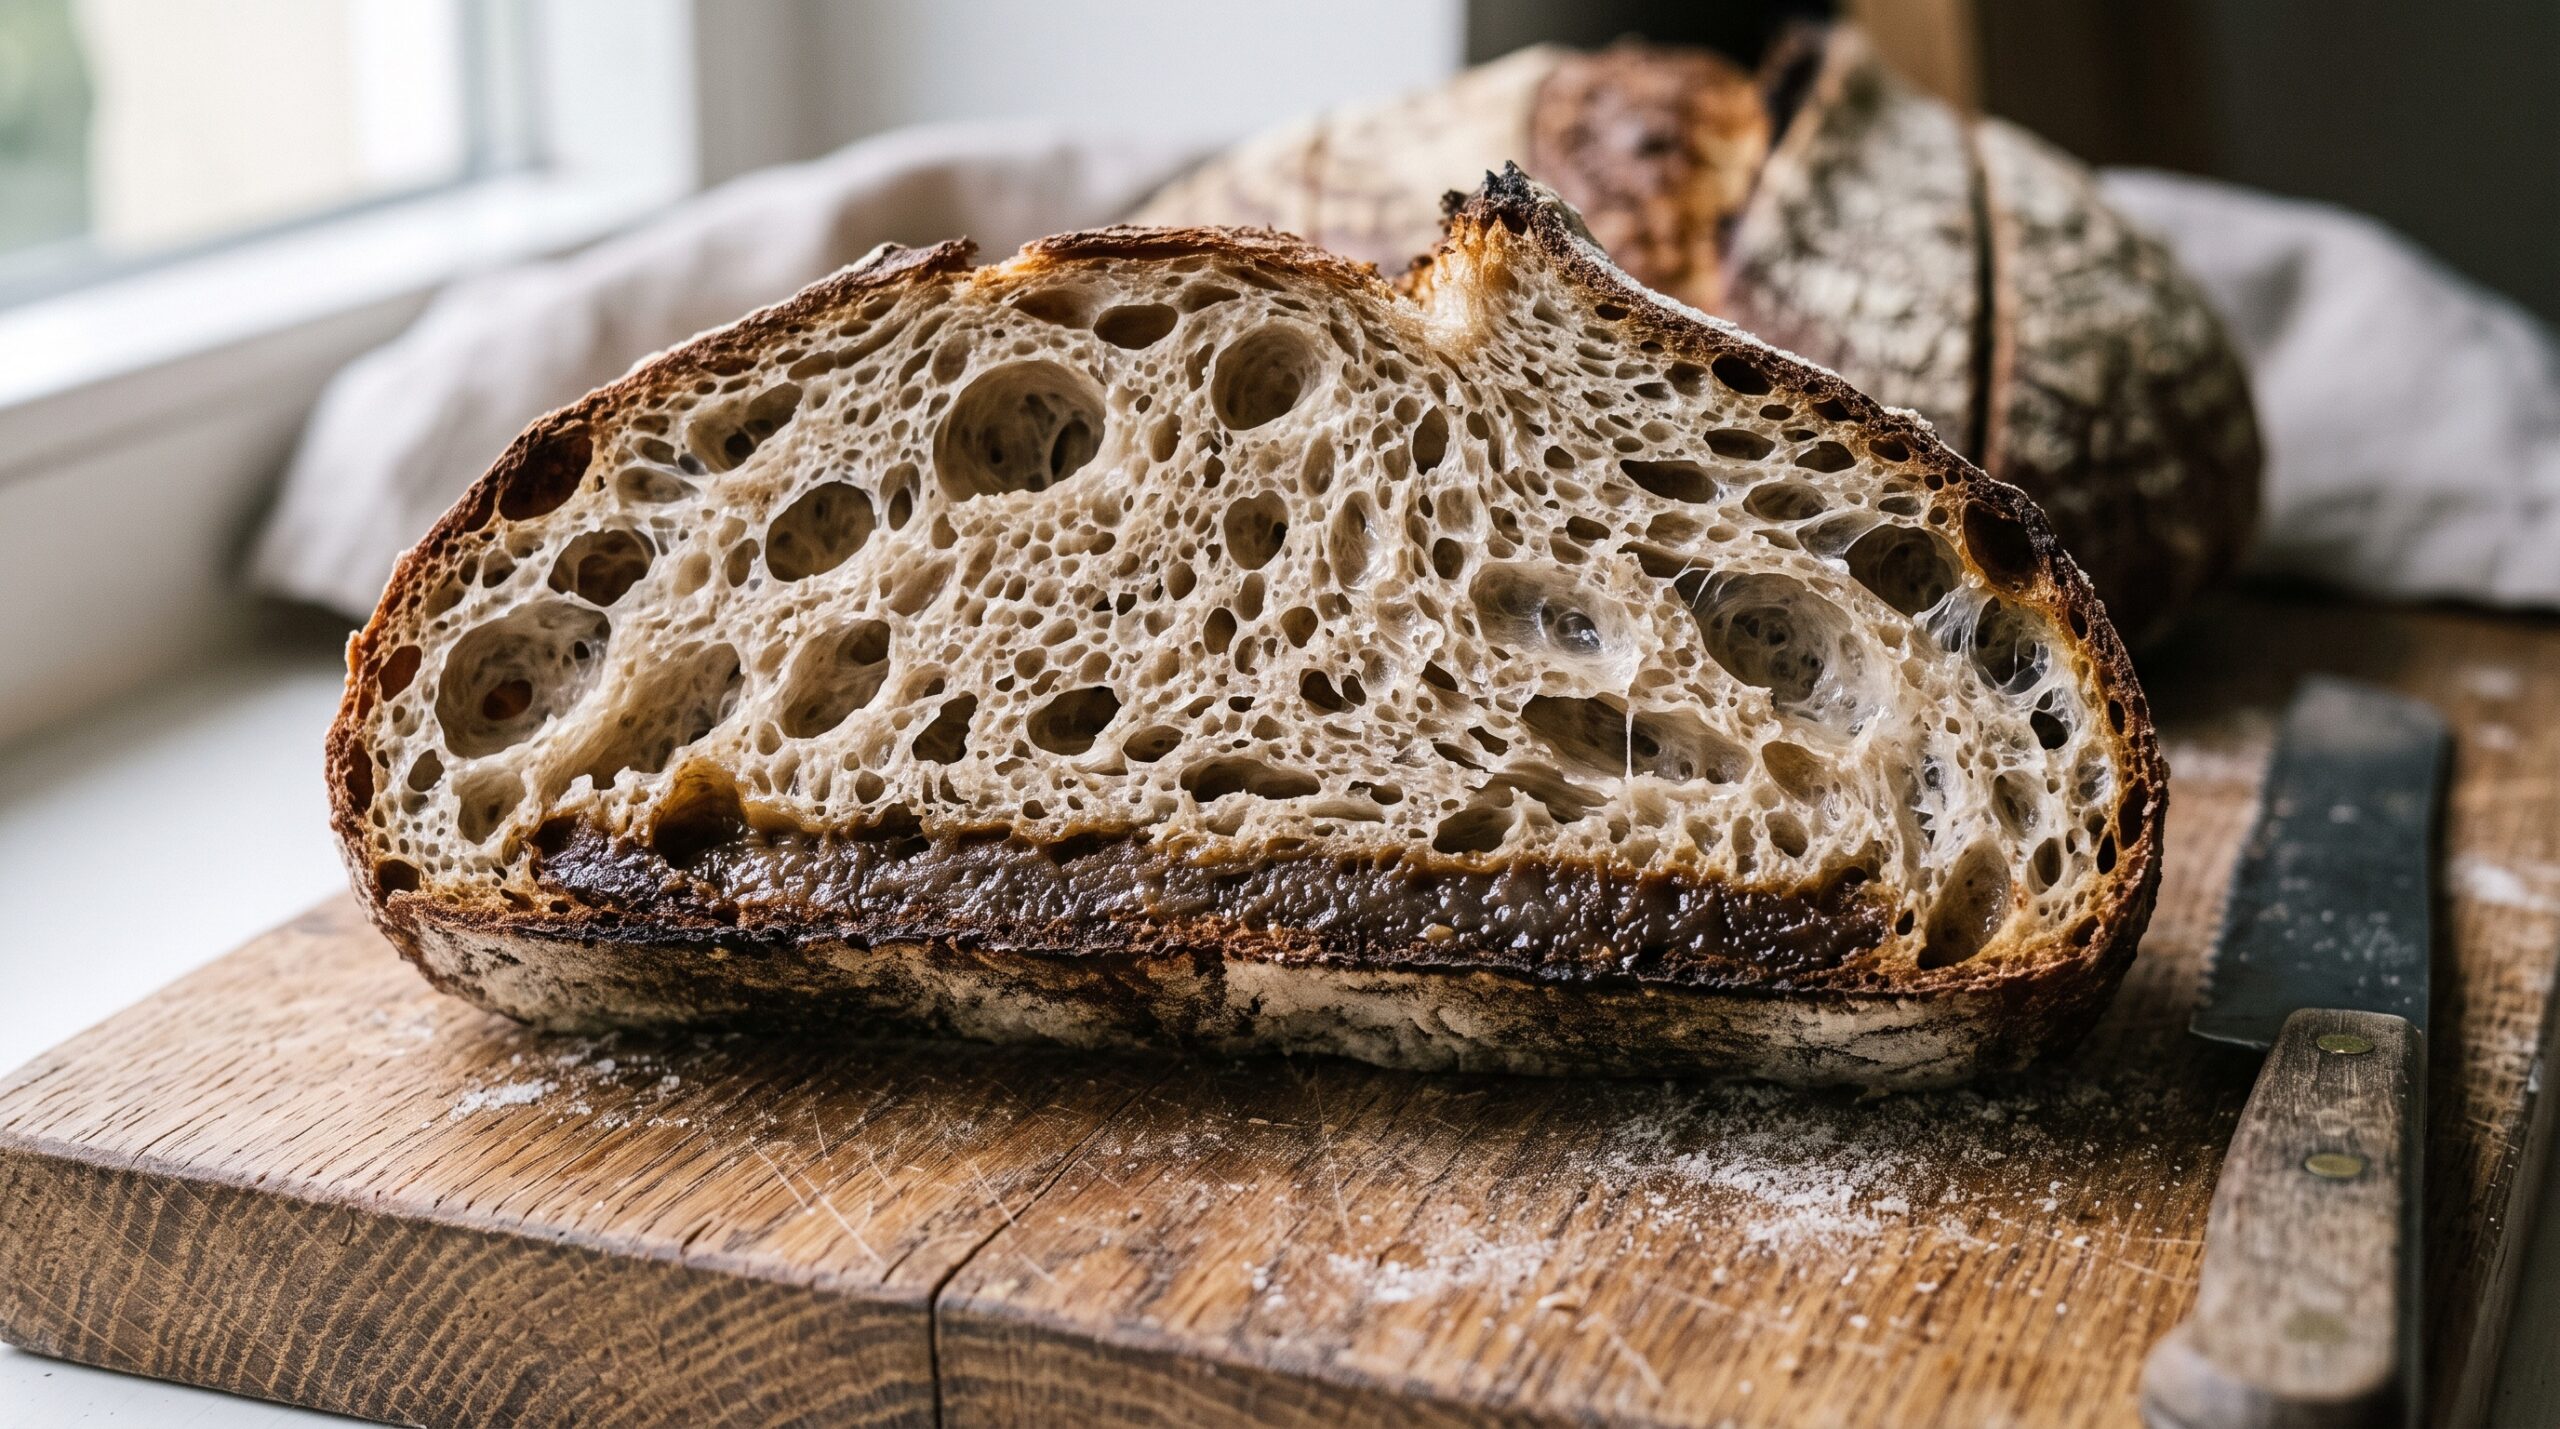
    You did everything the open-crumb videos told you. High hydration. Gentle shaping. A long bulk. And when you cut in, there it is – a gorgeous ring of big, glossy holes near the crust wrapped around a damp, heavy, almost translucent center that smears on the knife. Somehow you chased a beautiful open crumb and landed on a gummy one instead.

    Frustrating, but not mysterious. A gummy center on an otherwise-open loaf is one of the most common traps for the baker who’s leveled up past “flat and dense” and is now pushing for airy. The good news: it’s almost always three specific things, and they’re all fixable. Let’s diagnose.
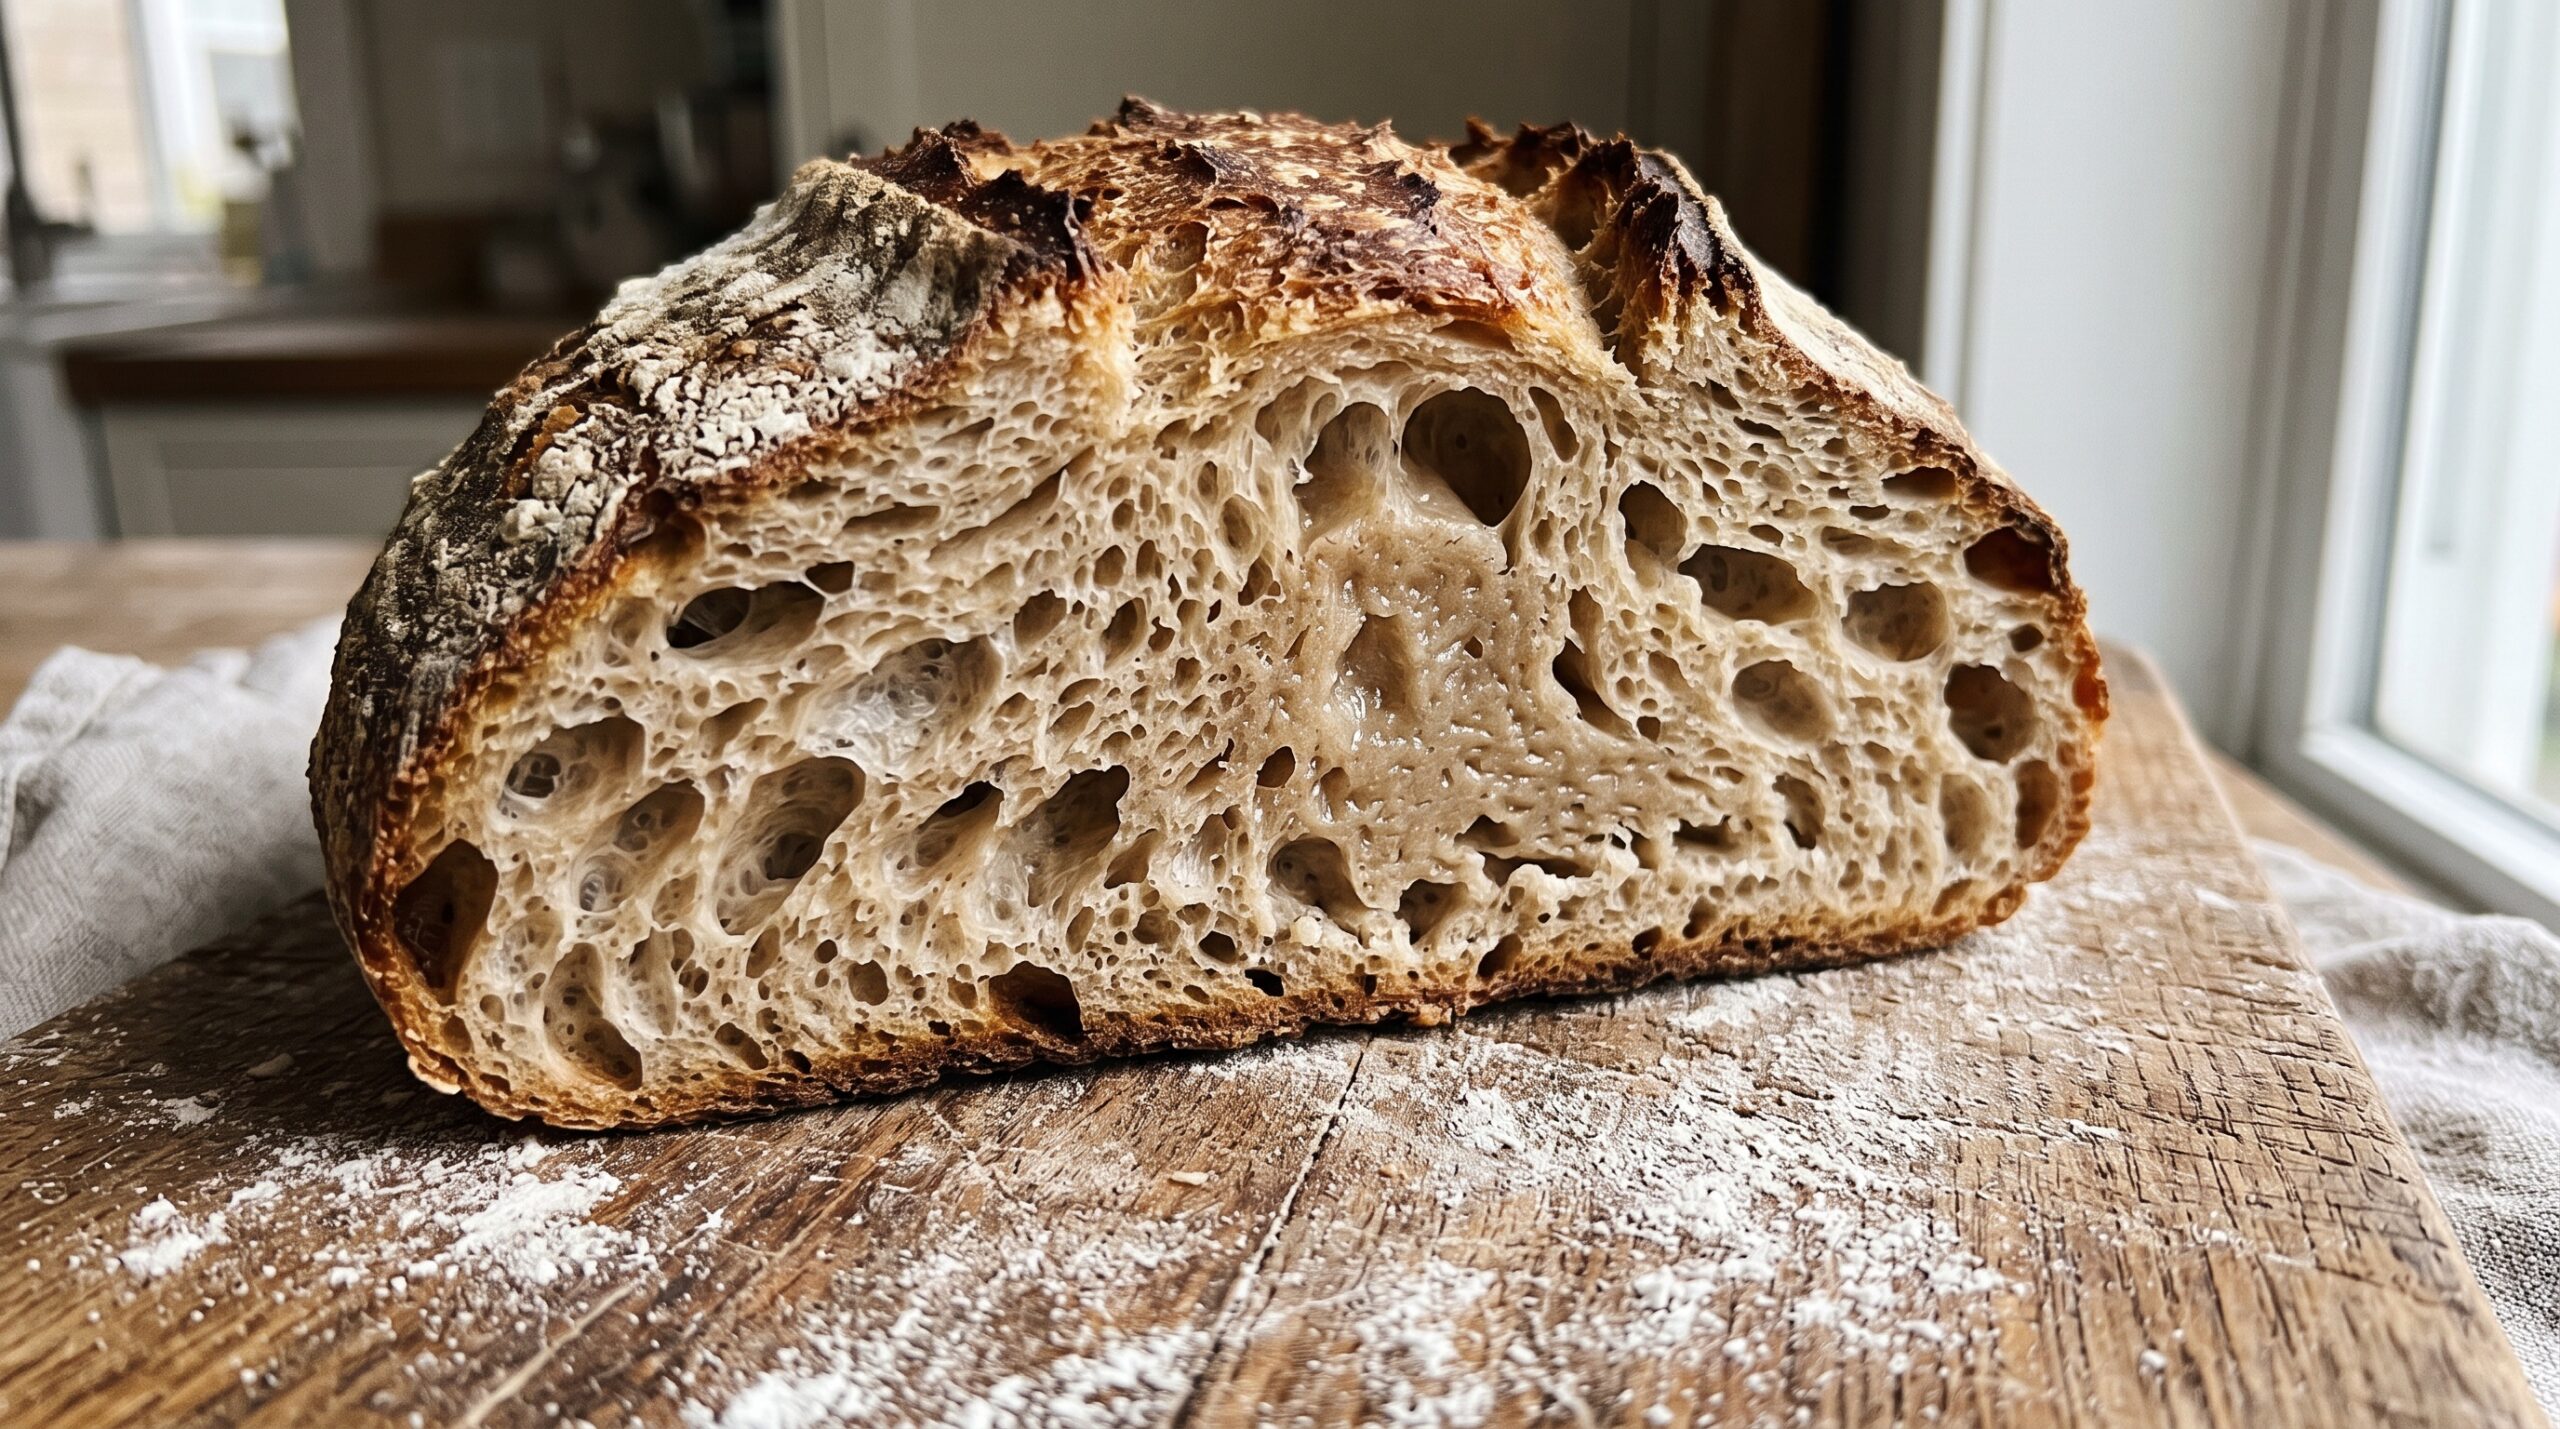
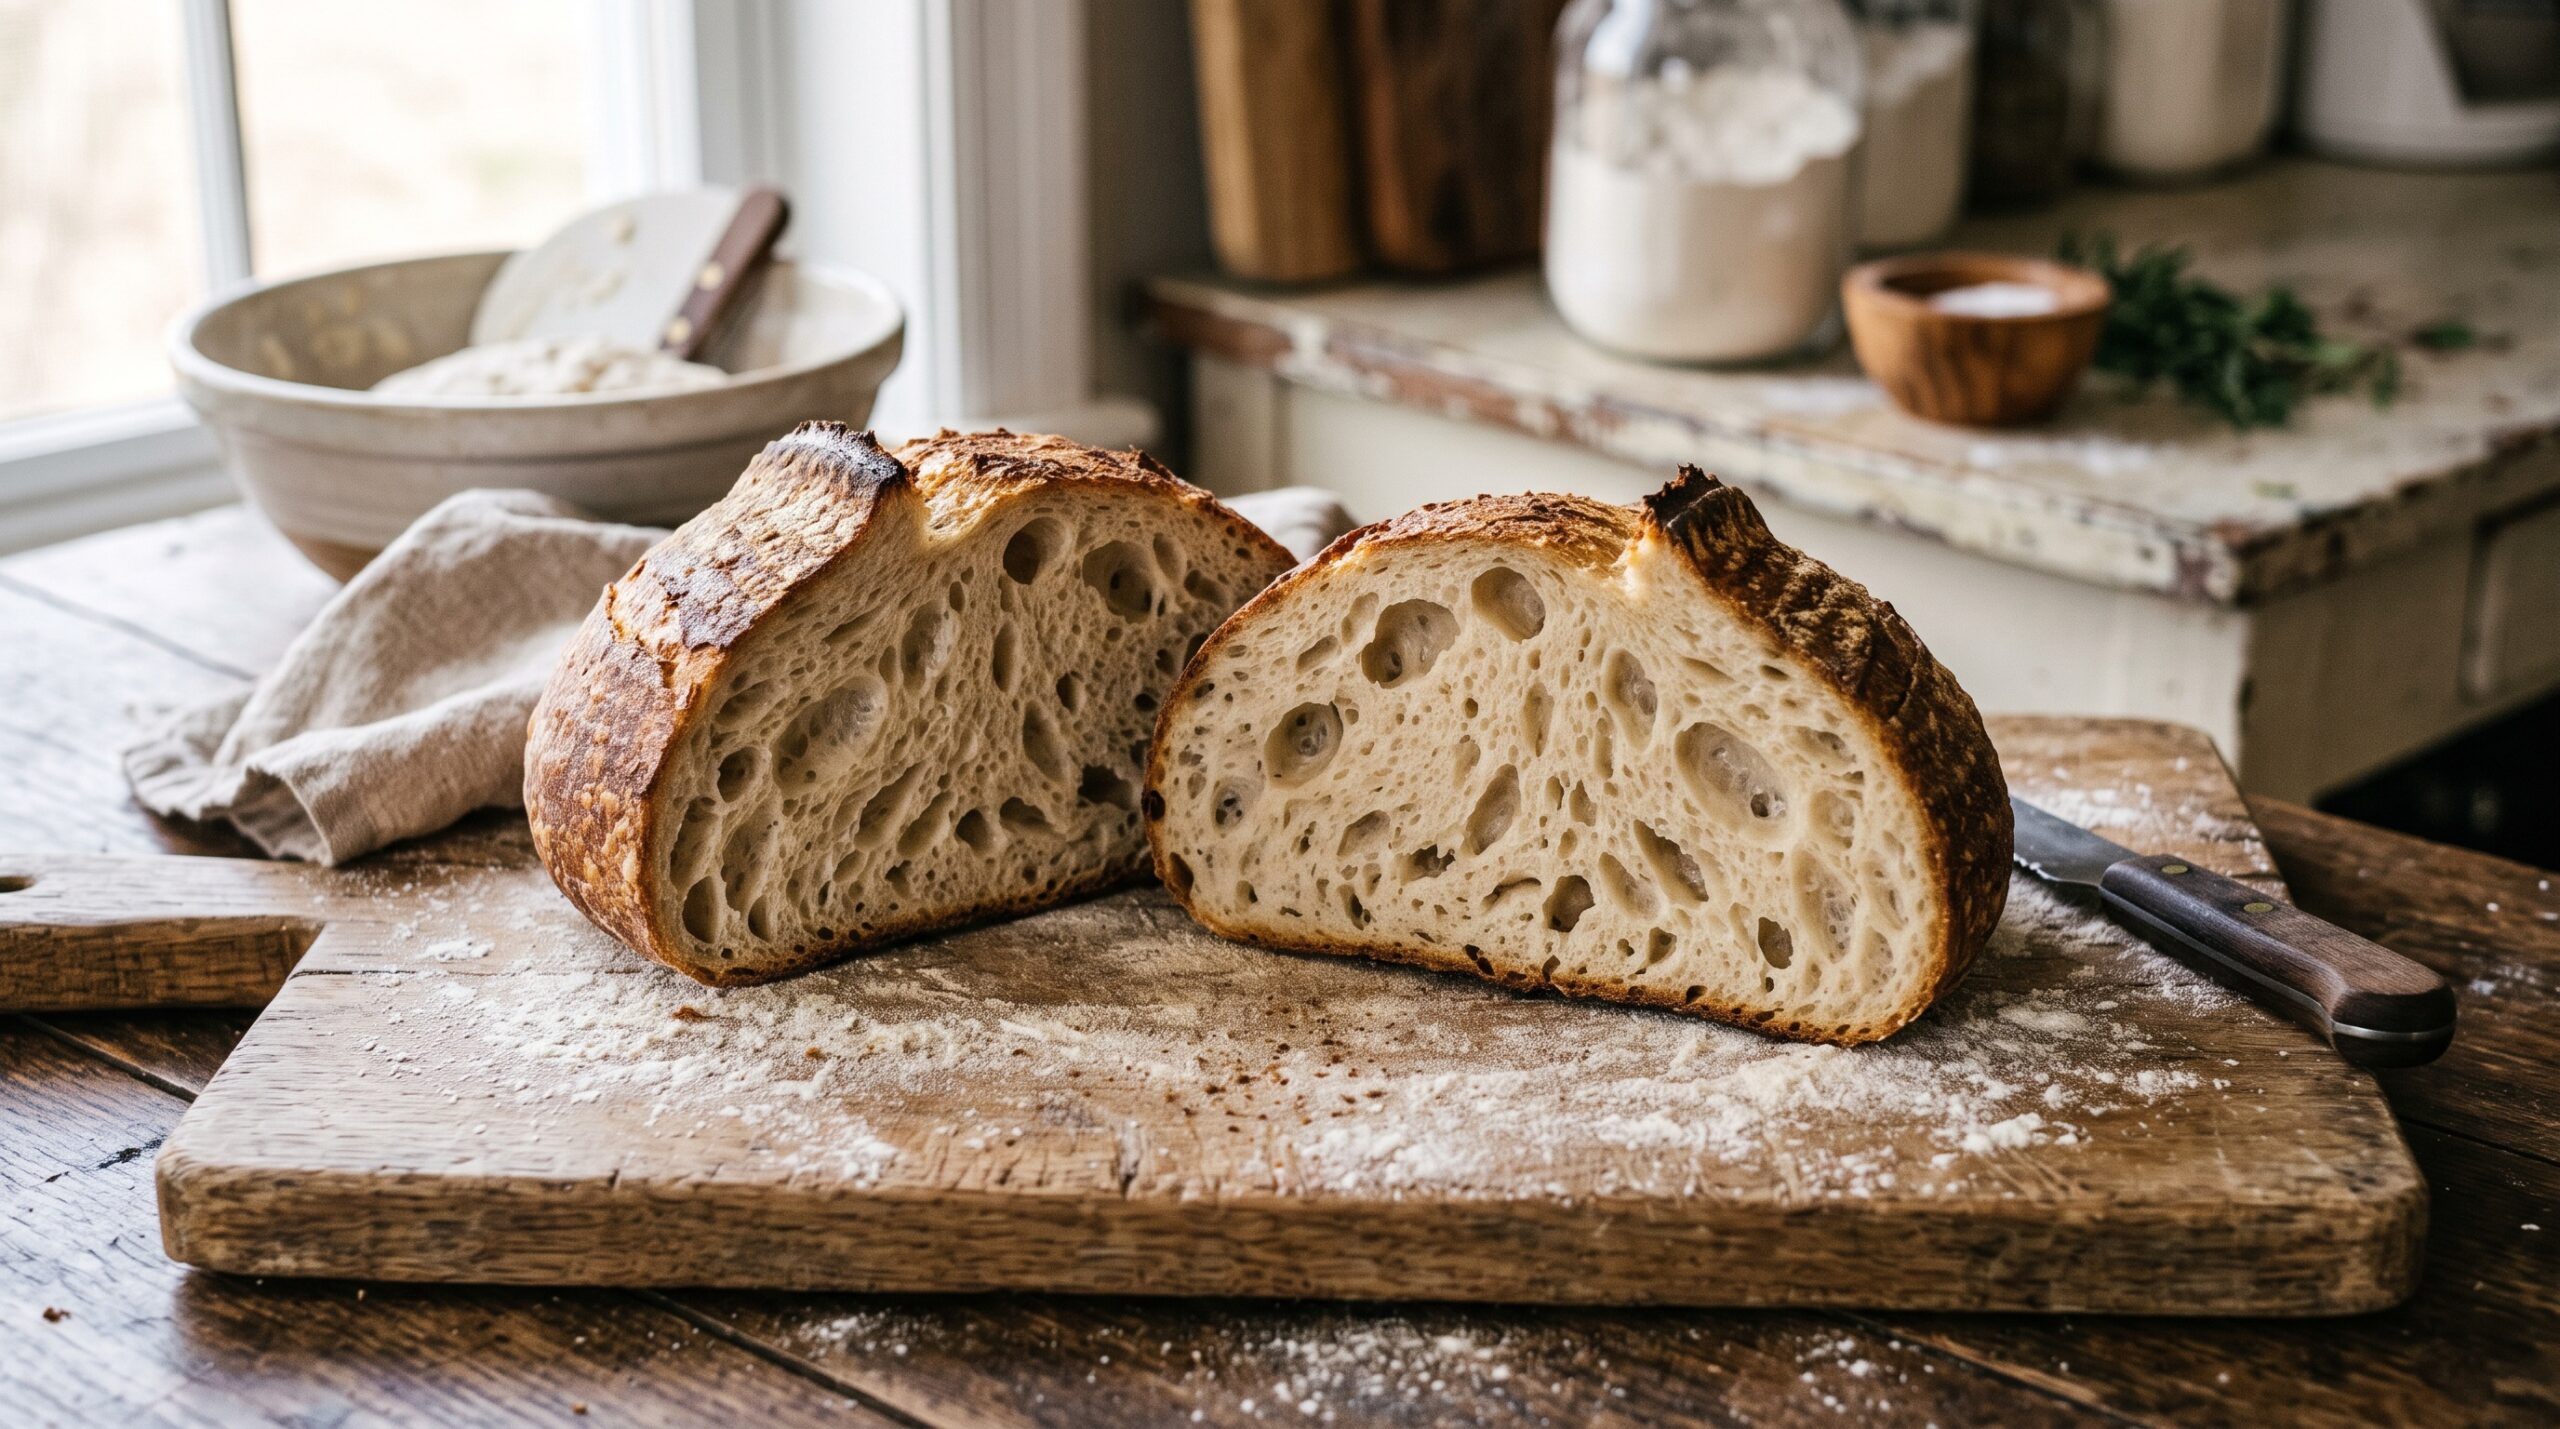
    Sourdough cross-section with open holes near the crust and a gummy, dense center
    Airy at the edges, paste in the middle – the classic open-crumb-gone-gummy loaf.

    First, know what a gummy center is telling you

    Gumminess is a moisture problem. The starch in that center never fully set – either because the loaf came out of the oven before the middle was done, because fermentation went too far and the starch structure broke down, or because the dough simply carried more water than your process could handle. Open holes near the crust plus a gummy middle is the signature of pushing hydration and fermentation hard without the bake or the structure to back it up.

    Importantly, this is different from a generally dense, underbaked crumb where the whole loaf is tight and damp. Here the edges are open – so your gas production is fine. The problem is that all that openness collapsed inward and never got cooked and dried out in the core. Three causes, in order of how often they’re the culprit.

    Cause 1: The bake stopped too soon

    This is the number-one offender, and the easiest to fix. A high-hydration dough holds a lot of water, and the center is the last place to hit temperature. Pull it when the crust “looks done” and the middle is still a wet paste that firms into gum as it cools.

    The fix:

    • Bake bolder and longer. That nervous-making dark crust is usually a sign the inside finally finished. Add 5-10 minutes with the lid off and let the crust go a deep golden-brown.
    • Check the internal temperature. Stop guessing – an instant-read thermometer in the center should read about 205-210°F (96-99°C) for a well-set crumb.
    • Wait to slice. The loaf is still cooking and setting as it cools. Cutting a warm loaf drags the knife through un-set starch and creates gumminess that would have vanished. Give it a full two hours, minimum.
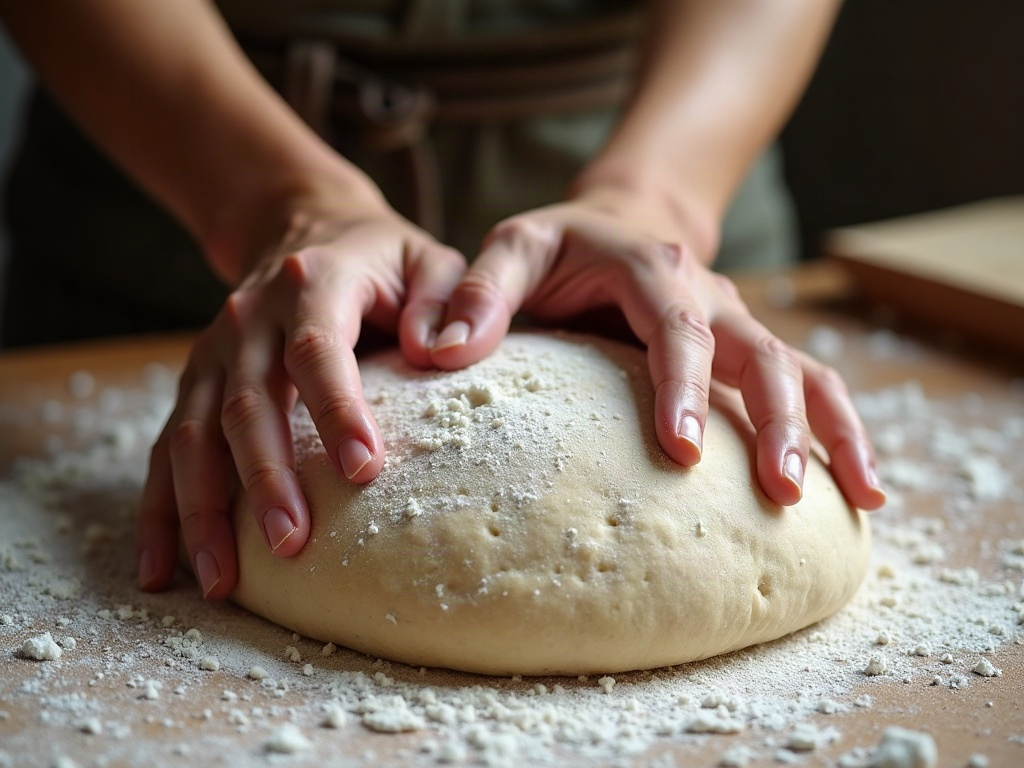
    Hands pressing a proofed round of sourdough dough to test readiness
    The poke test tells you more about gumminess than any clock.

    Cause 2: You over-fermented chasing those big holes

    In the hunt for an open crumb, it’s tempting to let bulk run long and feed the dough an aggressive amount of ripe starter. Push it too far and the acids and enzymes degrade the gluten and starch. The dough can still trap gas – hence the big holes – but the structure is too weak to hold its shape, so the crumb collapses into a wet, gummy wall through the middle.

    The fix:

    • Use your starter at peak, not past it. A starter that’s already falling is over-acidified and will over-ferment your dough. Catch it at the top of its rise, bubbly and domed.
    • End bulk a touch earlier. Look for roughly 30-50% volume increase, a domed and jiggly surface, and some bubbles – not a doubled, slack, puddle-prone mass. When in doubt, under-ferment slightly; a tight crumb beats a gummy one.
    • Do the poke test. A well-proofed dough springs back slowly and leaves a shallow dent. If your finger leaves a crater that doesn’t recover, it’s overproofed.
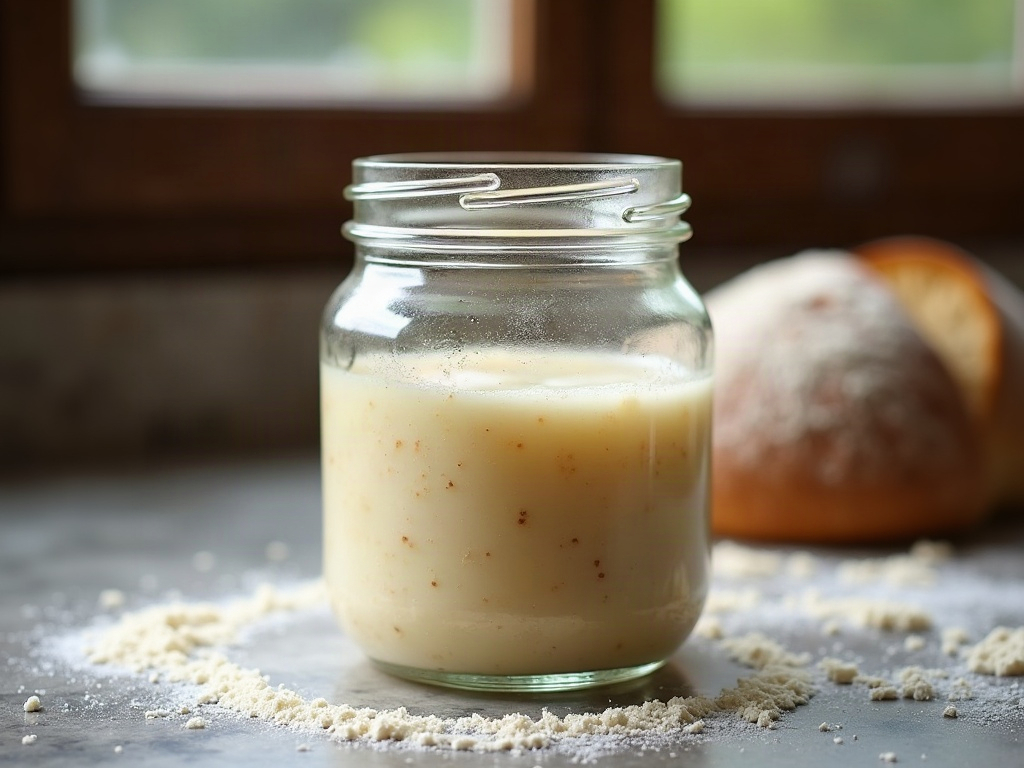
    Active bubbly sourdough starter at peak rise in a glass jar
    A starter used past peak over-ferments the dough and breaks down the crumb.

    Cause 3: Your hydration outran your skill (for now)

    High hydration is how you get a dramatically open crumb – and it’s also how you get a gummy one, because more water means a weaker, harder-to-handle dough and a wetter center that’s slower to set. There’s nothing wrong with your flour or your hands; the dough is just writing a cheque your current process can’t cash yet.

    The fix:

    • Drop the hydration 5%. If you’re fighting 80% water, come back to 73-75%. You’ll lose a little hole-drama and gain a crumb that’s open and fully baked. Climb back up as your handling improves.
    • Build more structure. Add a round or two of stretch-and-folds during bulk. A stronger gluten network holds the crumb open instead of letting it slump into the middle.
    • Match your flour to your ambition. A higher-protein bread flour tolerates more water than an all-purpose. If you’re chasing a wet, open crumb, give the dough the flour that can carry it.
    Deeply baked sourdough loaf with a dark blistered crust cooling on a wire rack
    A bolder, longer bake drives off the moisture that leaves the center gummy.

    Put it together

    Next bake, change one variable at a time so you learn what fixed it. Start with the bake – go bolder and longer, confirm 205°F+ in the center, and wait a full two hours before slicing. If the gummy patch survives even that, pull your hydration back 5% and tighten your bulk by catching the starter at peak and ending fermentation a shade earlier. Most of the time, a longer bake and a little patience on the cutting board solve it outright.
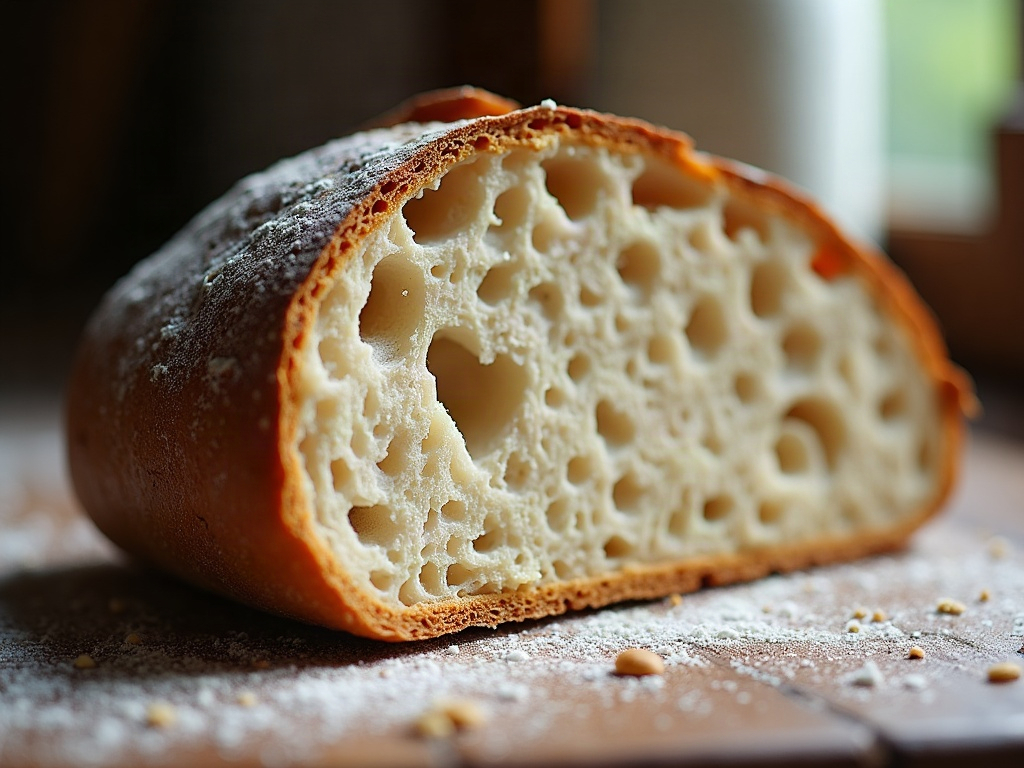
    Evenly open sourdough crumb that is dry and well structured throughout
    The goal: open and airy all the way through, with no damp, gummy patch.

    An open crumb and a fully set, dry crumb aren’t at war – plenty of bakers get both every week. The gummy center just means one of three dials is turned a notch too far. Adjust, bake again, and you’ll get the holes and the clean slice.

    Want to see the poke test, the bulk-fermentation cues, and a bold bake side by side? The full visual walkthrough lives on the LoafLovers YouTube channel, and our free sourdough troubleshooting guide covers each of these fixes step by step. Bake it, cut it, and let us know which dial was yours.
    Related Reading

  • How to Tell When Sourdough Is Fully Baked: Internal Temperature and the Signs That Actually Work

    How to Tell When Sourdough Is Fully Baked: Internal Temperature and the Signs That Actually Work

    Here’s the scene that sends more bakers back to square one than almost any other. The crust came out deep and glossy, the timer had gone off, the kitchen smelled incredible — so you pulled the loaf, felt proud, and let it cool. Then the next morning you sliced in and found it: a dense, slightly damp band hugging the bottom crust, the crumb above it a little tight and claggy. It looked done. It wasn’t.

    The frustrating part is that “golden crust” and “the timer went off” are the two signals most of us instinctively trust, and neither one actually tells you what’s happening in the middle of the loaf. A big round of high-hydration sourdough holds a startling amount of water, and the center is the last place to finish. The good news: there is one test that removes all the guesswork, plus a couple of reliable backups. Let’s make “is it done?” a question you can answer with confidence instead of hope.

    A sourdough boule sliced in half showing a fully baked, evenly set open crumb
    Fully baked: the crumb is set and springy all the way to the base, with no gummy line.

    What “done” actually means inside the loaf

    Baking bread isn’t just about browning the outside. Inside, two things have to finish. First, the starch has to gelatinize and then set — the granules swell, absorb water, and lock into a stable structure as they cool. Second, enough moisture has to drive off so the crumb is springy rather than paste-like. Both of those happen at a specific interior temperature, and they happen well after the crust has already colored.

    That’s the trap. The crust browns through the Maillard reaction and caramelization at surface temperatures far above what the center ever reaches. So the outside can look gorgeous while the core is still a good 10–20°F short of set. Pull it there and the unfinished starch stays gummy, especially in the densest, wettest part of the loaf: the bottom third, where gravity has pulled moisture down all bake long.

    The single most reliable test: internal temperature

    If you take one thing from this article, take this: buy an instant-read digital thermometer and probe the center of the loaf. It costs less than a banneton and it ends the doneness argument permanently.

    Insert the probe into the thickest part of the loaf, ideally angling in from the base so you don’t leave a mark on your scored top, and push it toward the geometric center. Then read the number:

    • 205–210°F (96–99°C) is the target for most rustic sourdough. This is the sweet spot where the crumb is fully set but not dried out.
    • Below about 200°F (93°C) and the center is very likely still underdone — expect that damp, tight band. Put it back in.
    • Enriched or pan loaves (with butter, milk, or eggs) finish a touch lower, around 190–200°F, because the fats and sugars change how they set.

    One honest caveat: temperature is necessary but works best alongside time. A loaf that hits 208°F in the last five minutes of a rushed bake can still read a little gummy if the crumb hasn’t had enough total heat to properly dry. In practice this is rare — if your bake time is in the normal range and you’re hitting 205–210°F, you’re done. Trust the number over the clock and over the crust color every single time.

    An instant-read thermometer probe inserted into the base of a baked sourdough loaf
    The one test that never lies: probe the center from the base and read the internal temperature.

    The backup signals when you don’t have a thermometer

    No probe on hand? These won’t be as precise, but stacked together they get you close.

    The hollow thump. Turn the loaf over and knock the base firmly with two fingers or a knuckle. A finished loaf sounds hollow and resonant, like a small drum. A dull, muffled thud means there’s still dense, moist crumb absorbing the sound — give it more time.

    Weight in the hand. A properly baked loaf feels surprisingly light for its size because so much water has left as steam. If it feels heavy and dense relative to how big it looks, moisture is still trapped inside.

    Crust that’s set, not soft. The whole crust — including the bottom and sides — should feel firm and crisp, not leathery or bendy. A base that gives when you press it usually means the loaf came out early.

    The color floor. Aim for a genuinely deep, rich brown, not a timid tan. Underbaked loaves are almost always pale as well as damp. Color alone isn’t proof of doneness, but a pale crust is a reliable sign it’s not done. Bake bolder than feels comfortable; sourdough can take it.

    Why your loaf looks done but isn’t

    If you keep pulling loaves that turn out gummy despite looking perfect, the cause is usually one of these:

    Your oven runs cooler than the dial says. Home ovens are routinely off by 15–25°F, and many cycle their heat unevenly. If the crust is browning on schedule but the center never catches up, an inexpensive oven thermometer will often reveal the real temperature is well under what you set. Calibrate to reality and your bakes get instantly more predictable.

    The crust raced ahead of the crumb. Baking too hot, or with the loaf too high in the oven, browns the outside before the inside can finish. If the crust hits deep brown but a probe reads low, drop the temperature 15–25°F for the remainder and keep baking — the center will catch up without burning the exterior.

    You baked lidded the whole time. A Dutch oven traps steam beautifully for oven spring, but leaving the lid on for the entire bake keeps the crust soft and can leave the interior underset. Take the lid off for the final third of the bake so the crust can firm and the loaf can finish drying.

    The loaf was simply too big or too wet for the time you gave it. High-hydration and larger loaves need more minutes, full stop. Don’t be afraid to add 5, 10, even 15 minutes — a probe reading tells you exactly when to stop.

    A hand tapping the bottom of a hot sourdough loaf to listen for a hollow sound
    The classic backup test: a firm, hollow knock on the base means the interior has set.

    How to rescue a loaf you think is underbaked

    Caught it before it fully cooled? You can often still save it. If the loaf has been out for only a few minutes and you suspect the center is short, put it straight back into a hot oven — no lid, directly on the rack — for another 8–15 minutes, then probe again. It won’t be as flawless as a loaf baked correctly the first time, but it will be far better than a gummy center, and completely edible.

    If you only discover the problem after it’s fully cooled and sliced, re-baking whole won’t help much. Your best move is to slice the loaf and toast it — toasting drives off the extra moisture and firms up that damp band nicely. And take the lesson into the next bake: longer, hotter enough to set, and probe before you commit.

    The cooling rule almost everyone breaks

    Here’s the twist that fools even careful bakers: a perfectly baked loaf can still read as gummy if you cut it too soon. The bake isn’t truly over when the loaf leaves the oven — the crumb keeps setting as it cools, and the residual heat continues driving out moisture. Slice into a warm loaf and you’ll drag the knife through crumb that hasn’t finished, compressing it into a doughy smear that looks exactly like underbaking.

    So give it time. Cool the loaf completely on a wire rack — not on a solid surface, which traps steam and softens the bottom crust — for at least an hour, and closer to two for a large, dense, or high-hydration loaf. It’s the hardest hour in baking, but it’s the difference between a crumb that shows off all your work and one that makes you doubt a loaf that was actually just fine.

    A sourdough slice with a dense, damp underbaked streak near the bottom crust
    Pulled too early: a wet, dense band near the base is the classic signature of an underbaked loaf.

    Put it together and doneness stops being a guess: bake bold, probe for 205–210°F, back it up with a hollow thump and a light, firm loaf, and then let it cool all the way. Do that and the gummy-bottom slice becomes a memory instead of a monthly heartbreak.

    Two golden sourdough loaves cooling completely on a wire rack
    The bake finishes on the rack: cutting in too soon reads as gummy even on a properly baked loaf.

    Want to see the thermometer test, the hollow-thump knock, and the difference between an underbaked and a fully set crumb in real time? The full walkthrough lives on the LoafLovers YouTube channel, and our free sourdough troubleshooting guide breaks down every stage from starter to slice — grab it and we’ll help you nail the next bake, all the way to the center.

    Related Reading

  • The Dense Gum Line at the Base of Your Loaf: What Causes That Compressed Layer and How to Fix It

    The Dense Gum Line at the Base of Your Loaf: What Causes That Compressed Layer and How to Fix It

    It’s a specific kind of disappointment. The loaf looks great from the outside — good rise, decent ear, deep color. The top two-thirds of the crumb is open and airy, exactly what you were hoping for. And then, right at the bottom, there’s a thin band of dense, tight, slightly gummy bread pressed against the base crust, like a different loaf snuck in underneath.

    That compressed layer at the base has a few distinct causes, and the good news is that none of them are mysterious or unfixable. Let’s work through them like a diagnosis: figure out which one is happening to your loaf, then fix exactly that. Most bakers are making just one or two of these mistakes, and correcting them gets you an even crumb from crust to crust.

    Sliced sourdough showing an open crumb on top and a dense compressed layer at the base
    The tell-tale sign: an airy crumb up top, then a thin, dense, slightly gummy band clinging to the bottom crust.

    First, what that gum line actually is

    The dense band at the bottom is bread that never fully expanded and set the way the rest of the loaf did. Instead of trapping gas and staying light, that section stayed compact and moisture-heavy. It often feels slightly sticky or gummy because it’s denser and holds more water than the open crumb above it.

    Crucially, this is a localized version of gumminess — confined to the base — which points you toward causes tied to the bottom of the loaf specifically: the heat under it, the strength of the dough there, and what happens as it cools. That’s different from a whole loaf coming out gummy, which is usually a broader fermentation or bake-time problem. If your entire crumb is dense and wet rather than just the base, start with the wider causes of a loaf that went into the oven at the wrong stage of proof.

    Cause #1: You cut it too soon (the most common culprit)

    If you take only one thing from this article, take this: a warm loaf is still baking. When bread comes out of the oven, the interior is full of hot steam and the starches are still setting. Cutting into it before it has fully cooled releases that steam, and the crumb around the cut — especially the dense, heavy base where moisture collects — collapses and turns gummy.

    Bakers do this constantly because warm sourdough is irresistible. But that gum line at the bottom is very often not a baking fault at all — it’s a cooling fault. The fix costs nothing but patience:

    • Cool the loaf on a wire rack, never flat on a solid surface where the base sits in its own trapped steam.
    • Wait until it is completely cool to the touch before slicing — a minimum of a couple of hours for a standard loaf, longer for a large or high-hydration one.
    • If you suspect this is your problem, run a test: bake as usual, then cut one loaf warm and leave an identical one to cool fully. If the cooled one has no gum line, you’ve found your answer.

    Before you change your recipe, your schedule, or your starter, rule this out first. It’s the single most common cause and the easiest to fix.

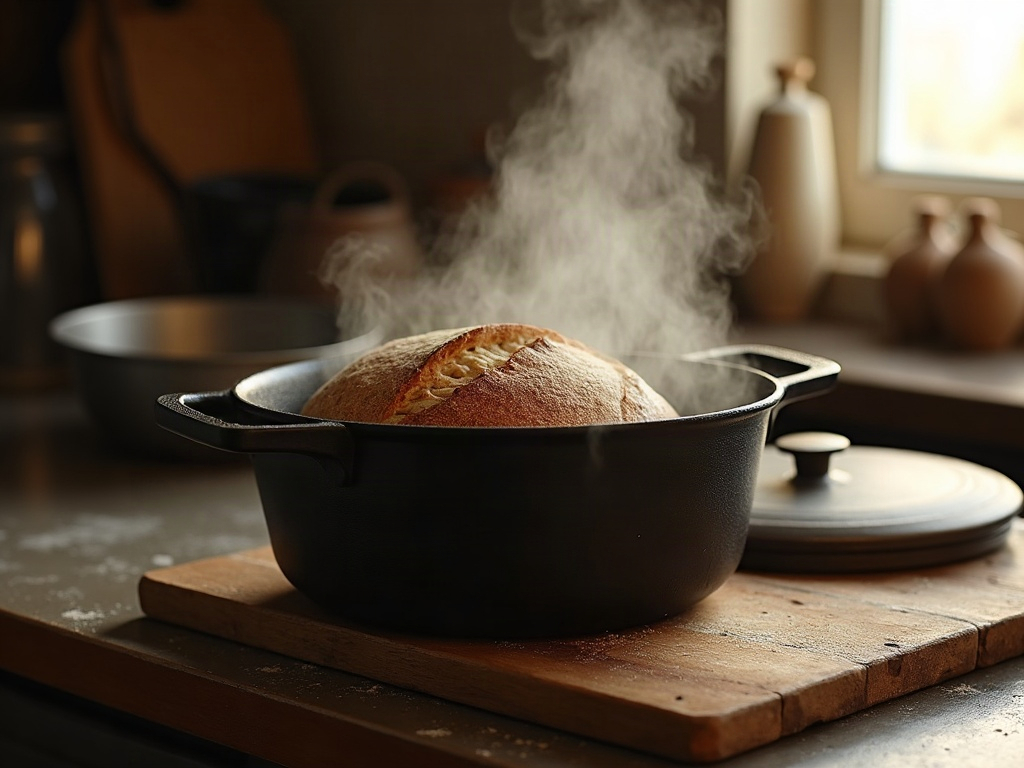
    A sourdough loaf inside a hot dutch oven fresh from baking
    A cold or poorly preheated base is a leading cause — the bottom sets before it can rise.

    Cause #2: Not enough heat under the loaf

    The base of your loaf needs a strong blast of heat early to spring up and set before it can compress under the weight of the dough above it. If the bottom is getting less heat than the top, it stays dense while the upper crumb rises freely — producing exactly that layered look.

    This happens when:

    • The oven or Dutch oven wasn’t preheated long enough. A vessel needs a good, thorough preheat so it’s genuinely hot when the dough lands. A lukewarm base is a gummy base.
    • The loaf is baking too high in the oven, far from the bottom heat source, or on a thin tray that doesn’t hold and transfer heat well.
    • There’s too much insulation under the dough — thick doubled parchment, or a cold stone that never came up to temperature.

    Fixes: preheat your Dutch oven or baking stone fully (give it a solid 45 minutes to an hour at temperature), position your bake in the lower-middle of the oven, and if your bottoms run consistently pale and dense, try a preheated stone or steel beneath the vessel to drive heat into the base. Getting strong bottom heat is the same reason a well-preheated setup matters so much for oven spring in general — the loaf rises before it sets, not after.

    Cause #3: A weak or wet base from shaping and proofing

    Sometimes the compressed layer starts before the oven. If the dough lacks structure at the bottom, or if extra moisture pools there during proofing, that section goes in already predisposed to stay dense.

    A few things feed this:

    • Under-developed gluten or slack shaping means the dough can’t hold its gas well, and the weight of the loaf settles and compresses the base. Building real surface tension when you shape gives the loaf the backbone to rise evenly — the same skill behind shaping a boule that rises up, not out.
    • Very high hydration without enough strength lets water migrate down and sit at the base, especially during a long proof, leaving that zone wetter and denser.
    • Seam-side handling — if the seam ends up on the bottom and isn’t sealed, or the base is where slack dough gathers, that spot bakes up tighter.

    If your gum line comes with an overall slack, hard-to-handle dough, the root fix is dough strength: a bit more gluten development, better shaping tension, and making sure your dough isn’t over-hydrated for your flour’s ability to hold it.

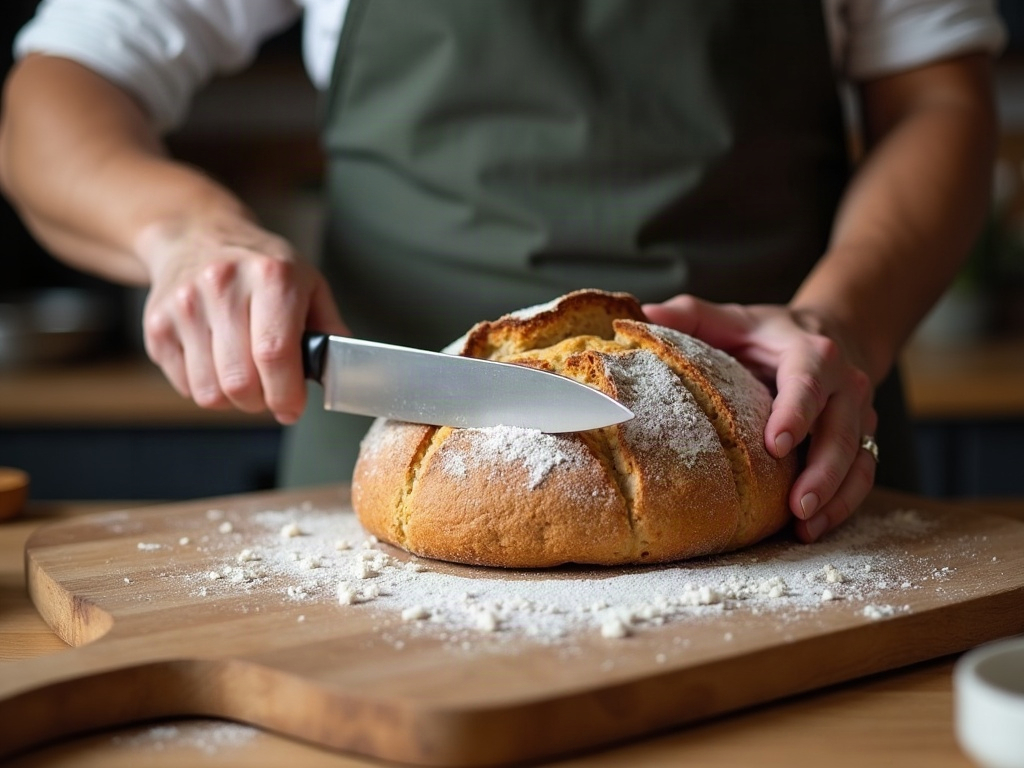
    A baker slicing a fully cooled sourdough loaf
    Cutting a loaf while it is still warm is the single most common way bakers create a gummy layer that was not there.

    Cause #4: Underbaked overall (check this if the base is truly wet)

    If the base isn’t just dense but genuinely wet, the loaf may simply be underbaked. The bottom is the last part to finish, and it’s where undercooking shows up first. An internal temperature check is the honest test here: a fully baked lean sourdough reads around 205–210°F (96–99°C) in the center. If yours is coming out well below that, extend the bake.

    A useful trick for a stubbornly dense base: for the last 5–10 minutes, take the loaf out of the Dutch oven and set it directly on the oven rack or a hot stone. That exposes the bottom to direct heat and drives off the last of the moisture, firming up the base crust and finishing that lower crumb.

    Your quick diagnostic checklist

    Run through these in order — they’re arranged from most to least common:

    1. Did you cut it warm? Cool completely on a rack and re-test. Fixes most gum lines by itself.
    2. Was the base fully preheated? Give your Dutch oven or stone a longer, hotter preheat and bake lower in the oven.
    3. Is the whole dough slack and weak? Build more shaping tension and gluten strength; reconsider your hydration.
    4. Is the base genuinely wet, not just dense? Check internal temp and extend the bake, finishing the loaf out of the vessel for a few minutes.

    Change one thing at a time so you actually learn what your loaf needed. Most bakers find it’s the cooling, then the bottom heat — and once those two are handled, that dense band at the base disappears for good.

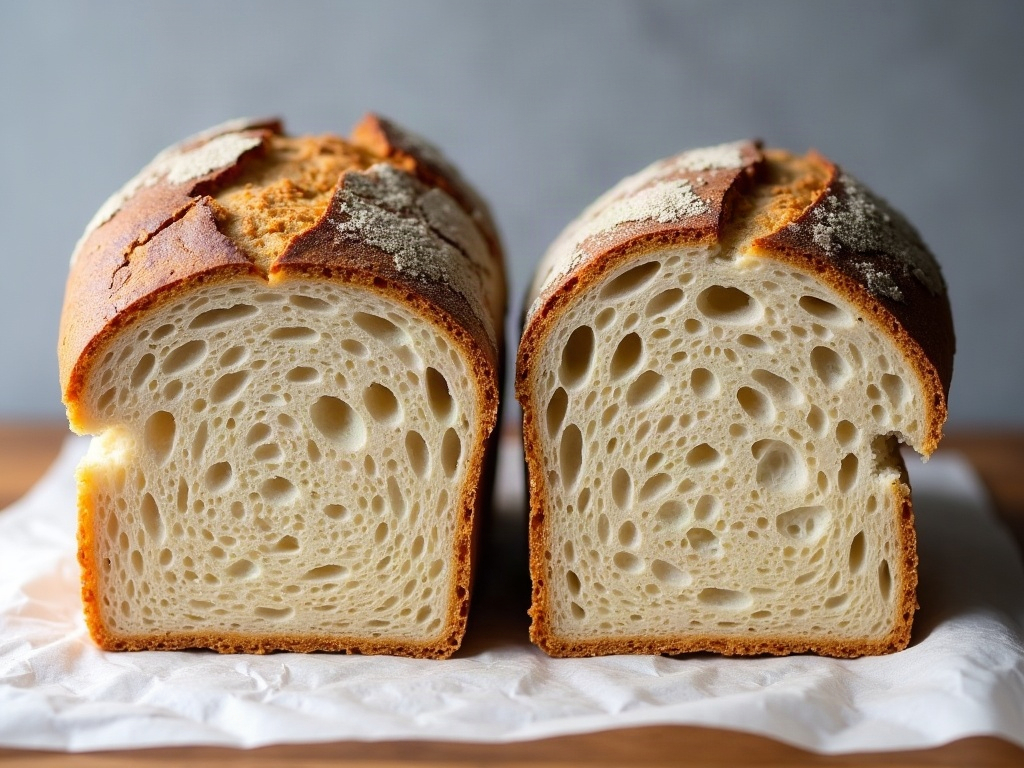
    Comparison of a sourdough with a gummy base next to one with an even crumb throughout
    The goal: an even, open crumb that runs all the way down to a crisp, thin bottom crust.

    An even crumb, all the way down

    A gum line at the base of the loaf feels like a mysterious flaw, but it’s really just the bottom of your loaf telling you it didn’t get one of three things: enough patience while cooling, enough heat while baking, or enough strength while proofing. Give it those, and the reward is a crumb that stays open and tender right down to a thin, crisp bottom crust.

    Want to see exactly what a properly cooled base and a fully preheated bake look like in real time? The full walkthrough — including a side-by-side of a gummy base versus a clean one — lives on the LoafLovers YouTube channel, and our free sourdough troubleshooting guide has the whole bake-and-cool checklist you can keep by the oven. Grab it, and let your next loaf be even from crust to crust.

    Related Reading