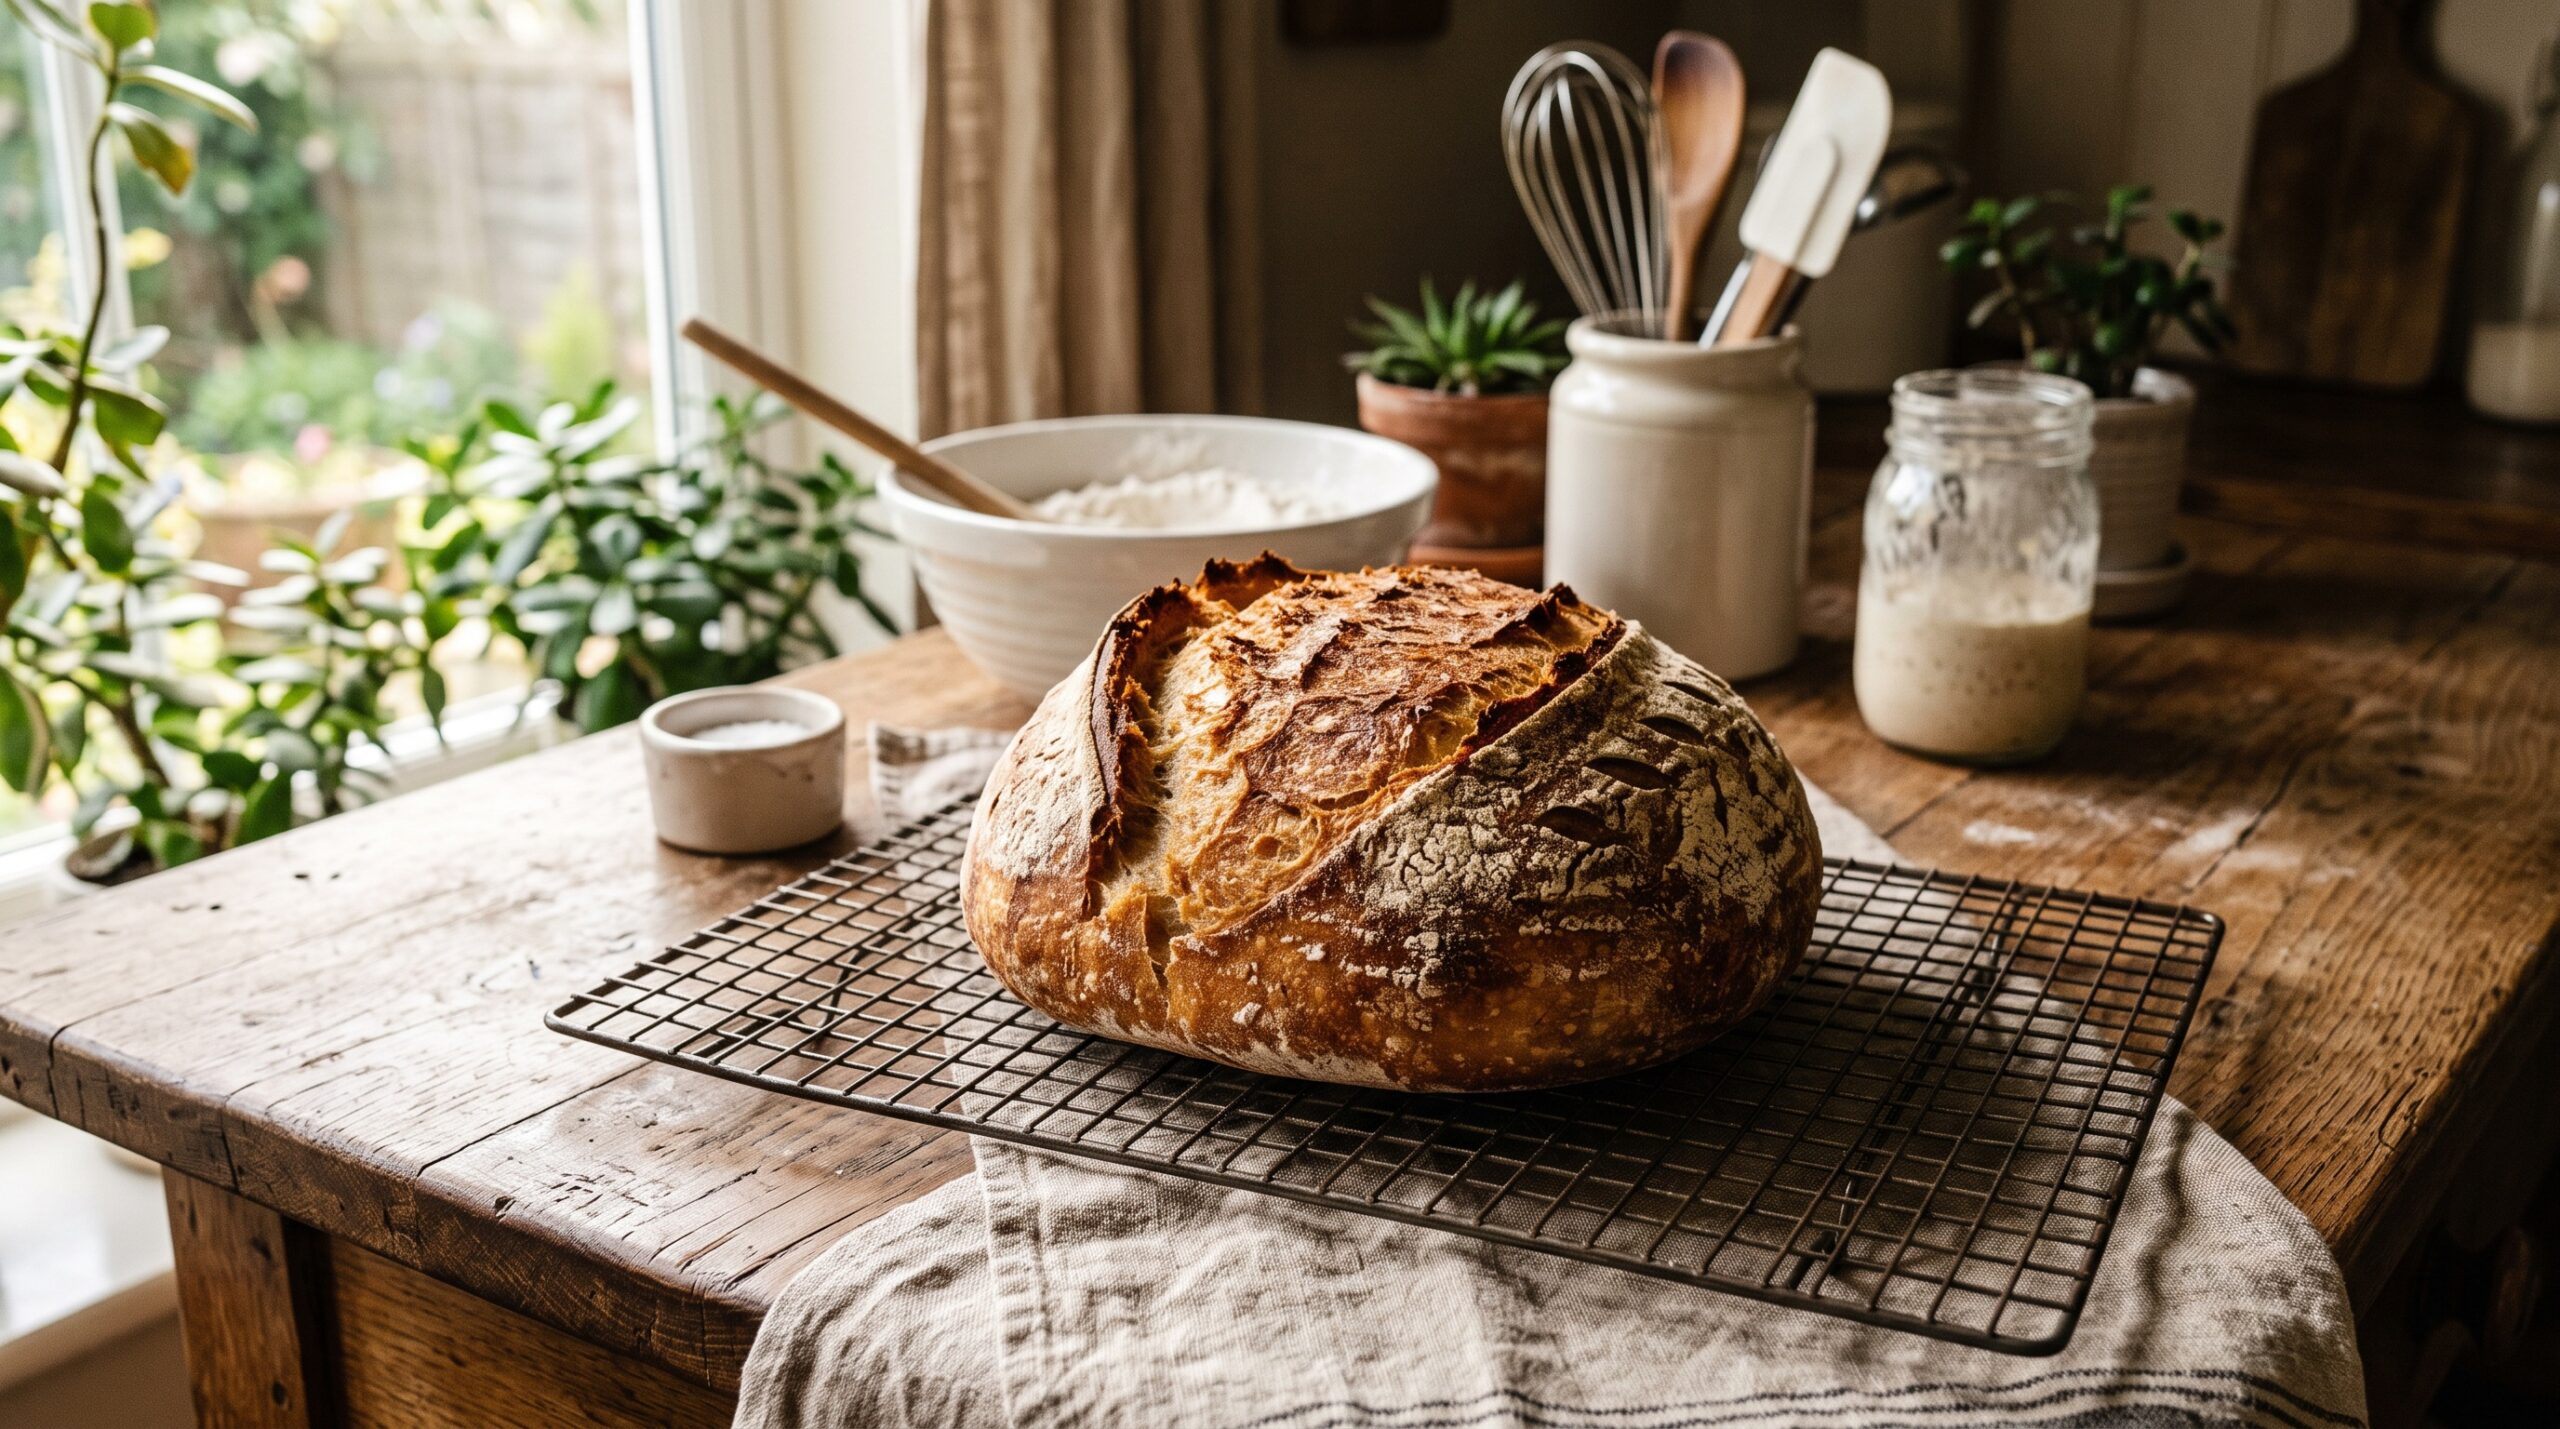
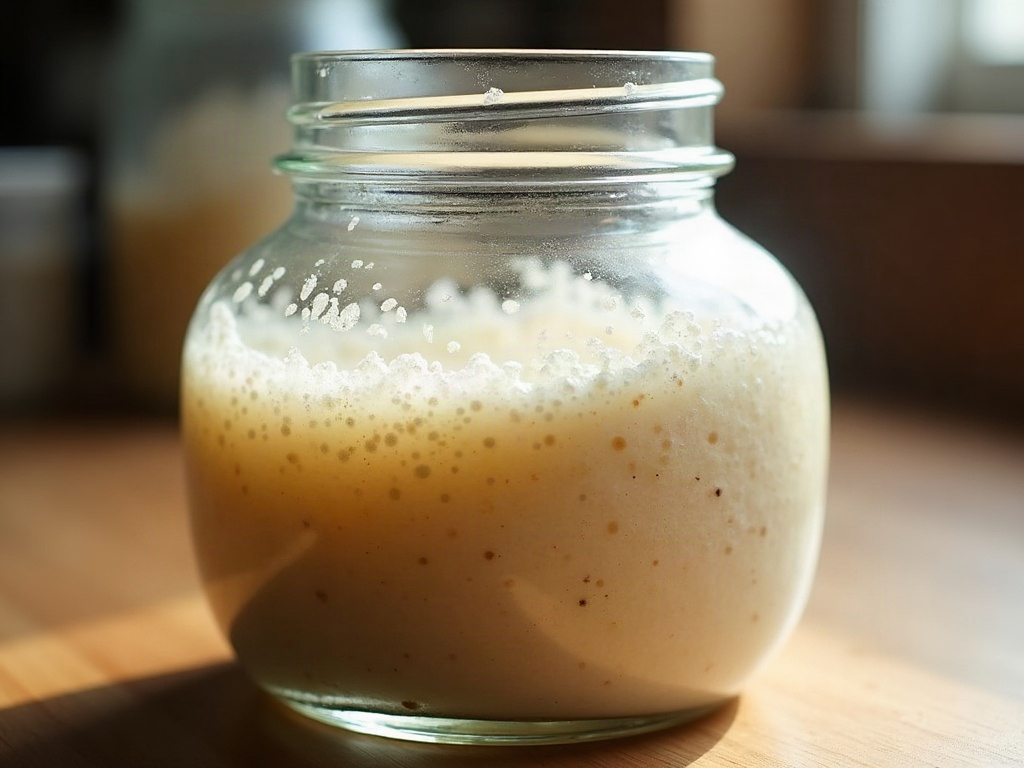
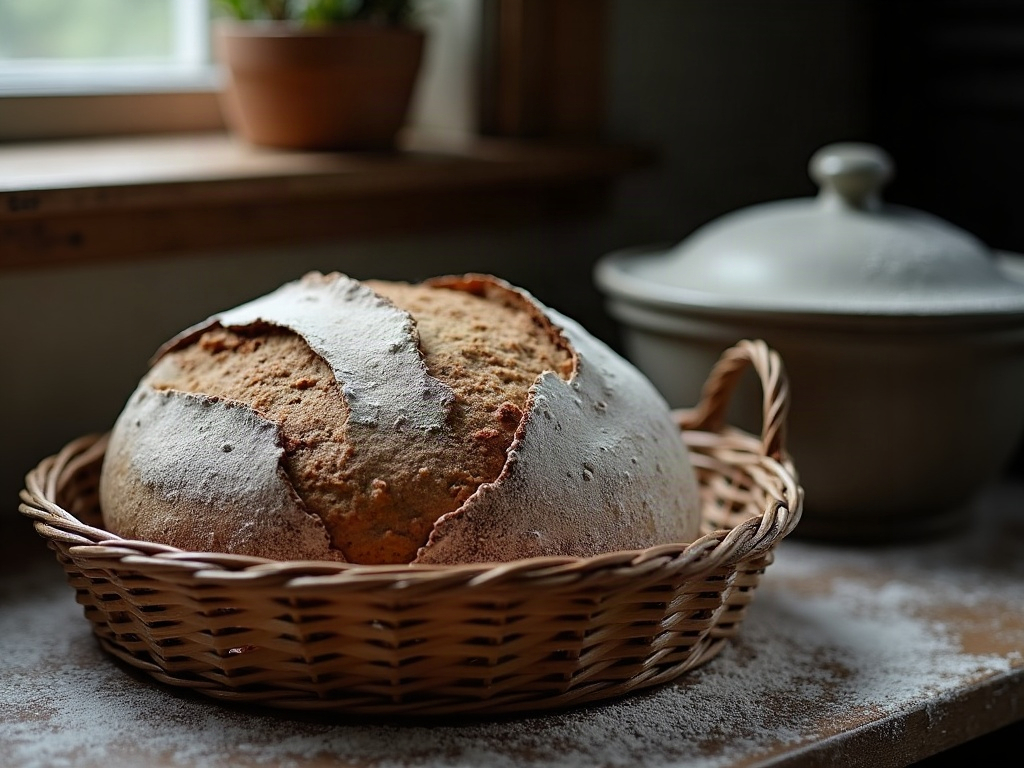
It’s the moment every fridge-starter baker knows. You’ve decided today’s the day for a loaf, you pull the jar out—and it’s cold, a little flat, maybe with a thin layer of liquid on top. The “proper” answer is to feed it, wait for it to peak, and bake tomorrow. But you want to bake now. So can you just use it straight from the fridge?
The honest answer: sometimes, yes—and more often than the rulebook admits. But it depends entirely on one thing, and if you get that wrong you’ll end up with a dense, sad loaf and no idea why. Let’s walk through it the way you’d actually decide at the counter.
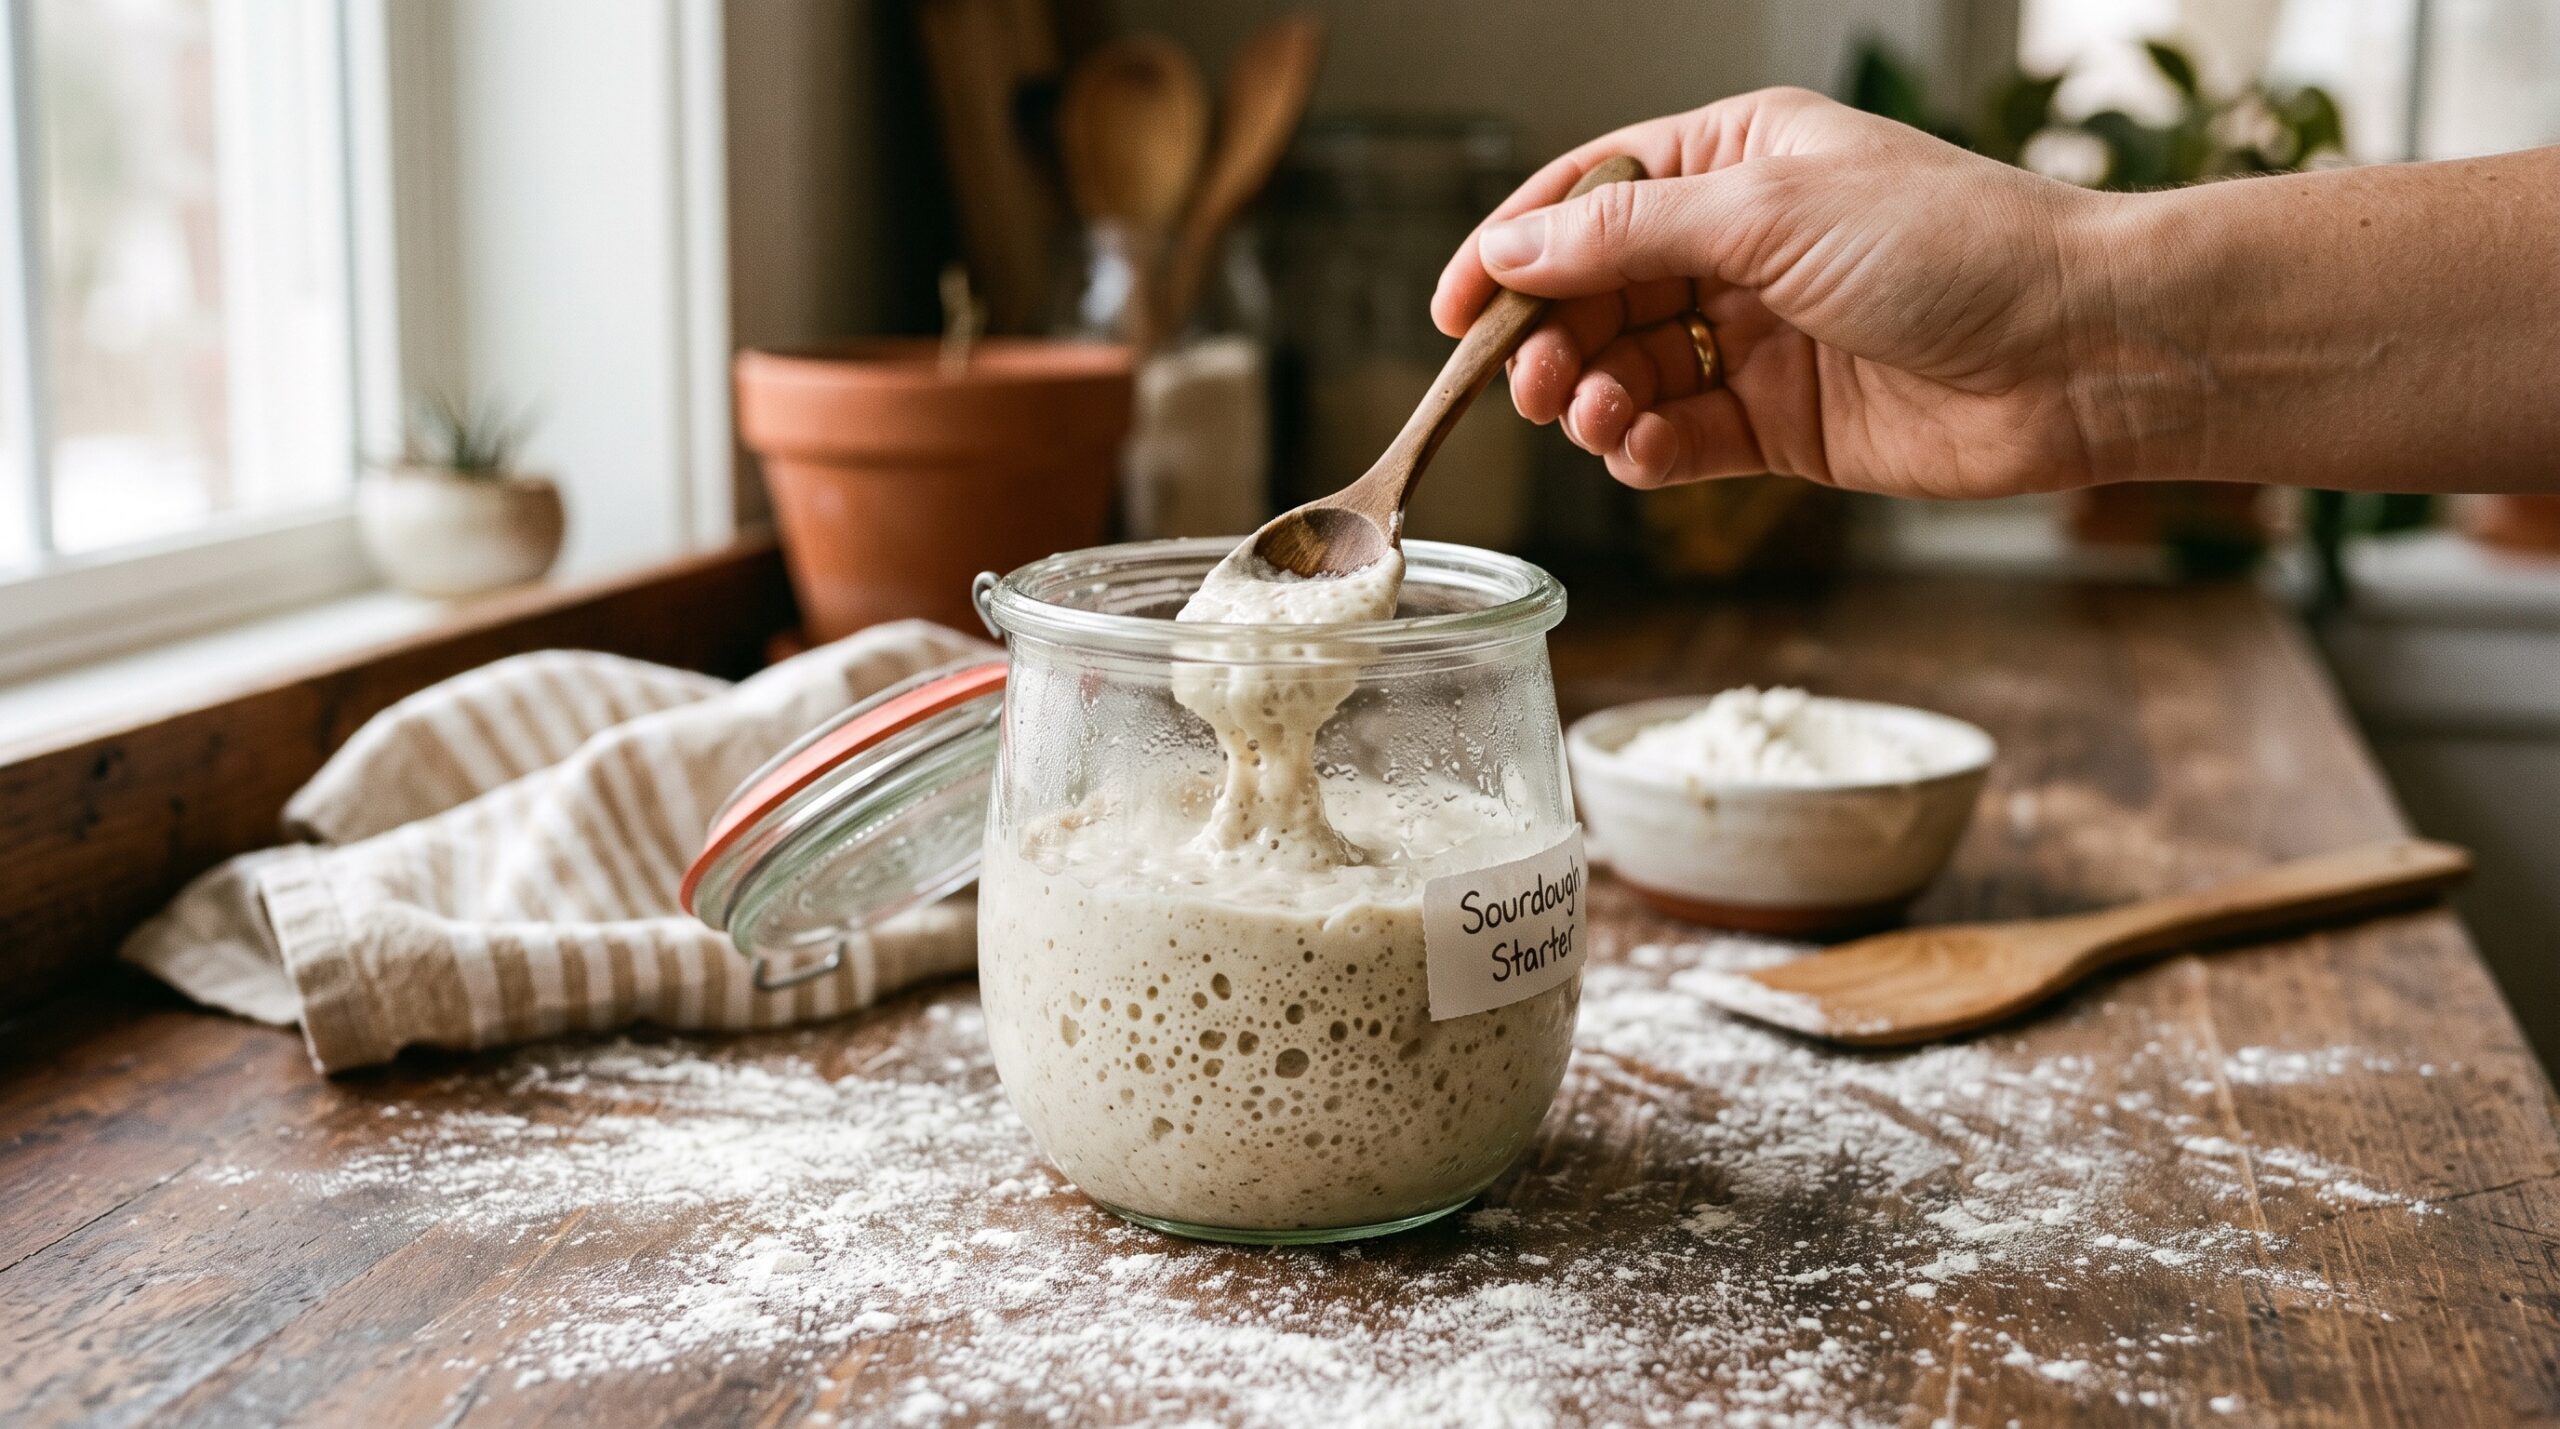
The short answer
You can bake with cold starter straight from the fridge if it was strong and reasonably recently fed when it went in, and you’re willing to give the dough extra time and warmth to make up for a slow start. What you can’t do is skip the one thing that matters: the starter has to have enough live, hungry yeast in it to raise a whole loaf. Cold doesn’t kill that. Neglect does.
So this isn’t really a question about temperature. It’s a question about where your starter sits in its feeding cycle.
What’s actually happening in that cold jar
A starter in the fridge isn’t dead or even asleep in the way people imagine. It’s just running in extreme slow motion. The cold throttles the yeast and bacteria right down, so they eat slowly, ferment slowly, and can coast for one to two weeks on a single feed instead of needing one every day.
That’s the good news: a healthy starter survives the fridge easily. The complication is where in its cycle it stopped. If you fed it, let it get going, then chilled it, it went in near the top of its strength and still has plenty of food and gas-producing power left. If it sat for three weeks with a finger of hooch on top, it has eaten through its food, gone acidic, and the yeast population is tired and sluggish. Both are “cold starter.” Only one of them will raise your bread today.
If any of that “rises then collapses” or “won’t wake up” pattern sounds familiar, it’s worth understanding the cycle itself—we broke it down in why your starter rises then collapses, and the fridge simply stretches that same curve out over days.

When cold starter straight from the fridge WILL work
Reach for it with confidence when most of these are true:
- It’s a mature, established starter—months old, with a reliable track record of doubling. Robust starters shrug off the cold.
- It was fed within the last week or so before going in, and ideally went into the fridge already active and climbing rather than dead flat.
- It still smells pleasant—tangy, yeasty, maybe a little boozy—not sharply acetone or nail-polish harsh.
- You’re on a long, relaxed timeline—a day where the dough can take its time, or you’re planning a long cold retard overnight anyway.
In that situation a cold starter has all the living yeast it needs; it’s just chilly and a touch settled. Mixed into dough that then sits in a warm kitchen, it wakes right up and ferments—just on a slower clock than a fresh, peaked starter would.
When it won’t (and you shouldn’t force it)
Hold off, and feed first, when:
- It’s been neglected for two, three weeks or more with thick hooch and a flat, lifeless look. The yeast is exhausted and needs a feed or two to rebuild before it can carry a loaf.
- It smells aggressively of acetone or vinegar—a sign it’s gone very acidic and hungry. That acidity also weakens gluten, so even if it limps along, your dough can turn slack and gummy.
- It’s young or unreliable—a starter you only built a couple of weeks ago doesn’t have the yeast reserves to bake cold and unfed. If it’s generally sluggish, our guide to a starter that isn’t rising is the better place to start than a loaf.
- You need the loaf on a tight schedule. Cold-and-unfed is the slow route. If you’re racing a deadline, a freshly peaked starter is far more predictable.
The failure mode here is always the same: not enough raising power, so the dough barely ferments, you bake it anyway out of hope, and you get a dense, tight, slightly gummy brick. Cold starter didn’t do that—a weak starter did.

How to use cold starter without feeding it first
If your starter passed the checklist above, here’s how to actually pull it off:
Use more of it. This is the single biggest lever. A cold, unfed starter is less lively per spoonful than a peaked one, so compensate by raising the inoculation—use a noticeably larger proportion of starter in your dough than usual. More starter means more yeast carried straight into the mix. (If percentages are new to you, how much starter to use and inoculation percentage walks through the math; for a cold start, nudge toward the higher end.)
Don’t bother warming or peaking it. You’re deliberately skipping the feed-and-rise, so just scoop the cold starter straight into your water and flour and mix. It’ll come up to temperature inside the dough.
Keep the dough warm. Warmth is how you buy back the speed you lost. Aim for a cozy spot—dough in the mid-to-upper 70s°F ferments noticeably faster than a cool counter. On a cold day, find the warmest corner of the kitchen.
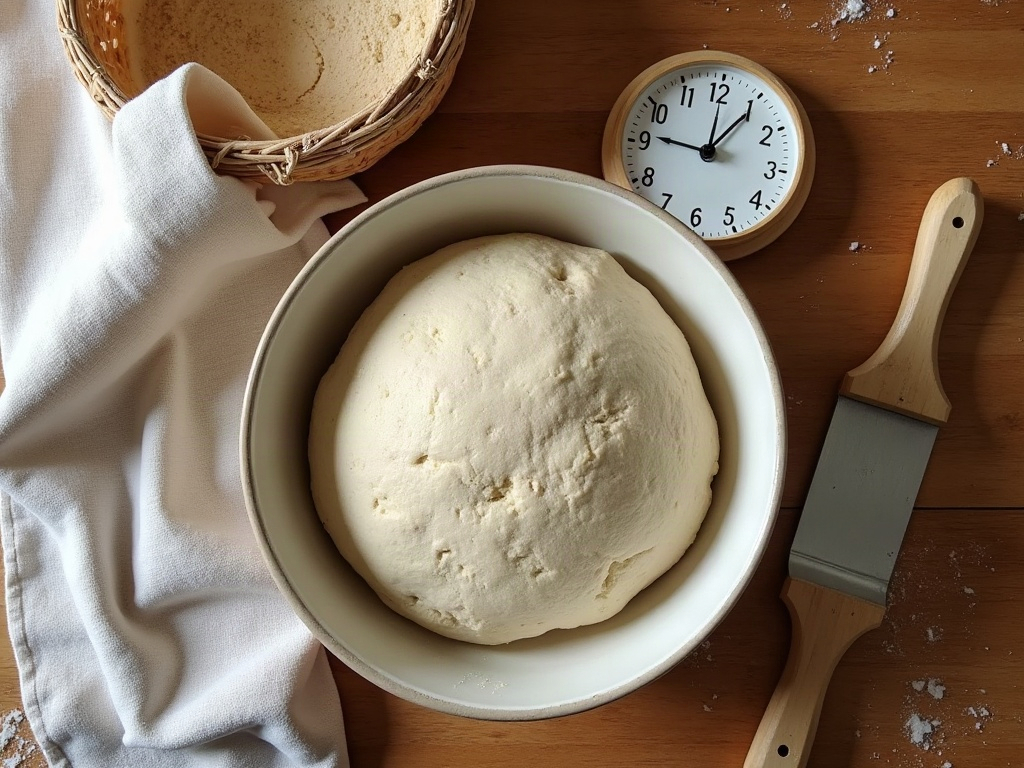
Watch the dough, not the clock. This is the rule that saves cold-started loaves. Every timeline you’ve read assumes a freshly peaked starter; yours is slower, so the numbers won’t apply. Ignore them. Judge bulk fermentation by what the dough is doing—a 30–50% rise, a domed, jiggly, bubbly, alive feel—however long that takes. It may run several hours longer than usual. That’s normal. Let it finish.
Expect a gentler tang. Oddly, a straight-from-the-fridge bake can taste a little milder than you’d think, because you’re not adding the extra acidity of a long room-temp starter rise. Pleasant surprise for the mild-loaf crowd.

The safer play, if you have a few hours
Baking cold-and-unfed works, but it will always be a little less predictable than the alternative: give the starter one feed first. Pull the jar out, feed it, and let it come to life at room temperature until it’s bubbly and climbing—often just a few hours for a healthy starter straight from the fridge. Use it when it’s lively (the classic readiness checks still apply—see the float test and better ways to tell it’s ready).
That single feed turns “I hope this works” into “I know this works,” and it’s the difference between gambling and baking. If your starter lives in the fridge full-time, getting the feeding rhythm right in the first place makes cold bakes far more reliable—our guide to how often to feed a fridge starter is worth a read so it’s always in good shape when you want it.
Your quick decision guide
- Strong, mature, fed within a week, pleasant smell, no rush? Use it cold. Up the amount, keep the dough warm, judge by the dough.
- Neglected, hooch-heavy, harsh smell, young, or on a deadline? Feed it once and wait for it to come alive first.
- Not sure? Feed it. The few hours you spend are cheaper than a dense loaf and a wasted day.
Cold starter isn’t fragile and it isn’t off-limits. It just asks you to read it honestly—strength first, temperature second—and then give the dough the time and warmth to catch up. Do that, and a fridge-cold jar can turn out a loaf every bit as good as one off a freshly fed starter.
Want to see the difference between a starter that’s ready to bake cold and one that needs a feed? We walk through the exact look, smell, and feel—jar by jar—over on the LoafLovers YouTube channel, and our free sourdough troubleshooting guide has a printable readiness checklist you can keep on the fridge. No hard sell, just the answers for the next time you’re standing there with a cold jar and a decision to make.