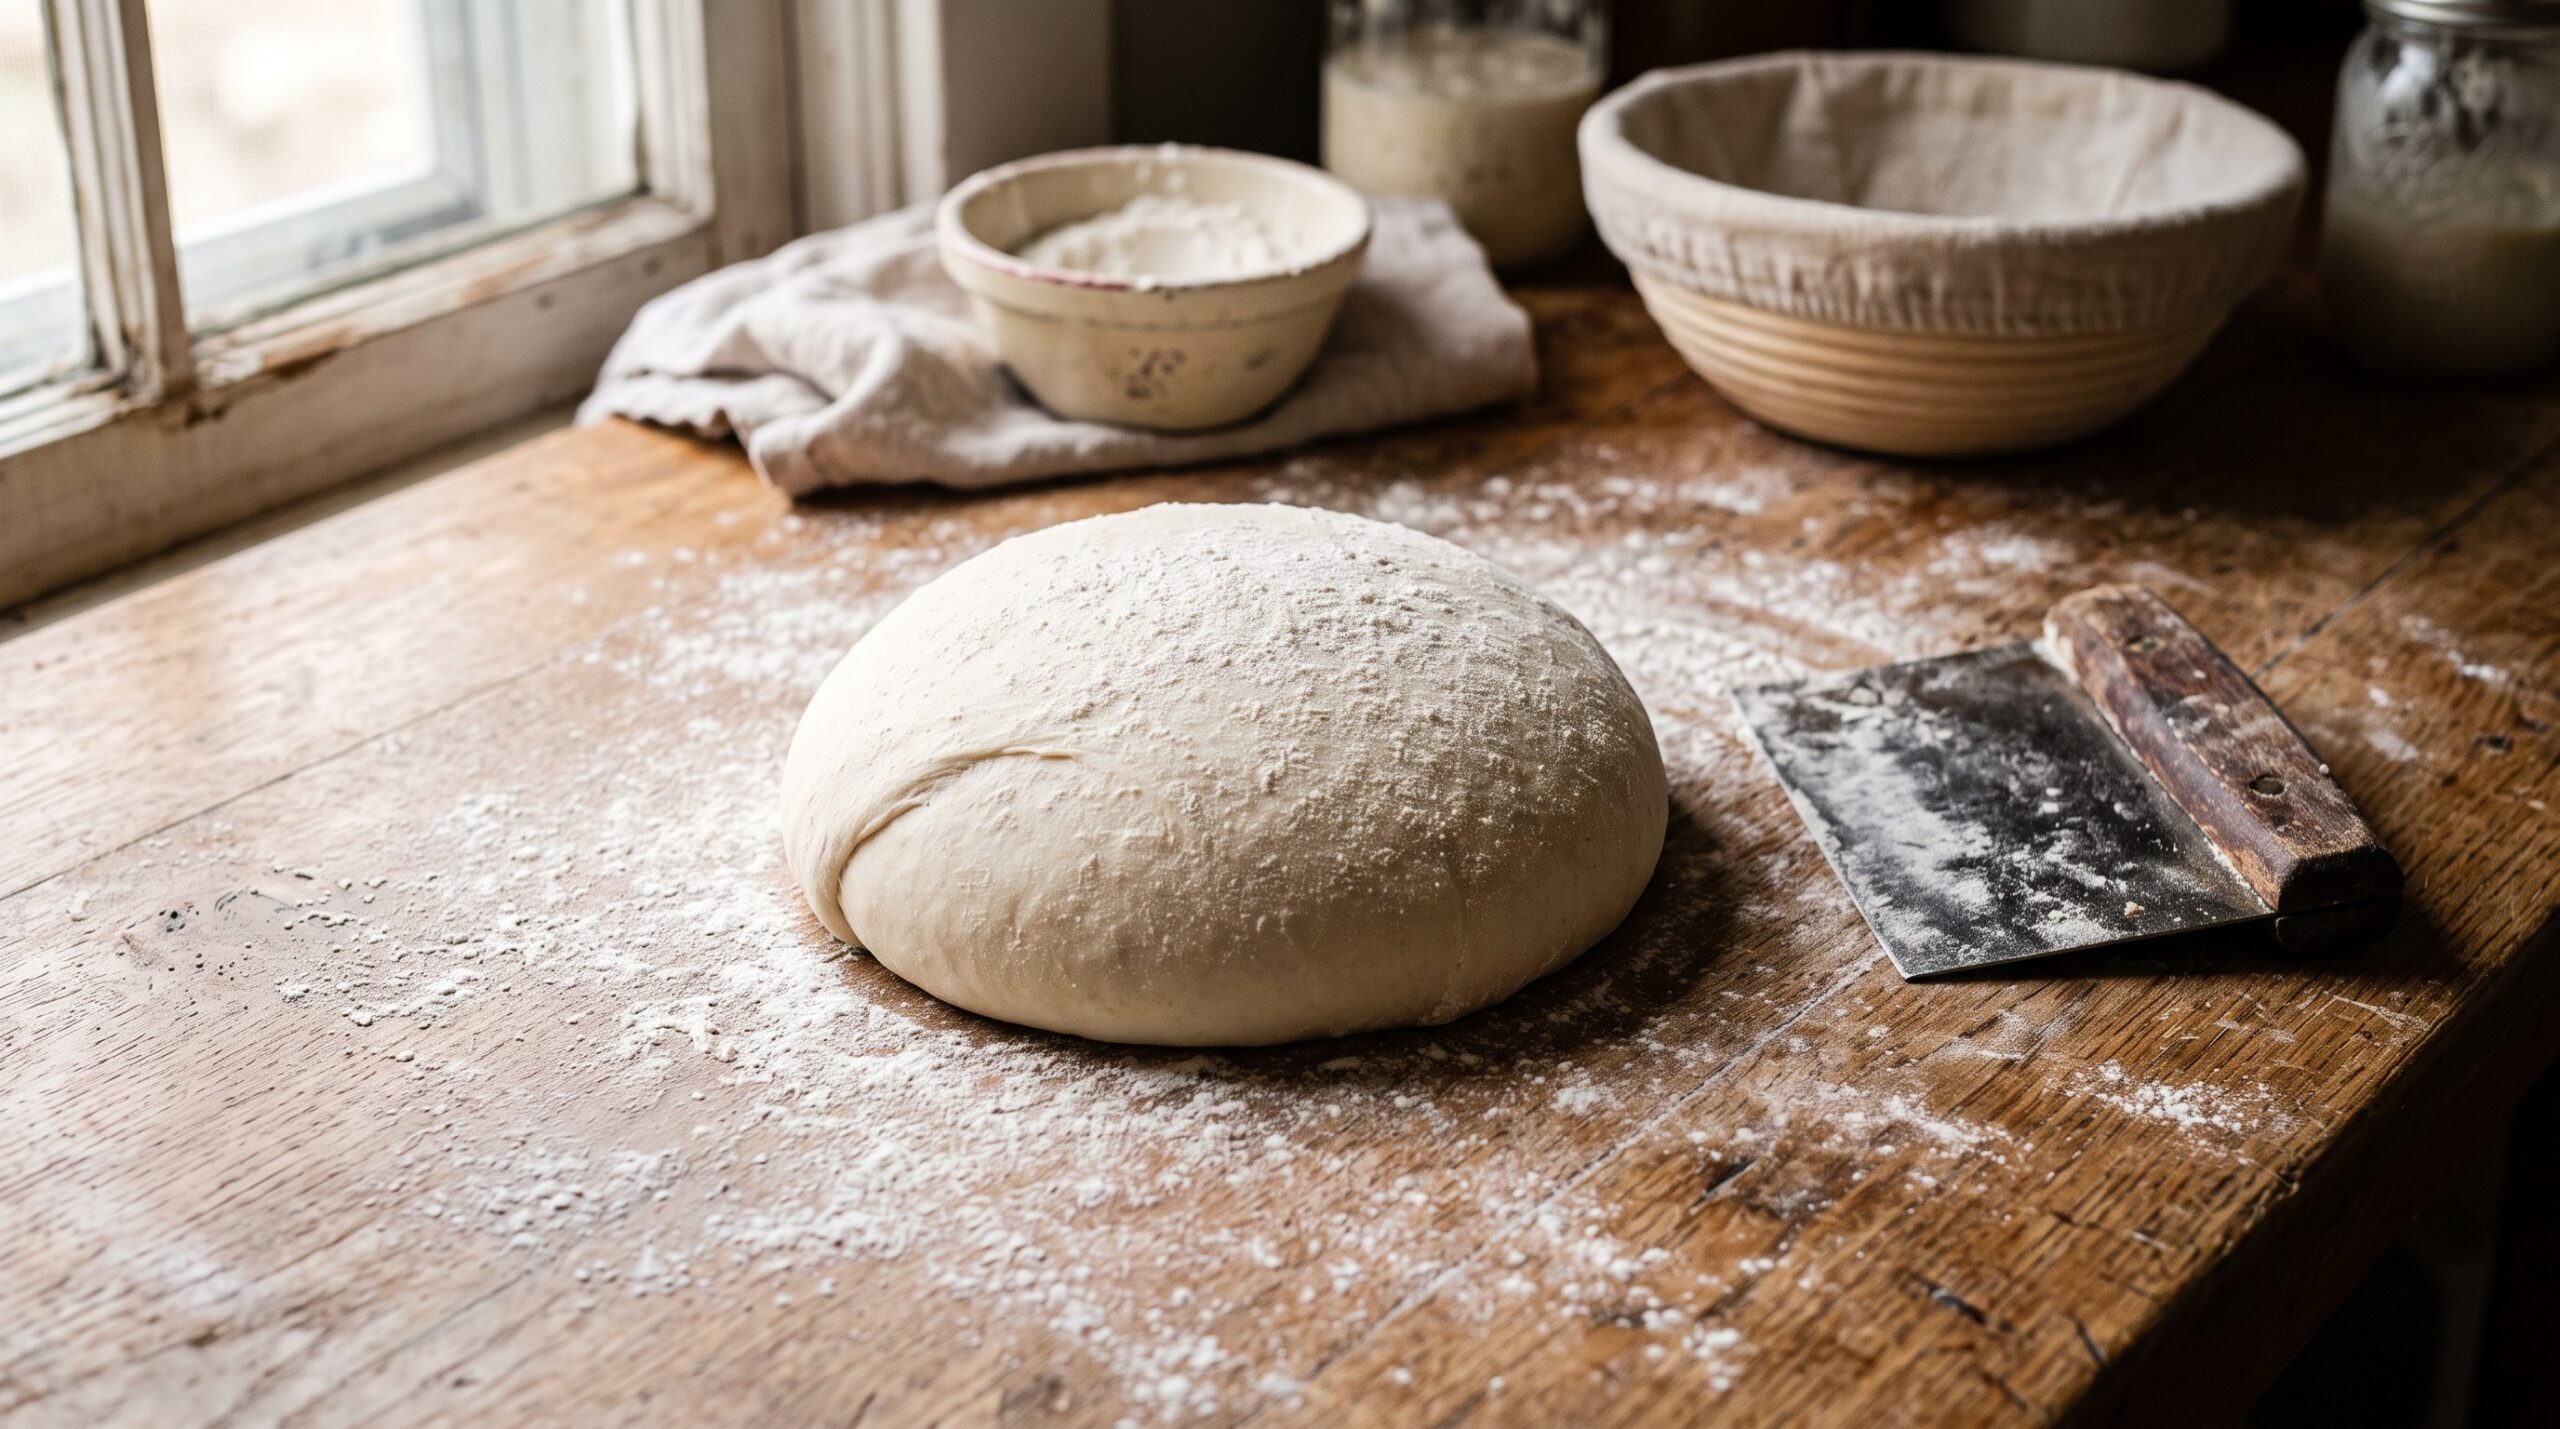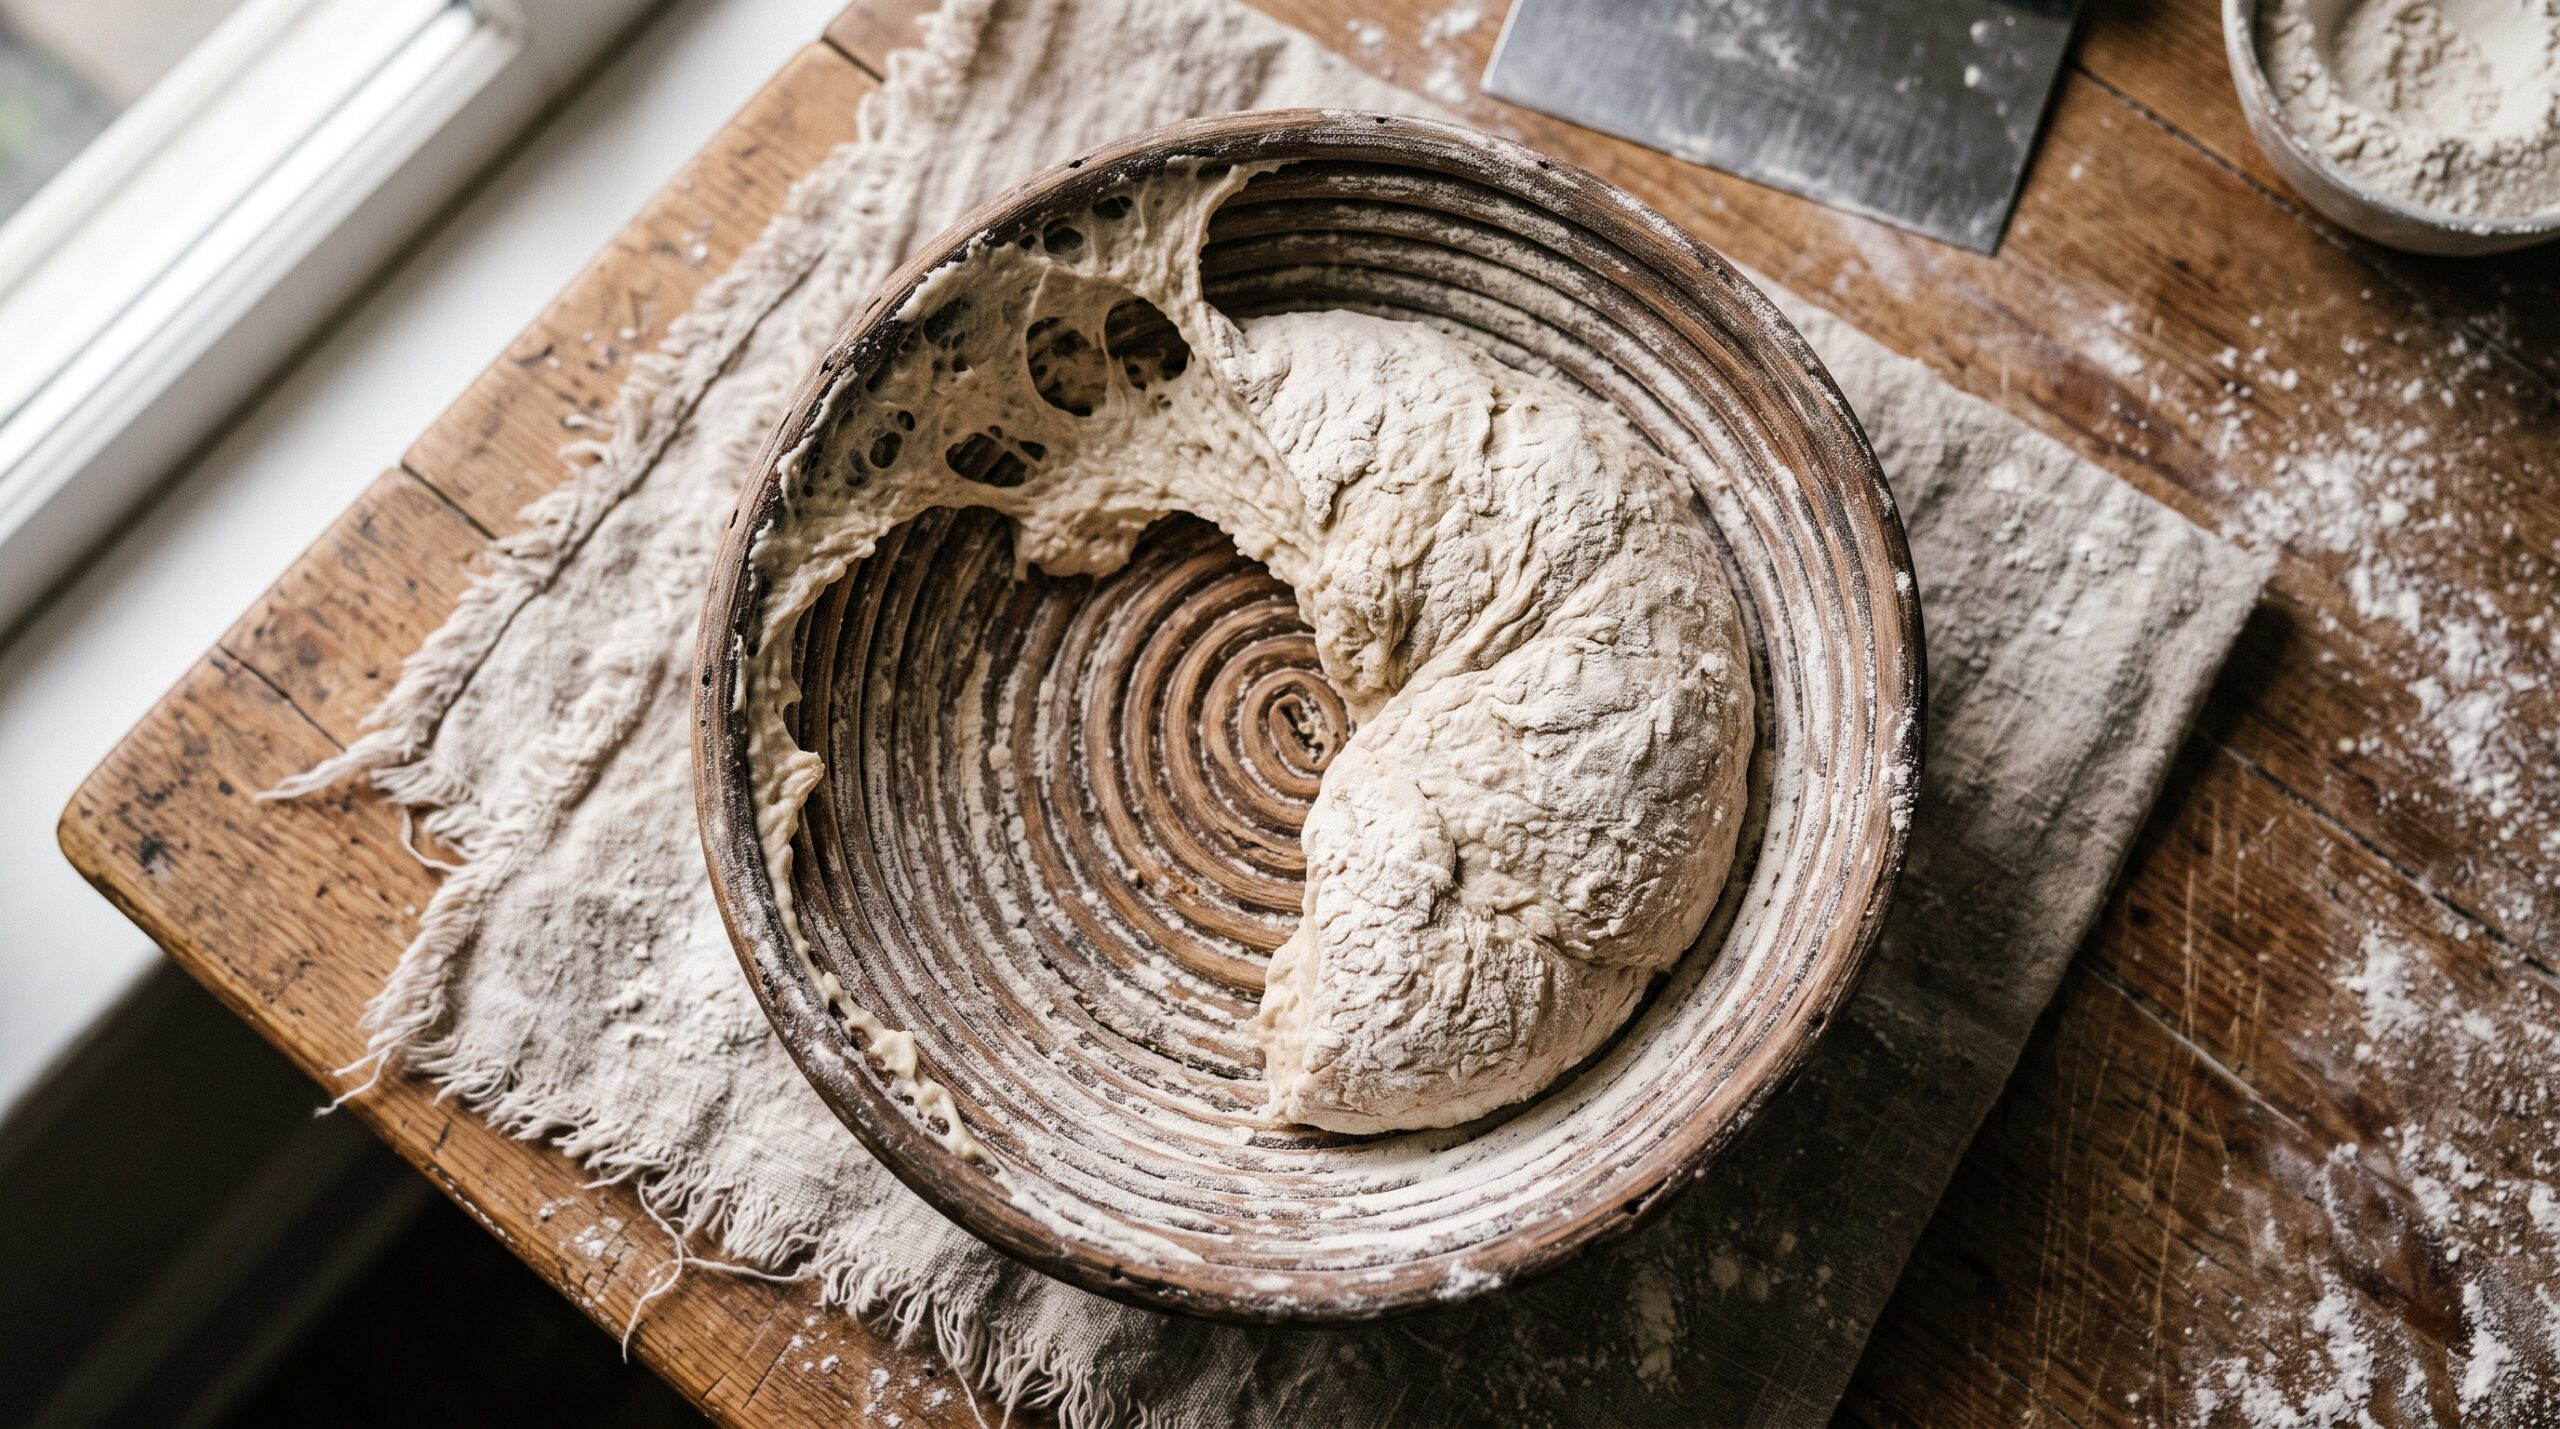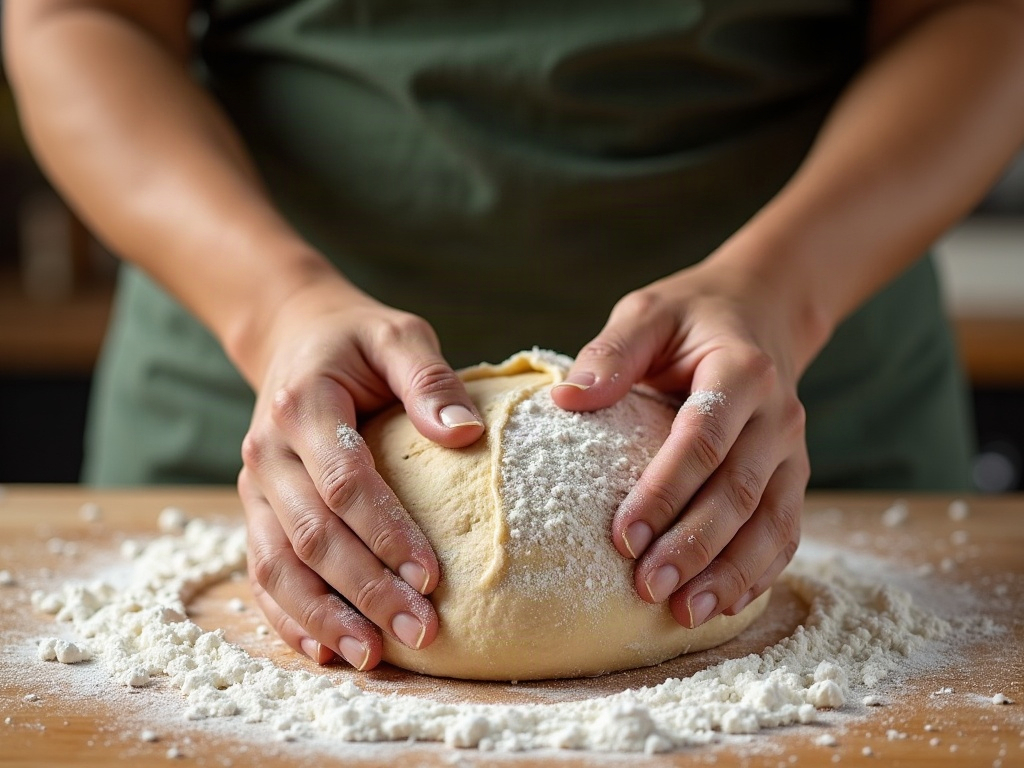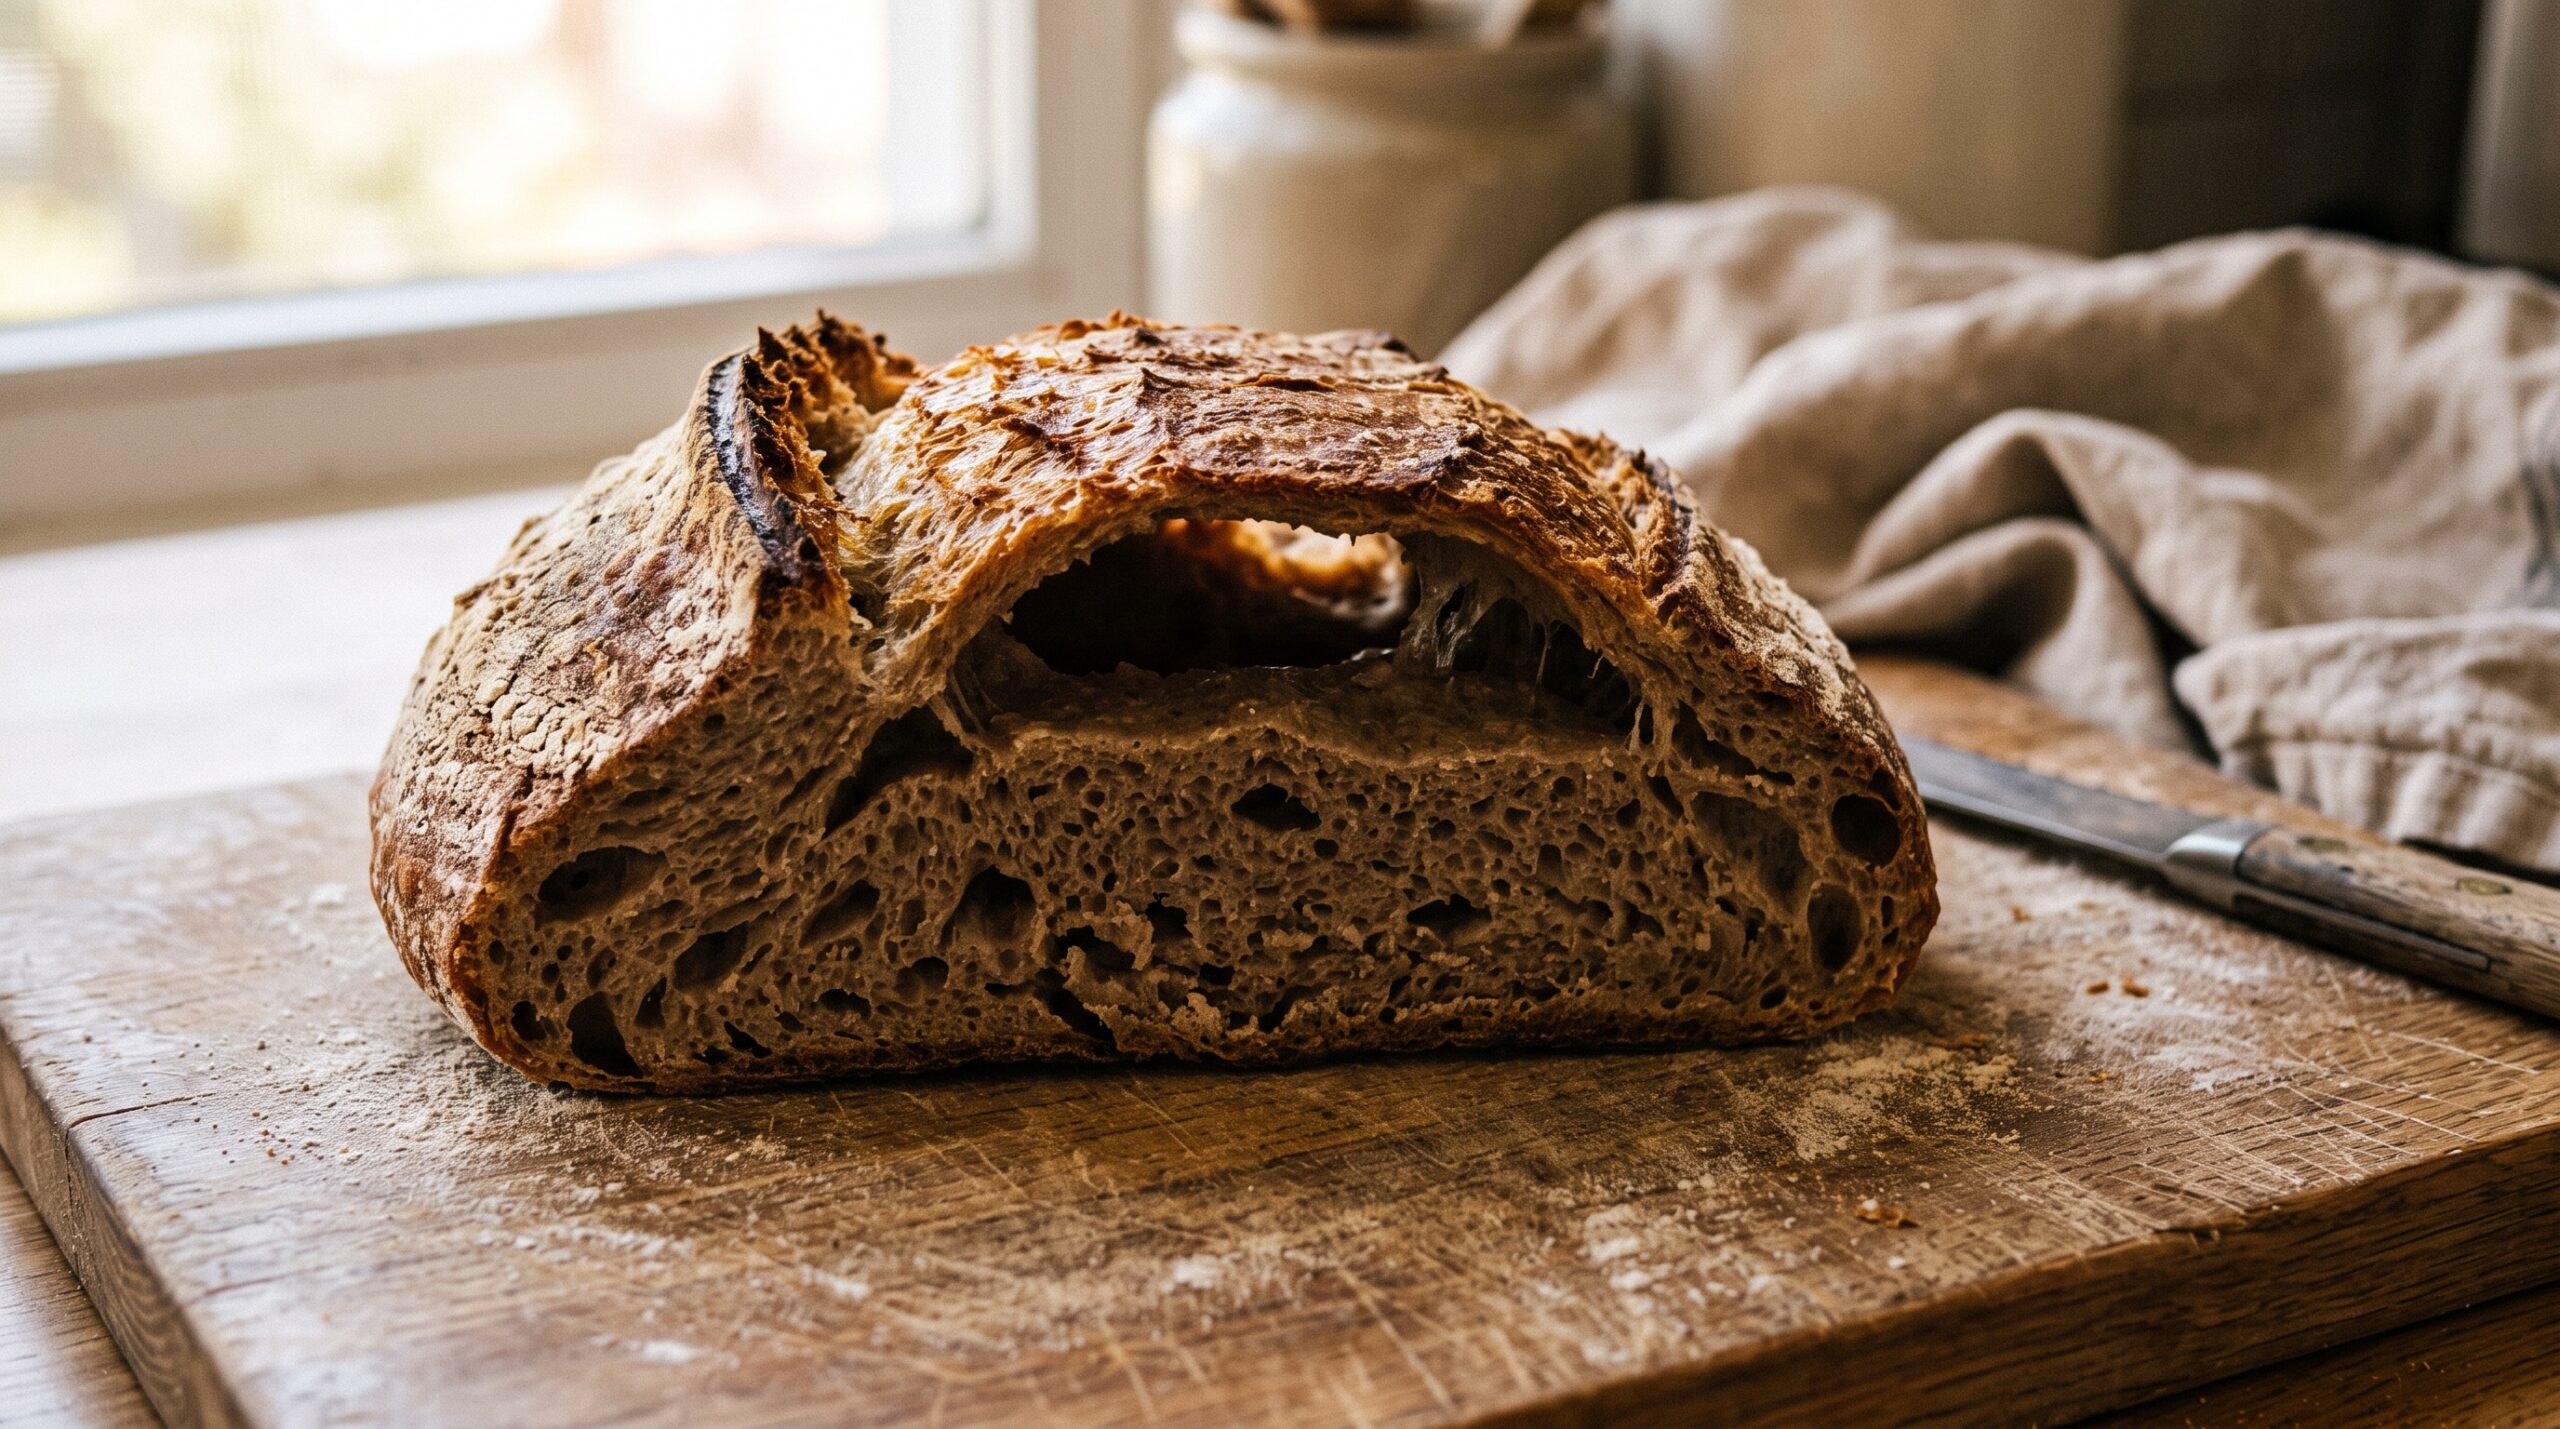
You pulled a beautiful loaf out of the oven. The crust is dark and blistered, it sang as it cooled, and you were already composing the photo. Then you cut into it and the knife drops through a dense slab of crumb into a giant hollow cavern right under the top crust. The crust has lifted off like a dome over an empty room. It is one of the most deflating moments in home baking, partly because the outside looked so promising.
Bakers call this a flying crust, or sometimes tunneling. It is not a random accident and it is not ruined bread — it toasts perfectly well. But it is a clear signal that something went wrong between the mixing bowl and the oven, and once you know how to read it, the fix is usually straightforward. Let’s work through the real causes, from most common to least, and exactly what to change for each.
What a flying crust actually is
During the first few minutes in a hot oven, your loaf does most of its expanding. The outside sets into a crust while the inside is still soft and full of gas that is rapidly expanding in the heat. In a healthy loaf, that expansion pushes the whole structure up evenly — the crumb and the crust rise together and stay fused.
A flying crust happens when the crust sets before the crumb underneath it has finished rising, or when there is already a large weak void sitting just below the surface. The top skin firms up, the gas below keeps expanding and pushing outward, and because the crumb can’t rise into the crust, it tears away instead. The gas collects in that gap, inflating it into the hollow dome you sliced into. In almost every case the root problem is one of two things: the dough was not ready, or the surface was too tight and too fast to set. Let’s separate them.
Cause #1: The loaf was underproofed
This is the single most common cause of a hollow under the crust, and it surprises people because underproofed dough feels so firm and promising when you load it. An underproofed loaf still has enormous rising energy left in it. When it hits the heat, it lunges upward all at once in a violent burst of oven spring. The crust can’t keep up, the dough tears internally, and the gas pools in one big cavity rather than distributing into an even crumb.
The giveaway: a flying crust from underproofing usually comes with a dense, tight crumb below the gap, sometimes with a compressed band near the bottom. The loaf looks like it tried to explode upward and left the lower half behind.
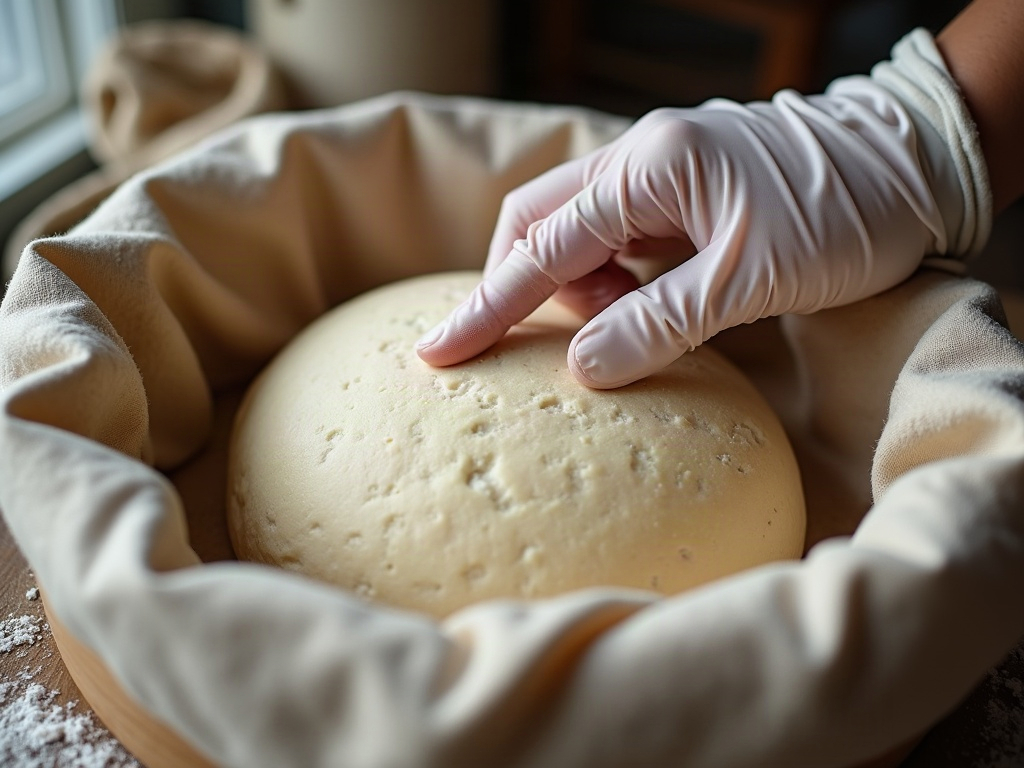
The fix: give the dough more time in bulk fermentation. Watch the dough, not the clock — it should grow by roughly 50 to 75 percent, feel jiggly and alive, and show bubbles along the sides and surface. Use the poke test to judge readiness before you ever shape or bake. A cool kitchen slows everything down, so if your dough has been sluggish, it almost certainly needs longer than your recipe’s stated time.
Cause #2: Big gas pockets trapped during shaping
If you shape your loaf too gently and leave large bubbles trapped just under the surface, those bubbles become the seed of a tunnel. In the oven they expand faster than the surrounding crumb, merge together, and lift the crust clean off. You’ll often see this as a flying crust in a loaf that is otherwise well fermented — the crumb below is open and nice, there’s just a giant pocket up top.
The fix: degas more deliberately during pre-shaping. You are not trying to flatten the dough into a pancake, but you do want to pop the biggest bubbles and redistribute the gas evenly. When you do your pre-shape and bench rest, give the round a firm pat to release any balloon-sized pockets, then let it relax before the final shape. Even, small bubbles in, giant trapped voids out.
Cause #3: The surface tension was too loose — or too tight
Shaping is a balancing act, and both extremes can cause tunneling. If your final shape is too loose and slack, the dough skin is weak and the expanding gas finds the path of least resistance — straight up into a dome under the crust. If your shape is too tight, you create a drum-tight skin that sets instantly in the oven and refuses to let the crumb rise into it, which also forces a separation.
The fix: aim for a smooth, taut surface with real but not desperate tension. The dough should hold a round shape and have a tight skin you could bounce a crumb off, without you fighting it or tearing the surface. If you’re not confident here, our guide to shaping a boule with real tension walks through the hand motions that build an even skin — the same skin that rises with the crumb instead of flying off it.

Cause #4: Slack, over-hydrated dough that can’t hold its structure
Very high-hydration dough is wonderful for an open crumb, but it is also more prone to flying crust, especially for newer bakers. A slack dough has less internal strength to resist the oven’s push, so the structure gives way at its weakest point — the thin layer just under the setting crust. Add a slightly under-developed gluten network on top of that, and you have a loaf primed to tunnel.
The fix: back the hydration down by five to ten percent while you dial in your process, and build more strength with an extra set or two of stretch-and-folds during bulk. You want the dough to pass a rough windowpane and to hold a defined edge when you turn it out. Once your shaping and proofing are reliable at a moderate hydration, you can push the water back up with far less risk of a cavern.
Cause #5: The crust set too fast — steam and scoring
Sometimes the dough is fine and the problem is purely in the bake. If the top of your loaf blasts to a hard crust in the first few minutes — too little steam, or a surface that dried out during a long uncovered proof — it locks into place before oven spring finishes, and the still-expanding crumb has nowhere to go but away from it.
Scoring matters here too. A single shallow score at a low angle gives the gas a deliberate place to escape and expand, so it vents through the ear instead of ballooning blindly under the crust. Too shallow, too timid, or no score at all, and the pressure has to find its own exit — often as a hollow dome or a blowout bursting from the side.
The fix: bake with plenty of steam for the first 20 minutes — a lidded Dutch oven is the easiest way to guarantee it — so the crust stays soft and extensible while the loaf is still rising. Score decisively with one confident slash at roughly a 30-degree angle to create a controlled weak point. A crust that stays pliable long enough will rise with the crumb and stay married to it.
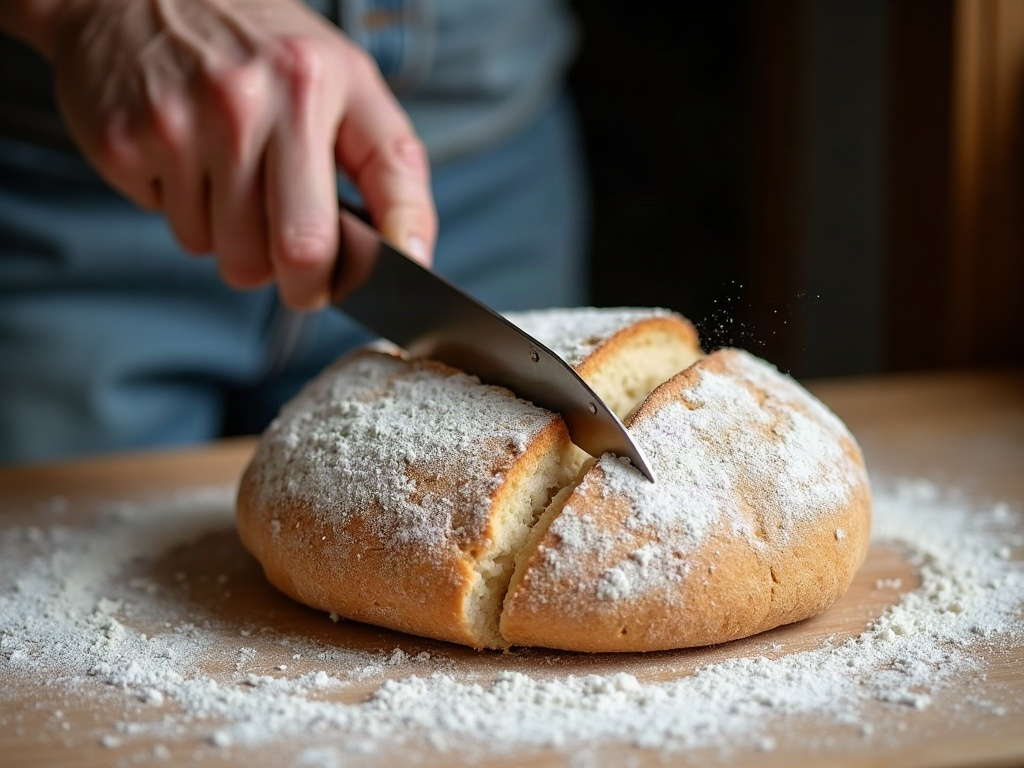
How to diagnose your own loaf in 30 seconds
Next time you cut a flying crust, read the clues instead of guessing:
- Hollow dome plus a dense, tight crumb below? Underproofed. Ferment longer, judge by feel and the poke test.
- Hollow dome but a nice open crumb elsewhere? A trapped shaping bubble. Degas and reshape more deliberately.
- Loaf also spread wide and flat? Too little surface tension or dough too slack. Tighten the shape, lower hydration, build more strength.
- Great interior but a thick, hard, early-setting crust? A baking problem. More steam, a decisive score, don’t let the surface dry out.
Most flying crusts I see come down to the same quiet pair: a loaf shaped a touch too gently and baked a touch before it was truly ready. Fix those two and the crust stops flying. You’ll know you’ve cracked it when you slice in and the crust is pressed tight against an even crumb, no cavern, no slab — just bread all the way through.
Want to see exactly what a well-degassed shape and a proper score look like in real time? The full visual walkthrough of fixing a flying crust — shaping, poke test, and scoring — lives on the LoafLovers YouTube channel, and you can grab our free sourdough troubleshooting guide to keep the symptom-and-fix chart next to your bench. No perfect loaves, just the ones that finally stopped tunneling.