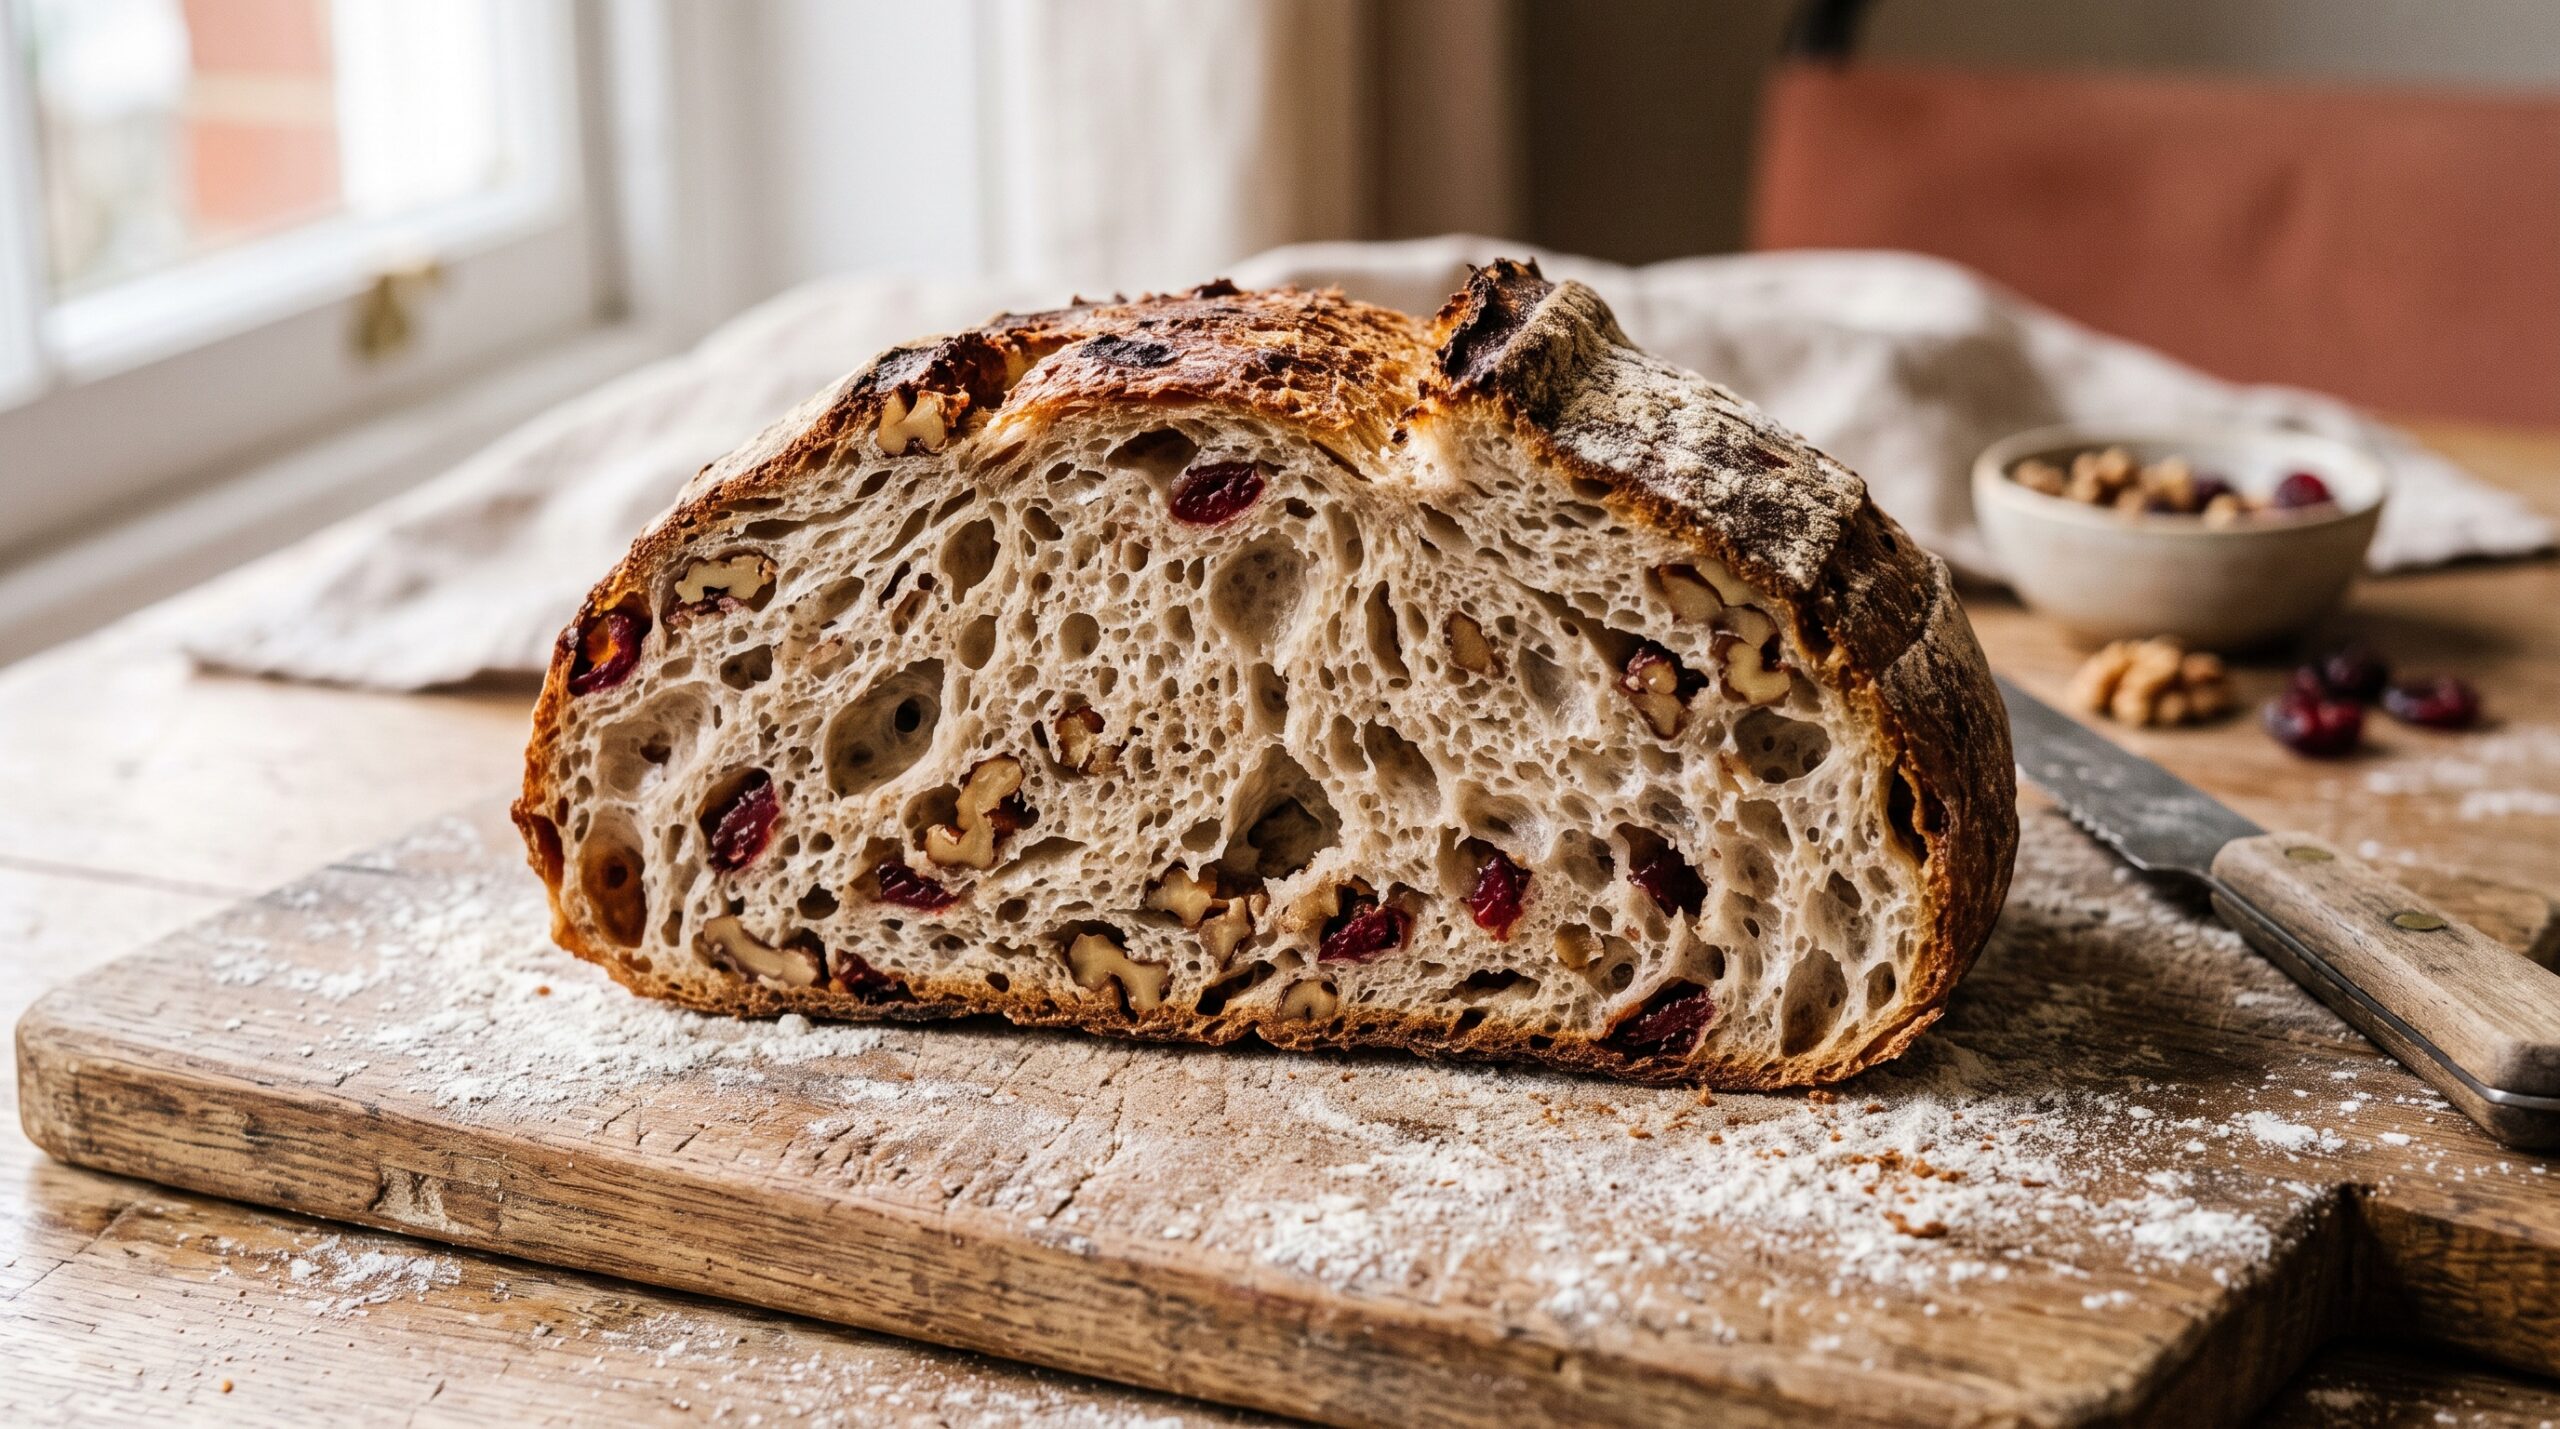
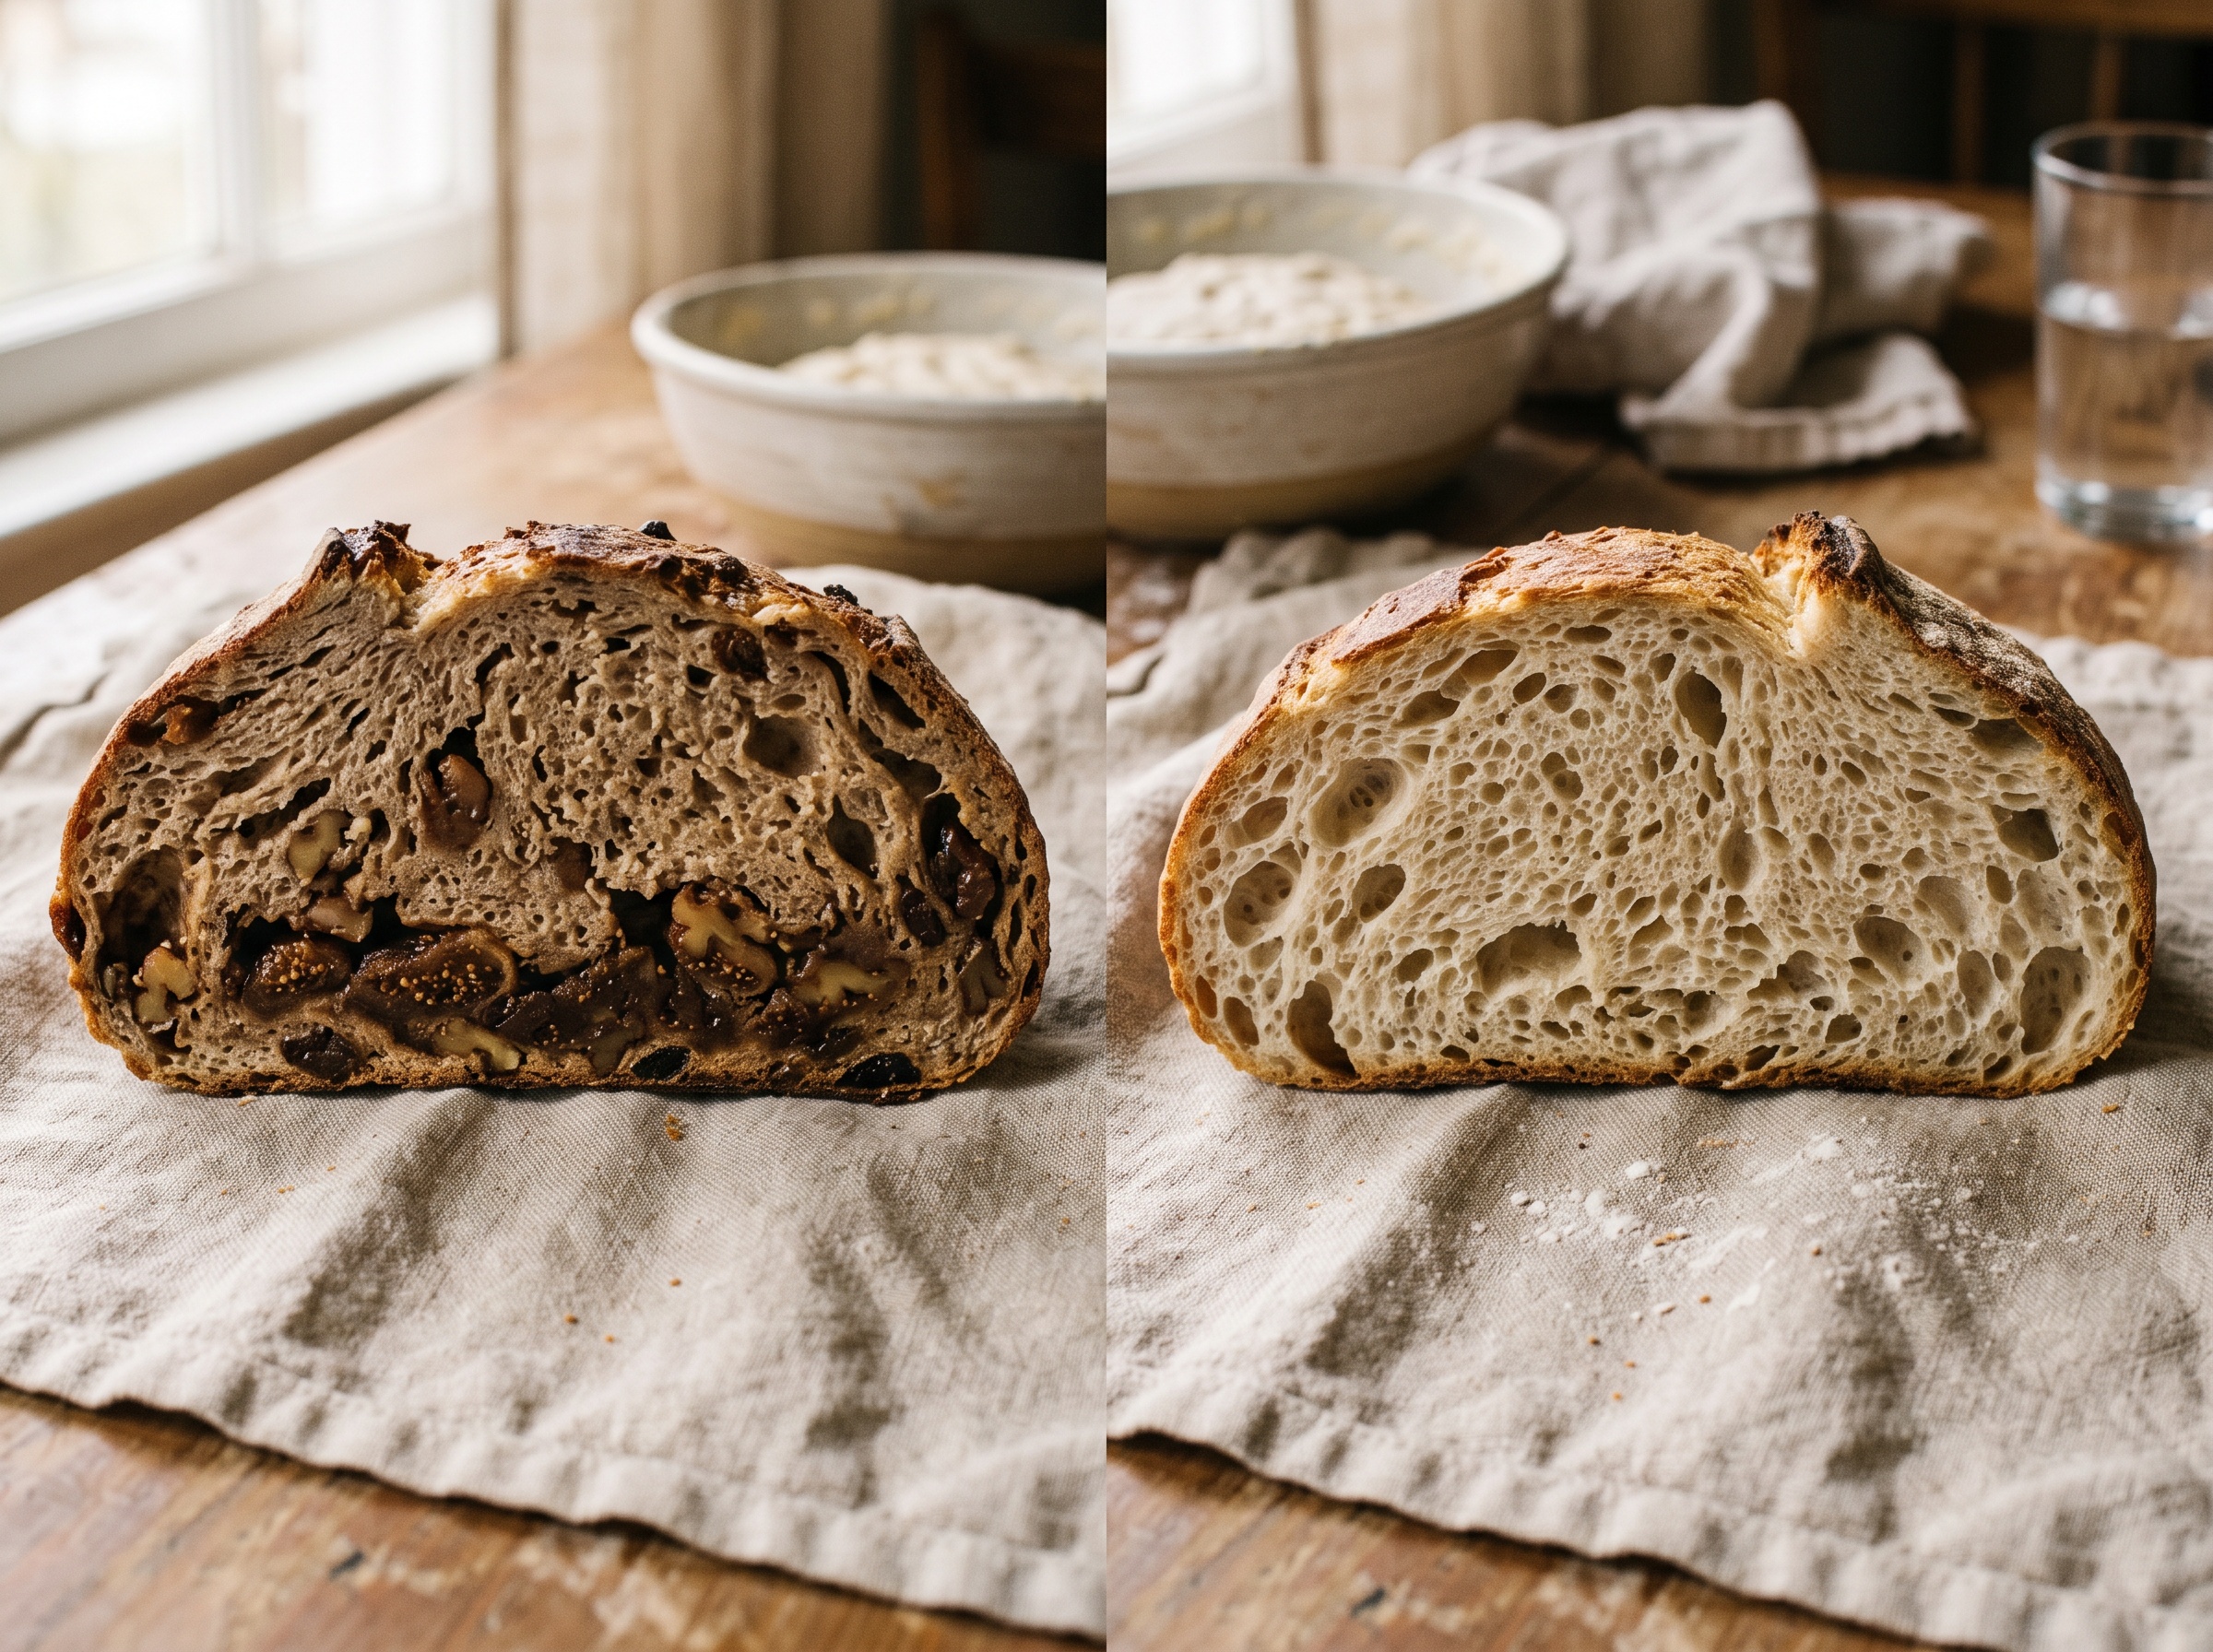
You had a picture in your head: a handsome boule shot through with toasted walnuts and jammy dried cranberries, or a savory loaf freckled with olives and rosemary. What came out of the oven was denser, shorter, and more torn than your plain loaves ever are — the add-ins clumped in a soggy band near the bottom, the crumb tight around them. If that sounds familiar, you haven’t failed at sourdough. You’ve run into the specific, fixable ways that inclusions fight your rise.
The good news: none of it is mysterious, and none of it requires a special recipe. Once you understand why add-ins drag a loaf down, the fixes are just a matter of when and how you put them in. Let’s walk through it the way you’d actually do it at the counter.
Why inclusions sabotage the rise in the first place
Three things are usually happening, often all at once.
They physically interrupt the gluten. Your rise depends on a continuous, stretchy gluten network that traps the gas your starter produces. Every nut, seed, and raisin is a little break in that web. Pile in too many, or hard sharp pieces, and you’ve chopped the structure into fragments that can’t hold air — so the loaf stays low and the crumb goes tight.
Dry add-ins steal water. Dried fruit, raw grains, and untoasted seeds are thirsty. Thrown in dry, they pull moisture out of your dough as it ferments and proofs. The dough stiffens, fermentation slows, and the inclusions themselves bake up hard and chalky instead of plump.
Sharp and heavy pieces tear the dough. Jagged nut shards and dense chunks act like tiny blades during shaping and oven spring, nicking the gluten exactly when it’s trying to stretch. That’s the torn, blown-out look, and the clumping-and-sinking you see in the crumb.
Step one: get the amount right
Before technique, quantity. The most common mistake is simply too much. A reliable starting point is inclusions at around 15 to 20 percent of your flour weight — so for a loaf using 500g of flour, that’s roughly 75 to 100g of add-ins total. That’s enough to taste them in every slice without strangling the structure.
Weigh them. “A couple of handfuls” is how a loaf quietly ends up at 35 percent and dense. If you’re combining, say, nuts and fruit, that percentage is the combined total, not each. When in doubt on your first attempt, err on the lighter side — you can always be more generous once you’ve seen how your dough handles it.
Step two: prep the add-ins (this is the part people skip)
Thirty seconds of prep prevents most inclusion disasters.
- Toast your nuts and seeds. Toasting deepens flavor enormously, but just as importantly it isn’t about moisture here — it’s about taste and avoiding a raw, tannic note from walnuts especially. Let them cool before they go near the dough; warm nuts can over-soften the gluten they touch.
- Soak dry fruit and hard grains. Cover dried cranberries, raisins, apricots, or cracked grains in warm water (or tea, for flavor) for 15 to 30 minutes, then drain them well and pat off the surface water. Now they’re plump and won’t rob your dough. Draining matters — you want them hydrated, not dripping, or you’ll throw off your dough’s hydration the other way.
- Break down sharp, heavy pieces — but not too far. Roughly chop large walnut halves so there are no jagged daggers, but don’t pulverize them into dust that’ll grey your crumb. Aim for pieces that are gentle on the dough but still recognizable in the slice.

Step three: add them LATE — the single biggest fix
If you remember one thing, remember this: inclusions go in after your gluten is already strong, never at the start. Mixing nuts and fruit into the initial shaggy dough means you spend the whole bulk ferment developing structure around obstacles, and you’ll overwork the dough trying. The result is the dense, torn loaf.
Instead, build your dough plain. Mix, let it rest, and do your first stretch-and-fold or two so the gluten has real strength and extensibility. Then introduce the add-ins. By adding late, the network is already built, and you’re just distributing cargo through it rather than trying to form structure in spite of it.
The two late-addition methods
Fold them in during a stretch-and-fold. The simplest route: on your second or third fold during bulk, scatter a third of the inclusions over the stretched-out dough, fold, rotate, scatter another third, fold again, and so on. Spreading them across a couple of folds gets far more even distribution than dumping them all at once.
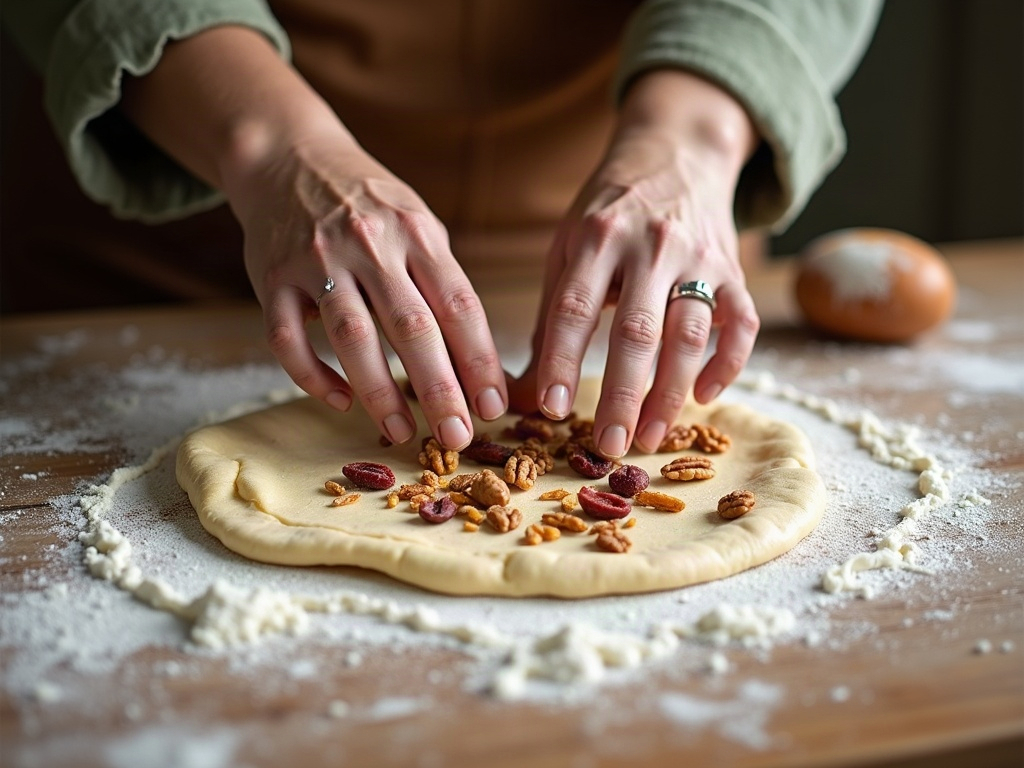
Laminate for the best distribution. For a studded, even crumb, lamination is the pro move. Early in bulk, gently stretch the dough out thin on a lightly wet counter until it’s almost translucent, scatter all your prepped inclusions evenly across the surface, then fold the sheet back up into a parcel and return it to the bowl. One move, perfectly even, and you never have to overwork the dough. It looks dramatic; it’s genuinely easy.
Step four: handle shaping and proofing a little more gently
An inclusion dough is a slightly weaker dough — that’s just reality — so give it a touch more care at the end:
- Shape with a gentler hand. Build surface tension, but don’t degas aggressively; you’re protecting a structure that already has interruptions in it. If a nut pokes through the skin, just tuck it back and smooth over.
- Consider stopping bulk a hair earlier. Heavy add-ins add weight the gas has to lift, and sugary soaked fruit can speed fermentation. Watch the dough, not the clock — if it’s rising faster or feels looser than usual, move to shaping a little sooner.
- Keep add-ins off the surface before baking. Exposed dried fruit and nuts burn. Press any surface pieces in, and score confidently — a clean, decisive score matters even more when the dough is a little heavier and wants help opening up.
A quick troubleshooting recap
If your inclusion loaf still came out dense, run down this list — the culprit is almost always here:
- Dense and short all over? Too many add-ins, or added too early. Cut the amount to 15–20% and fold them in late.
- Add-ins clumped and sunk to the bottom? Uneven distribution and probably added too wet — drain soaked fruit well and distribute across folds or by lamination.
- Dough stiffened and fermentation stalled? Dry inclusions stole water — soak the fruit and grains next time.
- Torn, blown-out sides? Sharp pieces cutting the gluten — chop nuts down and shape more gently.
- Hard, chalky fruit in the slice? It went in dry and baked out — soak and drain.
Inclusions don’t have to be a gamble. Keep the amount sensible, prep them so they help rather than fight the dough, and above all add them late once your gluten is strong. Do that, and a cranberry-walnut or olive-rosemary loaf rises just as proudly as your plain one — with a crumb that shows off every piece instead of hiding a soggy band at the bottom.

If you’d like to see lamination and the late-fold method in motion — it’s one of those things that clicks instantly once you watch it — the full walkthrough lives on the LoafLovers YouTube channel, and our free sourdough troubleshooting guide covers the dense-loaf fixes in one place. Grab it, and go stud a loaf with confidence.
Leave a Reply