Tag: sourdough fermentation

  • Why Your Starter Rises Then Collapses Before You Can Bake With It

    Why Your Starter Rises Then Collapses Before You Can Bake With It

    You’ve done everything right. You fed your starter, it bubbled up, it doubled, maybe even tripled — a gorgeous domed, living thing. You went to make a coffee, answer an email, deal with the kids. You come back an hour later and it’s… deflated. Sunk in the middle, wrinkled on top, a thin slick of greyish liquid pooling where the dome used to be. It looks exhausted, and you feel a quiet little stab of failure.

    Here’s the first thing to understand, because it changes everything: your starter is not broken. A starter that rises and then falls is a healthy starter doing exactly what it’s supposed to do. The problem isn’t the starter. It’s the timing. You’re showing up to the party after it’s over.

    Let’s walk through why it collapses, how to read the climb, and the handful of adjustments that will let you catch it at the top — reliably, around your actual life.

    The Symptom: A Rise, Then a Sad Little Sink
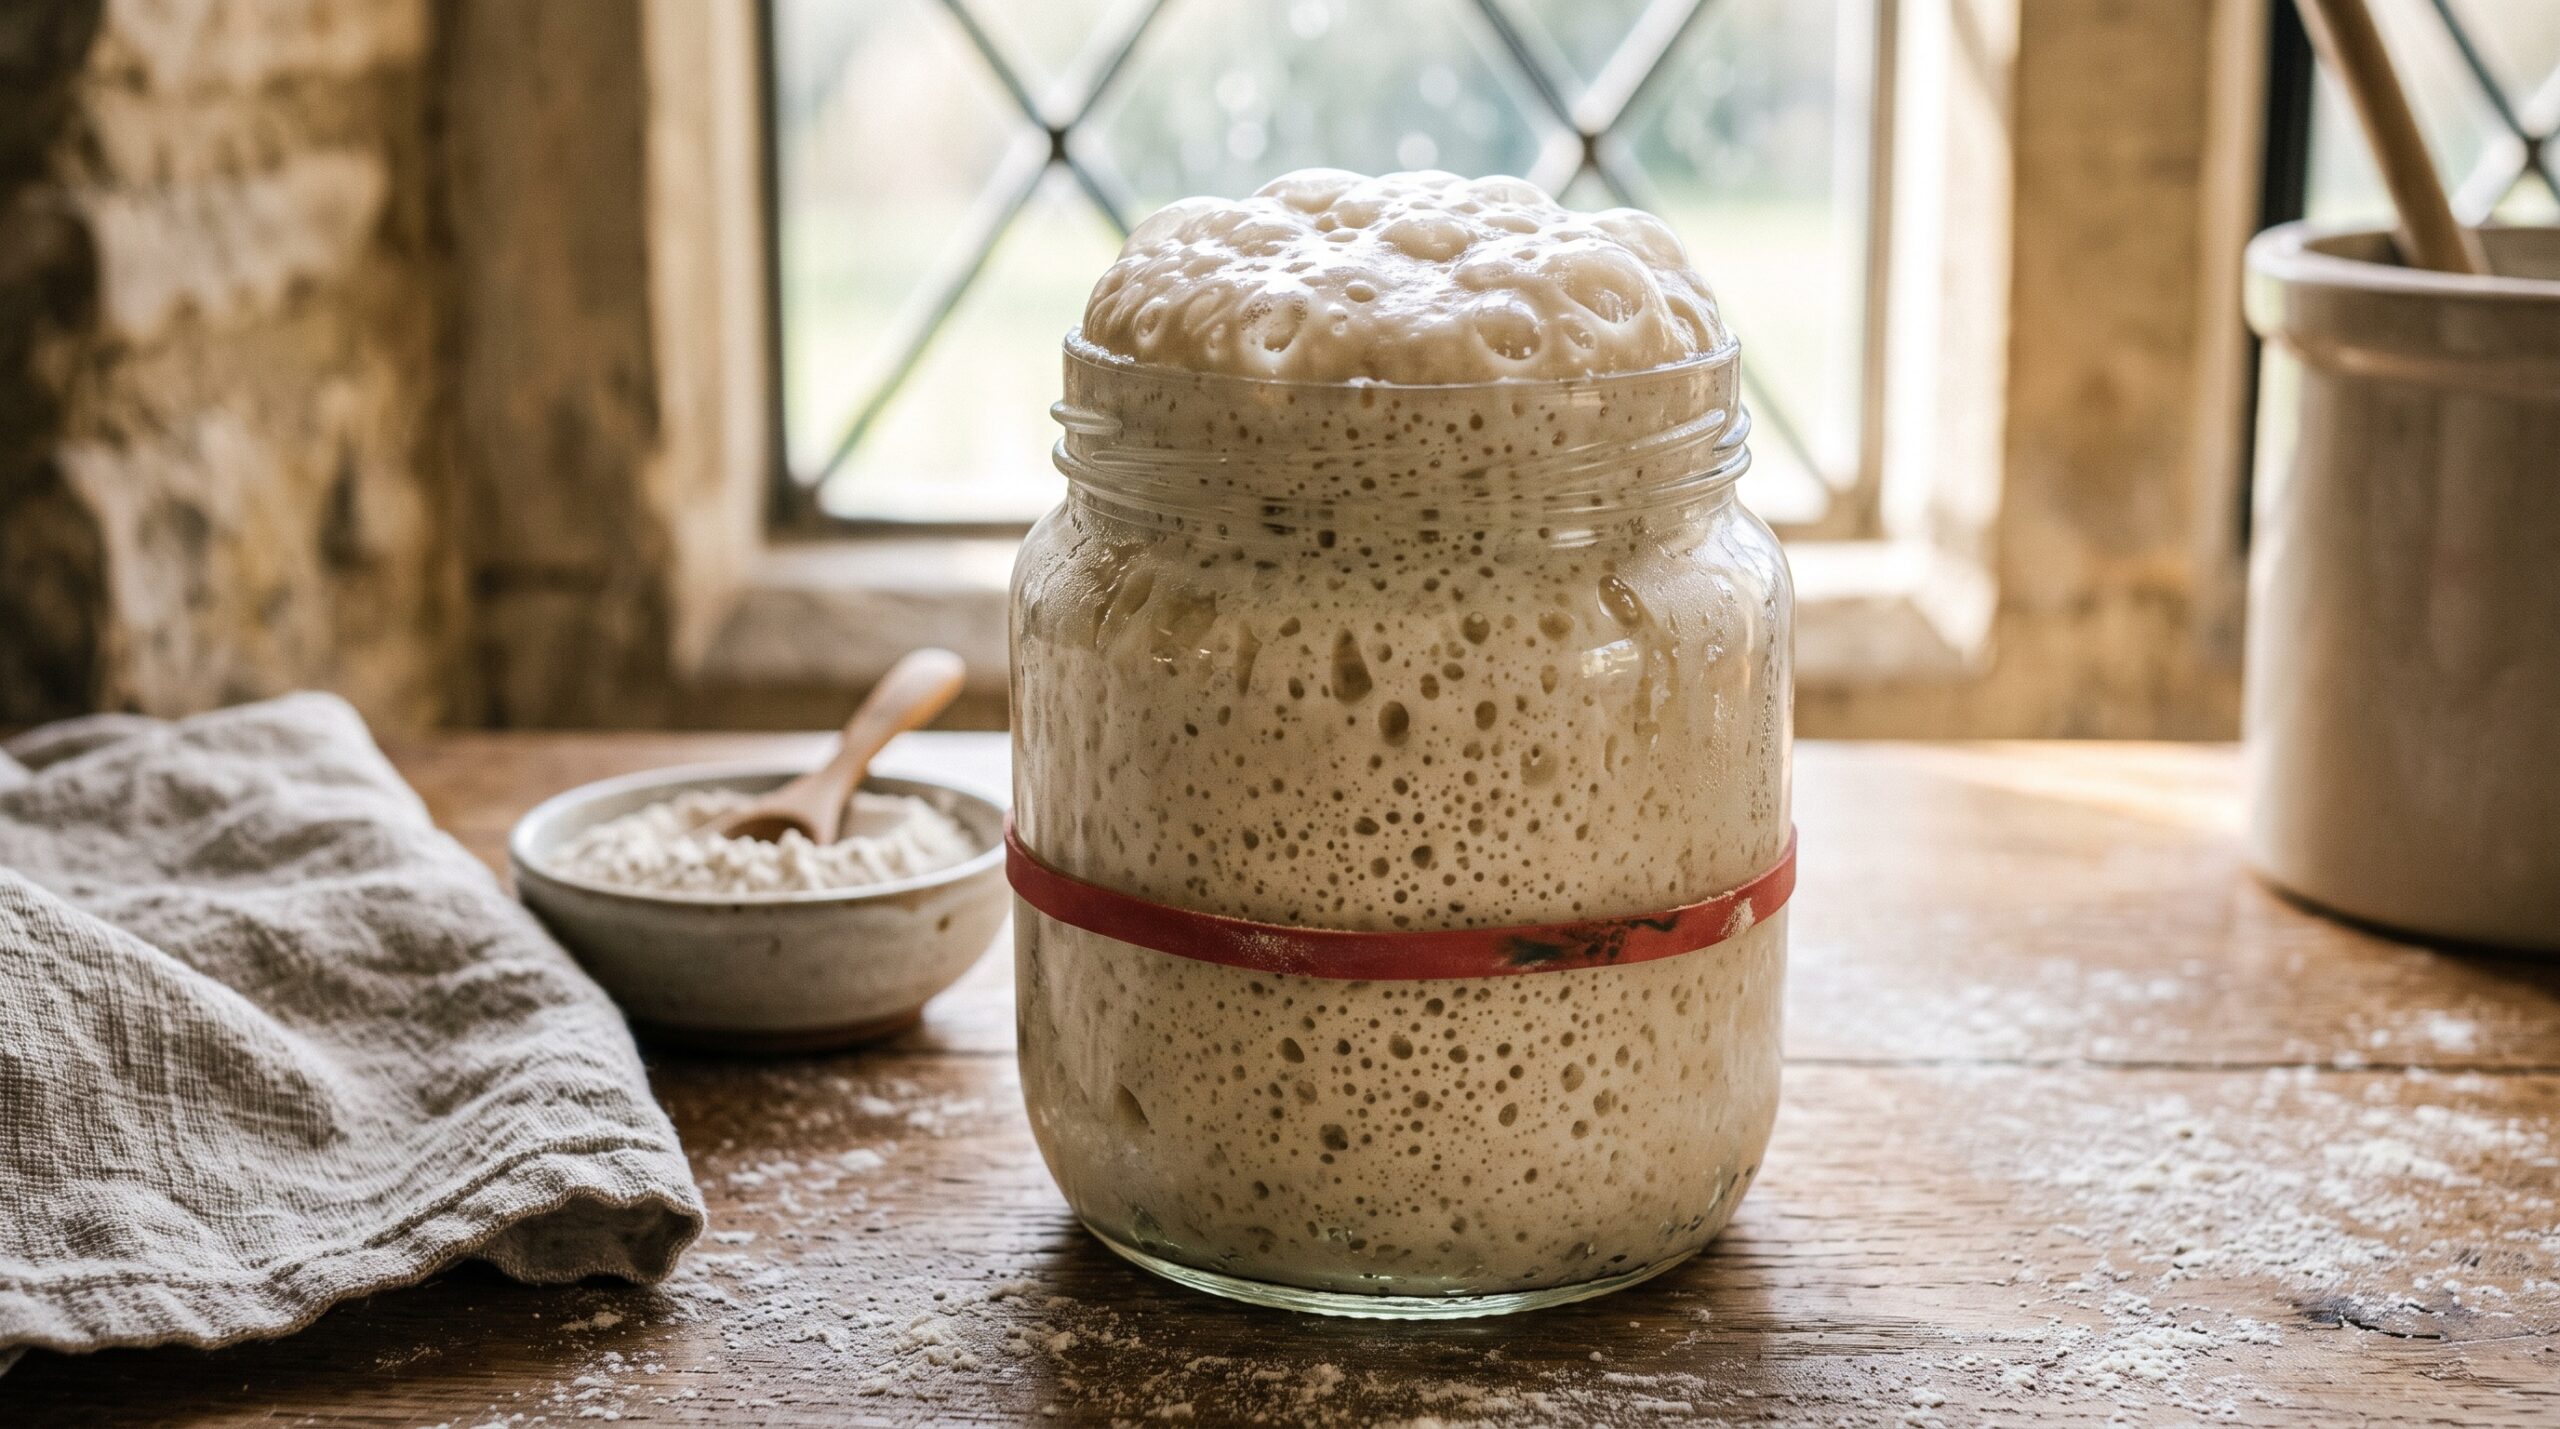
    A glass jar of sourdough starter risen to a domed, bubbly peak with a band marking the start line
    Peak: domed, webbed with bubbles, and climbing — this is the window you want.

    A well-fed starter goes through a predictable arc. After feeding it’s slack and quiet. Then the yeast and bacteria wake up, start eating the fresh flour, and produce gas. The starter fills with bubbles and climbs — this is the rise. It reaches a high point where it’s full of gas, domed on top, webbed with bubbles, and climbing no further. That’s the peak, and it’s the moment of maximum leavening power.
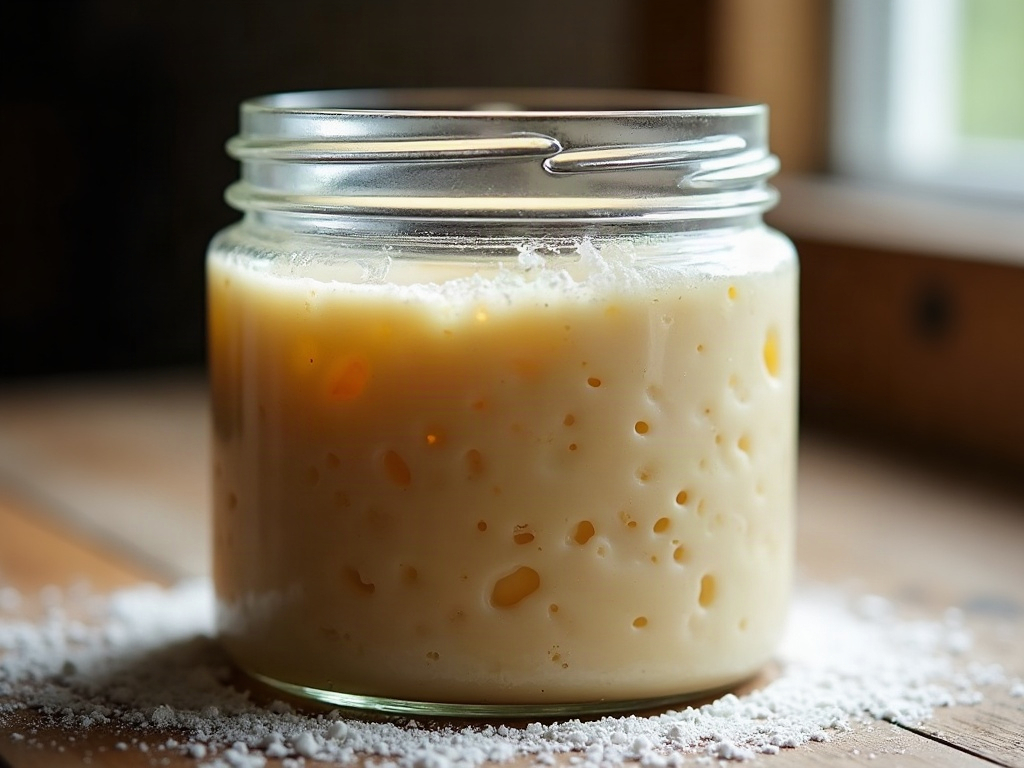
    A jar of sourdough starter that has risen and collapsed, sunken with a thin layer of liquid on top
    Collapsed: sunken center, slack bubbles, a shimmer of hooch. You missed the top by an hour or two.

    Then, if you leave it, the party winds down. The yeast runs low on fresh food, the gluten structure holding all those bubbles weakens and can’t hold the gas anymore, and the whole thing collapses back down. The surface wrinkles and sinks. Often a layer of liquid — hooch — appears, which is just the starter telling you it’s hungry again. A collapsed starter hasn’t died; it has simply passed its peak and started to come back down the hill.

    The trouble is that if you build your dough with a collapsed, post-peak starter, you’re using it at its weakest. It’ll still work, but you’ll typically get a slower, flatter, denser loaf — because you harnessed the engine after it had already started coughing.

    The Real Cause: You’re Missing a Window That’s Moving Faster Than You Think

    Almost always, a “collapsing starter” is really a timing problem. The peak is a window, not a permanent state — and depending on your conditions, that window can be surprisingly short. Three things decide how fast it comes and goes.

    1. Temperature — the biggest lever by far

    Fermentation is ruled by heat. A starter in a warm kitchen — say 26-28°C / 78-82°F — can rocket to its peak in four or five hours and then collapse quickly after. The same starter in a cool 19°C / 66°F room might take eight to ten hours and sit near its peak far more forgivingly. If your starter seems to peak and crash while your back is turned, a warm kitchen is usually the culprit. Summer sabotages more starters than any other single thing.

    2. Feeding ratio — how much food you give it
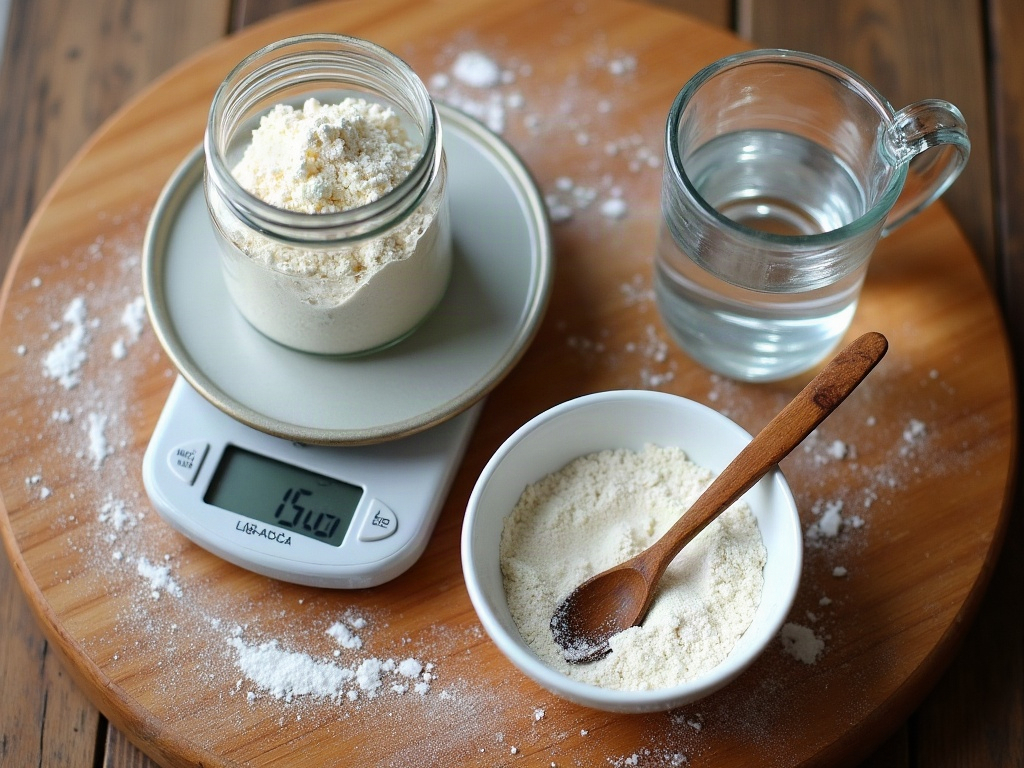
    A kitchen scale, flour, water and a jar laid out for feeding a sourdough starter by weight
    A bigger feeding ratio by weight buys you a longer, gentler climb to the peak.

    If you feed a small amount of flour and water relative to the starter you keep (a 1:1:1 feed — equal parts starter, flour, water by weight), there isn’t much food, so it’s devoured fast and peaks quickly. Feed a bigger ratio — 1:3:3, or 1:5:5 — and you’ve handed the microbes a much larger meal. It takes them longer to work through it, so the climb is slower and the peak is both later and more stable. This single change is the most reliable fix for “it collapses before I can use it.”

    3. Starter strength and maturity

    A very vigorous, mature starter moves fast. A younger one may rise more gently. Neither is wrong, but a fast, powerful starter in a warm room is the classic recipe for a peak you keep missing.

    The Fix: Catch It at the Top, On Purpose

    You don’t need a new starter. You need to steer the climb so the peak lands when you’re actually ready. Here’s how, in order of impact.

    Mark the jar and watch the climb — don’t watch the clock. Snap a rubber band or draw a line at the starter’s level right after feeding. Now you can see exactly how high it’s risen at a glance. Peak isn’t a time of day; it’s a visual state: domed, bubbly throughout, and no longer climbing. When it stops going up but hasn’t yet sunk, that’s your moment. For most healthy starters, use it when it’s roughly doubled and the top has just gone from rounded-and-rising to rounded-and-still.

    Feed a bigger ratio to slow it down. If a 1:1:1 feed peaks in four hours and you can’t be there, switch to 1:3:3 or 1:5:5. You’ll stretch the climb out to something you can plan around, and the starter will hold near its peak longer. This is the fix most people are missing.

    Use temperature as a throttle. Want it to peak slower so you can catch it after work? Feed it and leave it somewhere cooler. Want to speed it up for a same-day bake? Put it somewhere warm. You can literally dial your peak time up and down by choosing where the jar sits.

    Time the feed to your schedule, working backwards. This is the mindset shift that fixes everything. Instead of feeding whenever you remember and hoping the peak is convenient, decide when you want to mix your dough and feed backwards from there. If your starter peaks in about six hours at room temperature, feed it six hours before you want to bake. A classic move: feed before bed with a larger ratio in a cool spot so it peaks in the morning, right when you want it.

    If you keep just missing it, use it on the way up. A starter that’s risen most of the way and is still climbing is perfectly usable and very strong. You don’t have to hit the exact summit — just avoid the collapse on the far side. Early is safe; late is weak.

    A Word on the Float Test

    A spoonful of sourdough starter floating in a glass of water during a float test
    The float test is a rough signal, not gospel — watching the jar beats dunking a spoon.

    You’ve probably been told to drop a spoonful of starter in water: if it floats, it’s ready. It’s a handy rough signal — a starter full of gas will float — but it’s not gospel. A collapsing, past-peak starter can still float on trapped bubbles, and a thick, stiff starter can sink even when it’s lively. Treat the float test as a tiebreaker, not the main event. Your eyes on the marked jar will tell you far more than a floating blob ever will.

    The Takeaway

    A starter that rises and then collapses isn’t failing you — it’s thriving and then getting hungry, exactly as it should. The whole game is catching it at the peak: mark the jar, watch the rise rather than the clock, feed a bigger ratio to slow things down, use temperature to steer the timing, and feed backwards from when you actually want to bake. Do that and the collapse becomes irrelevant, because you’ll already have used your starter at its strongest.

    If you’d like to see exactly what a peaking starter looks like versus a collapsed one — the dome, the bubble structure, the moment it tips over — that live, side-by-side comparison is one of the clearest things to watch rather than read, and we walk through it on the LoafLovers YouTube channel. And if timing is your recurring nemesis, grab our free sourdough troubleshooting guide; it includes a simple peak-timing cheat sheet you can tape to the fridge. Your next loaf doesn’t need a better starter. It just needs you to show up at the top of the hill.
    Related Reading

  • Sourdough Dough Temperature: The Number That Secretly Controls Your Whole Bake

    Sourdough Dough Temperature: The Number That Secretly Controls Your Whole Bake

    You followed the recipe to the letter. Same flour, same starter, same schedule you used last week when the loaf turned out beautifully. Yet today the dough is either lifeless and slack or racing away before you can shape it. Nothing changed — except the one thing you almost certainly did not measure.

    That thing is sourdough dough temperature: the actual warmth of the dough in the bowl. It is the quiet variable behind most “but I did everything the same” mysteries, and once you learn to read it and steer it, your bakes stop being a roll of the dice. Here is what the number means, why it matters more than the clock, and how to control it with nothing fancier than your kitchen tap.

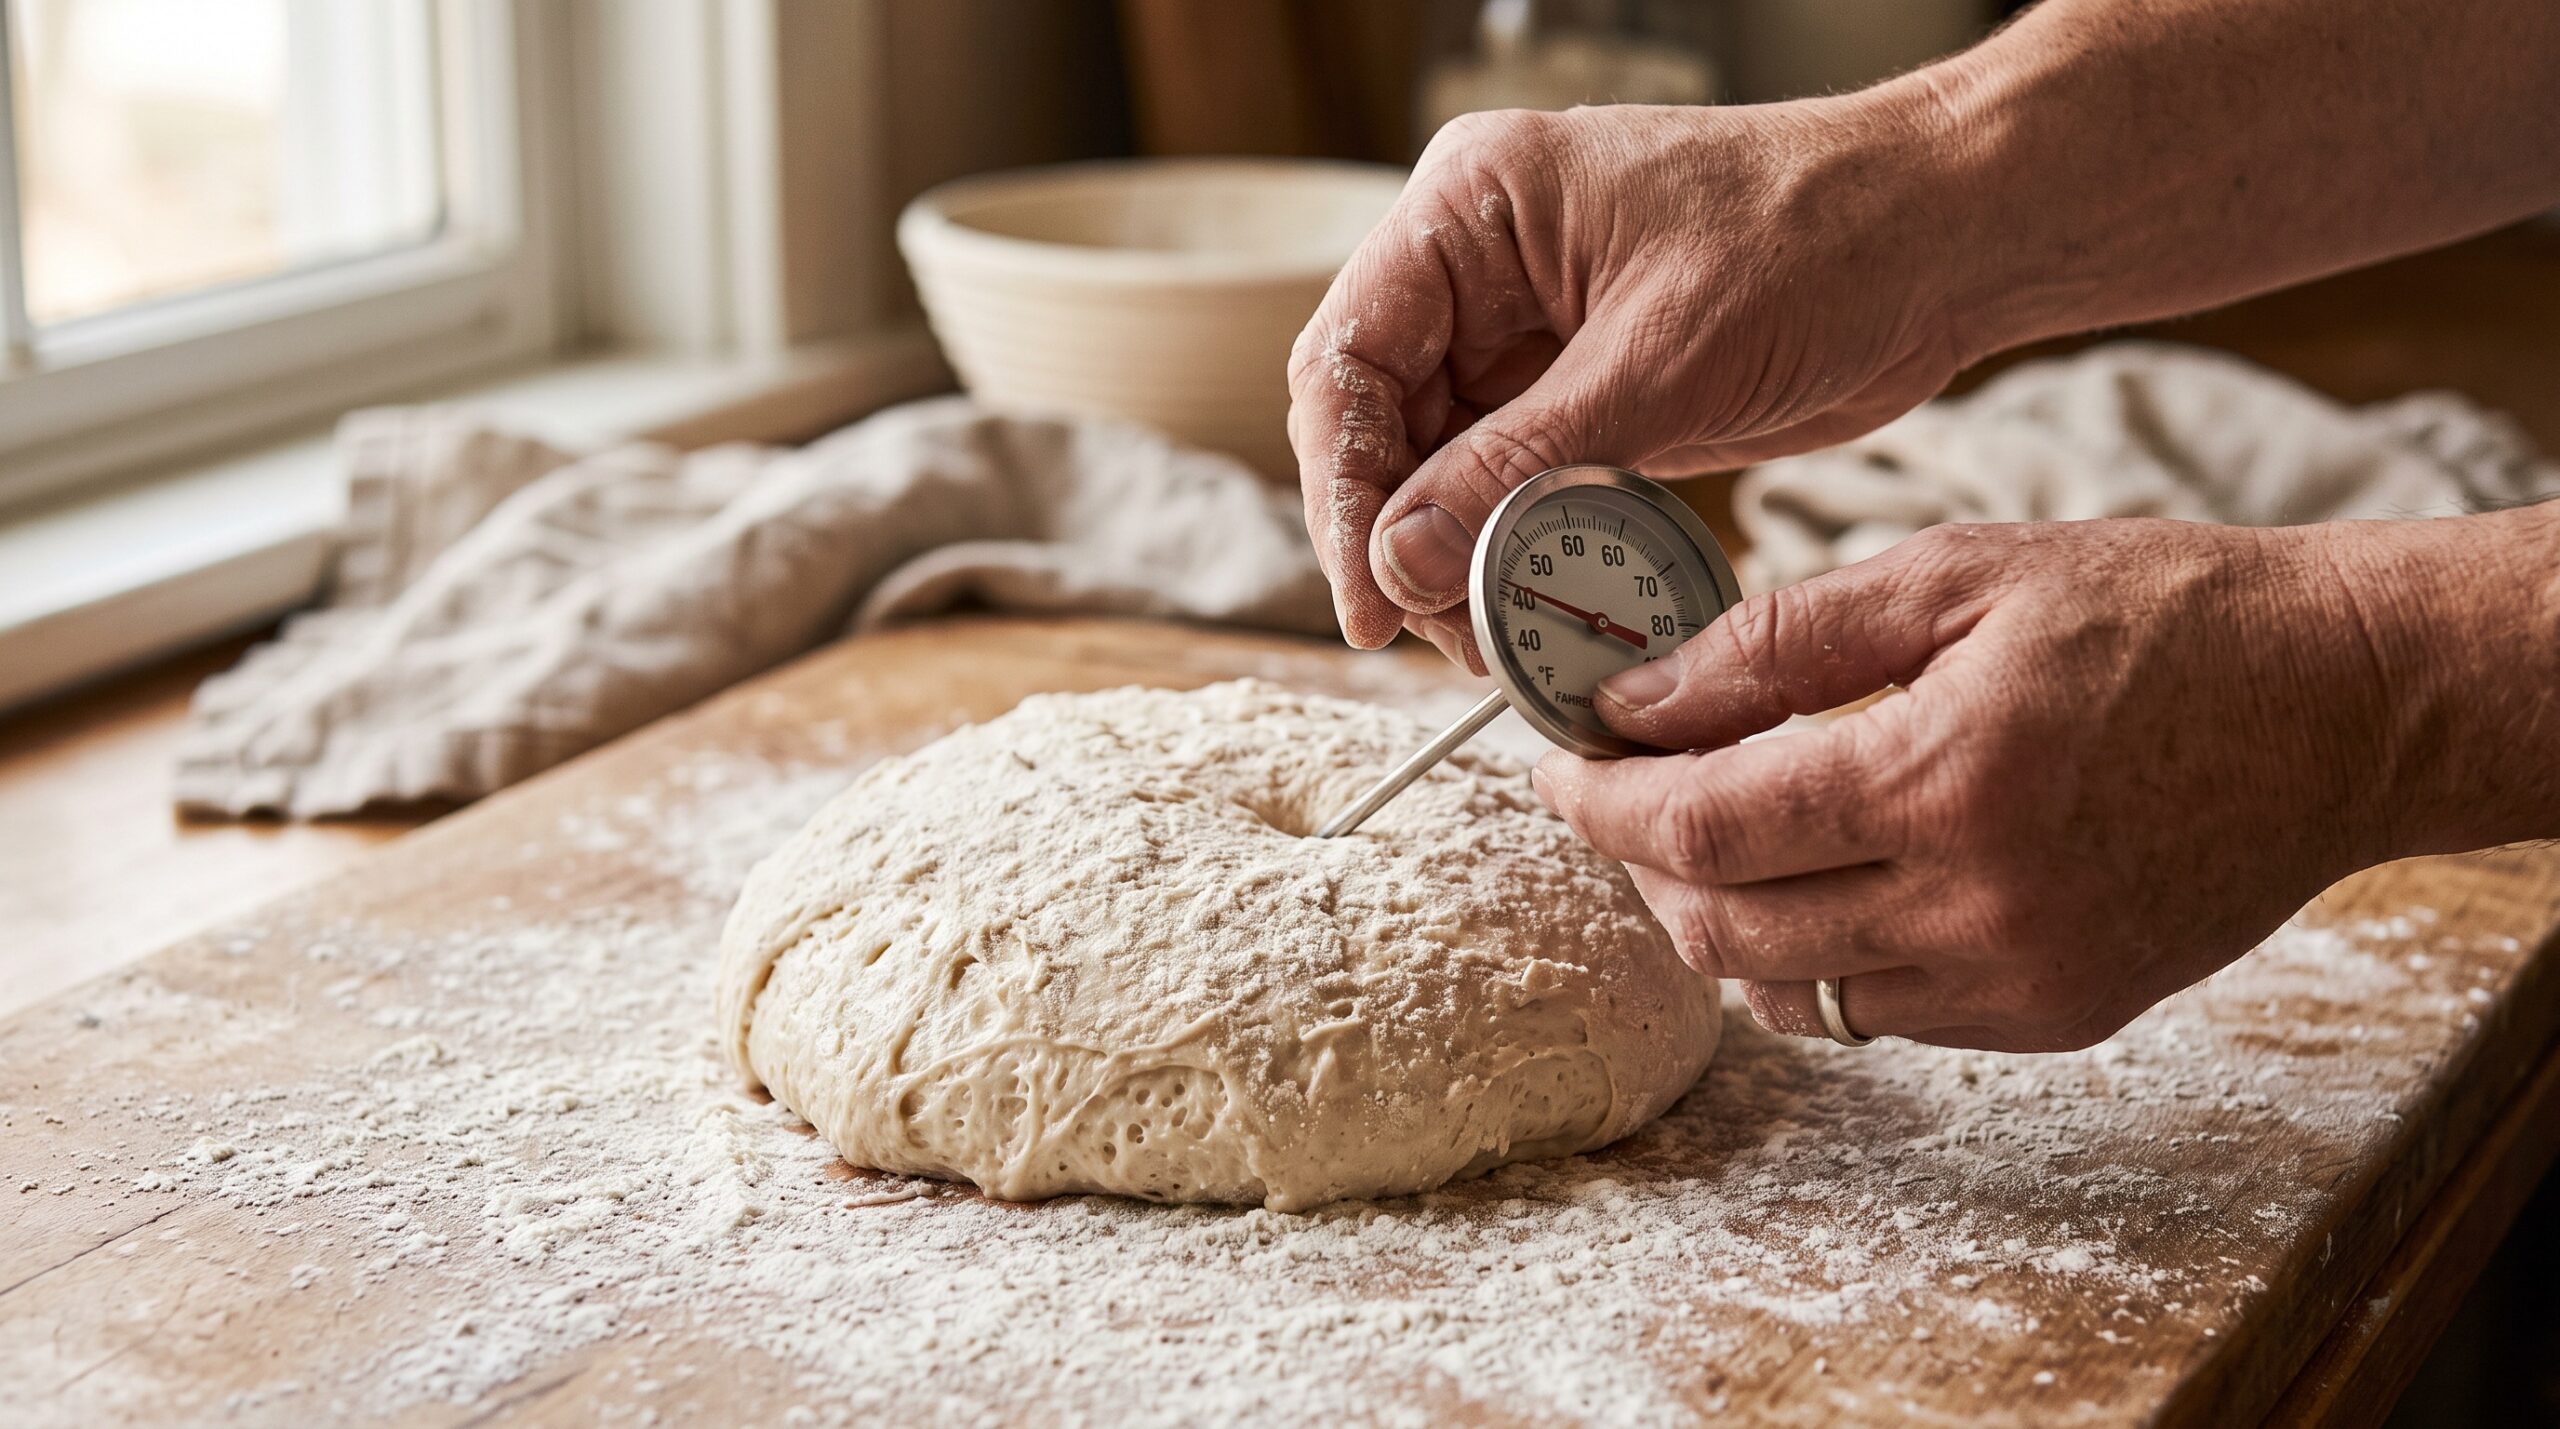
    Analog probe thermometer being inserted into a ball of sourdough dough on a floured wooden board
    The one measurement most home bakers skip: the actual temperature of the dough itself.

    Why the clock lies and the thermometer tells the truth

    Recipes give you times — “bulk ferment for four hours,” “proof for two.” Those times are shorthand for a temperature the recipe writer assumed you would be baking at, usually a comfortable 75°F (24°C) kitchen. But fermentation is a chemical reaction, and like all chemistry it speeds up when it is warm and slows down when it is cool.

    The rough rule bakers use: for every increase of about 15°F (8°C), fermentation roughly doubles in speed. Drop the same amount and it roughly halves. So a dough sitting at 70°F is fermenting at a completely different pace than the identical dough at 80°F — even though your recipe hands both the same four-hour window. Follow the clock in a cold kitchen and you underproof; follow it in a warm one and you sail straight past the finish line. If you have ever been unsure which side of that line you landed on, our guide to telling overproofed versus underproofed dough shows you exactly what each one looks and feels like.

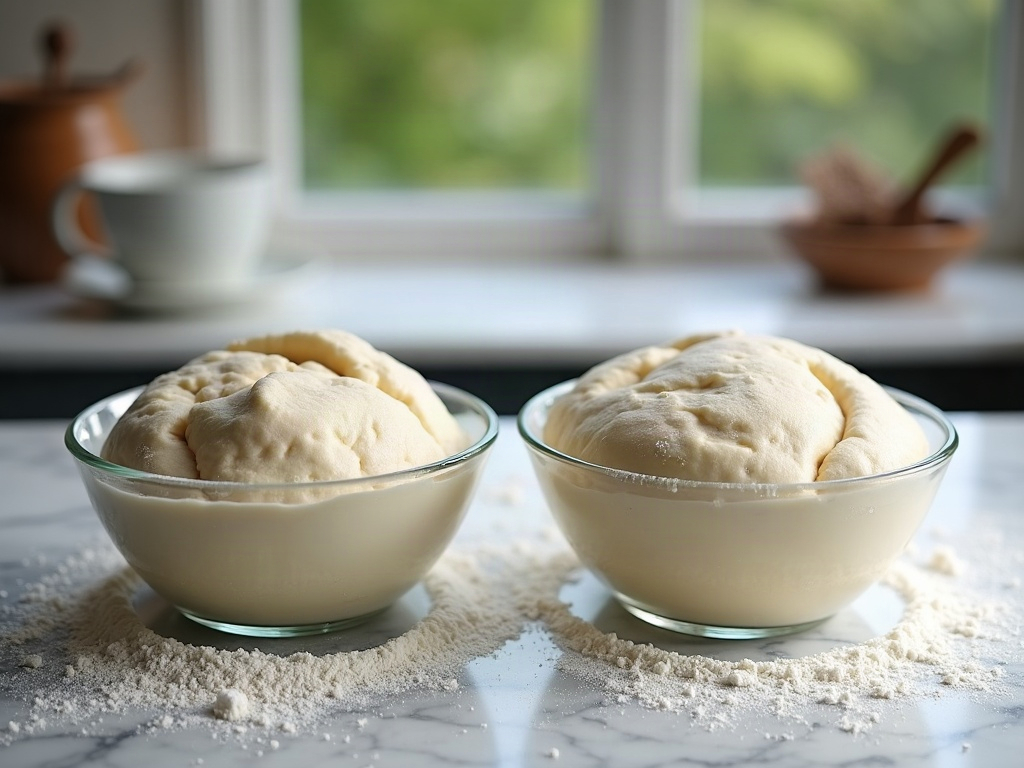
    Two bowls of sourdough dough compared, one flat and cool, one risen and warm
    Same flour, same starter, same hours. The only difference is dough temperature.

    Meet DDT: the one number to aim for

    Professional bakers do not leave dough temperature to chance. They pick a target called the Desired Dough Temperature (DDT) — the temperature they want the dough to be right after mixing. For most sourdough, a DDT somewhere between 75°F and 78°F (24–26°C) is the sweet spot: warm enough for lively, predictable fermentation, cool enough that you still have control and flavor.

    Why does the temperature right after mixing matter so much? Because it sets the starting pace for the entire bulk ferment. Start the dough at 78°F and it hits the gas immediately. Start it at 68°F and it crawls out of the gate, then you spend the whole day wondering why nothing is happening. Picking a DDT turns a vague hope into a target you can actually hit.

    How to hit your target: the water-temperature formula

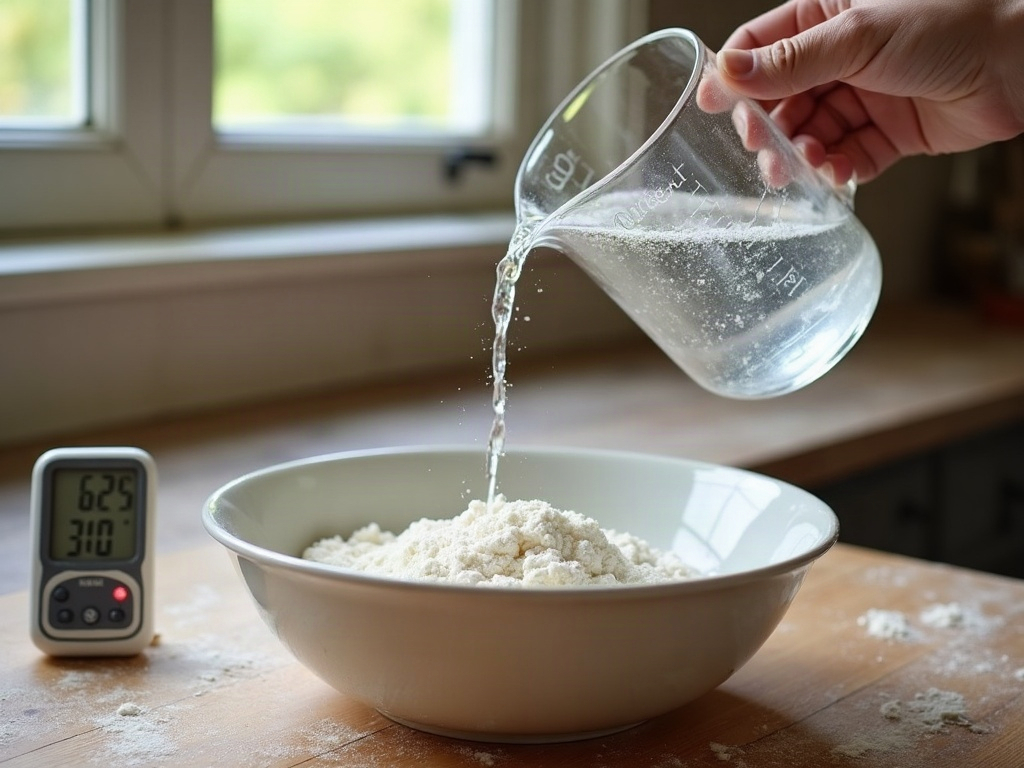
    Here is the good news. You do not control the flour temperature (it is whatever your cupboard is) and you barely control the room. But you have complete, instant control over one ingredient: the water. Adjust the water temperature and you drag the finished dough toward your DDT.

    The simple home-baker version of the formula is:

    Water temperature = (DDT × 3) − flour temperature − room temperature − starter temperature

    Say your DDT is 77°F, your flour and room are both 70°F, and your starter (straight from a cool spot) is 72°F. That is (77 × 3) − 70 − 70 − 72 = 231 − 212 = 19… which tells you the water needs to be about 19°F warmer than the rest, so roughly 89°F. Warm tap water, in other words. In a cold kitchen you will reach for warmer water; in a summer kitchen you may need it straight from the cold tap or even chilled.

    Do not overthink the arithmetic. The lesson underneath the formula is the part that matters: when the room is cool, warm the water; when the room is warm, cool the water. Even a rough correction beats ignoring temperature entirely.

    Water being poured from a measuring jug into flour with a thermometer resting nearby
    Water is the easiest lever you have. Adjust its temperature and you steer the whole bake.

    Reading the room reshapes your whole timeline

    Once the dough is mixed at the right temperature, the room takes over — and this is where the clock really falls apart. A dough that finishes bulk fermentation in four hours at 76°F might need six or seven hours at 68°F, or be dangerously close to overproofed in three at 82°F.

    This is exactly why you should judge the dough, not the timer. Watch for the real signals — a 30–50% rise, a domed and jiggly surface, bubbles along the edges of the container. If you are not yet confident spotting them, our walkthrough on how to tell when bulk fermentation is done covers the signs most home bakers miss. Temperature decides when those signs appear; your eyes decide when to move on.

    Symptom, cause, and fix: the two temperature traps

    Trap one — the sluggish cold dough. The symptom: hours pass and the dough looks almost exactly as it did when you mixed it. The cause is nearly always a cold dough and a cold room dragging fermentation to a near-standstill. The fix: give it a genuinely warm spot (more on that below) and, crucially, extend your time — a cold dough is not broken, it is just slow. If your starter itself is barely bubbling before you even mix, the same cold logic applies; our fixes for a sourdough starter that will not rise almost always start with warmth.

    Trap two — the runaway warm dough. The symptom: you turn your back for an hour and the dough has ballooned, gone slack, and lost its structure. The cause is a dough that started too warm or proofed somewhere hot, so fermentation overshot. The fix: mix cooler next time (colder water), shorten your windows, and in high summer let the fridge slow things down. A warm dough is not “faster and better” — past a point it is just overproofed.

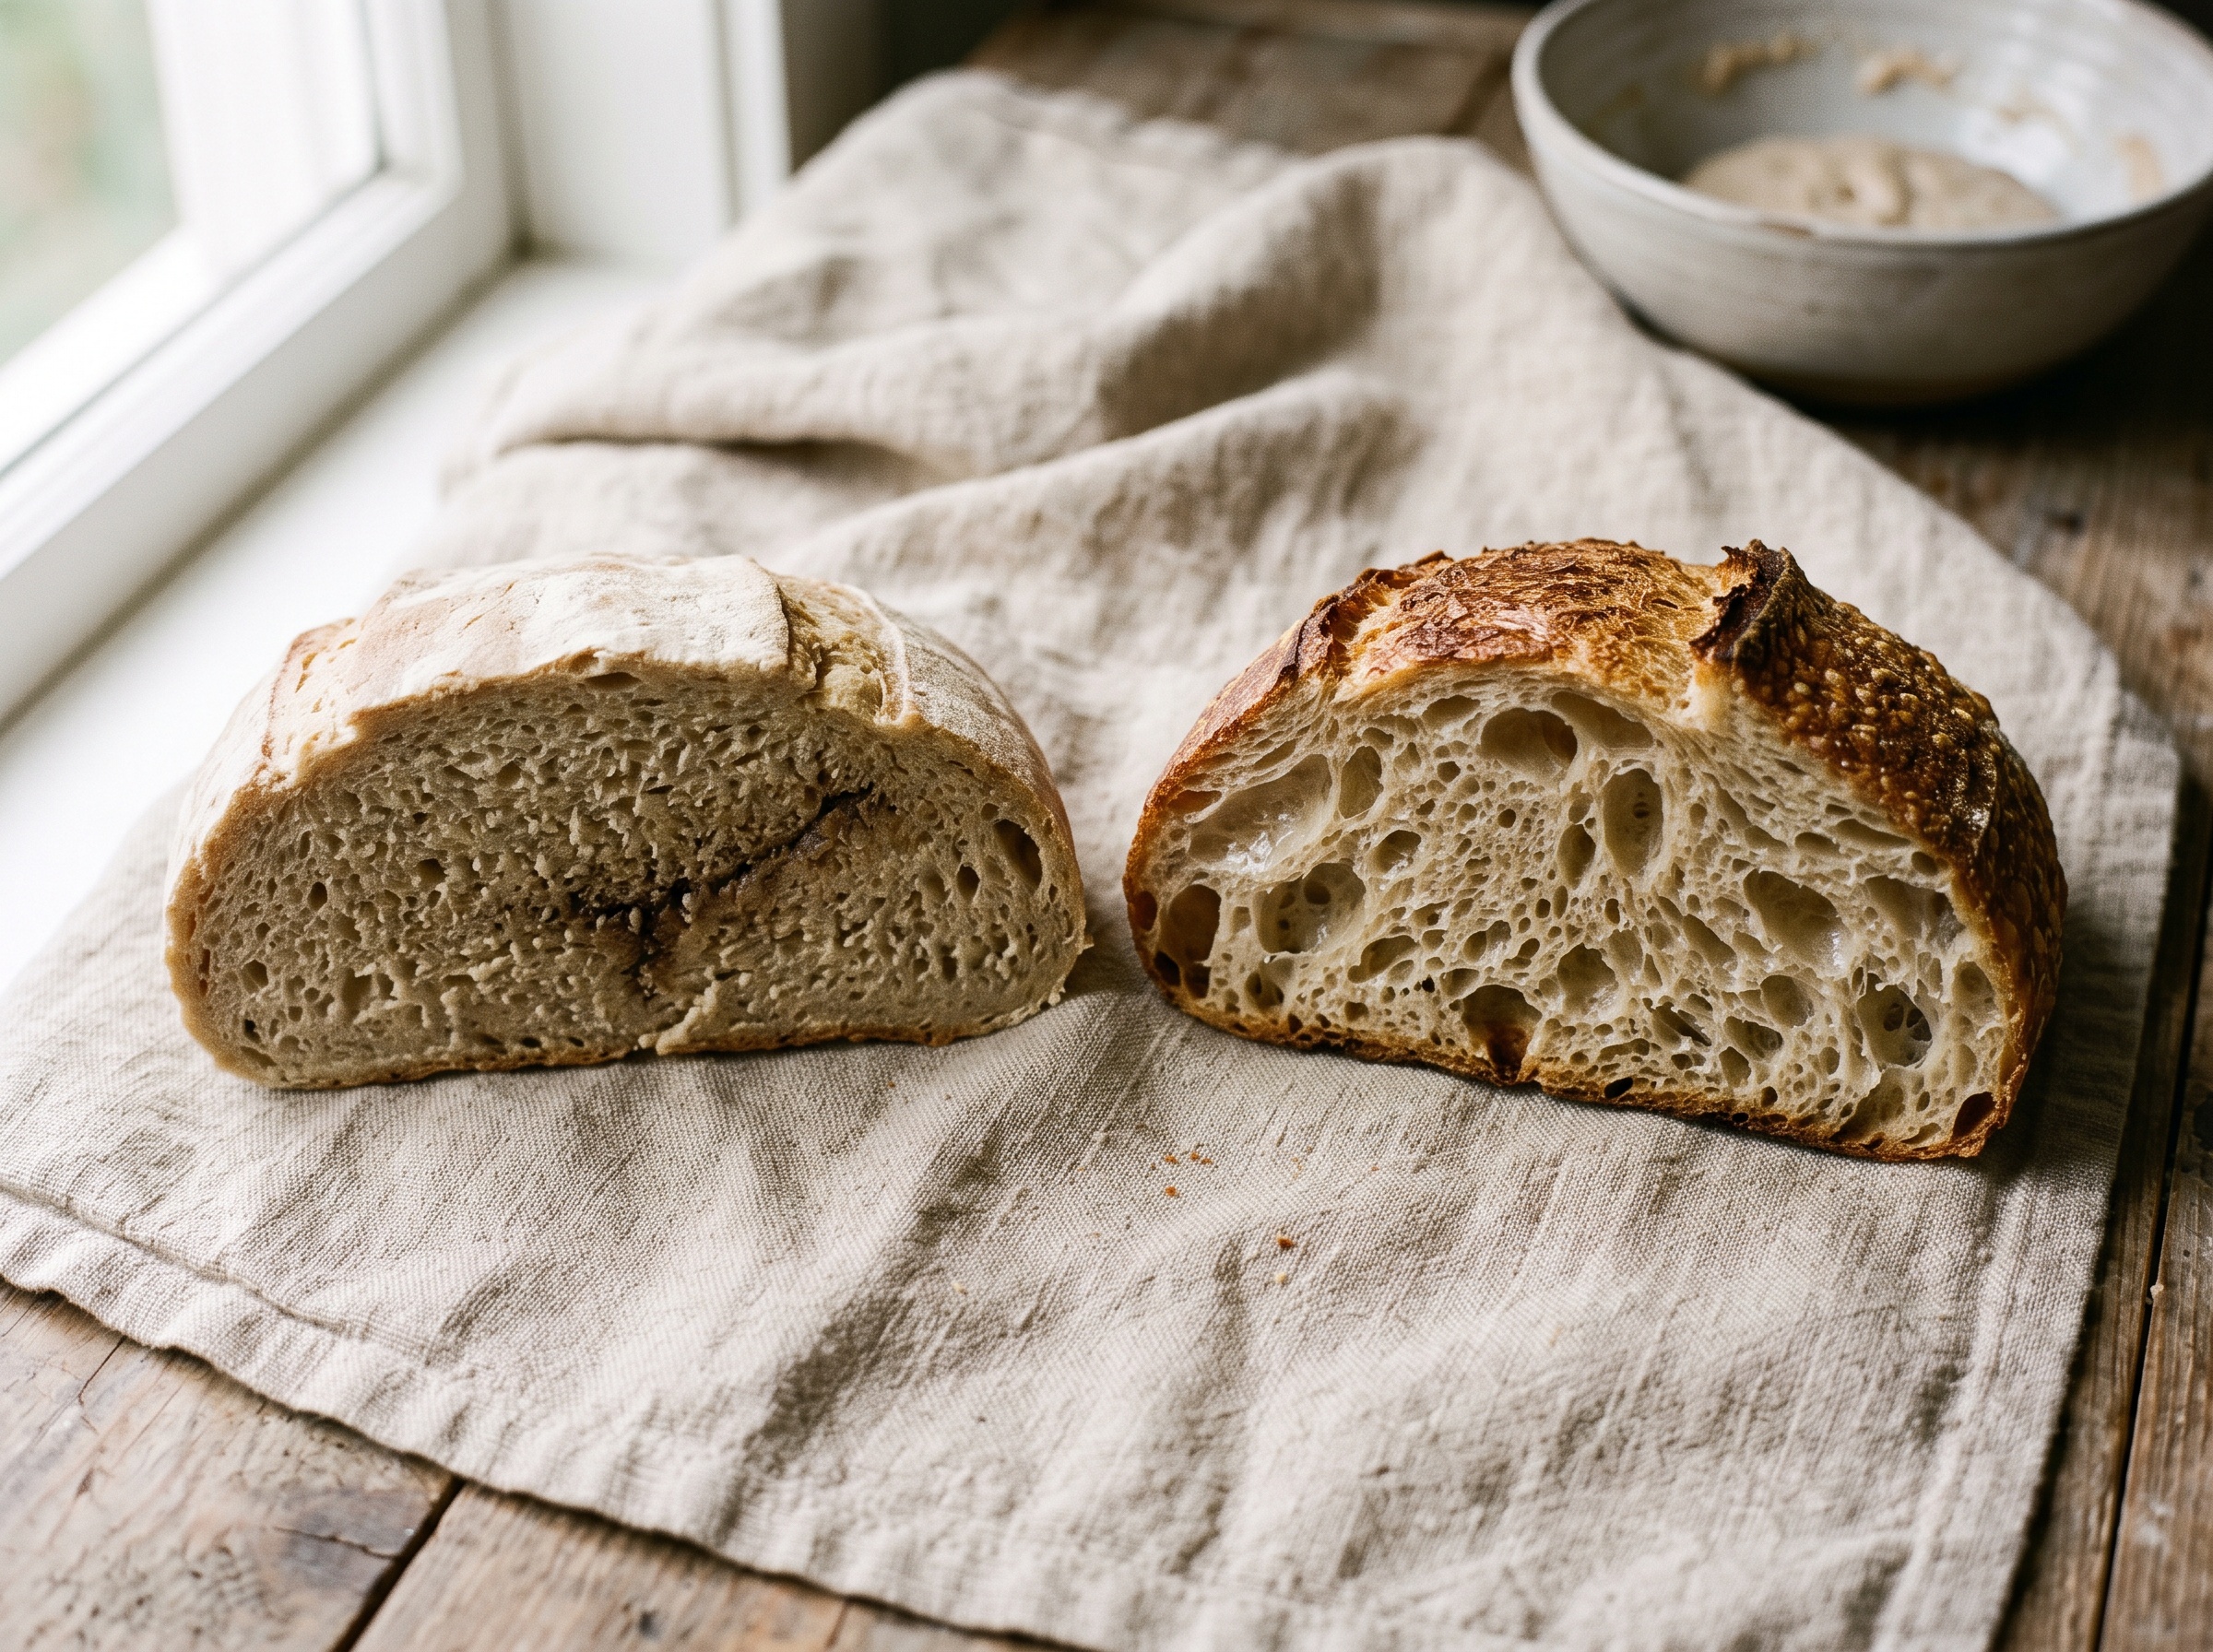
    Two sourdough crumb cross-sections compared, one tight and gummy, one open and even
    The crumb tells the temperature story: under-fermented and tight on the left, well-fermented and open on the right.

    Simple tools and habits that put you in control

    You do not need a laboratory. Three small habits cover almost everything:

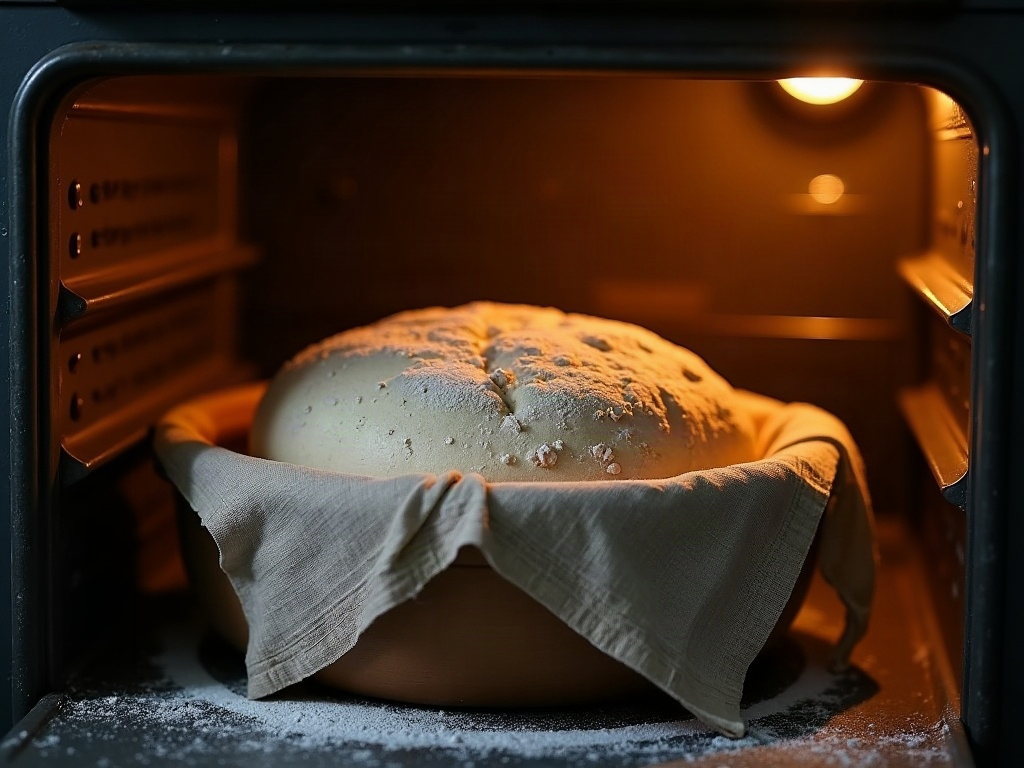
    Covered bowl of sourdough dough proofing inside a turned-off oven with the light on
    A turned-off oven with the light on is a reliable, draft-free warm spot for a steady rise.
    • Buy an instant-read thermometer. A cheap digital probe is the single most useful sourdough tool after a scale. Take the dough’s temperature right after mixing so you know your real starting point — guessing is what got you here.
    • Create a steady warm spot. A turned-off oven with just the interior light on, the top of the fridge, or a cooler with a jar of warm water all hold a gentle, draft-free warmth. Consistency beats heat: a stable 76°F spot is worth more than a hot windowsill that swings 15 degrees.
    • Adjust water first, everything else second. Before you change your recipe, change your water temperature. It is the fastest, most reliable dial you have.

    And if your kitchen simply runs cold and slow, do not fight it — work with it. A cooler, longer ferment builds gorgeous flavor, and you can shape your bake around real life. Our approach to baking sourdough around a full-time work schedule leans on exactly this: using temperature to stretch or compress the timeline to fit your day.

    The takeaway

    Sourdough is not fussy or magical — it is responsive. Nearly every “I did everything the same” loaf comes down to a dough that was warmer or cooler than last time, quietly running at a different speed. Measure the dough, pick a DDT around 76°F, steer it with your water, and then trust your eyes over the clock. Do that, and the mystery drains out of your baking and predictability takes its place.

    Want to see the water-temperature trick and the “is it done?” dough checks in real time? The full walkthrough lives on the LoafLovers YouTube channel, and you can grab our free sourdough troubleshooting guide — a quick-reference for the symptoms, causes, and fixes that come up most — when you join the email list. No hard sell, just the answers waiting for the next time your dough surprises you.

    Related Reading