Tag: stiff starter

  • Sourdough Panettone: Start Now for a Tall, Cloud-Soft Christmas Bread

    Sourdough Panettone: Start Now for a Tall, Cloud-Soft Christmas Bread

    If there is one sourdough bake that rewards planning over luck, it is panettone. That tall, golden, cloud-soft Italian Christmas bread — all buttery strands and candied fruit, light enough to pull apart with your fingers — is widely considered the hardest thing a home baker can attempt. And when it is leavened entirely by your own starter, with no commercial yeast at all, it moves from “ambitious weekend project” to “genuine test of everything you know.”

    Here is the honest truth that every panettone guide buries in the footnotes: the single most important ingredient is time, and you have to commit to it weeks before the loaf ever goes in the oven. If you want a sourdough panettone on the table this Christmas, mid-November is not early — it is right on schedule. This isn’t a recipe you can decide to make on December 23rd. Let’s walk through why it takes so long, and how to give yourself a real shot at success.

    Why panettone is the Everest of sourdough

    Ordinary sourdough is water, flour, salt and starter. Panettone throws all the hardest variables at you at once. It is an enriched dough taken to an extreme — loaded with butter, egg yolks, sugar, and candied fruit. Every one of those additions actively fights the rise. Fat coats the gluten strands and weakens them; sugar pulls water away from your yeast and slows fermentation; the sheer weight of all those enrichments has to be lofted sky-high by nothing but wild yeast.

    On top of that, panettone has an almost absurd standard of success. It must rise into a tall dome, develop a crumb so light it is nearly weightless, pull apart into long silky strands rather than crumbling, and stay soft for days. If you have ever wondered why real artisan panettone costs what it does, this is why: it is a slow, delicate, multi-day feat of fermentation engineering. Understanding how much the butter, milk and egg in an enriched dough change the entire bake is the right place to start before you ever attempt one.
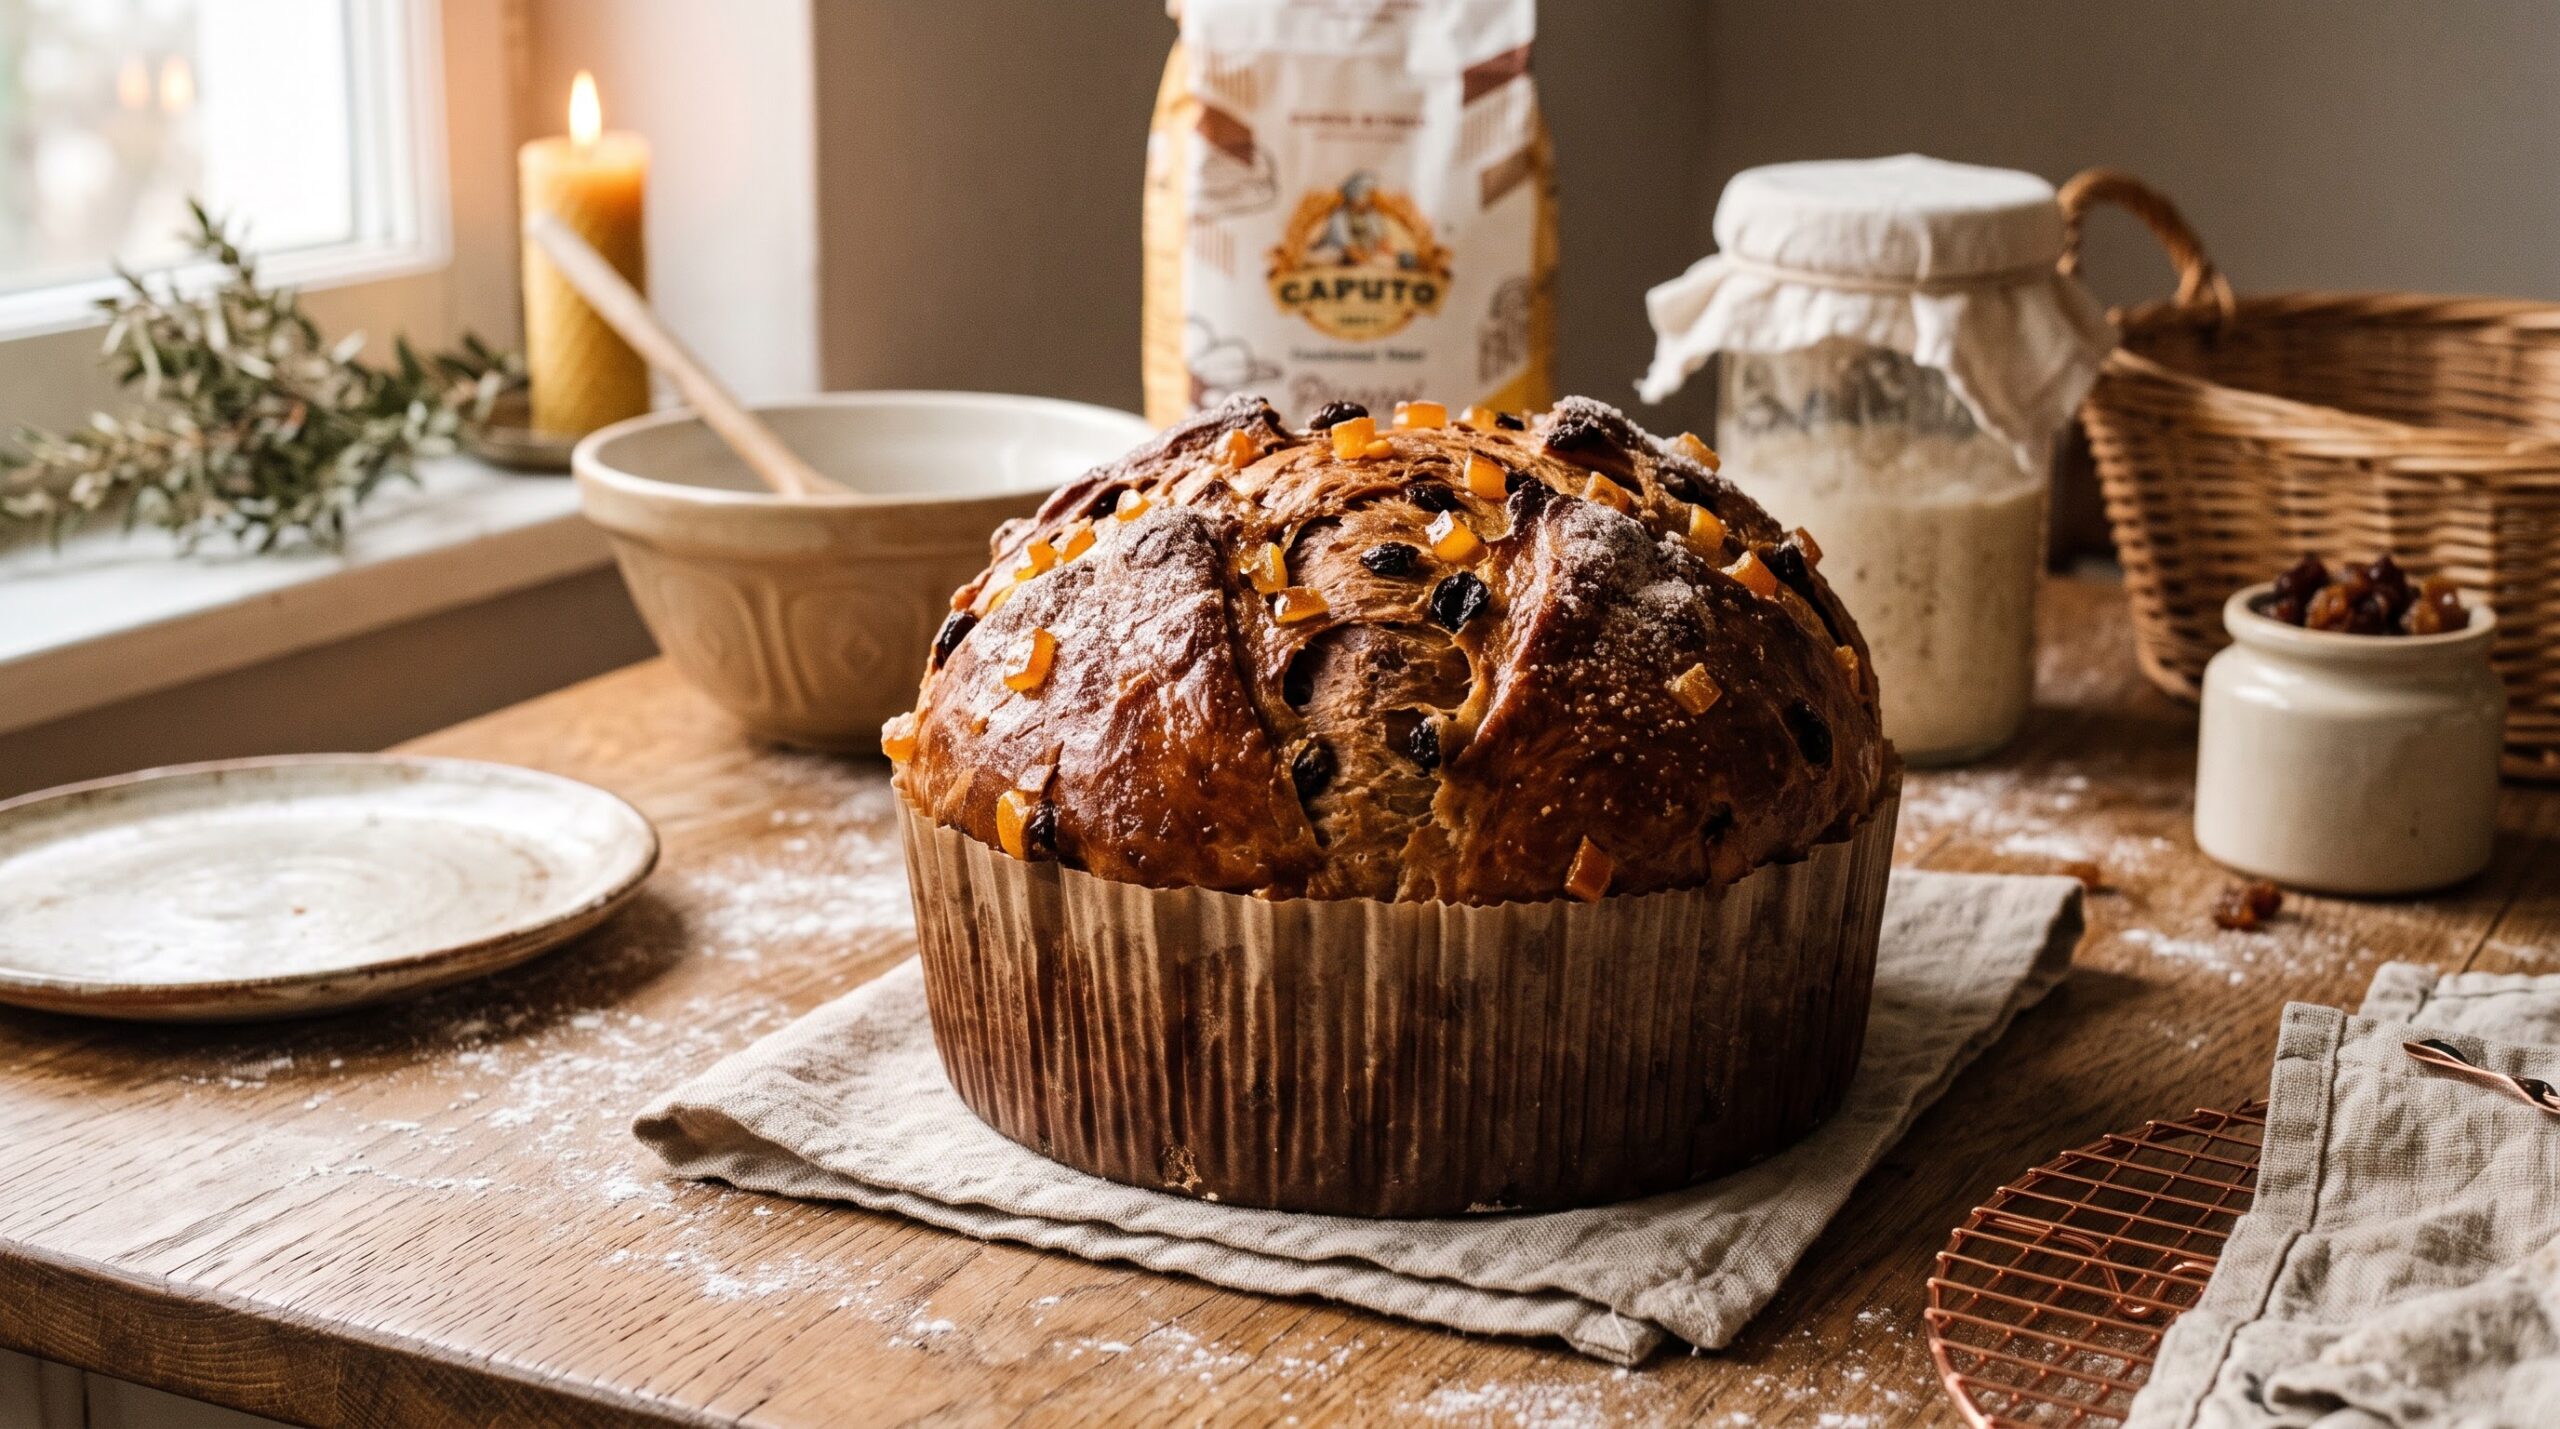
    A tall golden domed sourdough panettone rising above its paper mold, studded with candied fruit
    The goal: a tall, burnished dome that rises proud of its mold — feather-light inside, leavened entirely by a sourdough starter.

    It all rides on your starter — and that is why you start now

    This is the part that catches people out. You cannot leaven a dough this heavy with a tired, sluggish, once-a-week fridge starter. Panettone demands a starter at the absolute peak of its powers: fast, vigorous, mild-tasting, and so strong it can triple in volume in a handful of hours. Most home starters simply aren’t in that condition day to day — and getting one there takes weeks of consistent, frequent feeding. That is the real reason this bake has to begin in mid-November.

    Traditional Italian bakers use a stiff starter — a low-hydration dough-like culture often called lievito madre or pasta madre — rather than the loose, pancake-batter starter most of us keep. A stiff starter ferments more gently, builds more strength, and develops a milder, sweeter flavor that suits a dessert bread far better than the tangy sourness of a wet culture. In the weeks before the bake, it is fed once, twice, even three times a day to build it into a powerhouse. If your starter doubles happily but your loaves still don’t rise the way you expect, that disconnect is worth fixing now, long before panettone day — here is why a starter that doubles can still leave your bread flat.

    Dialing in the feeding is the whole game in these weeks. You are chasing a predictable, fast, reliable rise, which means getting your ratios and timing consistent. Our breakdown of sourdough feeding ratios and when to use each will help you push your culture toward that peak-strength, fast-tripling condition panettone needs.
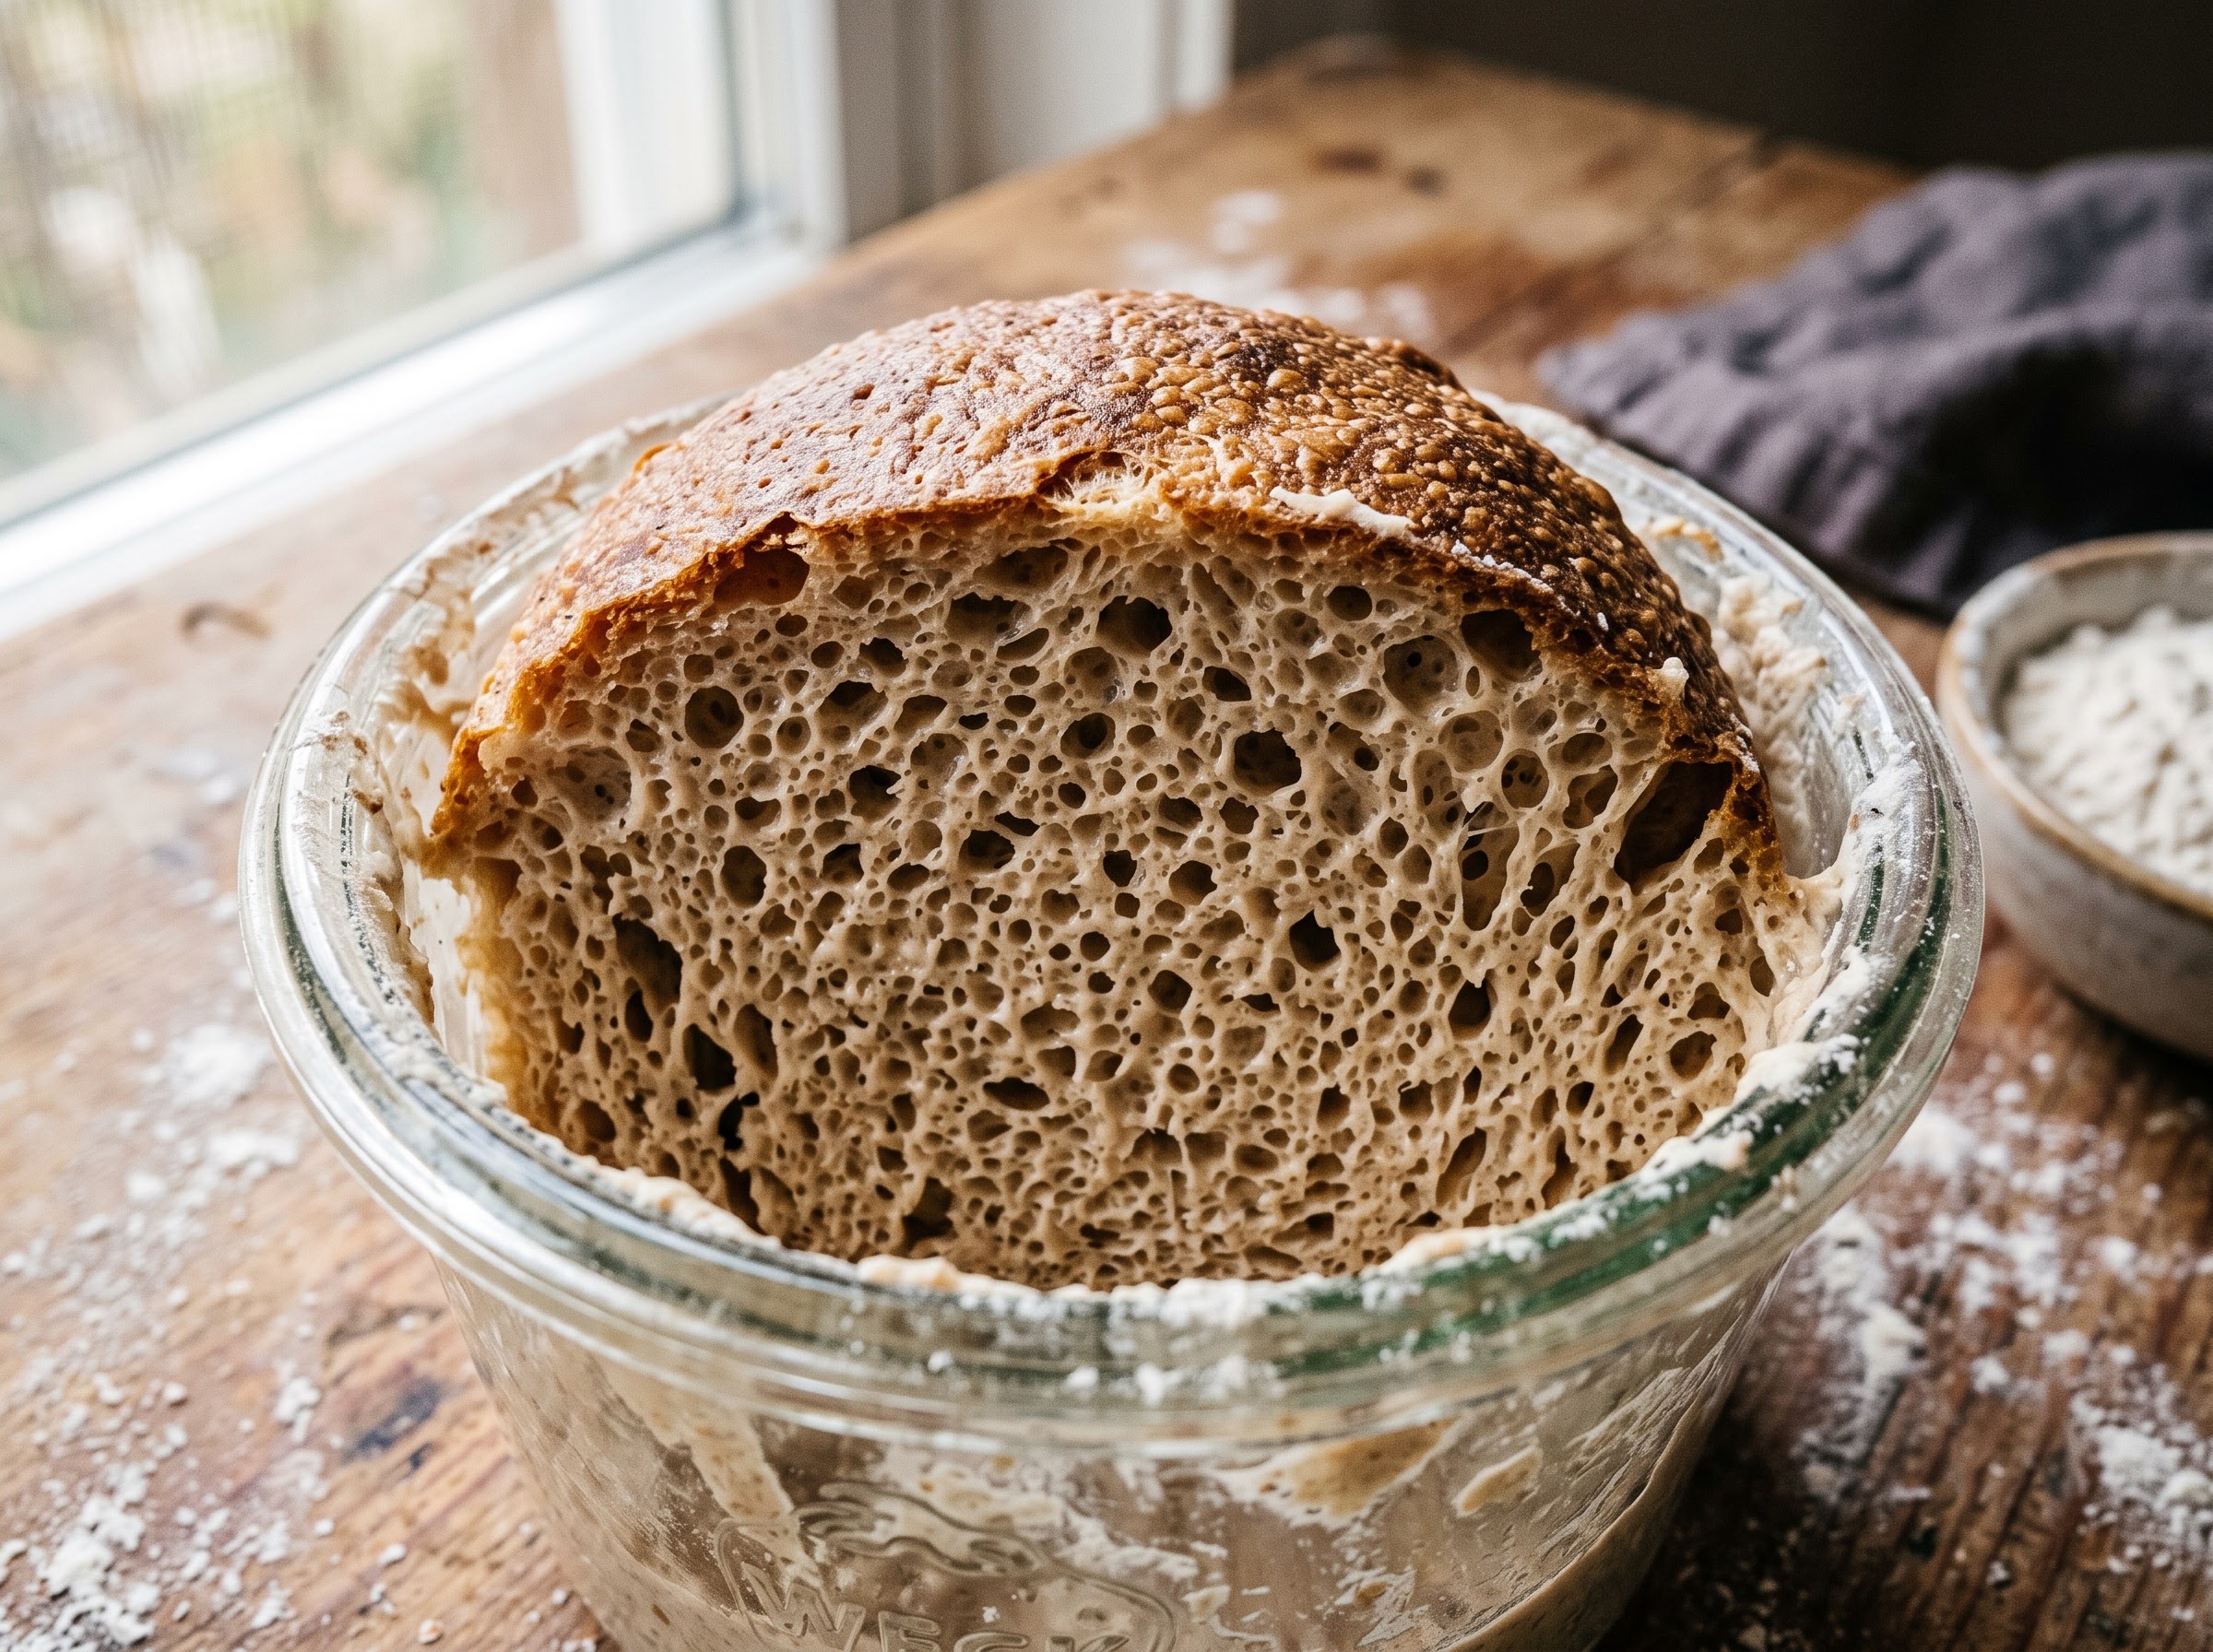
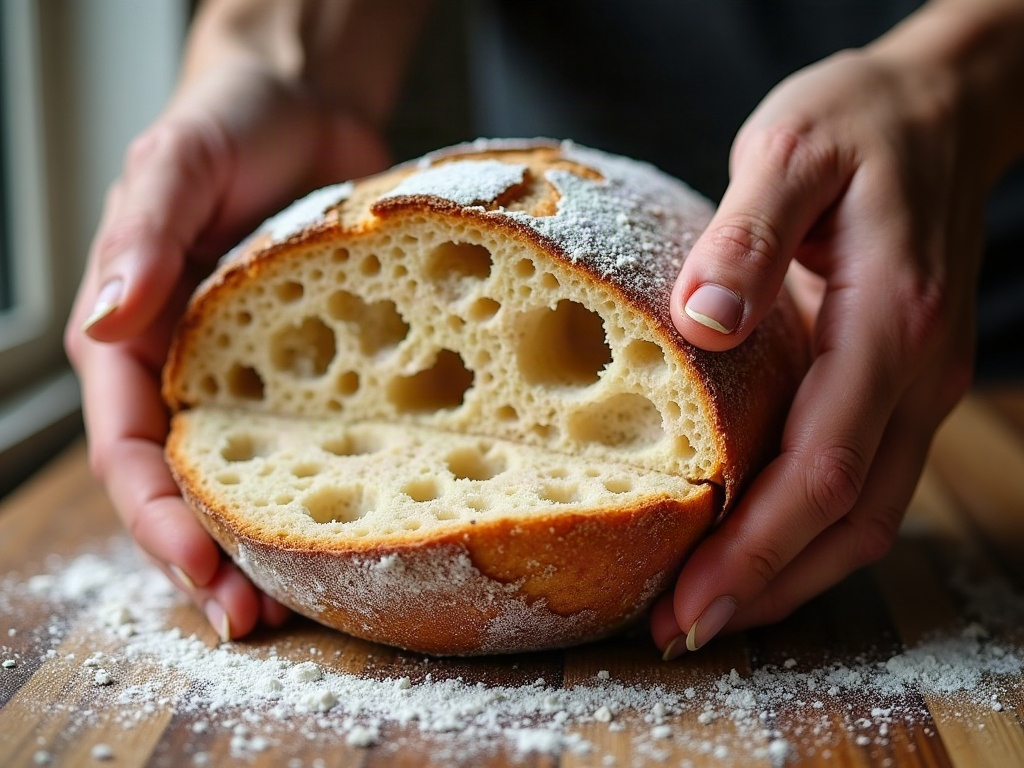
    A stiff sourdough starter at peak, cut open to show a dense even web of bubbles
    A stiff, peak-strength starter — the engine of panettone. Weak, sluggish starter is the number-one reason the bread never rises.

    The two-dough method: why panettone takes two days (at least)

    Even once your starter is ready, you don’t just mix a panettone and bake it. The classic method uses two separate doughs built over two days:

    • The first dough (primo impasto). In the evening, you mix your peak starter with flour, water, sugar, egg yolks and some of the butter into a base dough. Then it ferments slowly overnight — often 10 to 14 hours — until it has tripled. This long, patient first rise is where the lightness is built.
    • The second dough (secondo impasto). The next morning, that risen dough becomes the foundation for the final mix: more flour, more sugar, more yolks, honey or vanilla for aroma, the rest of the butter, and finally the candied fruit and raisins folded in last.

    Between and after those steps come more long proofs. The shaped dough can take many hours to crest its mold. All told, from the final feed of your starter to a cooled loaf, you are looking at the better part of three days of active involvement — sitting on top of those weeks of starter conditioning. Panettone is not hard in the sense of requiring flashy skill; it is hard in the sense of requiring patience and respect for the clock.

    Where home bakers go wrong (and how to dodge it)

    Most failed sourdough panettones fail for one of a few predictable reasons. Knowing them in advance is half the battle:

    • A starter that wasn’t strong enough. By far the most common cause of a dense, squat, or barely-risen panettone. There is no rescuing this mid-bake — the fix happens in the weeks beforehand, which is the entire point of starting now.
    • Adding the butter too fast. The enrichments must go in gradually, a little at a time, letting each addition fully incorporate before the next. Dump it all in at once and the fragile gluten shears apart and the dough turns to a greasy soup that will never hold air.
    • Rushing the proofs. Sourdough panettone will not be hurried. If you bake before the dough has genuinely crested its mold, you get a heavy loaf; if you panic and warm it too aggressively, you risk the butter weeping out. Warm, patient, and unhurried wins.
    • Skipping the upside-down hang. This one surprises first-timers. A fresh panettone is so delicate and airy that it will collapse under its own weight as it cools. The traditional fix is to skewer it through the base and hang it upside down until completely cool, so the tender structure sets without sinking. Don’t skip it.
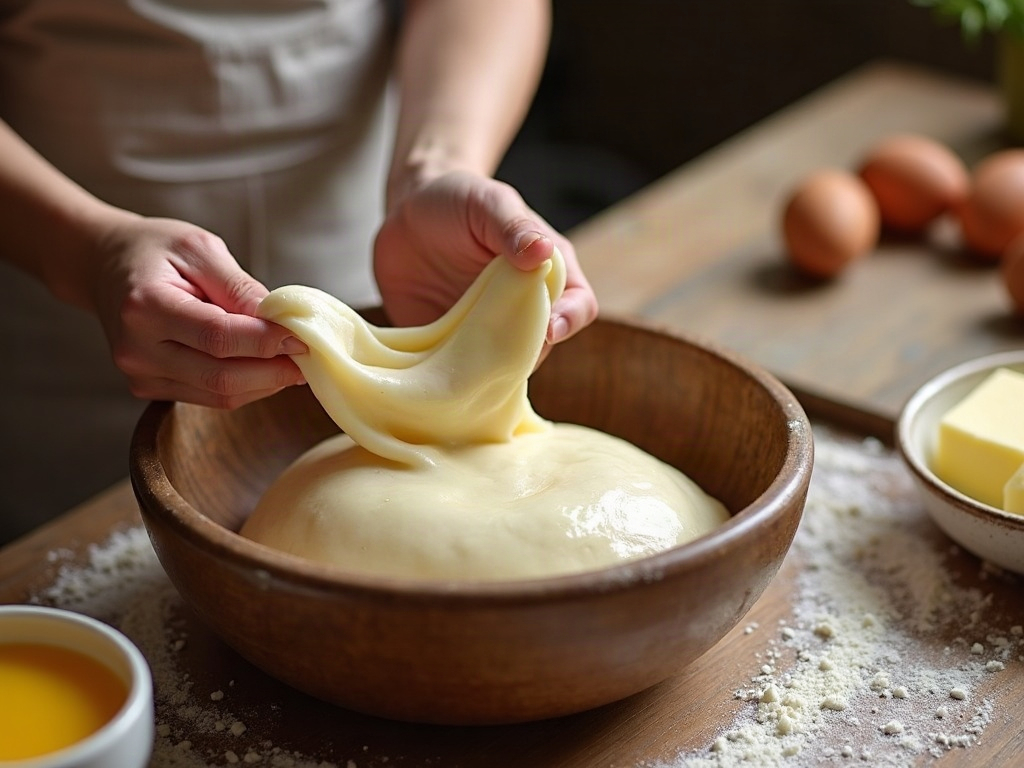
    Hands working soft butter into a glossy, stretchy enriched panettone dough
    Butter, egg yolks and sugar go in slowly, a little at a time — rush it and the fragile gluten shears and the dough turns to soup.

    Should you even attempt it? An honest answer

    Here is where we’ll be straight with you, because that is what this site is for. If you are a newer baker still fighting flat loaves and a temperamental starter, a full sourdough panettone this year may be a bridge too far — and that is completely fine. It is a genuinely advanced bake, and there is no shame in building up to it.

    But — and this matters — the process of getting your starter panettone-ready is some of the best training you can give yourself. Feeding a starter to peak strength, learning to read it, handling an enriched dough gently: those skills make every loaf you bake better. So even if the panettone itself ends up a little dense this first time, the weeks of practice are never wasted.

    If you’d rather ease into festive sourdough baking with something more forgiving this year, a cranberry walnut sourdough holiday loaf gives you the seasonal flavors and the celebratory feel without the three-day high-wire act. Then make panettone your project for next year, with a starter you’ve spent twelve months getting to know.
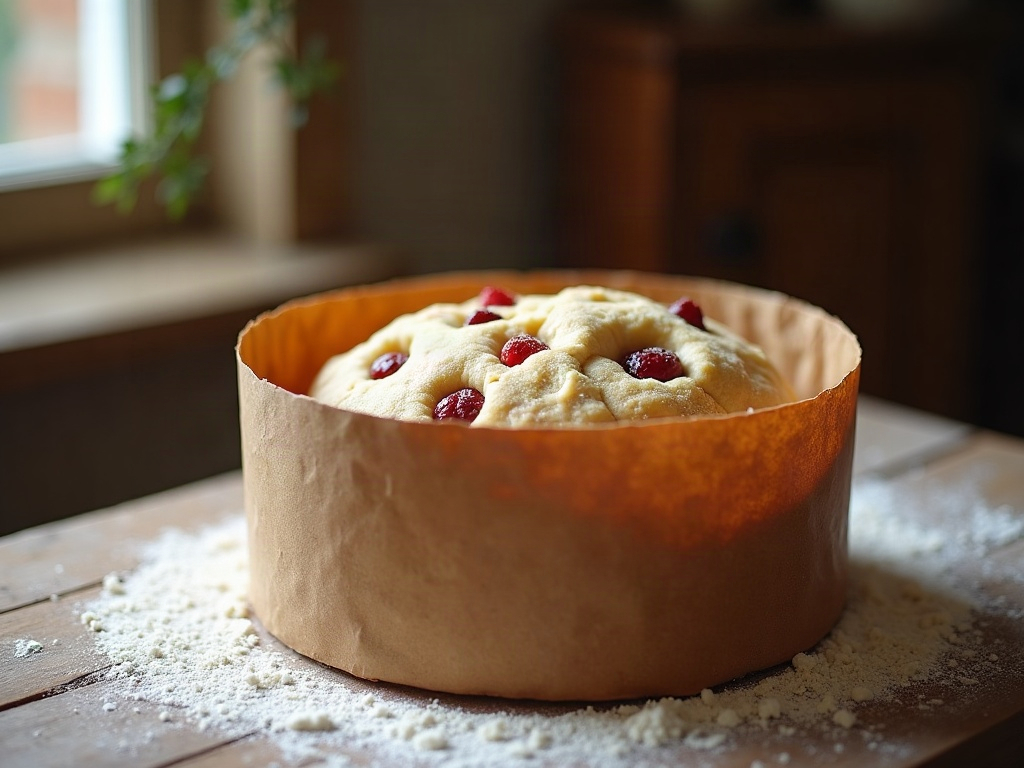
    Panettone dough proofed to the rim of its tall paper mold, gently domed
    Into the tall paper mold to proof slowly until it crests the rim — this final rise alone can take many hours on sourdough.

    Your mid-November starting line

    If you’re in, here is what to do this week to stay on schedule: pull your starter out of its slow fridge rhythm and begin feeding it daily at room temperature, watching for a faster, taller, more reliable rise each day. Consider converting a portion to a stiffer, lower-hydration culture to build strength and mellow the flavor. Source your ingredients early — good candied orange, quality butter, and strong bread flour are worth hunting down before the holiday rush empties the shelves. And read your chosen recipe end to end, twice, so the two-dough timeline holds no surprises on the day.

    Panettone is the bake that humbles experienced sourdough bakers and rewards the patient ones. It cannot be faked, rushed, or pulled off at the last minute — which is exactly what makes a tall, golden, hand-torn homemade one so deeply satisfying to set on the table. Start your starter now, respect the clock, and give yourself the runway to do it properly.
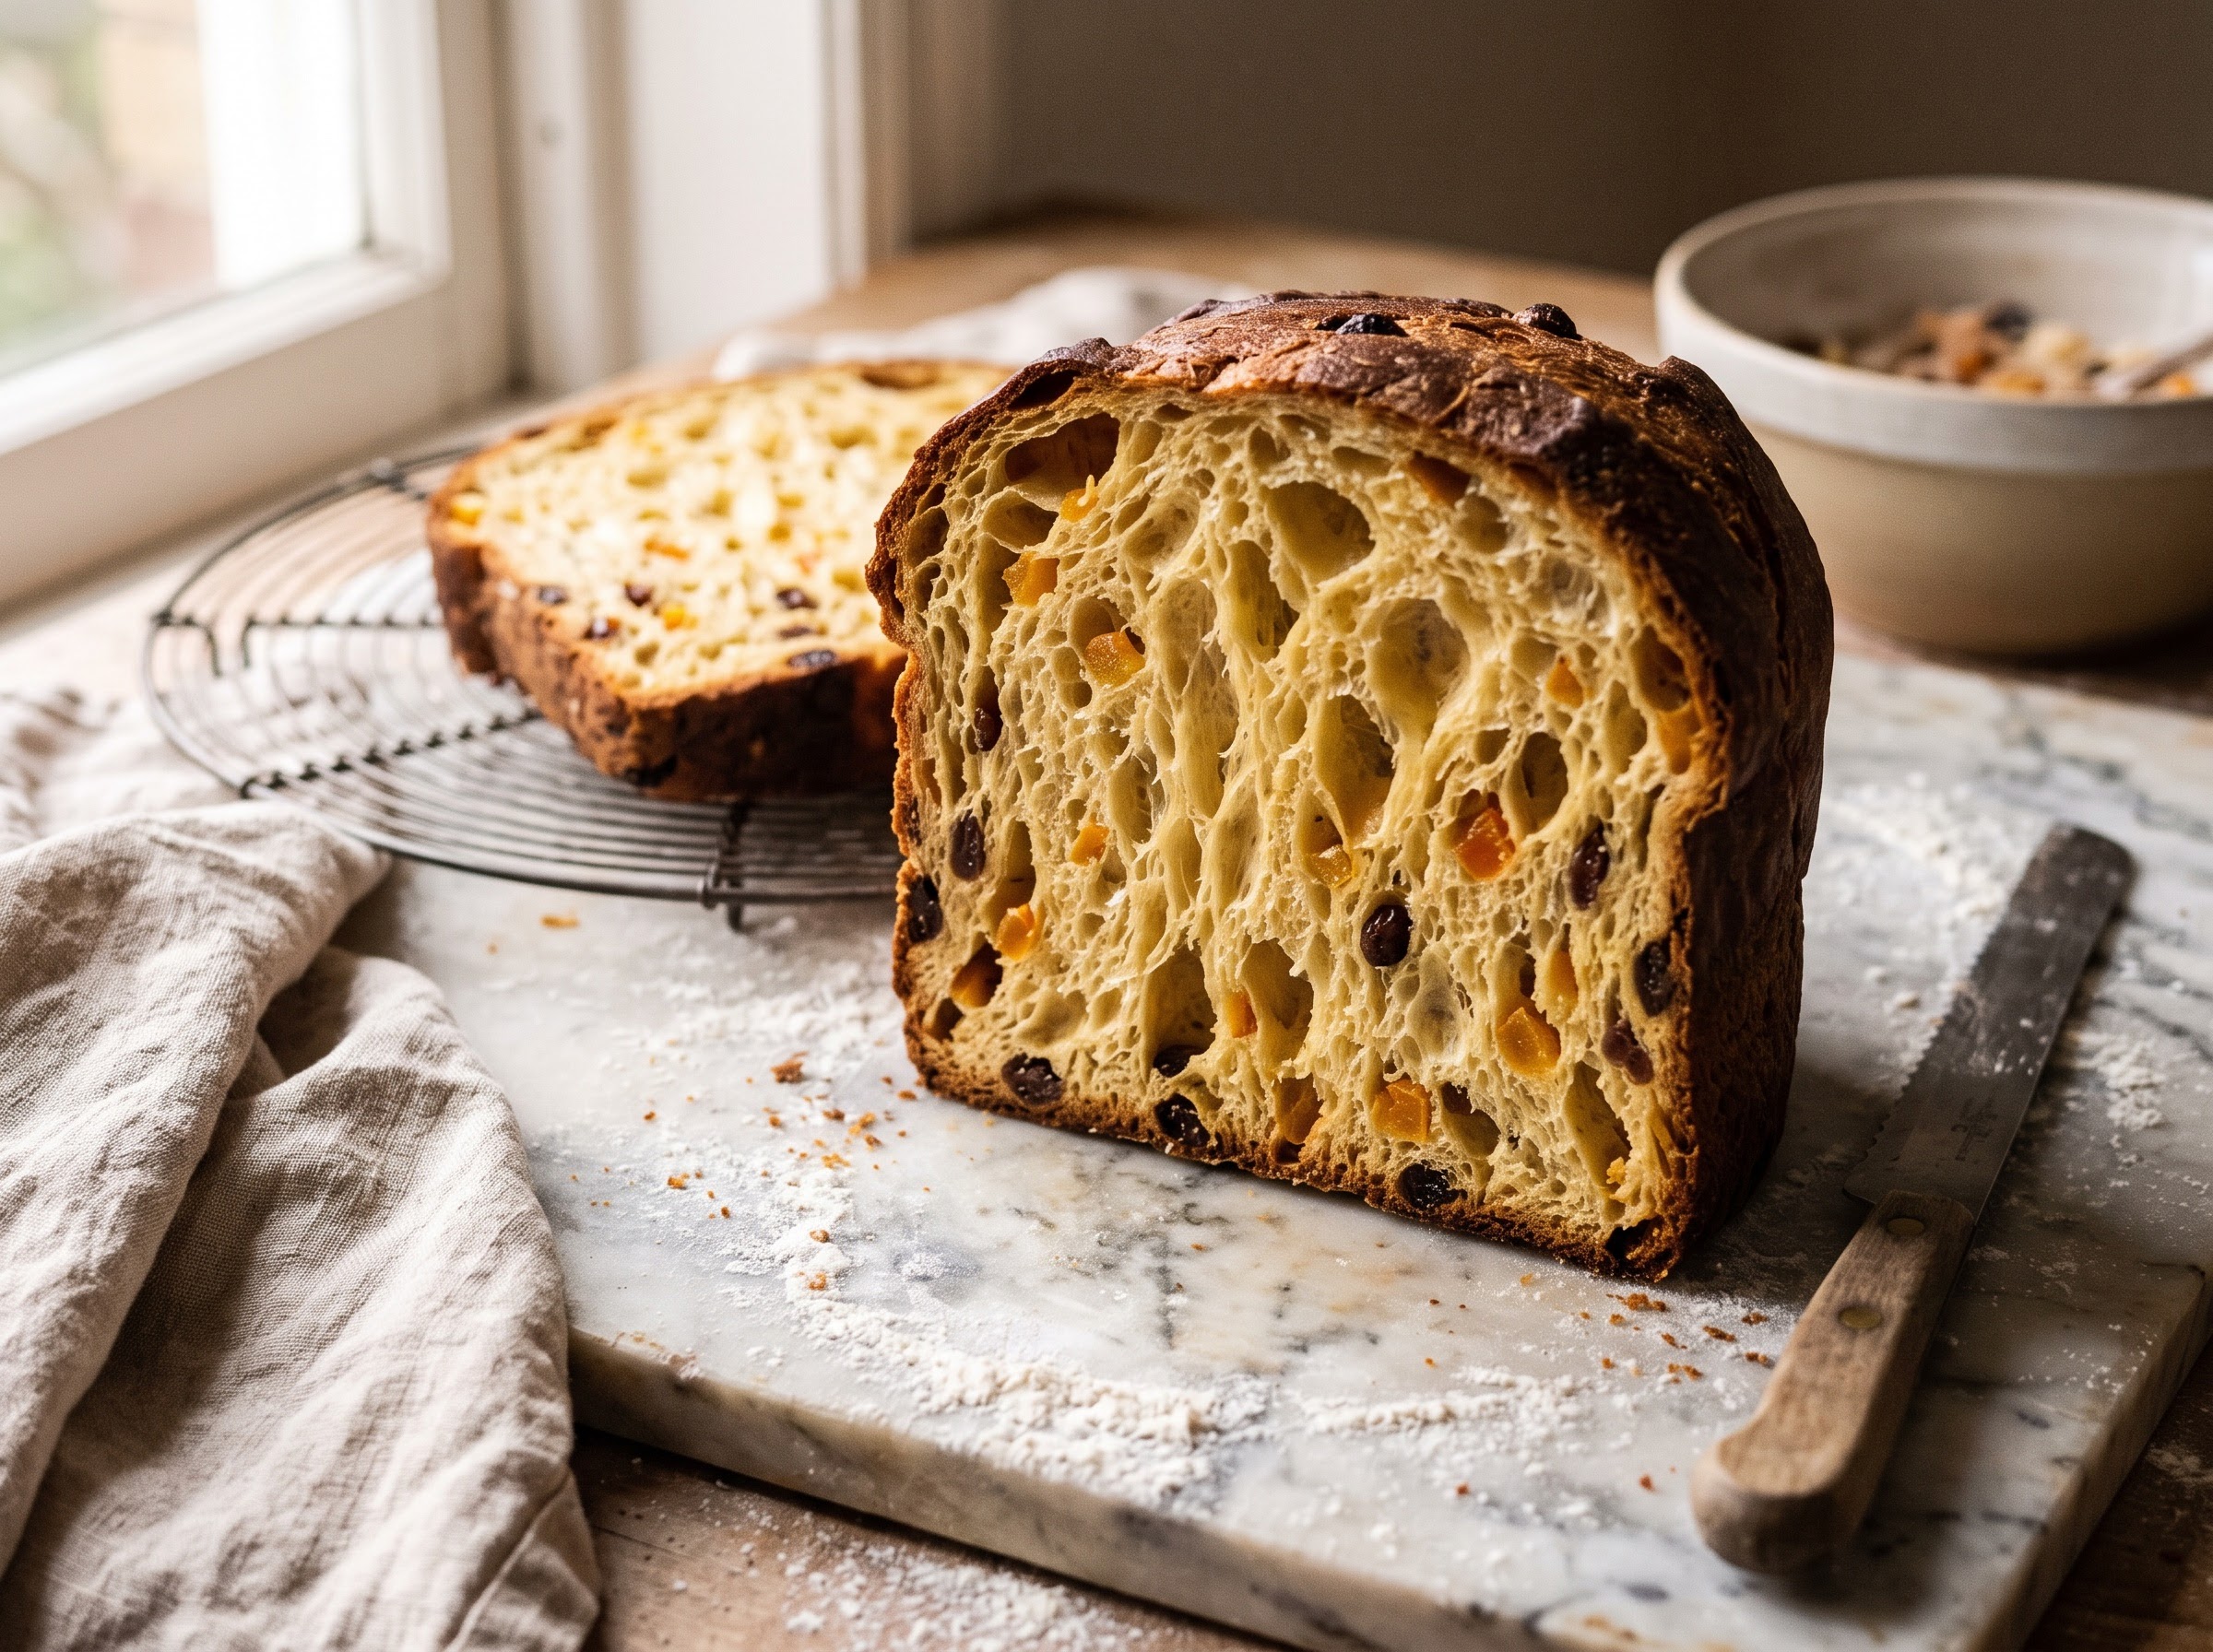
    A cut sourdough panettone showing a tall, airy golden crumb with silky strands and candied fruit
    Done right, the crumb pulls apart into soft, cottony strands — the signature of a well-leavened, well-structured panettone.

    Panettone is a bread you really want to see made before you attempt it — the way the dough climbs the hook, the butter going in, the upside-down hang. The full step-by-step sourdough panettone build, with the starter schedule and the two-dough timeline laid out in real time, lives on the LoafLovers YouTube channel, and our free sourdough troubleshooting guide includes a printable starter-strength checklist to get your culture panettone-ready. Start now, bake slow, and let this be the Christmas you pull a real one out of the oven.
    Related Reading

  • Stiff Starter vs Liquid Starter: Which Should You Keep, and Why?

    Stiff Starter vs Liquid Starter: Which Should You Keep, and Why?

    If you’ve spent any time in sourdough forums, you’ve seen the debate: some bakers swear by a firm, dough-like stiff starter, while most of the internet keeps a loose, pancake-batter liquid starter. It’s easy to assume one must be right and the other a mistake. It isn’t. They’re the same culture kept at different hydrations, and each one behaves in a way that solves a specific set of problems.

    The question isn’t which is better. It’s which one fits your kitchen, your schedule, and the bread you want. Let’s break down exactly how each behaves so you can choose on purpose instead of by default.

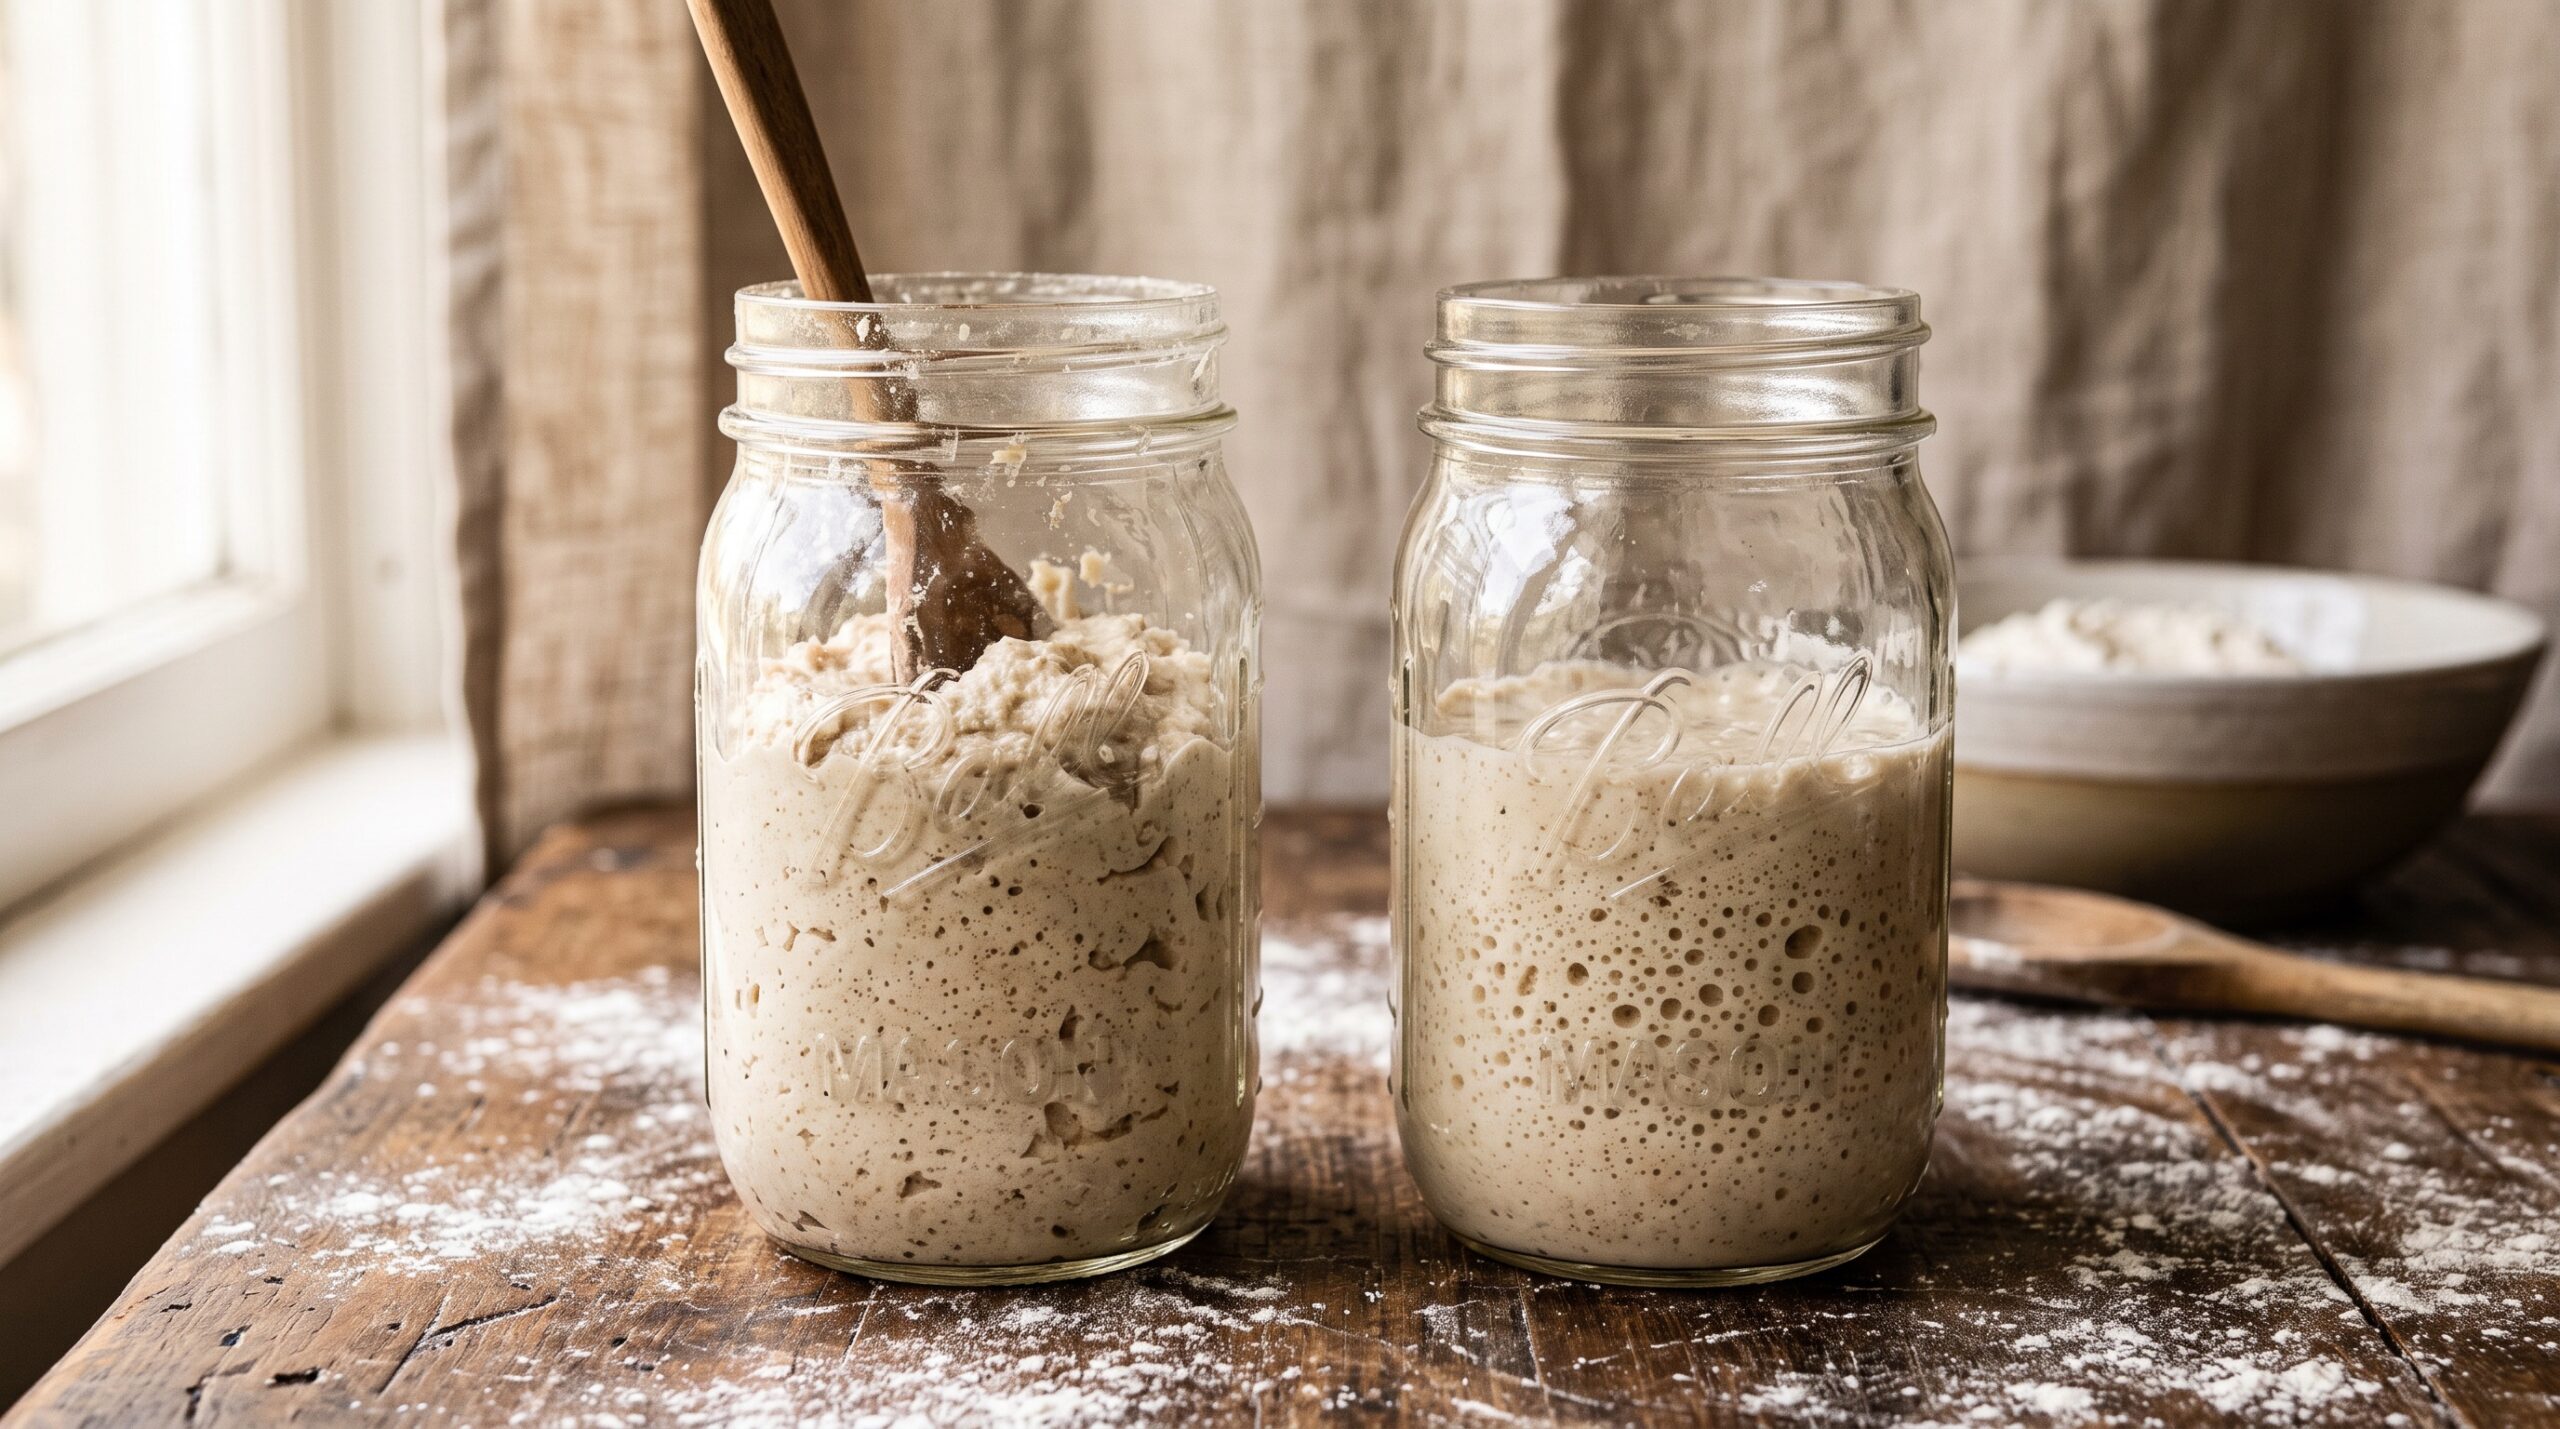
    A stiff dough-like starter beside a loose bubbly liquid starter in two glass jars
    Same culture, two textures: a stiff starter on the left, a 100% hydration liquid starter on the right.

    The Only Real Difference: Water

    Hydration is just the ratio of water to flour, by weight. A liquid starter is almost always kept at 100% hydration, meaning equal weights of flour and water. Feed it 50g flour and 50g water and you get that familiar thick-batter consistency you can stir and pour.

    A stiff starter is kept much drier, usually somewhere between 50% and 60% hydration. That means for every 100g of flour you add only 50 to 60g of water. The result isn’t a batter at all. It’s a firm, kneadable little ball of dough.

    Same flour, same wild yeast and bacteria, same jar. The only thing you’ve changed is how much water is in the mix. But that one change ripples out into flavor, speed, storage, and how forgiving the starter is, which is where the real decision lives.

    How a Liquid Starter Behaves

    A 100% hydration starter is the default for good reason. It’s easy to stir, easy to mix into dough, and above all, easy to read. In a wetter environment the yeast is very active, so the starter rises fast, bubbles enthusiastically, and gives you an unmistakable peak. That readability is a genuine advantage when you’re still learning to time your bake, and if you’ve ever struggled with a starter that just won’t rise, the fast, visible action of a liquid starter makes diagnosing the problem far simpler.

    The trade-offs are real, though. More water means the bacteria that produce acid are more active too, so a liquid starter tends toward a sharper, tangier, more acetic flavor, especially if you let it go a little too long. It also moves quickly, which means it runs out of food faster and can slip past its peak and collapse if you’re not watching. It’s fast and expressive, but it’s also a bit demanding.

    A bubbly liquid sourdough starter at peak rise in a glass jar
    A liquid starter is quick to read: big bubbles, fast rise, a clear peak.

    How a Stiff Starter Behaves

    Take the water down and everything slows and calms. In a firm, low-hydration environment the acid-producing bacteria are held back more than the yeast, so a stiff starter ferments toward a milder, sweeter, more mellow flavor. If you’ve ever pulled a loaf from the oven and found it too sharp or aggressively sour, switching to a stiff starter is one of the most reliable ways to tame that tang at the source.

    It’s also far more patient. Because it moves slowly and holds its structure, a stiff starter is much more forgiving of an inconsistent feeding schedule. It doesn’t race to its peak and crash; it rises gently and holds there longer, giving you a wider window to actually use it. That same slowness makes it store beautifully, which we’ll come back to.

    The catch is that a stiff starter is harder to read. It won’t slosh with bubbles or dramatically double in a see-through way. You learn to judge it by a gentle dome and by tearing a piece open to check for a fine, webby honeycomb inside, rather than by watching a waterline climb a jar. And because it’s a firm dough, you have to knead your feeds together rather than stir them, which is a small extra bit of hands-on work each time.

    Side by Side: Which Solves Your Problem?

    Strip away the folklore and it comes down to what you actually need.

    • Choose a liquid starter if: you’re still learning to time your bakes and want an easy-to-read culture, you like a pronounced sour tang, you bake often enough to feed it regularly, and you want the simplest possible mix-in when building dough.
    • Choose a stiff starter if: you find your bread too sour and want a milder, sweeter crumb, your schedule is irregular and you need a culture that tolerates being neglected, you bake less frequently, or you want a starter that survives long gaps in the fridge without fuss.

    Notice that neither list is about quality. Both make outstanding bread. The lists are about your temperament and your timetable.

    Hands tearing a stiff starter open to show a webby honeycomb interior
    A ripe stiff starter tears open like a small dough, laced with a fine honeycomb.

    The Storage Advantage Nobody Mentions

    Here’s the practical reason many experienced and less-frequent bakers keep a stiff starter: it stores like a champion. Because there’s less water and the fermentation is slower, a stiff starter goes dormant gracefully in the fridge and can sit for a week or two, sometimes longer, without collapsing into a puddle of hooch or turning punishingly acidic.

    A liquid starter can be refrigerated too, but it tends to exhaust its food and separate faster, so it usually needs more frequent attention. If you’d like the full rundown on keeping either type alive through breaks, our guide to storing your starter through fridge stints and vacations walks through it step by step. For a baker who fires up the oven every other weekend rather than daily, a stiff starter simply asks less of you between bakes.

    Can You Switch Between Them? Yes, Easily

    The best news is that you’re never locked in. Because it’s all one culture, you can convert a starter from one hydration to the other over just a couple of feedings.

    To go from liquid to stiff, simply feed with less water. Take a spoonful of your existing starter and feed it, say, 100g flour to 55g water, kneading it into a firm ball. To go the other way, feed a piece of your stiff starter with equal parts flour and water and stir it into a batter. Give it two or three feeds at the new hydration to fully settle in and you’re done. Many bakers even keep both: a stiff starter as the resilient, low-maintenance mother in the fridge, and a small liquid offshoot built up when they want fast, readable action before a bake.

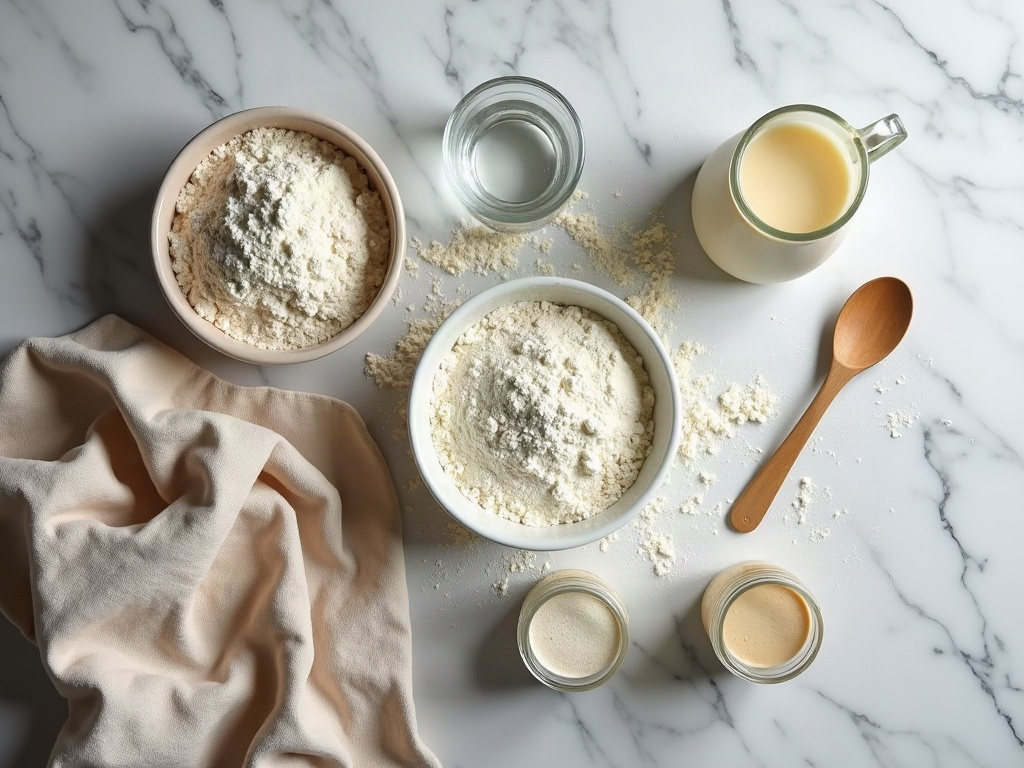
    Flat lay of flour, water, and two jars showing thick and thin starter for feeding
    The only real difference is the ratio of water to flour when you feed.

    How to Tell When Either One Is Ready

    Whichever you choose, the skill that matters most is knowing when it’s at peak and ready to build into dough. For a liquid starter the classic signs are a domed, bubbly surface at maximum rise just before it starts to recede. For a stiff starter you’re watching for a gentle swell and that honeycomb interior when you tear it. In both cases, the popular float test is a rough guide at best, not gospel; our breakdown of whether the float test really works covers the more reliable cues to trust instead.

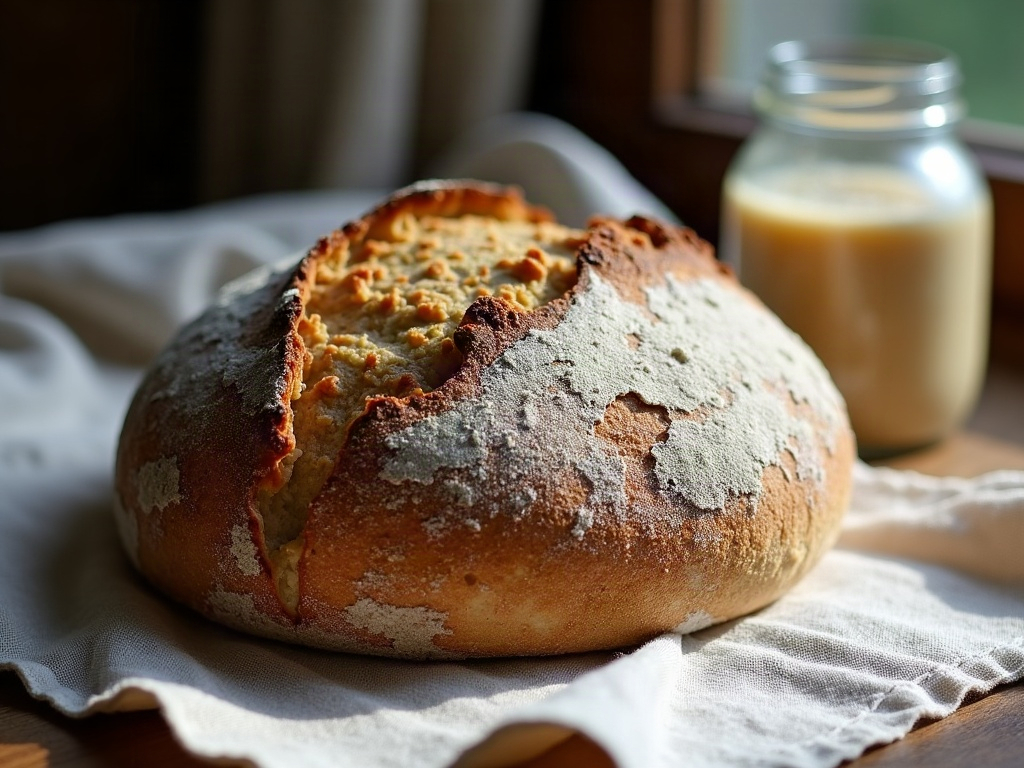
    A golden blistered sourdough boule cooling beside a jar of starter
    Both starters bake beautiful bread. The right one is the one that fits your week.

    The Bottom Line

    Stiff versus liquid isn’t a contest with a winner. A liquid starter is fast, expressive, easy to read, and a little demanding. A stiff starter is slow, mild, forgiving, and built to be left alone. Match the one you keep to the baker you actually are, not the one you think you should be, and starter maintenance stops feeling like a chore.

    If you want to see the difference in action, the full side-by-side, including how each one looks at peak and how to convert between them, lives on the LoafLovers YouTube channel. And if you’re still fighting your starter more than baking with it, grab our free sourdough troubleshooting guide, and we’ll walk you from a temperamental jar to a culture you can count on.

    Related Reading