Tag: thanksgiving

  • Sourdough Discard Pie Crust: A Flaky, Tangy Crust for Your Holiday Pies

    Sourdough Discard Pie Crust: A Flaky, Tangy Crust for Your Holiday Pies

    Somewhere in your fridge right now there is a jar of sourdough discard, quietly accumulating and quietly inducing guilt. With the holidays here and pies on everyone’s mind, that jar is about to earn its keep. Sourdough discard makes a genuinely excellent pie crust — flakier, more flavorful, and more forgiving than a standard one — and it is one of the smartest ways to use up discard in bulk right when you need the most baking done.

    If you have been pouring discard down the drain, stop. A holiday dessert table is the perfect excuse to put it to work. Here is why discard and pastry are such a natural match, the one rule you cannot break, and a reliable all-butter crust you can mix today and bake later.

    Why discard belongs in pie crust

    Pie crust wants three things: flakiness, tenderness, and flavor. Sourdough discard quietly helps with all three. Discard is essentially flour and water that has fermented, which means it brings a mild acidity to the dough. That gentle acid does something butter and ice water can’t: it relaxes and slightly weakens the gluten, so your crust stays tender instead of turning tough and leathery. It is the same reason bakers have long added a splash of vinegar or vodka to pastry — discard does it naturally, and adds flavor while it’s at it.

    That flavor is the real secret. Plain pie crust is mostly a vehicle; a discard crust tastes faintly tangy and complex, the kind of subtle savory-sour note that makes people ask what’s different. It plays beautifully against sweet fillings like pumpkin, apple, and pecan, and it is outright transformative in savory bakes like quiche and pot pie. And because discard is already a soft, hydrated flour paste, it also acts as part of your liquid — you’ll use less ice water than a standard recipe. If you want the full map of what else that jar can do, our guide to using up sourdough discard instead of throwing it away is a good companion to this one.
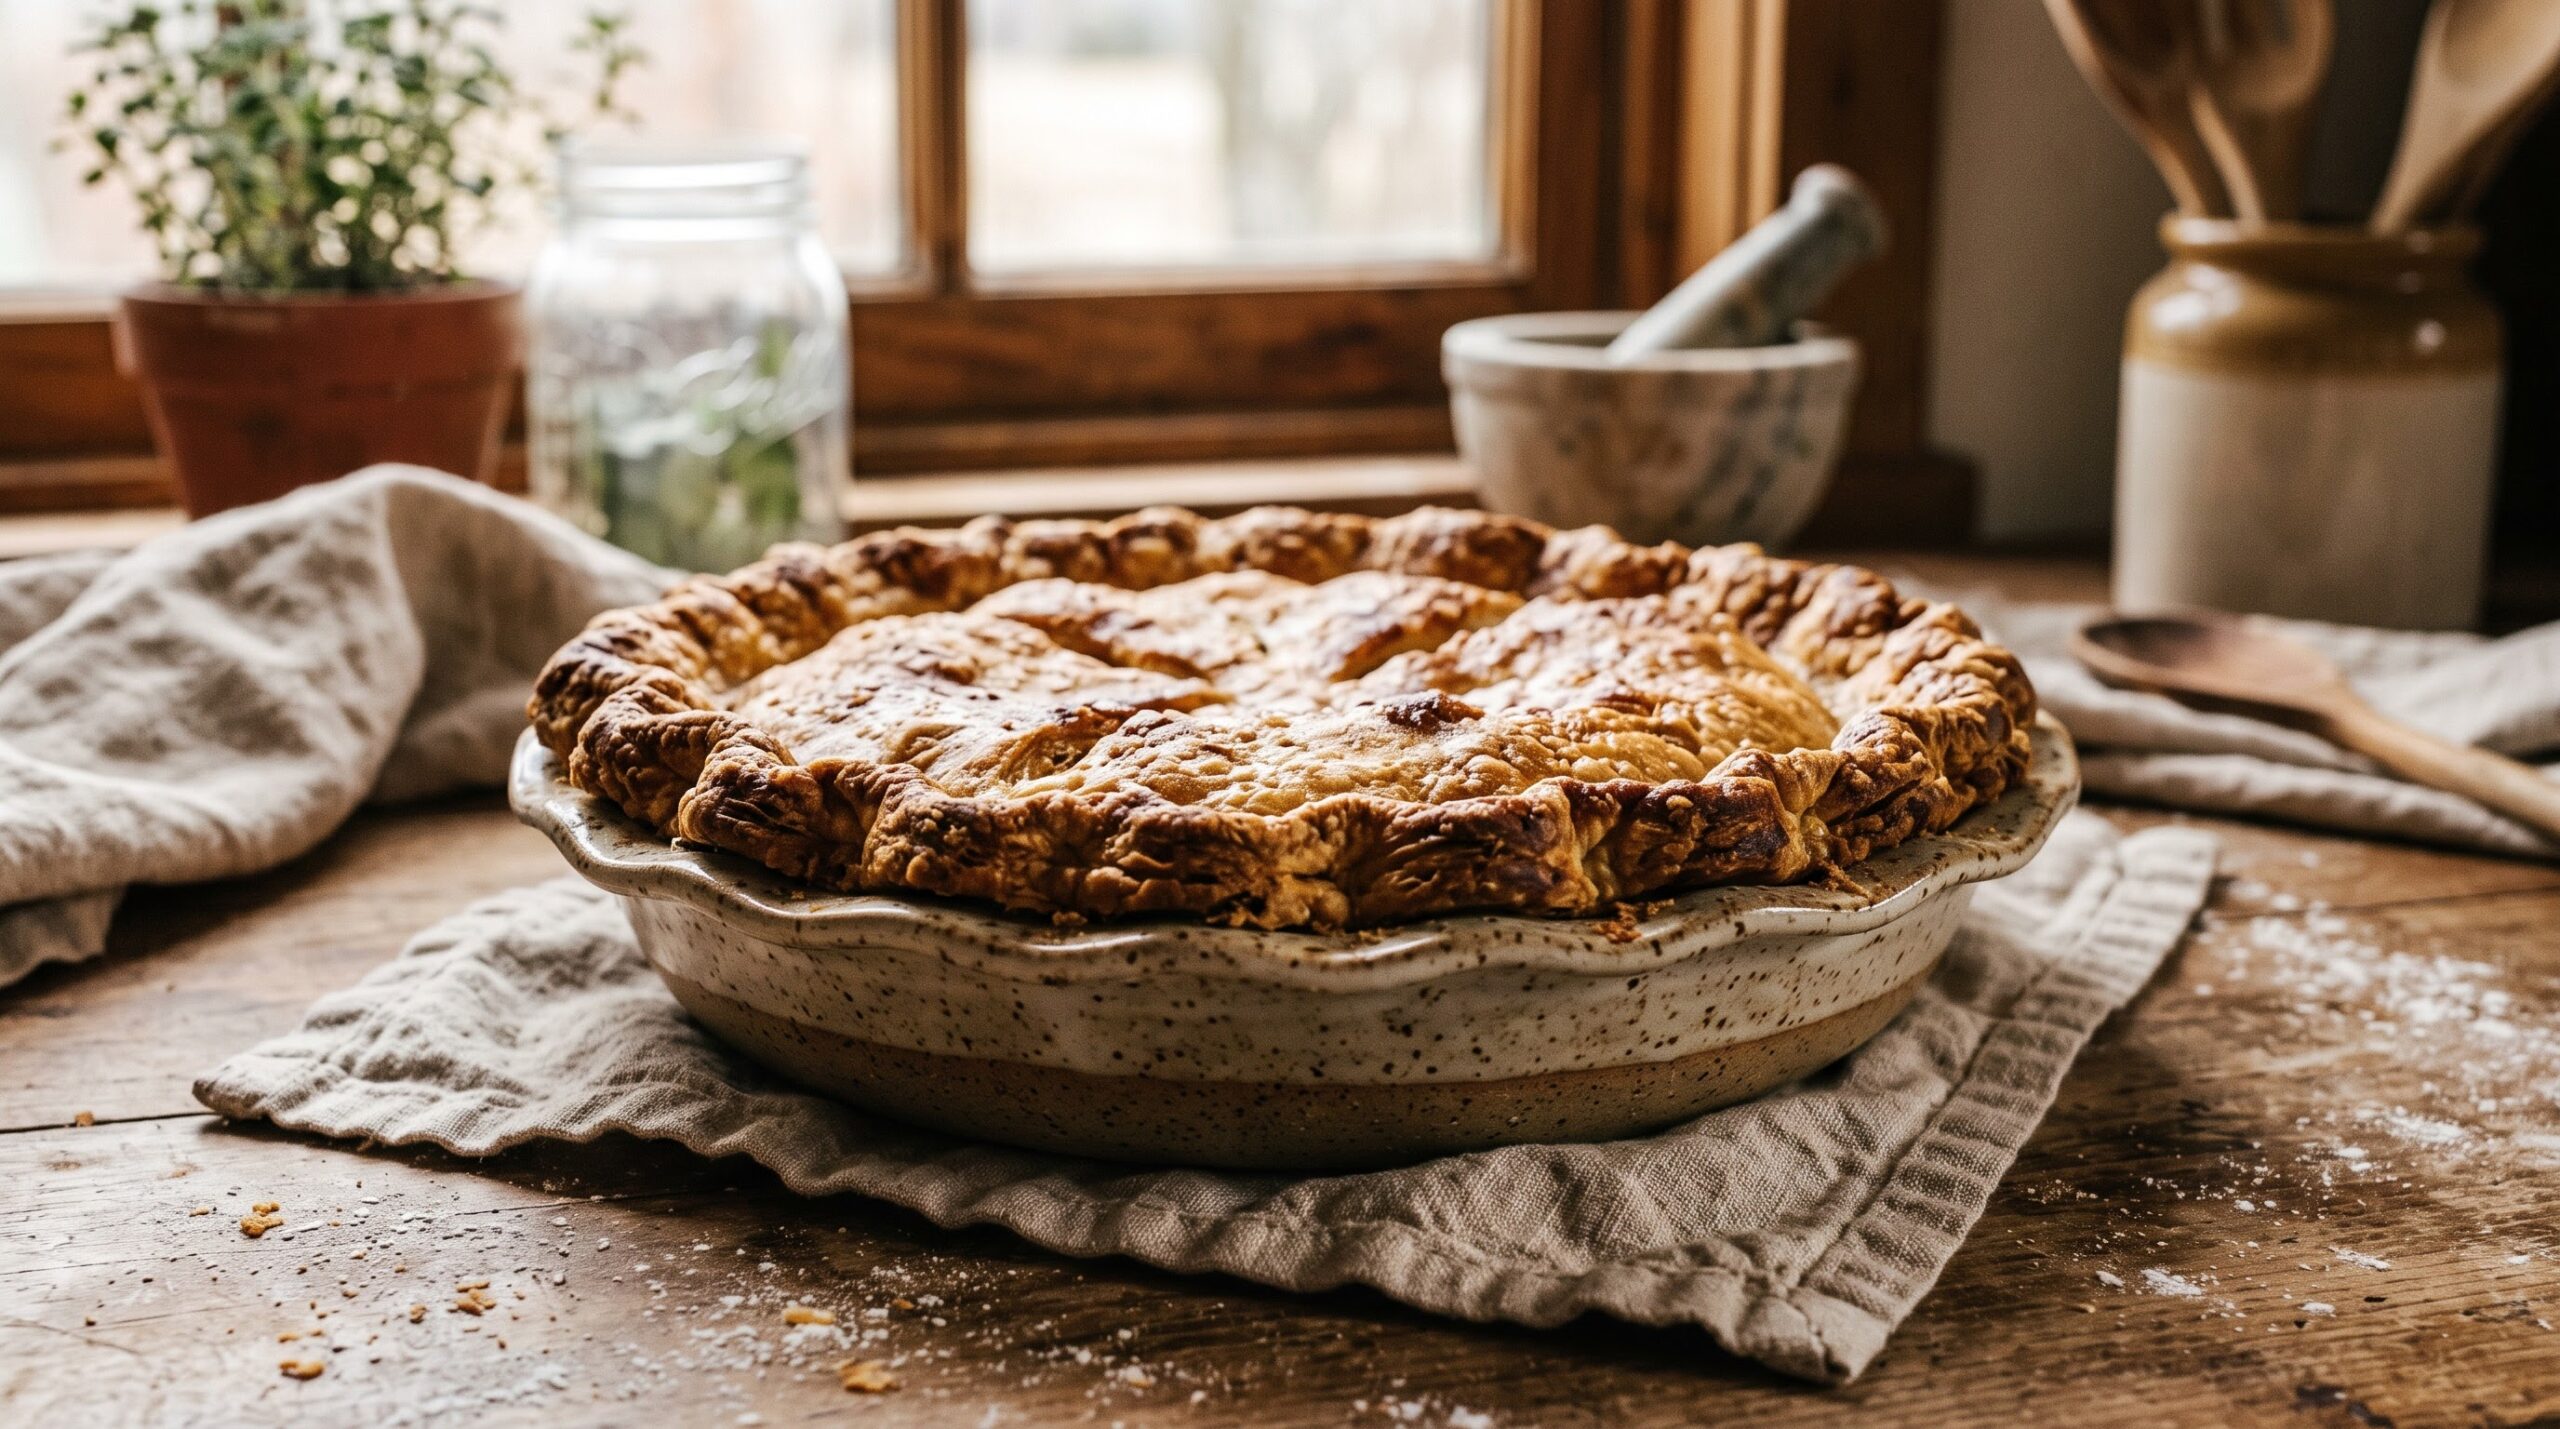
    A golden, crimped sourdough discard pie crust with flaky buttery edges cooling on a wooden table
    A discard pie crust bakes up deeply golden and shatteringly flaky — with a subtle tang no plain crust can match.

    The one rule: keep everything cold

    If you take away a single thing from this article, take this: flaky pie crust is built on cold fat. This is true of any pastry, but it bears repeating because it is the difference between a crust that shatters into golden layers and one that bakes up dense and greasy.

    The mechanism is simple. When cold, solid flakes of butter hit the oven’s heat, the water in that butter flashes to steam and pries the dough apart into thin, crisp layers. If the butter has softened and smeared into the flour before baking, there are no distinct flakes left to steam open — and you get a flat, tough, oily crust instead. So:

    • Use the butter straight from the fridge, cut into cubes, and keep it in visible pea-to-almond-sized pieces. Don’t blend it to a paste.
    • Use cold discard straight from the fridge, not a warm, freshly fed starter. (This is a great use for the sluggish, unfed discard you’d otherwise toss.)
    • Add ice water, a tablespoon at a time, only until the dough just holds together when squeezed.
    • Chill the shaped disc before rolling, and again after it’s in the pan. If the dough ever feels soft or sticky, stop and refrigerate it for 20 minutes. Warm pastry is unworkable pastry.

    Work quickly, handle it as little as possible, and when in doubt, put it back in the cold.
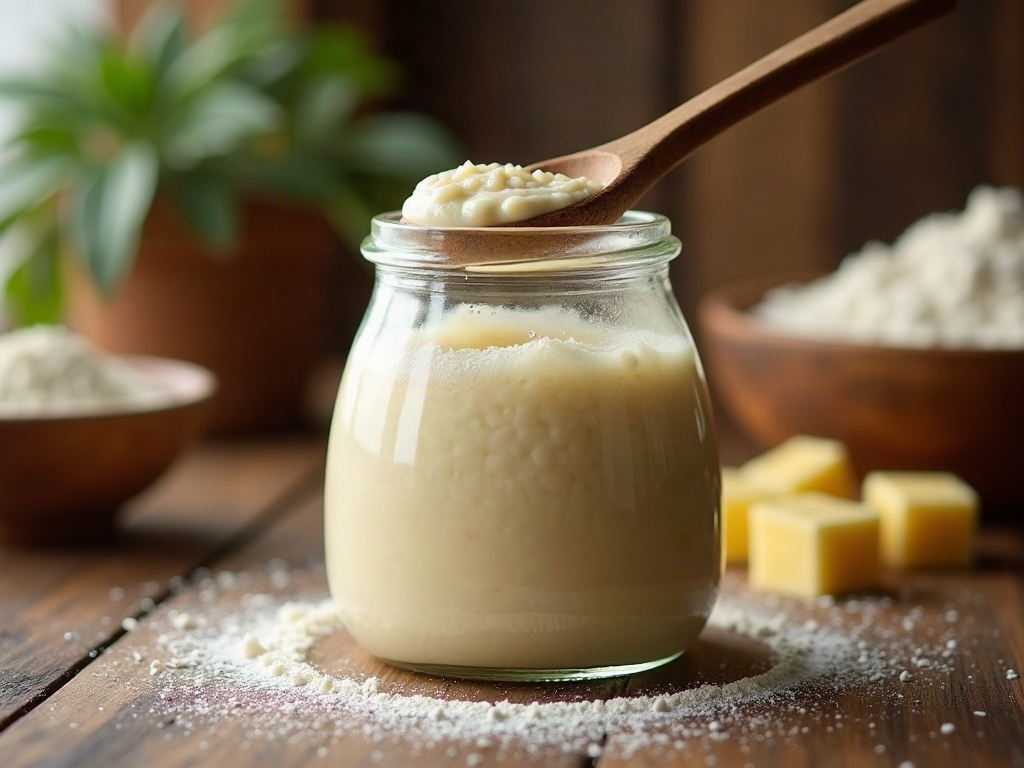
    A jar of bubbly sourdough discard being spooned out beside flour and cold cubed butter
    Discard isn’t waste — its mild acidity is exactly what tenderizes pastry and builds flavor.

    A reliable all-butter discard pie crust

    This makes enough for a single-crust 9-inch pie. Double everything for a double-crust pie or a lattice top.

    • 1¼ cups (160g) all-purpose flour
    • ½ teaspoon salt
    • 1 teaspoon sugar (omit for savory pies)
    • ½ cup (115g) cold unsalted butter, cubed
    • ¼ cup (60g) cold sourdough discard
    • 1–3 tablespoons ice water, as needed

    1. Cut in the butter. Whisk the flour, salt, and sugar together. Add the cold cubed butter and cut it in with a pastry blender or your fingertips until the butter is in flat, flaky, pea-to-almond-sized pieces coated in flour. Stop while you can still see distinct butter — this is the flakiness, don’t erase it.

    2. Add the discard. Dollop the cold discard over the mixture and toss it through with a fork so it distributes in streaks. It won’t look uniform, and that’s correct.

    3. Bring it together. Sprinkle in ice water one tablespoon at a time, tossing after each, until the dough just holds together when you squeeze a handful. It should look shaggy, not smooth or wet. Discard is already quite hydrated, so you may need very little water.

    4. Chill — mandatory. Press the dough into a flat disc (don’t knead it), wrap it, and refrigerate at least one hour, or overnight. This rests the flour, firms the butter, and lets the discard’s acidity gently relax the gluten.

    5. Roll and fit. On a floured surface, roll the chilled disc from the center outward into a round about 2 inches wider than your pan. Faint marbled streaks of butter are a sign you did it right. Ease it into the dish without stretching, trim, and crimp the edge. Chill the lined pan another 20–30 minutes before filling or baking.
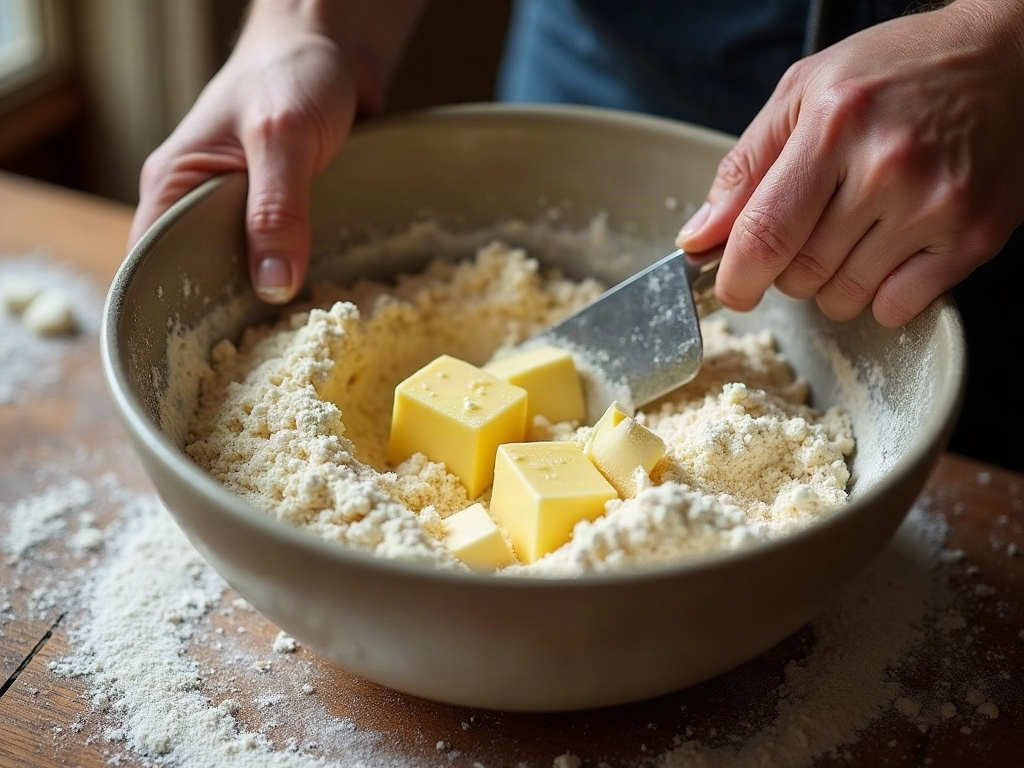
    Hands cutting cold butter into flour with a pastry cutter, discard added at the side
    Keep the butter in visible, pea-sized flakes and everything ice-cold — those flakes are what steam open into flaky layers.

    Beating the soggy bottom

    The classic holiday-pie heartbreak is a crisp rim over a pale, soggy base. For custard pies like pumpkin, or any wet filling, blind-bake (par-bake) the crust first: line the chilled shell with parchment, fill it with pie weights or dried beans, and bake at 400°F (200°C) for about 15 minutes, then remove the weights and bake a few minutes more until the base looks dry and set. A thin brush of egg wash on the par-baked base, returned to the oven for a minute, forms a seal that keeps filling from soaking in.

    Baking the pie on a preheated baking sheet on a lower rack also helps — that burst of bottom heat sets the base fast. The same principle is at work when a loaf scorches underneath; if you’re curious why direct bottom heat behaves the way it does, we dig into it in why the base of your sourdough scorches.

    Make it ahead — because it’s the holidays

    This is where a discard crust really shines during a hectic baking week: it is built for making ahead. The wrapped dough disc keeps in the fridge for up to three days, so you can mix it whenever you have ten quiet minutes and roll it out on the day. It also freezes beautifully — wrap the disc well and it will keep for a couple of months; thaw it overnight in the fridge before rolling. You can even roll it, fit it into the pan, and freeze the whole lined dish ready to fill. The make-ahead mindset is the same one that keeps holiday baking calm rather than frantic, which is exactly the thinking behind our make-ahead Thanksgiving sourdough schedule.
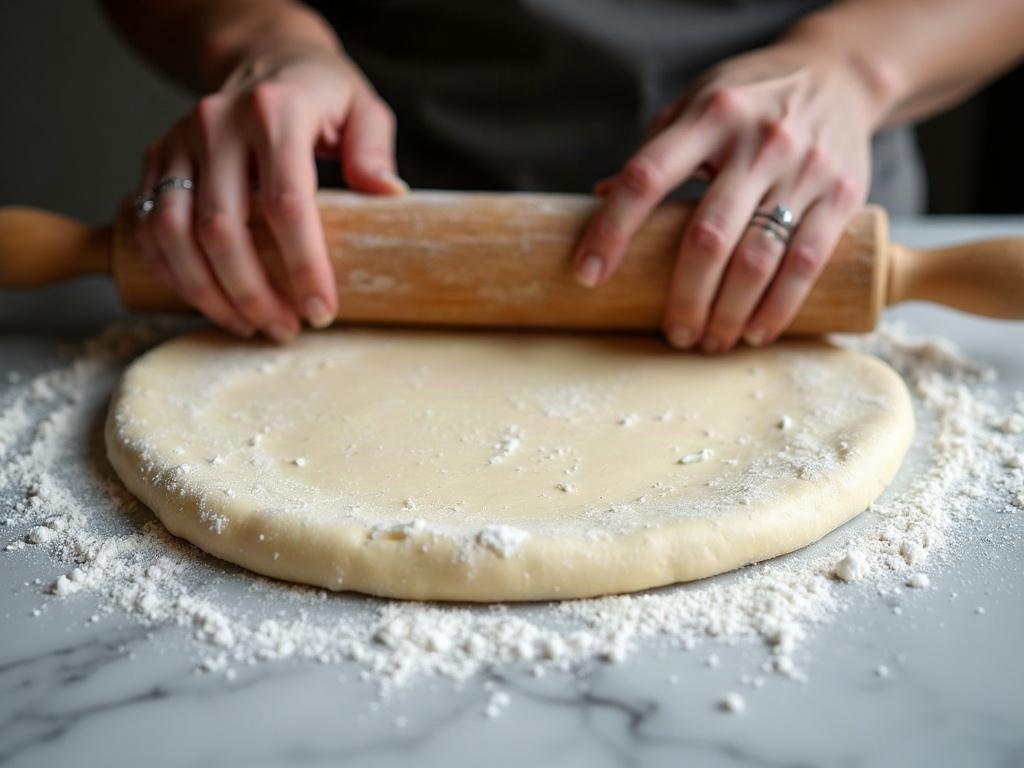
    A disc of chilled discard pie dough rolled out on floured marble, showing butter streaks
    Roll from a well-chilled disc; those marbled streaks of butter are a good sign, not a flaw.

    A few things that go wrong (and the fix)

    • Tough, hard crust. Almost always overworking the dough or adding too much water. Handle it less, and remember the discard is doing part of the hydrating — go light on the ice water.
    • Butter leaking out during baking. The dough got too warm before it went in the oven. Chill the lined, filled pan while the oven preheats so it starts baking cold.
    • Crust shrinks down the sides. The gluten was stretched when you fitted it, or it wasn’t rested. Ease the dough into the pan without pulling, and don’t skip the post-shaping chill.
    • Too tangy? Use less discard, or reach for older, milder discard rather than a freshly fed one. For most palates, a quarter cup reads as pleasant depth, not sourness.

    Put that jar to work

    A discard pie crust is one of those small kitchen wins that feels almost like cheating: you take something you were going to throw away, and it makes your holiday pies better — flakier, tastier, and sturdier — than they would have been otherwise. It costs you nothing extra, it clears out the discard jar, and it gives every pie on the table a little bit of your starter’s character. If you’ve got discard to burn and a crowd to feed, this is where to start, and a spiced sourdough discard gingerbread loaf makes a fine second stop for whatever’s left in the jar.
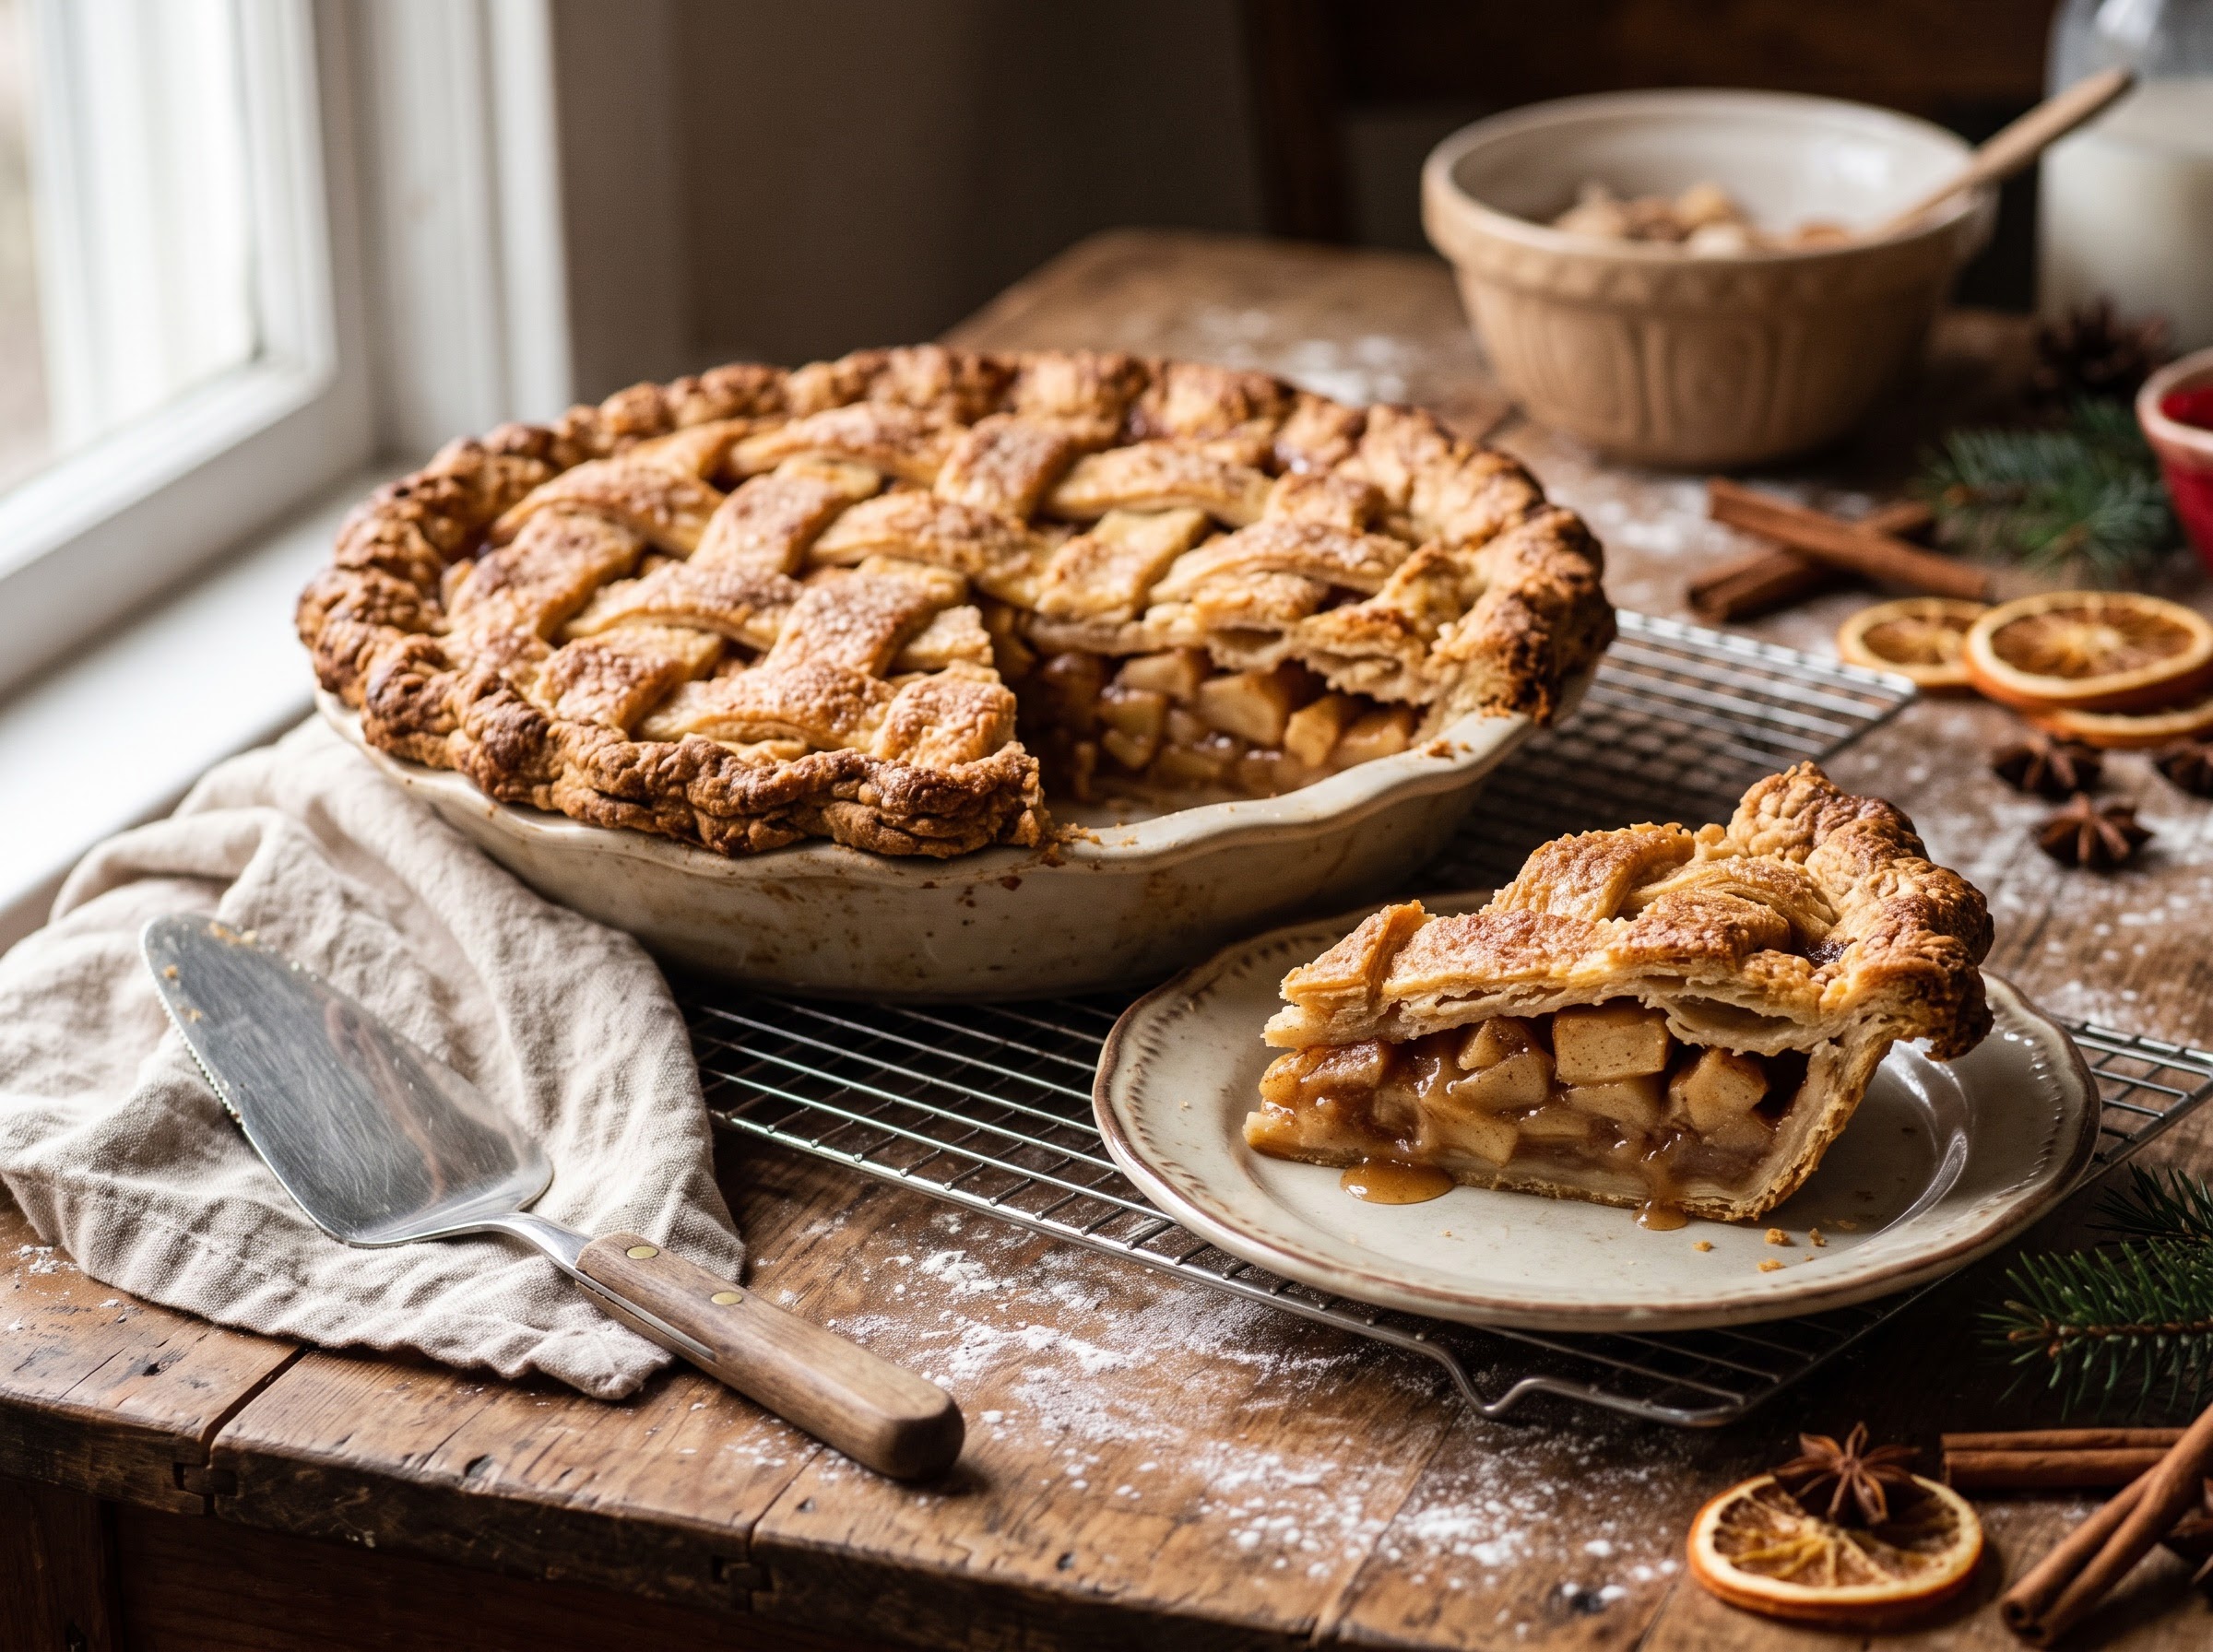
    A finished holiday pie with a flaky golden discard crust, one slice lifted to show the layers
    The payoff: a crisp, layered, golden crust that holds up under a rich holiday filling.

    Pastry is one of those things that clicks the moment you see it done — the size of the butter flakes, how shaggy the dough should look, the way it rolls out from a cold disc. The full step-by-step sourdough discard pie crust, including the blind-bake and the crimp, lives on the LoafLovers YouTube channel, and our free sourdough troubleshooting guide has a printable discard-uses cheat sheet so that jar never goes to waste again. Keep it cold, handle it gently, and go make the flakiest pie on the table.
    Related Reading

  • Sourdough Timing for Thanksgiving: A Make-Ahead Schedule So Your Bread Is Ready When Dinner Is

    Sourdough Timing for Thanksgiving: A Make-Ahead Schedule So Your Bread Is Ready When Dinner Is

    The flavour was never the hard part. You can already bake a loaf you’re proud of. What breaks on a holiday is the clock. The turkey owns the oven for hours, every burner is spoken for, the dough is doing its slow, indifferent thing on the counter, and somewhere around two in the afternoon you realise the bread will either be ready far too early or embarrassingly late. The stress of holiday sourdough is almost never a bad recipe. It’s a timing problem.

    So let’s solve it like a timing problem. The trick that calm bakers use isn’t a faster dough or a secret shortcut — it’s a make-ahead schedule built backward from the moment you want bread on the table. Get the plan right and the actual baking becomes the easy, almost boring part of your day.

    Why holiday sourdough timing feels impossible

    Sourdough is slow and, worse, it’s slow on its own schedule rather than yours. A natural-leaven loaf wants roughly a day from mixing to cooling: a few hours of bulk fermentation, shaping, a proof, a bake, and a long cool before you cut it. On an ordinary Tuesday that’s fine — you flex around it. On a holiday you have a fixed, immovable deadline (dinner at four), a shared oven that’s busy exactly when you’d want it, and zero spare attention to babysit a fermenting dough while you’re also making six other things.

    Try to run a normal same-day bake into that and something gives. The dough finishes at the wrong hour, you can’t get oven time, or you rush the proof and pull a flat, gummy loaf. The fix is to stop fighting sourdough’s slowness and start using it — by deciding the finish time first and reverse-engineering every step from there.

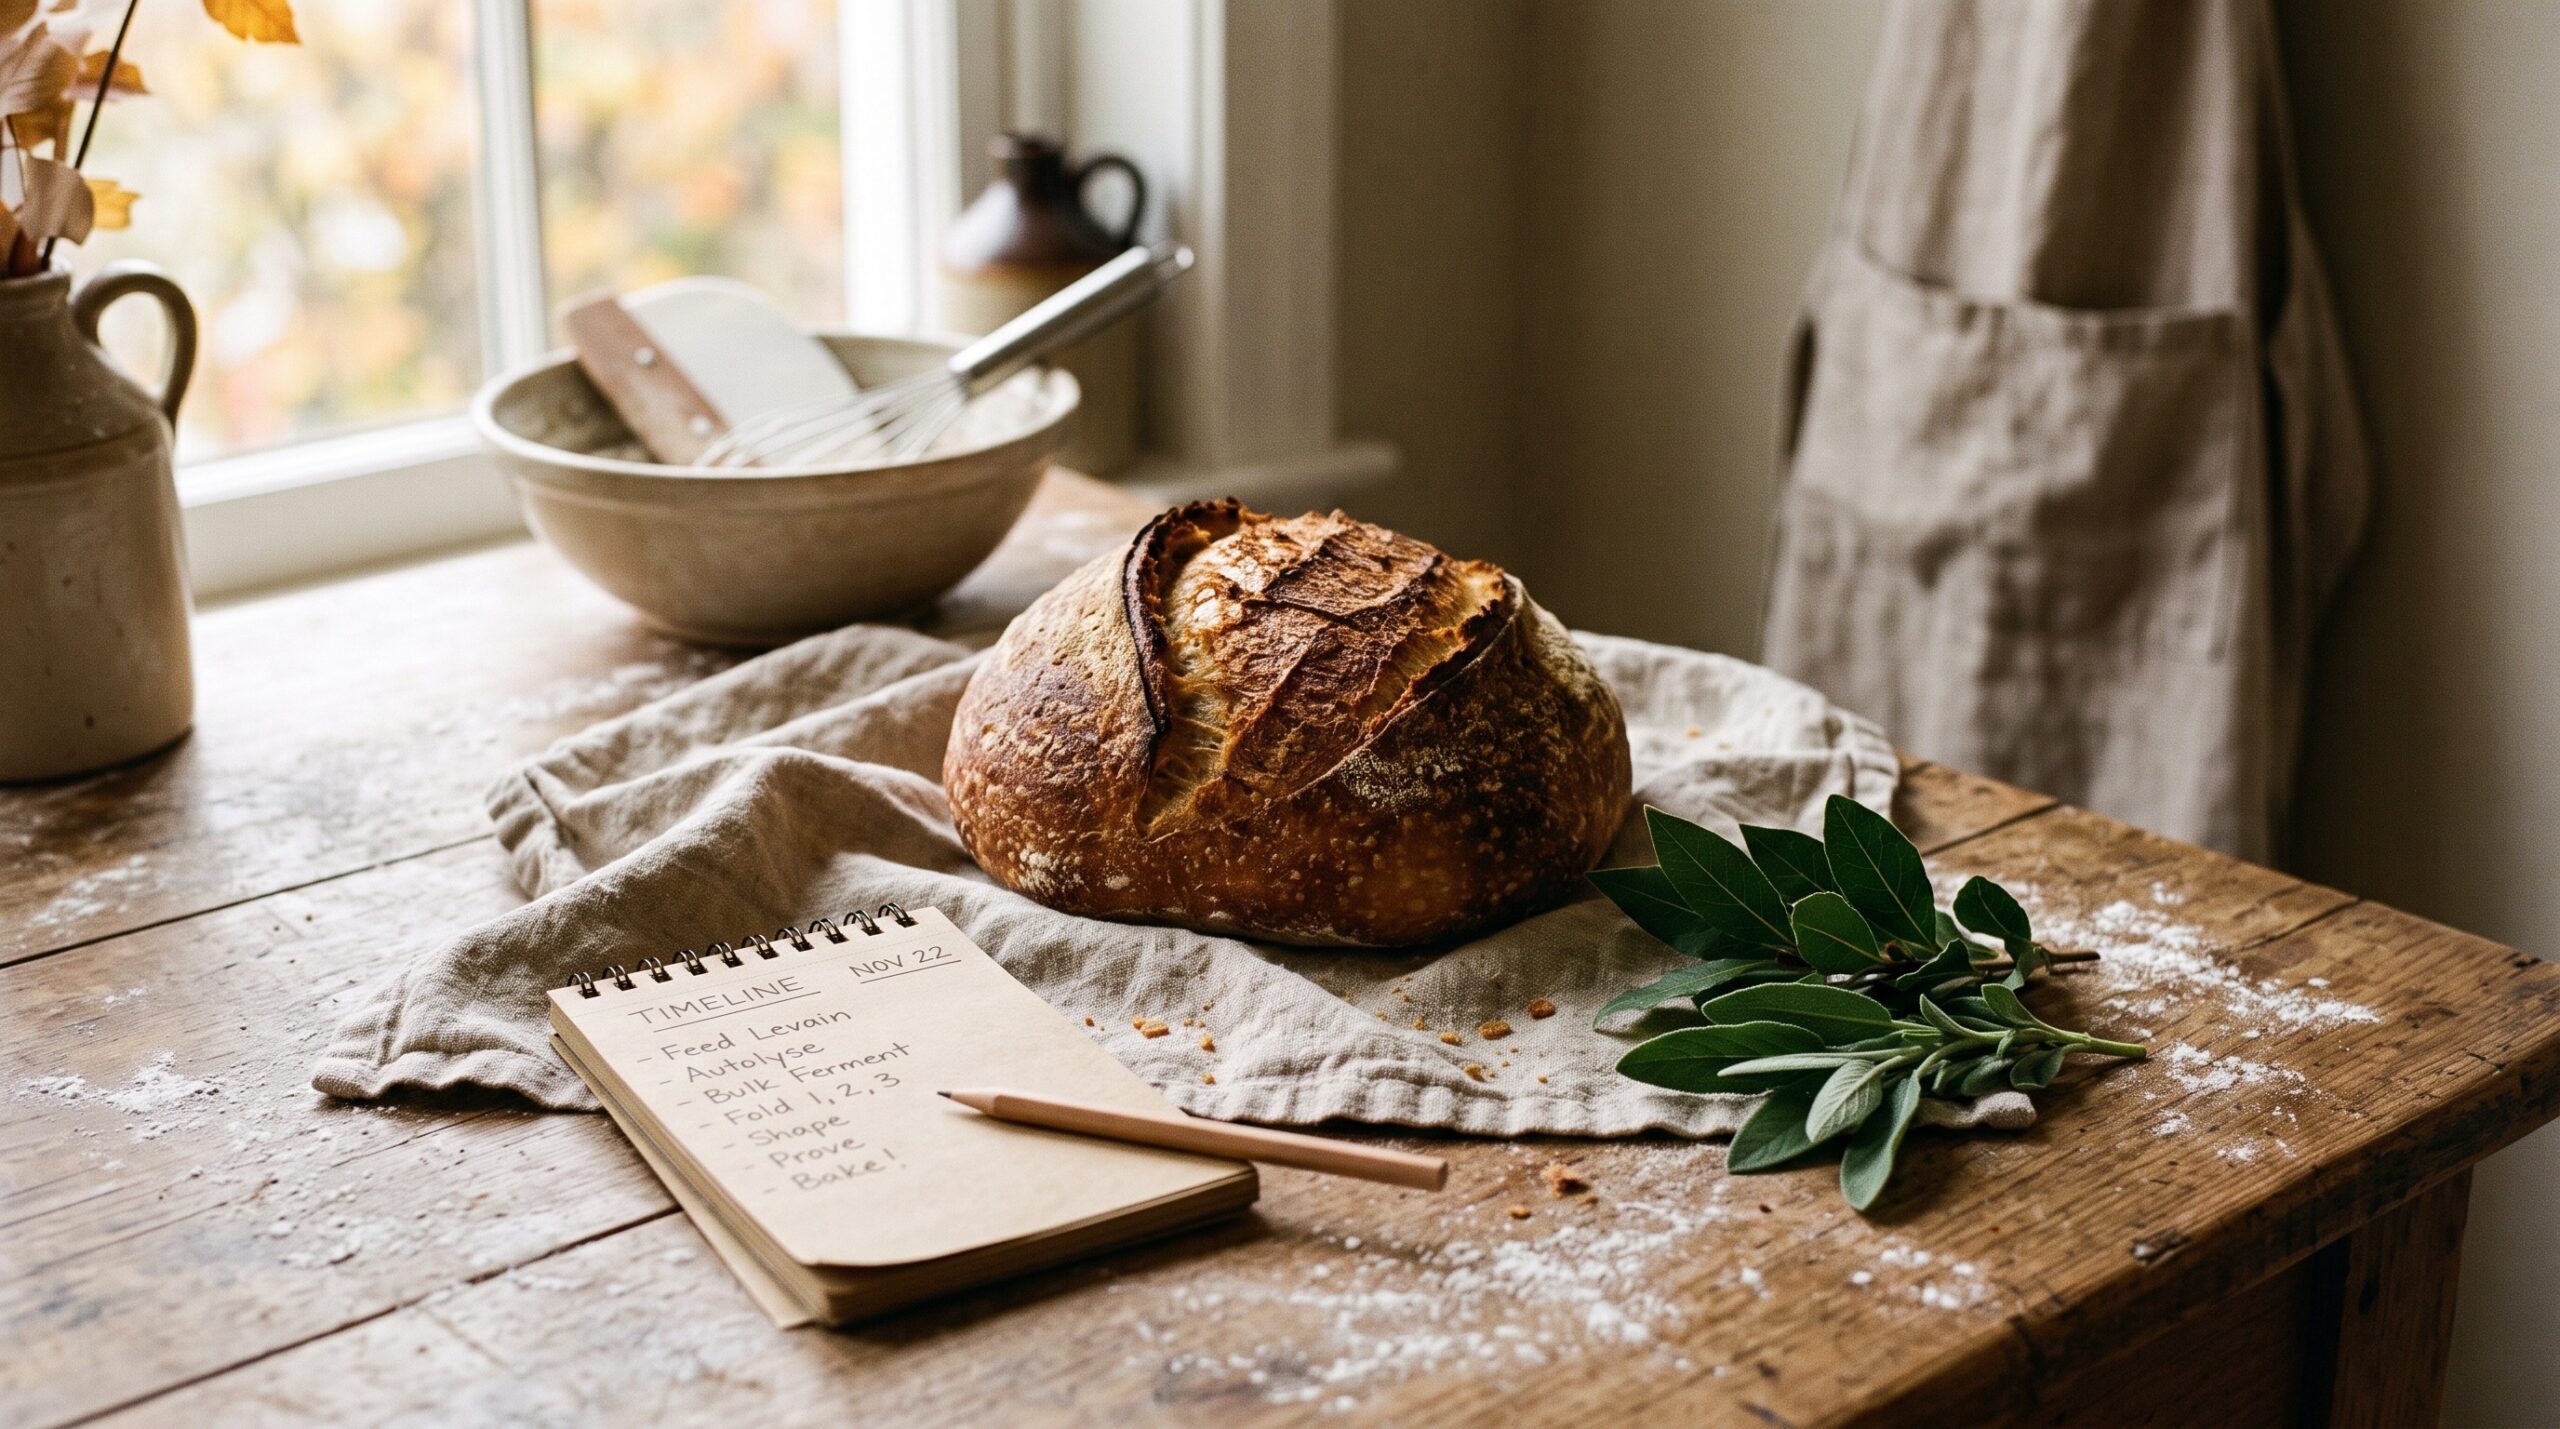
    A fresh sourdough boule on a linen cloth beside a small timing notepad on a flour-dusted table
    Good holiday bread is less about the recipe and more about the timeline — plan it backward from the serving hour.

    Work backward from the serving time, not forward from the starter

    Here’s the mental flip. Most of us start a loaf by asking “when do I feed the starter?” and let the finish time fall wherever it lands. For a holiday, invert it. Write down the serving time and subtract.

    A typical lean loaf, counting backward from the moment you want to serve it:

    • Serve — bread on the table.
    • Minus 1–2 hours — the loaf must be fully cool before you slice it (cutting hot sourdough gives you a gummy, gluey crumb).
    • Minus ~45 minutes — the bake itself.
    • Minus the proof — this is the flexible part, and it’s where the cold fridge earns its keep.
    • Minus 3–5 hours — bulk fermentation and shaping, which depend heavily on your kitchen’s temperature.
    • Minus the morning — feeding your starter so it’s ripe and bubbly when you mix.

    Lay that out and one thing jumps out immediately: there is no comfortable way to squeeze all of it into holiday morning and compete with a turkey for oven space. Which is exactly why the best plan doesn’t try to. It splits the work across two days.

    The overnight cold proof: your scheduling superpower

    The single most useful tool for holiday timing is the refrigerator. After you shape your loaves, instead of proofing them on the counter and baking the same day, you tuck them — shaped, in their bannetons — into the fridge overnight. The cold slows fermentation almost to a standstill, so the dough essentially waits for you, holding at “ready to bake” for anywhere from 8 to 24 hours.

    That one move decouples the slow, fussy part of the process (fermentation) from the fast, controllable part (the bake). You do the mixing, bulk, and shaping the day before, when your kitchen is quiet, and you walk into the holiday with loaves that are already proofed and just need an oven. If your overnight proofs sometimes come out underdone and barely risen, that’s usually a cold-spot or timing issue worth sorting out first — here’s why a fridge cold proof stalls and how to fix it so your make-ahead loaves are genuinely ready to bake.

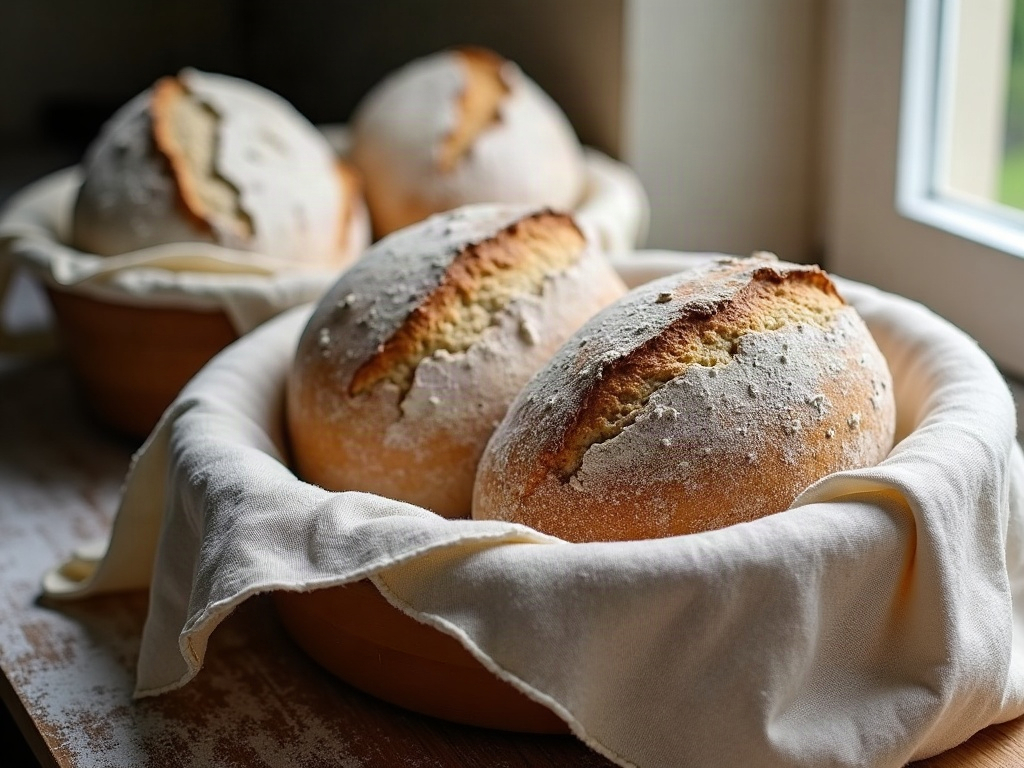
    Shaped sourdough loaves in bannetons going into the fridge for an overnight cold proof
    The overnight cold proof is your scheduling superpower: it parks the dough, ready to bake, until you decide the moment.

    Plan A: bake the day before and refresh (the low-stress champion)

    If you want my honest recommendation for a busy host, this is it: bake your sourdough completely the day before, and simply refresh it before the meal. It sounds like heresy — isn’t sourdough all about that fresh-from-the-oven moment? — but it’s genuinely the move that removes the most stress, and almost no guest can tell.

    Your two-day flow looks like this:

    • Two mornings before: feed your starter so it peaks by midday.
    • The day before, late morning to evening: mix, bulk ferment, shape, and either bake that evening or cold-proof overnight and bake first thing. Either way the loaf is baked and cooling a full day ahead, well off your critical path.
    • Holiday day: nothing. The bread is done. You’re not watching a dough while you make gravy.

    A day-old sourdough is actually easier to slice cleanly than a same-day loaf, and the crumb has settled. The only thing that fades is the crisp crust — and that’s a ten-minute fix. Store the cooled loaf cut-side down or in a paper bag (never plastic, which steams the crust soft), then just before serving, pop the whole loaf into a hot 400 °F / 200 °C oven for 8–12 minutes. The crust crackles back to life and the inside warms through. If your crust tends to go limp after cooling even on a fresh bake, our guide to why sourdough crust softens after cooling explains the refresh in more detail.

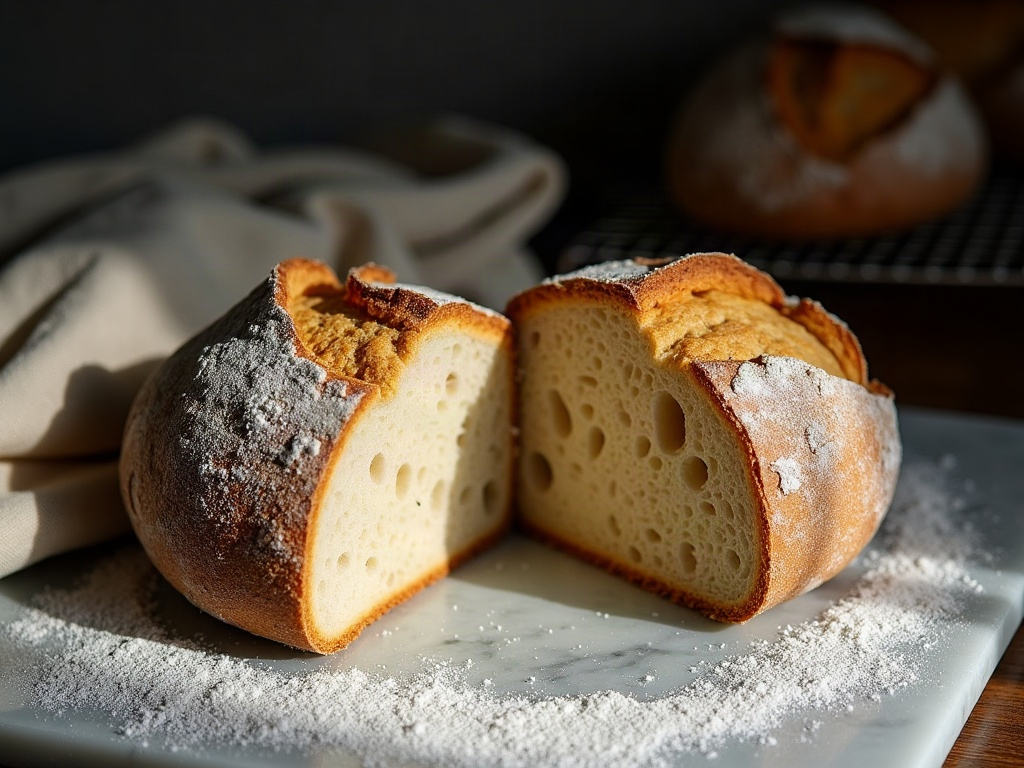
    A cut sourdough loaf with open crumb and golden crust cooling on marble the day before the holiday
    Bake a full day ahead and the loaf is calmer, more sliceable, and completely off your critical path.

    Plan B: the bake-day timeline (for warm-from-the-oven loyalists)

    If you truly want that just-baked loaf steaming on the table, you can — you just have to claim your oven window and respect the cool-down. The overnight cold proof makes this realistic:

    • Day before: mix, bulk ferment, shape, and cold-proof the loaves overnight in the fridge.
    • Holiday day, roughly 3 hours before serving: this is the part people forget — you need an oven window before the turkey takes over, or a gap after it comes out to rest. A resting turkey actually frees the oven for 30–45 minutes, which is the perfect bread slot.
    • Bake straight from the fridge. Cold dough scores cleanly and springs tall, so there’s no warm-up wait — it goes from fridge to hot oven. (If you’ve ever wondered whether to let it warm first, the short answer is usually no; here’s the case for baking straight from the fridge.)
    • Then leave it alone to cool for at least an hour before the meal. Build this into the plan — a loaf pulled at the last second and sliced hot will be gummy and disappointing after all that work.

    The thing that makes Plan B stressful isn’t the baking — it’s pretending the oven is free when it isn’t. Decide your oven window the night before, in writing, and the day runs itself.

    Plan C: freeze ahead, the ultimate insurance

    If you like to be done well before the week even starts, freezing is your friend, and there are two honest ways to do it. You can bake the loaves fully, cool them completely, and freeze them whole — then thaw at room temperature on the day and give them that same 10–15 minute hot-oven refresh to restore the crust. Or you can freeze the shaped dough and bake it closer to the day. Both work, with trade-offs worth knowing before you commit; our walkthrough on freezing sourdough dough and baked loaves covers which to choose. For a host juggling a dozen dishes, a loaf already baked and waiting in the freezer a week out is about as low-stress as holiday bread gets.

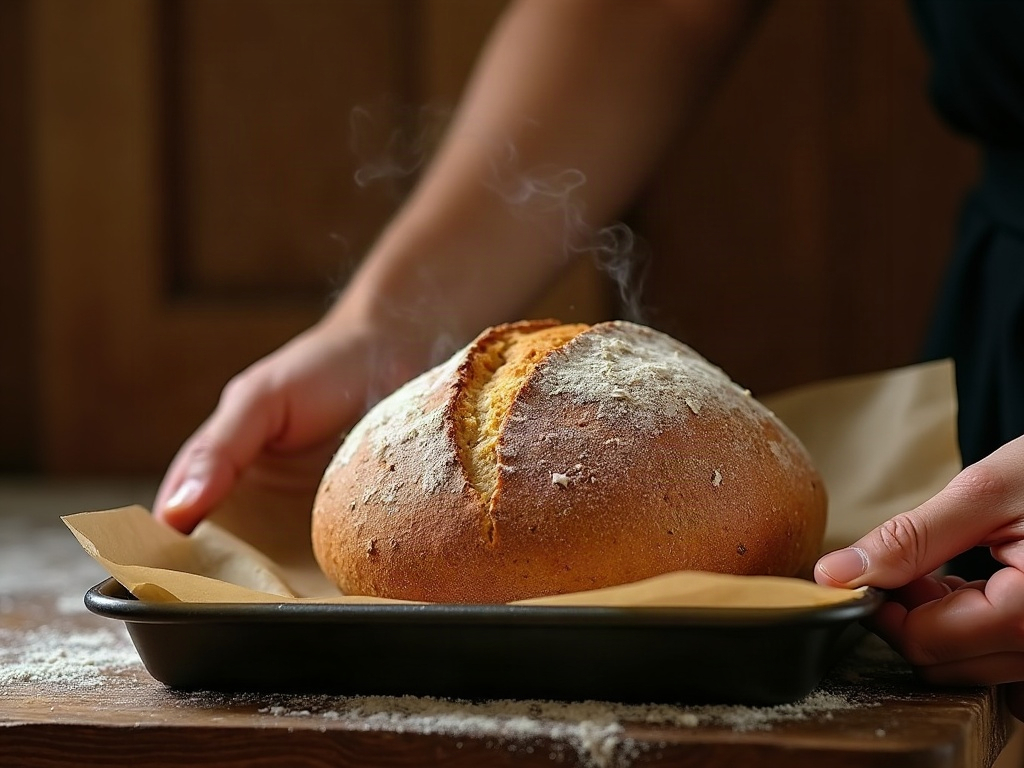
    A day-old sourdough loaf being refreshed in the oven to crisp the crust again
    A ten-minute refresh in a hot oven brings a day-old crust back to crackling, just-baked life.

    Quick troubleshooting: the three timing mistakes that wreck holiday loaves

    If your holiday bread has let you down before, it’s almost always one of these — and every one is a timing error, not a skill gap:

    • Slicing it hot. The most common holiday bread tragedy. A loaf cut before it’s fully cool has a gummy, pasty crumb — the inside is still finishing setting. Build a 1–2 hour cool into the schedule and never shortcut it.
    • No oven plan. “I’ll fit the bread in somewhere” is how loaves end up baked at 6 p.m. for a 4 p.m. dinner. Decide the exact oven window the day before — the turkey’s resting period is often ideal.
    • Trying to do it all on the day. A same-day bake and a holiday feast are competing for the same hours and the same attention. Split the work: ferment and shape the day before, bake (or just refresh) on the day.

    Strip it all down and the whole secret is this: decide when you want bread on the table, then place every step backward from there — and push as much of the slow work as you can into the day before. Sourdough’s slowness stops being the enemy the moment you plan around it instead of racing it.

    If you’d like to see the day-before bake, the overnight cold proof, and the ten-minute refresh happen in real time — so you know exactly what a ready-to-serve holiday loaf looks like at each stage — the full hands-on walkthrough lives on the LoafLovers YouTube channel, and our free sourdough troubleshooting guide has the make-ahead timeline you can print and tape to the fridge. Plan it backward, and enjoy your own dinner.

    Related Reading

  • Sourdough Stuffing for Thanksgiving: Turn a Stale Loaf Into the Best Dressing on the Table

    Sourdough Stuffing for Thanksgiving: Turn a Stale Loaf Into the Best Dressing on the Table

    Every year it’s the same small guilt: a heel of sourdough gone rock-hard on the counter, too stale to slice, too good to bin. Here’s the reframe that changes your whole holiday table – that stale loaf isn’t waste. It’s the best stuffing you’ll ever make, and it’s genuinely better than anything you’d get from a soft sandwich loaf or a bag of dusty cubes.

    Sourdough brings three things to dressing that nothing else does: a sturdy, open crumb that soaks up stock without collapsing, a faint tang that cuts through all that richness, and a crust that crisps into savory little edges. The catch is that stuffing is where two opposite failures meet – soggy bread pudding on one end, dry croutons on the other. This guide walks the narrow path between them.

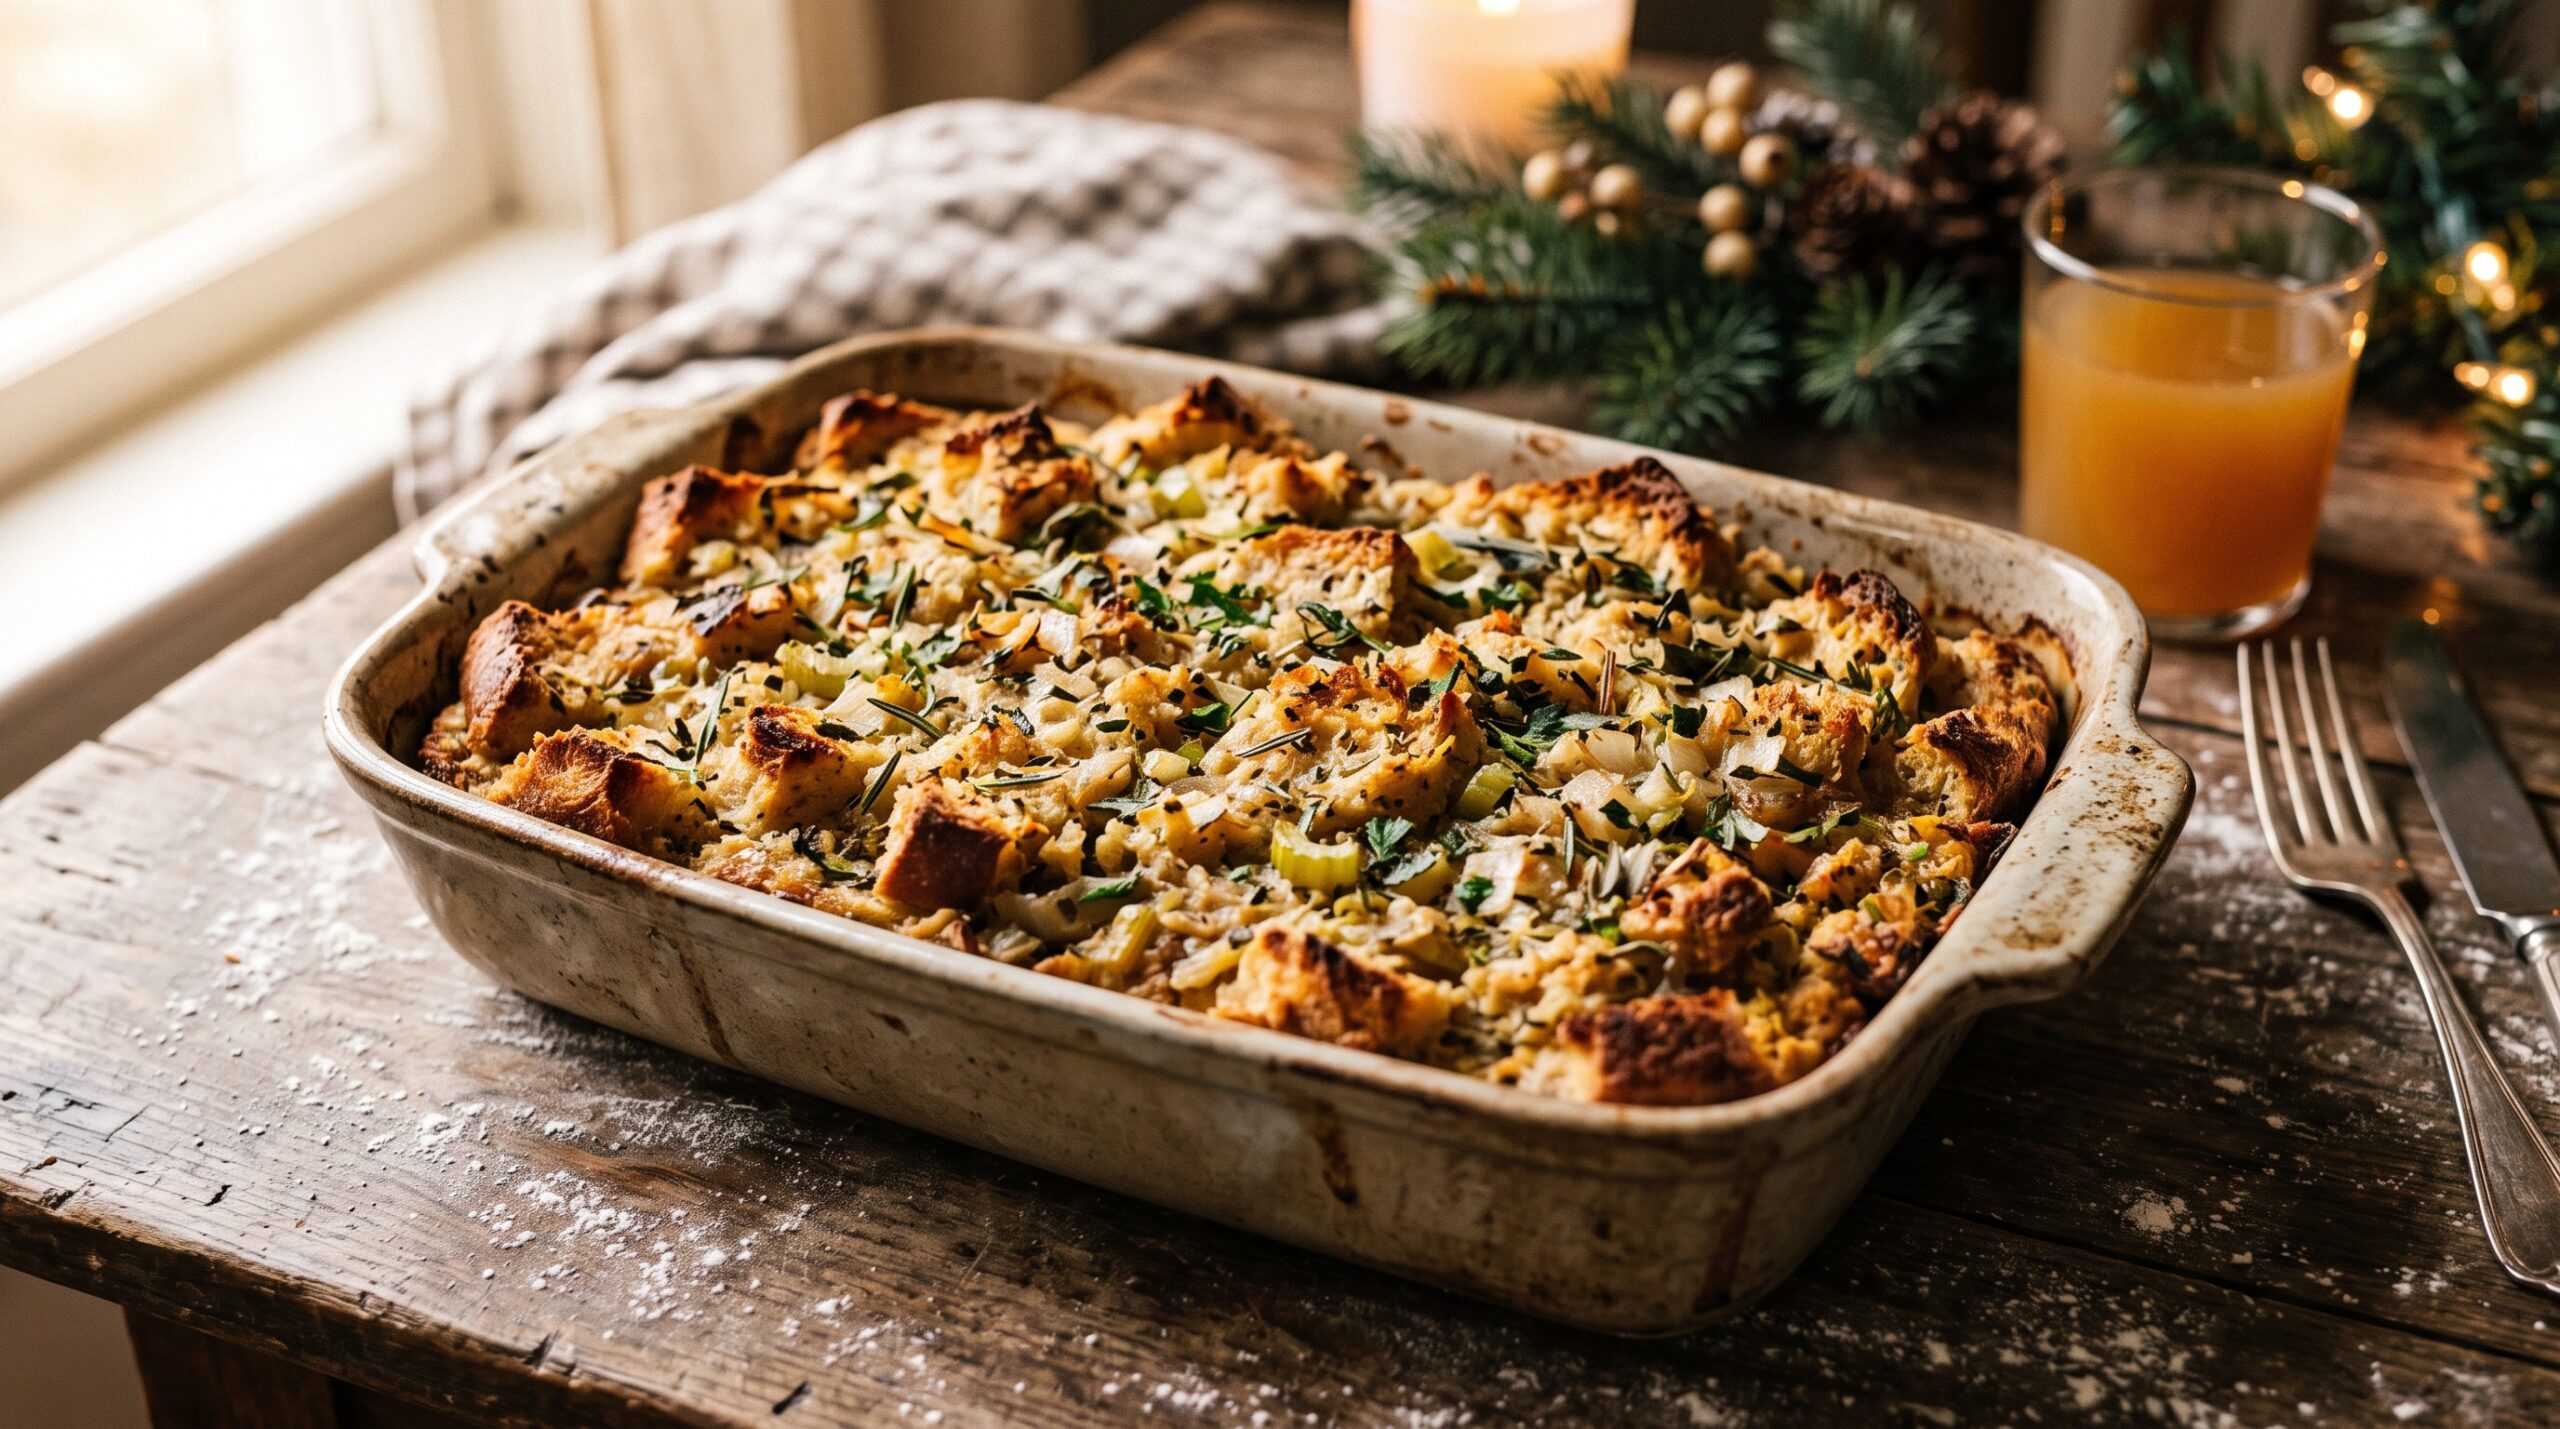
    A baking dish of golden sourdough stuffing with a crisp craggy top on a holiday table
    Crisp, craggy top; soft and savory underneath – sourdough’s open crumb is built for this.

    Why stale sourdough is the secret, not a compromise

    Fresh bread is full of moisture, and moisture is the enemy here. Cube a fresh loaf, drown it in stock, and the cell walls give up – you get a dense, gummy paste. Properly dried bread behaves completely differently: the starch has firmed up, so each cube acts like a little sponge with a backbone. It drinks in the flavored liquid and holds its shape, giving you that ideal contrast of crisp top and tender, custardy interior.

    Sourdough’s structure makes this even better. Those irregular holes from a long fermentation create more surface area to catch stock and more edges to crisp. And the mild acidity balances the butter, stock, and fat from the bird so the whole dish tastes savory rather than heavy. If you’ve only ever had stuffing from soft white bread, sourdough is a real upgrade – more texture, more depth, less of that one-note squish.

    Drying the bread: the step people skip and regret

    You have two routes, depending on how far ahead you planned.

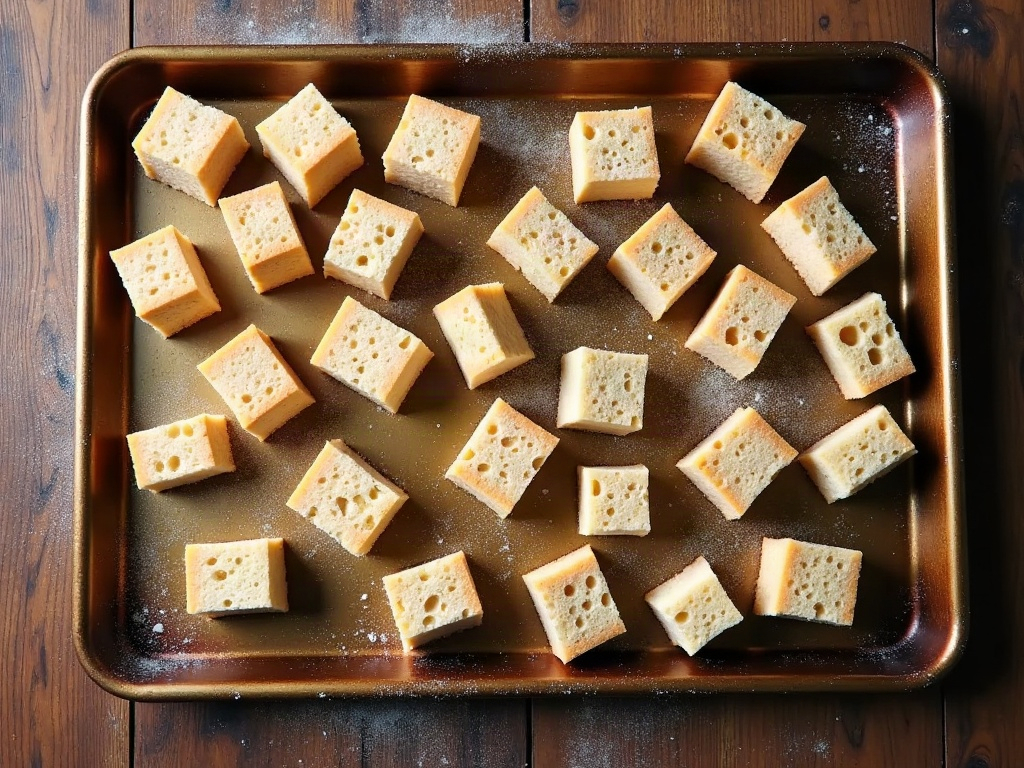
    If you have a day or two: Cut the loaf into roughly 3/4-inch to 1-inch cubes – uneven is fine, the ragged bits crisp up beautifully – and spread them in a single layer on sheet pans. Leave them out, uncovered, for 24 to 48 hours, tossing once. You want them dry to the center and firm enough to knock together with a dry sound.

    If you forgot (most of us): Spread the cubes on sheet pans and dry them in a 275°F (135°C) oven for 40 to 50 minutes, tossing every 15, until they’re crisp and pale-golden but not toasted dark. Let them cool fully. Don’t rush this with high heat – you want them dried out, not browned, so they still have room to take on color later.

    Either way, the test is simple: a finished cube should feel light, sound hollow, and have no cool, damp give in the middle. Damp cubes are the number-one cause of gluey stuffing.

    Cubed sourdough bread spread on a sheet pan to dry before making stuffing
    Cube the loaf and let it go properly stale – dry bread drinks up stock instead of turning to mush.

    Building real flavor: aromatics and herbs

    Stuffing lives or dies on its base, and the base is butter and aromatics. For a loaf’s worth of cubes (about 10-12 cups), melt a generous half-cup (1 stick) of butter in a large skillet and sweat a big diced onion and 3-4 ribs of celery, with a good pinch of salt, until soft and translucent – 8 to 10 minutes. No rushing and no browning the onion hard; you want them sweet and mellow.

    Then the herbs. Fresh sage, thyme, and a little rosemary are the classic holiday trio – add them in the last couple of minutes so they bloom in the butter without going bitter. A couple of cloves of garlic, some black pepper, and a handful of chopped parsley stirred in at the end round it out. If you like a little sweetness and texture, this is the point to fold in cooked, crumbled sausage, sauteed mushrooms, or toasted nuts – but a plain herb version is a thing of beauty on its own.

    The stock-and-egg ratio that makes or breaks it

    This is the part everyone fears, so let’s make it foolproof. The goal is cubes that are evenly damp and springy – think a well-wrung sponge – not floating in liquid.

    In a very large bowl, toss the dried cubes with the buttery aromatics. In a separate bowl, whisk 2 to 2.5 cups of warm chicken or vegetable stock with 2 large eggs. The eggs are doing quiet but crucial work: they set as the stuffing bakes, binding everything into a soft custard that holds together on the spoon instead of falling apart.

    Now add the liquid gradually. Pour in about two-thirds, fold gently, and wait a minute – dry sourdough takes a moment to absorb. Press a cube: it should be moist and yielding but still hold its edges. Add more stock a splash at a time until every cube is damp and the mixture just barely holds together when you squeeze a handful. It should look generously moist but never soupy. Under-saturated is easy to fix later; drowned is not.

    Onion, celery, sage and thyme cooking in butter in a skillet
    Sweat the aromatics in real butter first – this is where most of the flavor actually lives.

    Baking: covered, then uncovered, for the best of both

    Butter a baking dish and pack the stuffing in loosely – don’t compress it, or you’ll squeeze out the air that keeps it light. Here’s the two-stage trick for that crisp-top, tender-middle result:

    Cover tightly with foil and bake at 350°F (175°C) for 25 to 30 minutes. This traps steam, cooks the interior through, and lets the eggs set into a soft custard. Then pull the foil, dot the top with a little more butter, and bake uncovered for another 20 to 30 minutes until the top is deeply golden and crackly. The internal temperature should reach about 160°F (71°C) if you want to check.

    A note on the old debate: baking it in a dish like this is technically dressing, and it’s the safer, crispier choice. Packing it inside the bird gives you soggier bread and a food-safety headache. Keep it in its own dish and you get far more of those crunchy edges everyone fights over anyway.

    Dried sourdough cubes being tossed with herbs and stock in a large bowl
    Add the stock gradually – you want the cubes damp and springy, never swimming.

    Make it ahead so the big day is calm

    Stuffing is one of the most forgiving make-ahead dishes, which is exactly what you want when the oven is a battlefield. Dry the bread cubes up to a week early and store them airtight at room temperature. You can cook the aromatics a day or two ahead and refrigerate them too.

    You can even assemble the whole thing (cubes, aromatics, and stock-egg mixture) the night before, cover, and refrigerate. Pull it out while the oven comes up to temperature, add a small splash of stock if it looks like it tightened up overnight, and bake as above – you may need a few extra covered minutes straight from the fridge. Leftovers reheat well, covered, with a little stock to revive them.

    Troubleshooting: soggy, dry, or bland

    Three failures, three quick fixes:

    Soggy or gluey: The bread wasn’t dry enough, or you added too much stock too fast. Next time, dry the cubes harder and hold back liquid – add it in stages. To rescue a too-wet batch mid-process, fold in a handful of extra dry cubes and bake uncovered a little longer to drive off moisture.

    Dry or crumbly: Not enough stock, or it baked uncovered the whole time. The foil stage is what keeps the middle tender. If a baked batch came out dry, drizzle warm stock over it and cover for 10 minutes in a low oven – it’ll soften right back up.

    Bland: Under-salted or under-buttered. Stuffing needs more seasoning than you’d expect because the bread dilutes everything. Taste the aromatics before you combine, and don’t be shy with salt, pepper, and fresh herbs.

    A serving spoon lifting a portion of sourdough stuffing showing crisp top and tender interior
    The payoff: a shattering top over a custardy, savory middle that holds its shape on the spoon.

    Get the bread dry and the liquid gradual, and sourdough stuffing is close to impossible to ruin – and it quietly becomes the dish people ask you to bring every year. That stale heel on the counter has a job now.

    Want the visual version – the cube test, the squeeze test, and the two-stage bake – walk through it on the LoafLovers YouTube channel, and grab our free sourdough troubleshooting guide if you’d like the rest of our fixes in one place.

    Related Reading