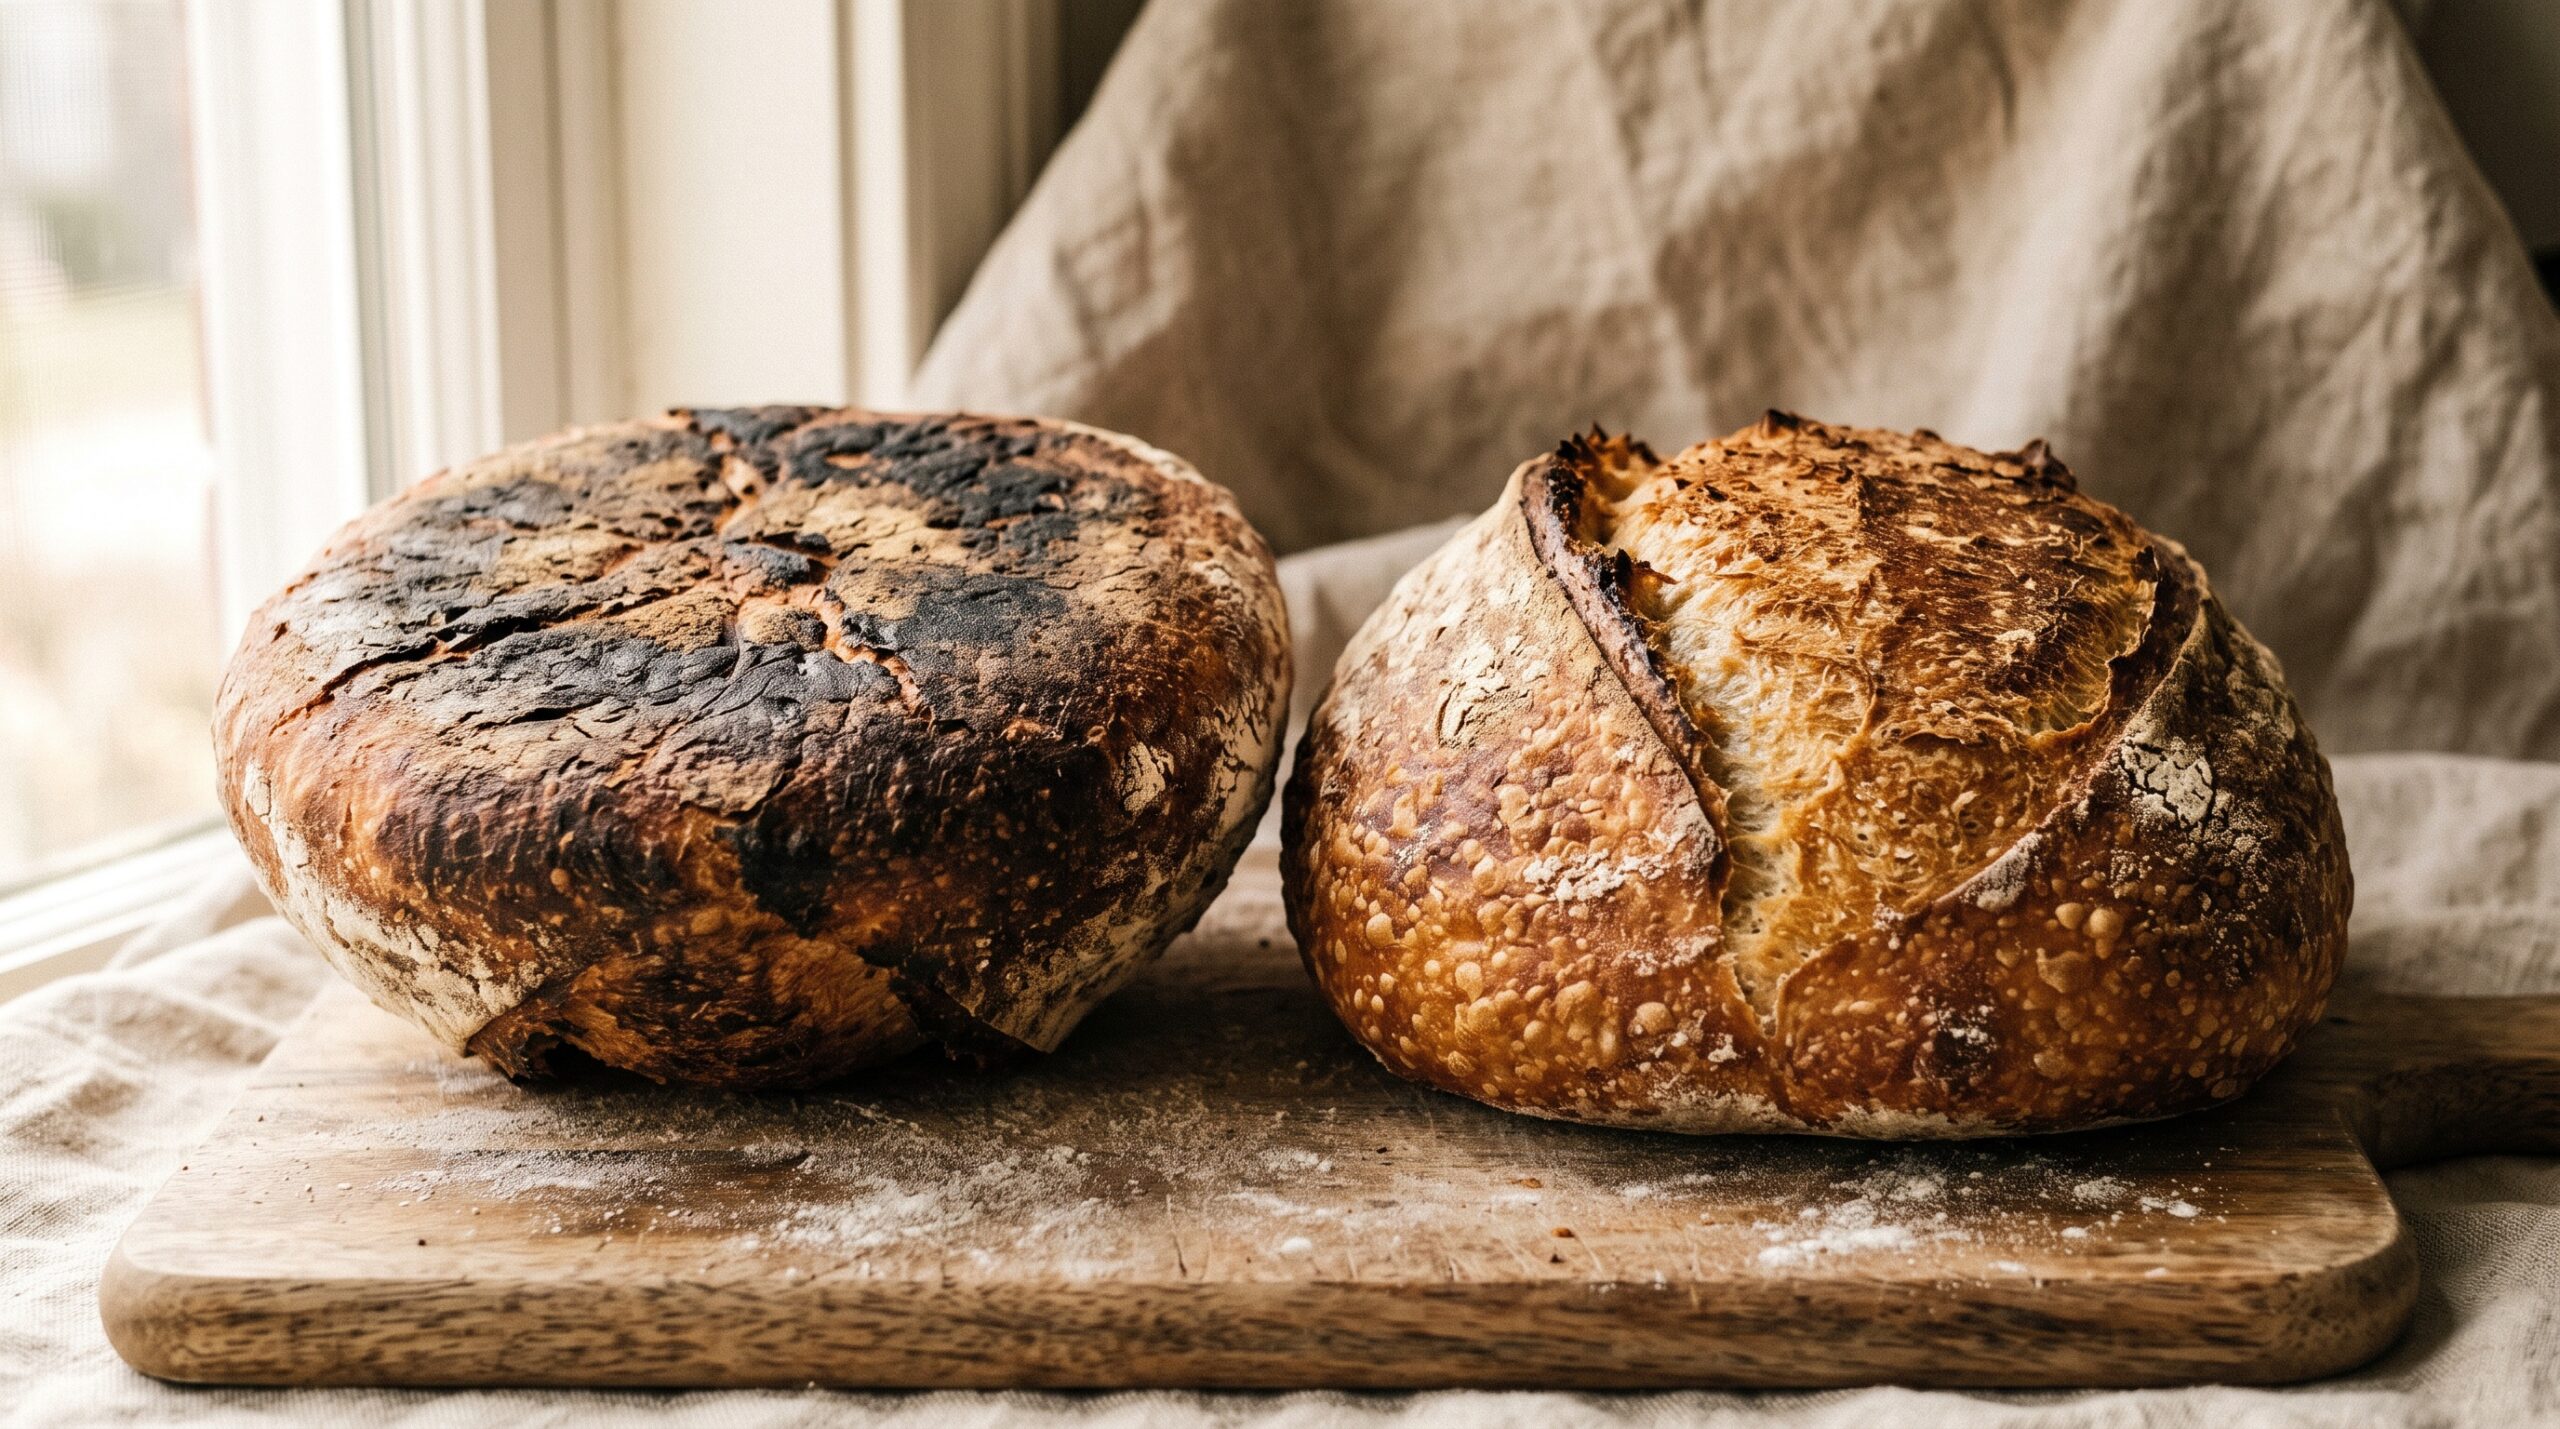
You pull the loaf out, and the top looks incredible: blistered, deep gold, exactly what you were hoping for. Then you flip it over and your heart sinks. The bottom is a slab of near-black, and when you cut in, that base tastes acrid and bitter enough to ruin an otherwise good slice. It’s one of the most deflating sourdough surprises, precisely because everything else went right.
Here’s the reassuring part: a burnt bottom is almost never a mistake in your dough, your starter, or your fermentation. It’s a heat problem, plain and simple. Your base is getting cooked harder and faster than the rest of the loaf, and once you understand where that heat is coming from, the fix is quick and permanent. Let’s diagnose it and shut it down.
Read the burn before you fix it
Start by looking closely at what actually burned. There’s a real difference between a base that has gone uniformly dark brown to black, and a base that’s golden but flecked with scattered black specks. The first is the crust itself overbaking from too much direct heat. The second is usually burnt dusting flour, the semolina, rice flour, or rye you scattered to stop sticking, carbonizing on contact with hot metal.
They have different fixes, so it’s worth the ten-second look. If the whole base is scorched, you have a heat-delivery problem and the next few sections are for you. If it’s mostly specks on an otherwise fine crust, jump ahead to the dusting-flour section. Often it’s a bit of both, and the good news is the fixes stack neatly.
Why the bottom scorches: it’s heat from below
Most home ovens heat unevenly, and the bottom element or the oven floor is frequently the most aggressive source in the box. When you bake sourdough in a preheated Dutch oven or on a screaming-hot baking stone, you’re pressing raw dough directly onto metal or ceramic that has been soaking up radiant heat for 45 minutes to an hour. That surface can sit well above the air temperature around it.
The crumb and the top crust bake off the ambient heat and steam. The base, meanwhile, is conducting heat straight through the vessel, cooking faster and browning sooner. By the time the interior is set and the top is properly colored, the bottom has had far more thermal energy than it needed. That’s the whole mechanism, and every fix below is really just a way of moderating that one contact point.
Move the loaf off the direct heat
The fastest, most reliable fix costs nothing: put a barrier between your baking vessel and the oven’s bottom heat. Slide an empty metal baking sheet onto the rack directly beneath your Dutch oven or stone. That extra tray intercepts and diffuses the radiant blast so it never hits your loaf full force. For a lot of bakers this single change turns a black base golden overnight.
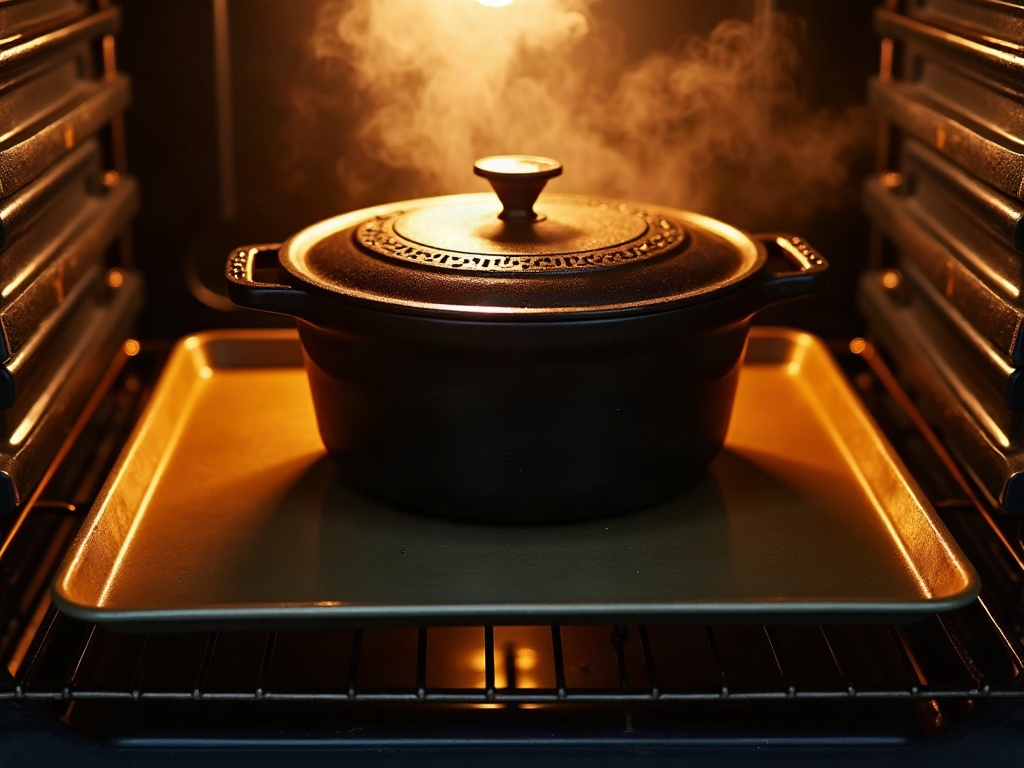
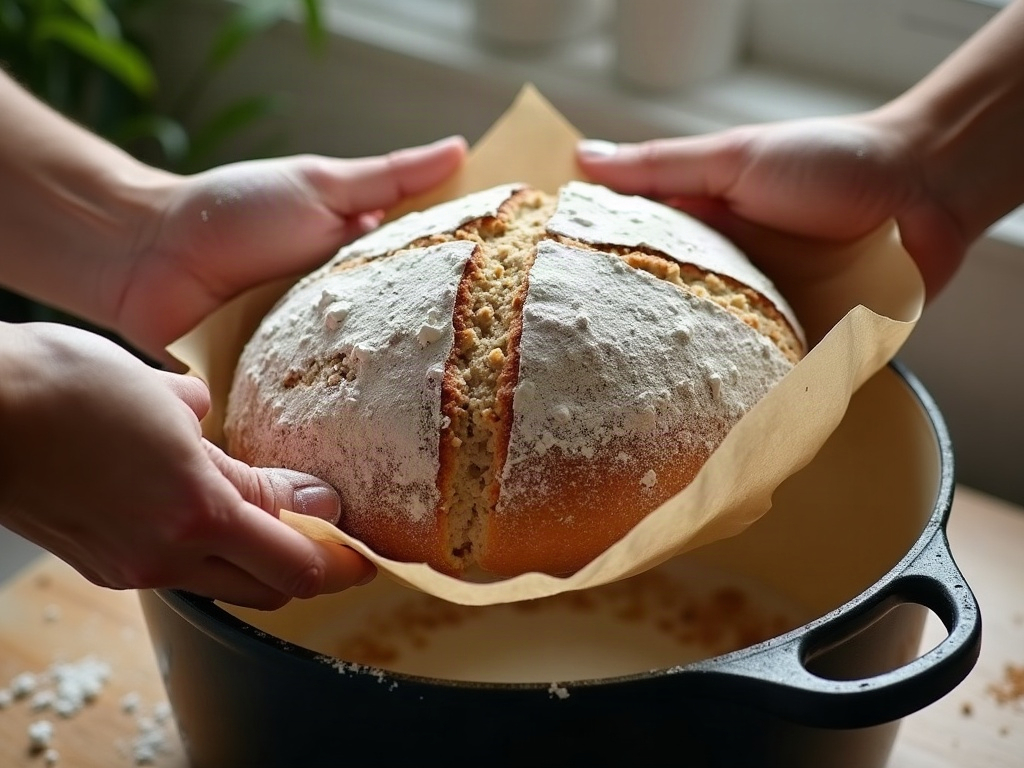
You can also add a buffer right under the dough. A folded piece of parchment, a second thin tray, or a trivet inside the Dutch oven all lift the base a few millimeters off the scorching floor of the pot. Some bakers keep a small sheet of parchment as a sling, which does double duty: it makes launching the dough clean and easy while adding a thin insulating layer. If you’re curious how launching works without any vessel at all, our guide to baking sourdough without a Dutch oven walks through tray-and-steam setups that sidestep the problem entirely.
Fix your preheat and oven setup
Two setup habits quietly cause a lot of burnt bases. The first is preheating too hot for too long. If you routinely preheat your Dutch oven at 500 degrees Fahrenheit for a full hour, the metal is storing enormous heat that dumps straight into the dough the instant it lands. Try preheating at your bake temperature rather than higher, and cap the preheat at around 45 minutes. The pot will still spring the loaf beautifully with less scorch.
The second is rack position. If your baking vessel sits on the lowest rack, it’s parked right in the path of the bottom element. Move it up to the middle or even the upper-middle rack. That small shift puts more air between the heat source and your loaf and evens out top-to-bottom coloring. And if your oven has a convection or fan setting, using it circulates heat so no single surface dominates. A cheap oven thermometer is worth buying here, because plenty of ovens run 25 degrees or more off their dial, and a base that burns every single time is often a sign your oven is simply hotter than it claims.
The dusting flours that burn, and better choices
If your base is golden with black freckles, your dusting flour is the culprit. Fine flours and grains scorch at high heat: whole rye, semolina used too heavily, and especially anything with residual sugar will darken and turn bitter fast against a hot surface. A thick layer of it on the bottom of the loaf is basically kindling.
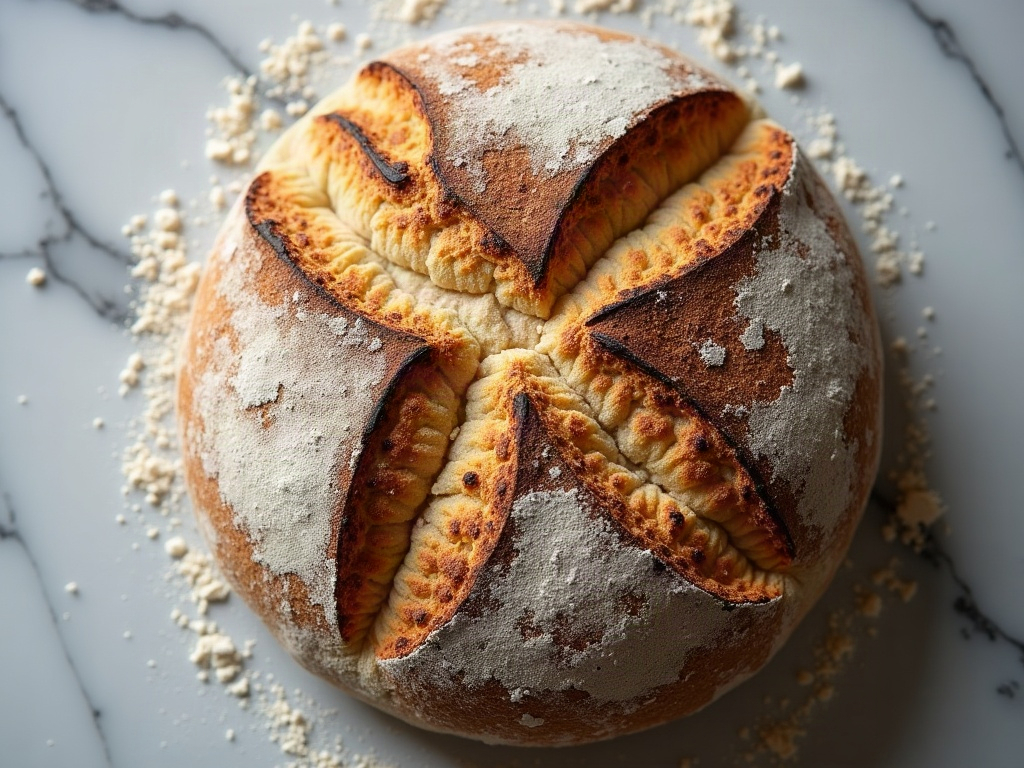
The fix is to use less and choose better. Rice flour is the home baker’s friend here because it resists sticking without burning as readily as wheat or rye. Whatever you use, apply a light, even dusting rather than a heavy coat, and knock off the excess before the loaf goes in. If you’re battling sticking in the first place and over-flouring to compensate, the real solution lives upstream, and our breakdown of handling sticky high-hydration dough will get you there with far less flour on the base.
Timing, sugar, and enriched doughs
Bake time and dough composition both feed into a dark base. If you bake lidded and then uncovered, the base keeps conducting heat the entire time even after the top has taken on color. Once the top is where you want it, you can pull the loaf a few minutes early, or move it up a rack for the final stretch so the base stops gaining. There’s no rule that says the last five minutes have to happen on the same shelf.
Enriched and sweetened doughs deserve special caution. Any sourdough with added honey, sugar, malt, or milk browns faster everywhere, and the base scorches soonest because of the direct contact. For those loaves, lower your temperature by 15 to 25 degrees and lean harder on the heat-deflection tray. This is the mirror image of the pale, anemic crust problem, and the same levers, heat, position, and sugar, control both directions.
A quick pre-bake checklist to save the base
Run through this before your next bake and a burnt bottom becomes a rare accident instead of a habit. One: put an empty tray on the rack below your vessel. Two: preheat at your bake temperature, not above it, and stop at about 45 minutes. Three: bake on the middle rack, never the lowest. Four: use a parchment sling or a thin buffer under the dough. Five: dust lightly with rice flour and shake off the excess. Six: check your oven’s true temperature with a thermometer.
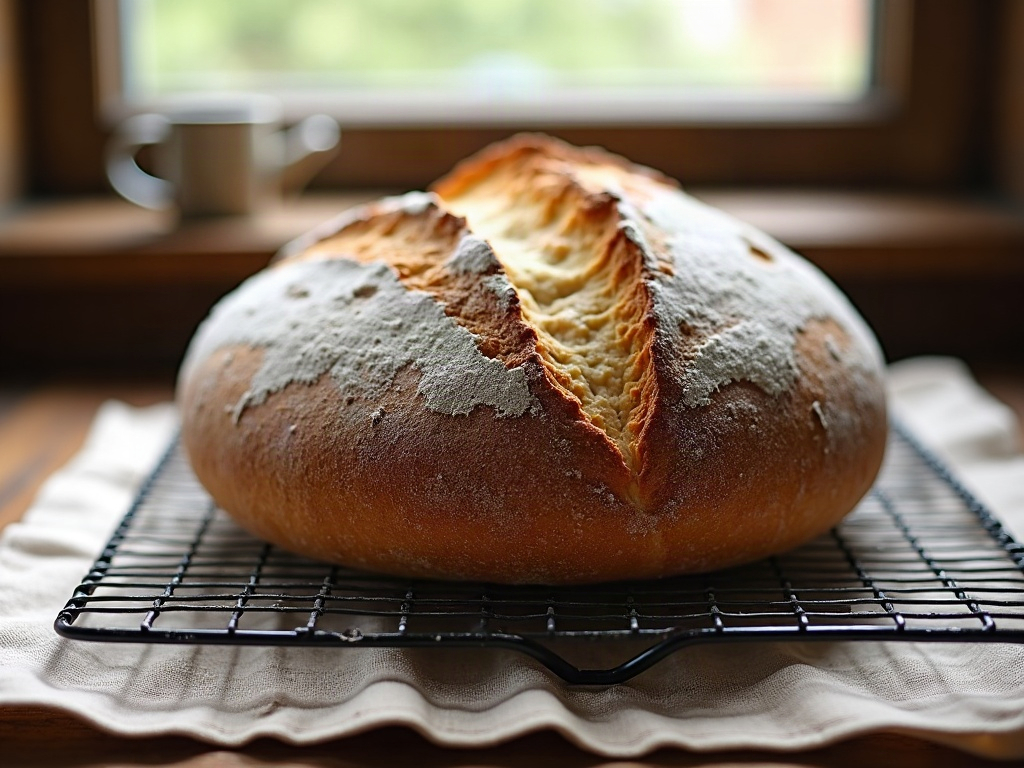
If you’ve been fighting a base that burns while the top and crumb come out right, resist the urge to change your recipe. Change your heat. And if your loaf is landing hard all over rather than just underneath, that’s a different fix worth reading up on in our guide to a crust too tough to bite through.
Want to watch the heat-deflection setup, the parchment sling, and a proper preheat in real time? The full burnt-bottom walkthrough lives on the LoafLovers YouTube channel, and our free sourdough troubleshooting guide covers the rest of the crust fixes for when you’re mid-bake and need the answer now. No hard sell, just the fix.
Leave a Reply