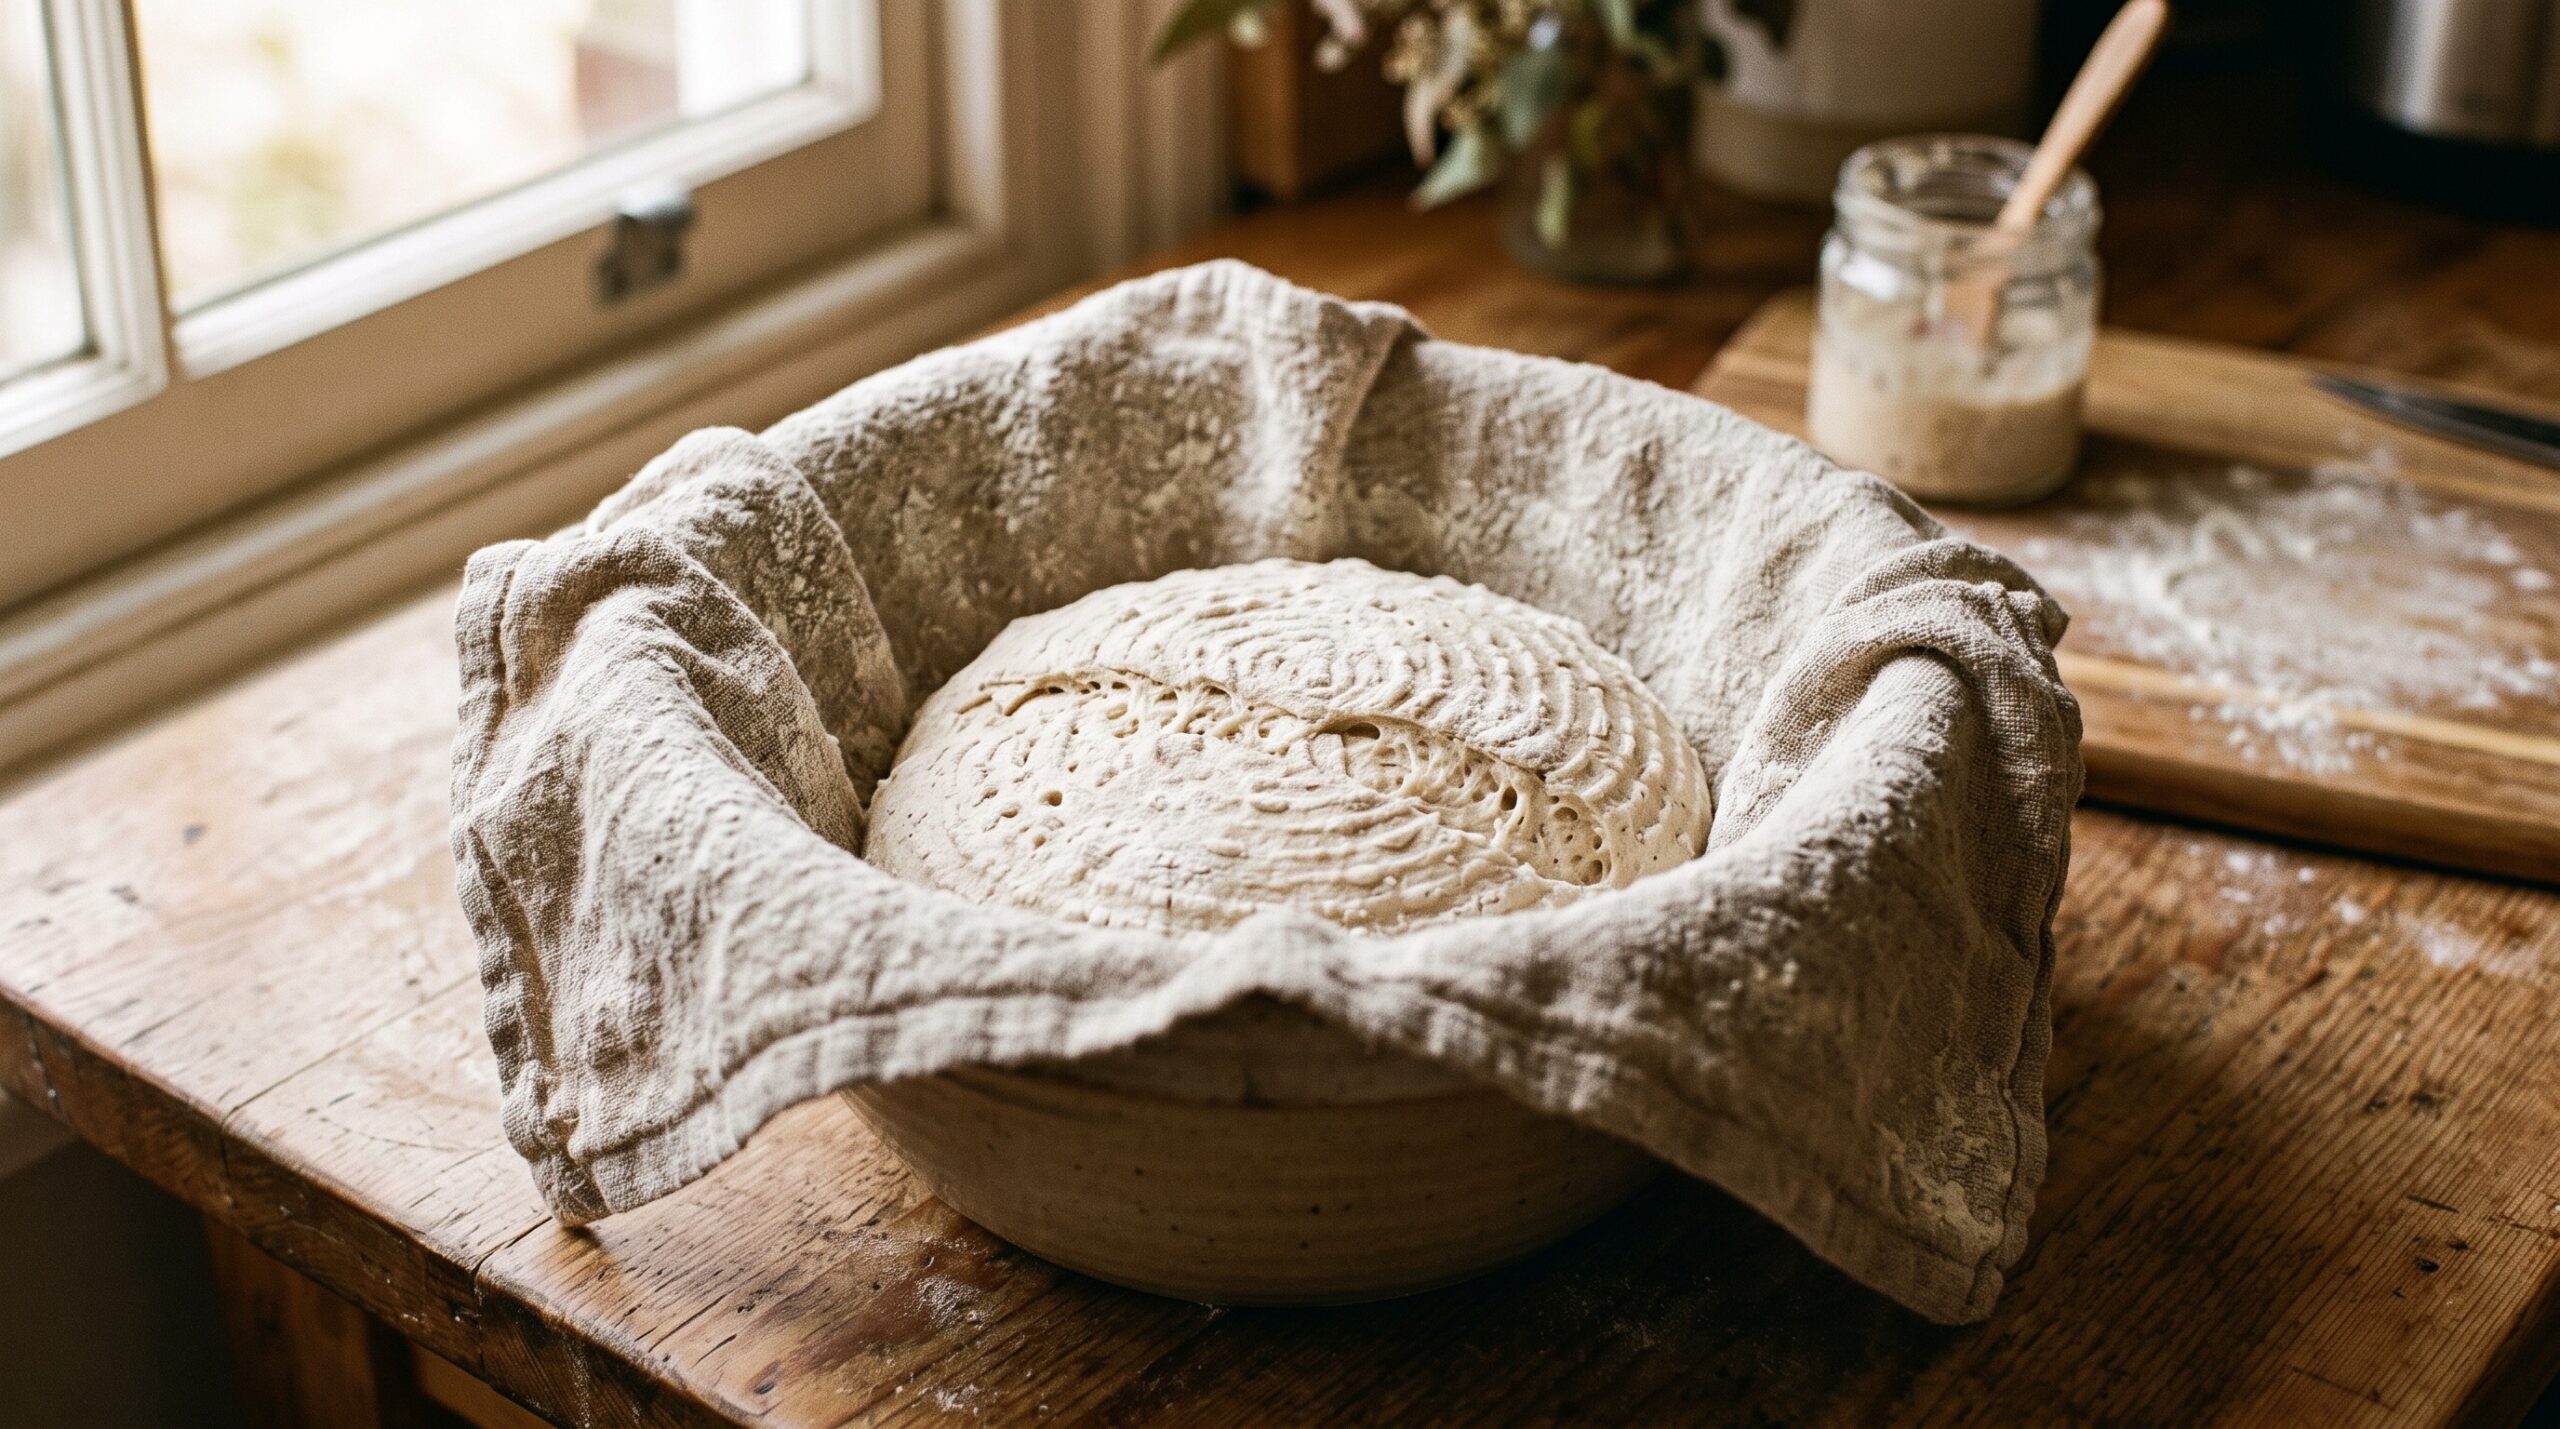
You have a shaped loaf in front of you, a starter that finally looks alive, and a nagging article somewhere telling you that you must proof it in a banneton — that specific ribbed cane basket that leaves the pretty spiral on the crust. It is sitting in an online cart you have not checked out. Meanwhile the dough is proofing now, on your schedule, not the shipping company’s.
Here is the good news, and it is genuinely good: the banneton is a convenience, not a requirement. Its entire job is to hold a wet, slack dough in a round or oval shape while it does its final rise, and to do that without the dough gluing itself to the sides. Every kitchen already owns two or three things that do exactly that. Let’s fix your proofing problem with what you have.
What a banneton actually does (so you can replace it)
Break the job down and it stops being intimidating. During the final proof, your shaped dough is soft and relaxing. Left on a flat counter it will slowly spread outward into a sad disc. A banneton solves three specific things:
1. It supports the sides so the dough rises up instead of flowing out. 2. It wicks a little surface moisture, giving you a drier skin that scores cleanly and springs well. 3. It releases the dough without tearing, thanks to a generous dusting of flour in the ribs.
Anything that gives structural support and can be floured well enough to release will work. That is the whole secret. Once you see it that way, your cupboard is full of bannetons.
The bowl-and-tea-towel method (the one to start with)
This is the classic substitute, and honestly most bakers who own bannetons still reach for it half the time. Take a mixing bowl roughly the size and shape you want your loaf to be — a rounded bowl for a boule, a longer oval dish for a batard. Line it with a smooth, lint-free tea towel or a piece of linen. Then flour the cloth generously.
Place your shaped dough in seam side up. The smooth, taut surface you built during shaping sits at the bottom of the bowl, which becomes the top of the loaf when you tip it out. Cover and proof. When you are ready to bake, invert the bowl onto parchment or a peel and the dough drops out, seam now underneath, smooth top facing up and ready to score.
The colander trick for a little extra character
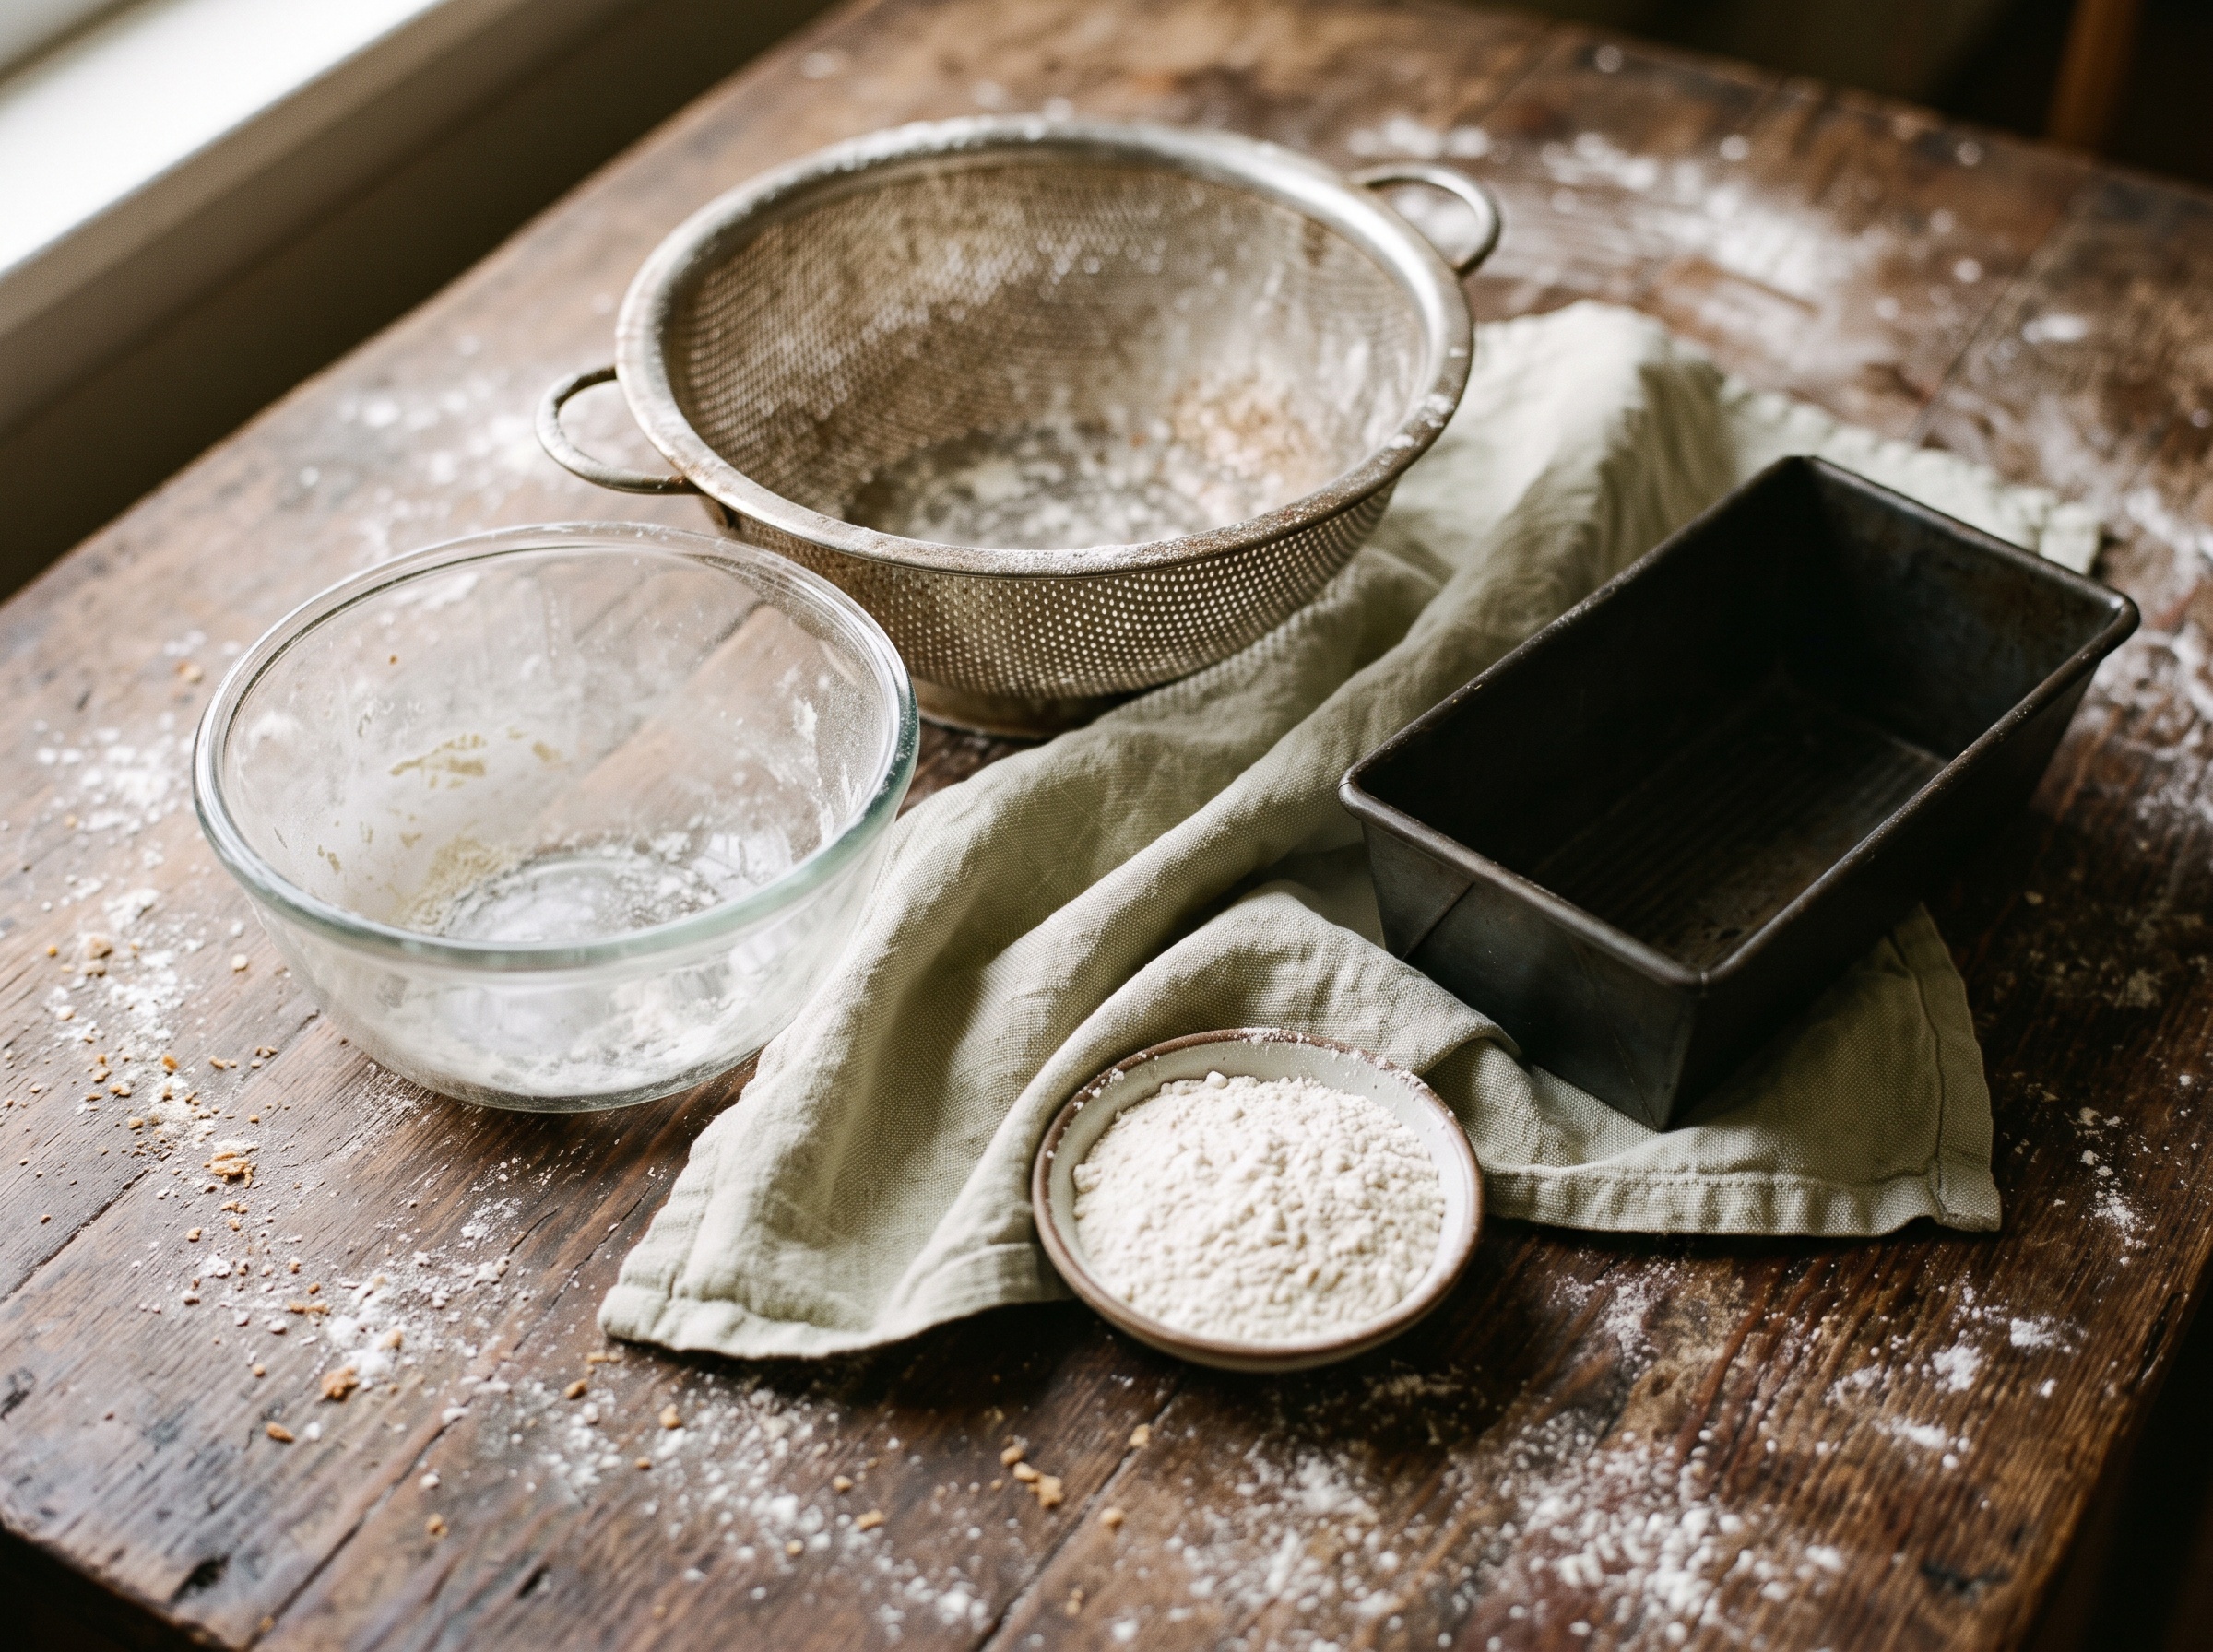
Want something closer to the banneton’s ridged look and its moisture-wicking? A metal or plastic colander is your friend. Line it with a floured tea towel exactly as above and the holes let air circulate around the dough, drying the surface a touch more than a solid bowl. Skip the cloth and flour the colander directly and you can even get a faint ringed pattern — though be warned, going cloth-free is where sticking disasters happen if you are stingy with flour. When in doubt, use the towel.
Proof straight in a loaf tin (the no-shaping shortcut)
If shaping a free-standing boule is the part that keeps failing you, sidestep it entirely. A standard loaf tin, greased or lined with parchment, is a perfectly legitimate proofing vessel and baking vessel in one. Shape the dough into a rough log, drop it in seam-side down, proof, and bake it right in the tin. You lose the artisan round, you gain a soft sandwich-friendly loaf and zero risk of the dough spreading flat. For a beginner fighting slack dough, this is often the fastest route to a loaf you are proud of.
The one trick that stops everything sticking: rice flour
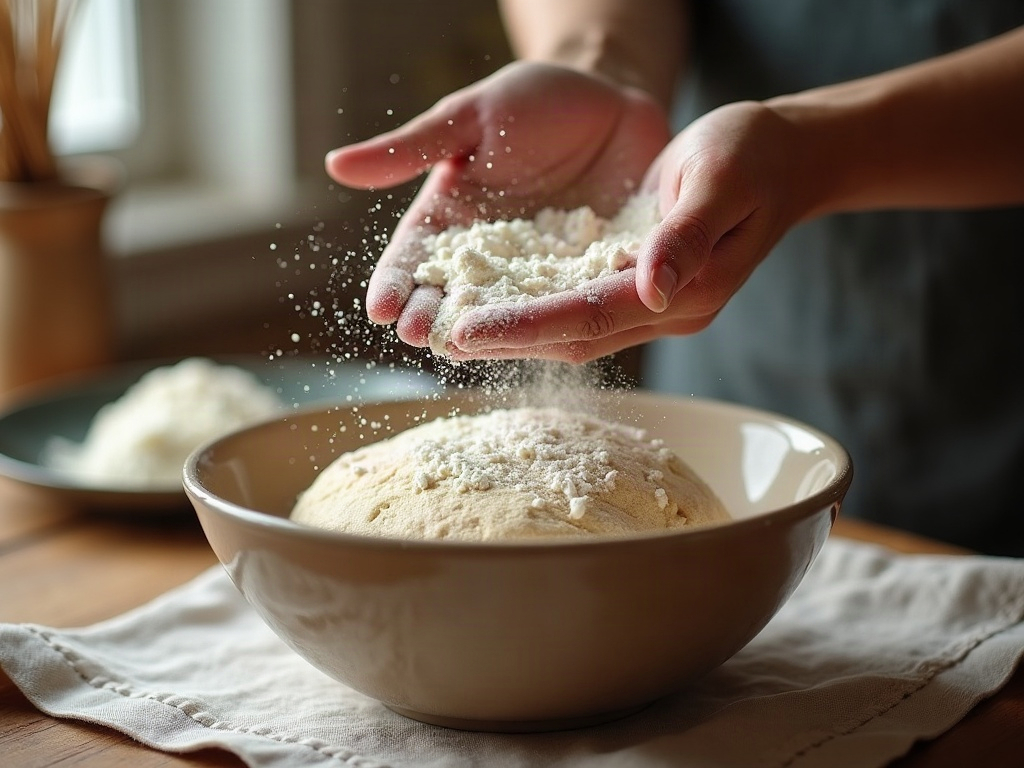
Most “my dough welded itself to the towel” heartbreak comes down to the wrong flour. Regular wheat flour slowly hydrates and gets absorbed into the wet dough surface, so by the end of a long proof there is nothing left to stop the stick. Rice flour does not do this. It stays gritty and dry, sitting on the surface as a proper barrier.
Dust your cloth or basket with rice flour — or a roughly half-and-half mix of rice and wheat flour if that is all you have — and be more generous than feels reasonable. This single swap fixes the overwhelming majority of sticking problems, banneton or not. If your loaves have been tearing on the way out, this is almost certainly your fix.
Cold proofing without a basket
Planning to retard the dough in the fridge overnight for better flavour and easier scoring? Your improvised setups handle it fine. The bowl-and-towel and the loaf tin both slide straight into the fridge — just slip the whole thing into a large food bag or cover with a shower cap or beeswax wrap so the surface does not dry into a leathery crust. The colander, being open, dries fastest, so cover it well if you are going long and cold.
A few things that will trip you up
Two honest warnings. First, match the vessel to the dough volume. A bowl far too large lets the dough spread before it can rise; too small and it overflows and deflates. Aim for a container the dough fills about two-thirds of after shaping. Second, resist the urge to use a fuzzy terry-cloth towel — the loops grab dough and lint. A smooth, tightly woven tea towel or a scrap of linen is what you want, and it only gets better with age as it seasons with flour.
Buy the basket later, if ever
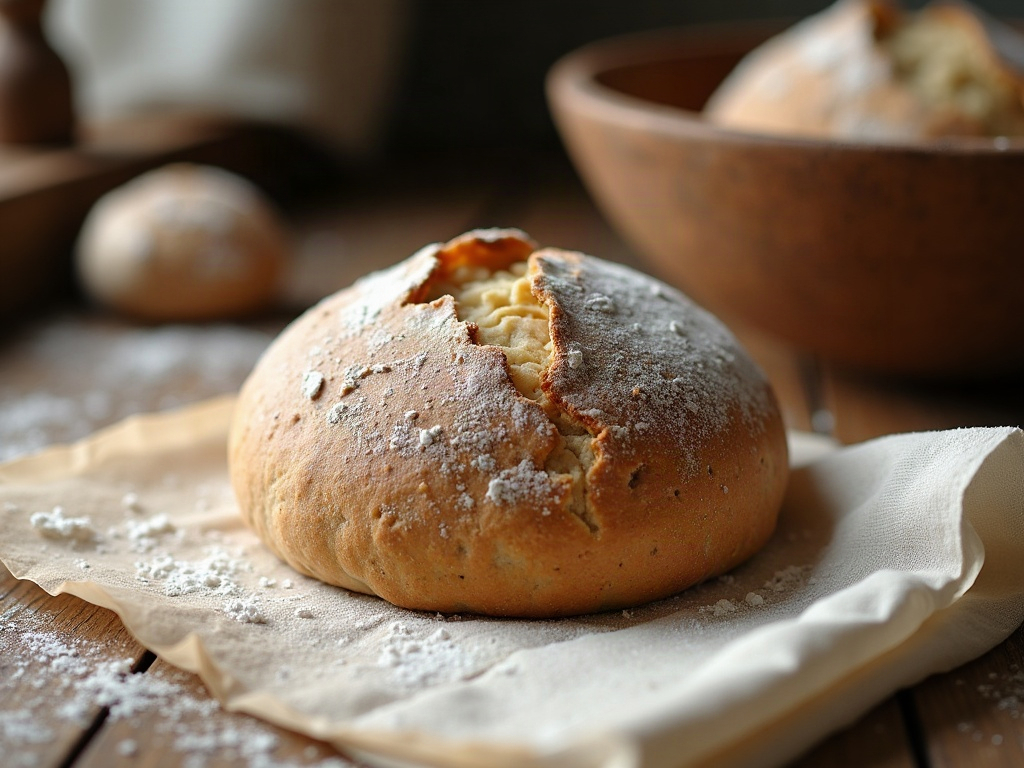
None of this is a grudging compromise. Plenty of bakers who could afford a shelf of bannetons proof in bowls because it is faster to clean and stores flat. The basket is a nice-to-have that leaves a pretty pattern and wicks moisture a little more evenly — worth it if you bake constantly, entirely skippable if you do not. What actually decides your loaf is the strength of your starter, the length of your ferment, and your shaping. Get those right in a mixing bowl and no one tasting the bread will ever know it never saw a banneton.
Want to see the seam-side-up trick, the rice-flour dusting, and a clean turn-out in real time — the bits that are hard to picture from words? The full walkthrough is on the LoafLovers YouTube channel, and our free sourdough troubleshooting guide is there for whatever your next bake throws at you.
Leave a Reply