Tag: beginner sourdough

  • No Banneton? How to Proof Sourdough With Things You Already Own

    No Banneton? How to Proof Sourdough With Things You Already Own

    You have a shaped loaf in front of you, a starter that finally looks alive, and a nagging article somewhere telling you that you must proof it in a banneton — that specific ribbed cane basket that leaves the pretty spiral on the crust. It is sitting in an online cart you have not checked out. Meanwhile the dough is proofing now, on your schedule, not the shipping company’s.

    Here is the good news, and it is genuinely good: the banneton is a convenience, not a requirement. Its entire job is to hold a wet, slack dough in a round or oval shape while it does its final rise, and to do that without the dough gluing itself to the sides. Every kitchen already owns two or three things that do exactly that. Let’s fix your proofing problem with what you have.
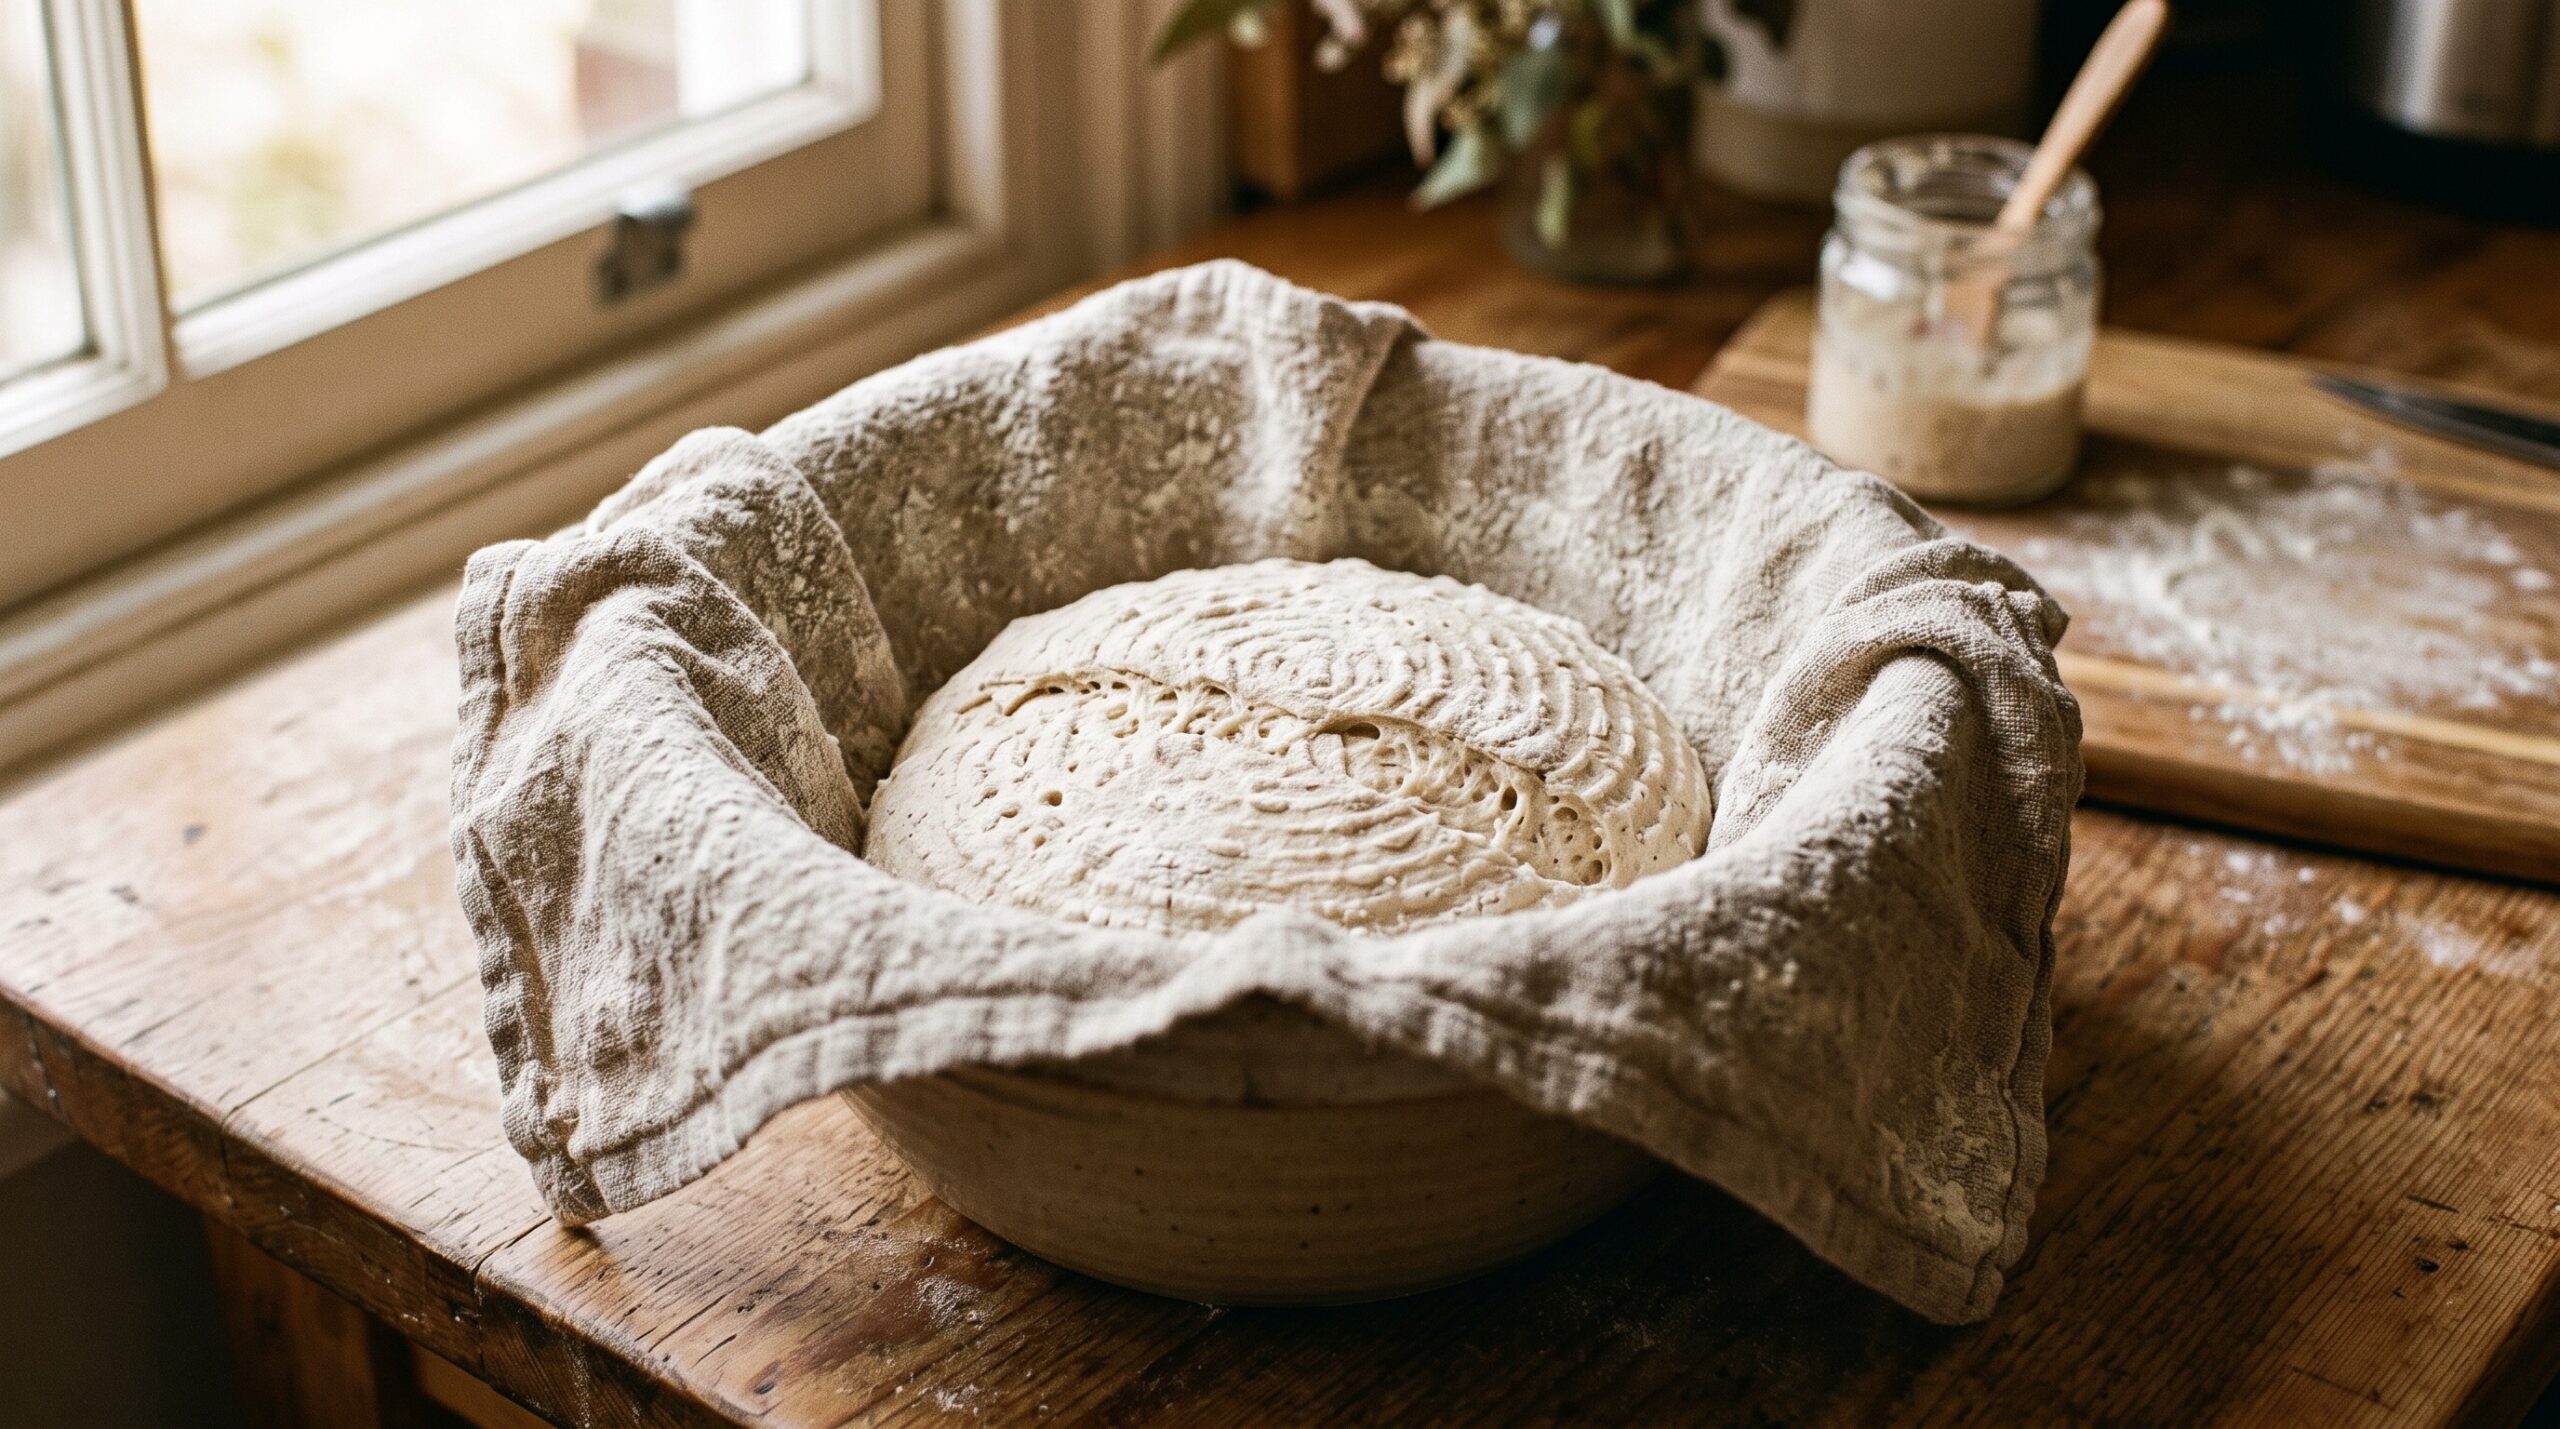
    A shaped sourdough boule proofing in a mixing bowl lined with a flour-dusted tea towel
    A bowl and a floured tea towel do the banneton’s whole job: hold the shape, stop the stick.

    What a banneton actually does (so you can replace it)

    Break the job down and it stops being intimidating. During the final proof, your shaped dough is soft and relaxing. Left on a flat counter it will slowly spread outward into a sad disc. A banneton solves three specific things:

    1. It supports the sides so the dough rises up instead of flowing out. 2. It wicks a little surface moisture, giving you a drier skin that scores cleanly and springs well. 3. It releases the dough without tearing, thanks to a generous dusting of flour in the ribs.

    Anything that gives structural support and can be floured well enough to release will work. That is the whole secret. Once you see it that way, your cupboard is full of bannetons.

    The bowl-and-tea-towel method (the one to start with)

    This is the classic substitute, and honestly most bakers who own bannetons still reach for it half the time. Take a mixing bowl roughly the size and shape you want your loaf to be — a rounded bowl for a boule, a longer oval dish for a batard. Line it with a smooth, lint-free tea towel or a piece of linen. Then flour the cloth generously.

    Place your shaped dough in seam side up. The smooth, taut surface you built during shaping sits at the bottom of the bowl, which becomes the top of the loaf when you tip it out. Cover and proof. When you are ready to bake, invert the bowl onto parchment or a peel and the dough drops out, seam now underneath, smooth top facing up and ready to score.
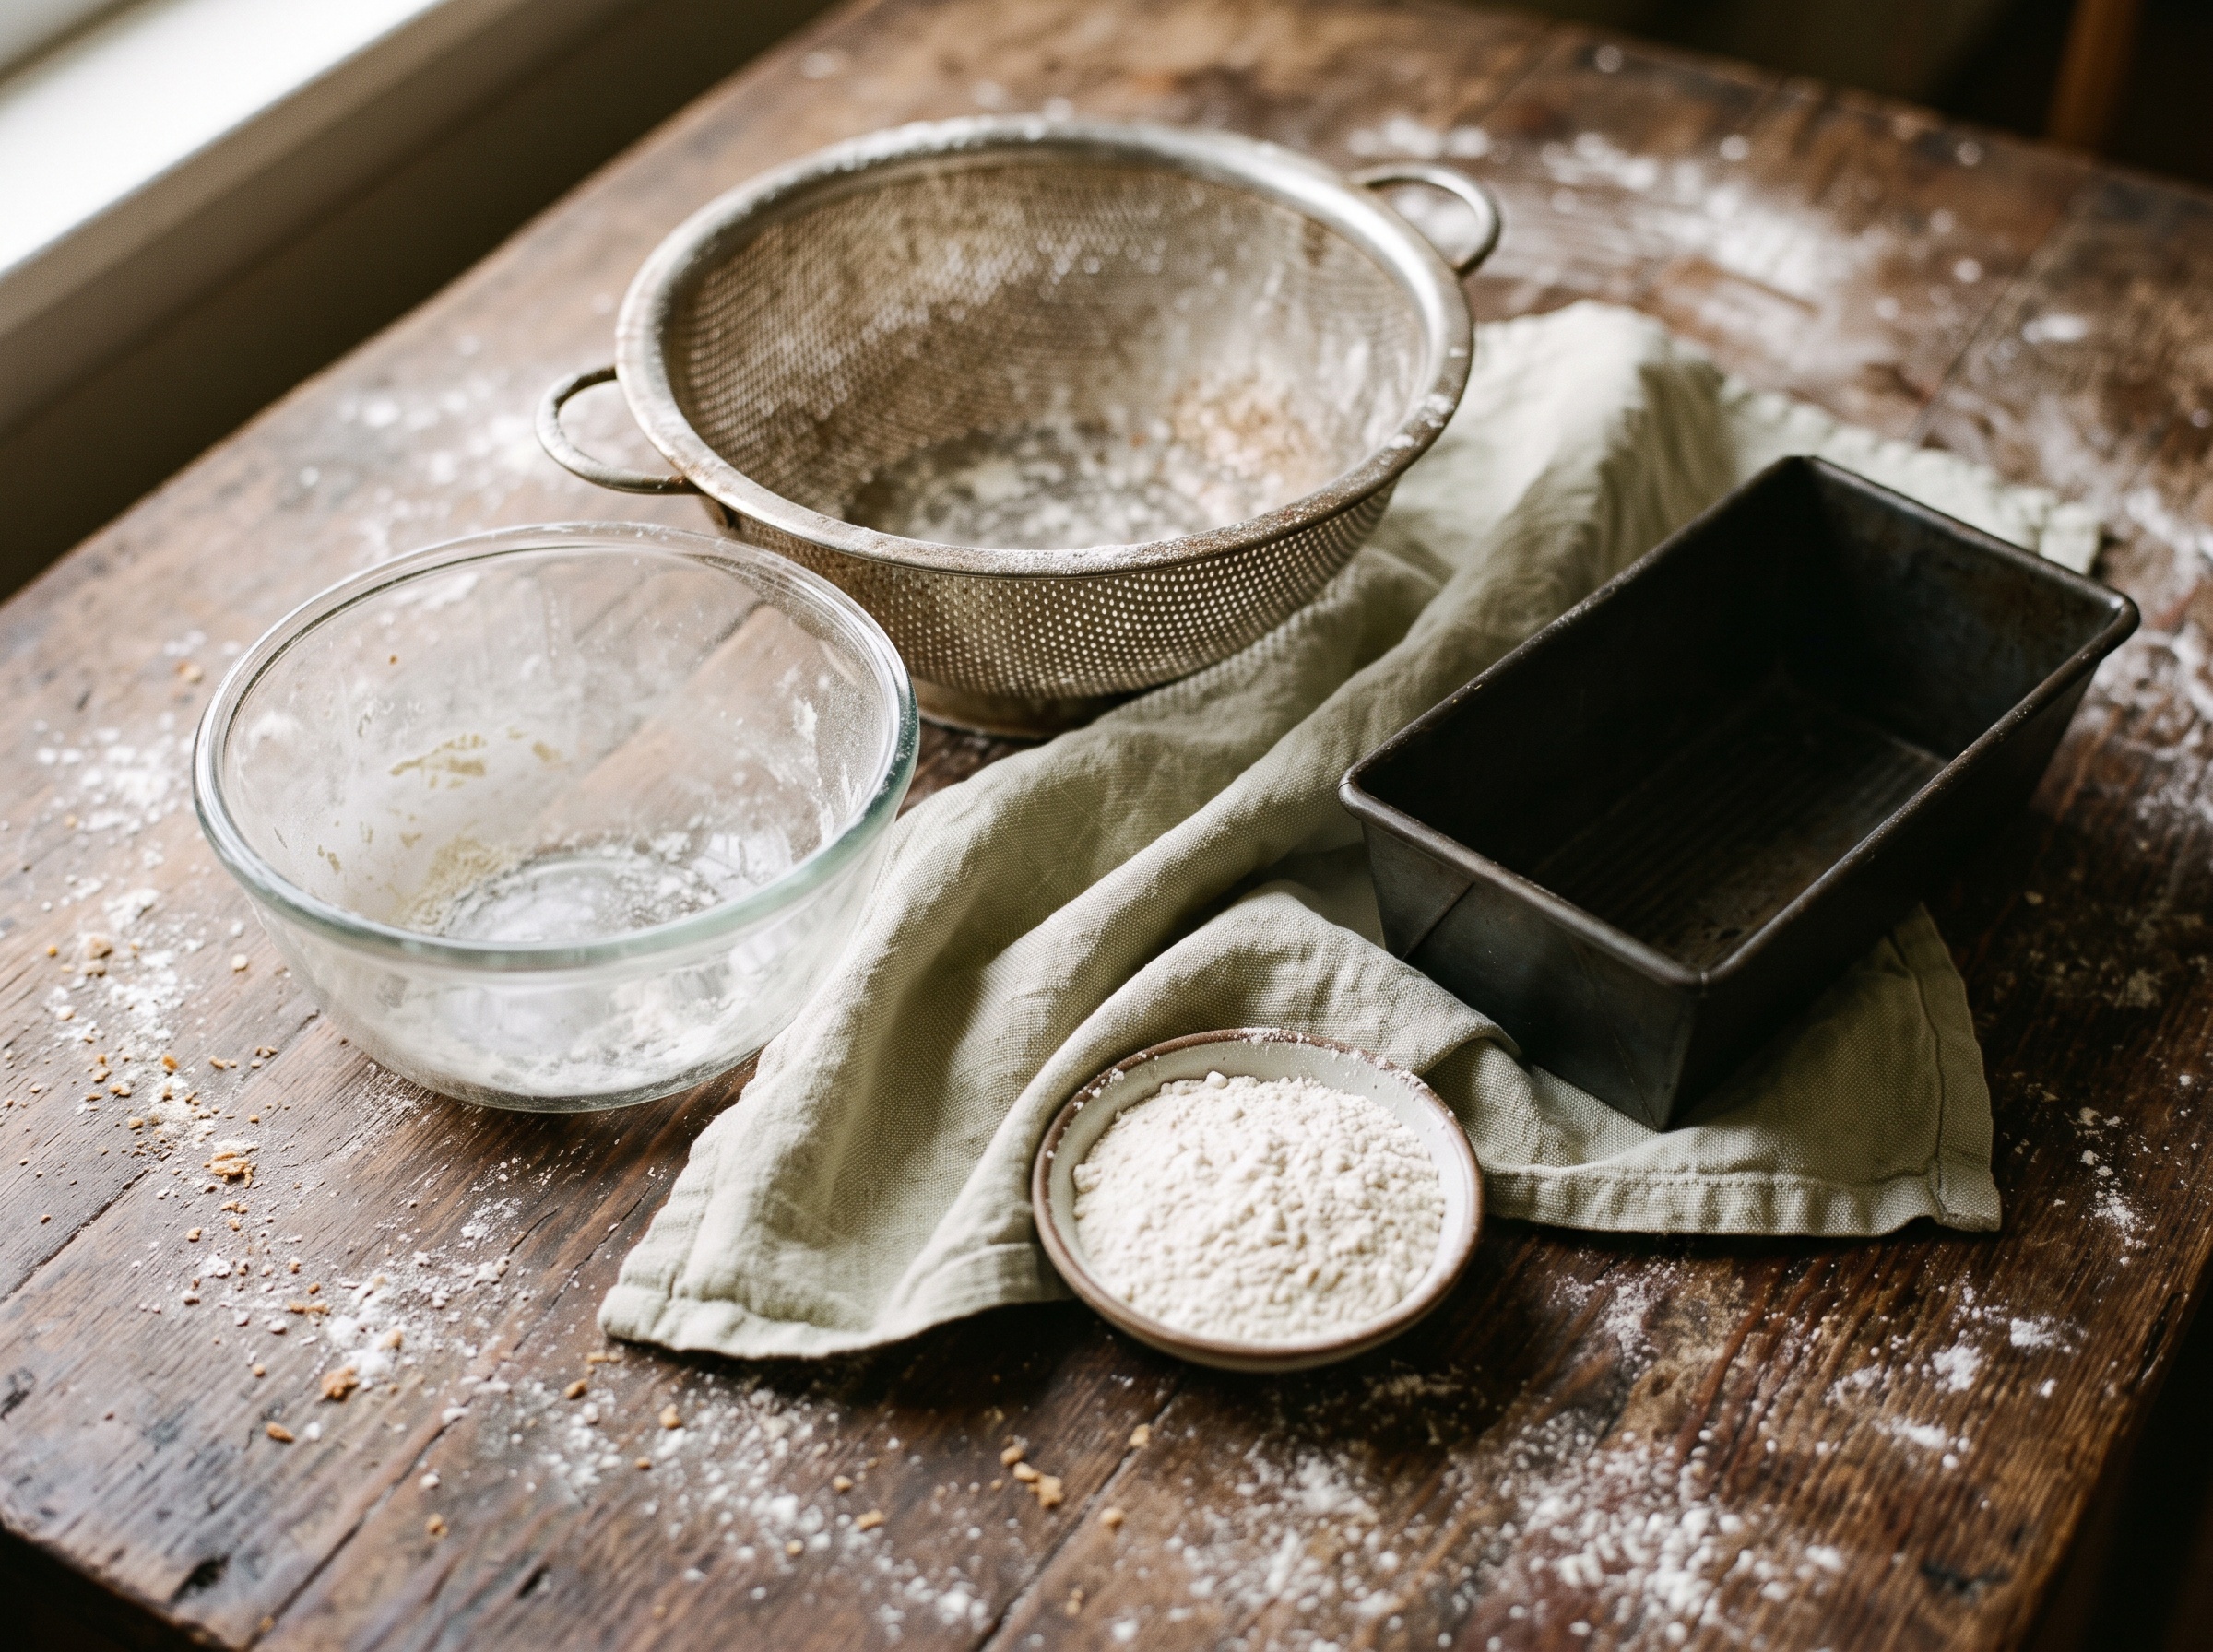
    Everyday kitchen items for proofing sourdough: a colander, bowl, tea towel, loaf tin and rice flour
    Everything you need is probably already in a cupboard — no specialist basket required.

    The colander trick for a little extra character

    Want something closer to the banneton’s ridged look and its moisture-wicking? A metal or plastic colander is your friend. Line it with a floured tea towel exactly as above and the holes let air circulate around the dough, drying the surface a touch more than a solid bowl. Skip the cloth and flour the colander directly and you can even get a faint ringed pattern — though be warned, going cloth-free is where sticking disasters happen if you are stingy with flour. When in doubt, use the towel.

    Proof straight in a loaf tin (the no-shaping shortcut)

    If shaping a free-standing boule is the part that keeps failing you, sidestep it entirely. A standard loaf tin, greased or lined with parchment, is a perfectly legitimate proofing vessel and baking vessel in one. Shape the dough into a rough log, drop it in seam-side down, proof, and bake it right in the tin. You lose the artisan round, you gain a soft sandwich-friendly loaf and zero risk of the dough spreading flat. For a beginner fighting slack dough, this is often the fastest route to a loaf you are proud of.

    The one trick that stops everything sticking: rice flour

    Most “my dough welded itself to the towel” heartbreak comes down to the wrong flour. Regular wheat flour slowly hydrates and gets absorbed into the wet dough surface, so by the end of a long proof there is nothing left to stop the stick. Rice flour does not do this. It stays gritty and dry, sitting on the surface as a proper barrier.

    Dust your cloth or basket with rice flour — or a roughly half-and-half mix of rice and wheat flour if that is all you have — and be more generous than feels reasonable. This single swap fixes the overwhelming majority of sticking problems, banneton or not. If your loaves have been tearing on the way out, this is almost certainly your fix.
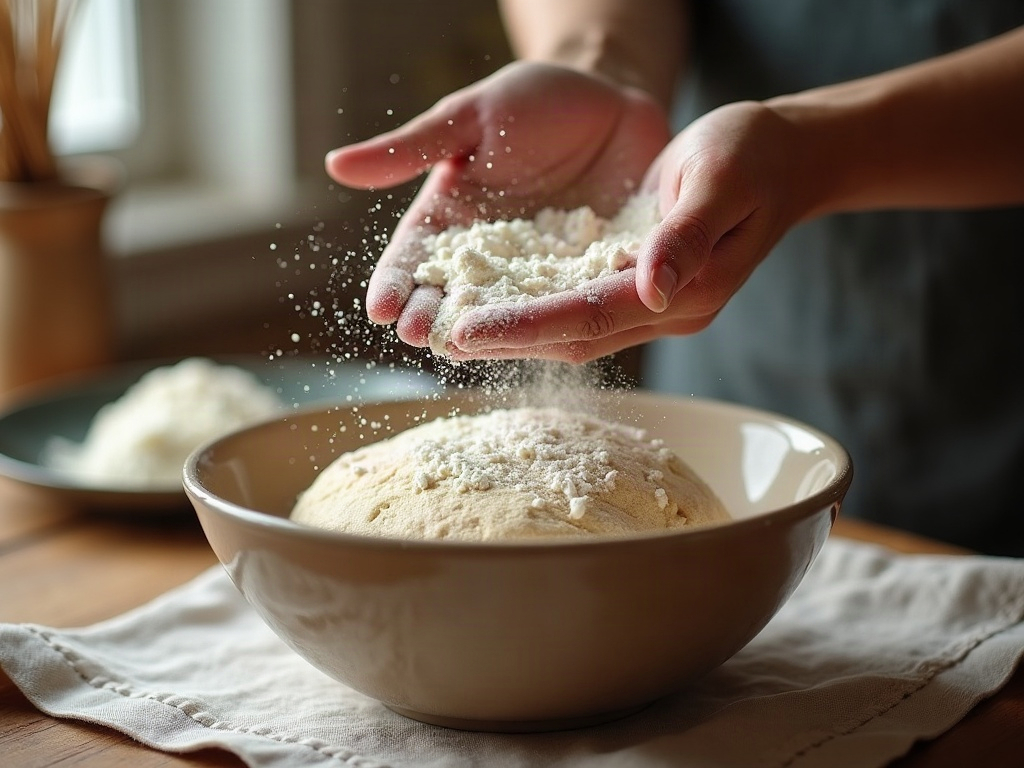
    Hands dusting a linen-lined bowl with rice flour to keep sourdough from sticking
    Rice flour is the anti-stick trick — it does not absorb into the dough the way wheat flour does.

    Cold proofing without a basket

    Planning to retard the dough in the fridge overnight for better flavour and easier scoring? Your improvised setups handle it fine. The bowl-and-towel and the loaf tin both slide straight into the fridge — just slip the whole thing into a large food bag or cover with a shower cap or beeswax wrap so the surface does not dry into a leathery crust. The colander, being open, dries fastest, so cover it well if you are going long and cold.

    A few things that will trip you up

    Two honest warnings. First, match the vessel to the dough volume. A bowl far too large lets the dough spread before it can rise; too small and it overflows and deflates. Aim for a container the dough fills about two-thirds of after shaping. Second, resist the urge to use a fuzzy terry-cloth towel — the loops grab dough and lint. A smooth, tightly woven tea towel or a scrap of linen is what you want, and it only gets better with age as it seasons with flour.
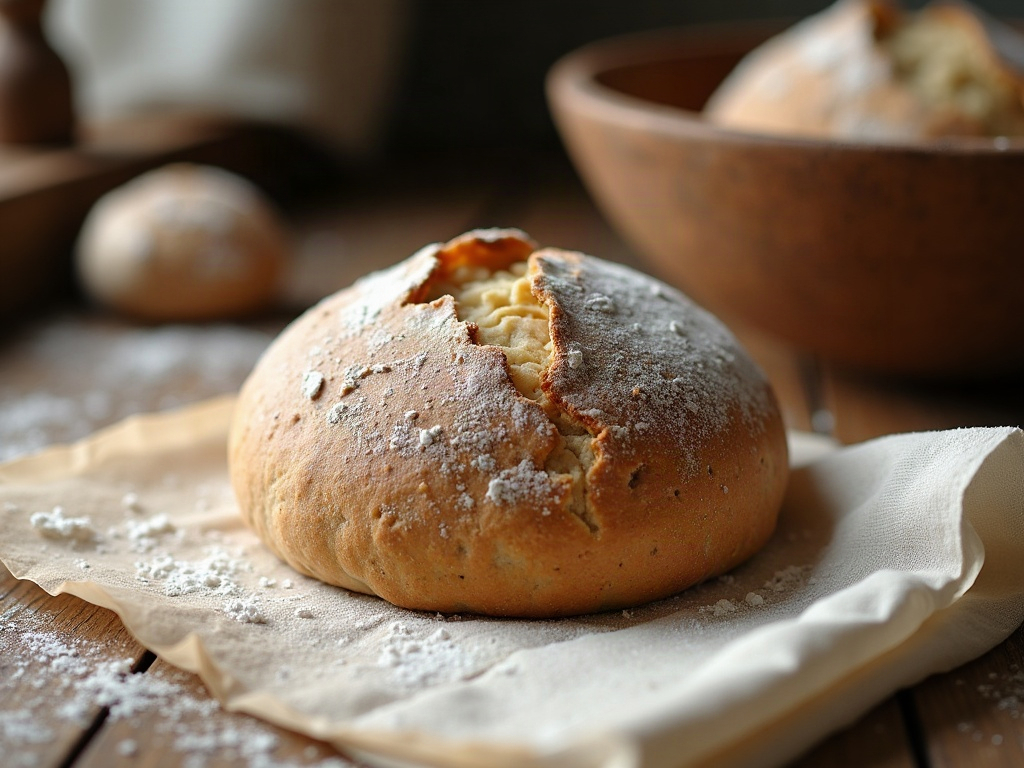
    A proofed sourdough dough being turned out of a lined bowl onto parchment, holding its round shape
    A well-floured cloth releases cleanly, so the loaf turns out holding the shape you gave it.

    Buy the basket later, if ever

    None of this is a grudging compromise. Plenty of bakers who could afford a shelf of bannetons proof in bowls because it is faster to clean and stores flat. The basket is a nice-to-have that leaves a pretty pattern and wicks moisture a little more evenly — worth it if you bake constantly, entirely skippable if you do not. What actually decides your loaf is the strength of your starter, the length of your ferment, and your shaping. Get those right in a mixing bowl and no one tasting the bread will ever know it never saw a banneton.

    Want to see the seam-side-up trick, the rice-flour dusting, and a clean turn-out in real time — the bits that are hard to picture from words? The full walkthrough is on the LoafLovers YouTube channel, and our free sourdough troubleshooting guide is there for whatever your next bake throws at you.
    Related Reading

  • Sourdough Focaccia: The Easiest, Most Forgiving Bake for a Nervous Beginner

    Sourdough Focaccia: The Easiest, Most Forgiving Bake for a Nervous Beginner

    Here’s a small confession that should make you feel better: a lot of the sourdough that intimidates you — the tight shaping, the surgical scoring, the banneton that leaves a perfect spiral, the agonizing over oven spring — none of it is required to make genuinely great bread. It’s required to make a specific kind of bread: the round, crusty artisan boule. If that loaf keeps beating you, focaccia is the off-ramp. It’s the same wild-yeast magic, the same open, flavorful crumb, but it skips almost every step that trips beginners up. No shaping. No banneton. No scoring. No turning a wet loaf out and praying. You mix a loose dough, let time do the work, pour it into an oiled pan, poke it full of holes, and bake. That’s it.

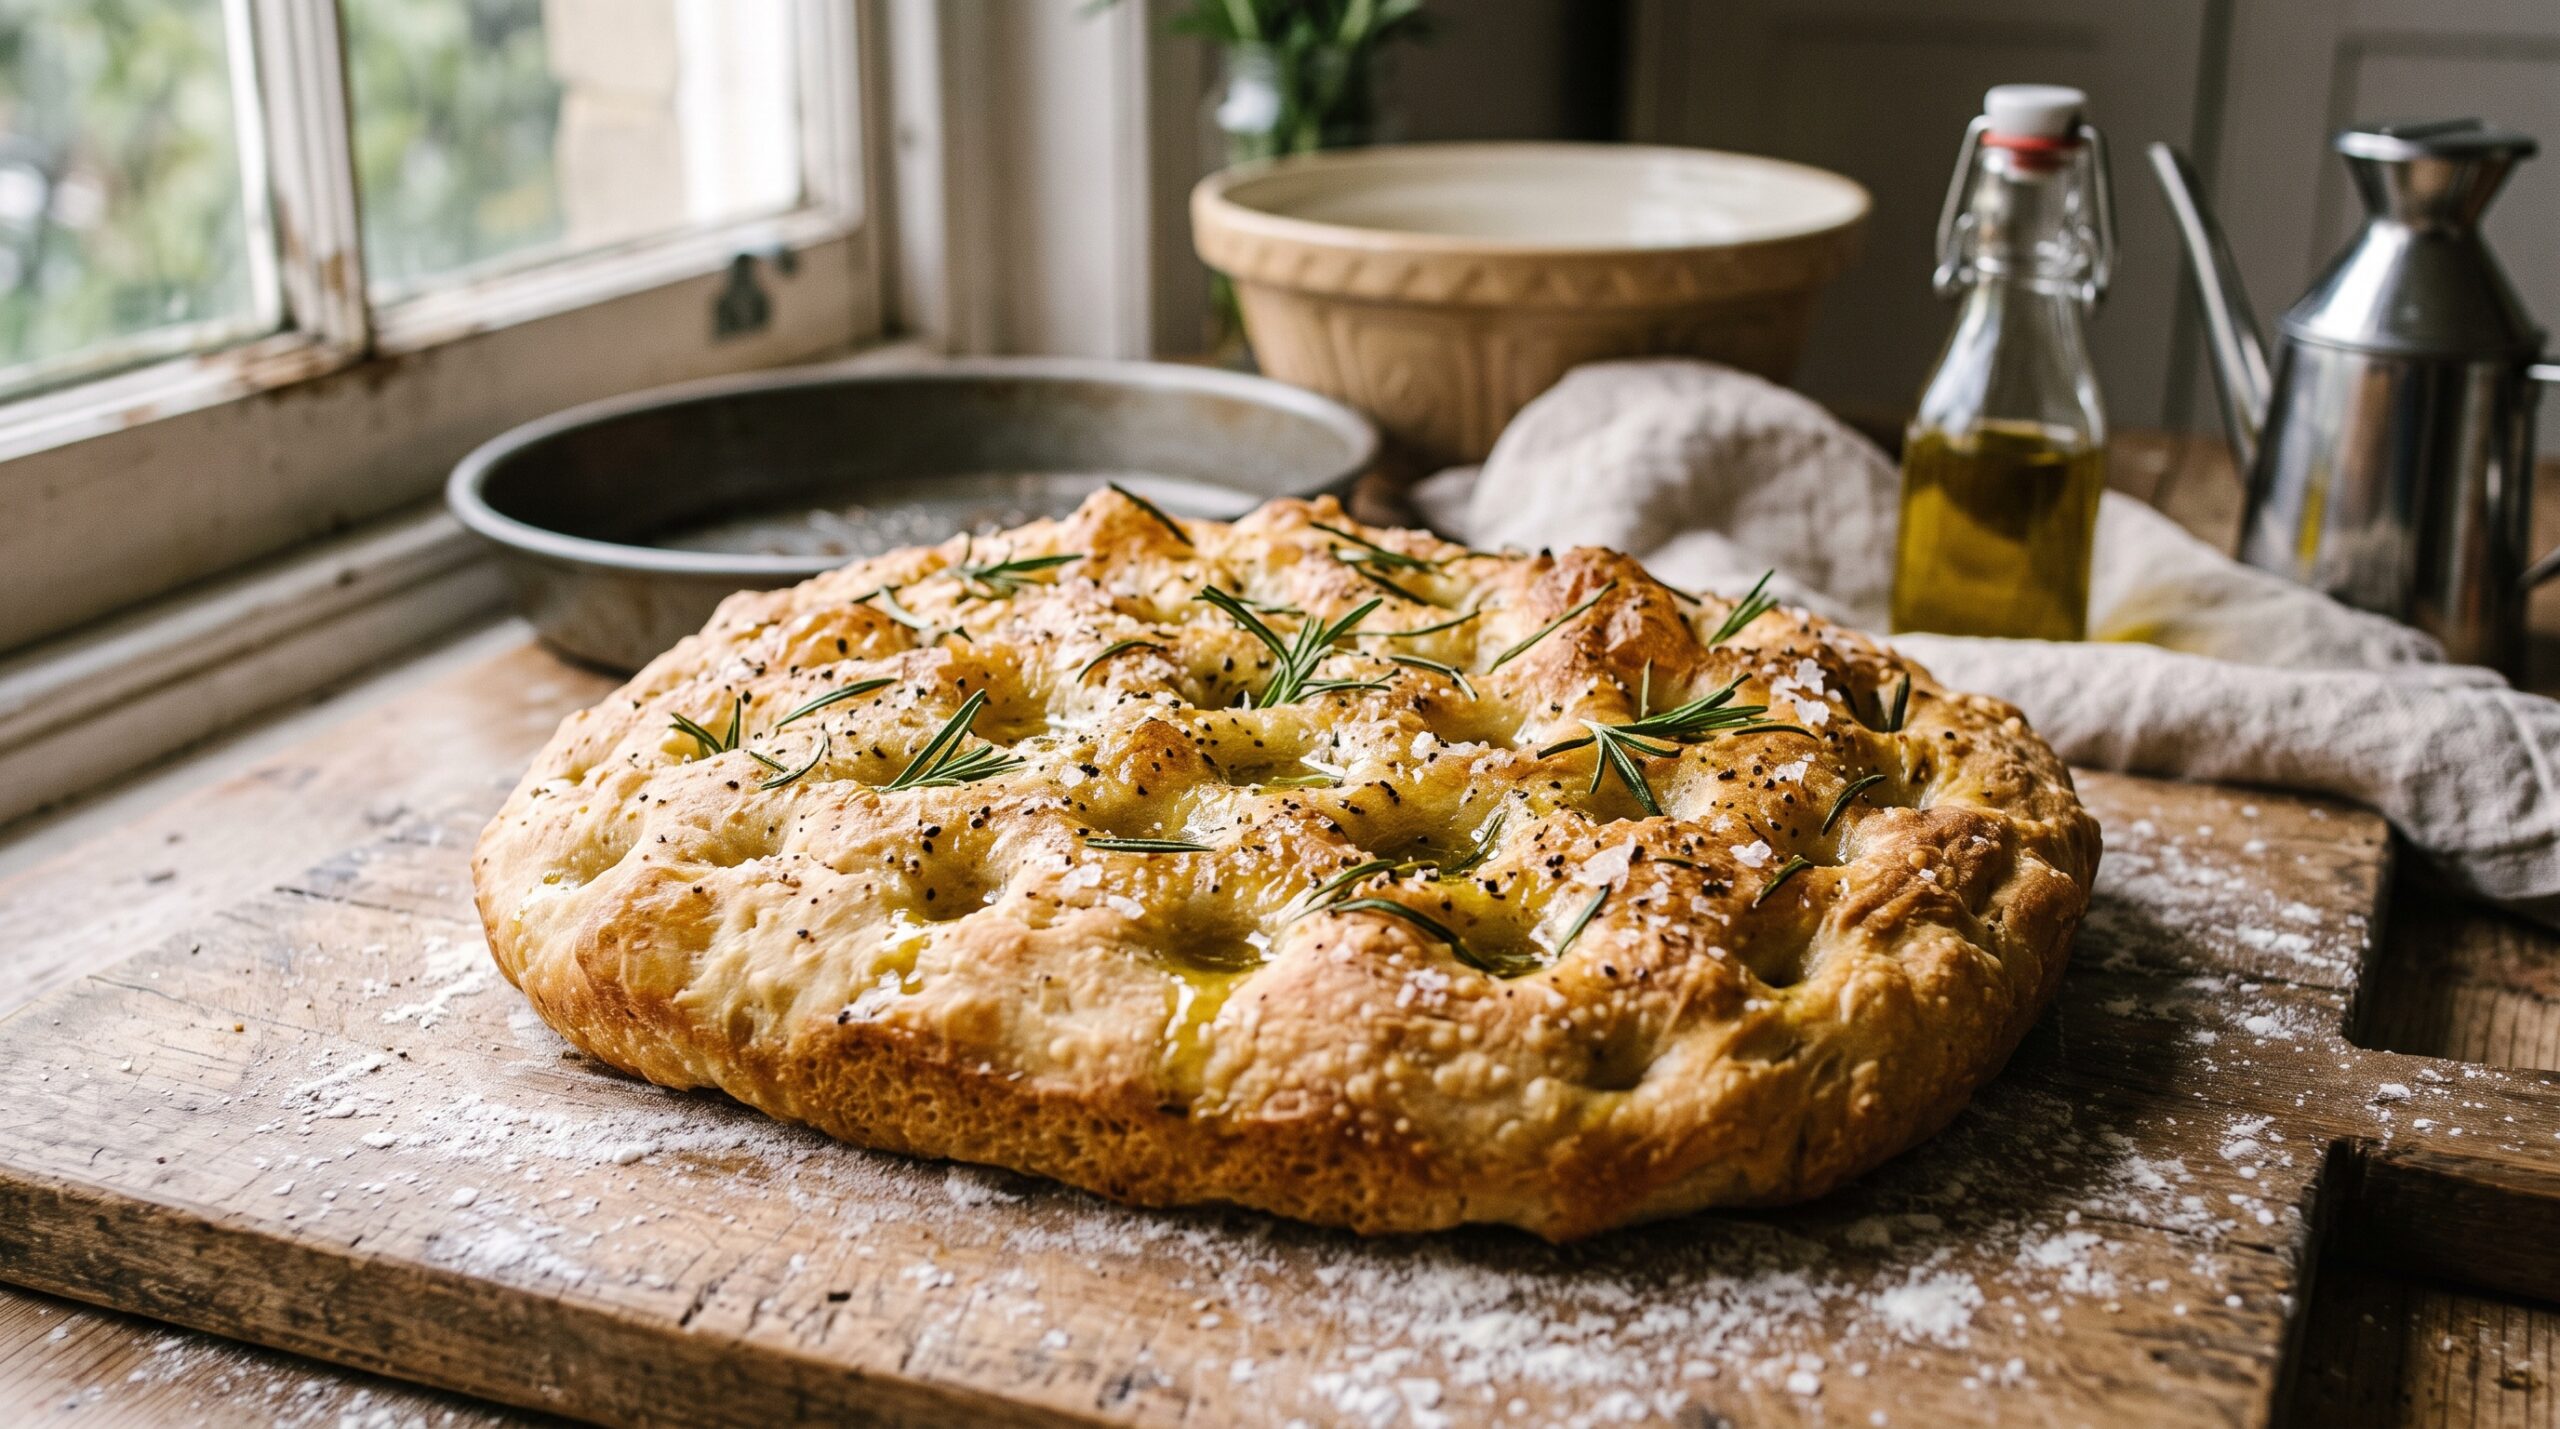
    A golden dimpled sourdough focaccia glistening with olive oil, salt and rosemary
    No shaping, no banneton, no scoring — just a forgiving dough poured into oil and dimpled.

    Focaccia is the bake I send every frustrated, mid-panic baker to first, because it’s nearly impossible to fail in a way that isn’t still delicious. The dough is deliberately wet, which means the very thing that scares beginners — a slack, sticky dough — is the point rather than the problem. You’re not fighting it into a taut ball; you’re letting it sprawl into a pan. Let’s walk through it calmly.

    Why focaccia is the most forgiving bake in sourdough

    Every hard part of a classic loaf exists to build and preserve structure so a freestanding round holds its shape and opens up in the oven. Focaccia sidesteps all of that by baking in a pan. The pan holds the shape, so you never have to. That single fact removes shaping, scoring, and most of the anxiety in one move. The high hydration that would make a boule hard to handle instead gives focaccia its signature airy, custardy crumb — wet dough wants to be focaccia.

    It’s also gentle about timing. A boule punishes you for over- or under-proofing with a flat, dense result. Focaccia has a much wider margin: a little over, a little under, and you still get a good pan of bread. And because it’s rich with olive oil and baked in a pan, even a slightly dense batch tastes wonderful. The stakes are low, which is exactly what a nervous beginner needs — a win, not another lesson.

    What you need (and what you don’t)

    You need a bowl, a pan (a metal cake pan, a small sheet pan, or even a well-oiled baking dish), flour, water, salt, olive oil, and sourdough. You do not need a banneton, a lame, a Dutch oven, or a bench knife. You can use active, bubbly starter for the airiest result, but focaccia is also a fantastic home for discard if your starter is a little sluggish — you’ll just lean on a longer rise and possibly a pinch more time. A rough, beginner-friendly ratio to start from: around 500g flour, about 375–400g water (that’s the high hydration doing the work), 100g of active starter, and 10g of salt, plus plenty of olive oil for the pan and top. Treat those as a starting point, not a law.

    The method: mix, fold, wait, dimple, bake

    Mix your flour, water, starter, and salt in the bowl until there’s no dry flour left. It’ll be shaggy, wet, and unpromising. That’s correct — don’t add flour to “fix” it. Cover it and let it rest.

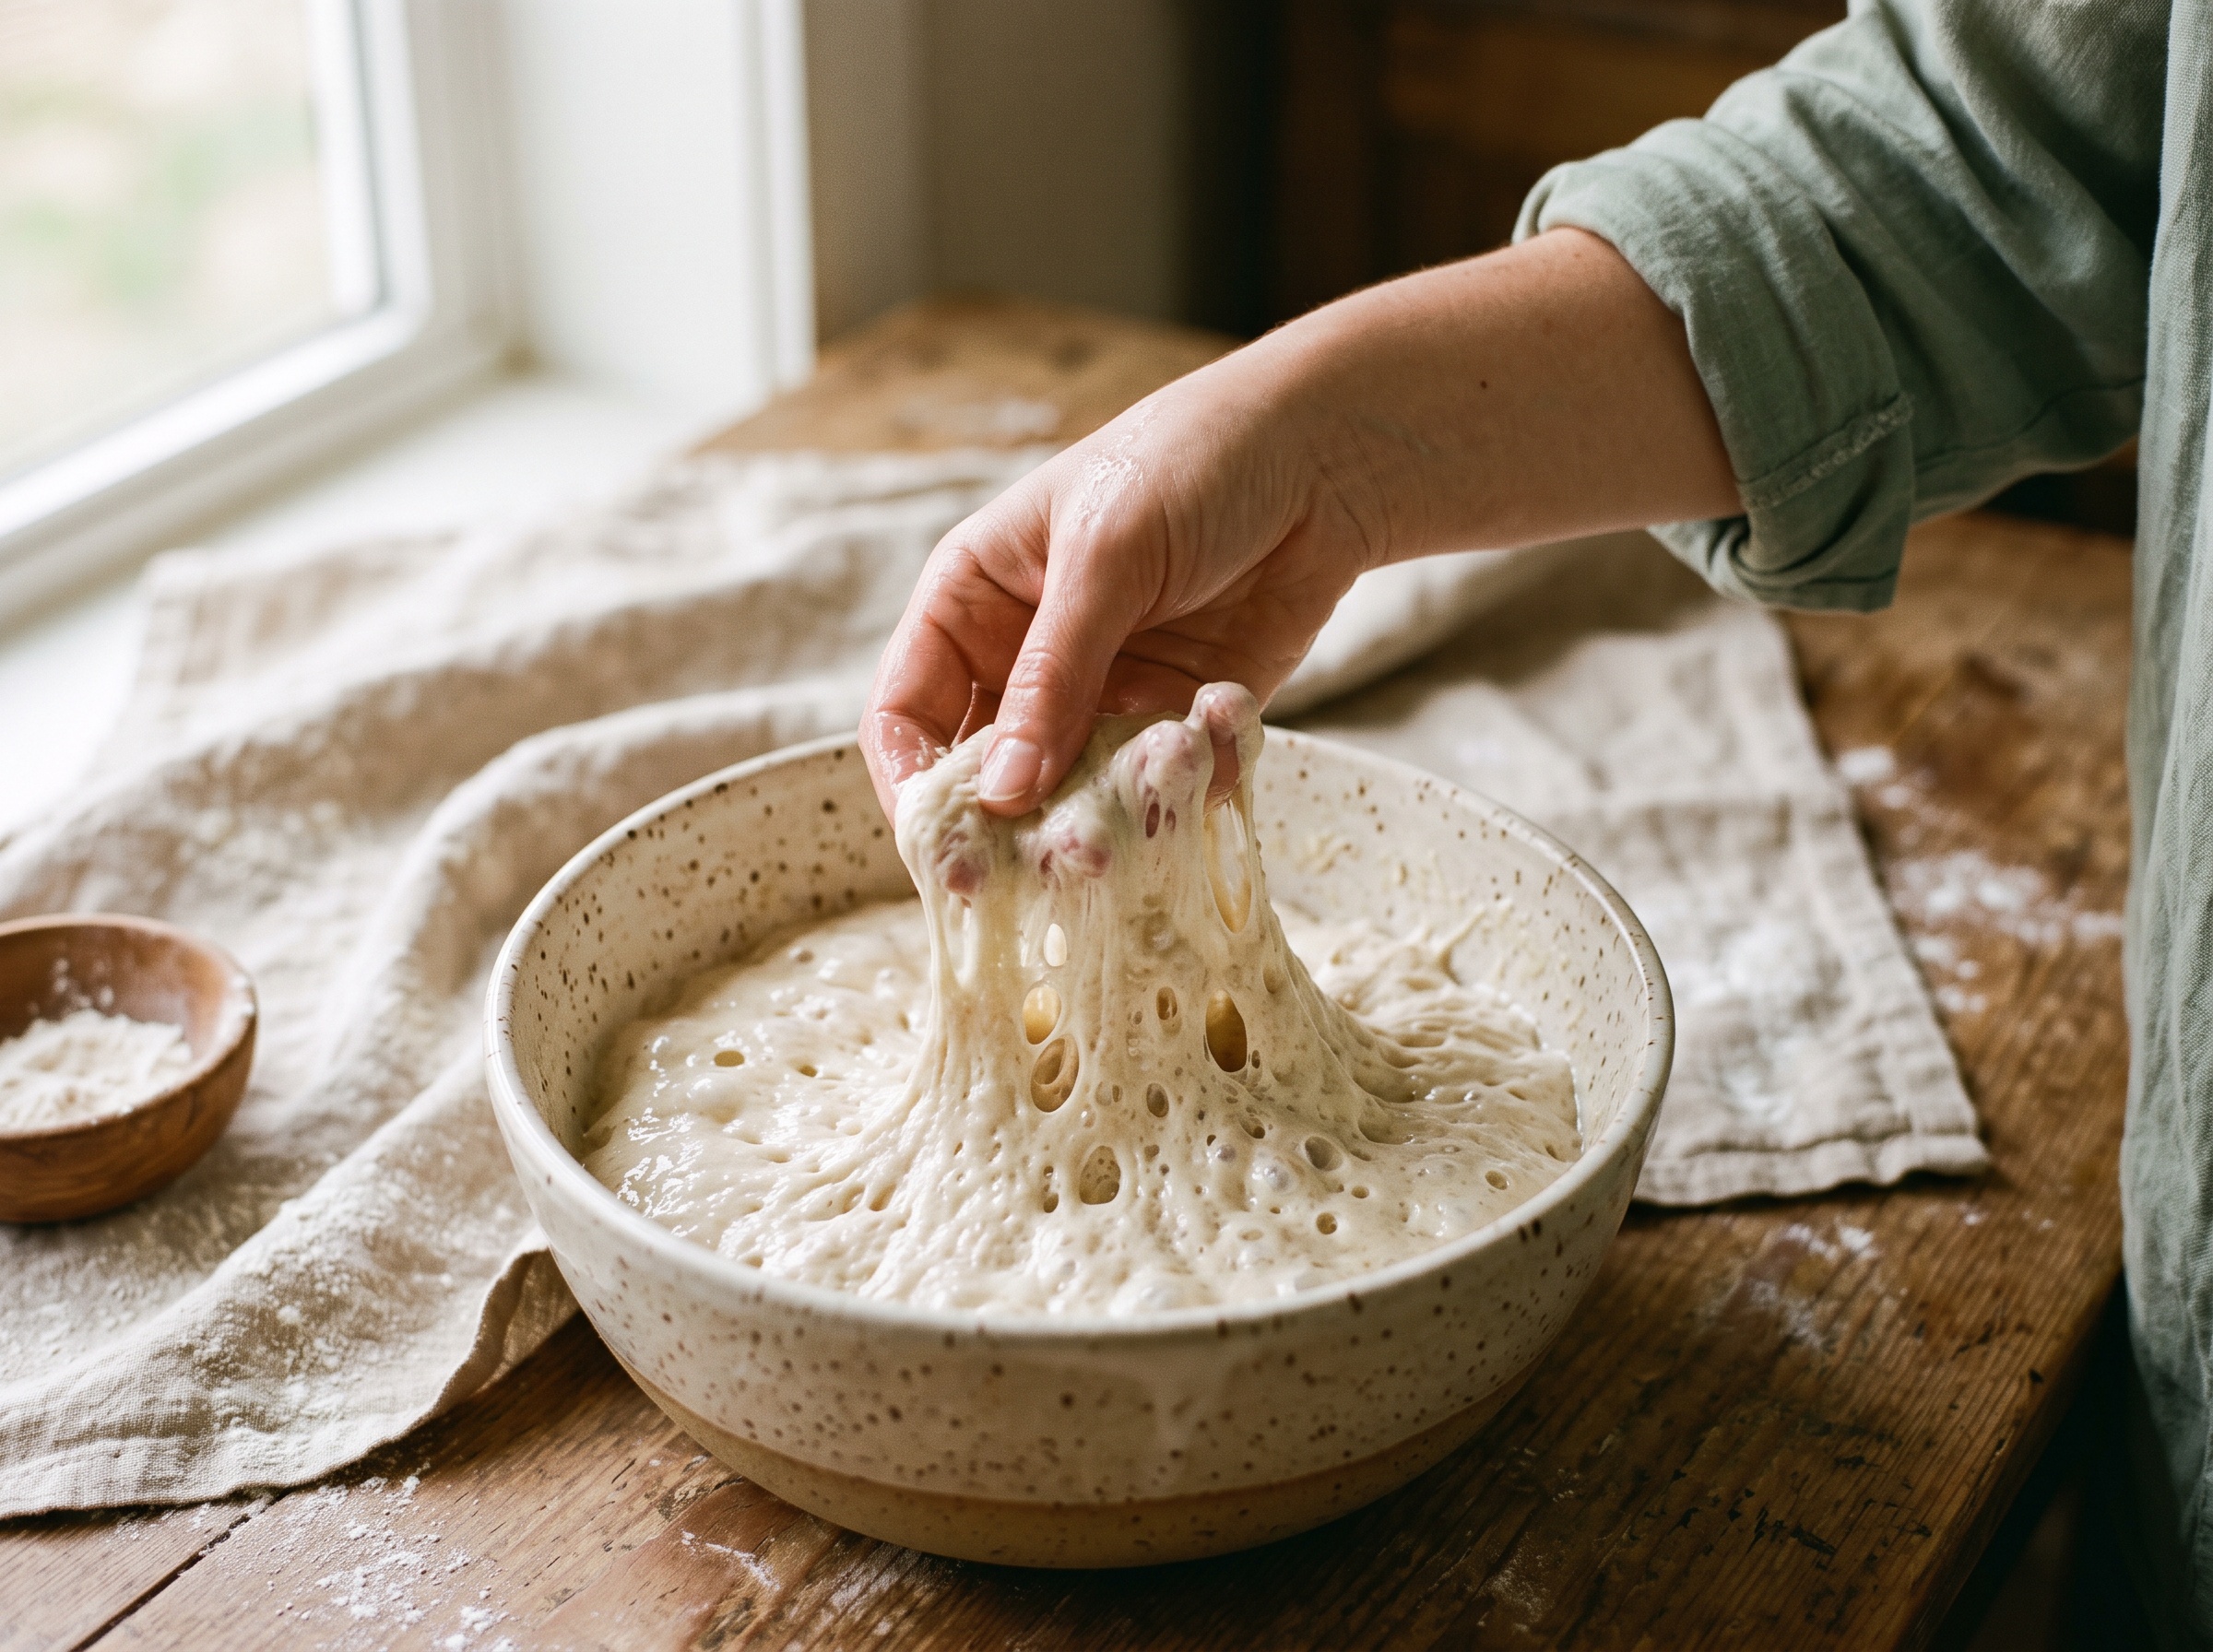
    A hand doing a gentle stretch-and-fold on wet bubbly sourdough dough in a bowl
    A few gentle folds are all the handling this loose, wet dough ever needs.

    Over the next couple of hours, give it three or four gentle stretch-and-folds, spaced maybe 30–45 minutes apart. With wet hands, reach under one side of the dough, stretch it up, and fold it over the middle; turn the bowl and repeat a few times. This is the only “handling” focaccia asks for, and it’s forgiving — you’re just building a little strength, not chasing a perfect windowpane. If you miss a fold or two because life happened, the dough will survive.

    Then comes the part that makes focaccia so easy: a long, slow rise, ideally overnight in the fridge. Letting it ferment cold overnight develops flavor and, crucially, means you bake on your schedule instead of the dough’s. In the morning (or whenever the dough looks puffy and bubbly), generously oil your pan, tip the dough in, and turn it once to coat it in oil. Let it come to room temperature and relax into the pan — an hour or two — until it’s pillowy.

    Fingertips pressing deep dimples into oiled, risen focaccia dough in a pan
    Dimpling is the fun part — press right to the bottom of the pan and let the oil pool.

    Now the genuinely fun part: dimple it. Oil your fingertips and press straight down through the dough to the bottom of the pan, all over, like you’re playing a piano with all ten fingers. Don’t be shy — those deep dimples are what give focaccia its craggy top and little pools of golden oil. Drizzle more olive oil over the top, scatter flaky salt, and add whatever you like: rosemary, cherry tomatoes, thin onion, olives. Then bake hot — around 220°C / 425°F — until the top is deep golden and the bottom is crisp, usually 20 to 30 minutes depending on your pan and oven.

    If it comes out wrong: quick fixes

    Focaccia rarely fails outright, but here are the two things beginners hit. Dense and gummy? It was almost certainly underproofed — the dough went into the oven before the wild yeast had built enough gas. Next time, give it more time at room temperature before baking, and make sure your starter was lively going in. A cold kitchen slows everything down, so be patient rather than clock-watching. Pale and soft on top instead of crisp and golden? Your oven likely wasn’t hot enough, or you pulled it early. Bake it longer and hotter, and make sure there’s enough oil on top and in the pan — the oil is what fries the crust to that crisp, golden finish.

    Cross-section of sourdough focaccia showing an airy open crumb and crisp bottom
    The reward: an airy, olive-oil-rich crumb and a crisp, golden base — from the simplest dough you’ll make.

    The beauty is that both of those “failures” are still perfectly good eating. A slightly dense focaccia is a fantastic sandwich base; a paler one is a soft dinner bread. You genuinely cannot lose badly here, which is why it’s the perfect place to rebuild your confidence if round loaves have been grinding you down.

    Bake this once and something clicks: sourdough stops feeling like a test you keep failing and starts feeling like something you can just do. Get comfortable with the wet dough and the rhythm of folds and a long rise here, on the bake that forgives everything, and the skills carry straight back to that boule when you’re ready to face it again. Start easy, win early, and let the confidence rise with the dough.

    Want to see the wet dough, the folds, and the dimpling in real time — the parts that are hard to picture from words alone? The full step-by-step is on the LoafLovers YouTube channel, and our free sourdough troubleshooting guide walks through the fixes for whatever your first pan throws at you.

    Related Reading