Somewhere along the way, sourdough got attached to one expensive piece of gear: the Dutch oven. Every recipe seems to assume you own a heavy enameled pot, and if you do not, it can feel like you are locked out of a proper crust before you even start. Plenty of beginners quietly give up here, convinced they need to spend a small fortune to bake a decent loaf.
You do not. A Dutch oven is a convenient tool, not a magic one, and the crust it gives you comes down to a single thing you can recreate with pans already in your kitchen: steam. Once you understand what the pot is actually doing, you can copy it on a baking sheet, in a loaf pan, or with a cheap roasting tray – and get a crackly, deep-brown crust every time.
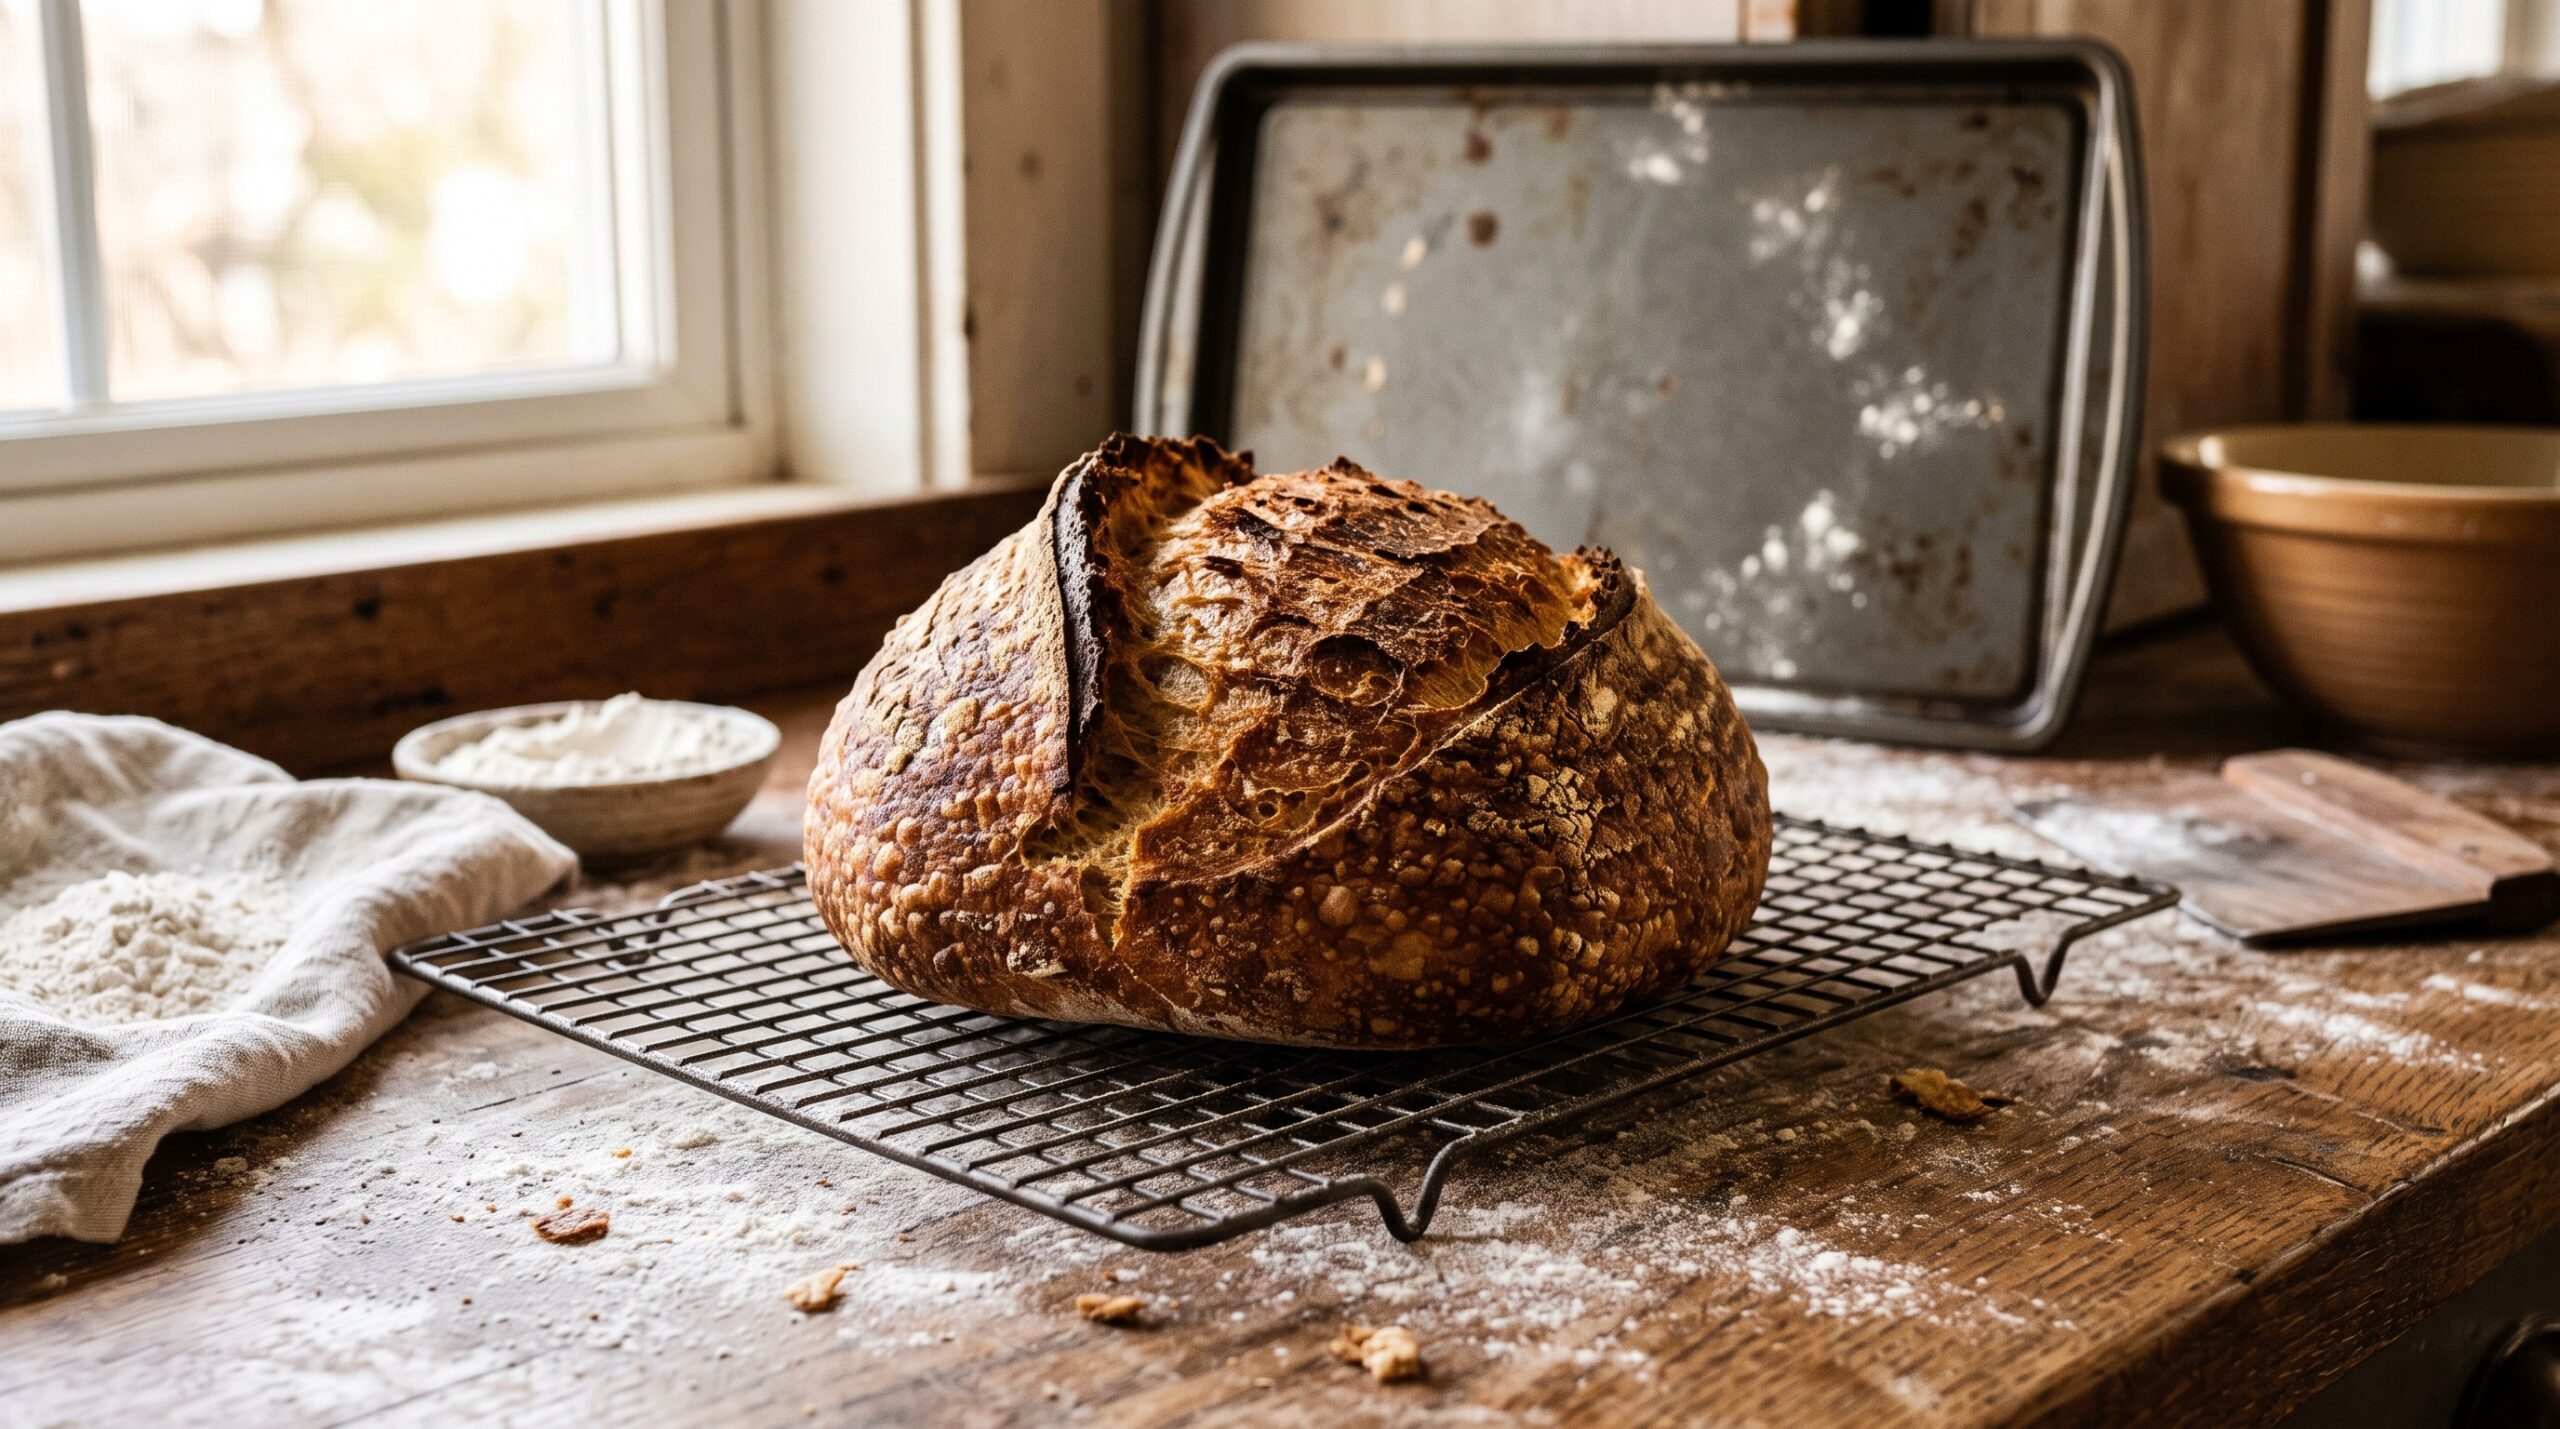
Why a Dutch Oven Works (It Is Just Trapped Steam)
Here is the whole secret. When bread first goes into a hot oven, the surface needs to stay soft and moist for the first several minutes. That damp surface lets the loaf keep expanding – the burst of rise bakers call oven spring – and it lets natural sugars gelatinize into that glossy, crackly sheen. Only later does the crust set and brown.
A Dutch oven does this by trapping the loaf’s own moisture inside a sealed pot. The dough releases steam, the lid holds it in, and the loaf effectively bakes in a little humid chamber for the first half of the bake. Then you take the lid off so the crust can dry, crisp, and color.
That is the entire trick. It is not the cast iron, it is not the weight, it is not the brand. It is a humid start followed by a dry finish. Recreate those two phases with any equipment and you get the same result. A dry oven, by contrast, is exactly what gives you the number-one no-Dutch-oven complaint: a pale, soft, matte crust that never crackled.
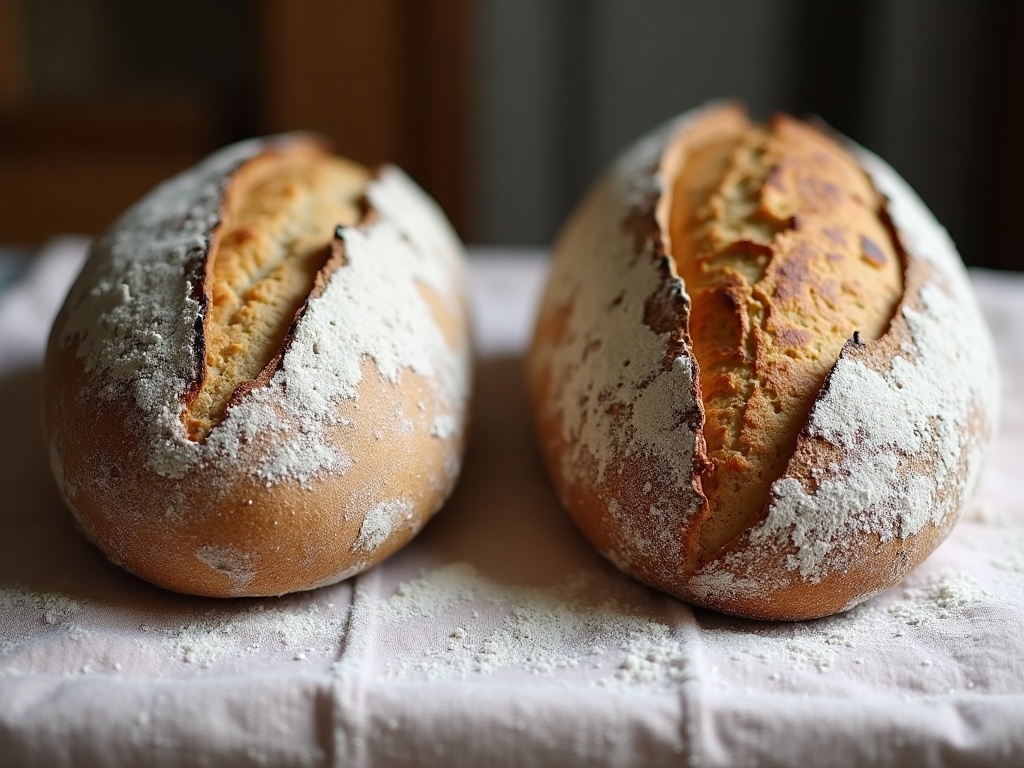
Method 1: The Two-Pan Steam Setup (Best All-Rounder)
This is the method I reach for most, because it works for a normal round or oval loaf and uses only a baking sheet and a metal pan you probably already own.
- Preheat hard. Put your baking sheet (or a pizza stone or inverted tray) on the middle rack and an empty, sturdy metal pan – a shallow roasting tray or an old cake tin – on the rack below. Heat the oven to around 475 degrees for 30 to 45 minutes so everything is genuinely hot.
- Load the loaf. Slide your scored dough, on a sheet of parchment, onto the hot upper tray.
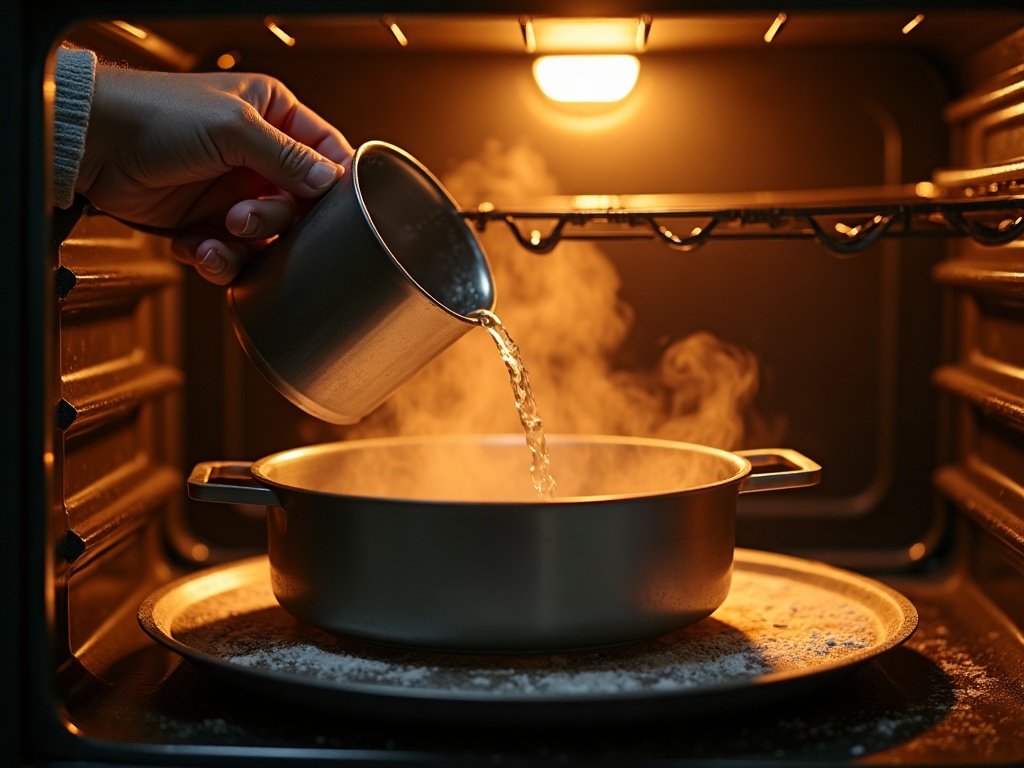
- Add steam immediately. Pour about a cup of boiling water into the hot lower pan and shut the door as fast as you can. It will erupt into steam – that is exactly what you want trapped around the loaf.
- Steam, then dry. Bake with steam for the first 20 minutes. Then carefully remove the water pan (and any parchment if it is browning too fast), drop the heat to about 450, and finish baking another 20 to 25 minutes until the crust is deep brown.
The one safety note: use an old metal pan you do not care about, and never pour water into a glass or ceramic dish – thermal shock can shatter it. Wear oven mitts and keep your face back from the steam burst.
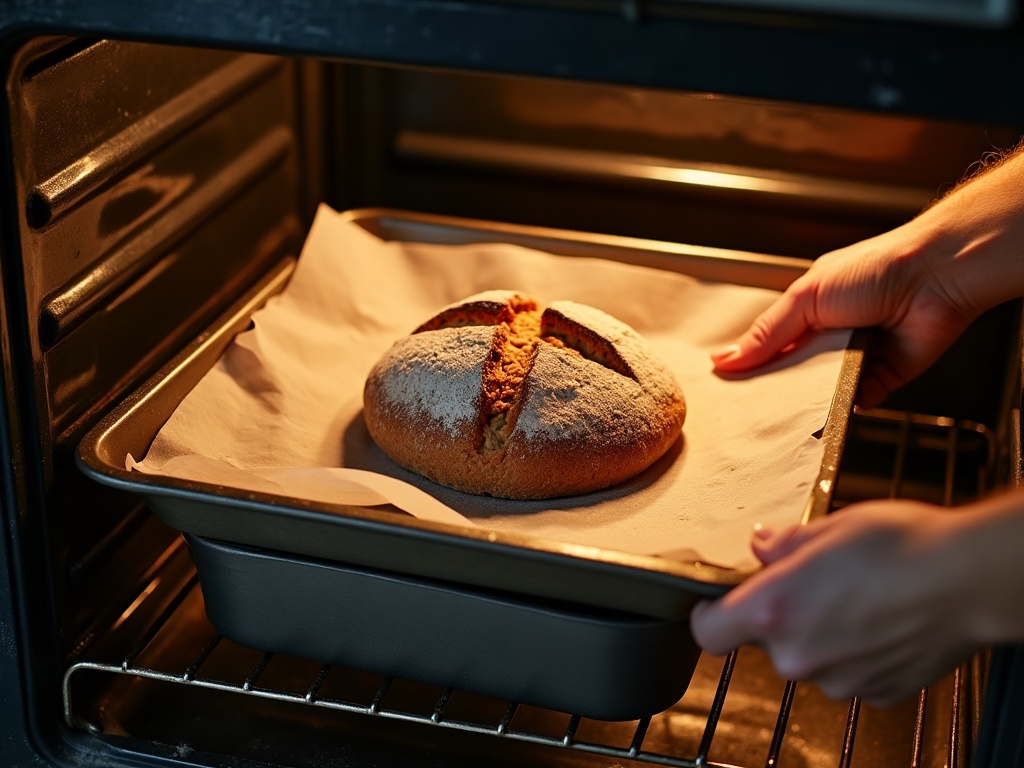
Method 2: The Loaf Pan (The Lowest-Effort Option)
If shaping a free-form boule stresses you out, a simple metal loaf pan is the most forgiving route to sourdough there is – and it happens to be great for beginners with a slack, sticky dough that would otherwise spread flat.
Shape your dough into a log, drop it into a greased loaf pan, and let it rise. The walls of the pan support the dough so it grows up instead of out, which quietly solves the flat, spreading loaf that trips up so many new bakers. If your loaves have been pancaking on you, our guide to fixing flat sourdough that spreads instead of rising tall pairs well with this method.
For crust, you still want a humid start, so use the boiling-water pan trick from Method 1, or simply mist the loaf and the oven walls with water from a spray bottle a couple of times in the first ten minutes. You will get a sandwich-friendly shape with a genuinely crisp top – no banneton, no scoring drama, no pot.
Method 3: A Cheap Cover You Already Own
If you like the idea of trapping steam right against the loaf the way a Dutch oven does, you can improvise a lid. Bake your loaf on a hot baking sheet and cover it for the first 20 minutes with:
- A large stainless steel mixing bowl turned upside down over the loaf.
- A tall metal stockpot inverted over it.
- A disposable foil roasting pan clamped on top.
Any of these creates the same sealed, humid pocket – the loaf steams itself under the cover. Lift the cover after 20 minutes and finish baking uncovered so the crust can brown. It is essentially a DIY Dutch oven, assembled from whatever oven-safe dome you have on hand, and it is remarkably effective.
The Mistakes That Give You a Pale, Soft Crust
When a no-Dutch-oven loaf disappoints, it is almost always one of these – and every one is easy to fix:
- Not enough heat. A cool oven or an under-preheated tray robs you of oven spring and color. Preheat longer and hotter than feels necessary, and give your baking surface a full 30-plus minutes to soak up heat.
- No steam, or steam that escapes. A quick spritz that flashes off in seconds is not enough. Use the boiling-water pan or a cover so real humidity surrounds the loaf for the whole first phase.
- Leaving the steam in too long. The flip side: if you never remove the water pan or cover, the crust stays soft and never crackles. The dry finish is not optional – it is what browns and crisps the loaf.
- Opening the door constantly. Every peek dumps your heat and steam. Resist checking for the first 20 minutes.
Get the hot-and-humid start right and you also unlock better height. If your loaves come out dense or squat, it is worth reading up on scoring and oven spring, because a good steamed start and a confident score work together to give you that dramatic opening and a proud, tall loaf.
How to Know It Actually Worked
A well-steamed crust tells you the moment it comes out of the oven. It should be deep golden to mahogany, not blond. It should have a faint sheen and often tiny blisters across the surface. And when you set it on a rack to cool, a properly baked loaf will crackle audibly as it contracts – bakers call it the loaf singing, and it is the sound of a crust that set correctly.
Cut into it only once it is fully cool. If the crust is crisp but the inside is dense or gummy, that is a separate, common issue worth diagnosing on its own; our breakdown of why sourdough turns out gummy walks through the real causes and fixes so your crumb catches up to your crust.
None of this needs special gear. A baking sheet, a metal pan, a cup of boiling water, and a hot oven will give you a crackly, bakery-worthy crust that most people assume requires an expensive pot. The Dutch oven was never the secret – the steam always was.
Because a crackly crust is genuinely easier to see than to describe, the full no-Dutch-oven bake – preheat, load, steam, and the crackle test – is walked through step by step on the LoafLovers YouTube channel. Grab our free sourdough troubleshooting guide too, so the whole method is on hand the next time you bake. You have everything you need already.
Leave a Reply