Tag: steam baking

  • Why Your Sourdough Crust Goes Soft After Cooling (and How to Keep It Crisp)

    Why Your Sourdough Crust Goes Soft After Cooling (and How to Keep It Crisp)

    You know the sound. The loaf comes out of the oven and the crust is singing, that faint crackle bakers call the crust “talking” as it cools. You feel like you finally nailed it. Then you come back an hour later, tap the crust, and it’s gone soft. Leathery, even. The crackle is a memory.

    This is one of the most common and most frustrating sourdough letdowns, because the loaf looked perfect. The good news: a crust that goes soft after cooling is almost always a fixable problem, not a flop. Let’s walk through why it happens, from most likely to least, and exactly what to change.
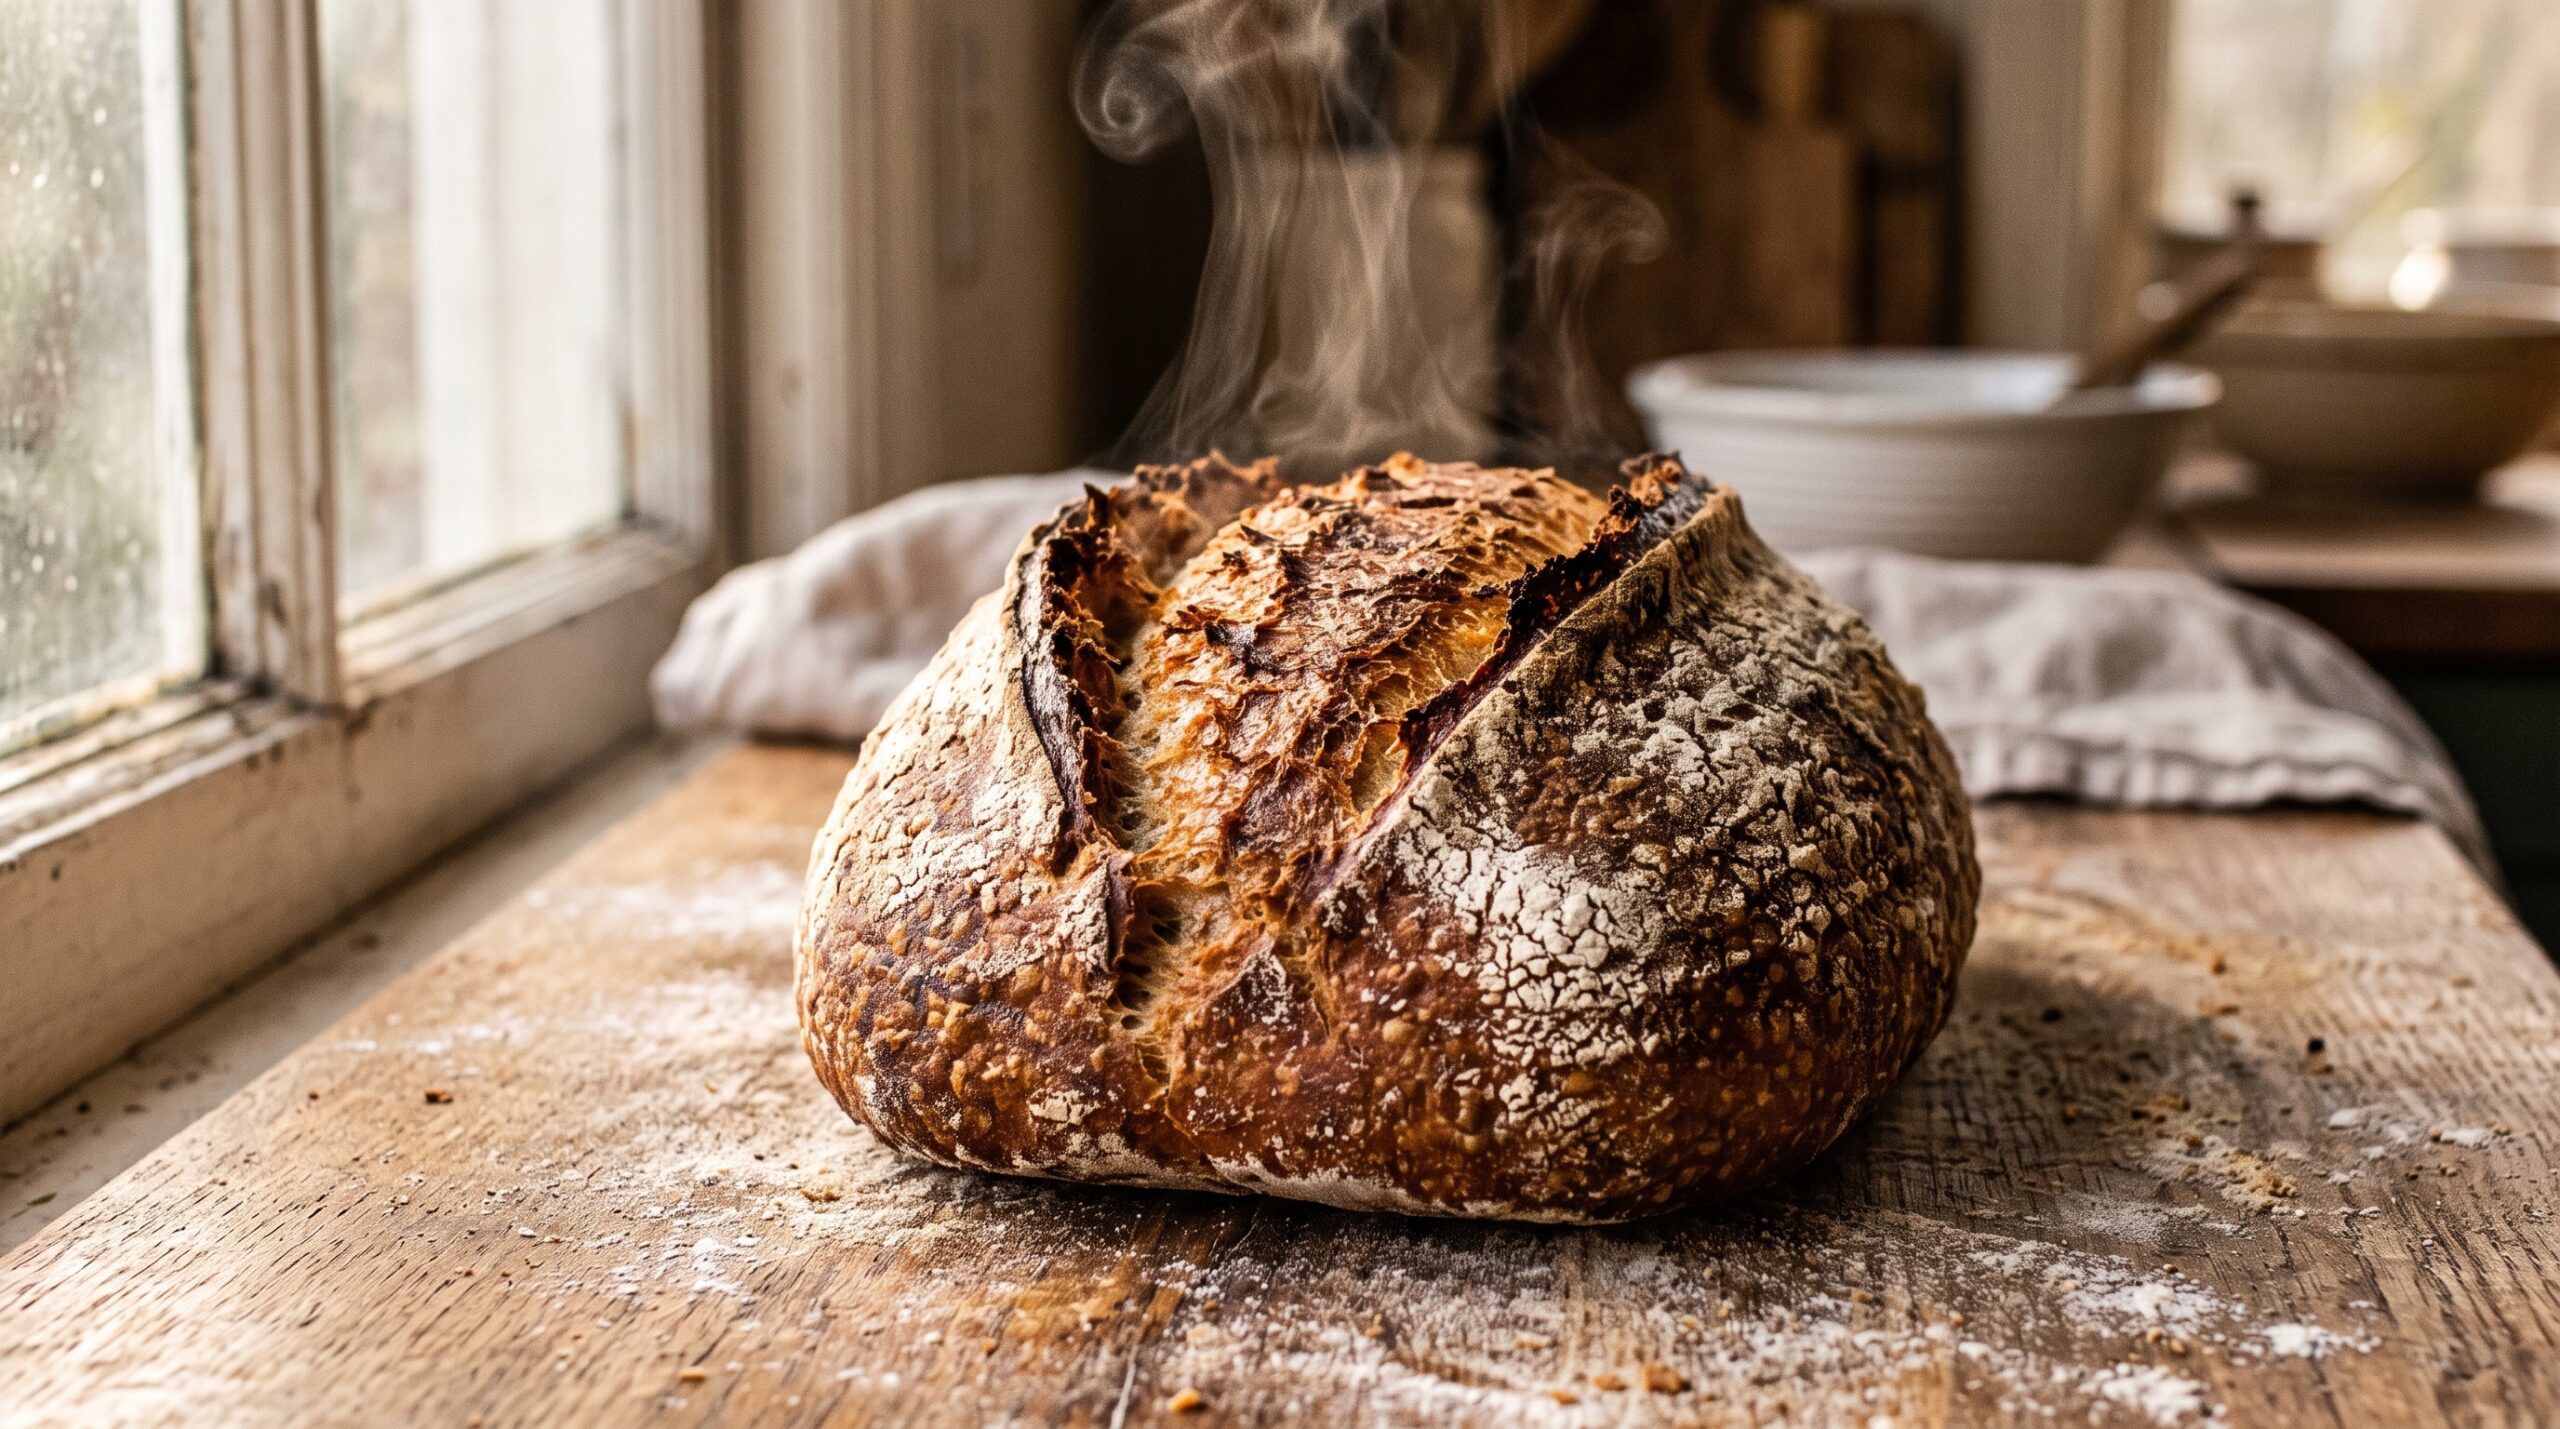
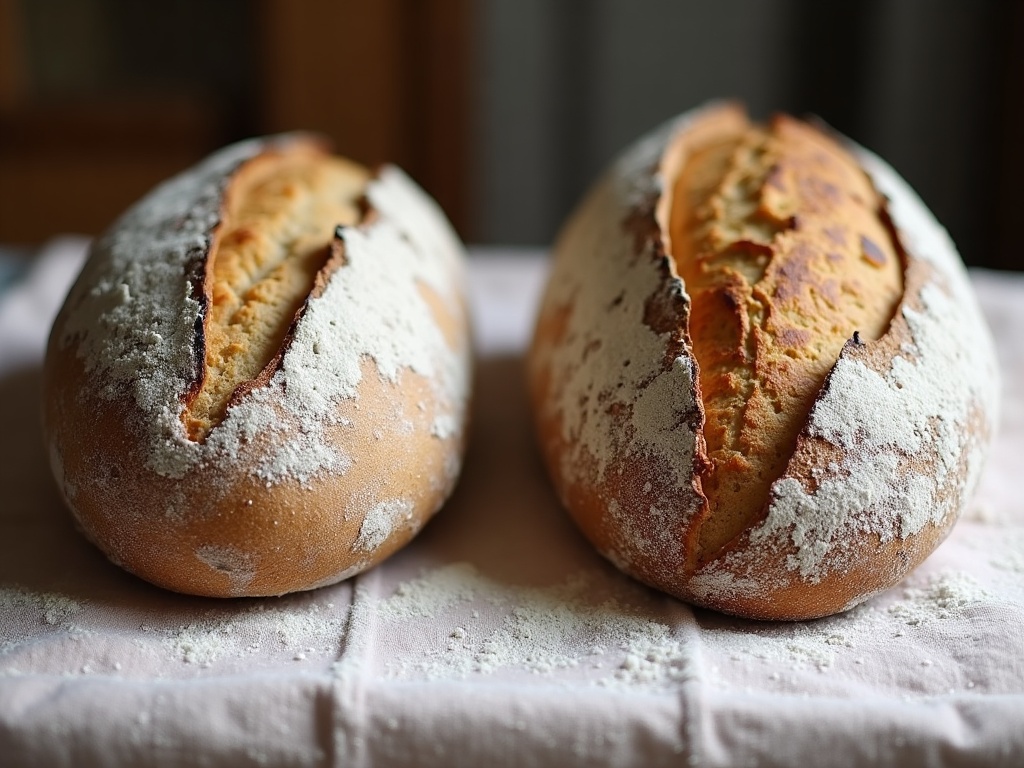
    A freshly baked sourdough loaf with a crackling blistered crust
    Out of the oven it crackled. An hour later, not so much.

    First, understand what’s actually happening

    A crisp crust is crisp because it’s dry. During baking, the surface of the loaf loses moisture and hardens into that thin, glassy shell. But your loaf is not done moving water around just because it left the oven.

    The crumb inside is still full of moisture, and as the loaf cools, that moisture migrates outward and escapes as steam, or softens the crust from the inside. The crust, being the driest part, happily reabsorbs it. Add the humidity in your kitchen air, and a thin crust can go from crackling to chewy in under an hour. So the real question isn’t “why did my crust soften?” It’s “why did it soften so much, so fast?” Usually one of the following.

    Cause one: the loaf is slightly underbaked

    This is the number one culprit. If the inside of your loaf still holds a lot of moisture, there’s simply more water to push out into the crust as it cools. An underbaked loaf is a soft-crust factory.

    A cross-section of sourdough showing crumb and crust
    A soft crust often starts with moisture still trapped inside the crumb.

    The fix is to bake longer and hotter than feels comfortable. Most home bakers pull their loaf too early because it “looks done.” Take it to a deep, genuinely dark golden-brown, not pale tan. If you use a thermometer, aim for an internal temperature around 205 to 210 degrees Fahrenheit (96 to 99 Celsius). And crucially, extend the final uncovered portion of the bake. Which brings us to steam.

    Cause two: too much steam, for too long

    Steam early in the bake is your friend. It keeps the surface flexible so the loaf can expand, and it helps develop color and blistering. But steam is the enemy of a crisp crust in the second half of the bake. If you leave the lid on your Dutch oven the whole time, or keep steaming a loaf throughout, the crust never gets the chance to dry out and set hard.

    The fix is a two-phase bake. Keep it covered or steamed for roughly the first 20 minutes, then remove the lid (or vent the steam) and bake uncovered for another 20 to 25 minutes. That dry, hot finish is what forges a crust that lasts. If your crust is consistently soft, lengthen that uncovered phase by five or ten minutes before you change anything else.

    Cause three: you wrapped or bagged it while warm

    A warm loaf is still releasing steam. Seal it in a plastic bag, a container, or even a tea towel too soon, and that steam has nowhere to go but back into the crust. You’ll trap it into sogginess.

    A sourdough loaf cooling on a wire rack
    How and where you cool the loaf decides whether the crust survives.

    Always cool your loaf completely, on a wire rack, in open air, before storing it. The rack matters: set a hot loaf flat on a cutting board and the bottom crust steams itself soft against the surface. Let air circulate all the way around, and give it a full couple of hours. Patience here protects everything the oven just did.

    Cause four: humidity and storage are working against you

    Sometimes the bake is fine and the enemy is the environment. A humid kitchen will soften any crust over time, and improper storage finishes the job. Plastic bags and sealed containers keep the crumb soft but turn the crust leathery, trapping moisture against it.

    For a crust-first loaf, store it cut-side down on a board, or in a paper bag or a bread box that lets a little air move. Yes, the crumb will dry out a bit faster this way, which is the trade-off: airtight storage saves the crumb and sacrifices the crust, while breathable storage does the reverse. Choose based on what you care about most, and eat crusty bread within a day or two.

    The rescue: how to recrisp a soft crust

    Already got a loaf with a sad, soft crust? You can bring it back. Pop the whole loaf (or thick slices) into a hot oven, around 400 degrees Fahrenheit (200 Celsius), for 8 to 12 minutes. The heat drives the surface moisture back out and re-dries the crust. It’ll crackle again as it cools, just like the first time.

    A sliced sourdough stored cut-side down beside a paper bag
    Store it right and a day-two crust can still have bite.

    This trick works beautifully for day-old bread too, so a slightly stale crusty loaf is never a lost cause. For a single serving, even a quick stint in a dry, hot pan or a toaster oven does the job.

    Putting it all together

    A crust that goes soft after cooling is your loaf telling you one of a few things: it needed a longer, hotter, drier finish in the oven, or it got trapped with its own steam before it could cool, or it’s simply fighting a humid kitchen. Bake it darker, give it a proper uncovered phase, cool it fully on a rack in open air, and store it breathing rather than sealed. Do that, and the crackle you heard coming out of the oven will still be there when you slice in.

    Want to see the two-phase bake and the recrisp trick in action? The full walkthrough lives on the LoafLovers YouTube channel, and our free sourdough troubleshooting guide covers the other crust problems, pale, too hard, no blisters, in the same symptom-to-fix format. Your crust isn’t broken. It just needed a little more heat and a little more air.
    Related Reading

  • How to Make Sourdough Without a Dutch Oven (and Still Get a Crackly Crust)

    How to Make Sourdough Without a Dutch Oven (and Still Get a Crackly Crust)

    Somewhere along the way, sourdough got attached to one expensive piece of gear: the Dutch oven. Every recipe seems to assume you own a heavy enameled pot, and if you do not, it can feel like you are locked out of a proper crust before you even start. Plenty of beginners quietly give up here, convinced they need to spend a small fortune to bake a decent loaf.

    You do not. A Dutch oven is a convenient tool, not a magic one, and the crust it gives you comes down to a single thing you can recreate with pans already in your kitchen: steam. Once you understand what the pot is actually doing, you can copy it on a baking sheet, in a loaf pan, or with a cheap roasting tray – and get a crackly, deep-brown crust every time.

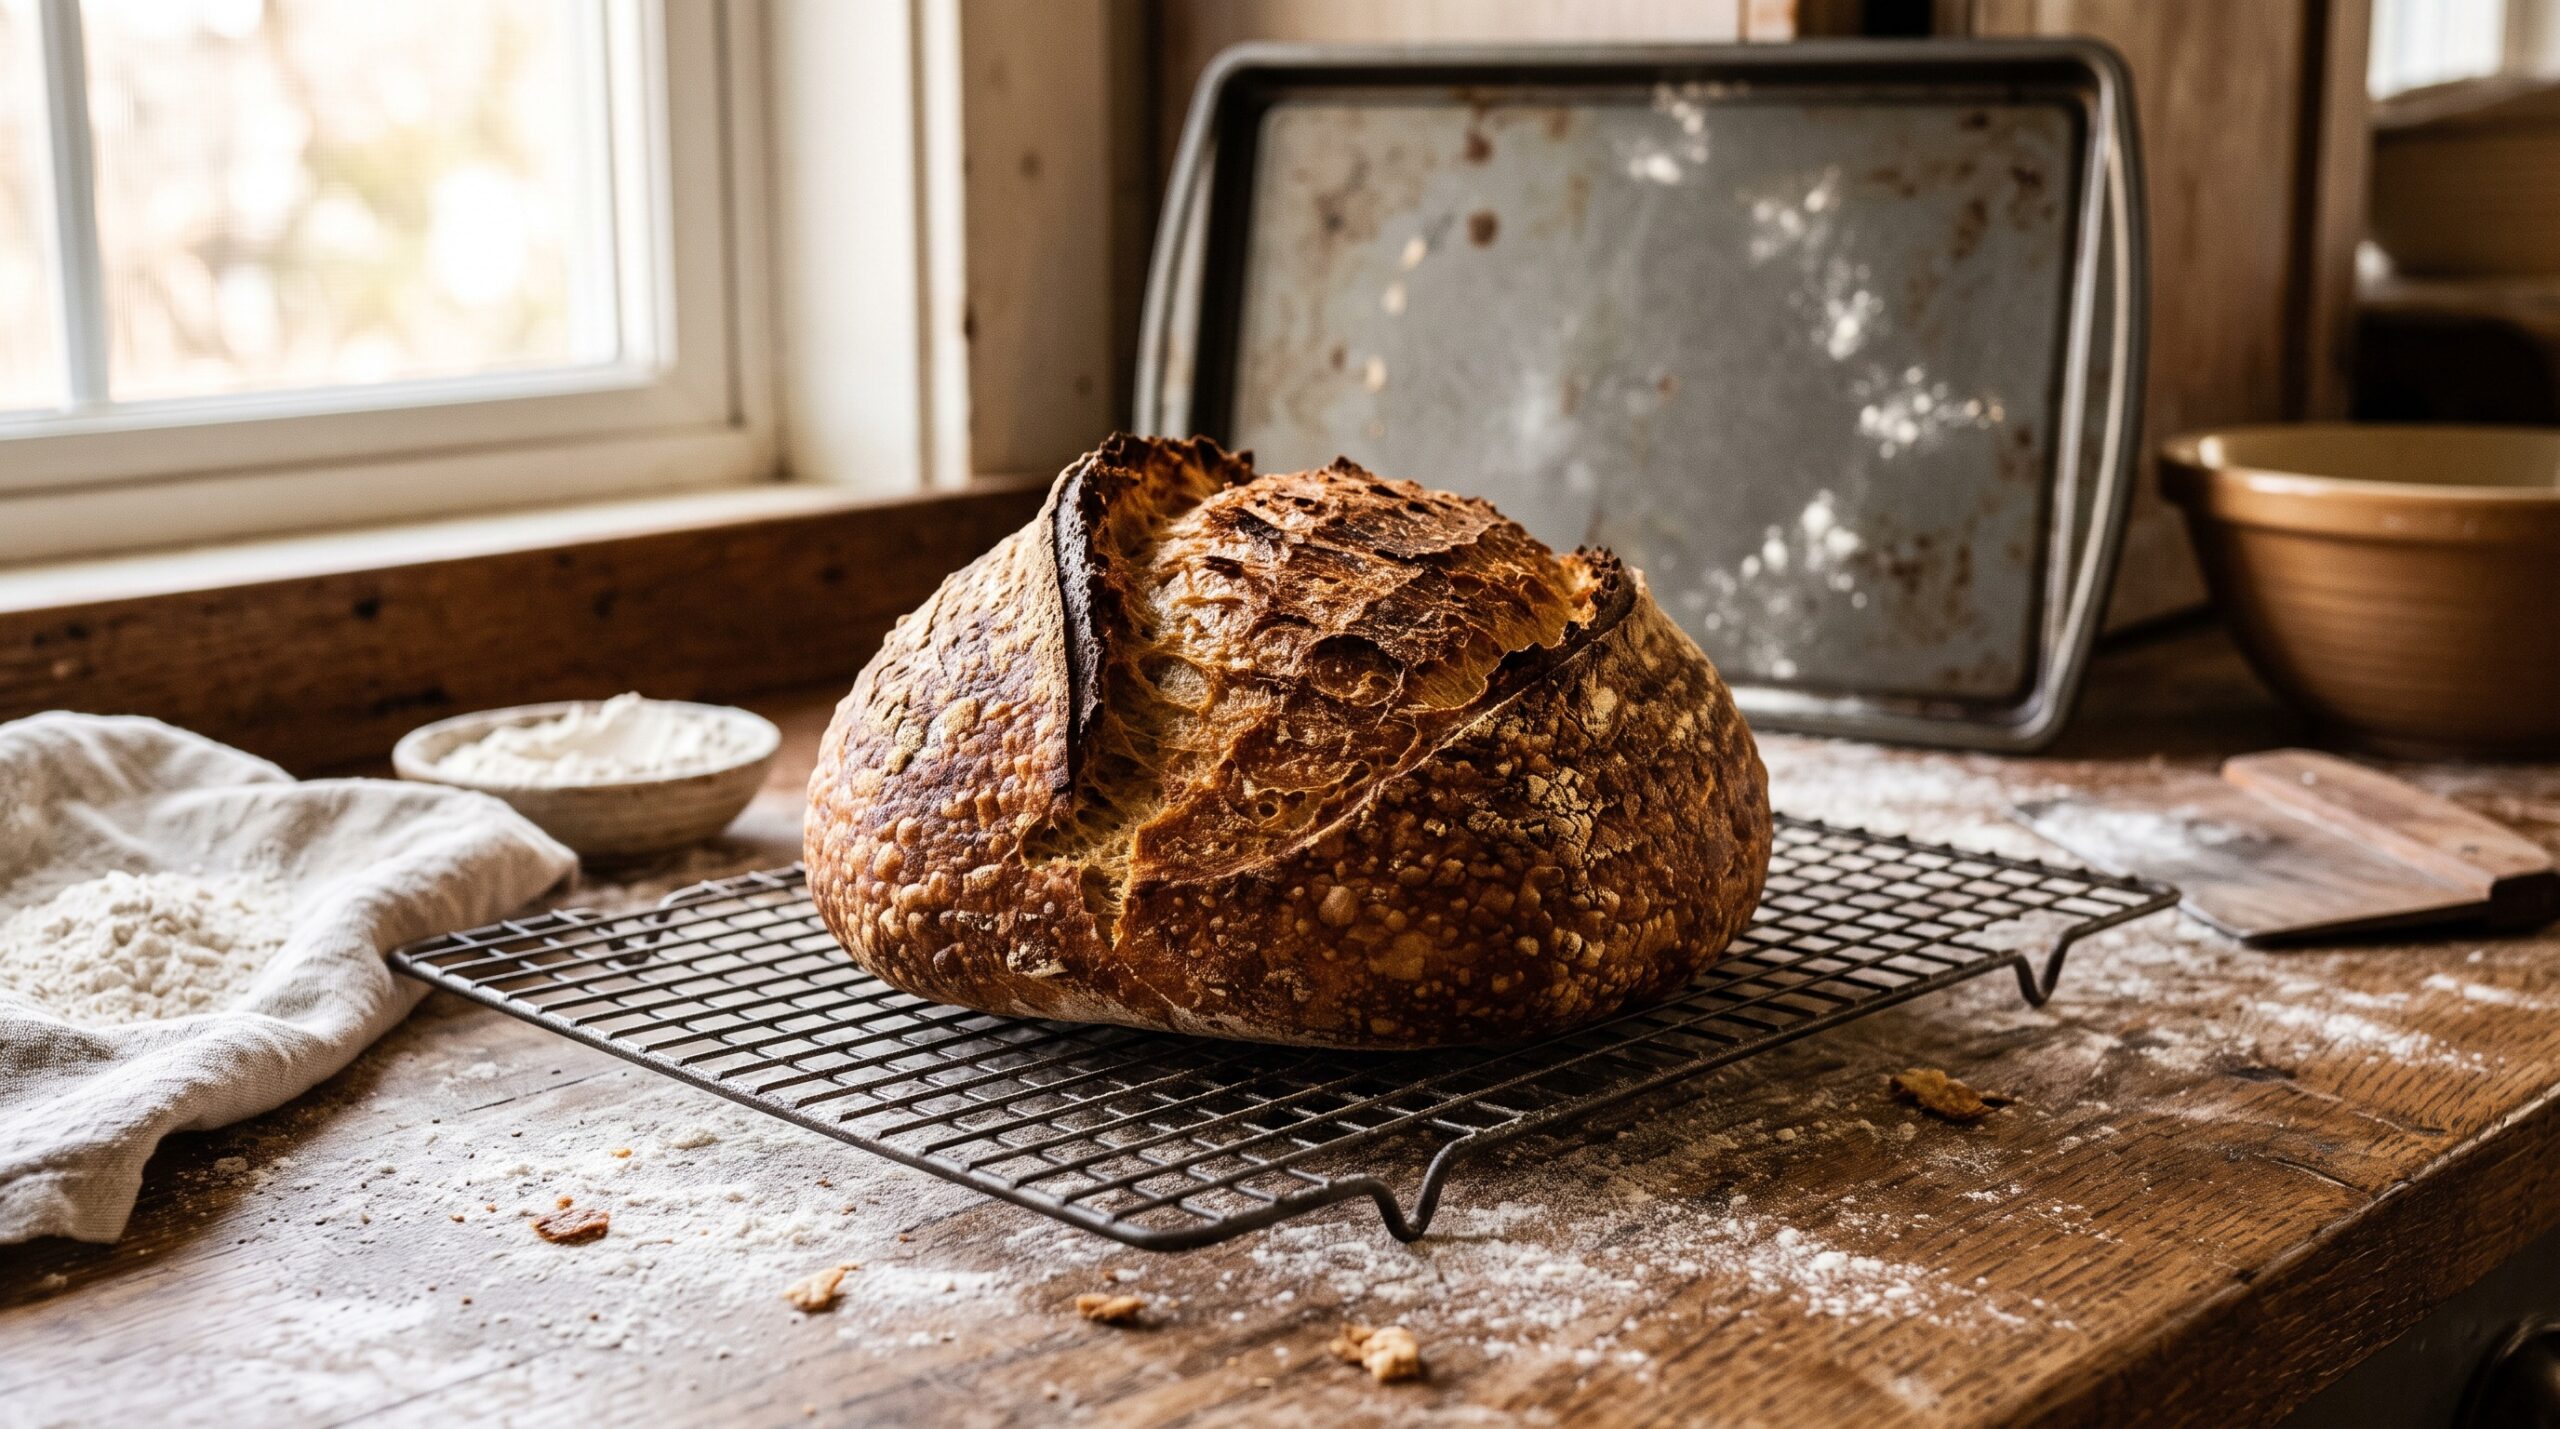
    A rustic sourdough loaf with a crackly deep-brown crust cooling on a wire rack next to an ordinary baking sheet
    A crackly, deep-brown crust baked on a plain baking sheet – no Dutch oven required.

    Why a Dutch Oven Works (It Is Just Trapped Steam)

    Here is the whole secret. When bread first goes into a hot oven, the surface needs to stay soft and moist for the first several minutes. That damp surface lets the loaf keep expanding – the burst of rise bakers call oven spring – and it lets natural sugars gelatinize into that glossy, crackly sheen. Only later does the crust set and brown.

    A Dutch oven does this by trapping the loaf’s own moisture inside a sealed pot. The dough releases steam, the lid holds it in, and the loaf effectively bakes in a little humid chamber for the first half of the bake. Then you take the lid off so the crust can dry, crisp, and color.

    That is the entire trick. It is not the cast iron, it is not the weight, it is not the brand. It is a humid start followed by a dry finish. Recreate those two phases with any equipment and you get the same result. A dry oven, by contrast, is exactly what gives you the number-one no-Dutch-oven complaint: a pale, soft, matte crust that never crackled.

    Two sourdough loaves compared: a pale soft loaf on the left and a deep-brown crackly loaf on the right
    Same dough, different crust: the pale loaf baked dry (left); the glossy one baked with steam (right).

    Method 1: The Two-Pan Steam Setup (Best All-Rounder)

    This is the method I reach for most, because it works for a normal round or oval loaf and uses only a baking sheet and a metal pan you probably already own.

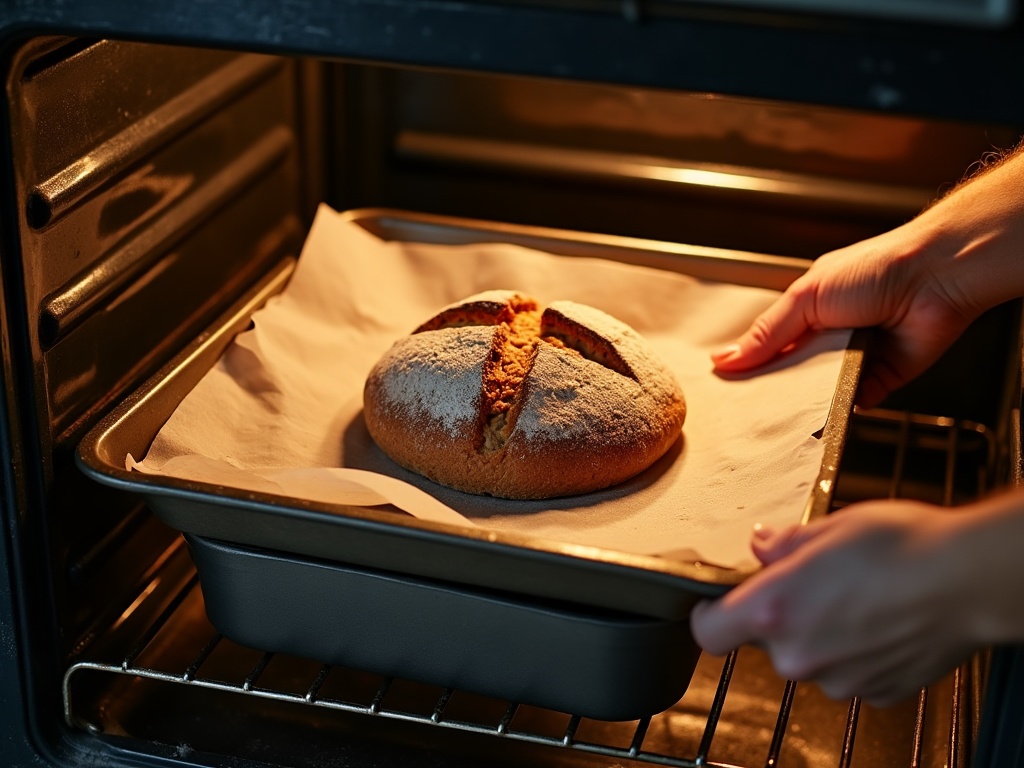
    • Preheat hard. Put your baking sheet (or a pizza stone or inverted tray) on the middle rack and an empty, sturdy metal pan – a shallow roasting tray or an old cake tin – on the rack below. Heat the oven to around 475 degrees for 30 to 45 minutes so everything is genuinely hot.
    • Load the loaf. Slide your scored dough, on a sheet of parchment, onto the hot upper tray.
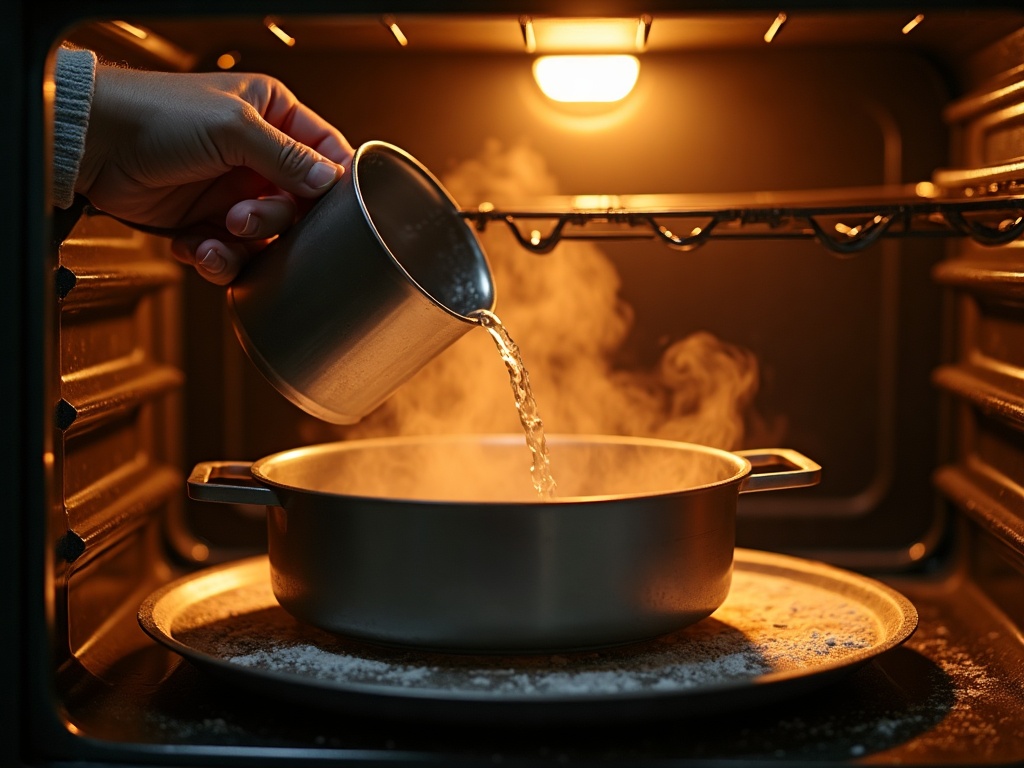
    • Add steam immediately. Pour about a cup of boiling water into the hot lower pan and shut the door as fast as you can. It will erupt into steam – that is exactly what you want trapped around the loaf.
    • Steam, then dry. Bake with steam for the first 20 minutes. Then carefully remove the water pan (and any parchment if it is browning too fast), drop the heat to about 450, and finish baking another 20 to 25 minutes until the crust is deep brown.

    The one safety note: use an old metal pan you do not care about, and never pour water into a glass or ceramic dish – thermal shock can shatter it. Wear oven mitts and keep your face back from the steam burst.

    Hands sliding a scored sourdough loaf onto a hot baking sheet with a metal pan on the rack below for steam
    The two-pan method: loaf on a preheated sheet, an empty metal pan below ready to catch boiling water.

    Method 2: The Loaf Pan (The Lowest-Effort Option)

    If shaping a free-form boule stresses you out, a simple metal loaf pan is the most forgiving route to sourdough there is – and it happens to be great for beginners with a slack, sticky dough that would otherwise spread flat.

    Shape your dough into a log, drop it into a greased loaf pan, and let it rise. The walls of the pan support the dough so it grows up instead of out, which quietly solves the flat, spreading loaf that trips up so many new bakers. If your loaves have been pancaking on you, our guide to fixing flat sourdough that spreads instead of rising tall pairs well with this method.

    For crust, you still want a humid start, so use the boiling-water pan trick from Method 1, or simply mist the loaf and the oven walls with water from a spray bottle a couple of times in the first ten minutes. You will get a sandwich-friendly shape with a genuinely crisp top – no banneton, no scoring drama, no pot.

    Method 3: A Cheap Cover You Already Own

    If you like the idea of trapping steam right against the loaf the way a Dutch oven does, you can improvise a lid. Bake your loaf on a hot baking sheet and cover it for the first 20 minutes with:

    • A large stainless steel mixing bowl turned upside down over the loaf.
    • A tall metal stockpot inverted over it.
    • A disposable foil roasting pan clamped on top.

    Any of these creates the same sealed, humid pocket – the loaf steams itself under the cover. Lift the cover after 20 minutes and finish baking uncovered so the crust can brown. It is essentially a DIY Dutch oven, assembled from whatever oven-safe dome you have on hand, and it is remarkably effective.

    A hand pouring boiling water into a hot metal pan in the oven, releasing a burst of steam
    Pour boiling water into the hot lower pan and shut the door fast – that trapped steam is what makes the crust.

    The Mistakes That Give You a Pale, Soft Crust

    When a no-Dutch-oven loaf disappoints, it is almost always one of these – and every one is easy to fix:

    • Not enough heat. A cool oven or an under-preheated tray robs you of oven spring and color. Preheat longer and hotter than feels necessary, and give your baking surface a full 30-plus minutes to soak up heat.
    • No steam, or steam that escapes. A quick spritz that flashes off in seconds is not enough. Use the boiling-water pan or a cover so real humidity surrounds the loaf for the whole first phase.
    • Leaving the steam in too long. The flip side: if you never remove the water pan or cover, the crust stays soft and never crackles. The dry finish is not optional – it is what browns and crisps the loaf.
    • Opening the door constantly. Every peek dumps your heat and steam. Resist checking for the first 20 minutes.

    Get the hot-and-humid start right and you also unlock better height. If your loaves come out dense or squat, it is worth reading up on scoring and oven spring, because a good steamed start and a confident score work together to give you that dramatic opening and a proud, tall loaf.

    How to Know It Actually Worked

    A well-steamed crust tells you the moment it comes out of the oven. It should be deep golden to mahogany, not blond. It should have a faint sheen and often tiny blisters across the surface. And when you set it on a rack to cool, a properly baked loaf will crackle audibly as it contracts – bakers call it the loaf singing, and it is the sound of a crust that set correctly.

    Cut into it only once it is fully cool. If the crust is crisp but the inside is dense or gummy, that is a separate, common issue worth diagnosing on its own; our breakdown of why sourdough turns out gummy walks through the real causes and fixes so your crumb catches up to your crust.

    None of this needs special gear. A baking sheet, a metal pan, a cup of boiling water, and a hot oven will give you a crackly, bakery-worthy crust that most people assume requires an expensive pot. The Dutch oven was never the secret – the steam always was.

    Because a crackly crust is genuinely easier to see than to describe, the full no-Dutch-oven bake – preheat, load, steam, and the crackle test – is walked through step by step on the LoafLovers YouTube channel. Grab our free sourdough troubleshooting guide too, so the whole method is on hand the next time you bake. You have everything you need already.

    Related Reading